Mini Bathroom Remodel - Removing the Shower Doors
/One of the things I was looking most forward to in this mini remodel was removing the shower doors attached to the bathtub. You may not agree with me, but I think that framed shower doors are gross. I’m ok with the frameless variety that are popular now, but 1980s framed sliding shower doors are just disgusting. Here in warm humid Florida mold develops under the seals on the doors, under the handles, inside the tracks pretty much everywhere scrubbing is impossible. There is no way to get them completely clean without completely disassembling them including the doors themselves, and dipping them in bleach. I couldn’t wait to get the repulsive things out!
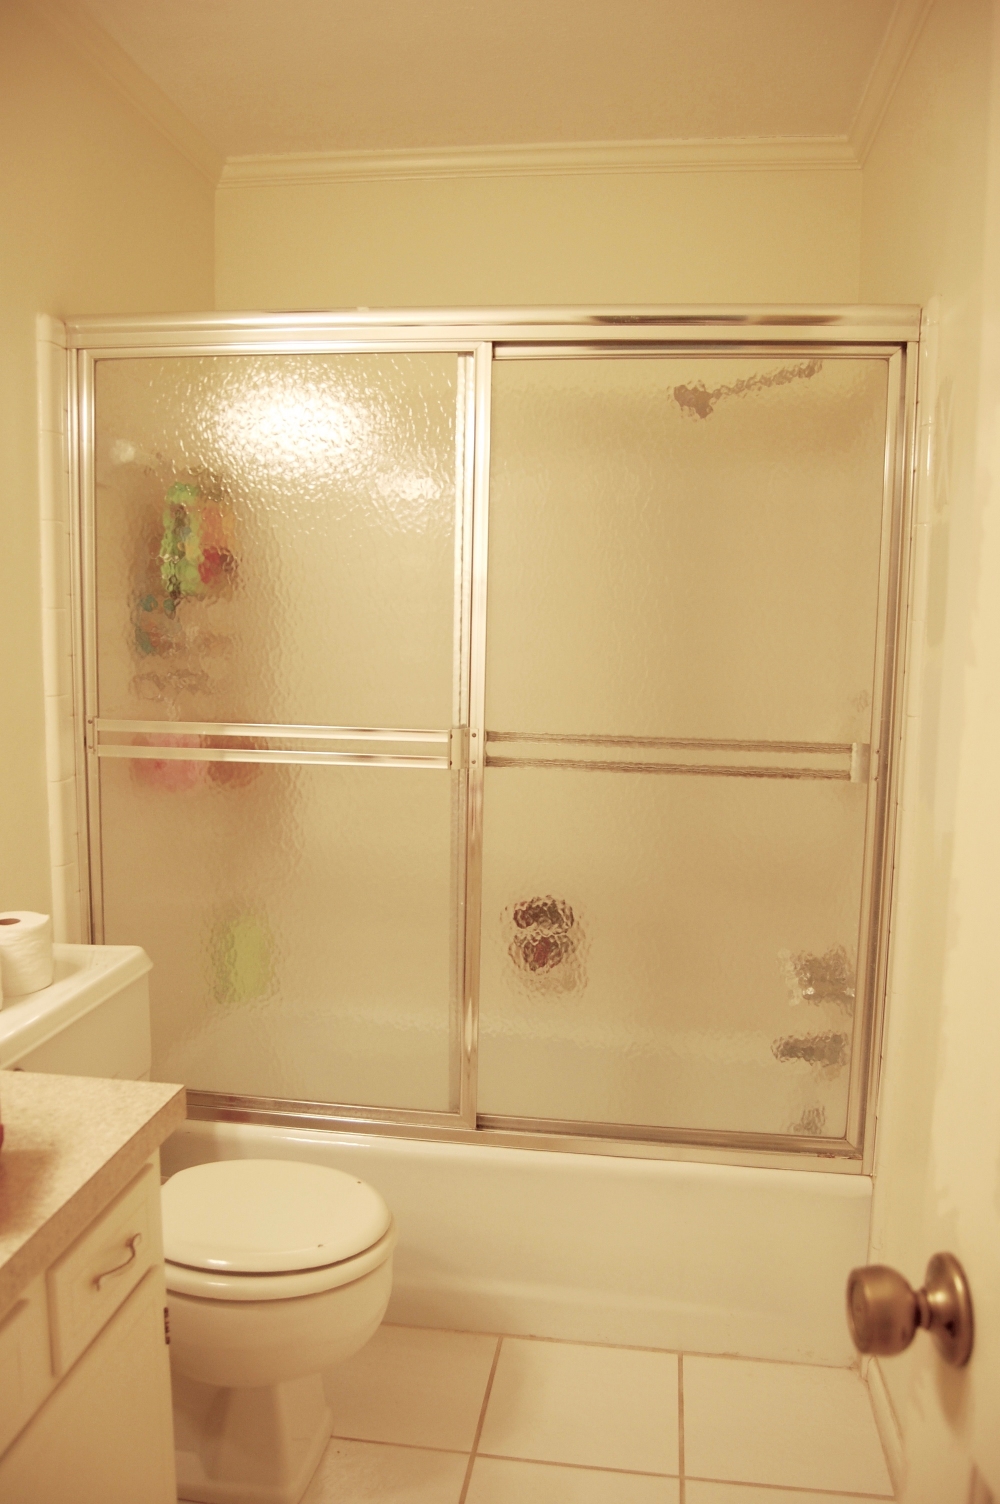
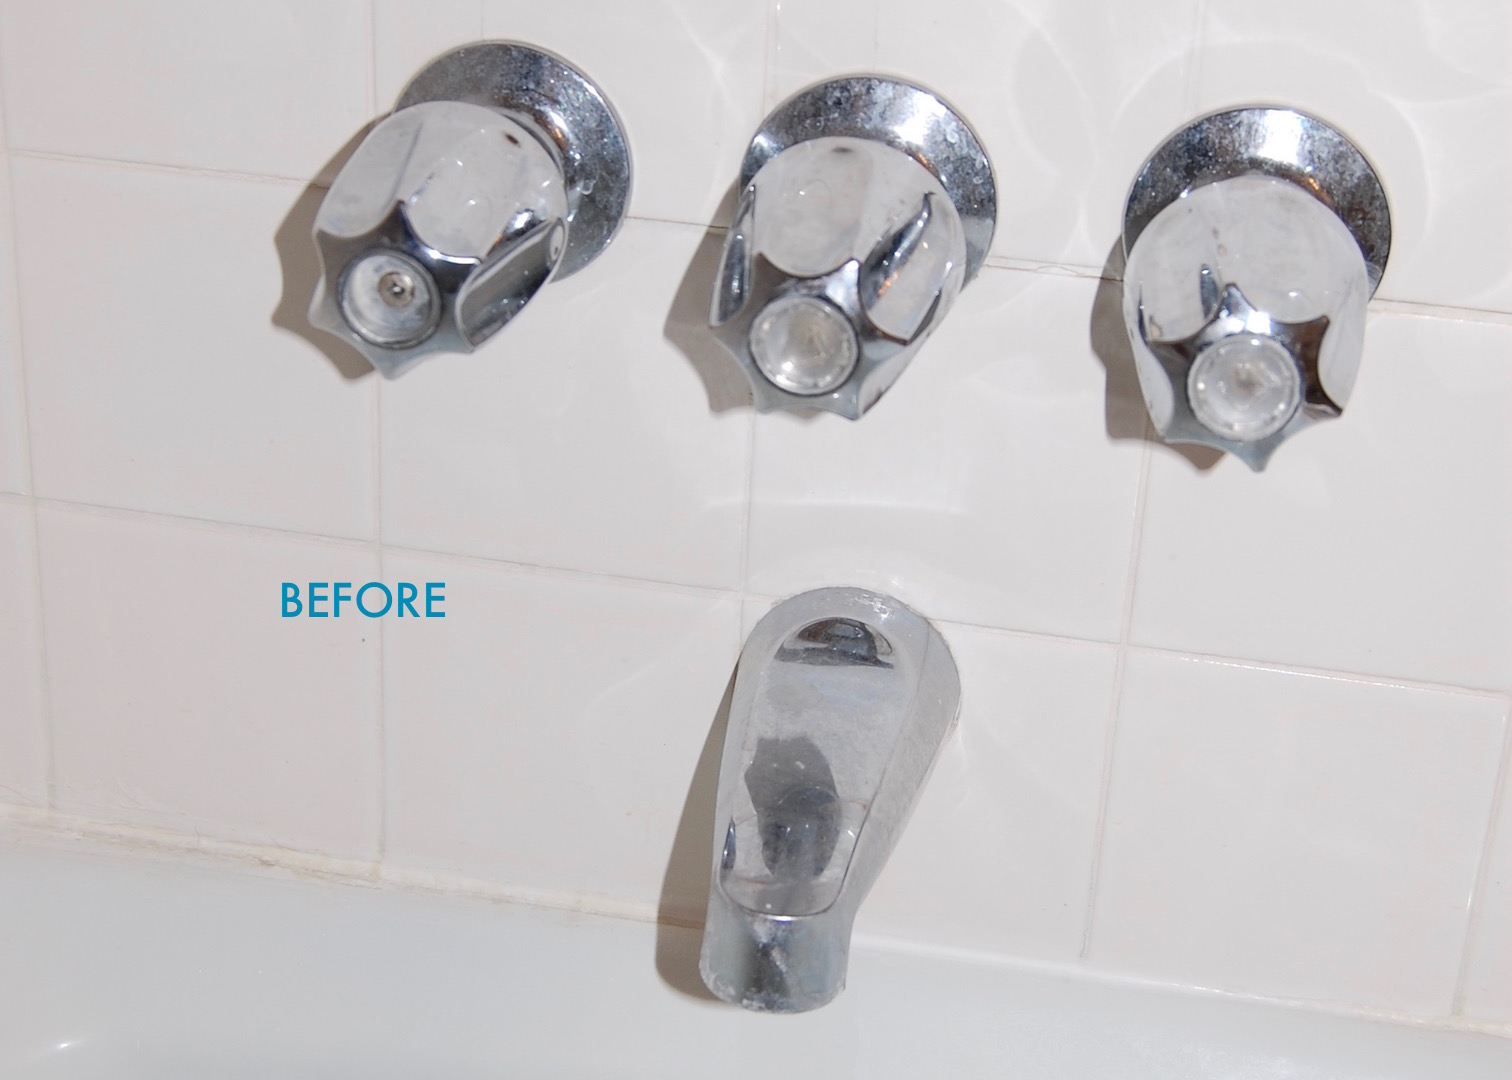
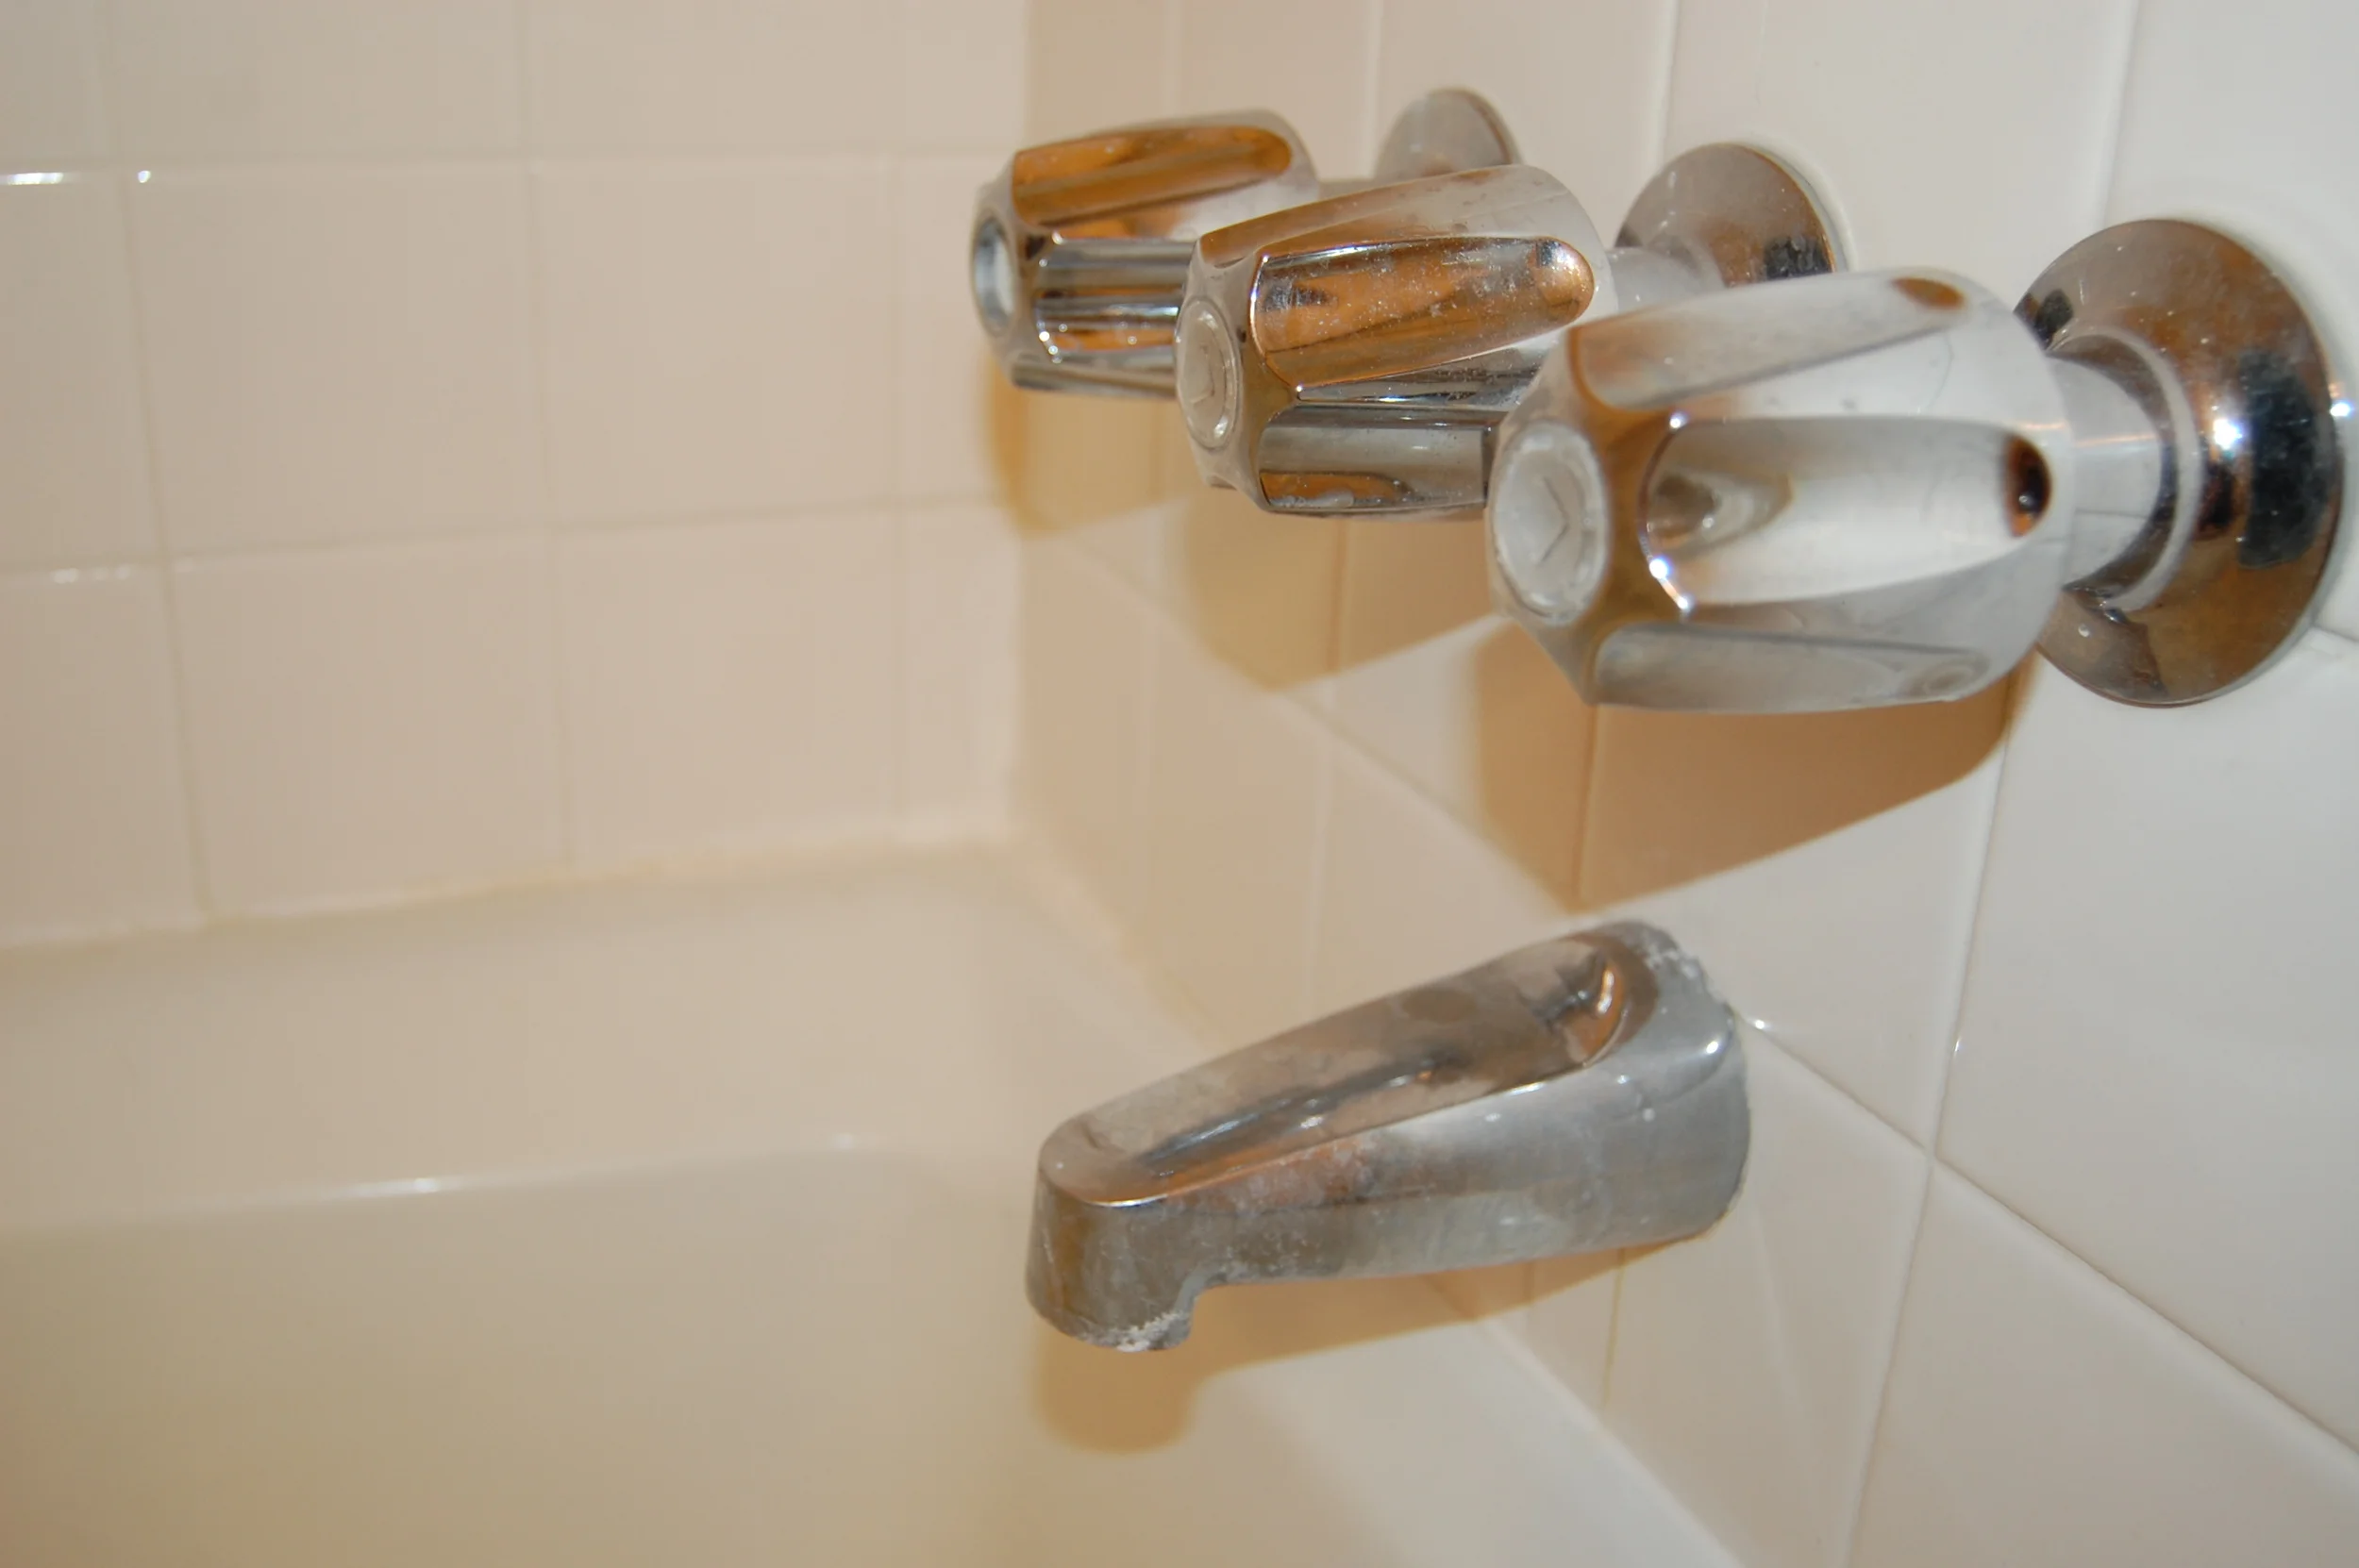
Before: Ugly, gross, impossible to clean framed sliding shower doors.
Framed sliding shower doors are actually surprisingly easy to remove. It took us less than 5 minutes to completely remove the doors (although cleaning up the residue left by the doors took significantly longer). Here is what we did:

Removing the First Door
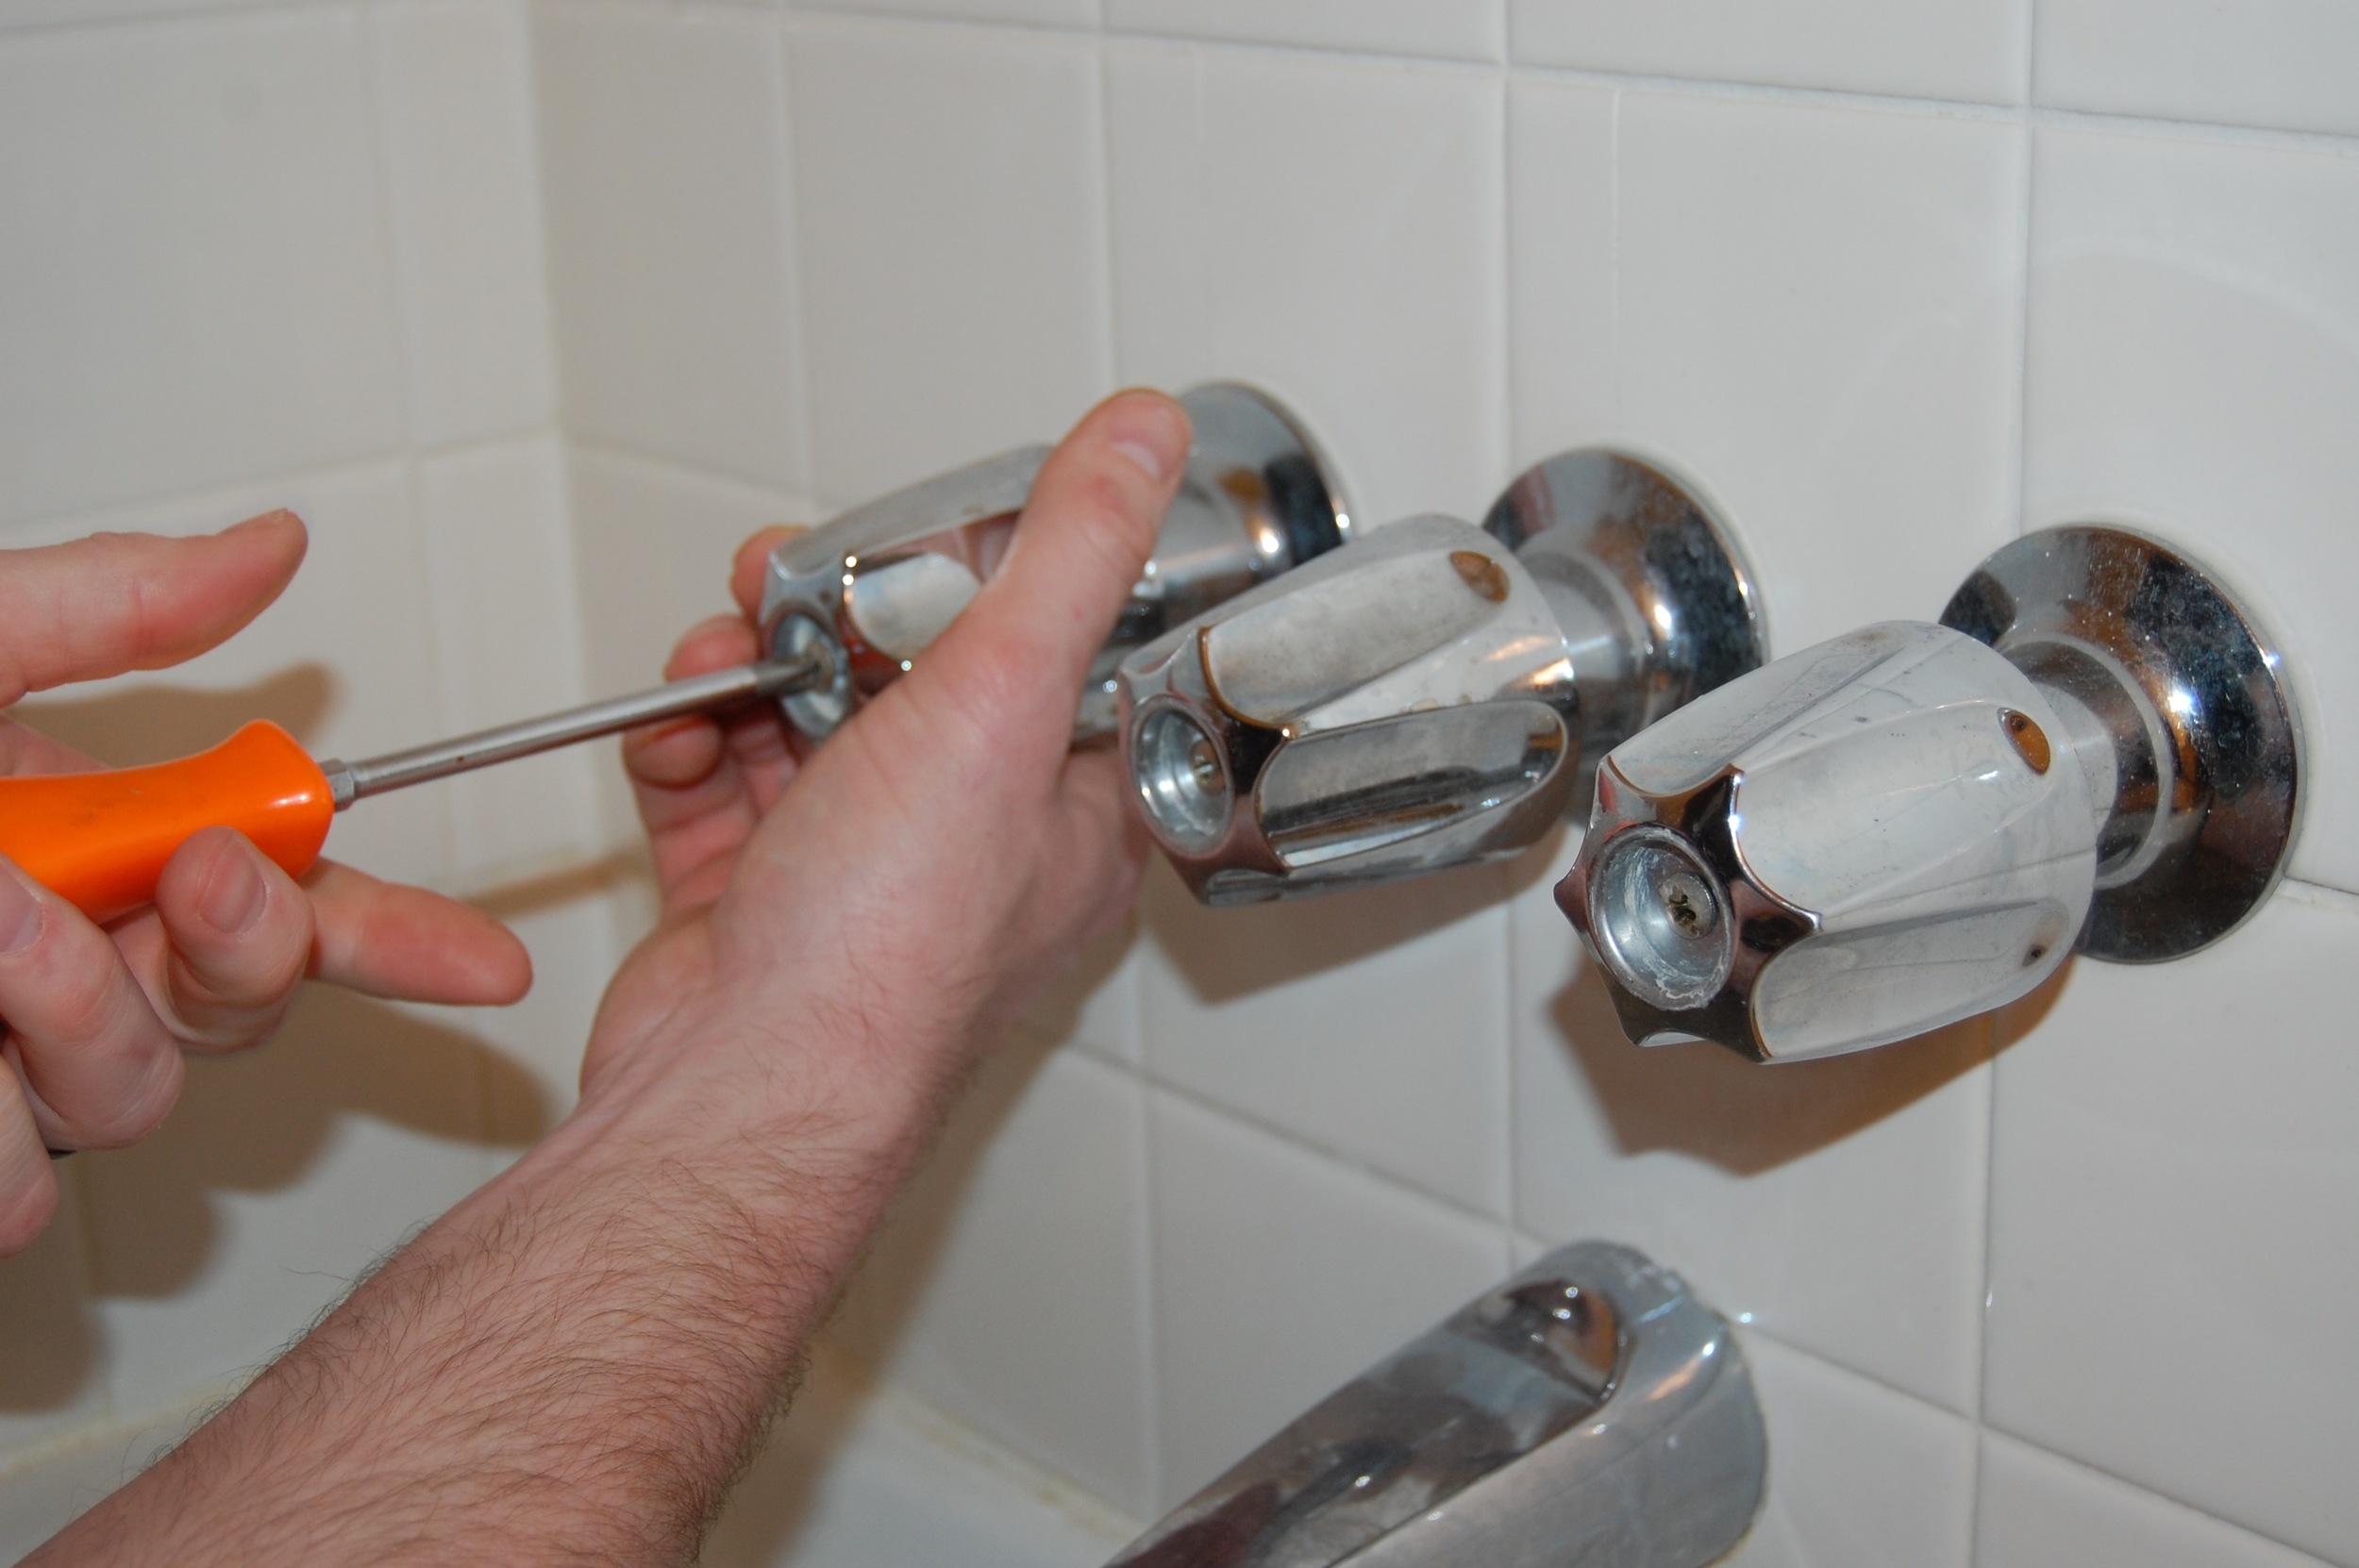
First Firebeard grabbed the door on the outside of the bathtub and lifted it up out of its upper track. Our door had a small clip holding the bottom of the door to the bottom track as well. I was able to pop this out with a screwdriver while Firebeard held the door up. Then we moved this door well out of the way so we could handle the next door.
Next Firebeard grabbed the second door and lifted it out of the upper track. The upper track then lifted up on its own accord, and it was at this point that we realized that the upper track was being held on by gravity alone. While Firebeard was still holding on to the second door I removed the upper track (so it didn’t fall on him and brain him), then quickly removed the clip holding the door onto the bottom rail. I was a little too busy preventing injury to get a picture of this part.
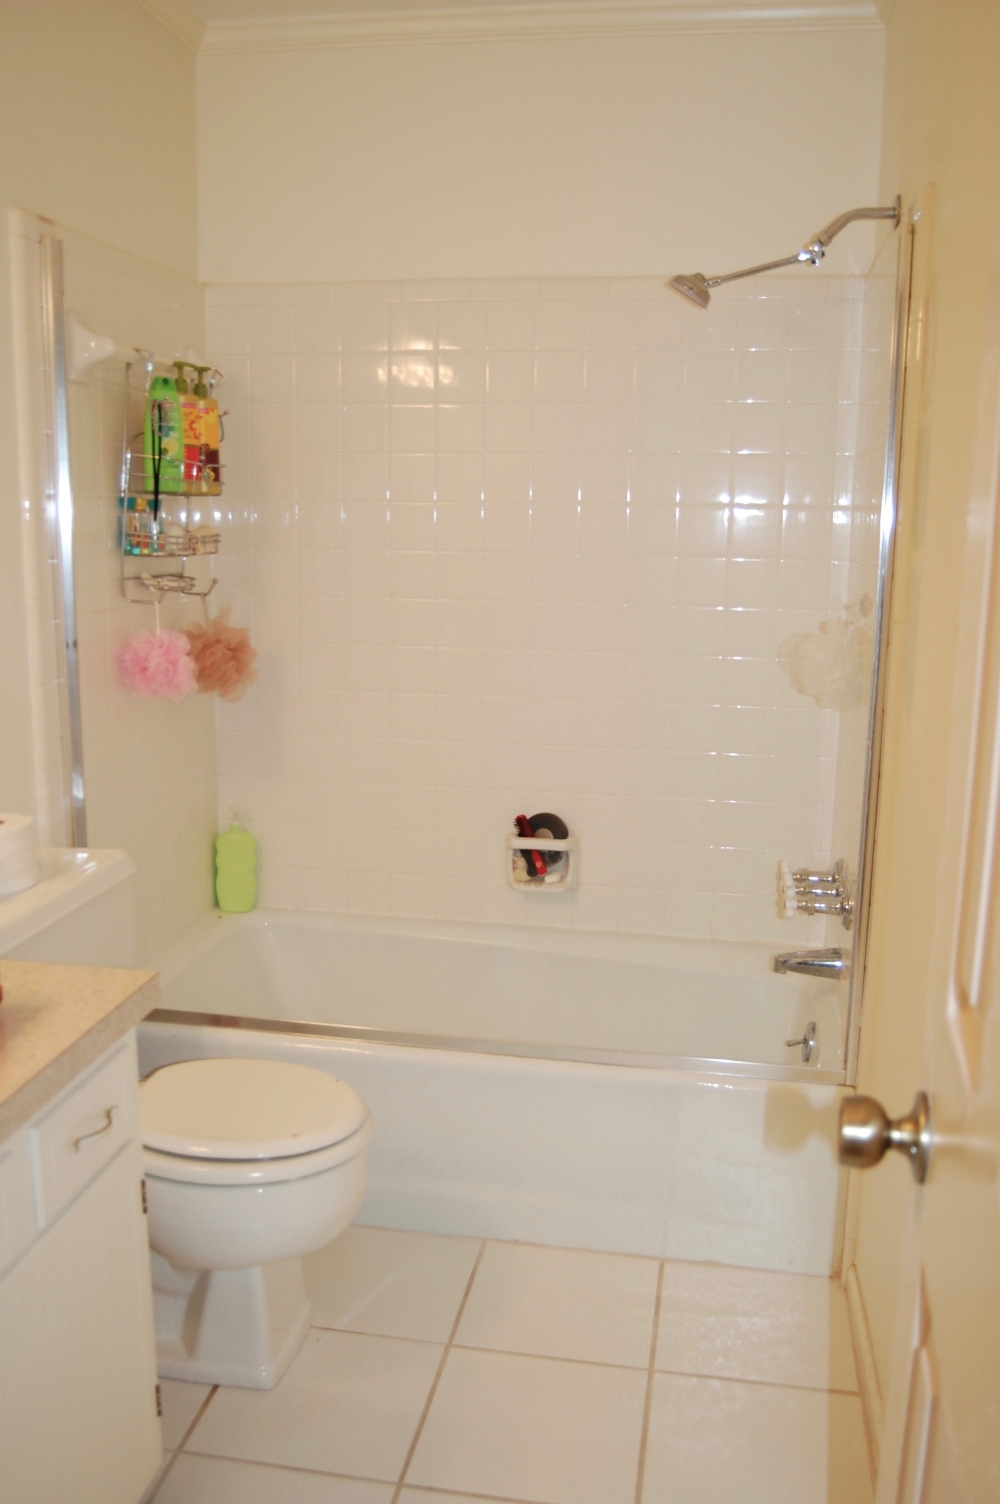
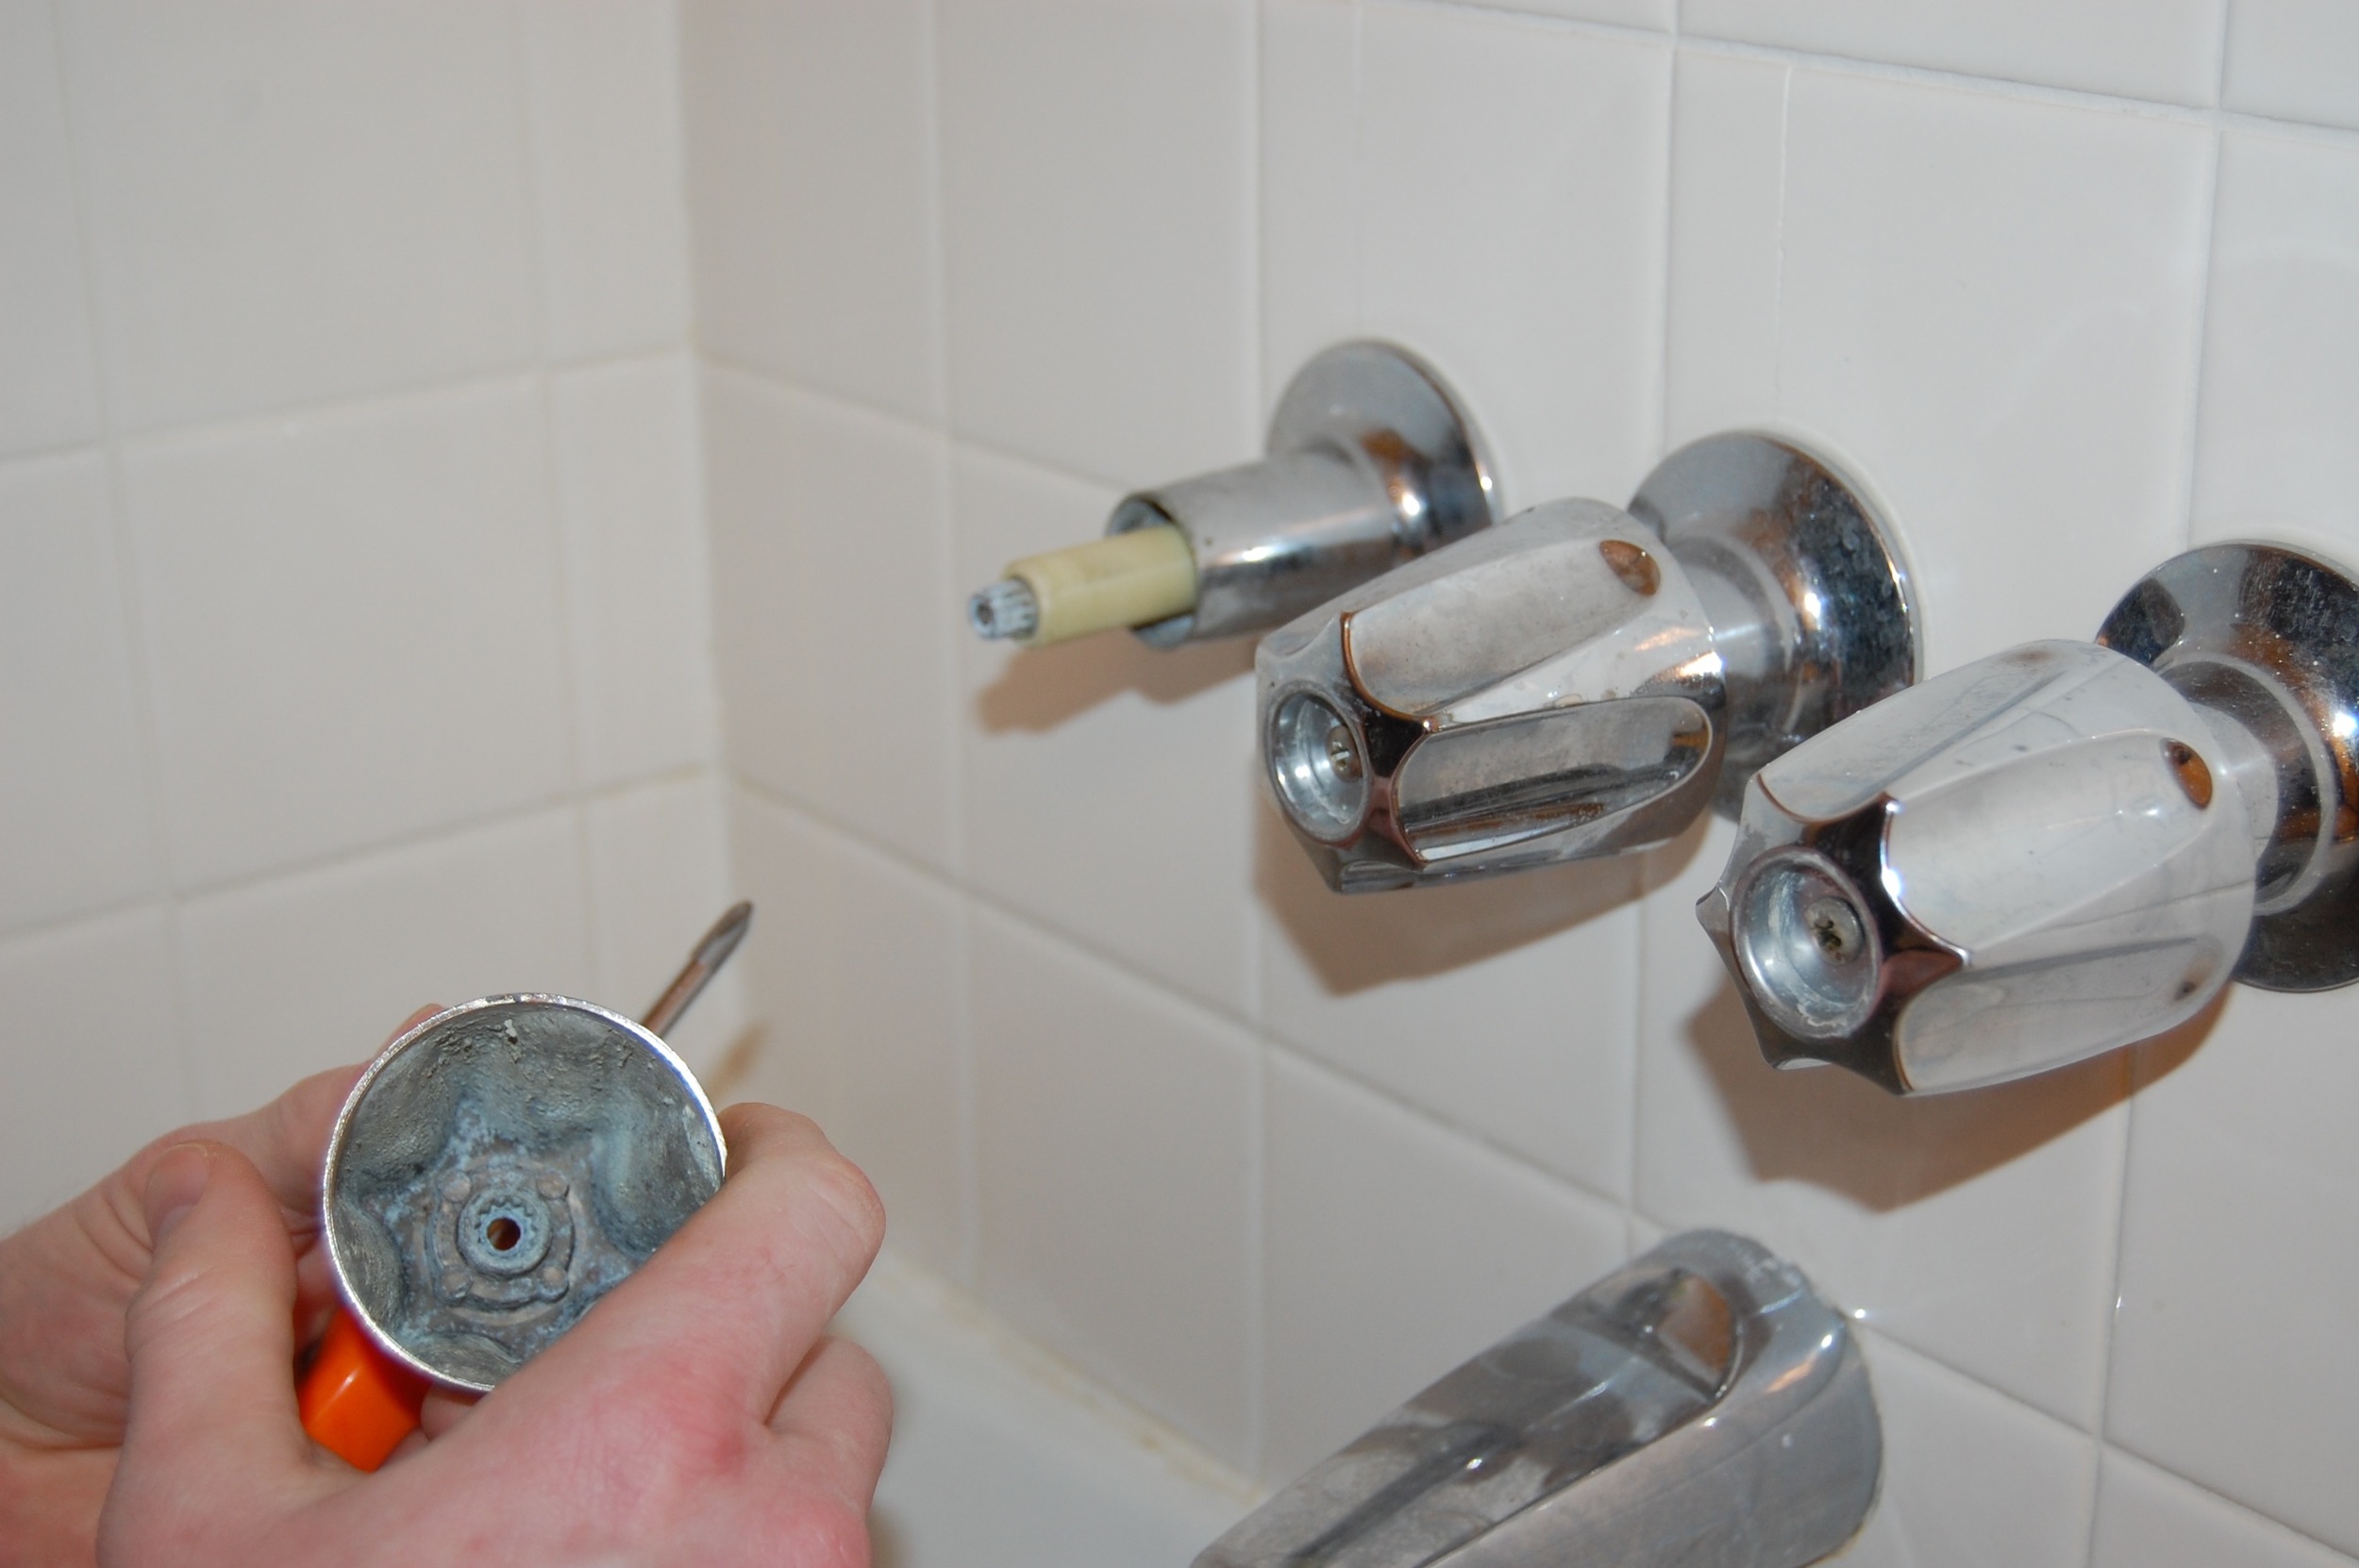
Shower Doors and upper Track removed. Bottom track and sides remain.
We were left with the bottom track, which appeared to be caulked in place, and two side supports which were screwed in and caulked.

Unscrewing the side supports.

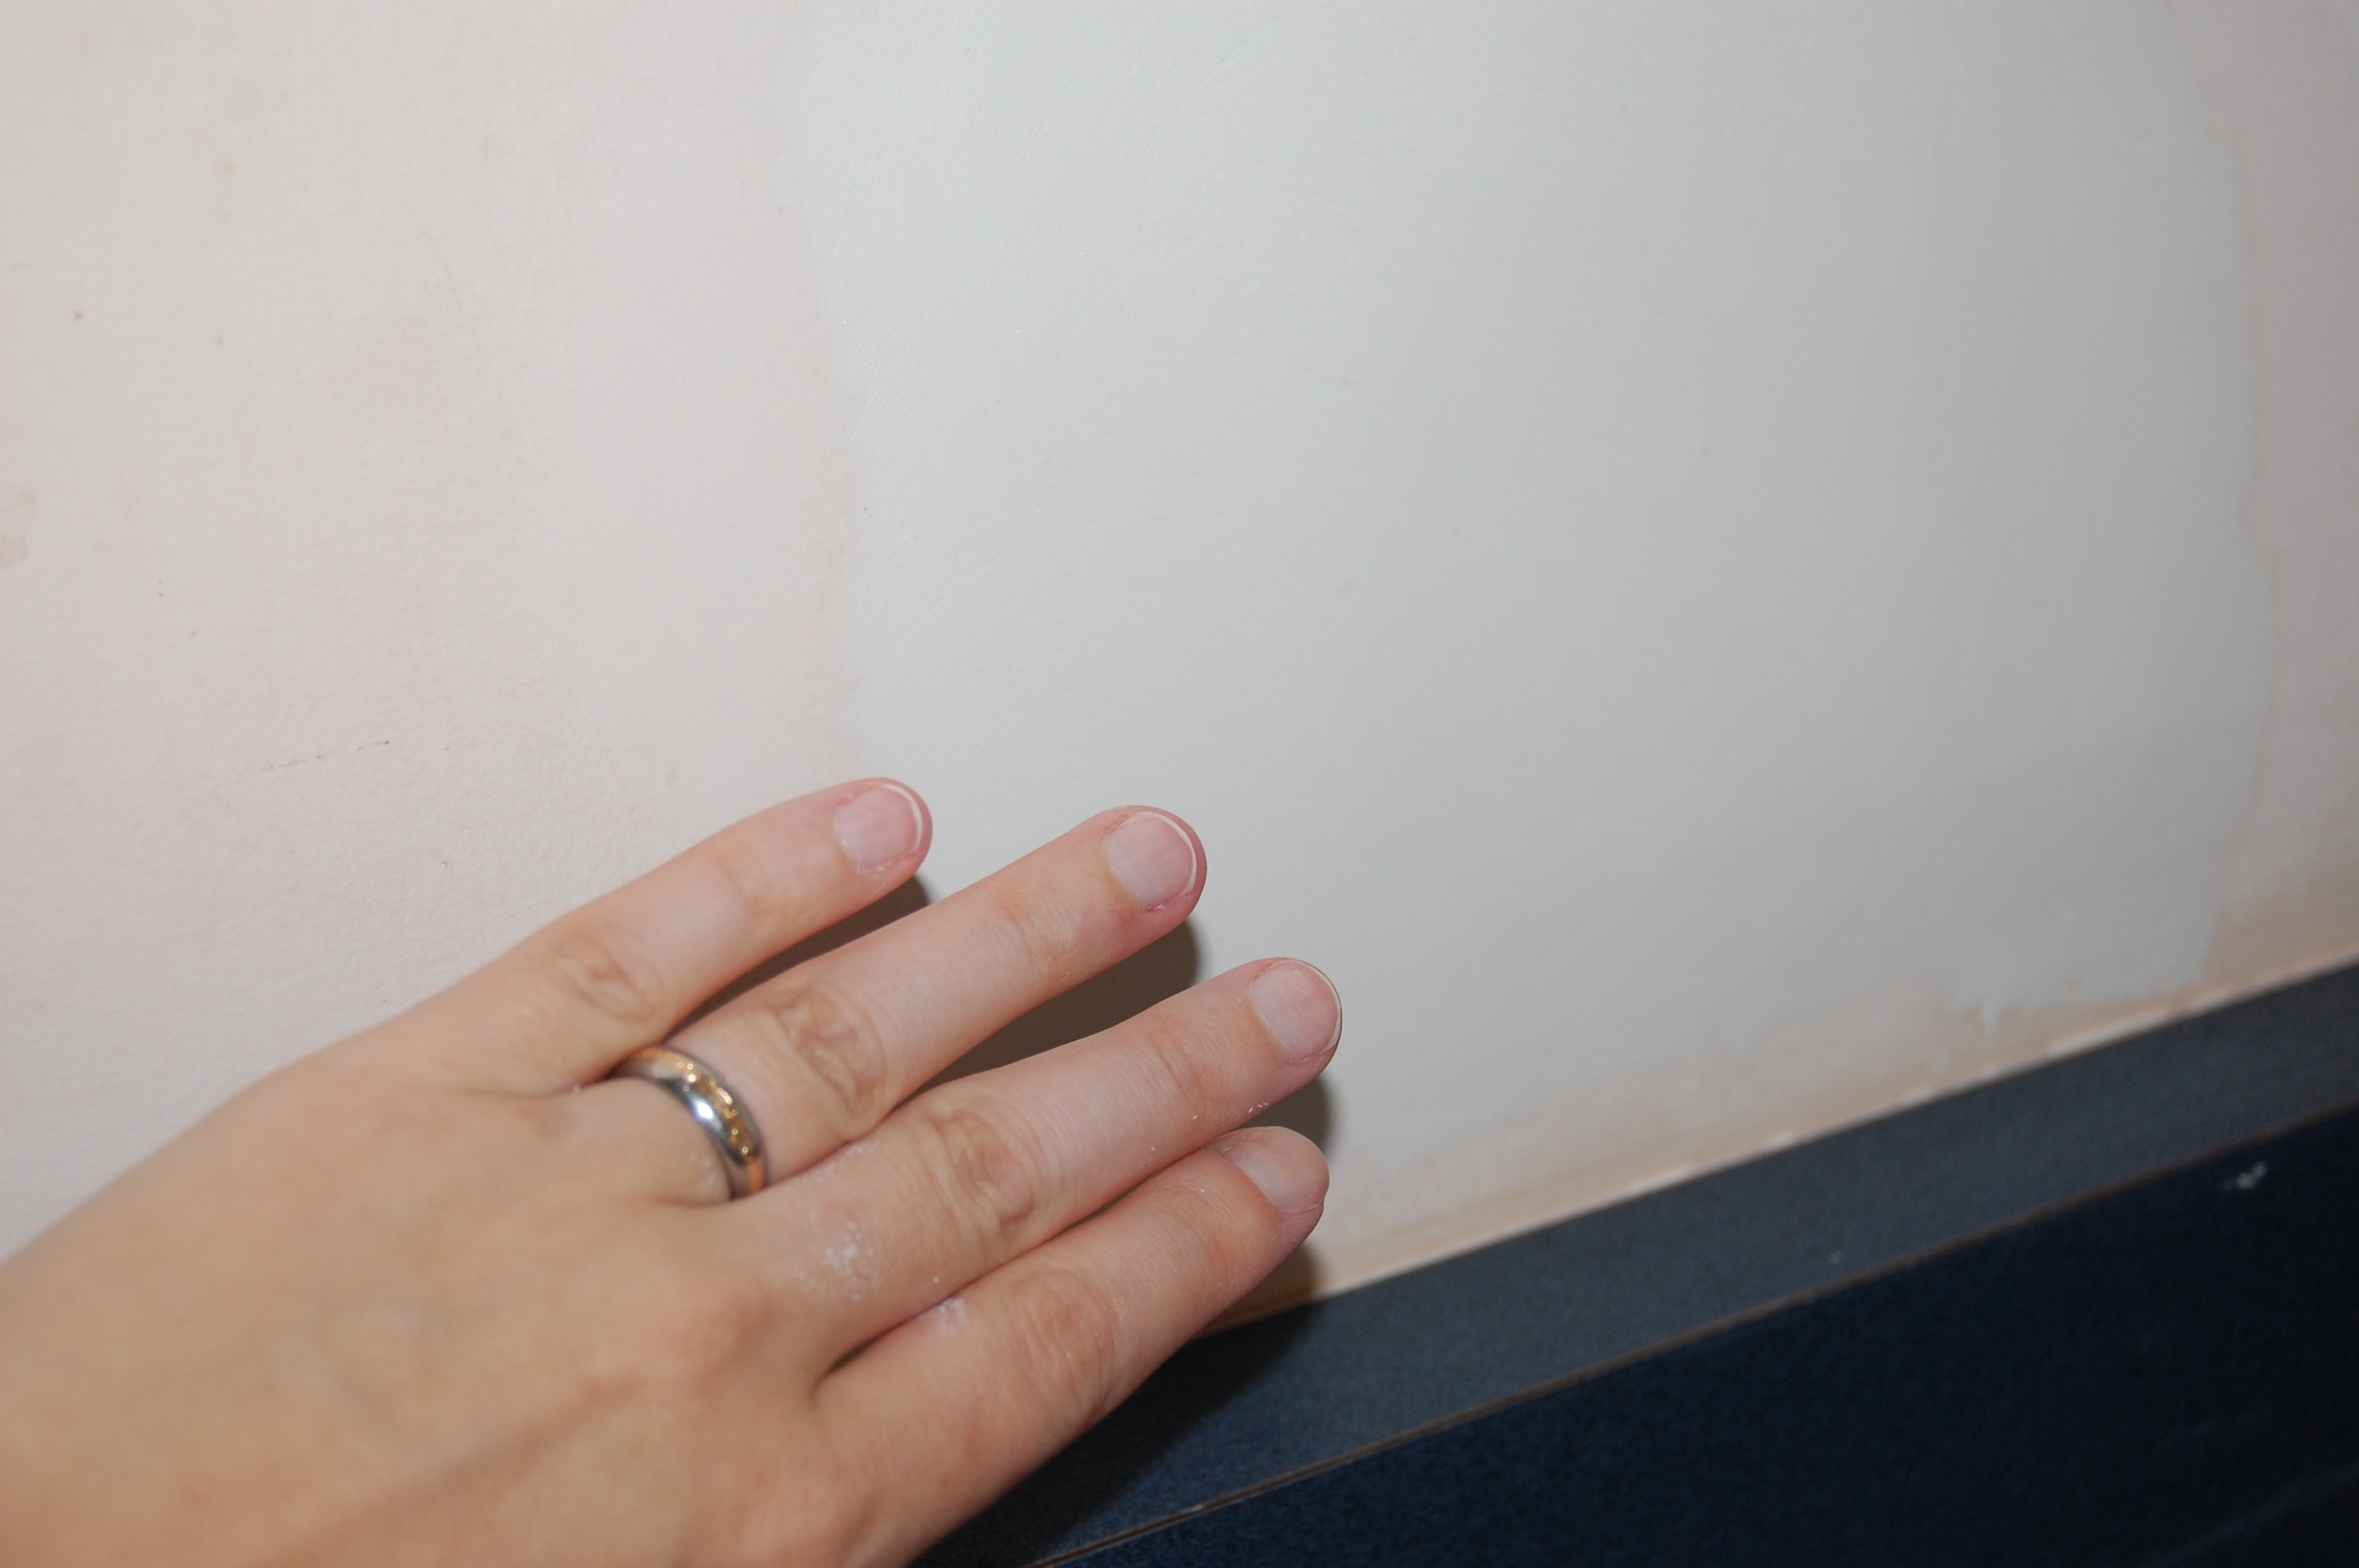
Scoring the caulk on the side supports.
We removed the side supports by scoring the copious amounts of caulk holding them in place with a razor and then unscrewing them. The tops of the supports came away easily, but the bottom where the side supports met the bottom track required some additional scoring and a bit of twisting to pry them loose.

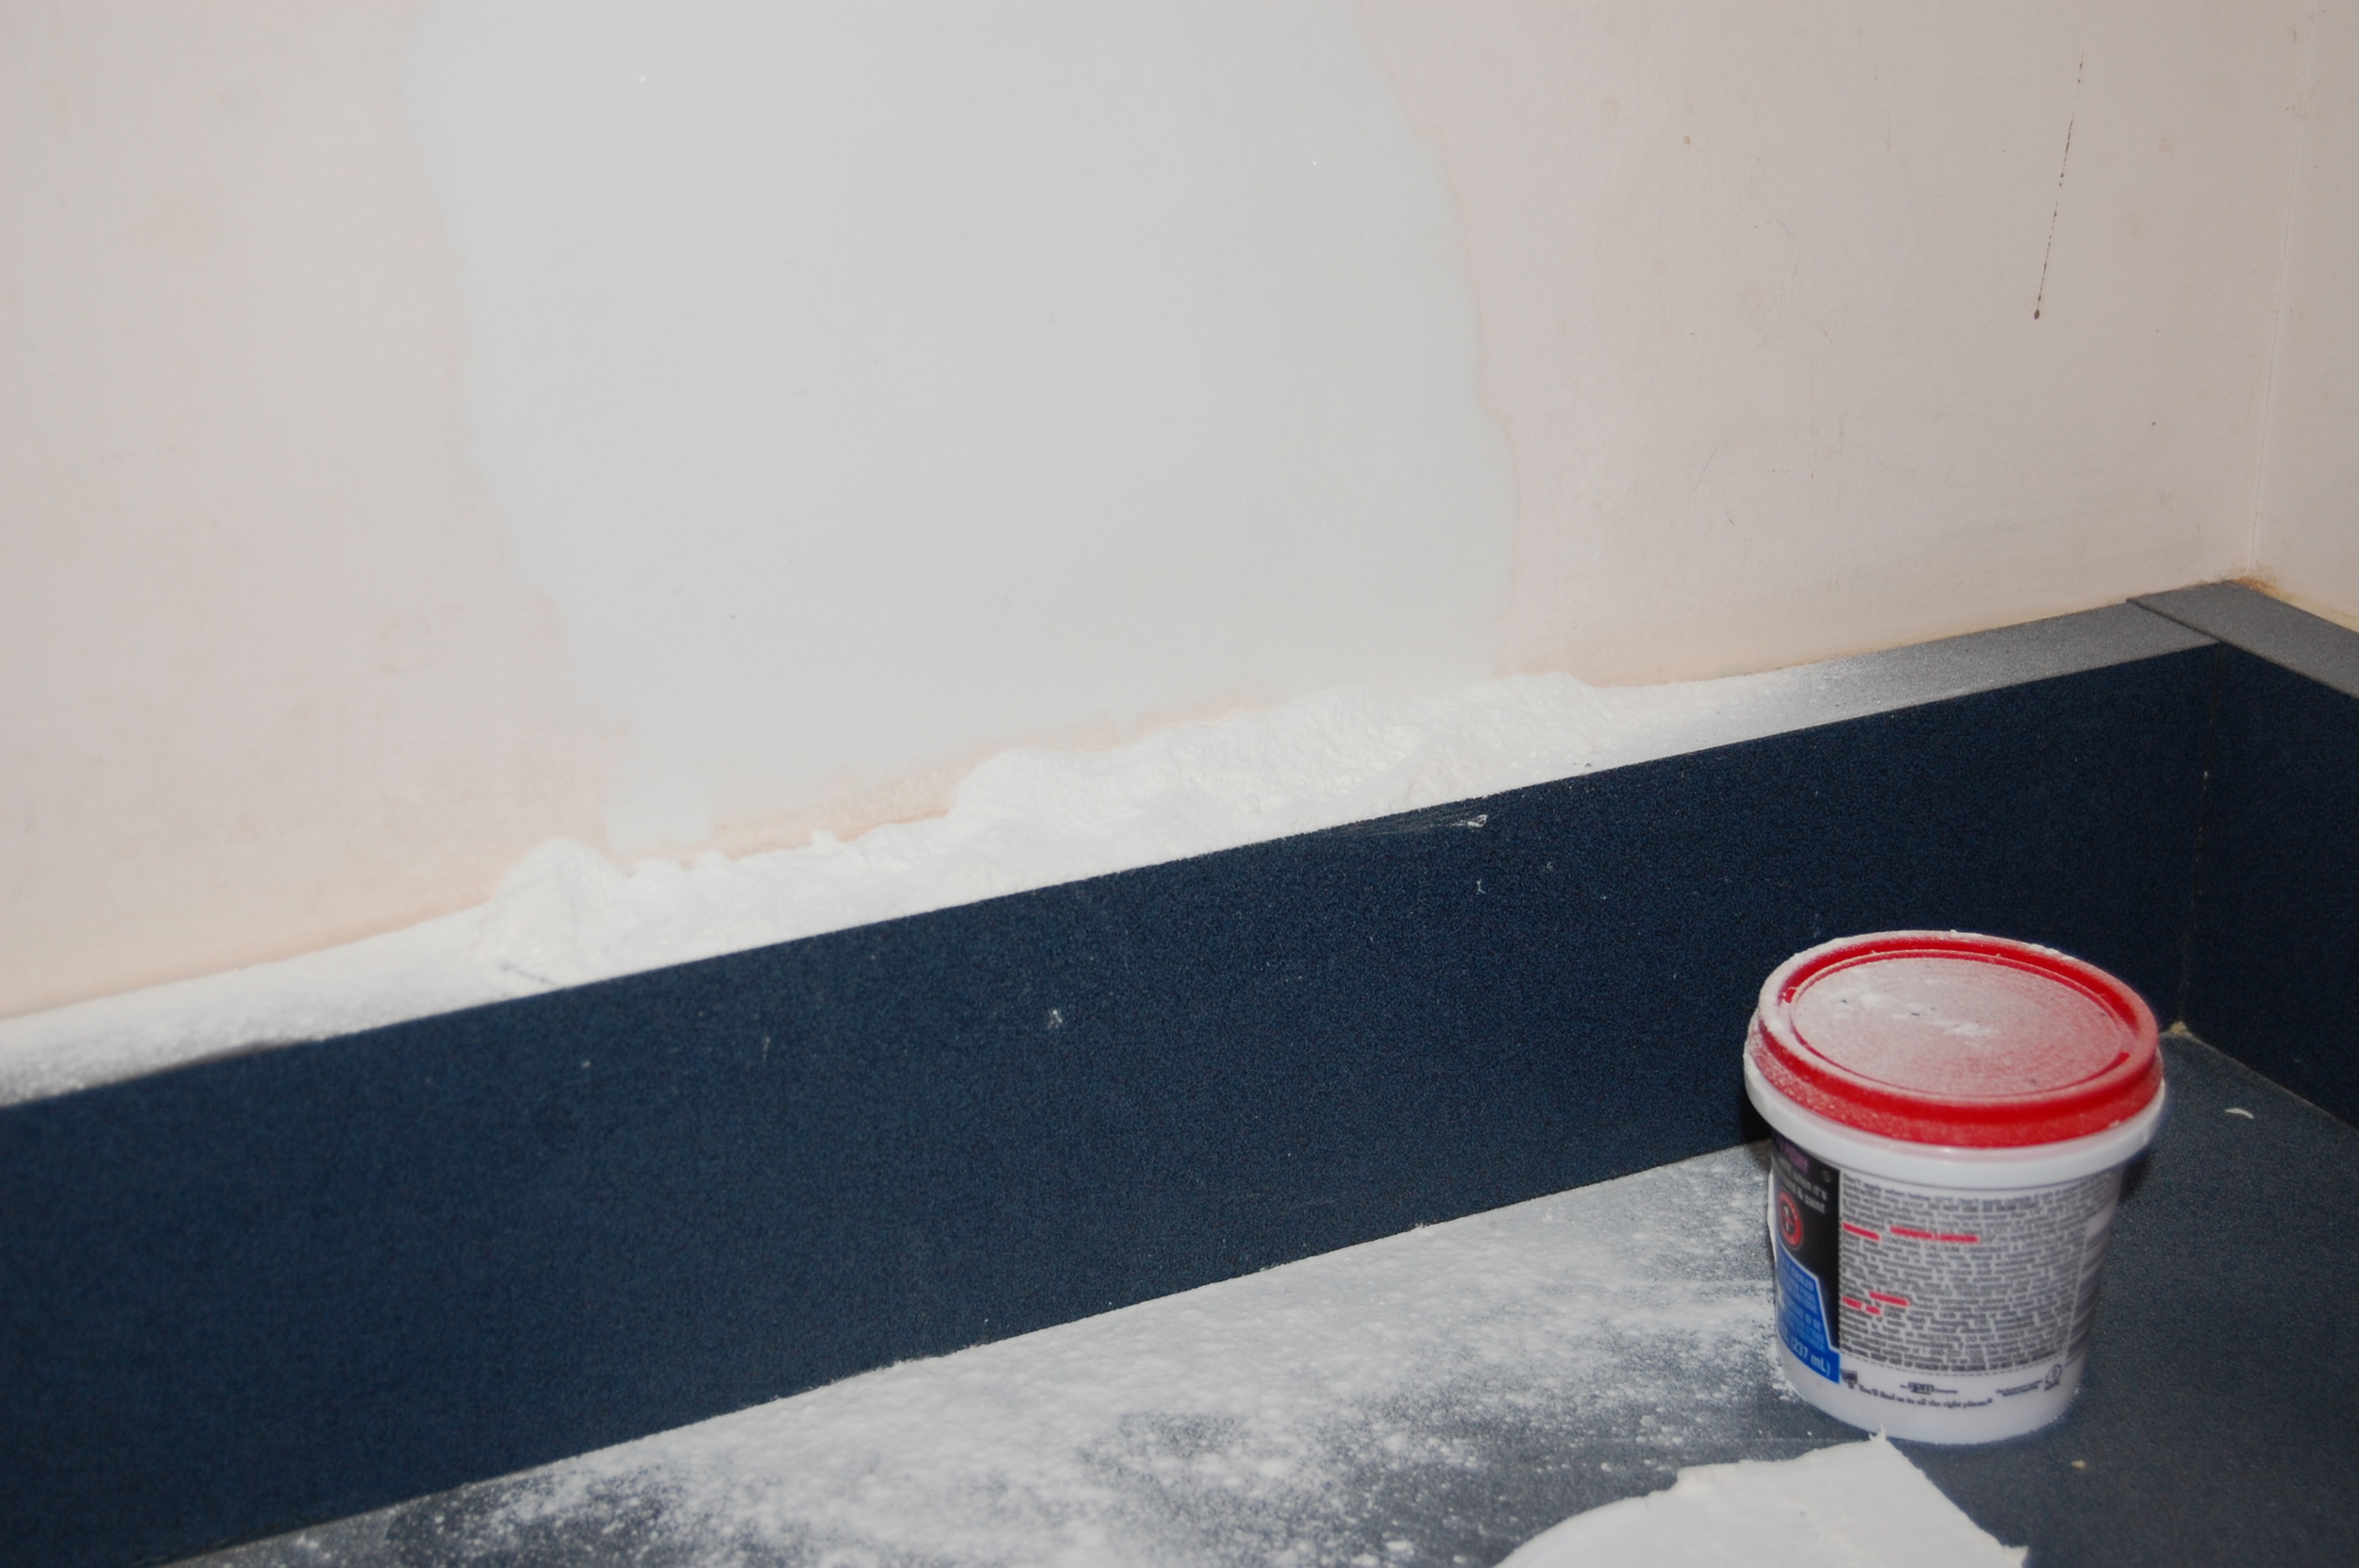
Scoring the caulk on the bottom track.

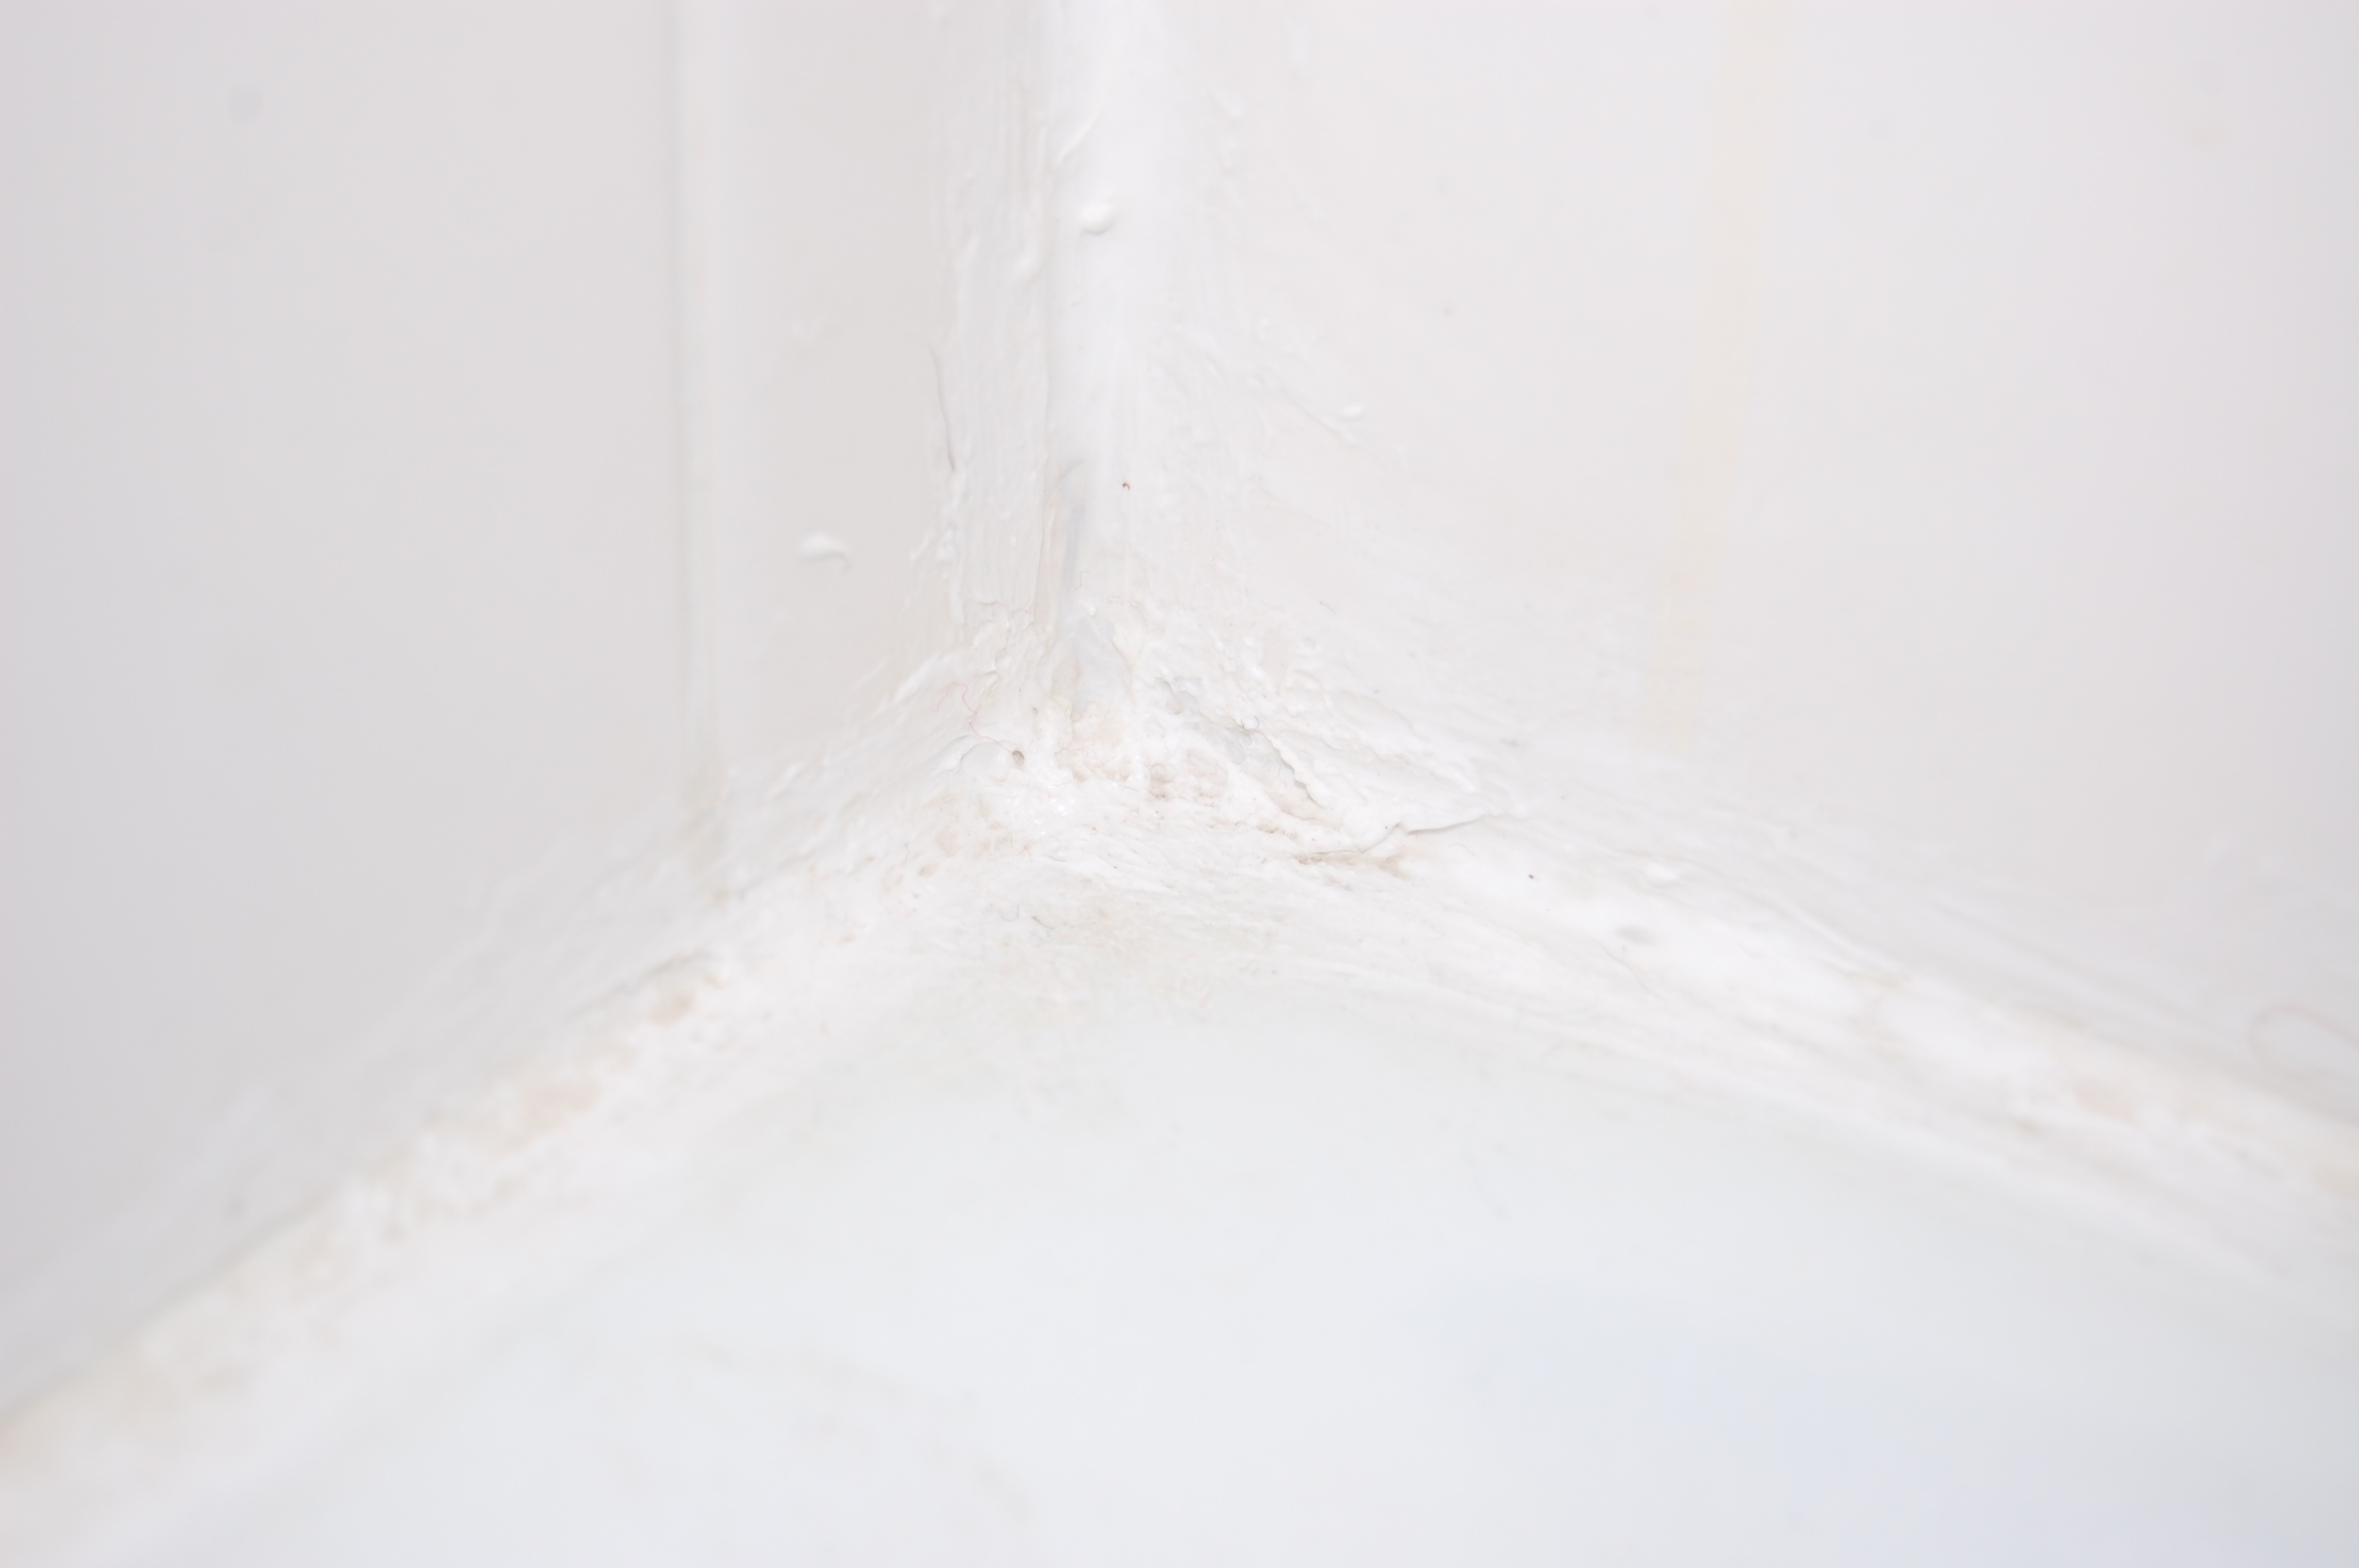
Removing the Bottom Track. Gross.
The bottom track was held on by caulk and an adhesive strip (under the track). We scored the caulk on the side of the track to loosen it, then simply pulled it free from the adhesive strip. Underneath was another confirmation of just how gross framed sliding shower doors really are.

Removal of shower doors complete. Clean up from removal to come.
Even with all of caulk and dirt and god knows what else left behind after removing the shower doors I was amazed by how much better the bathroom already looked.
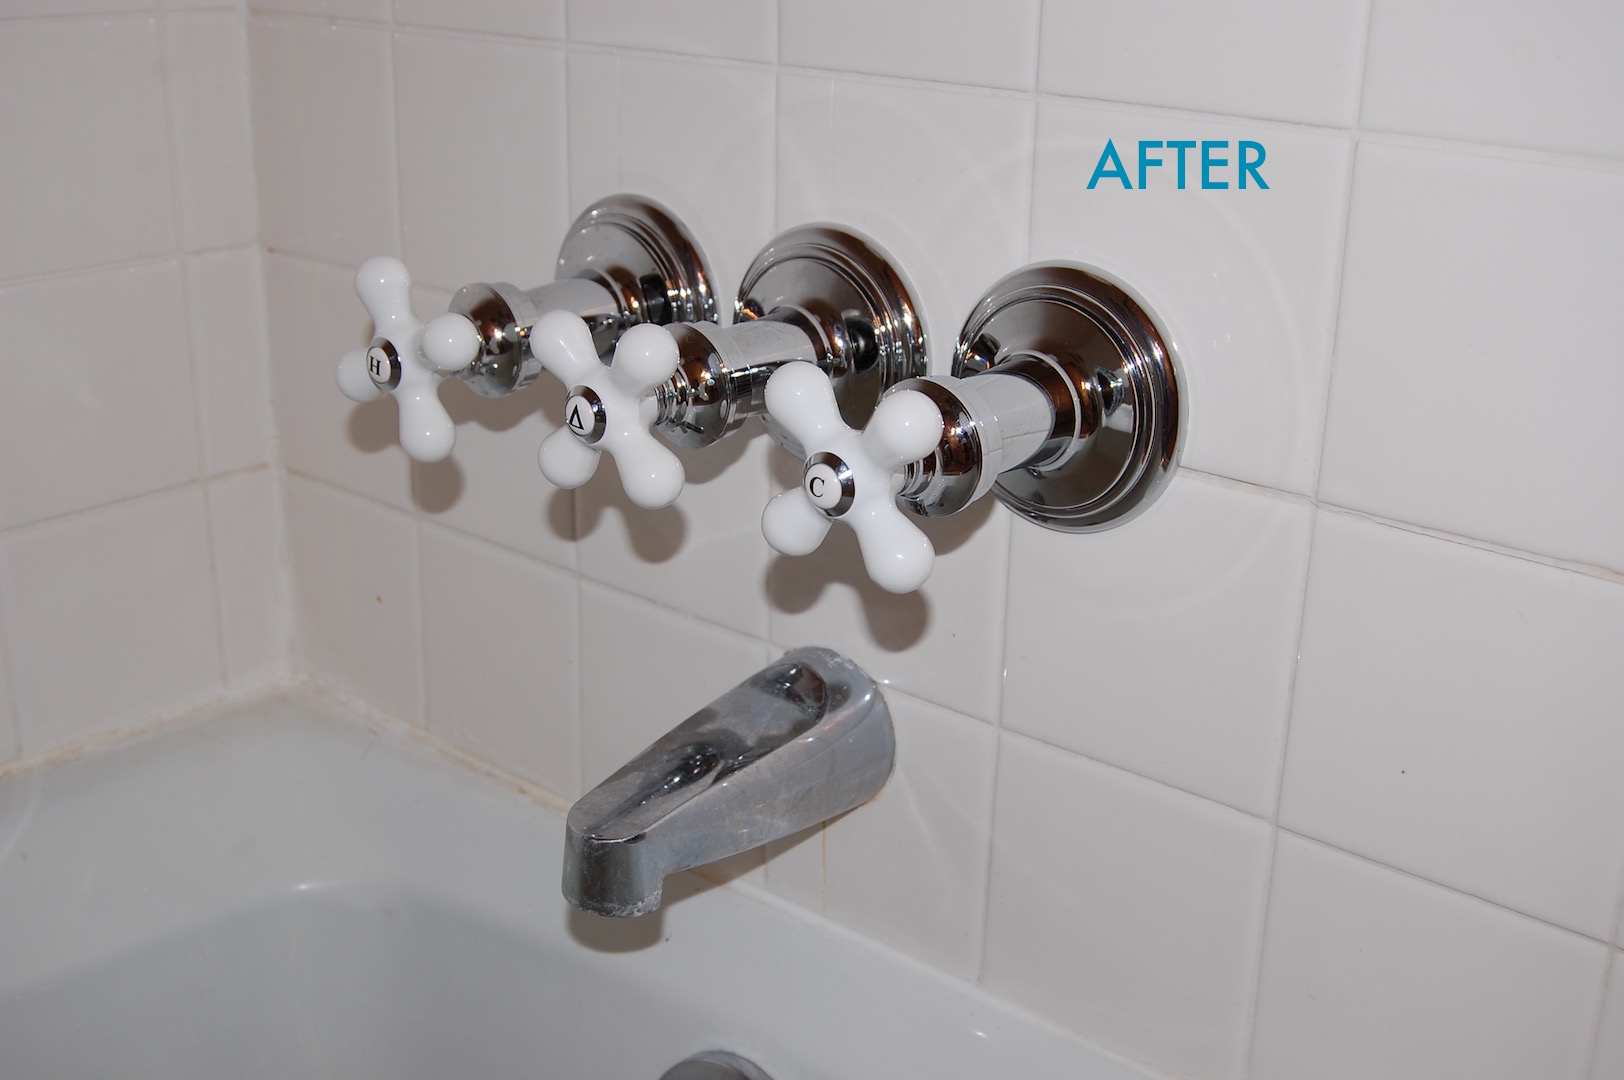
Total Cost of the Mini Bathroom Remodel Thus Far: Still $58.96
- Faucet Kit: $44.99
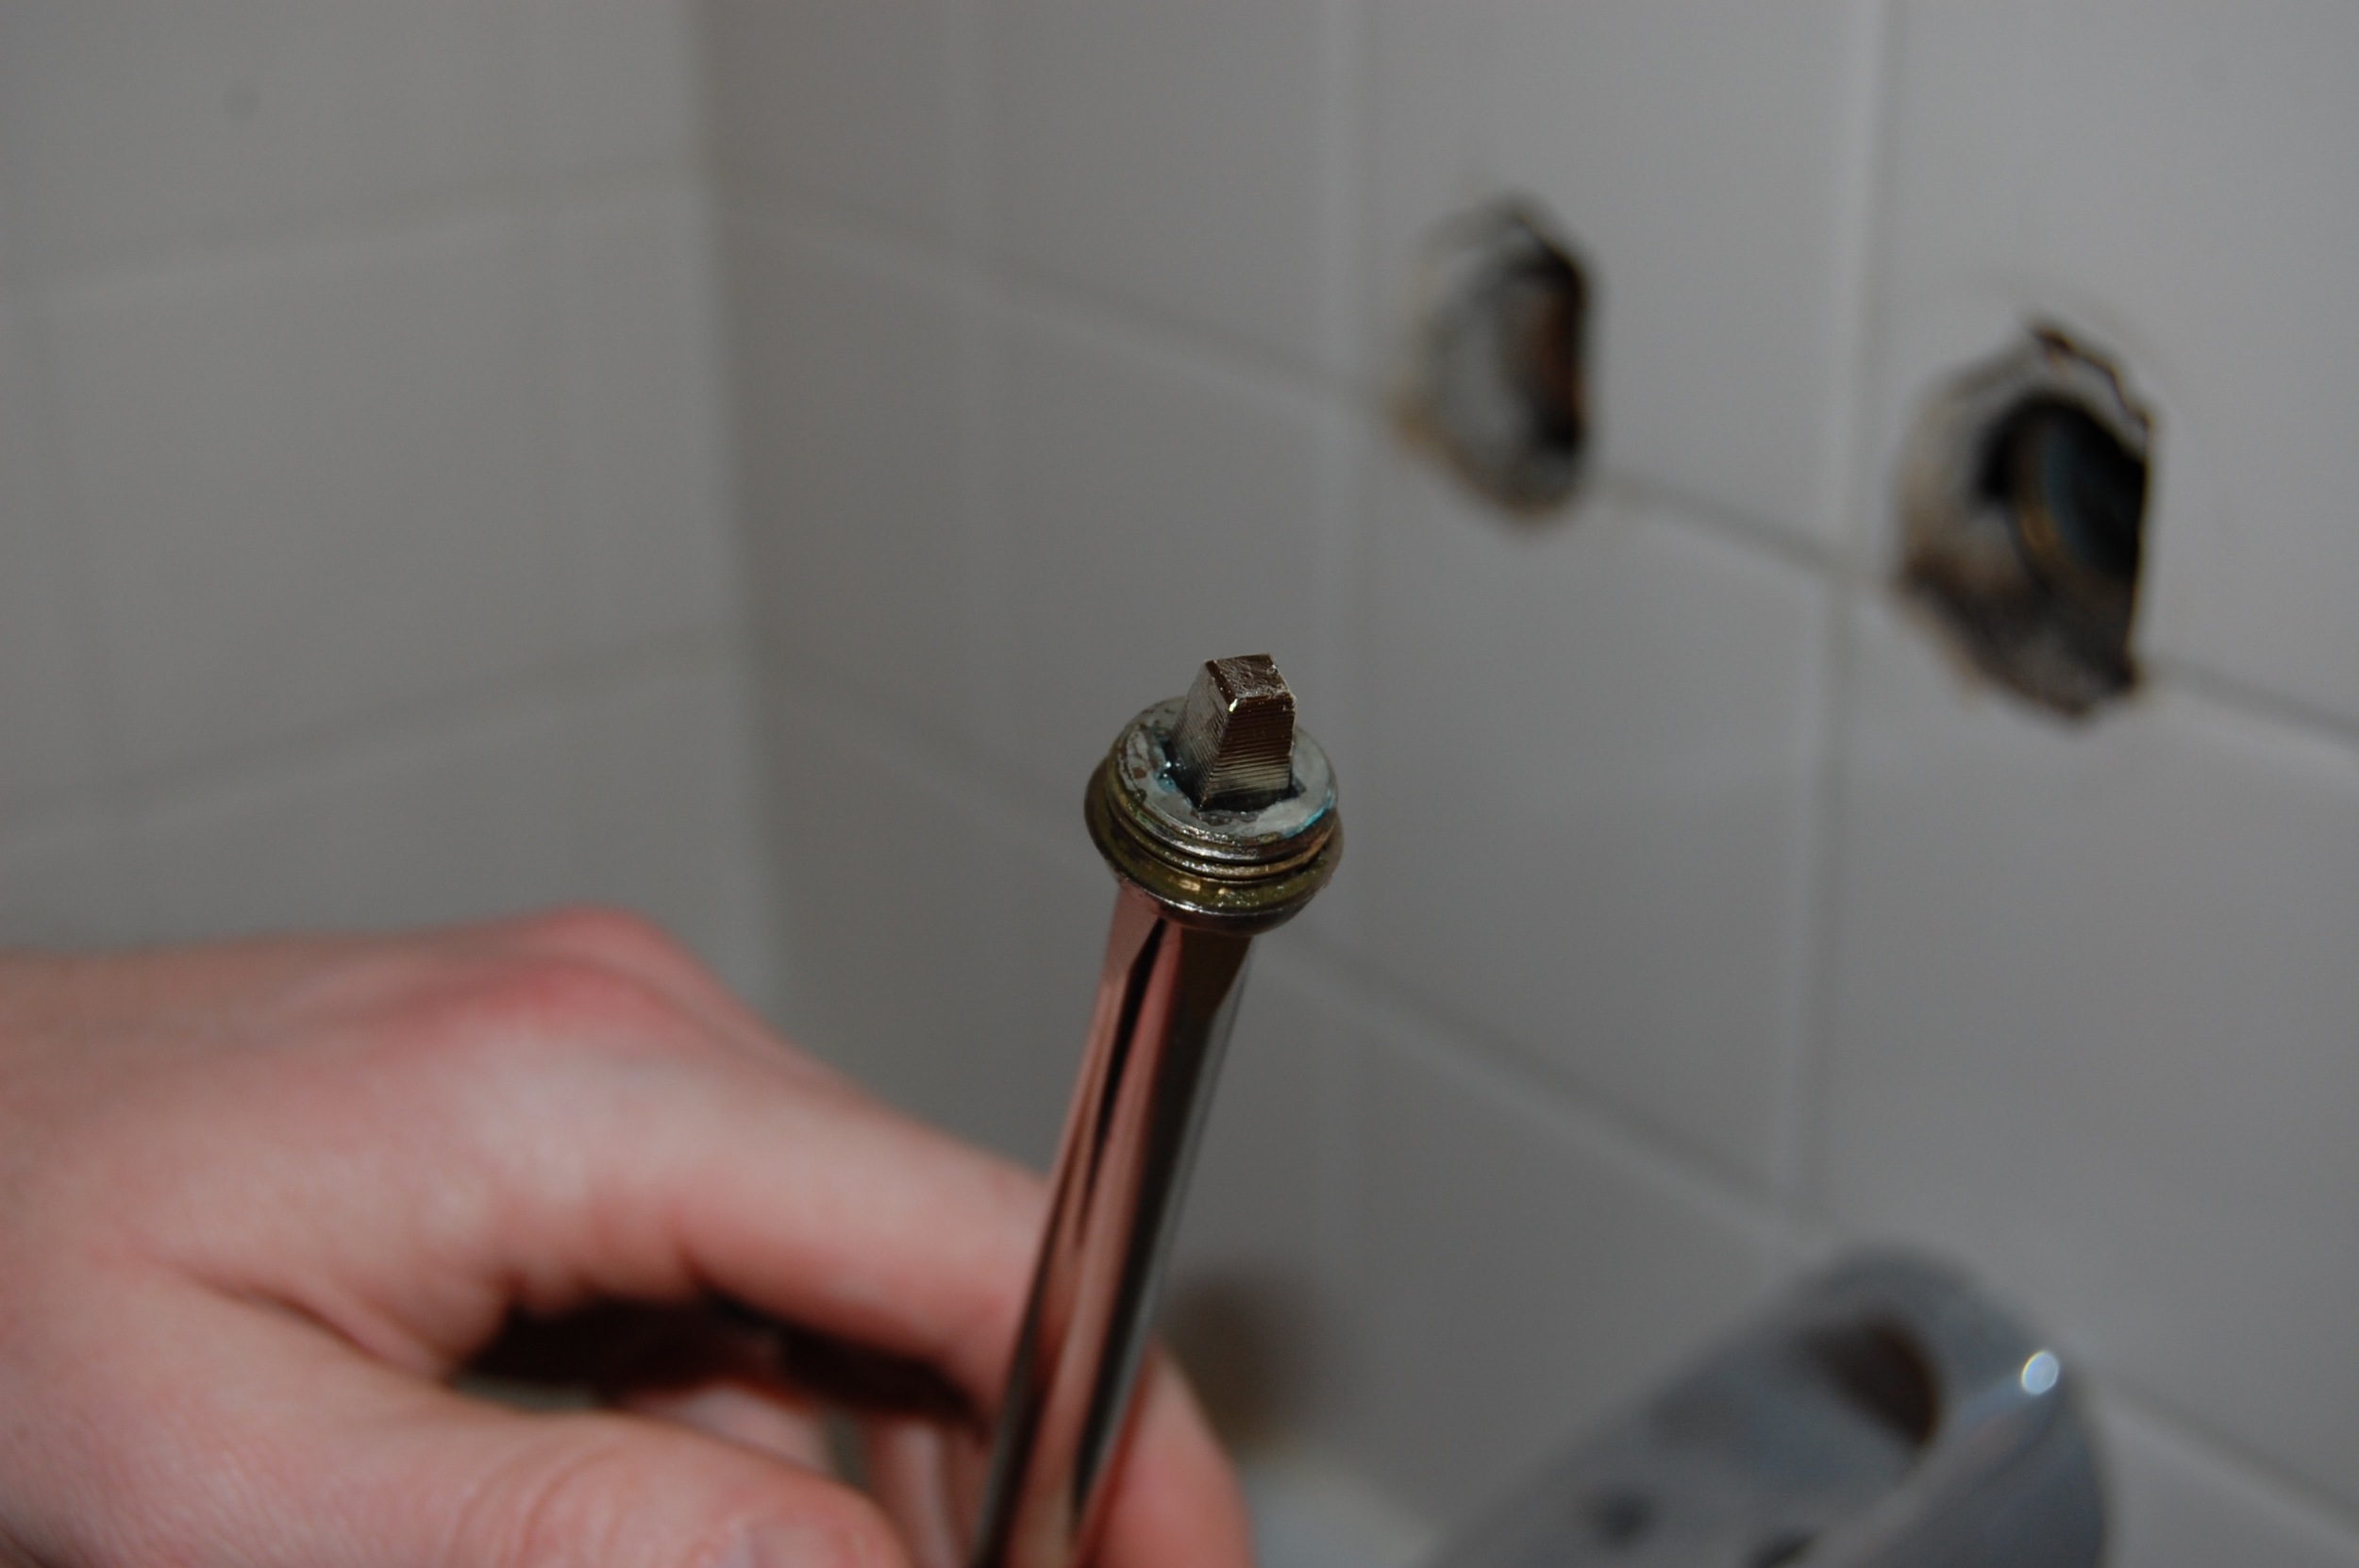
- Stem Tool: $5
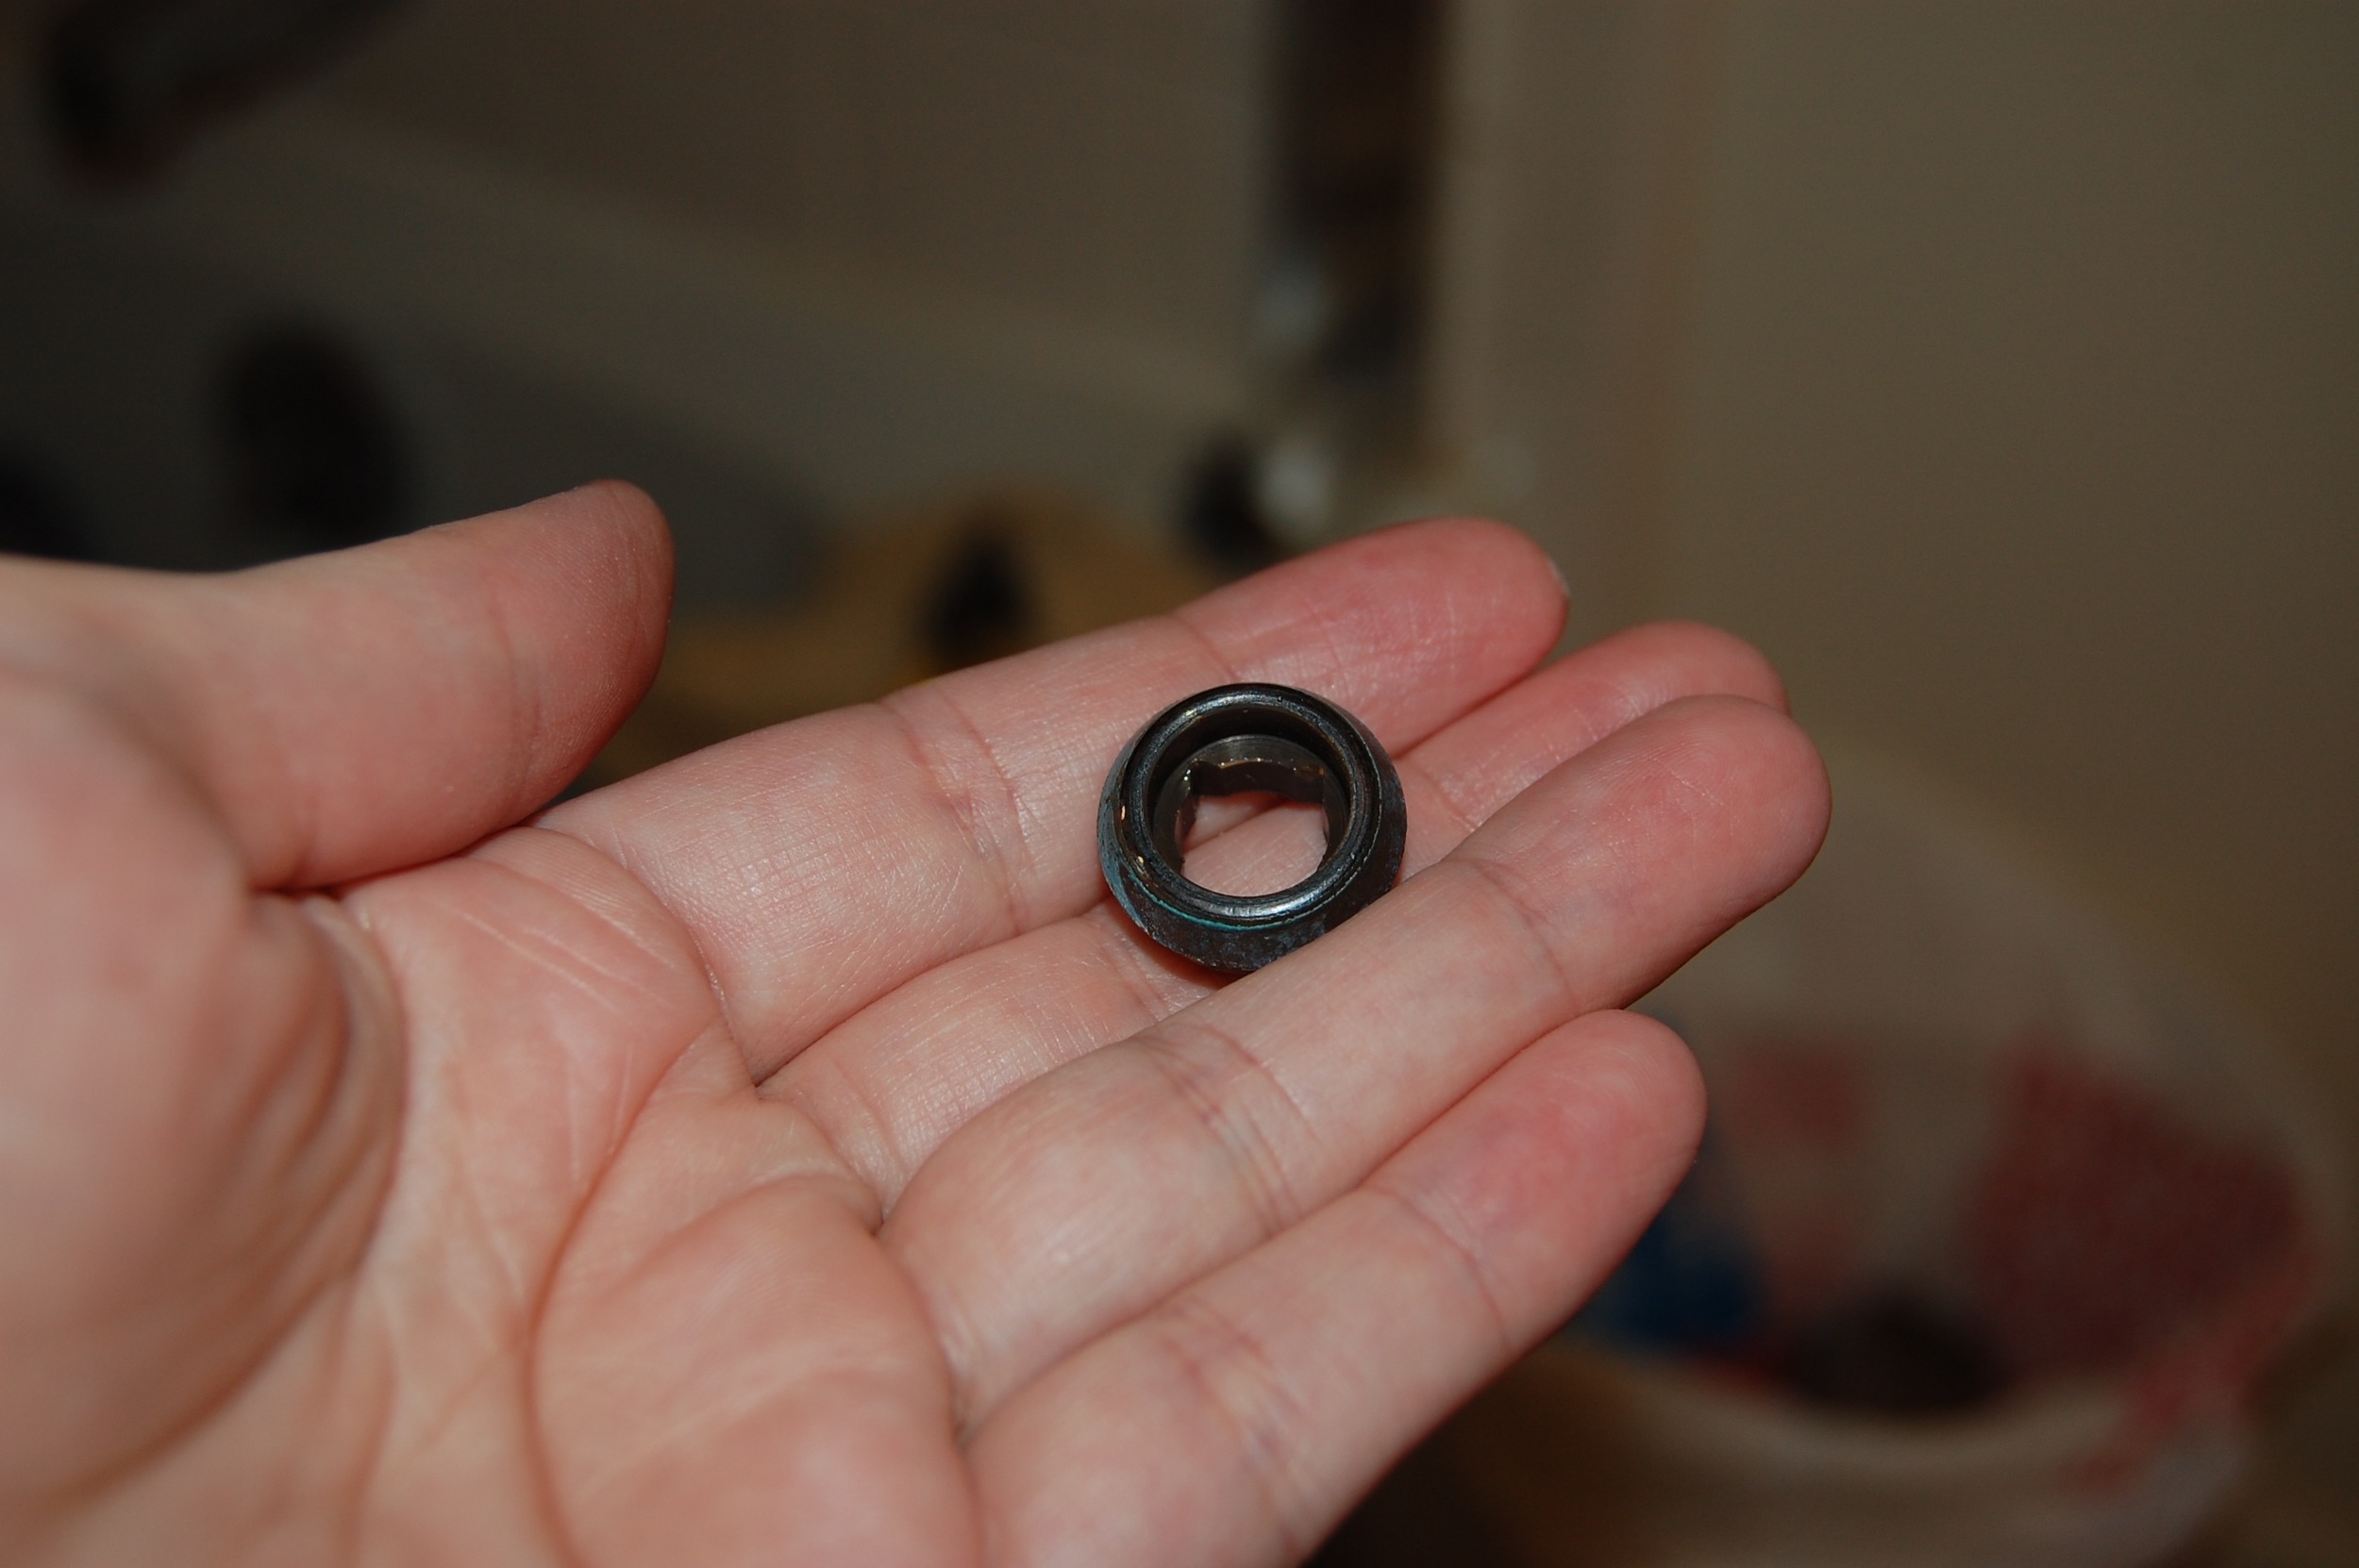
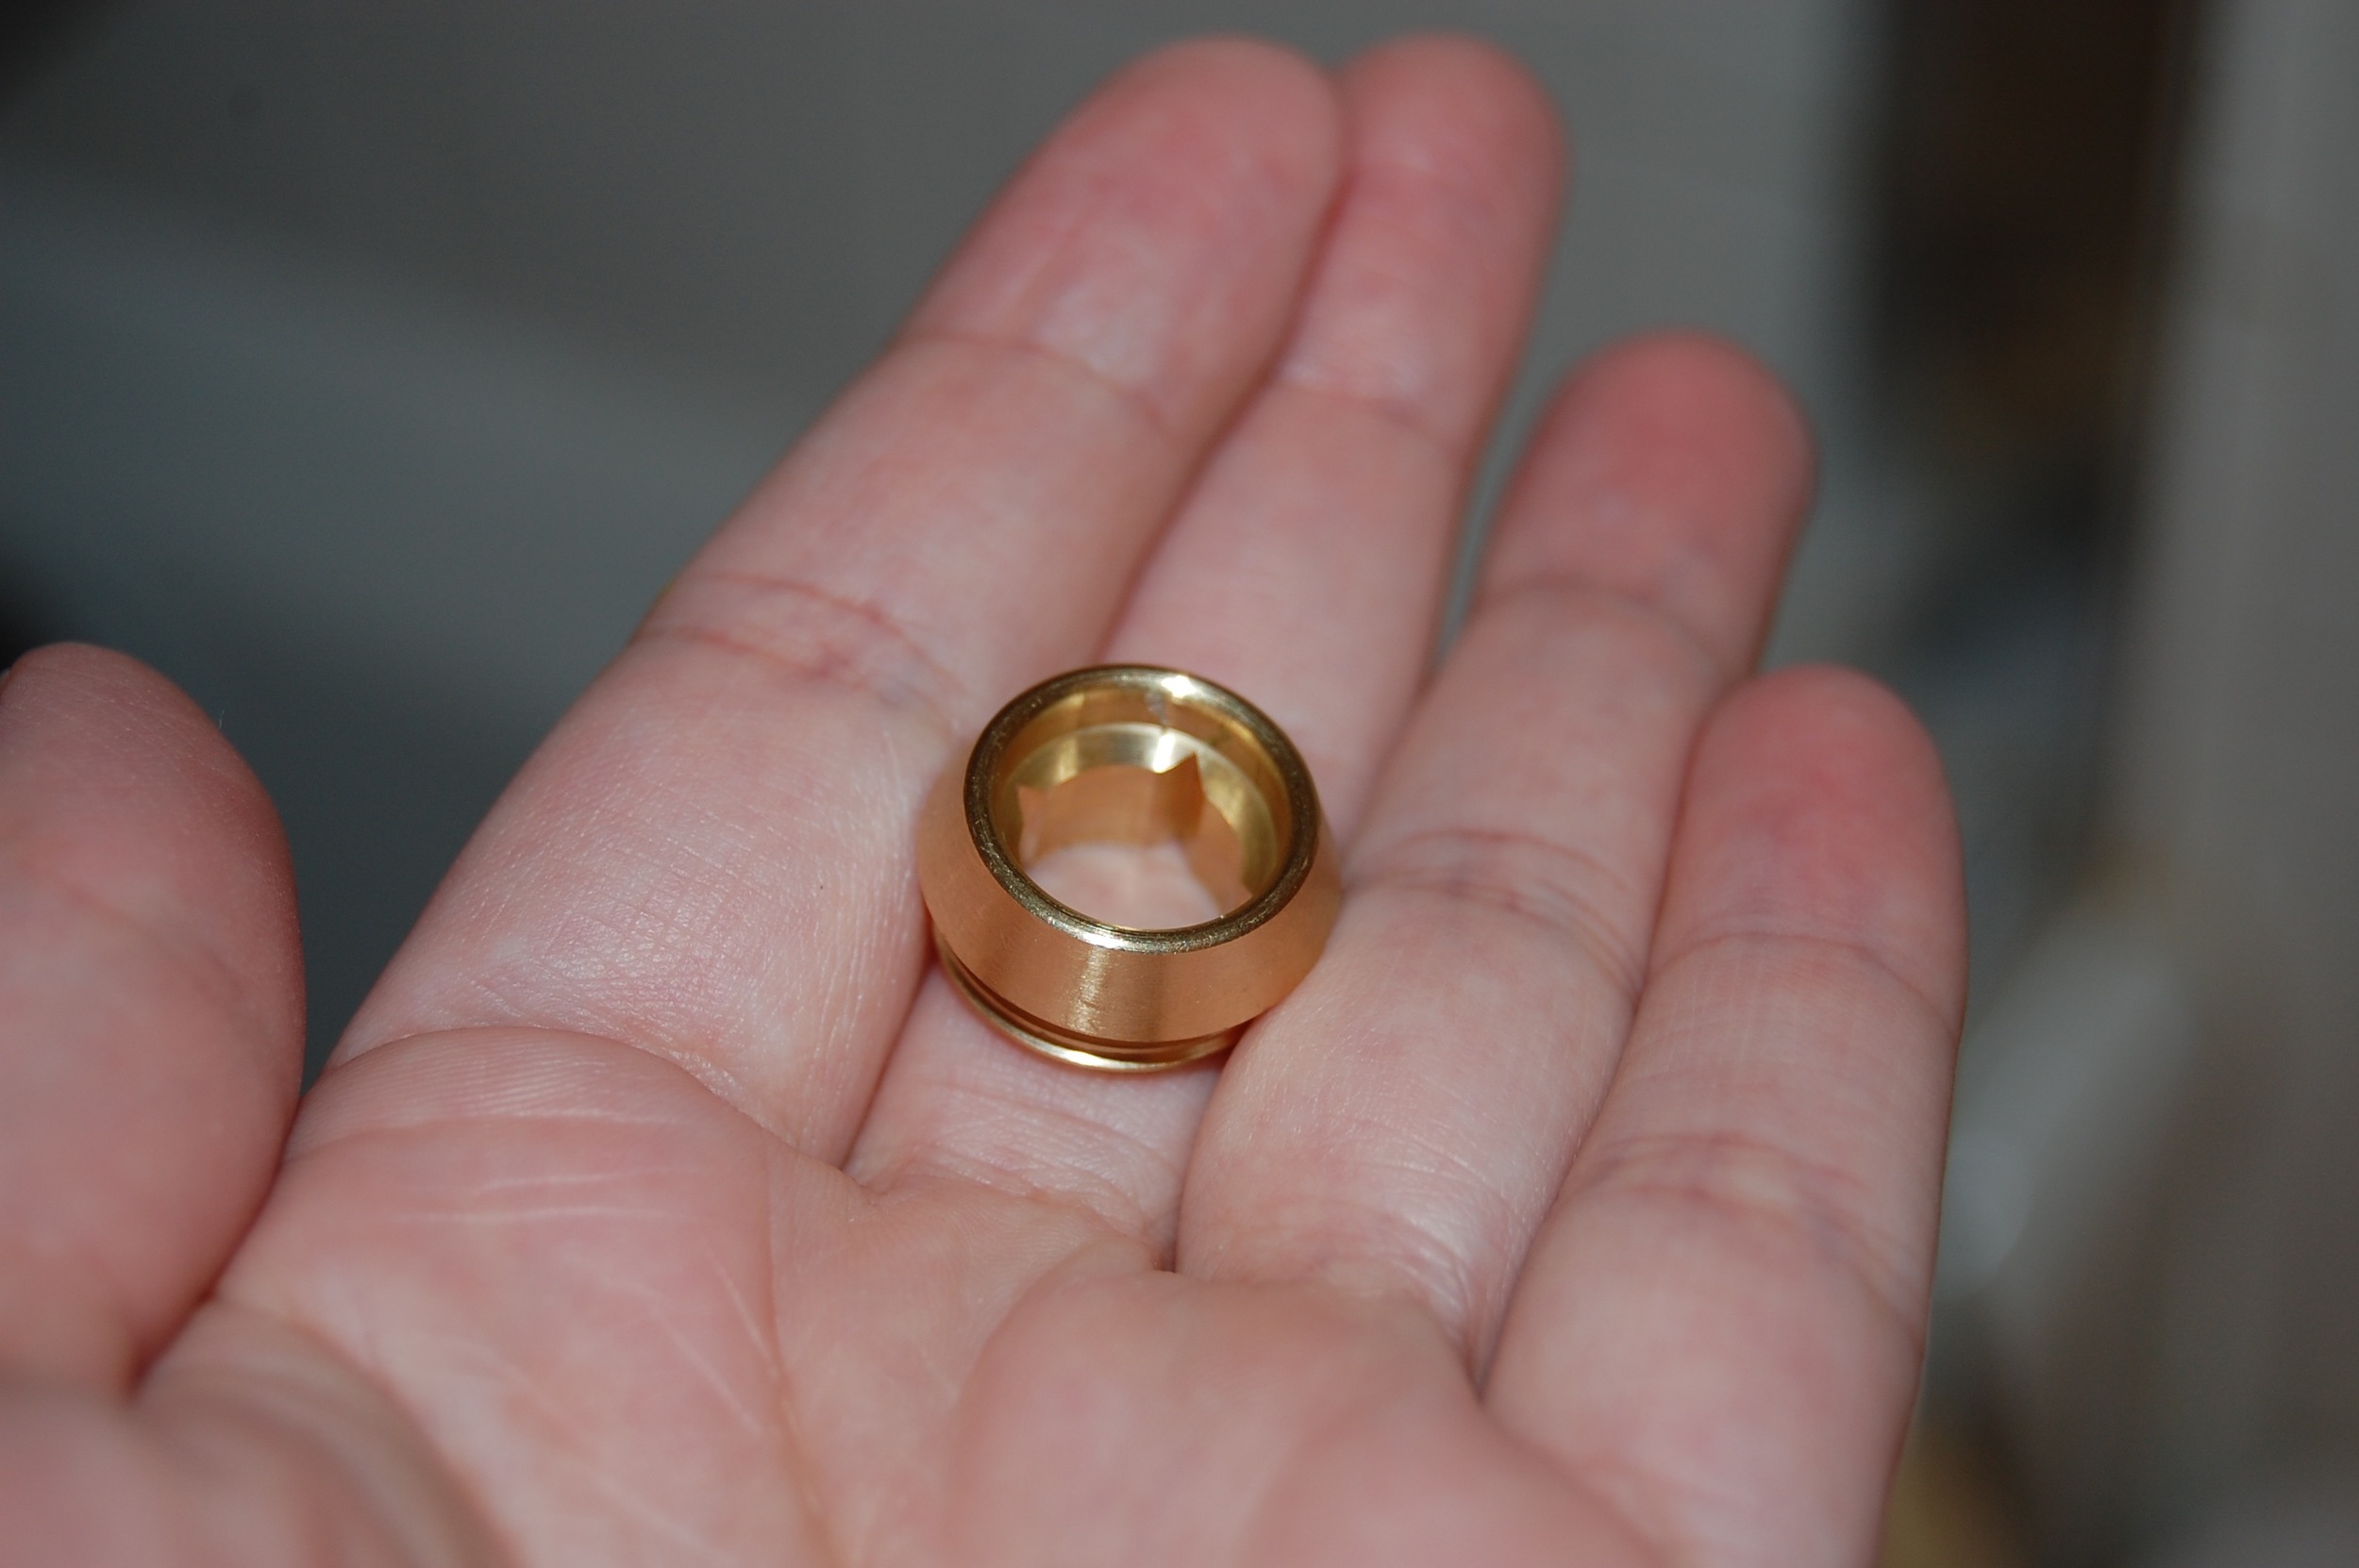
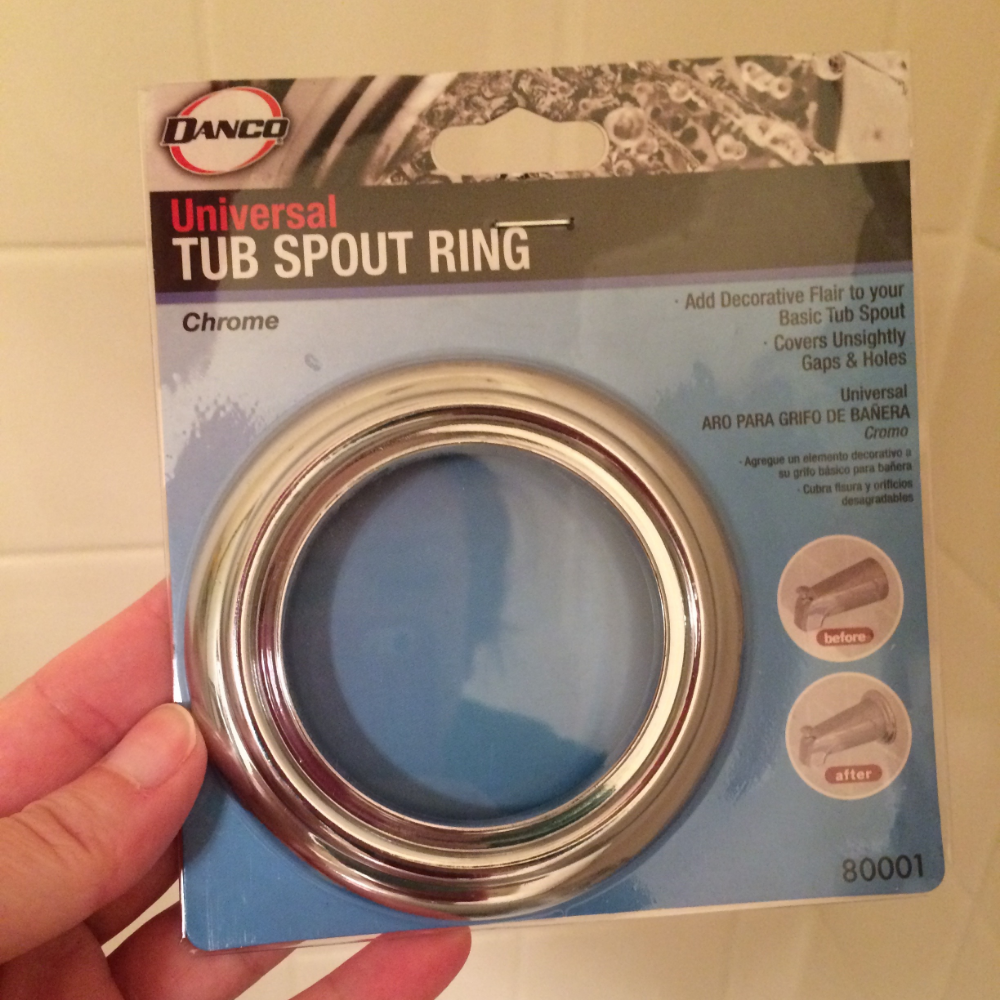
- Tub Spout Rings: 3 at $2.99
Next time - Removing the Caulk Left Behind