Dry Wall Hole Repair
/One of the many things I did this summer was a bit of home improvement, starting with my bathroom. We decided to change out many of the towel rails, hooks, etc, leaving us with holes in the walls that had to be patched. I became very good at patching these holes over the course of the summer, and thought I would share my technique.
The most recent hole to be patched was a rather large one in my kitchen. I decided to remove an ill-fitting and unused phone jack, and patch the hole it left behind.


After removing the phone jack and box, and making sure that the left over wire was safe to leave in the wall, I sanded down the edges of the left over hole.


Next I applied the patch. Since this hole was so large I could not simply fill it in with spackle. While there are many ways to fill a hole this large, I decided to use a commercially available patch. This one is a 4” by 4” patch by Workforce. It was available in the paint section of my local home depot. The patch was just big enough to cover the hole. I believe that there were slightly bigger patches at my local home depot, but honestly, I think this is about as big a hole that should be patched with this technique.


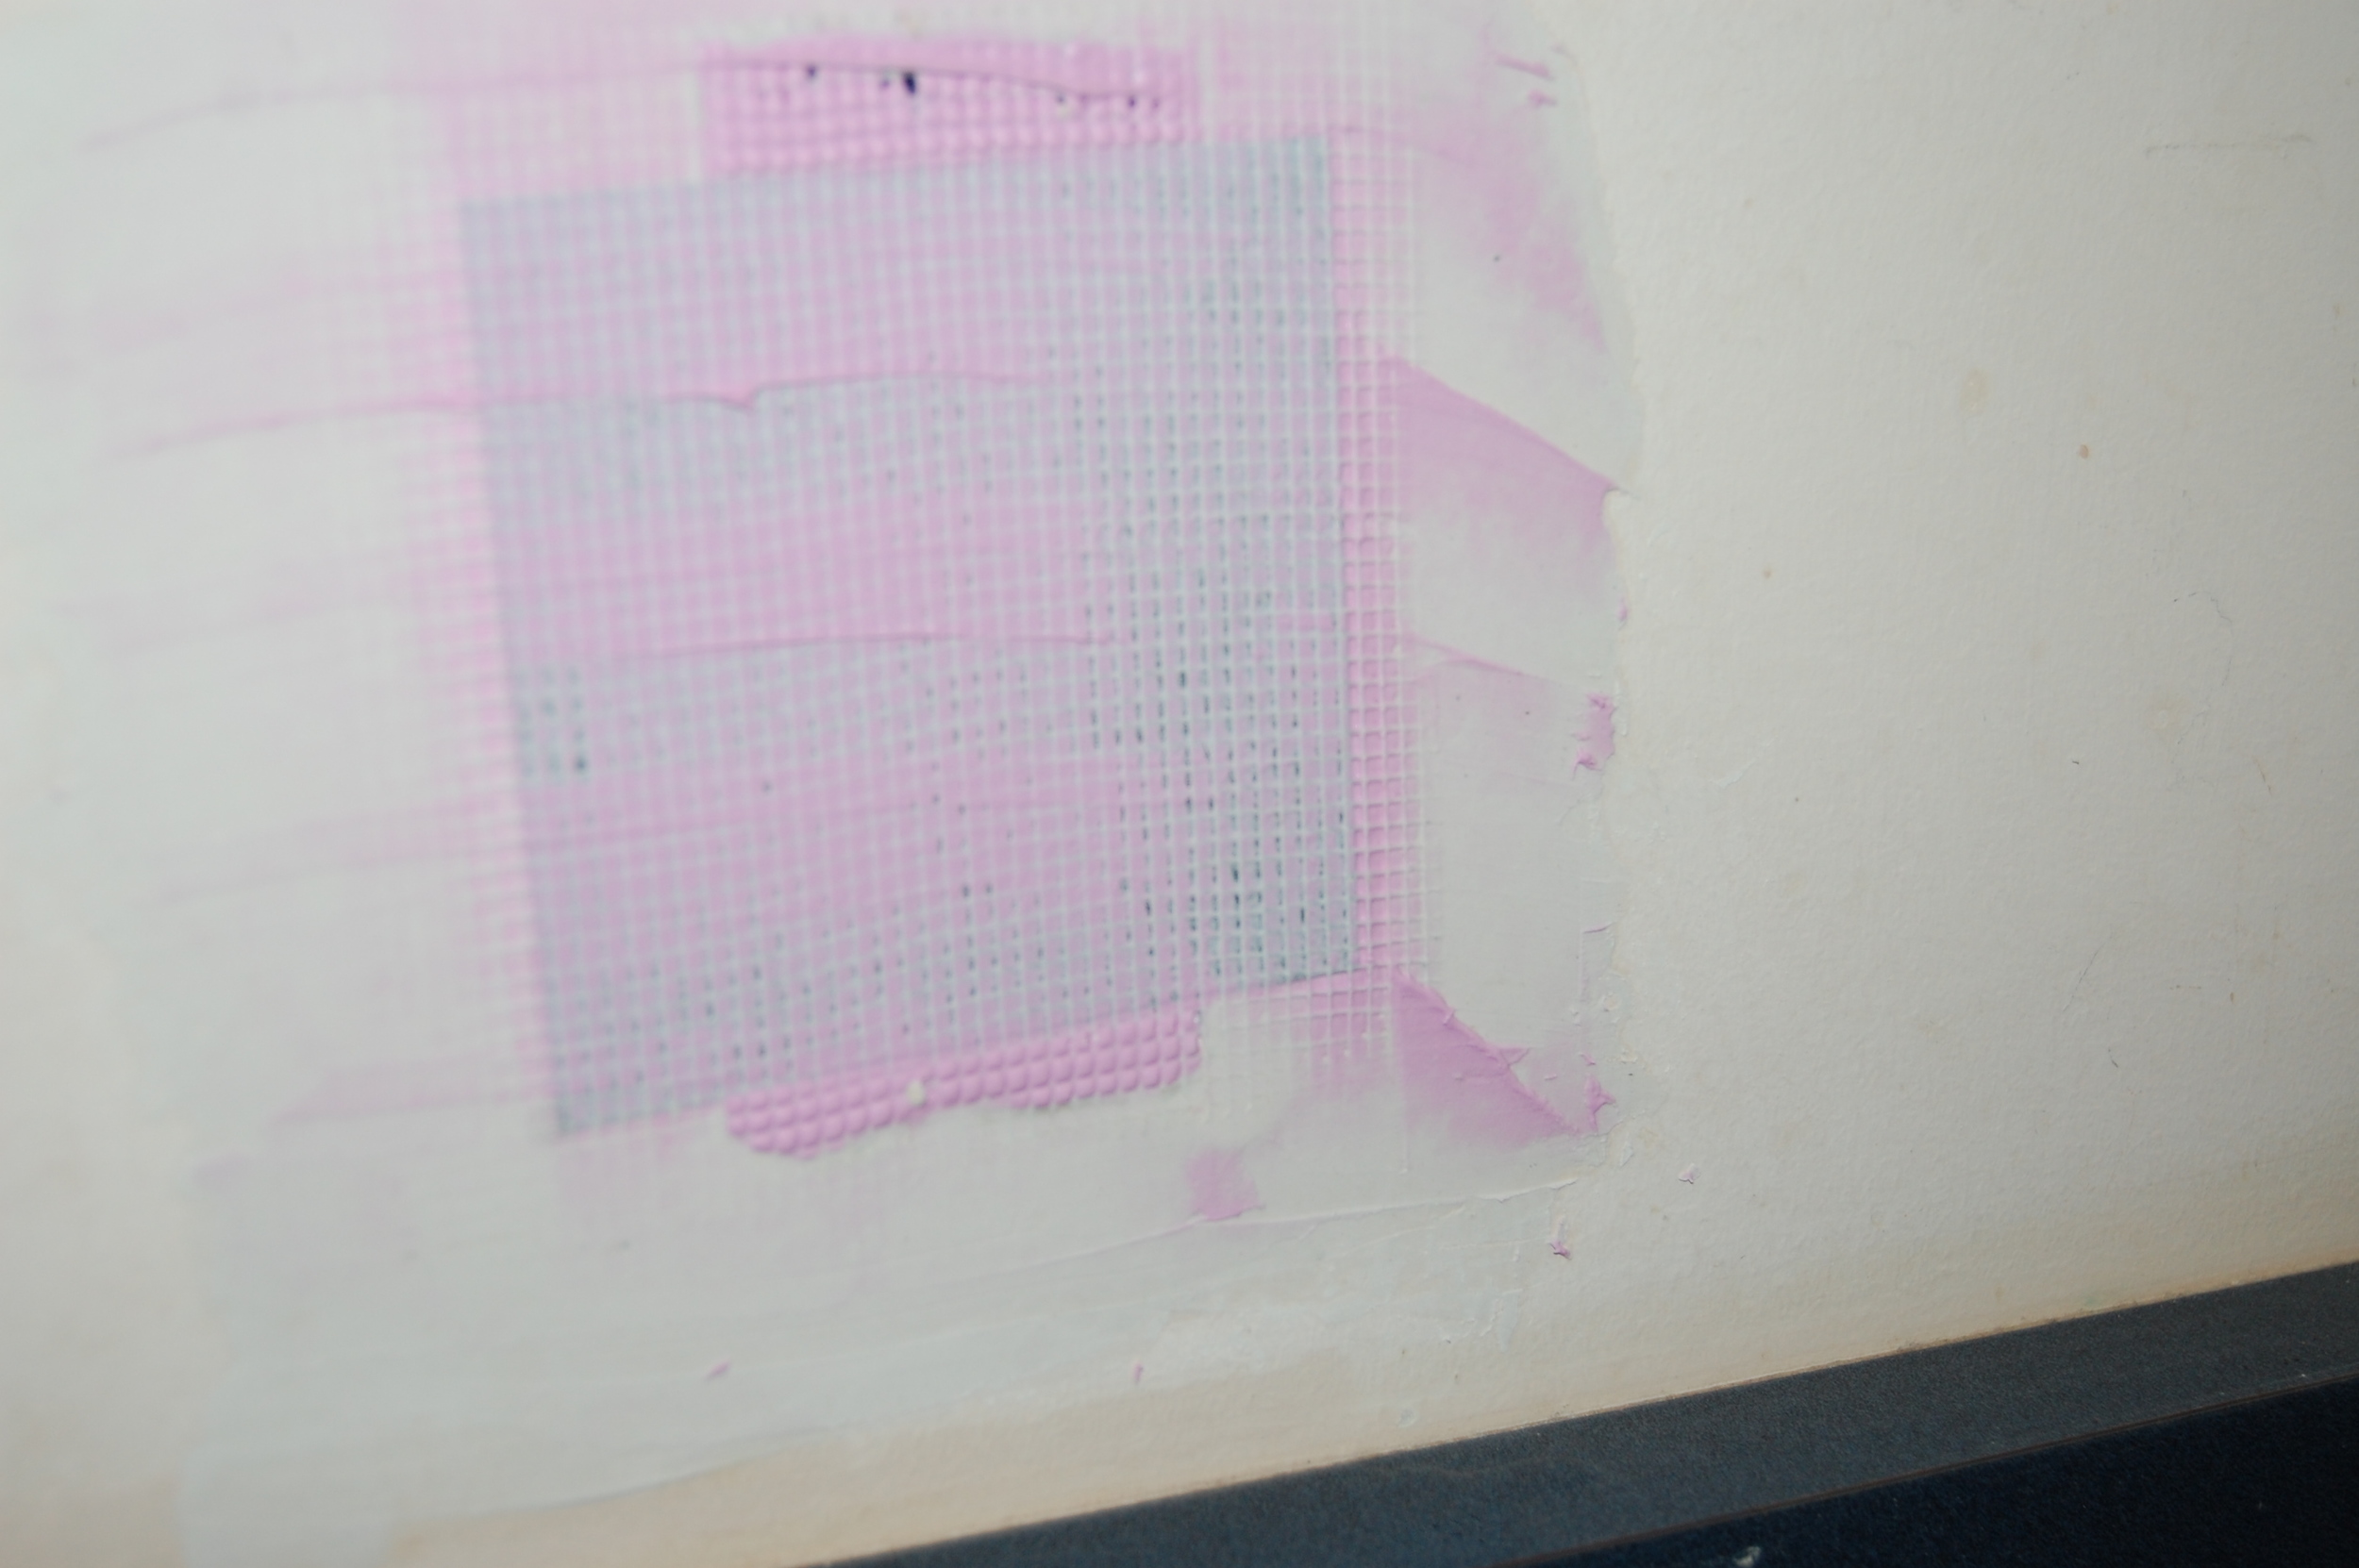
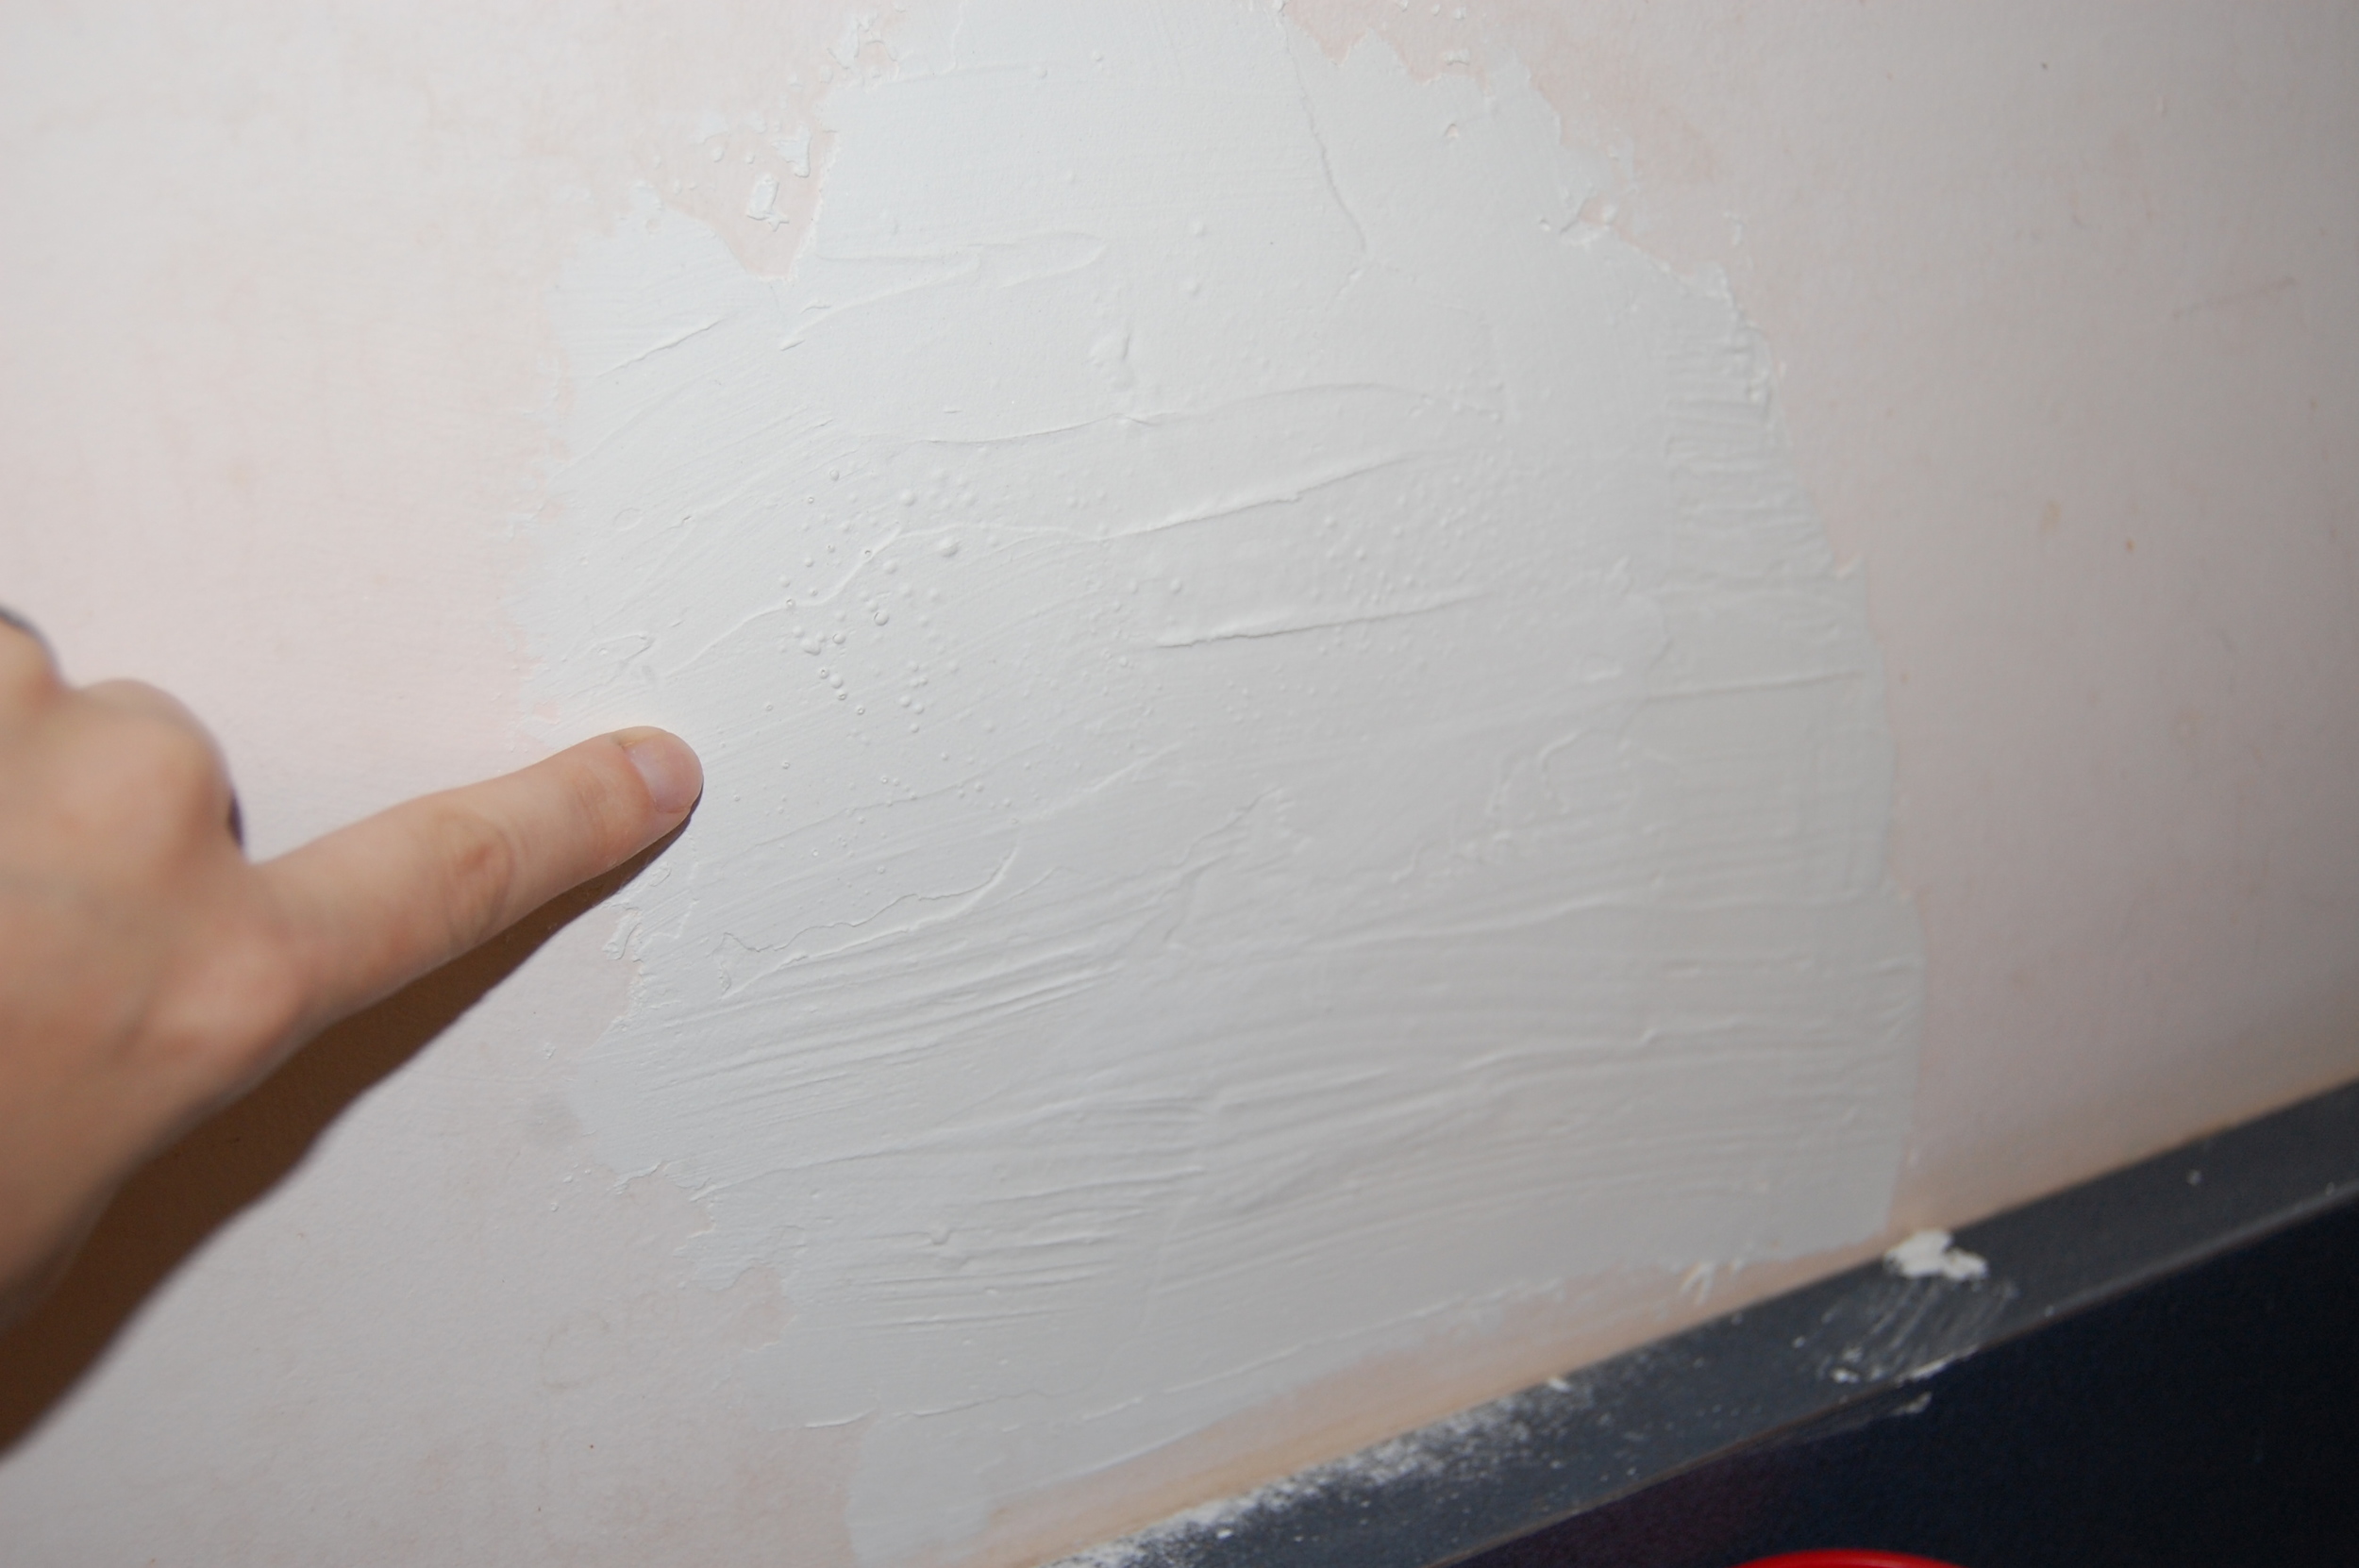
Then I spackled over the patch and a small margin surrounding the patch. I recommend doing several thin coats of spackle, letting the spackle dry between coats, rather than globing a bunch on. The spackle I used was Dry Dex. It starts out pink, and dries white, making it easy to tell when it is safe to apply the next coat.
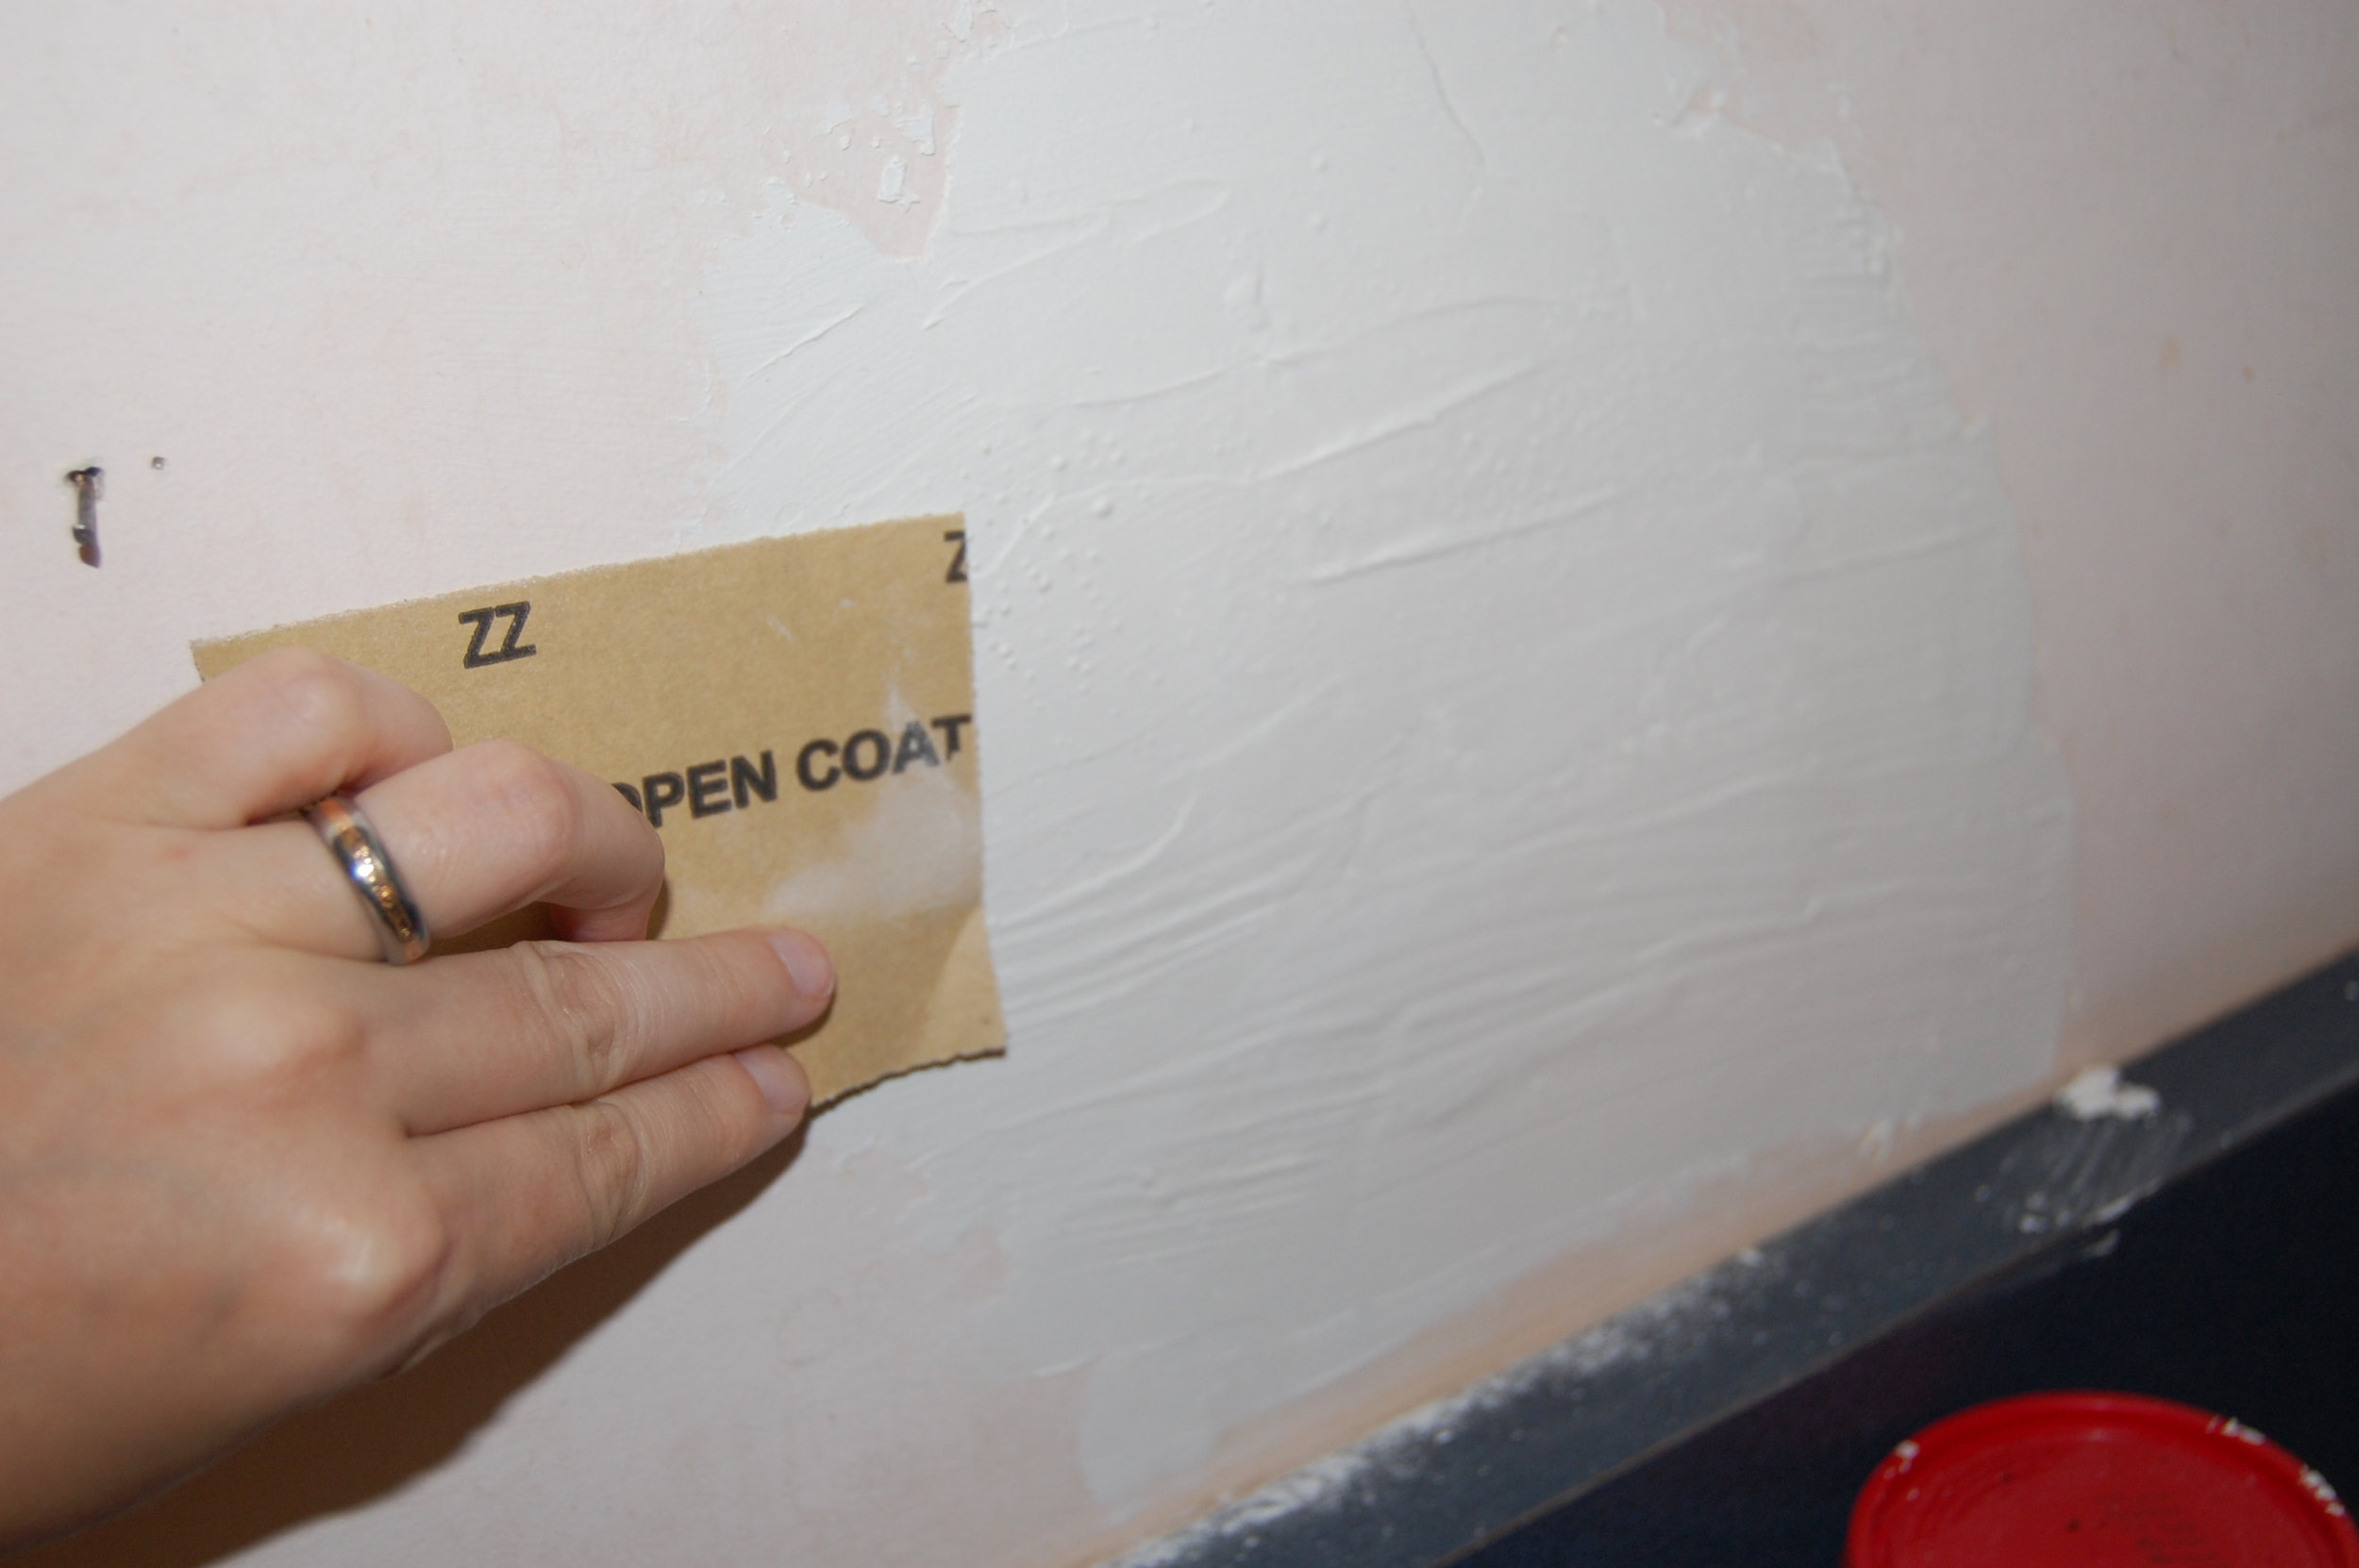
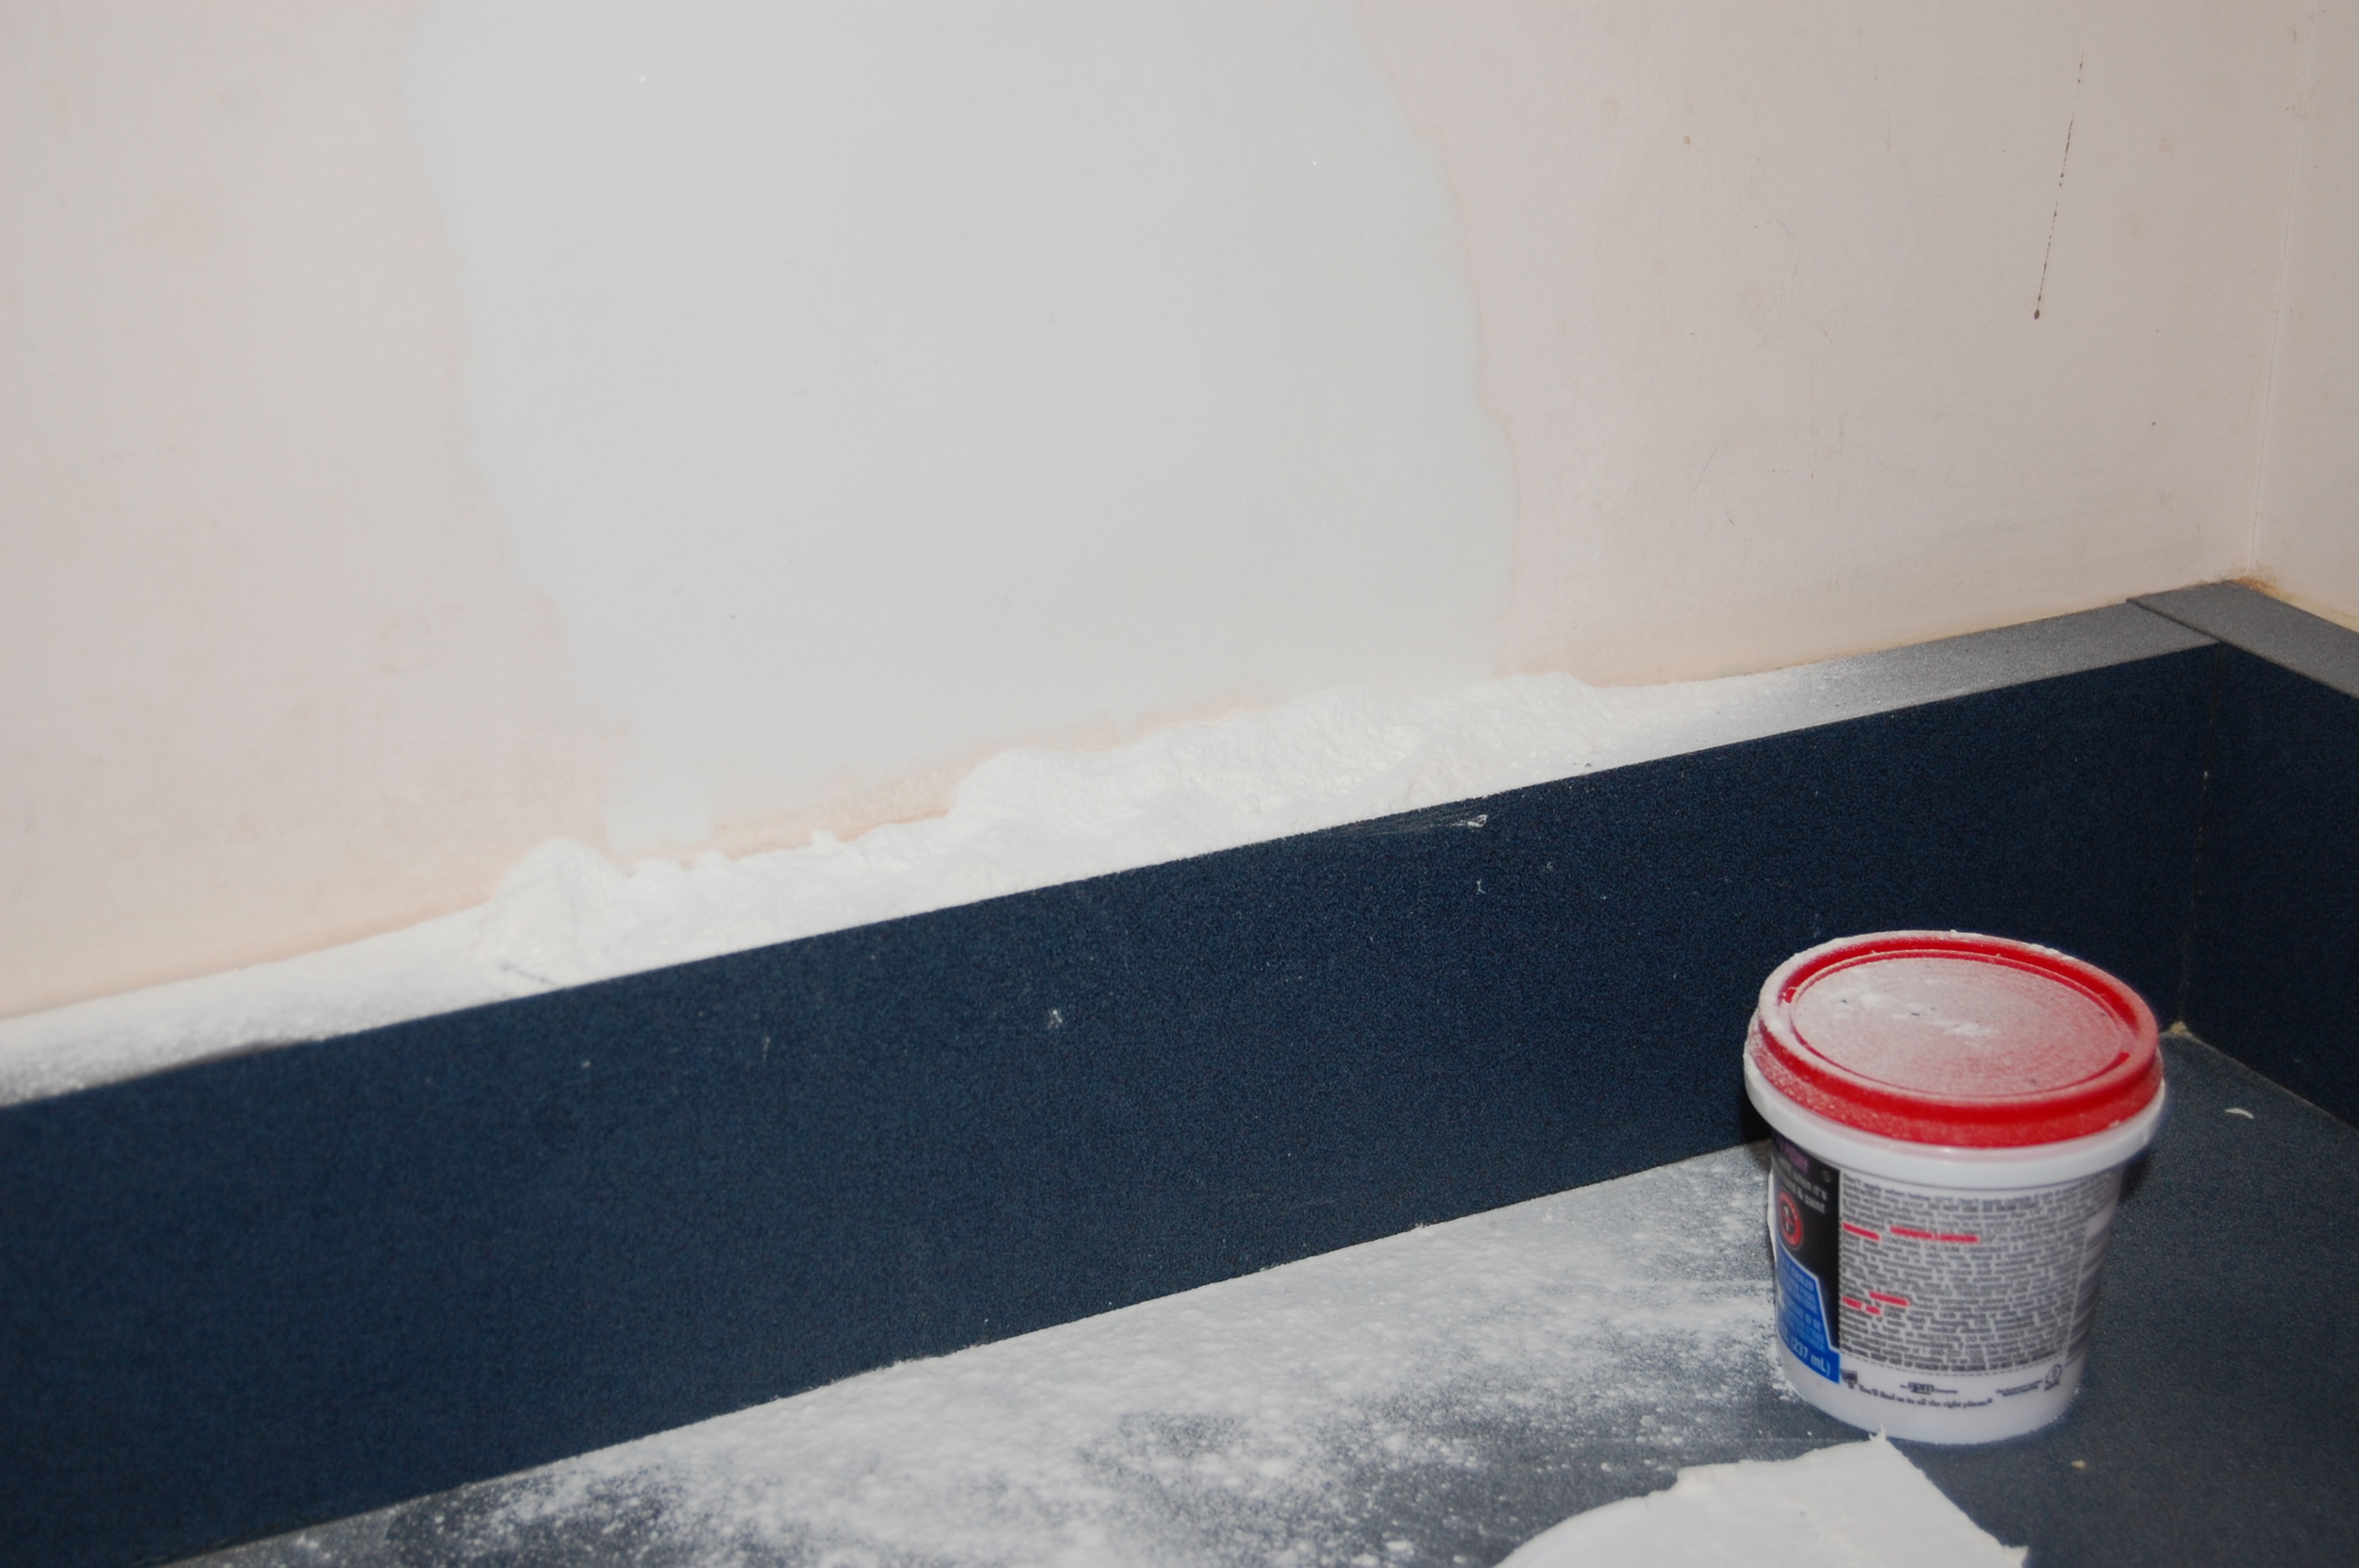
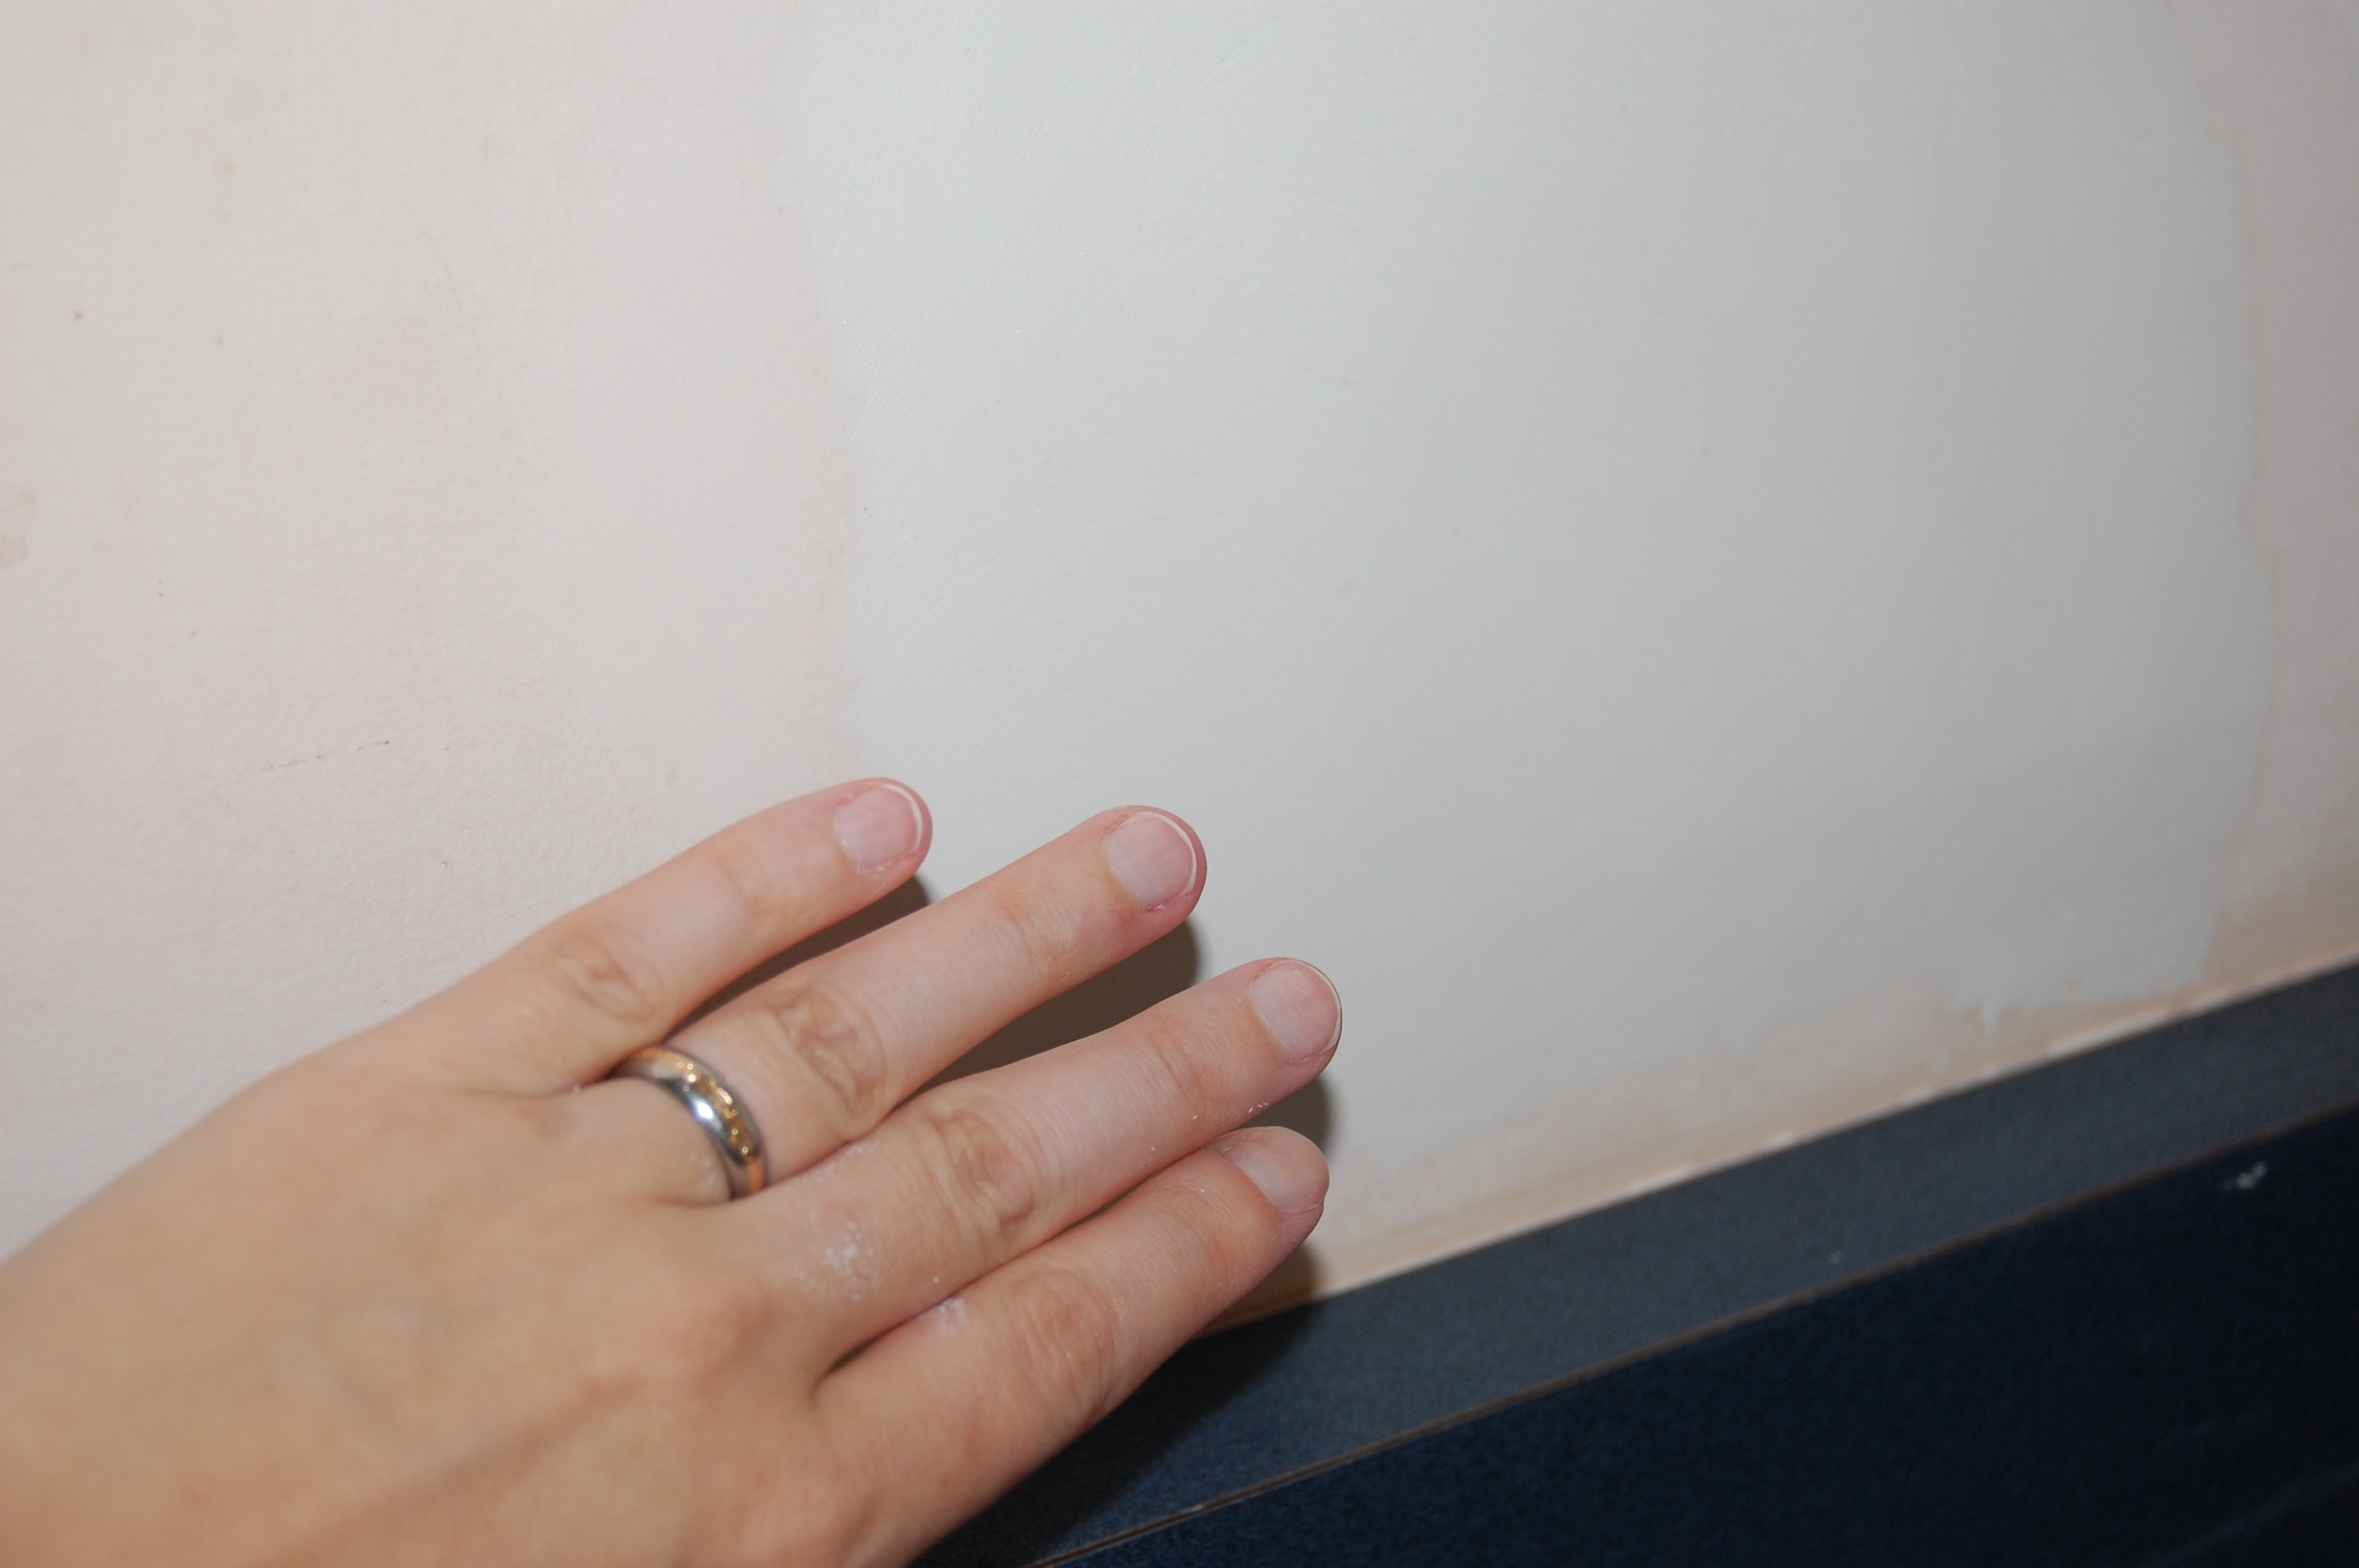
When the patch was no longer visible under the spackle, and the last coat of spackle is completely dry, it was time to sand. I like to sand from the outside edges of the patch toward the center, using a circular motion. When I was finished I had a giant mess, and a smooth surface. I rubbed my fingers over the surface of the patch to make sure that I did not feel any bumps, high or low points, etc. Mistakes will be easier to feel than see at this point.
When I was sure that my patch was perfect, it was time to paint. The glossier the paint, the more visible mistakes will be. I used satin finish paint in my example and I am pretty happy with the result.
Good luck on your next home improvement endeavor.


