Caulk Up
/I finally caulked the bath tub, and it looks pretty good if I do say so myself.

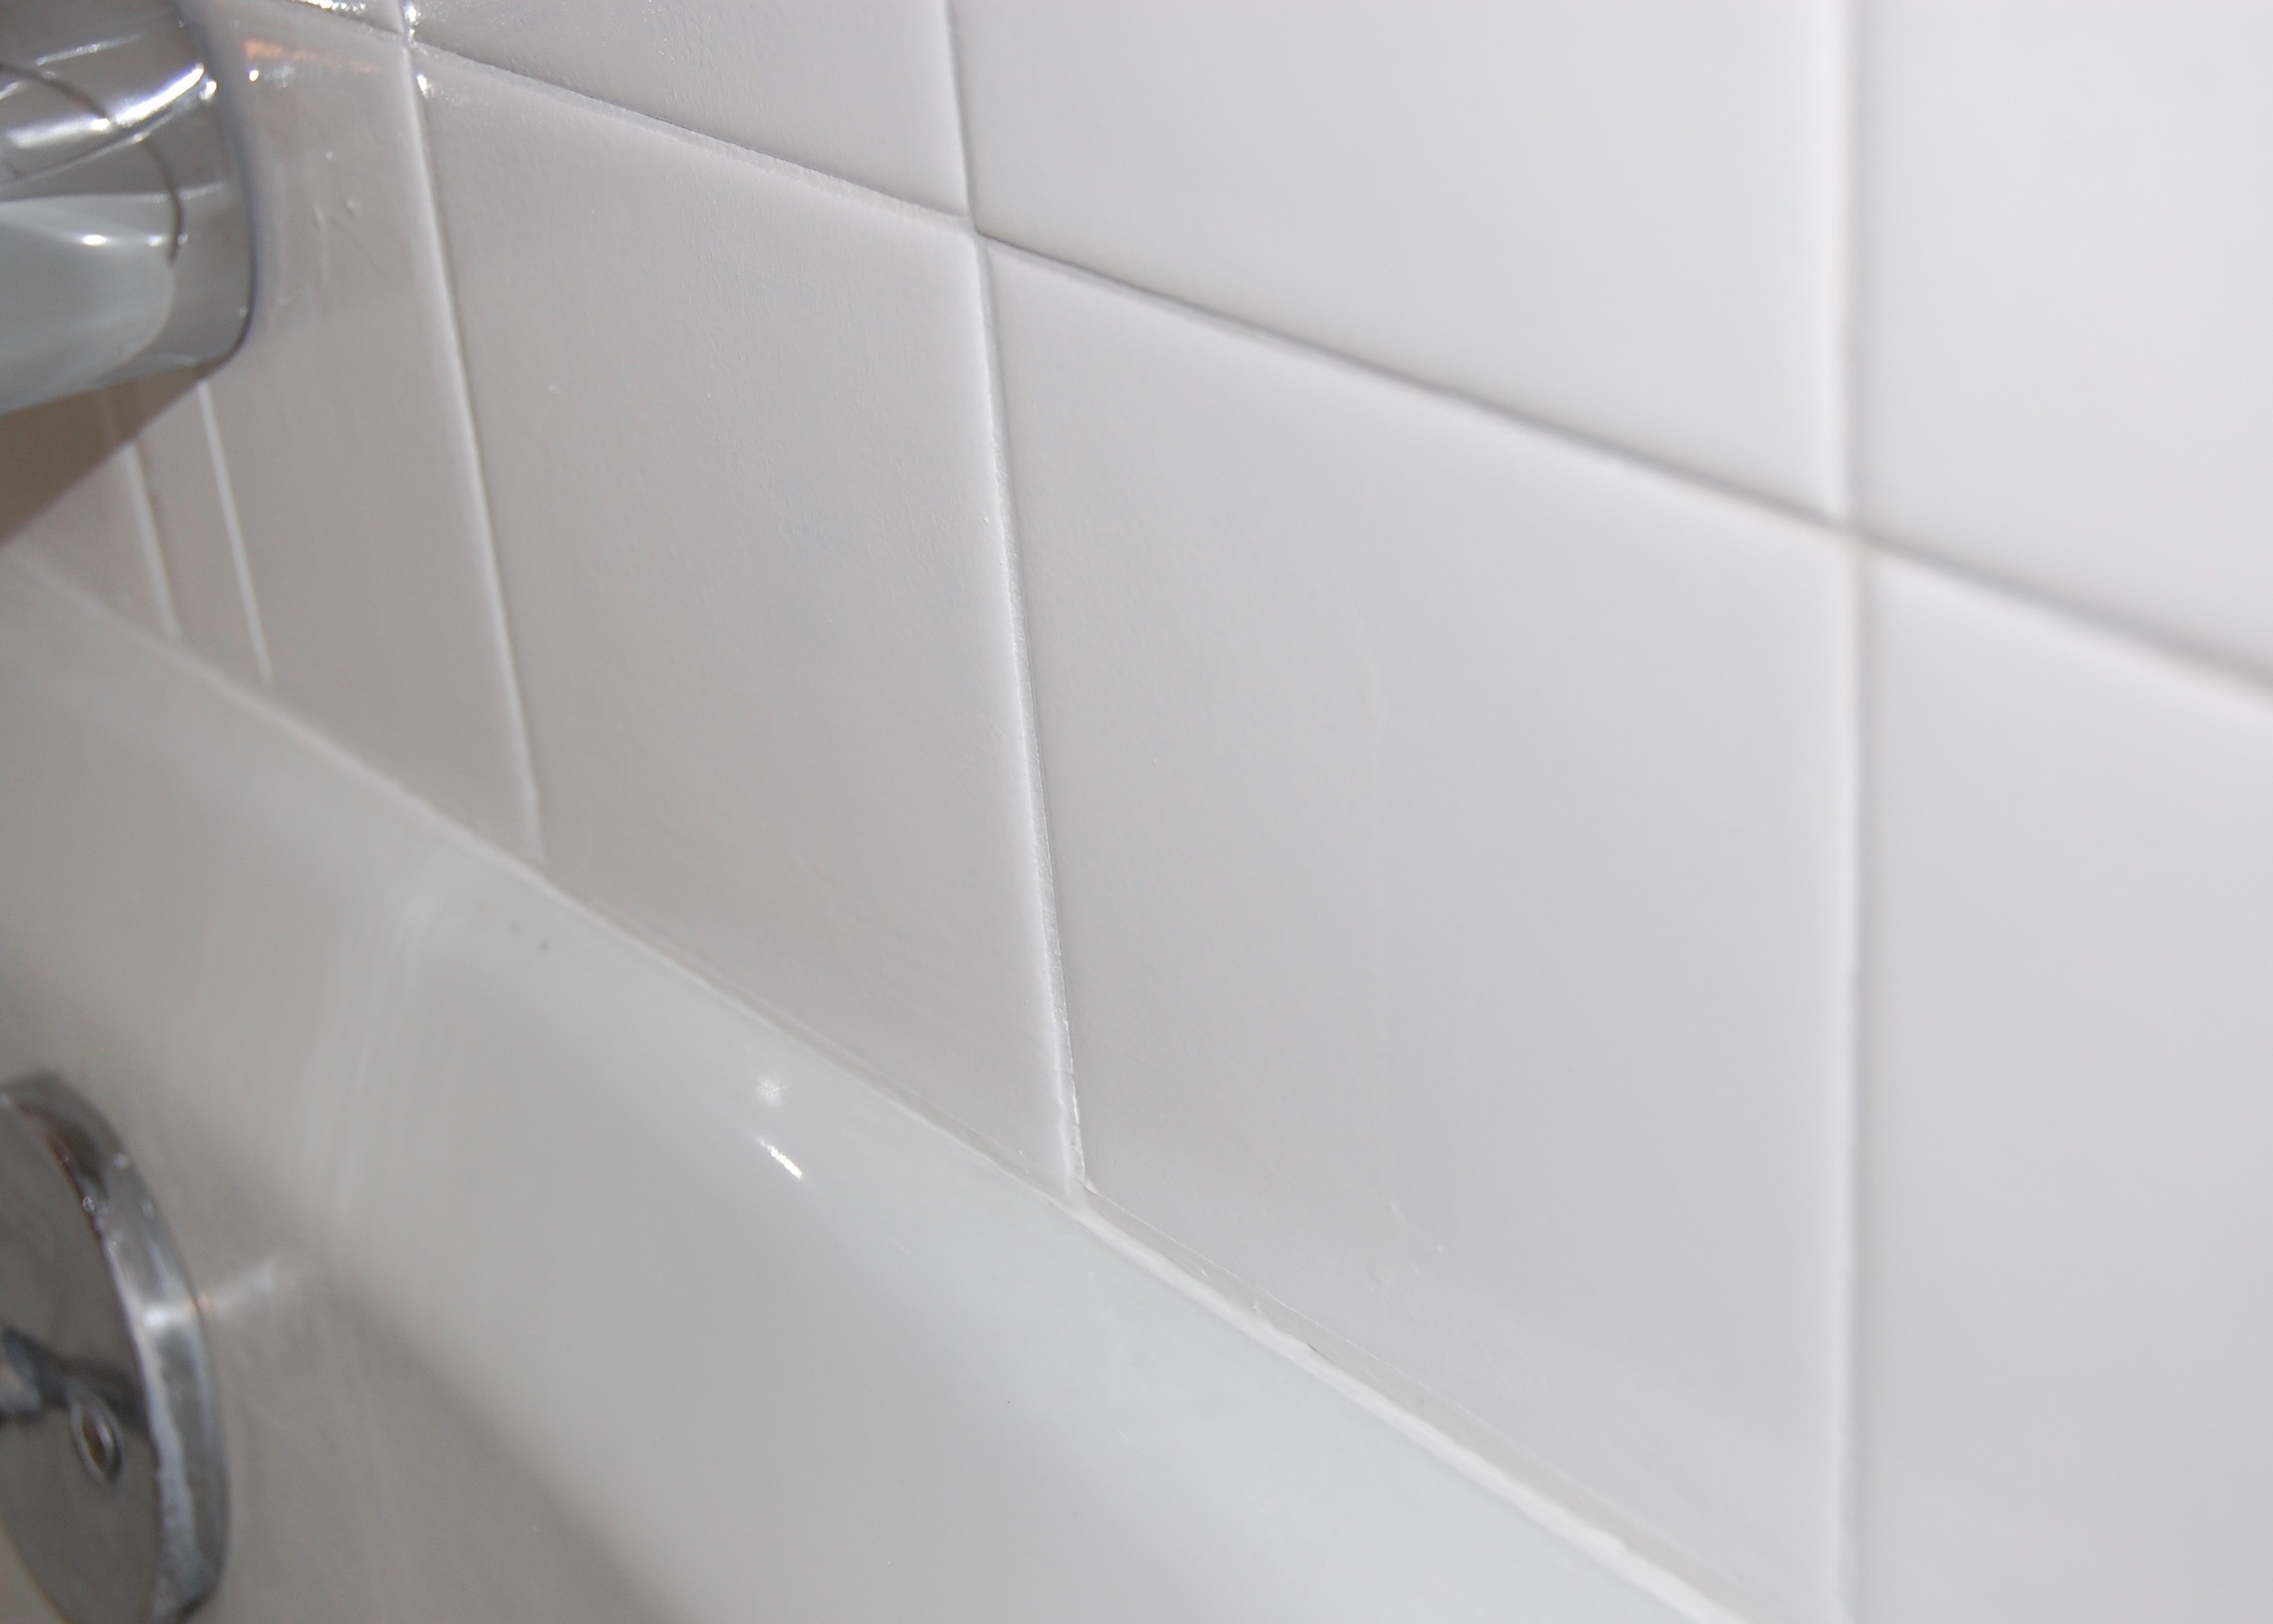
Newly Caulked Bathtub looking mighty fine! Tub spout not fully installed.
This was actually my first time caulking a bathtub, so I am not going to give you a play by play on my caulking technique (it was pretty bad). I am however going to tell you why my bathroom caulk looks good now despite my poor technique, and a few lessons I learned along the way.
Before I took the plunge I read a LOT of tutorials on how to caulk a bathroom. Here are a few:
- http://www.familyhandyman.com/bathroom/remodeling/how-to-re-caulk-a-shower-or-bathtub/view-all
- http://www.wikihow.com/Caulk-Shower-Enclosures
- http://www.thisoldhouse.com/toh/how-to/intro/0,,20050103,00.html
There are a few things that nearly all of the tutorials seem to agree on, like using painters tape, and caulk that is supposed to be used in a bathroom, and there are a few things that the tutorials seemed to disagree about, like the angle the tube of caulk should be cut at, and angle that the caulk should be applied. I decided to use the advice that the tutorials all agreed on, and do what felt right for the rest of it.

To angle or not to angle that is the question. Also - Check out our mad graphic design skills :)
Here is what I learned:
1. Initially you should cut the smallest possible hole in the tube of caulk – you can always cut it larger.
I cut the hole on the tube of caulk too big, and as a result the caulk came out MUCH faster and thicker than I had anticipated. It was a bit of a mess.

Hole cut MUCH too large.
2. Use painters tape to define your caulk lines (and protect you from excess caulk).
This SAVED me. If I had not done this the caulk that I applied would have looked SOOOO much worse than it did before I removed the horrible preexisting stuff. As I said previously, I used too much caulk, WAY too much caulk. As I was smoothing the caulk into the grooves it belongs in, the excess caulk built up on the sides of the tape. Since the tape was easily removed, this was not a problem at all. Had I not used the tape, all of that excess caulk would have gotten all over my tile.

Defining those caulk lines
3. Wide painters tape is better than narrow painter’s tape.
I used thin painters tape, and it was amazing, but because I had so much excess caulk some of the excess still ended up on my tile. Had I used wider tape I think all of the caulk would have stayed on the tape.
4. Keep a wet rag nearby.
If you can get a wet rag on errant caulk as soon as possible it cleans up pretty easily. Looking at my completed caulking job you would have no idea that wayward caulk got all over my bathtub.
5. A finger is a surprisingly good caulk applicator.
I saw a lot of different tools recommended to smooth the caulk out once it was applied, from specially designed professional implements to plastic spoons to ice. I just used my finger, and it turned out great. I was able to tell how much pressure should be applied, and my hands were able to catch the caulk that didn’t pile up on the tape.
6. Keep paper towels nearby – a lot of them.
All of the caulk that piled up in my hands (see #5) had to go somewhere. Many paper towels were needed to contain it all.
7. Work Quickly
While caulk is pretty fresh it is easy to manipulate, adjust, and correct. As soon as it gets a “skin” you might as well leave the mistake, because trying to correct things will just make them worse. The good news is that if you have all your supplies ready to go, caulking goes remarkably quickly. I went from applying the tape to pulling it back off in under 30 minutes.
Check out that beautifully applied caulk.
Finally, the hardest of all the lessons I learned. Tape will pull epoxy paint off tile.
As frequent readers know we painted our bathroom tile with a Rust-Oleum Tub and Tile Refinishing Kit. Despite waiting more than the prescribed 3 days to allow the paint to cure, and despite our excessive prep work, the painters tape used to apply the caulk removed the tile paint when it was pulled off. This was REALLY upsetting to us. The bare patches of tile were like emotional black holes, sucking all of the happy feelings out of the room and threatening a permanent fugue state. Firebeard immediately mixed and applied more of the paint to keep us all from falling into pits of despair. I didn’t get a picture first.
With the amount of work that we put into painting the tile, we had hoped that it would last for a least 2 or 3 years while we were doing work on the rest of the house. Right now it doesn’t look like that is going to be likely. But on a positive note, the caulk should last for many years to come.


