We have Floors in the Office!

Office to Do List:

  • Remove old gross Carpet and Carpet Pad - Check
  • Pull out the 12 Million Staples that were used to install the old carpet - Check
  • Tear down old cat hairy window treatment and Discover Missing Piece of Crown Molding - Check and Check
  • Remove base boards - Check
  • Remove piece of crown molding next to missing molding - Check
  • Scrap/Strip/Sand Peeling Paint from Molding - Check
  • Patch holes and Prime patches - Check
  • Prep Ceiling and Walls for paint - Check
  • Paint Ceiling and Walls - Done
  • Install Flooring - Done
  • Sand and repaint Base Boards
  • Reinstall Baseboards
  • Install quarter round molding
  • Reinstall Crown Molding with the addition of Missing Piece
  • Finish Painting All Molding
  • Make Pretty!


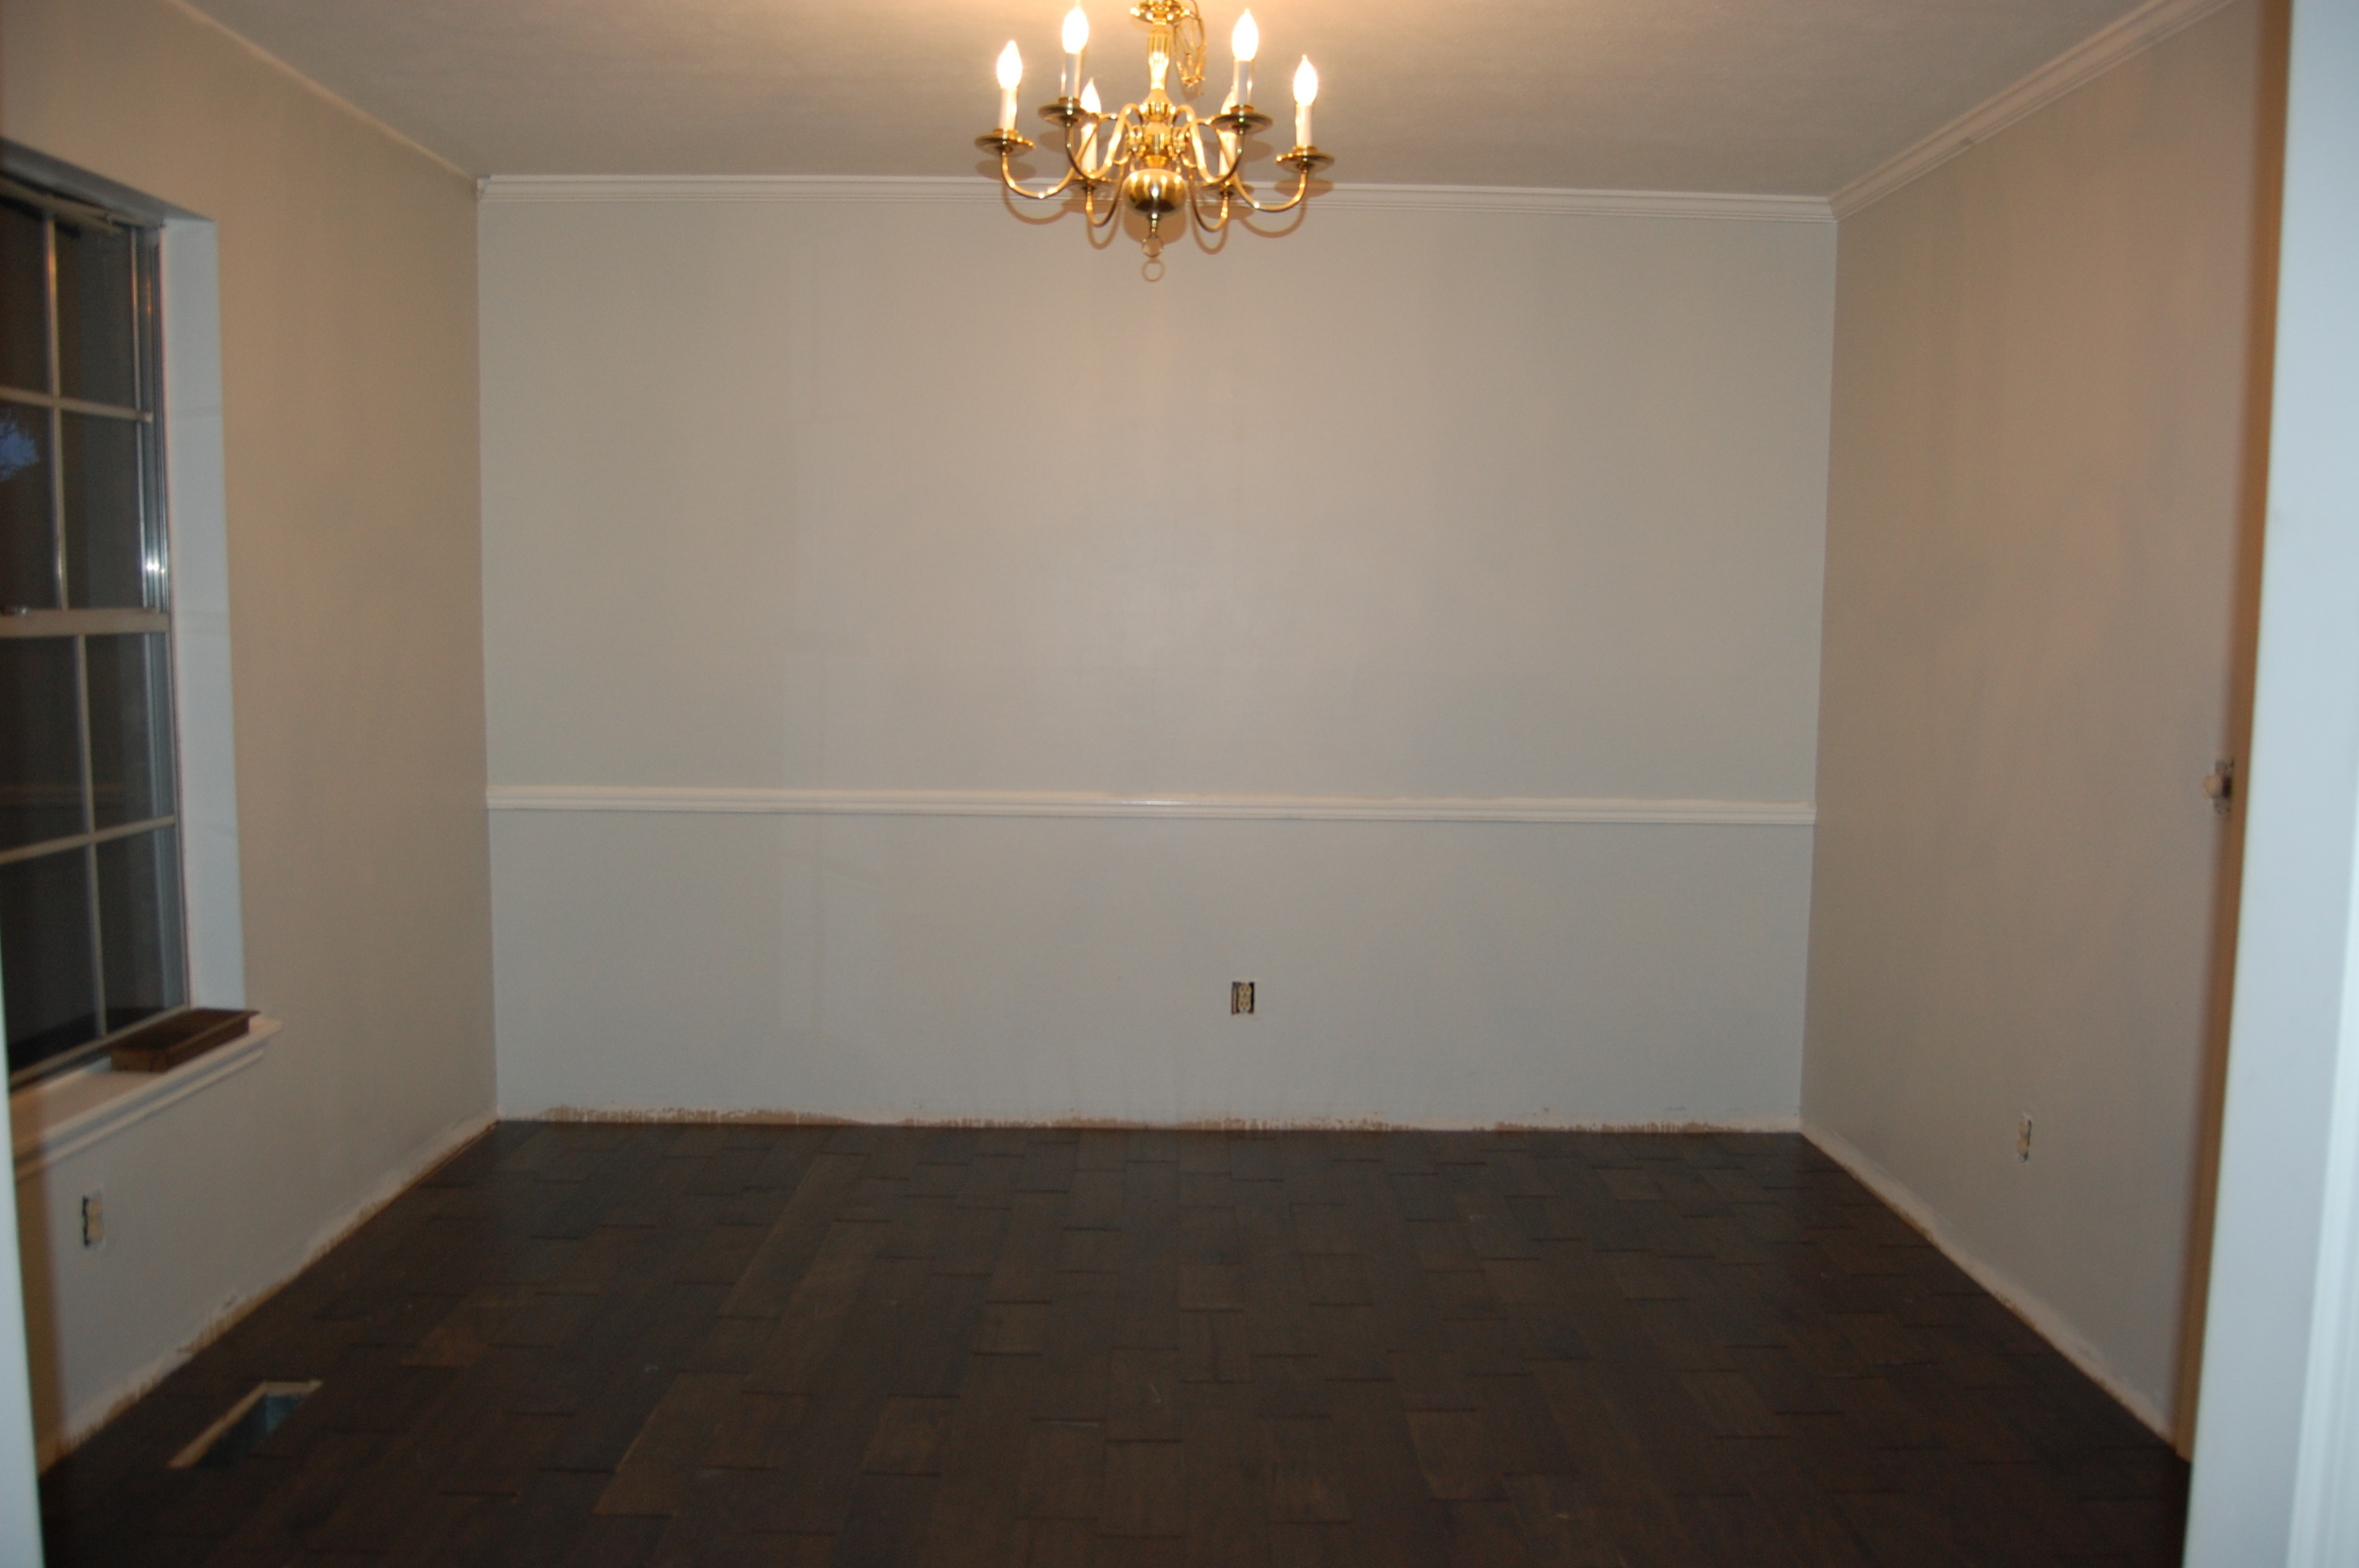
The last I left you in our home remodel saga, we had just finished preparing to paint the office, and now not only has the office been painted, we have floors.  Glorious floors that are neither covered in cat hair, or possessing an odd smell!  Is it weird that this makes me feel like a kid at Christmas time?

The flooring is glue together tongue and groove that does not click together.  We installed it completely on our own, and it was our first time installing this type of floor.  We had read or watched every single tutorial on the subject we could find before we started and read the full manufactures directions, even so, when we first started installing it, we started questioning the sanity of doing it ourselves.  By the time we finished (DAYS later) it had become easier, we we had become faster, and now the idea of doing the next room doesn't seem so bad.  I think I may go into the detail of installing it a bit when we do the next room and share some of the mistakes we made and the solutions we found.

Now that the floors are in, I feel like we have rounded a serious corner in our office remodel and we are finally starting to see the light at the end of the tunnel.  The walls and ceiling have been painted, and the floors are installed.  It is looking like a room again.

Ok, I will admit that there is still plenty of work to do, but it feels like I am almost there.  I feel motivated to hurry up and finish up the rest of the tasks on my list, so I can start to move furniture in!


Former formal living room turned office

I promised pictures of our new house when we moved in months ago, and I did not follow through.  I had forgotten just how long it takes to move in, and when you are doing some redecorating/remodeling on top of that, it takes even longer.  So my house has been looking a bit post apocalyptic, and I haven't been super keen on showing that off.  However, I've realized that is part of the process.  The house is going to look worse before it looks better, and it is a tad misleading to show the before and after and not the days/weeks/months of work that it took to get to the after, and say, "It was easy, you can do it!"  So, without further ado, the office/craft room/guest space; a work in progress.

Former Formal Dining Room

Former Formal Dining Room

Our office is the former owner's formal dining room, which went nicely with their formal living room (to be seen later).  We are not that formal, and an office is a much more useful space for my family than a formal living space would be, so the former formal living room will be our very large dining room, and the former formal dining room will make a nice cozy office.

Office in the Making: To the Left

Office in the Making: To the Left

Office in the Making: To the Right

Office in the Making: To the Right

Carpet and baseboards have been removed, bad paint has been stripped, holes have been patched, and priming is complete.  We are finally just about ready to begin painting.  It has taken us a really long time to get to this point.  Why?  This...

And This...

Peeling Paint.  LAYERS of Peeling paint.

Being a good little worker that doesn't cut corners, I stripped the paint.  And stripped the paint.  And stripped the paint.  And stripped the paint.  

About 7 layers of paint (and many hours) later I was left with this:

And I realized that I had been an idiot, and learned a lesson.  I have no intention of staining that door, and the door is nothing special.  I simply need to make sure that my new paint adheres correctly.  So from now on, I will not strip when sanding will do, and I will not sand when liquid sanding will do, and I will not spend more time and money repairing an object than it would cost to simply replace it.


Next time painting, and figuring out what to do about this;

Mysteriously Missing Crown Moulding 

Mysteriously Missing Crown Moulding