The Bathroom Reveal
/The blog has been a bit neglected lately since I don’t have a lot of spare time, and I have been spending most of the time I do have on the podcast (which is getting better and better each week – check it out!). It hit me the other day that I had never officially revealed how the bathroom looks now that we are finished with our mini remodel. Let's remedy that now.

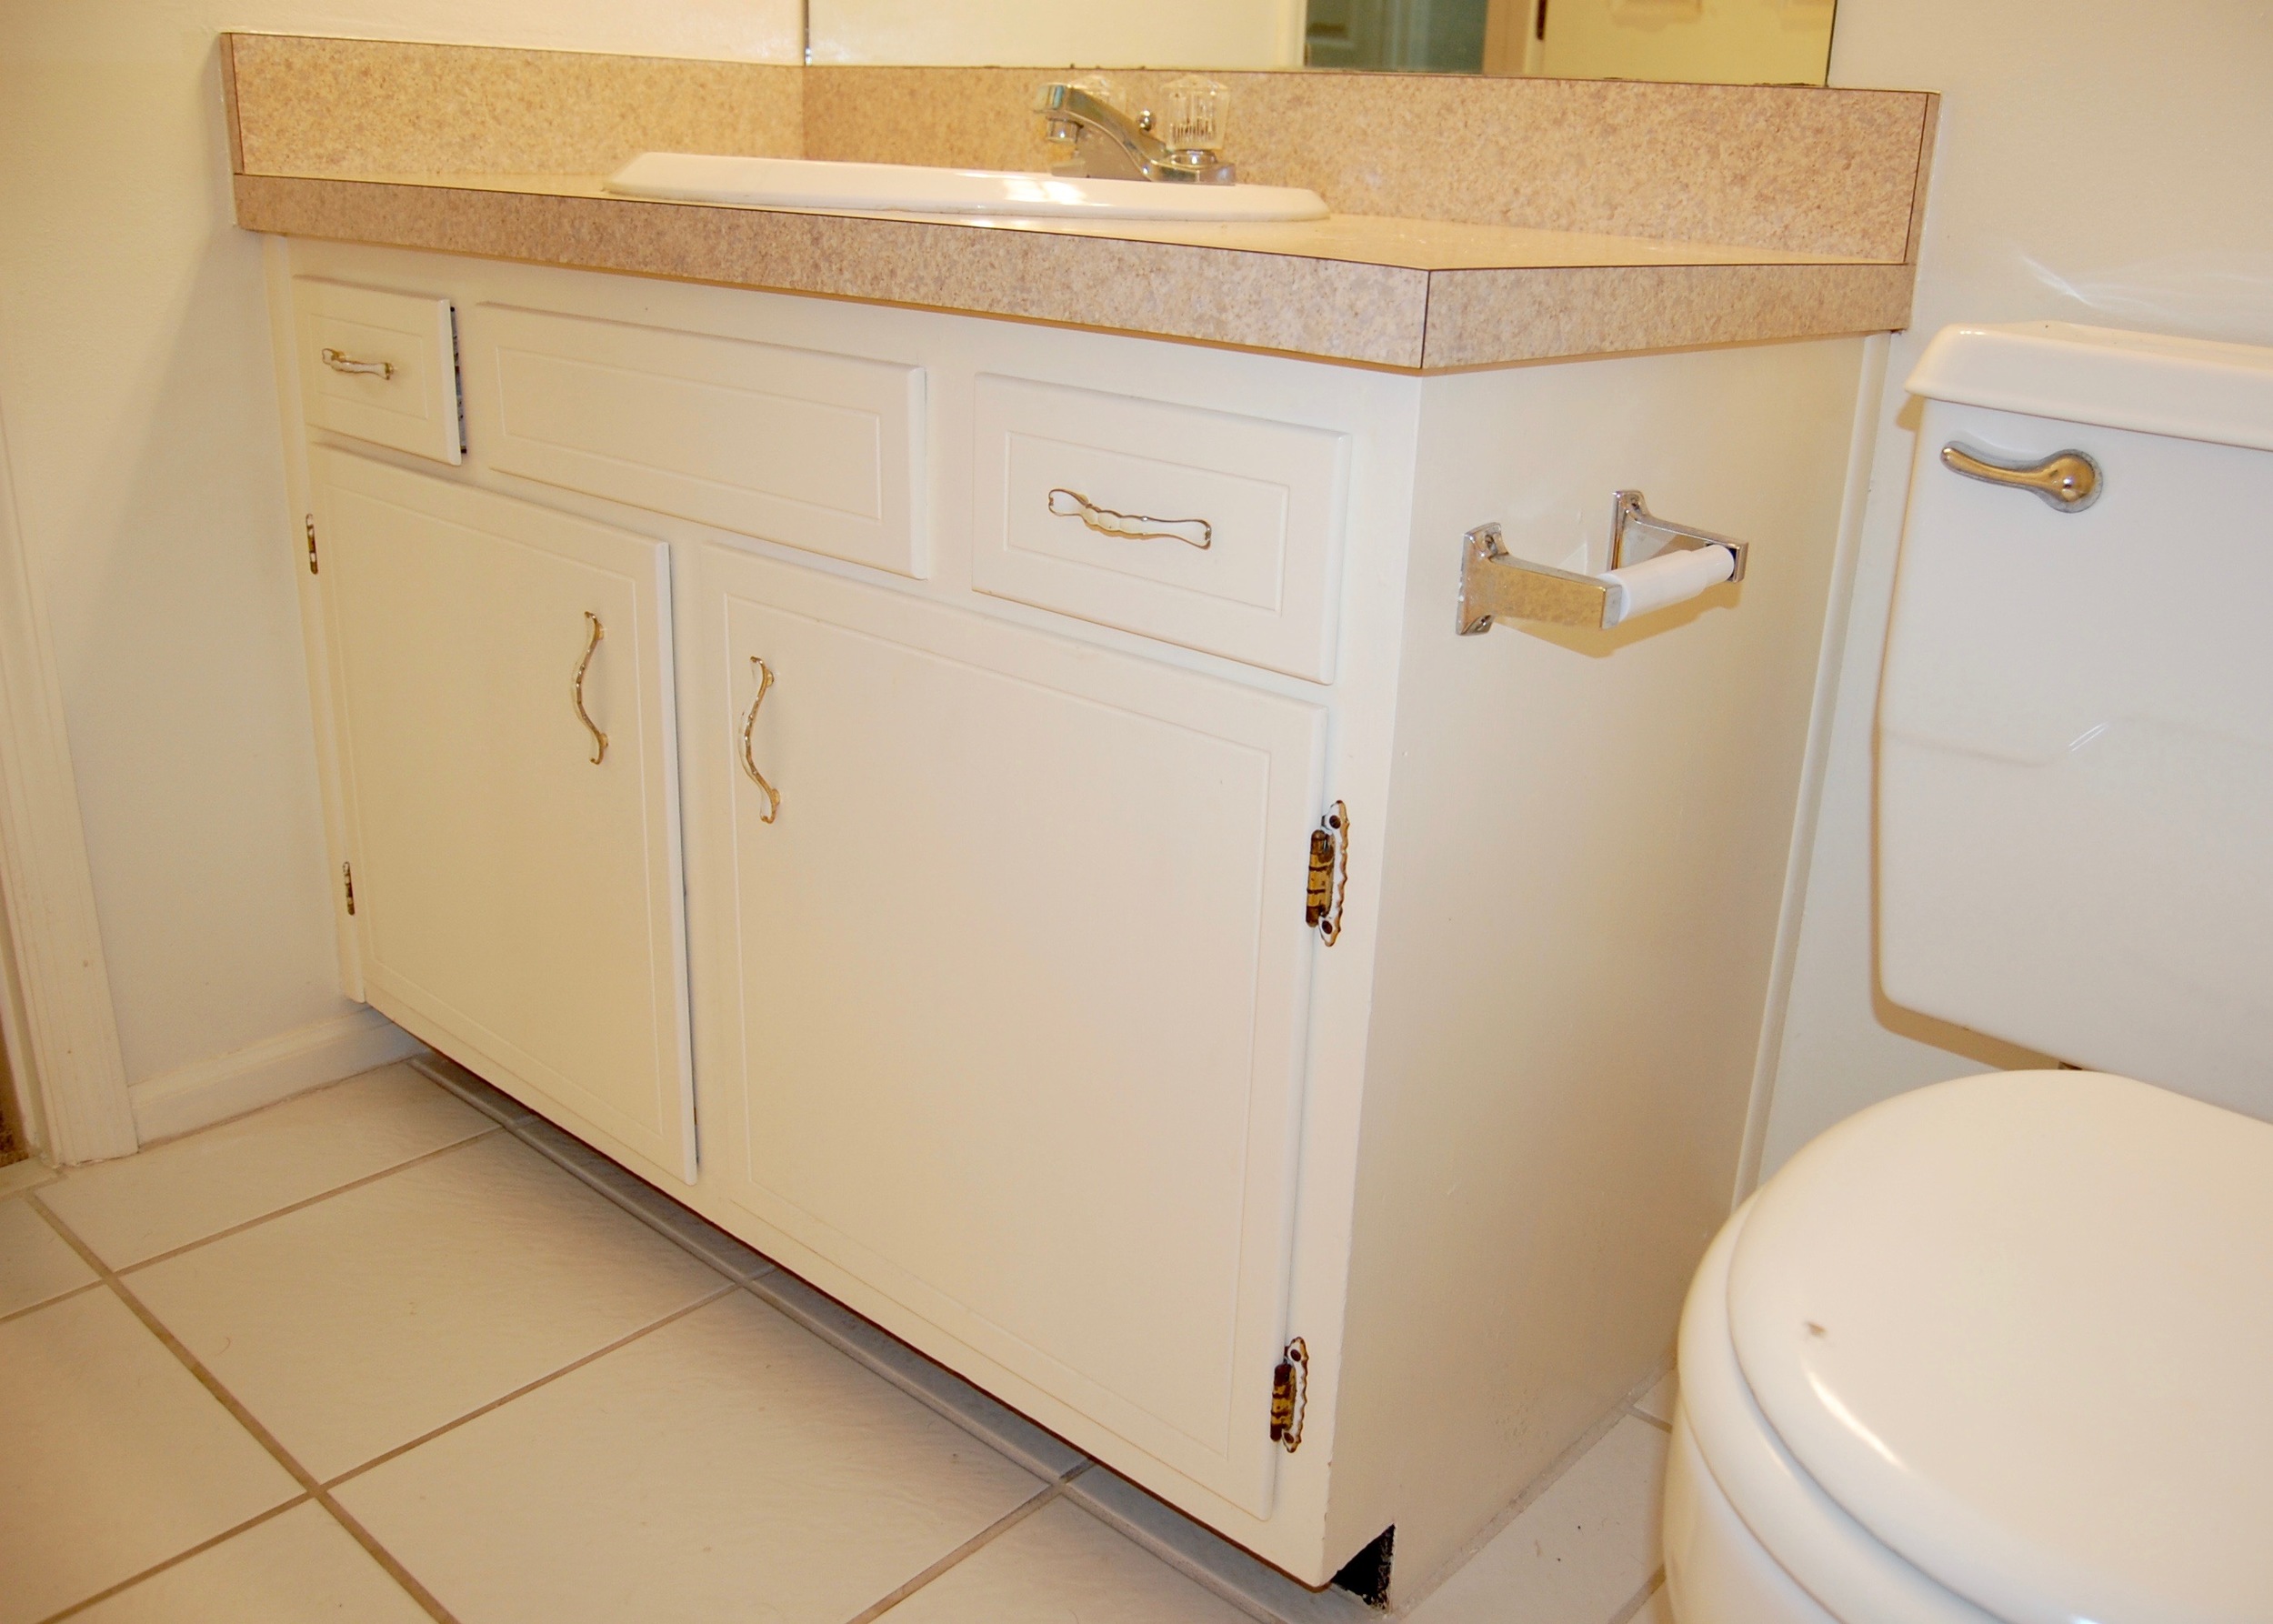
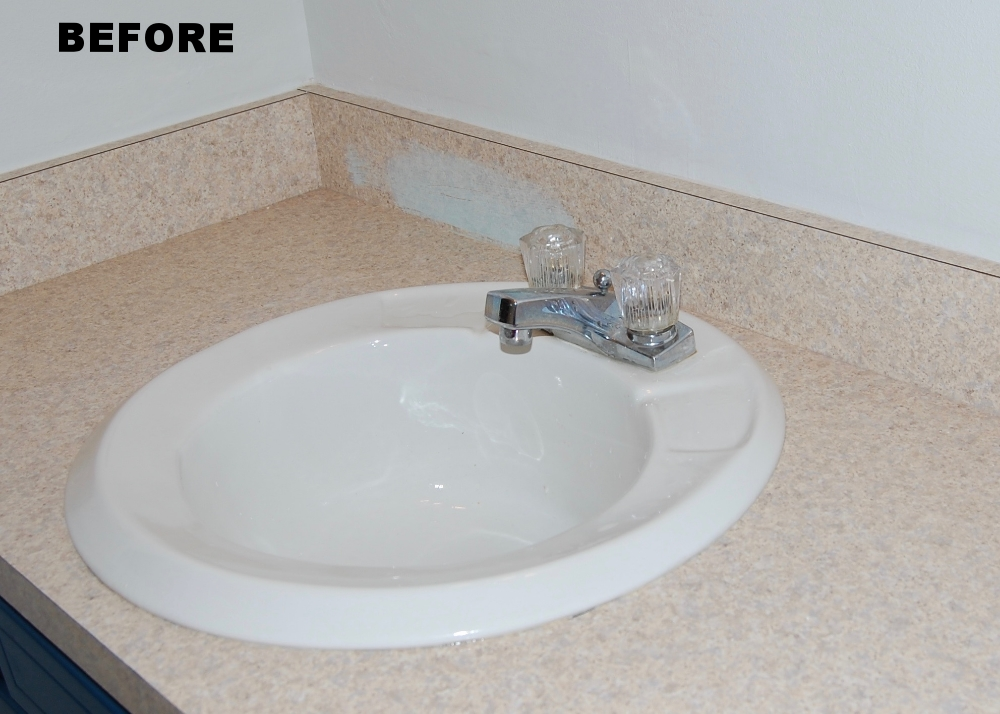
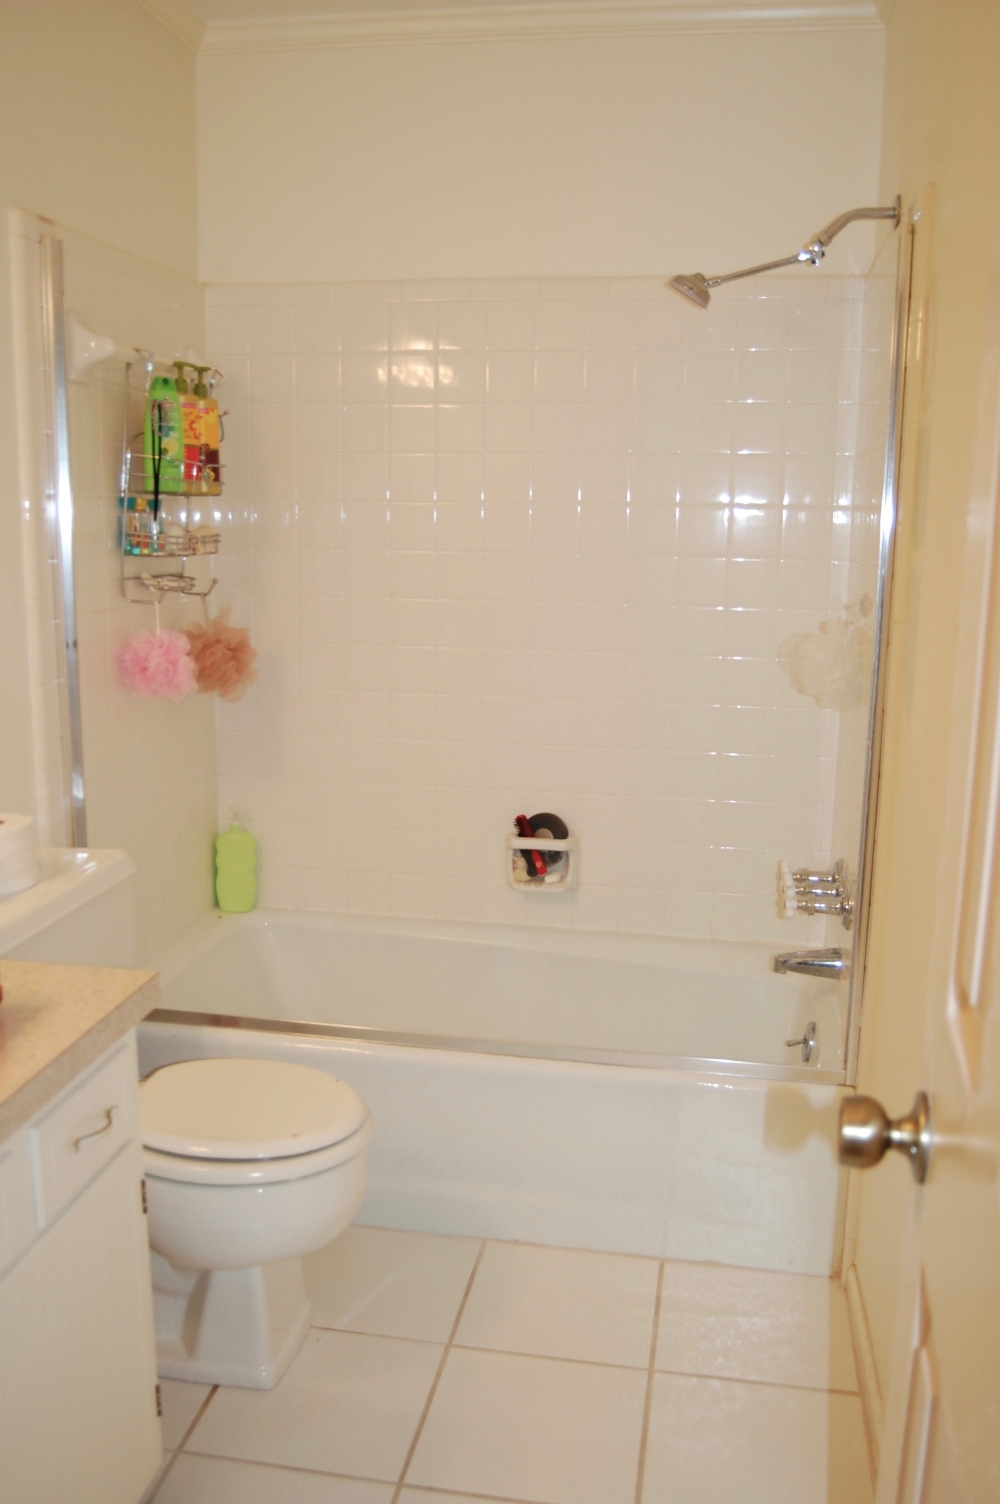
Before I reveal how good it looks now, I want to remind you how it looked when we started. Our house was built in 1977, and while it had been well maintained, maintenance was about all that had been done to it. The late 70’s and early 80’s were still alive and well in our home. The hall bathroom was a 1970’s builder’s special – basic, beige, and boring. It was serviceable, there was nothing really “wrong” with it, but it felt dingy no matter how much you scrubbed it and the atmosphere was far from relaxing.

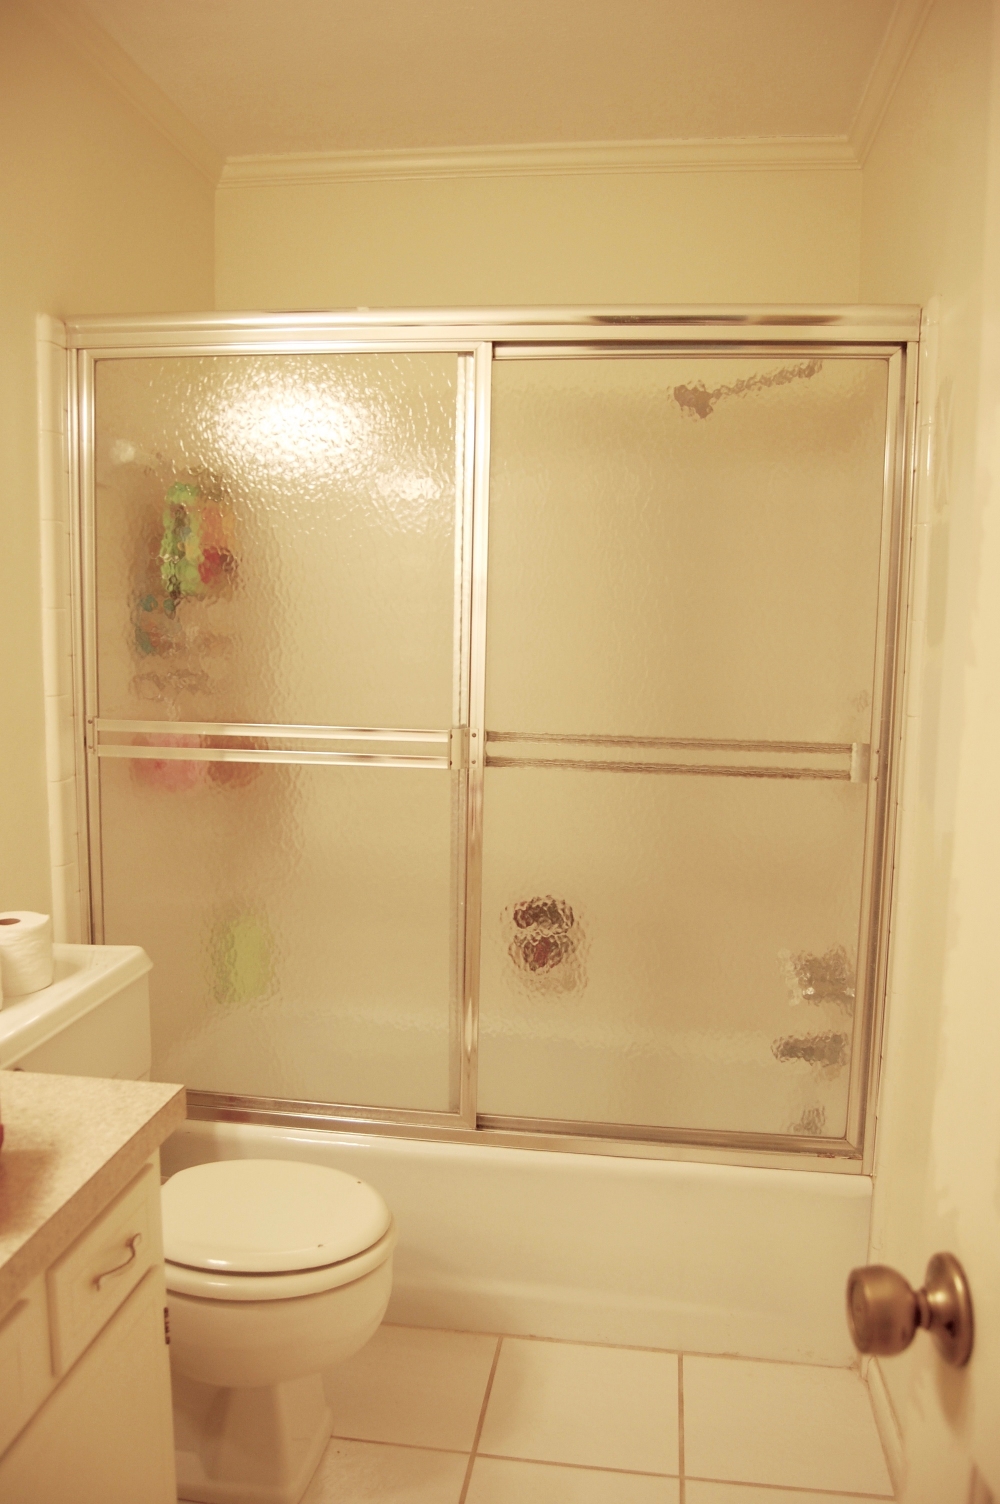
After the shower doors were removed.
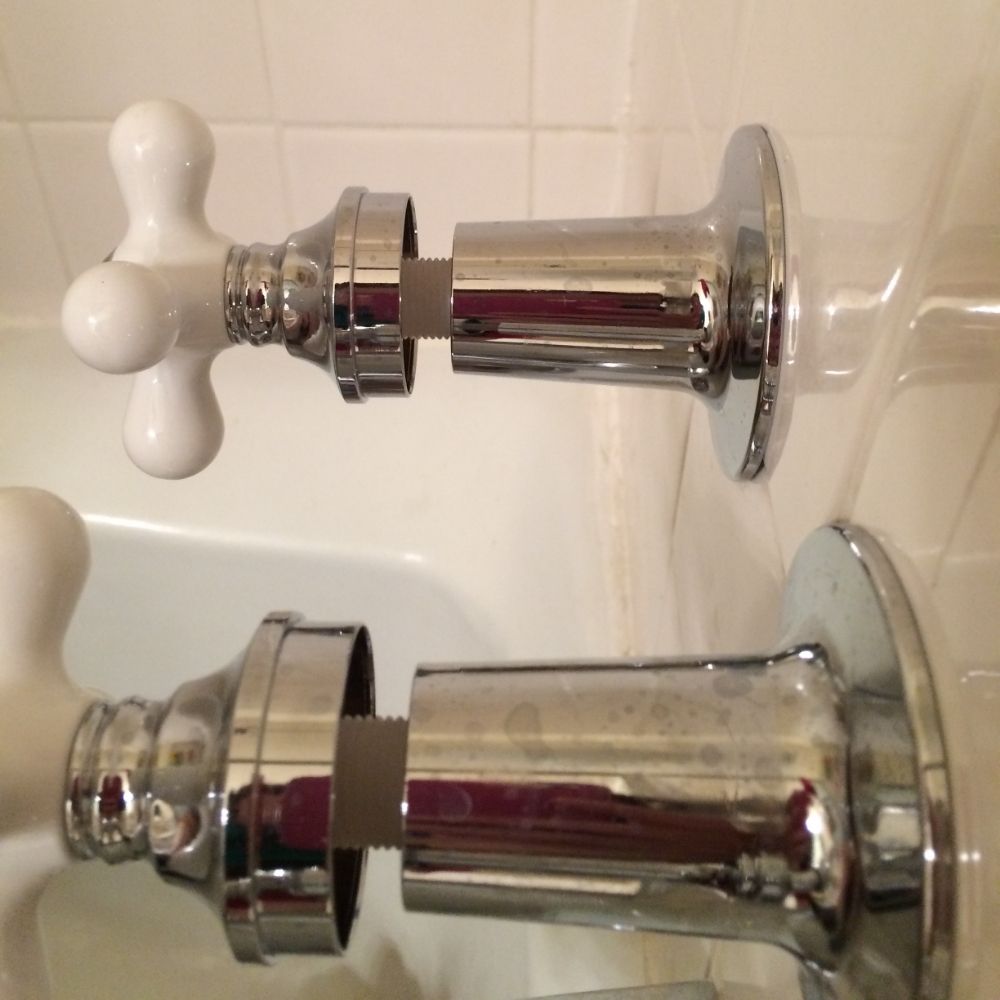
We started the bathroom’s transformation, with removing the stuff that couldn’t be salvaged. The Shower doors were the first to go. It felt SOOO good to get those out – they were gross, and no amount of bleach and scrubbing would get the parts under the door seals clean! Next we removed all of the caulk ….. the ridiculously bad, hideous caulk. It was really terrible. It was like they had a bad caulk, and decided to cover it up with more bad caulk – repeatedly. It looked like an incredibly cheap hack job. If we had done nothing in the bathroom but replacing the bad caulk, it still would have been a huge improvement in the appearance of the whole bathroom.

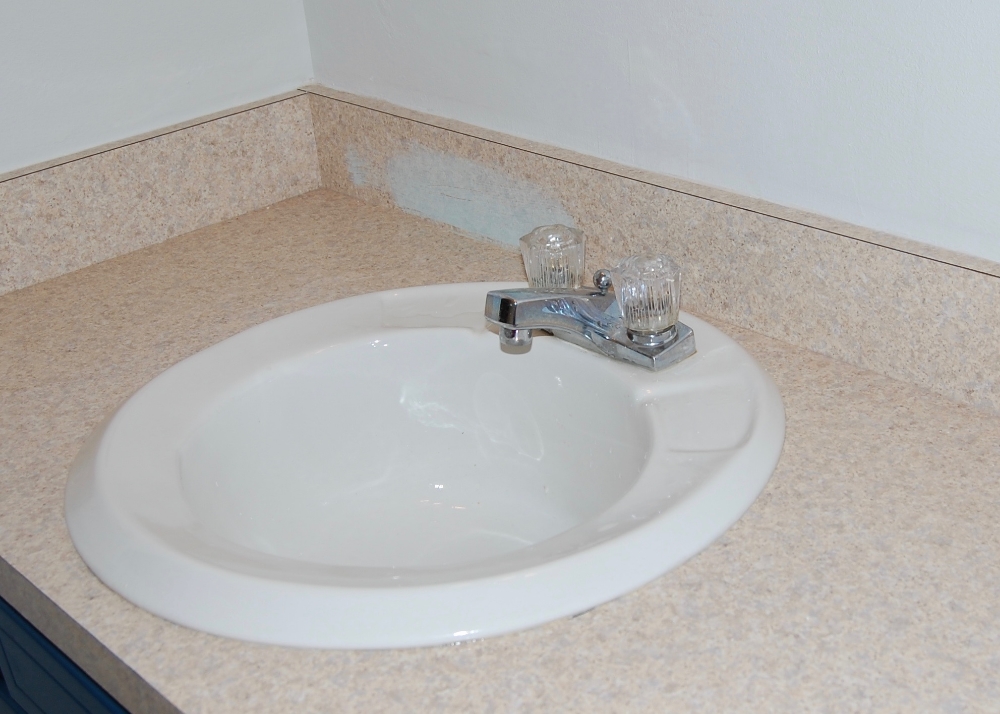
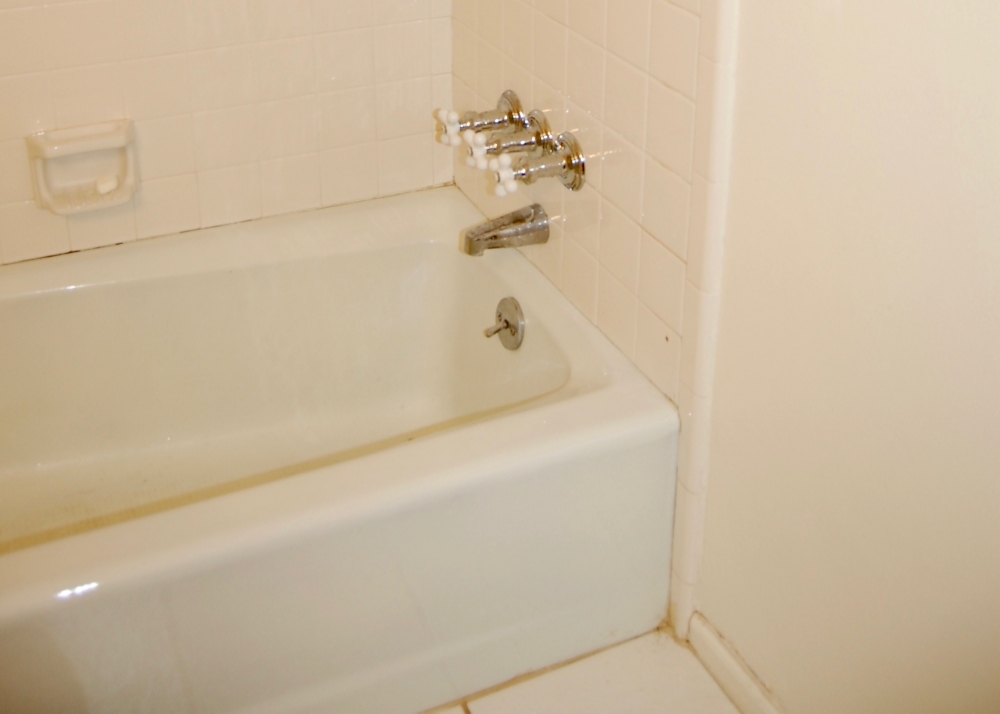
Significantly Cleaner Looking after painting.
Next we decided to cool things down a bit. We painted the walls in BM Paper White, a cool, almost white grey, and the trim in BM Simply White. This left the tiles in the bathtub surround looking distinctly pink. Since new tile was not in the budget, we painted the tile using Rust-oleum tub and tile paint. I admit the tile looked great, but if I had it to do again I don't think I would paint the tile, I just don't think it will be very durable.
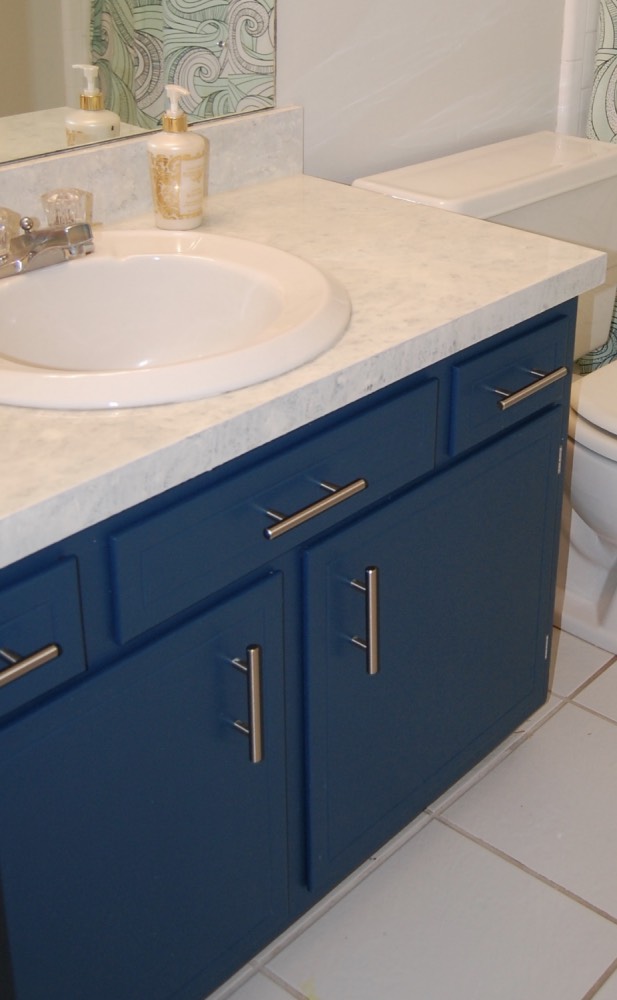
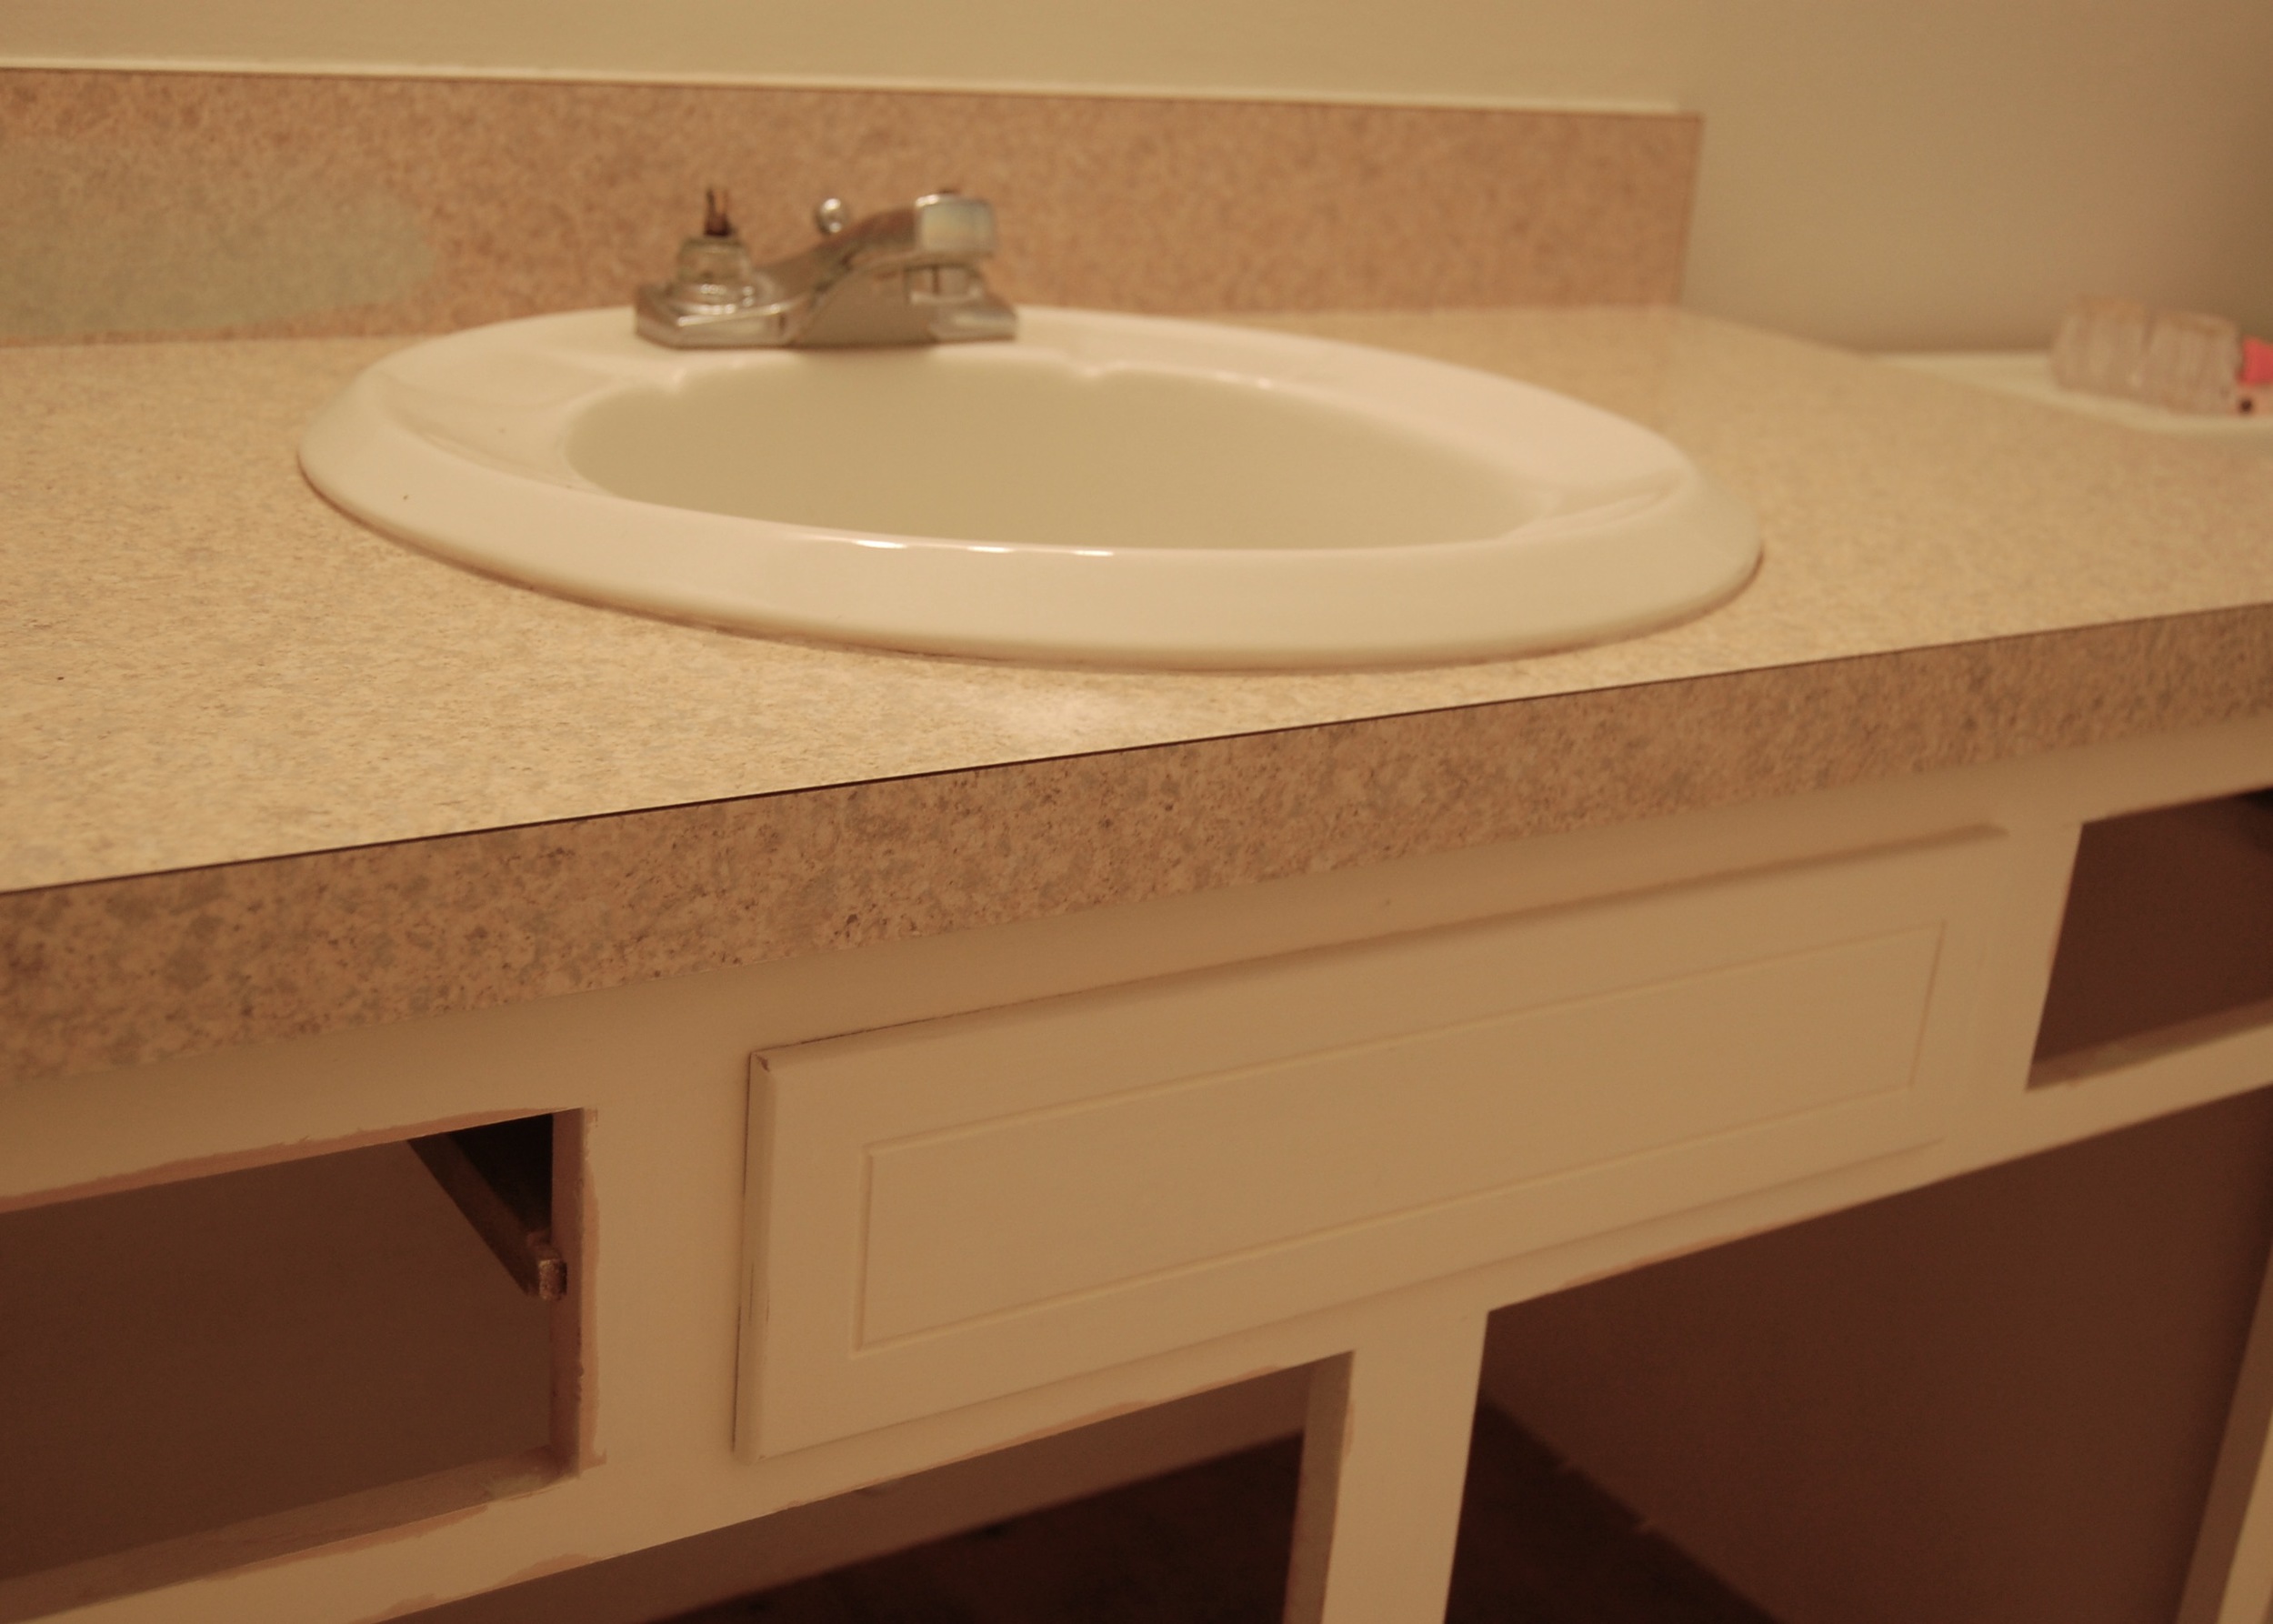
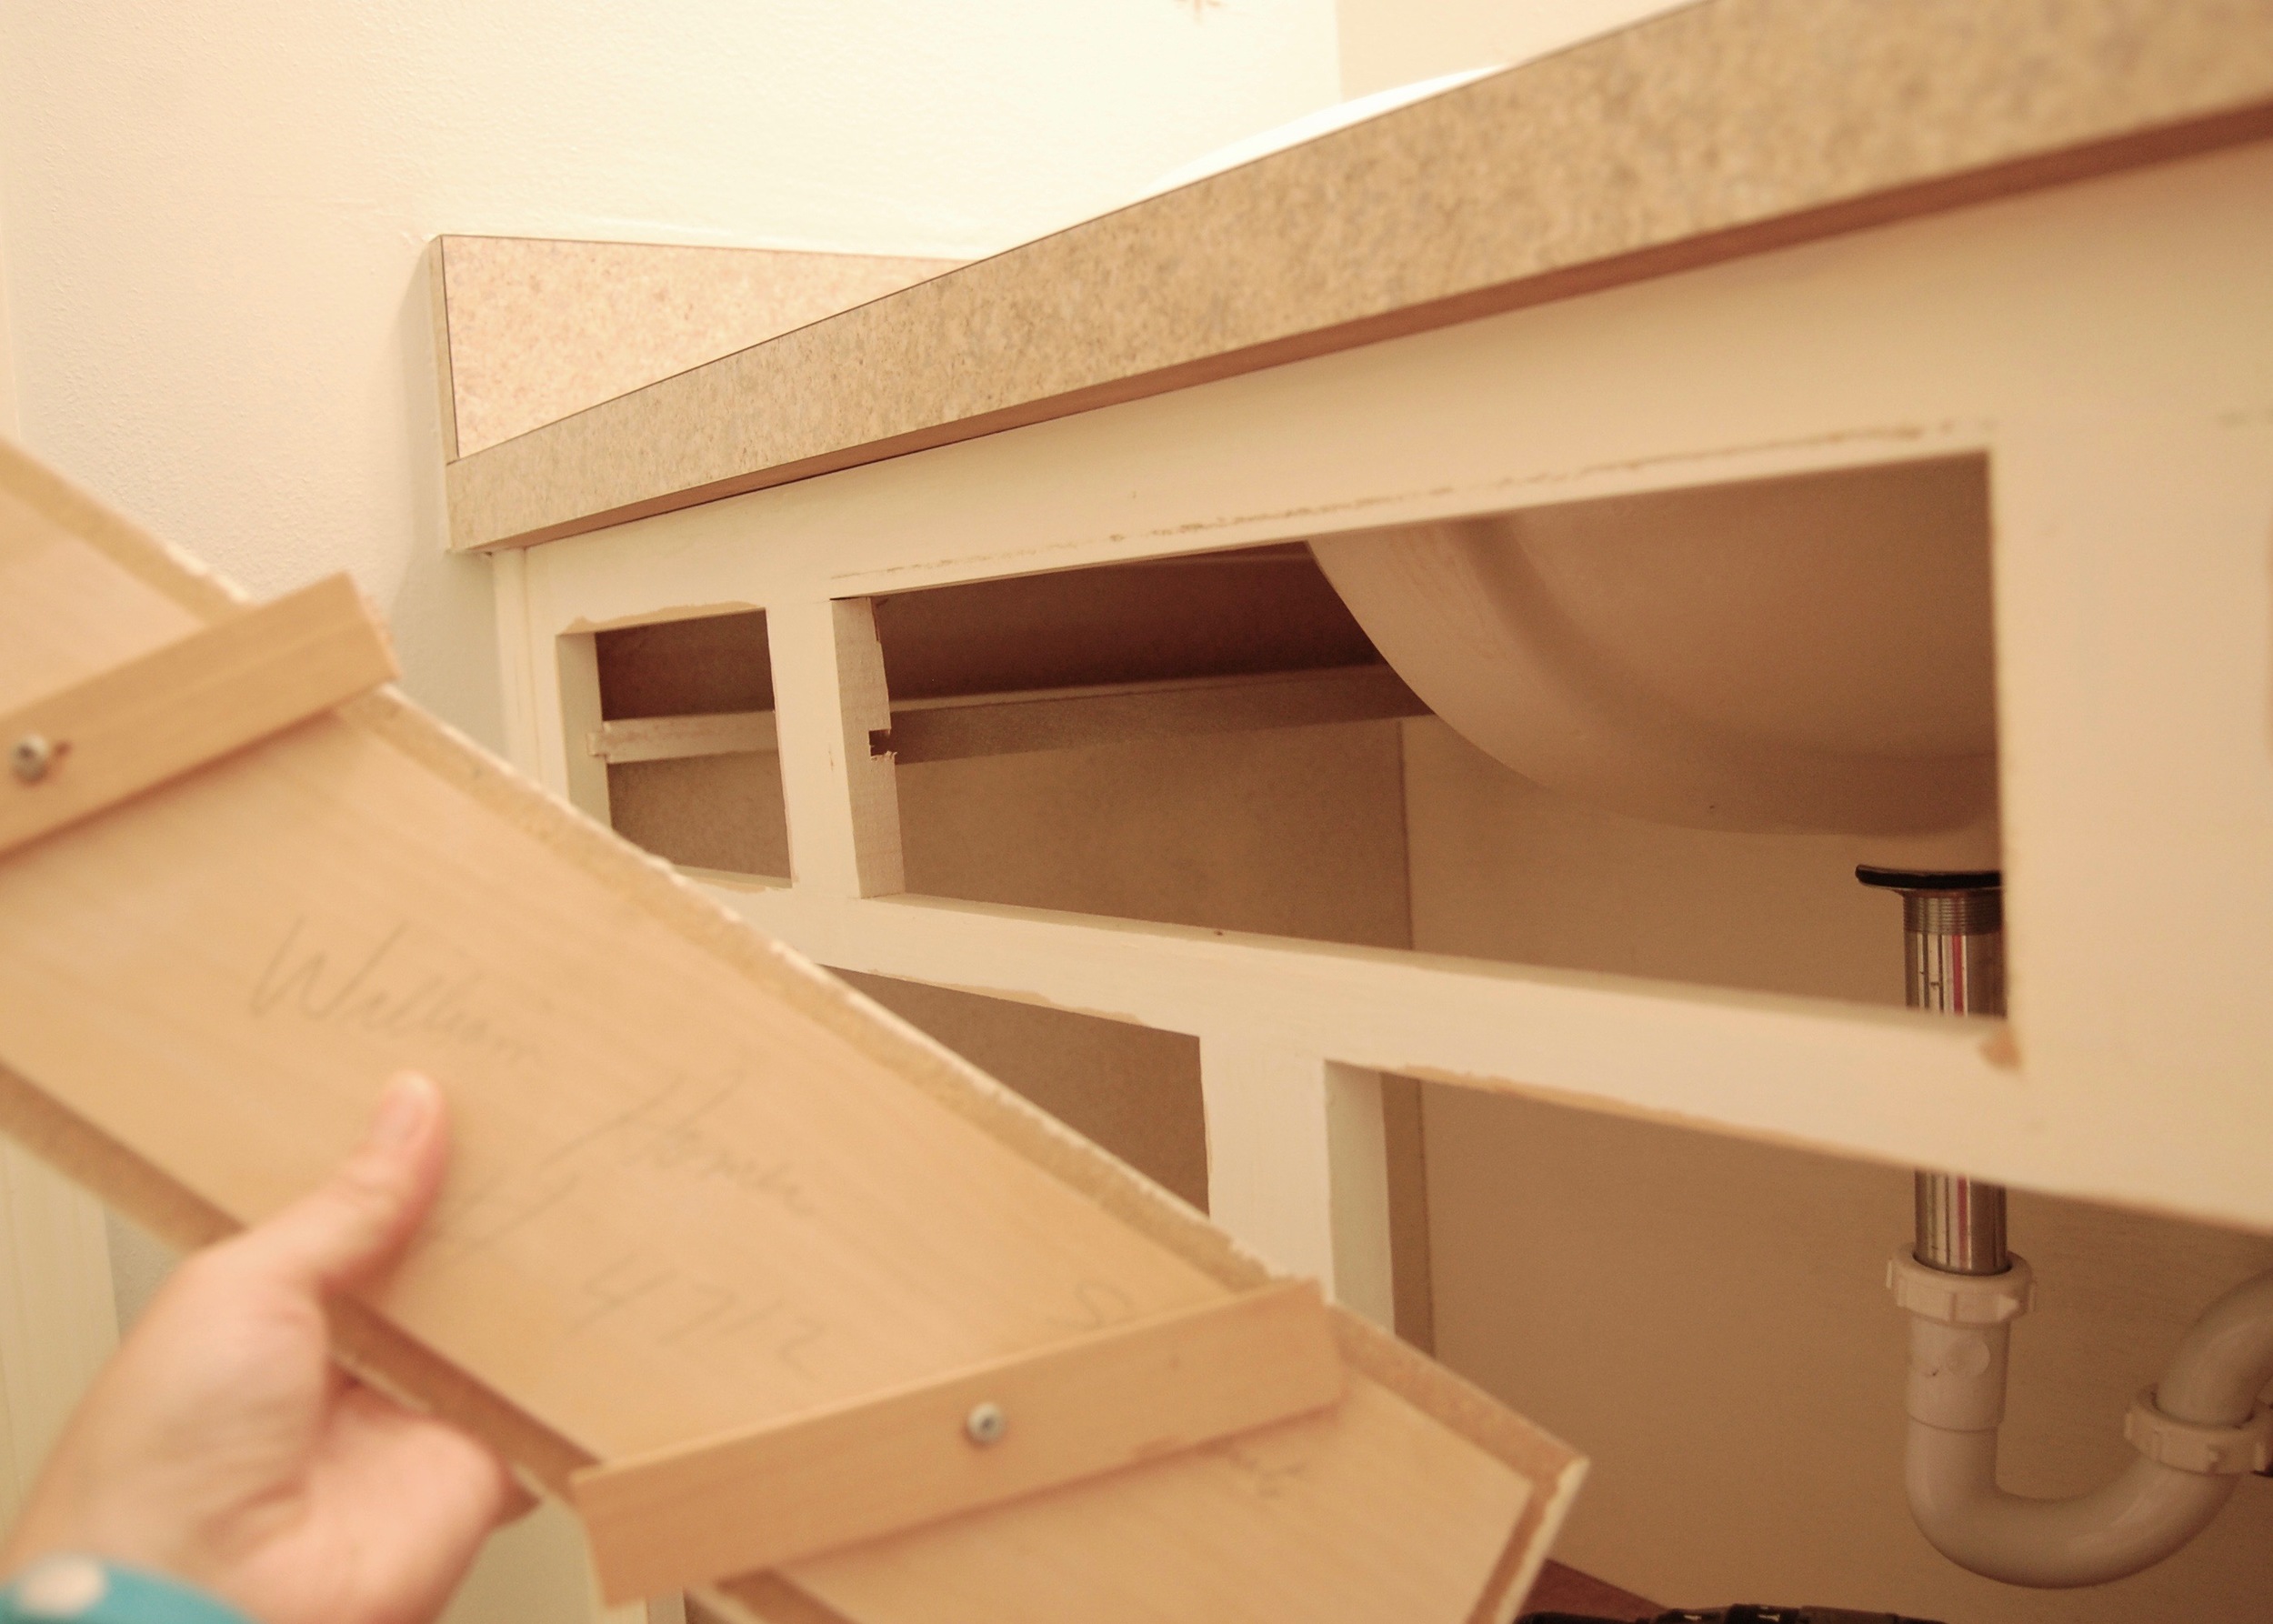
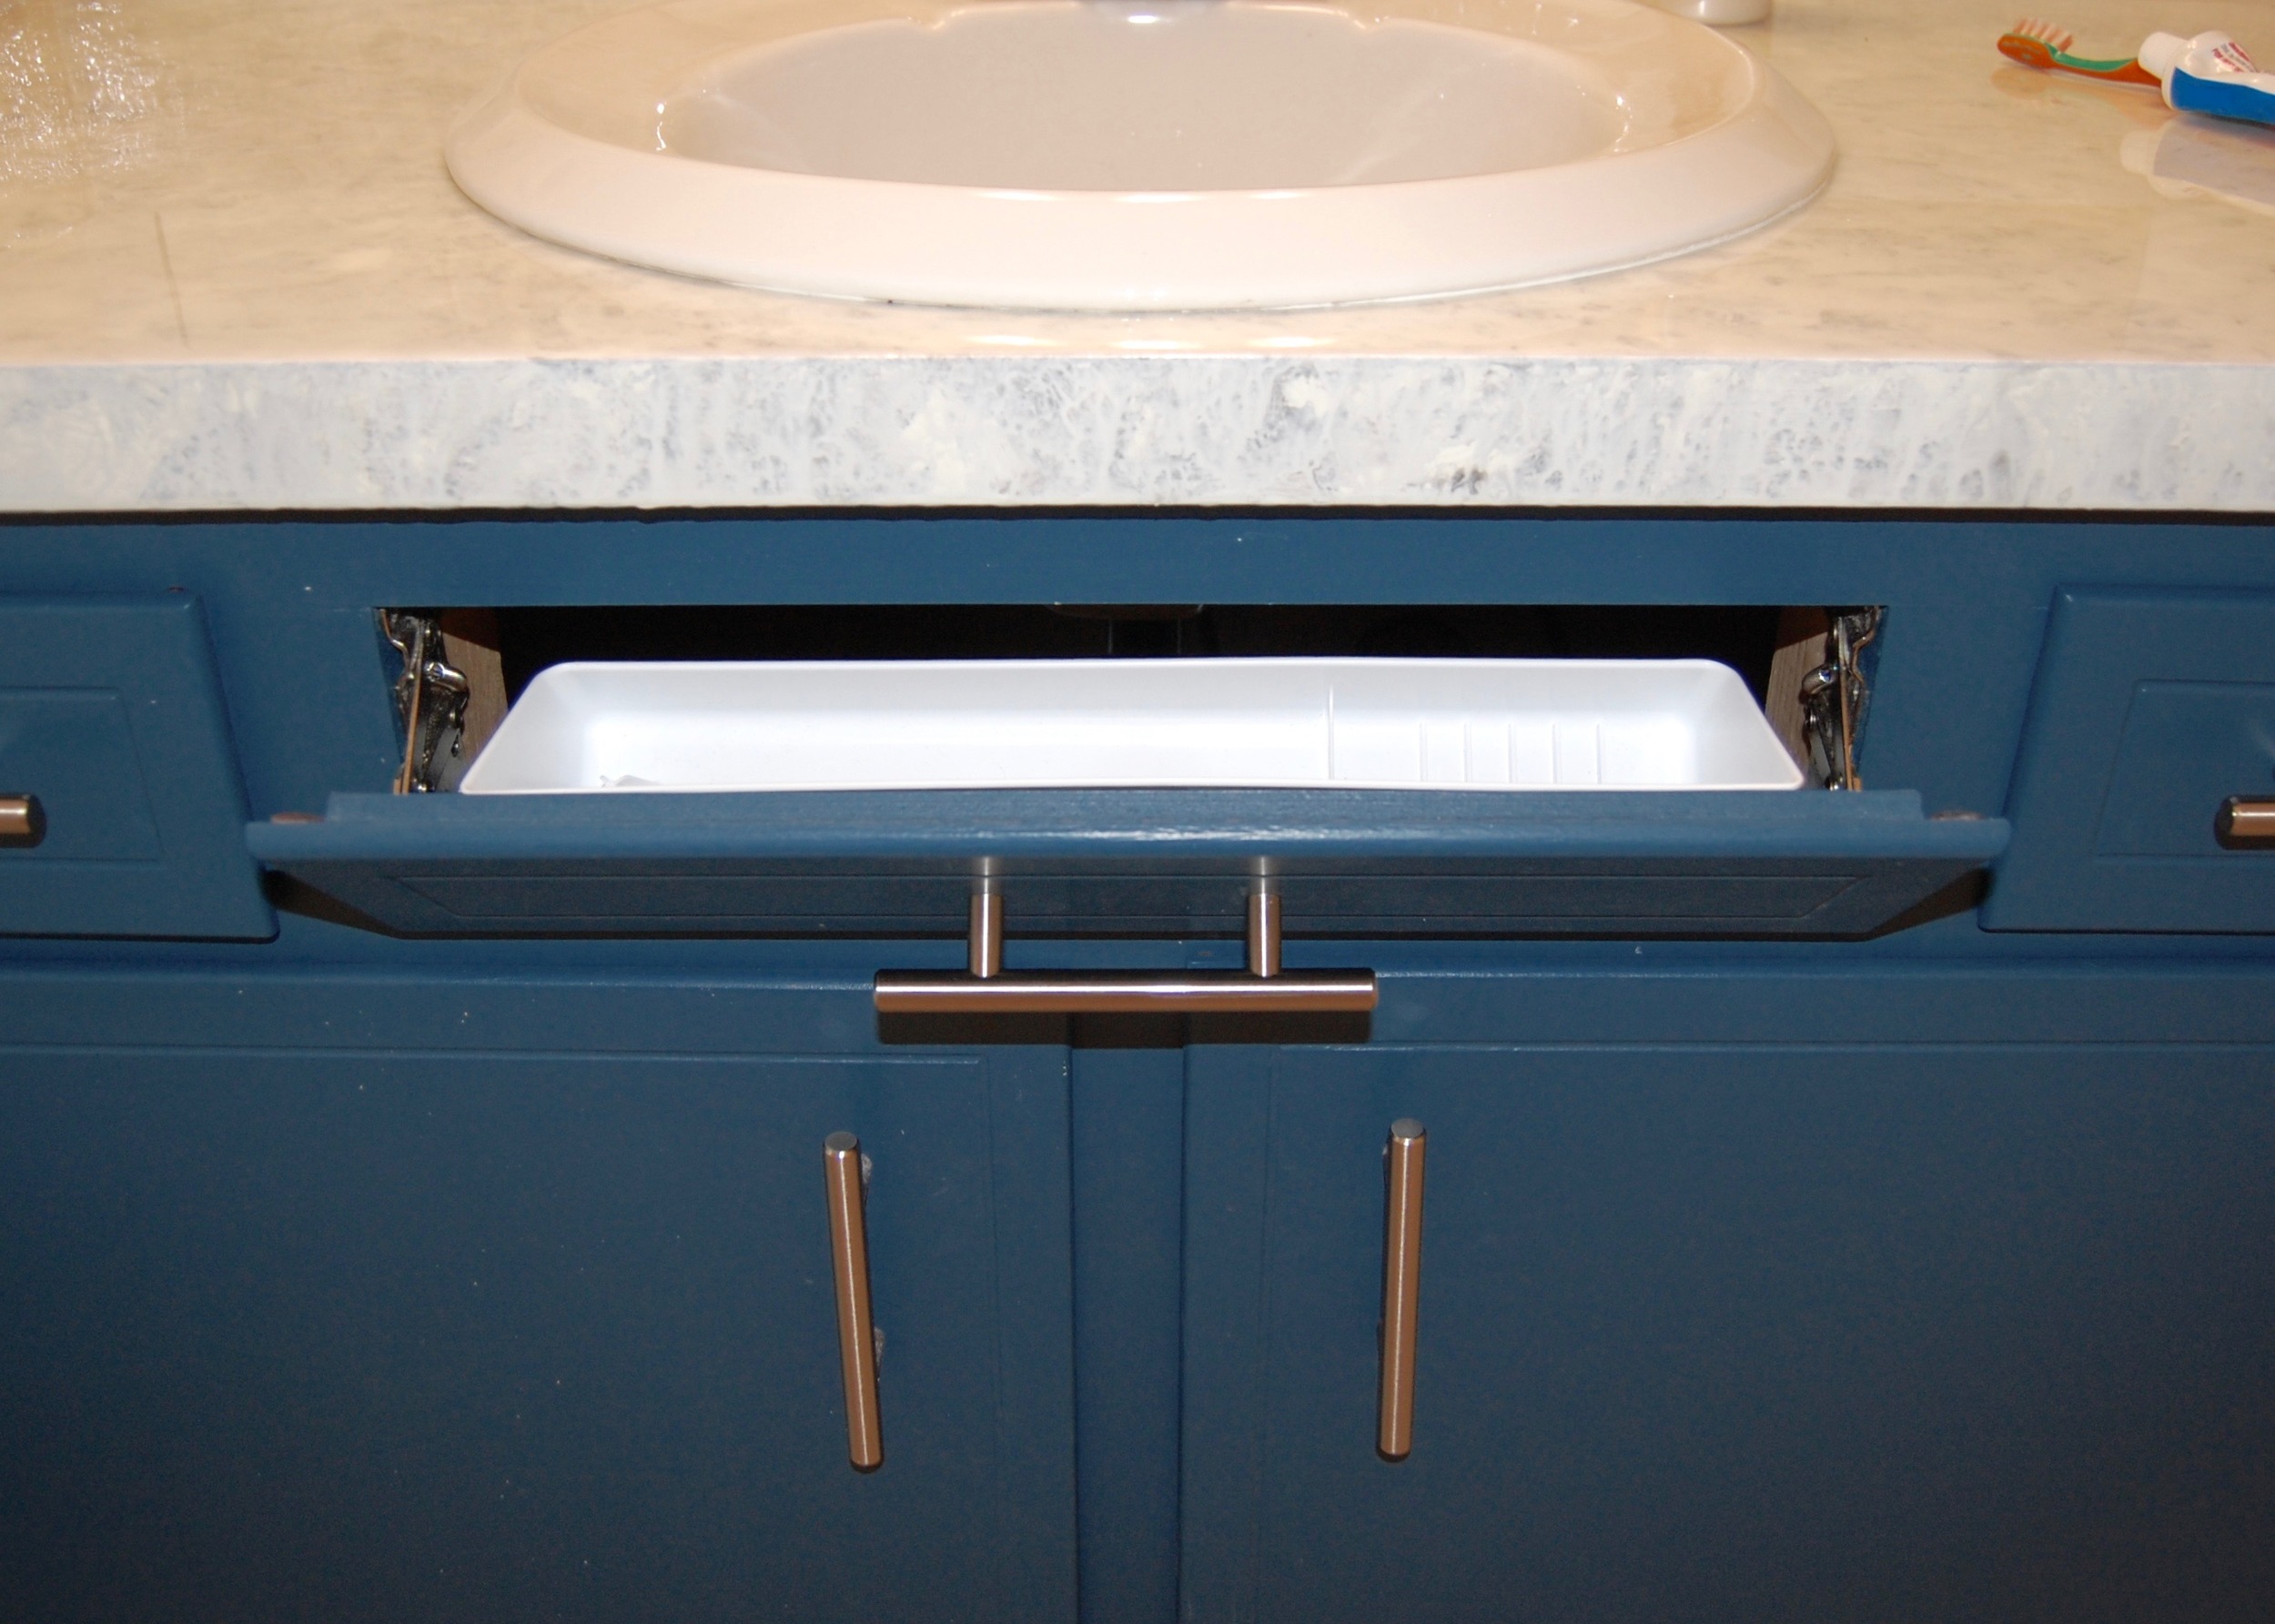
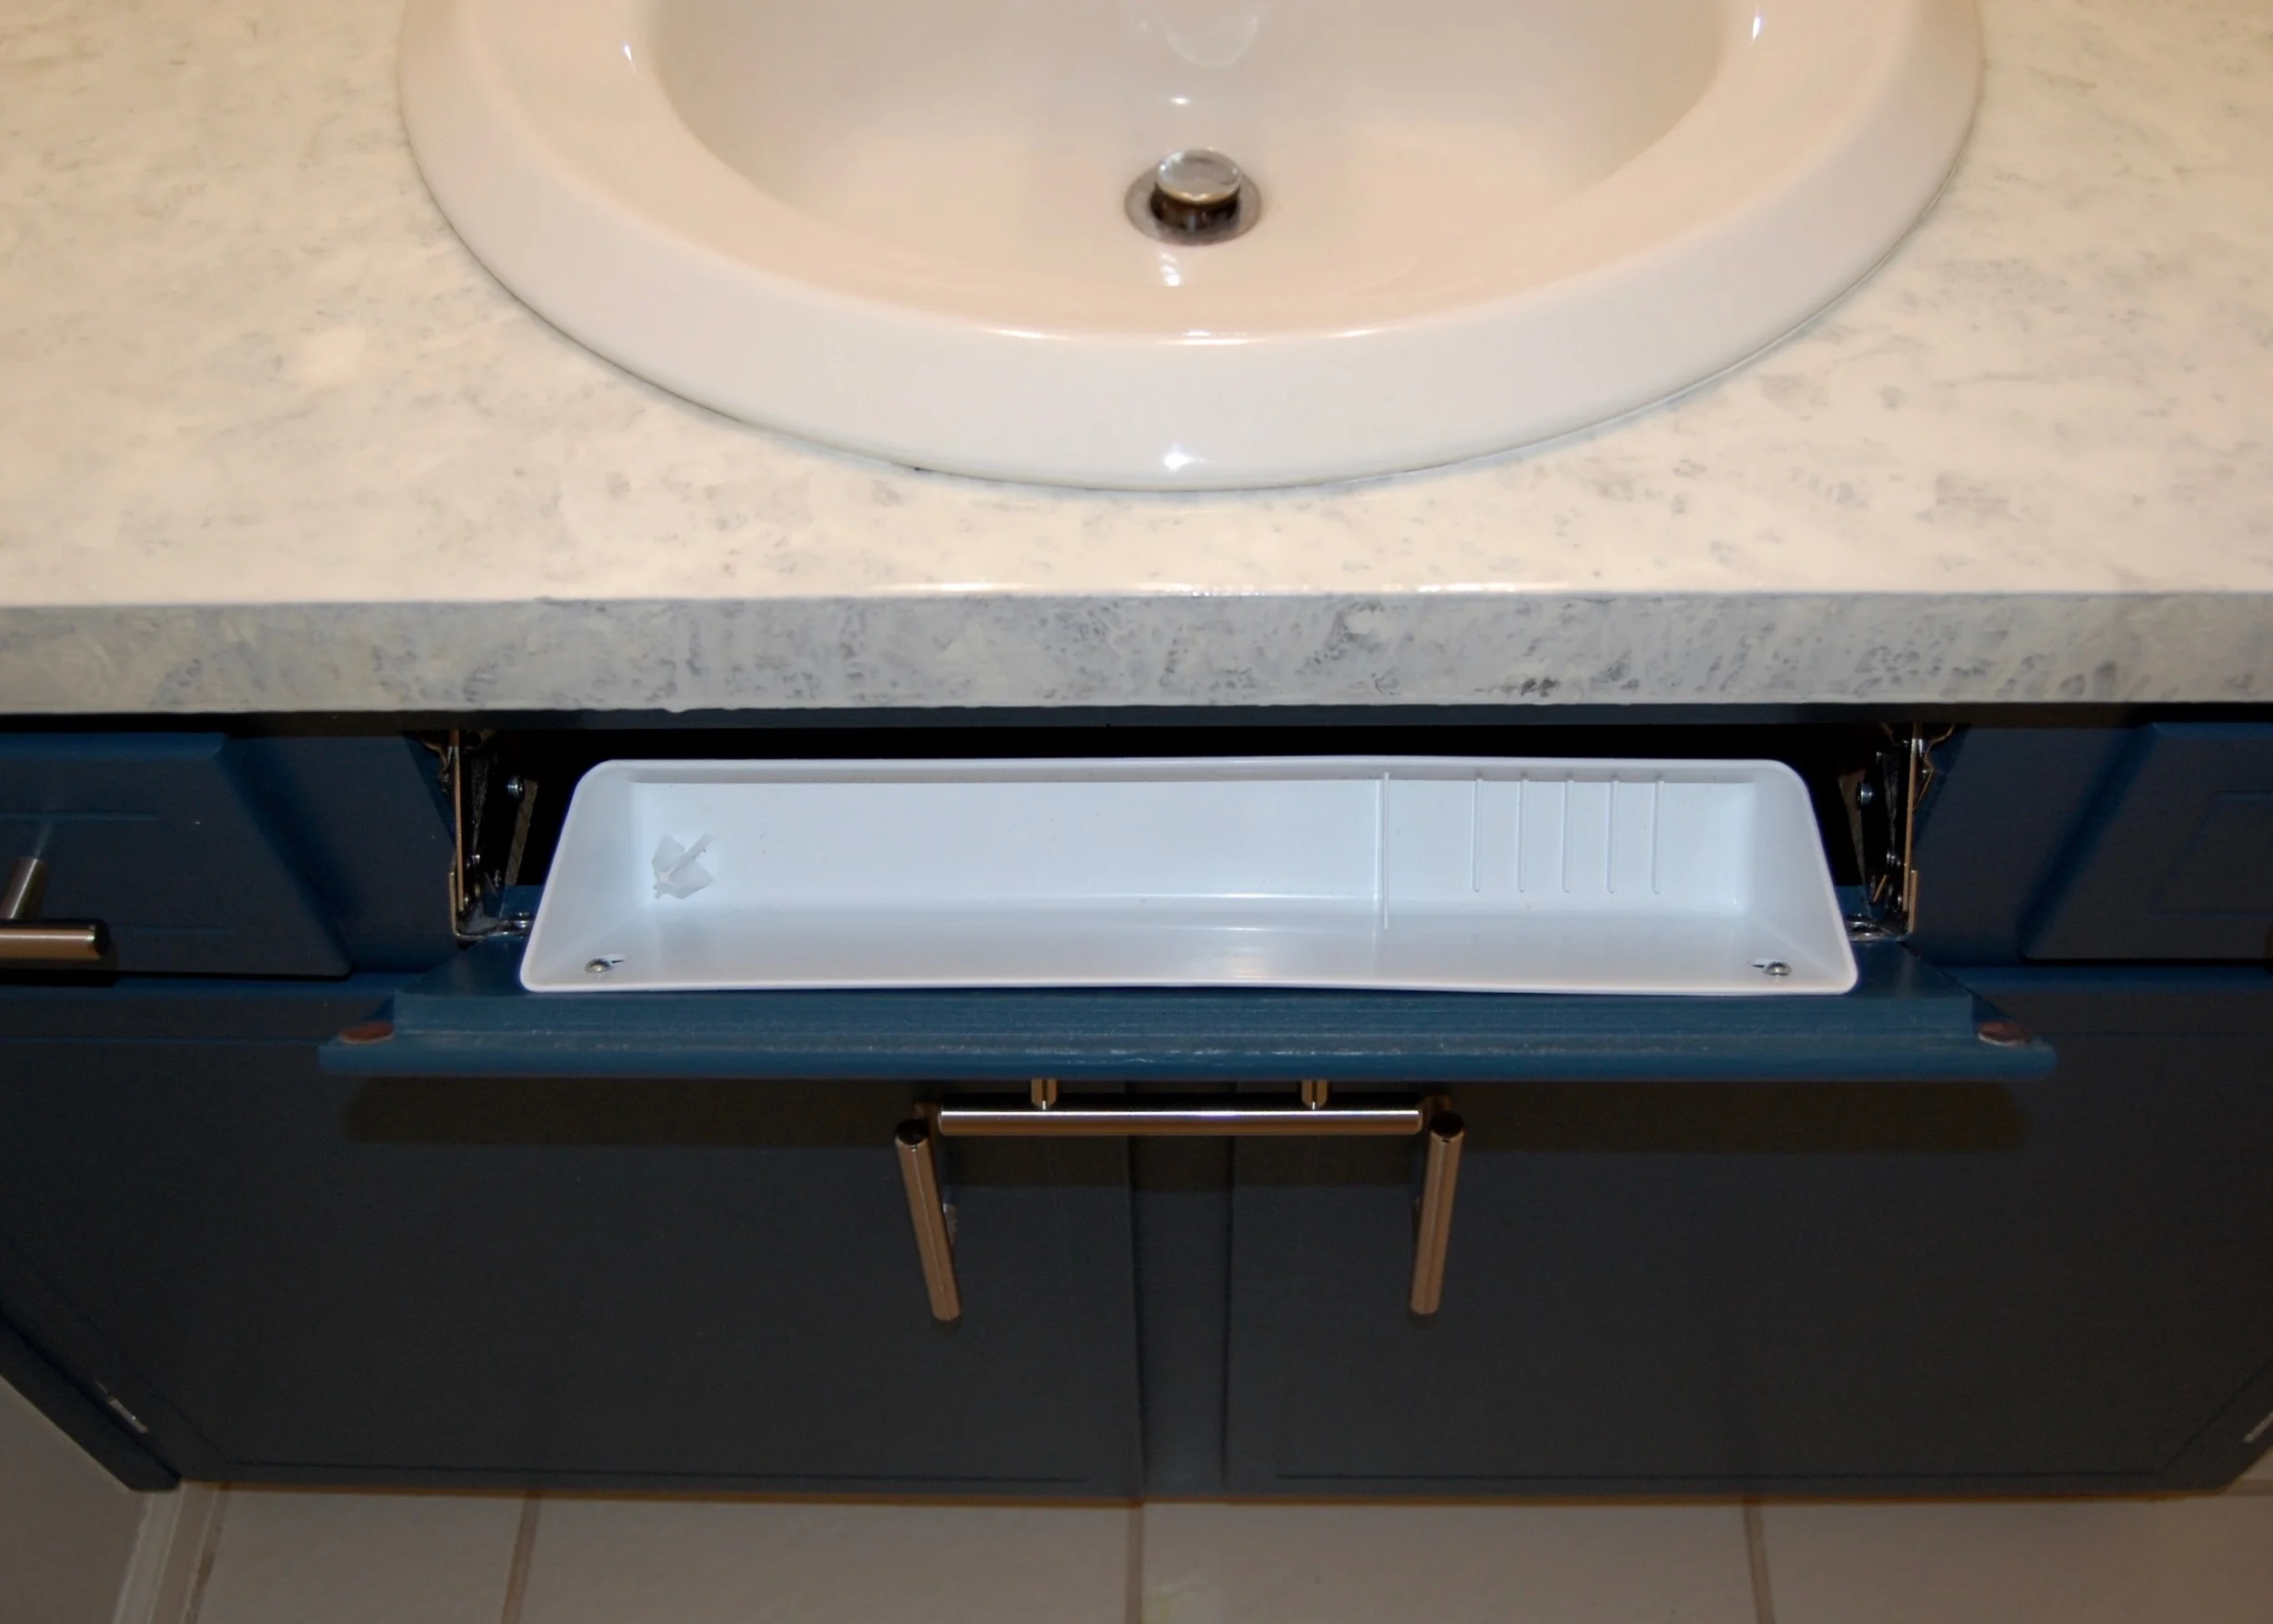
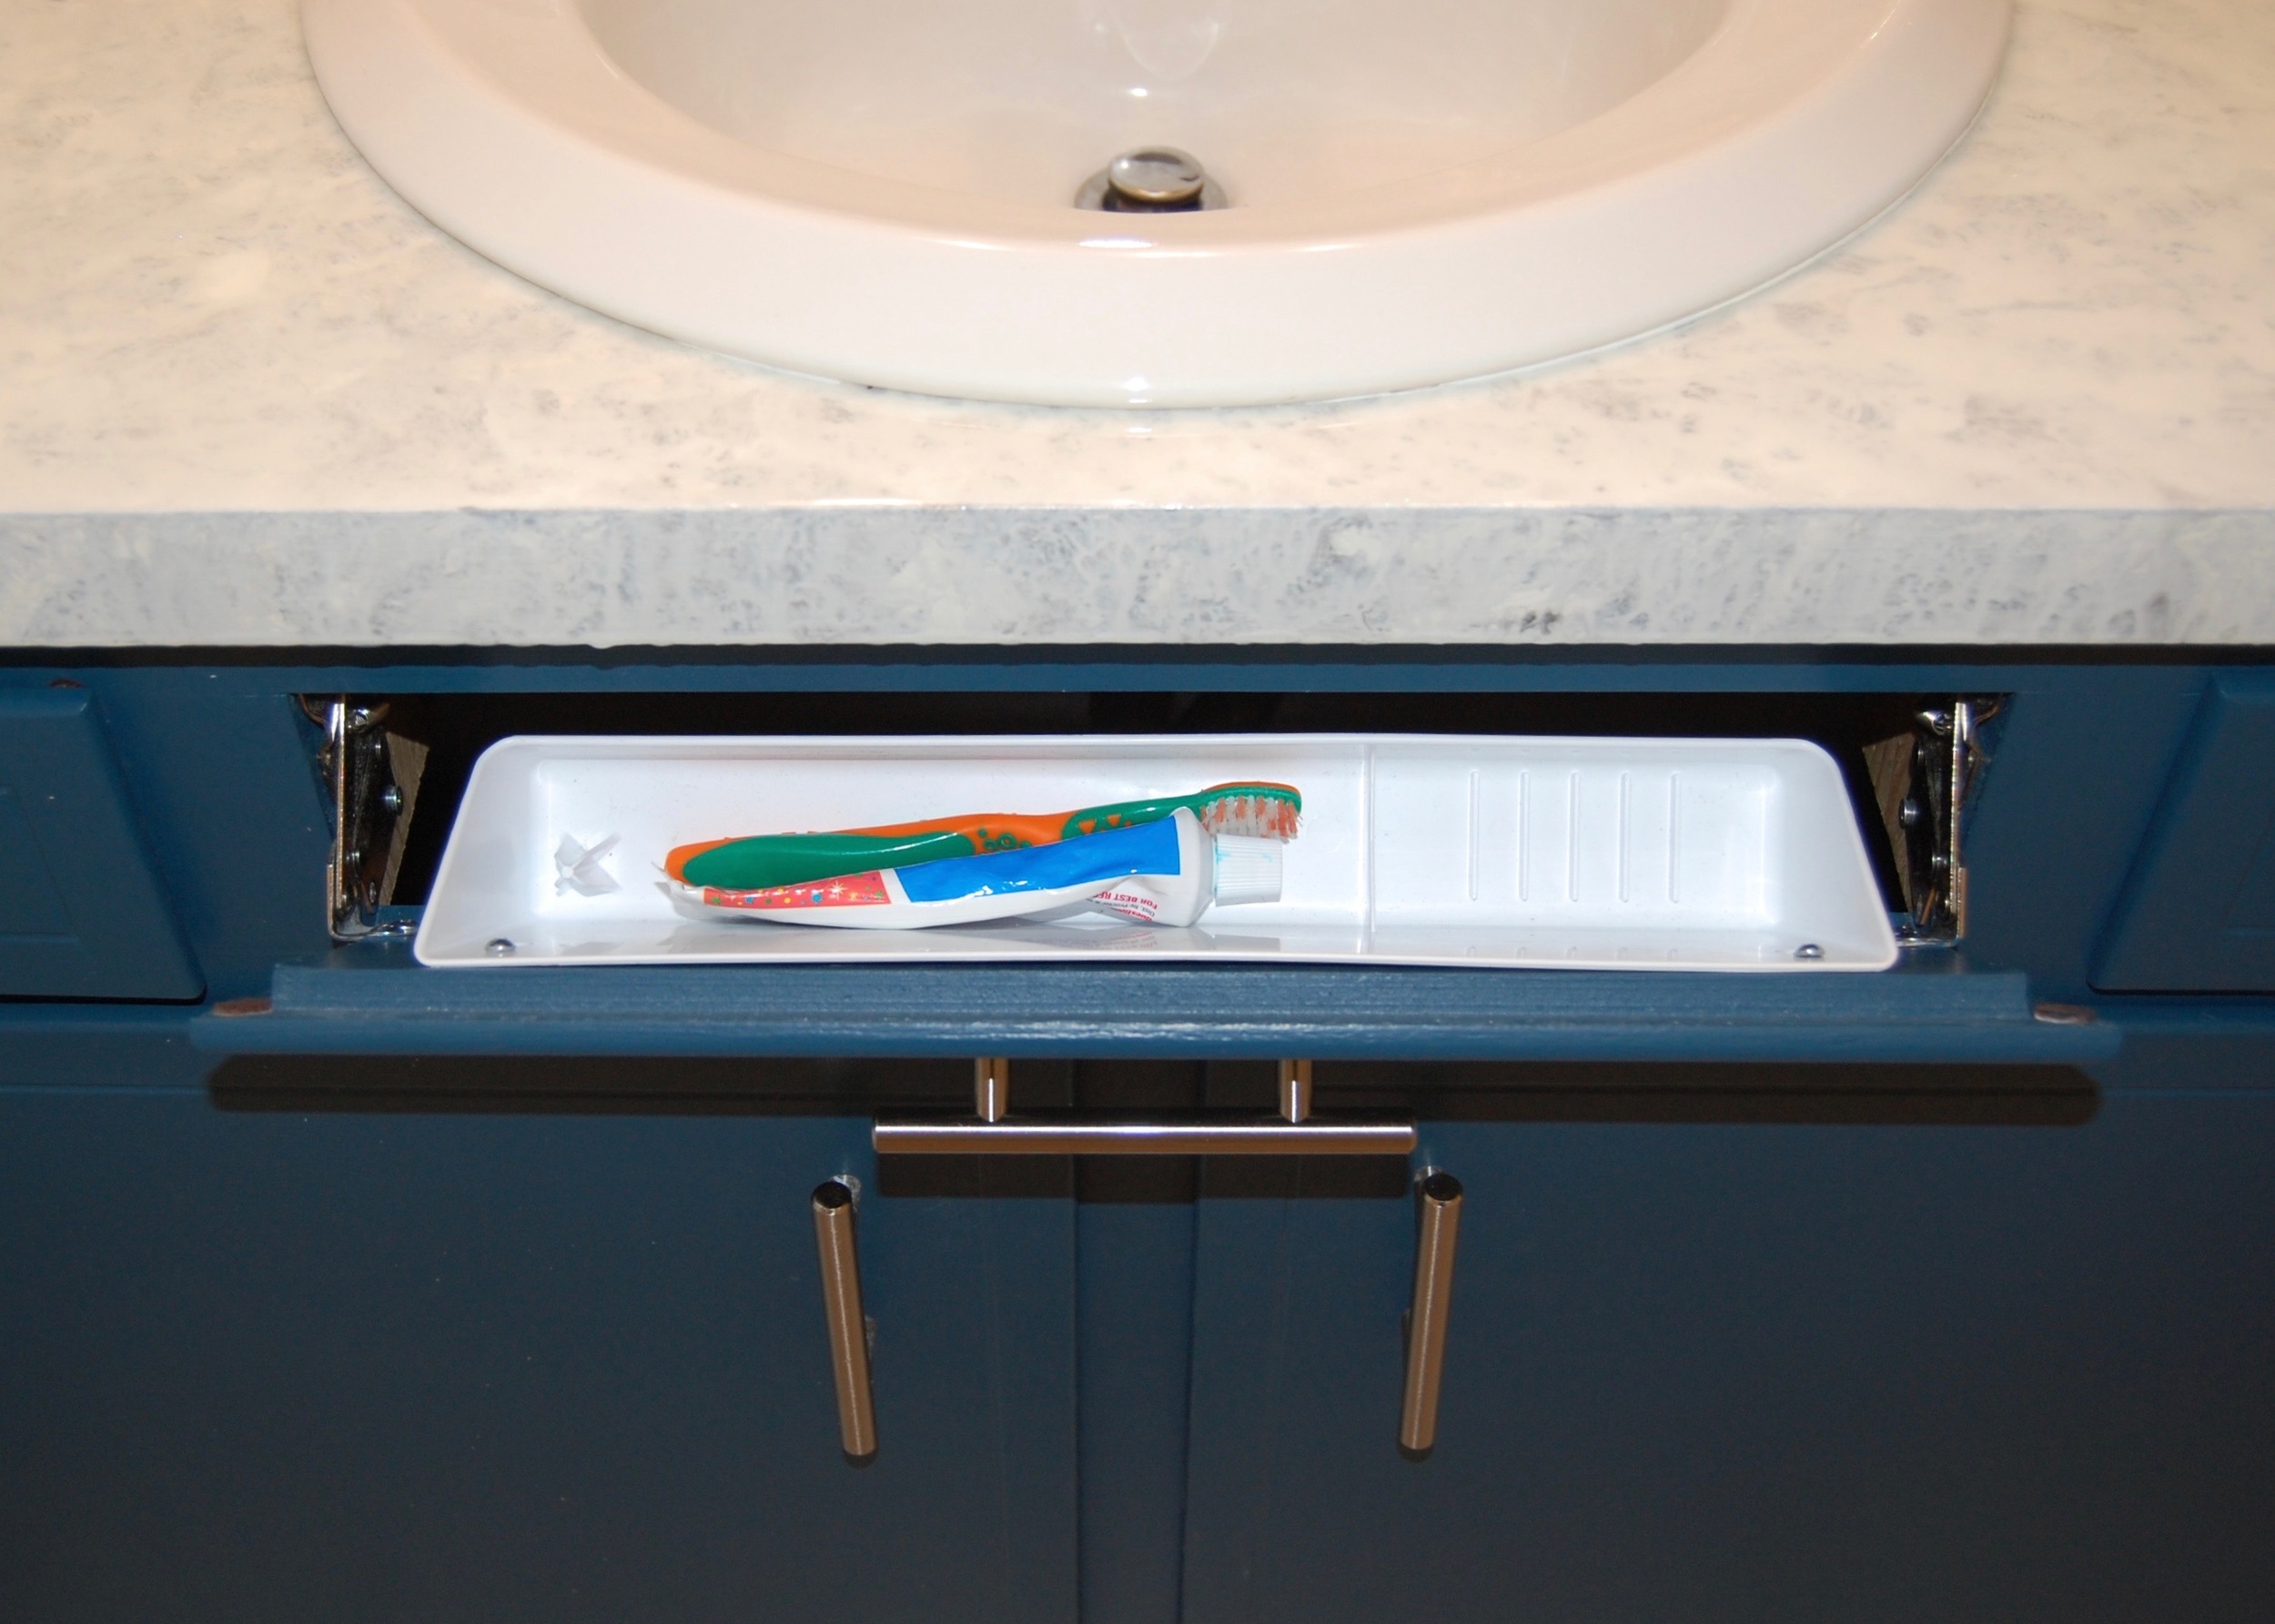
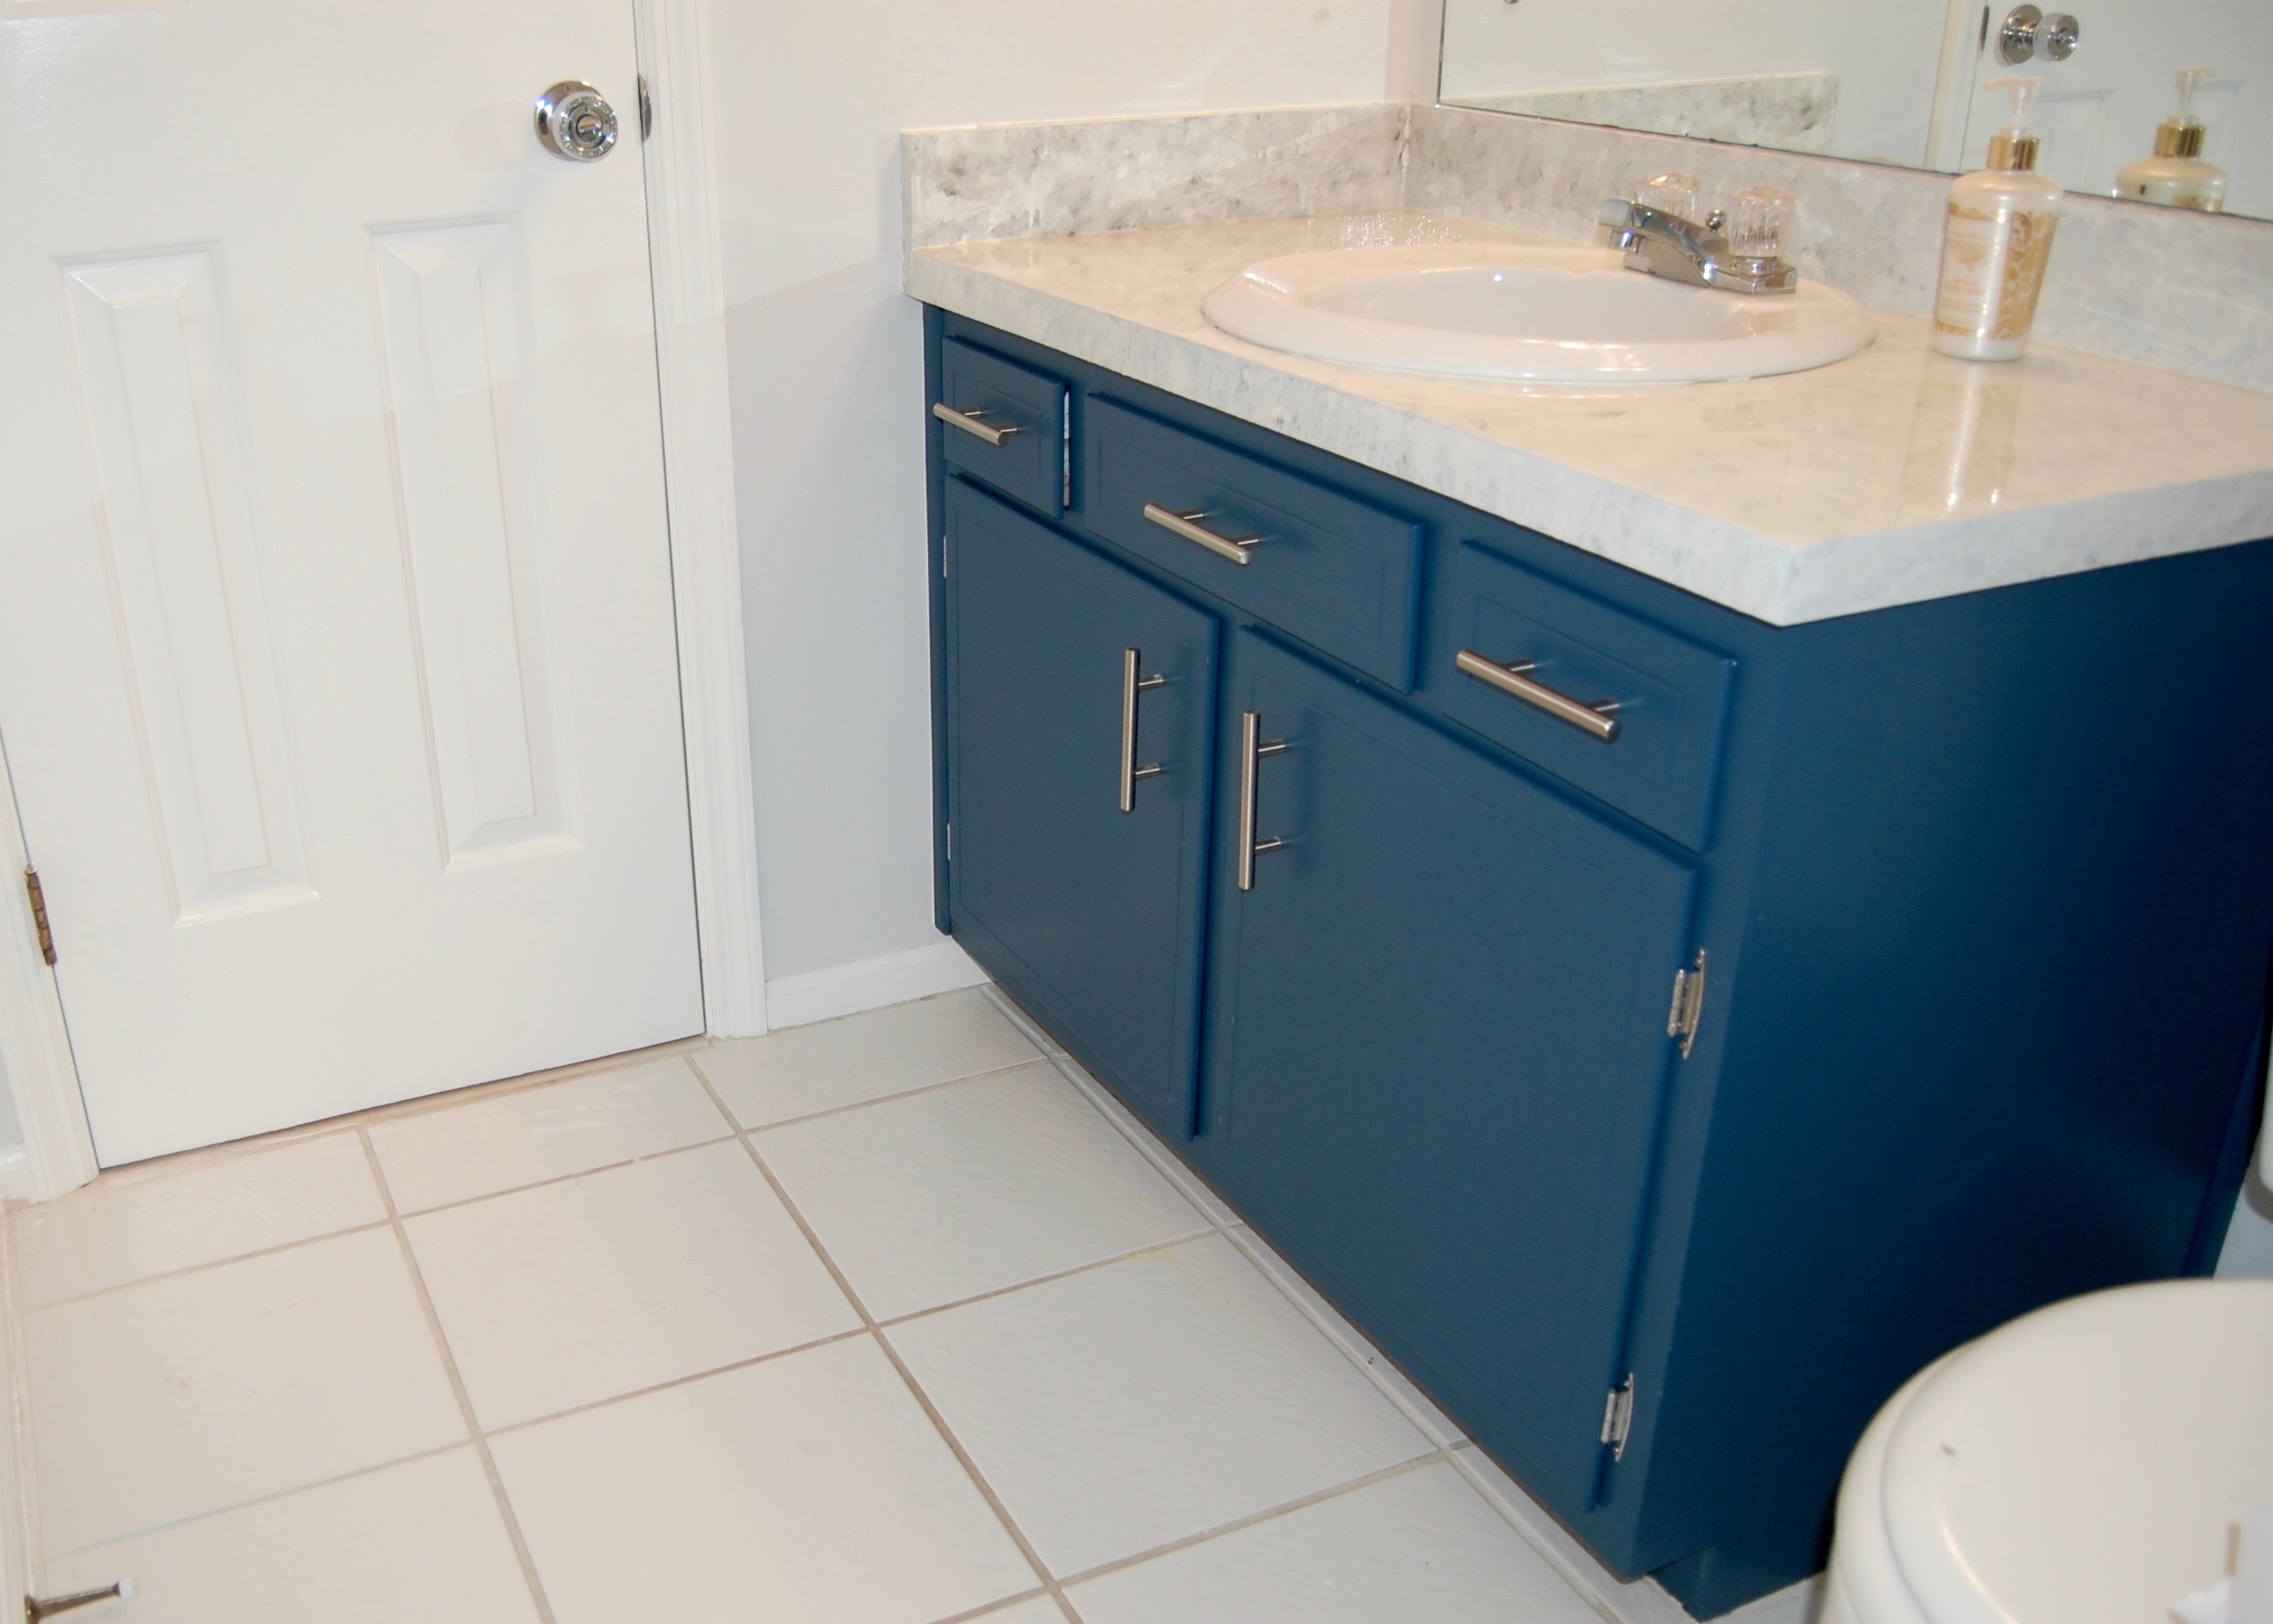
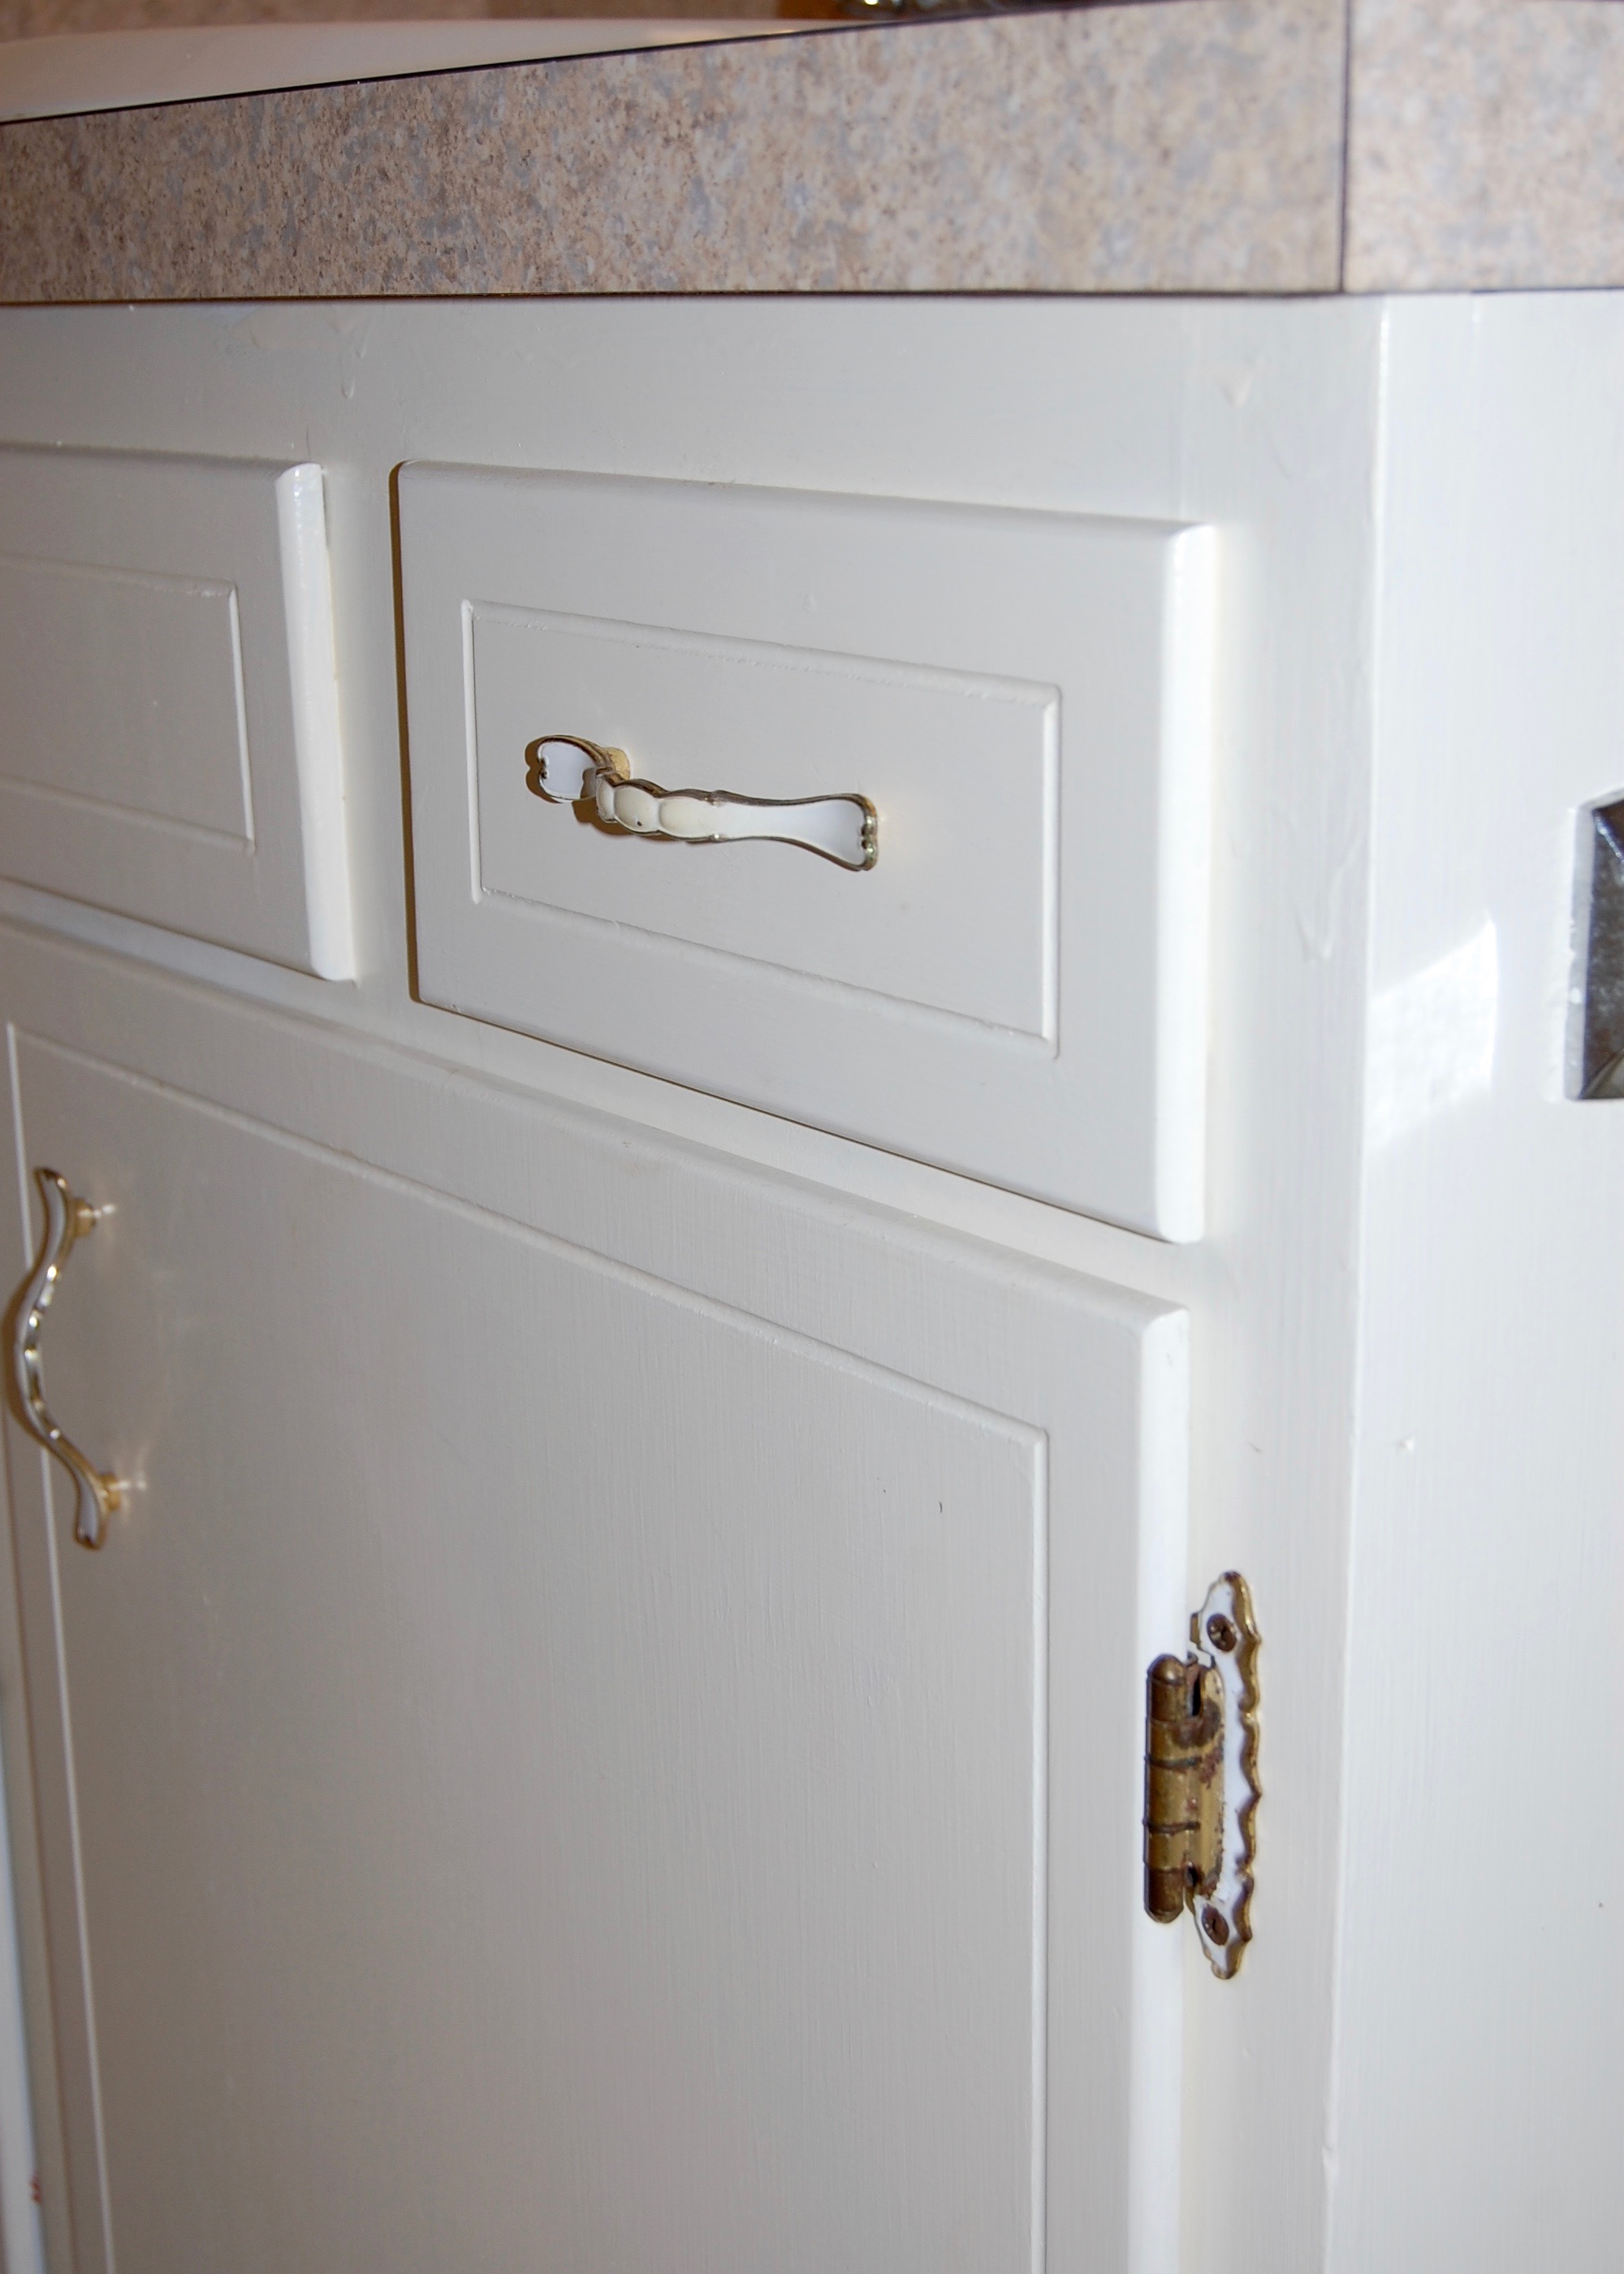
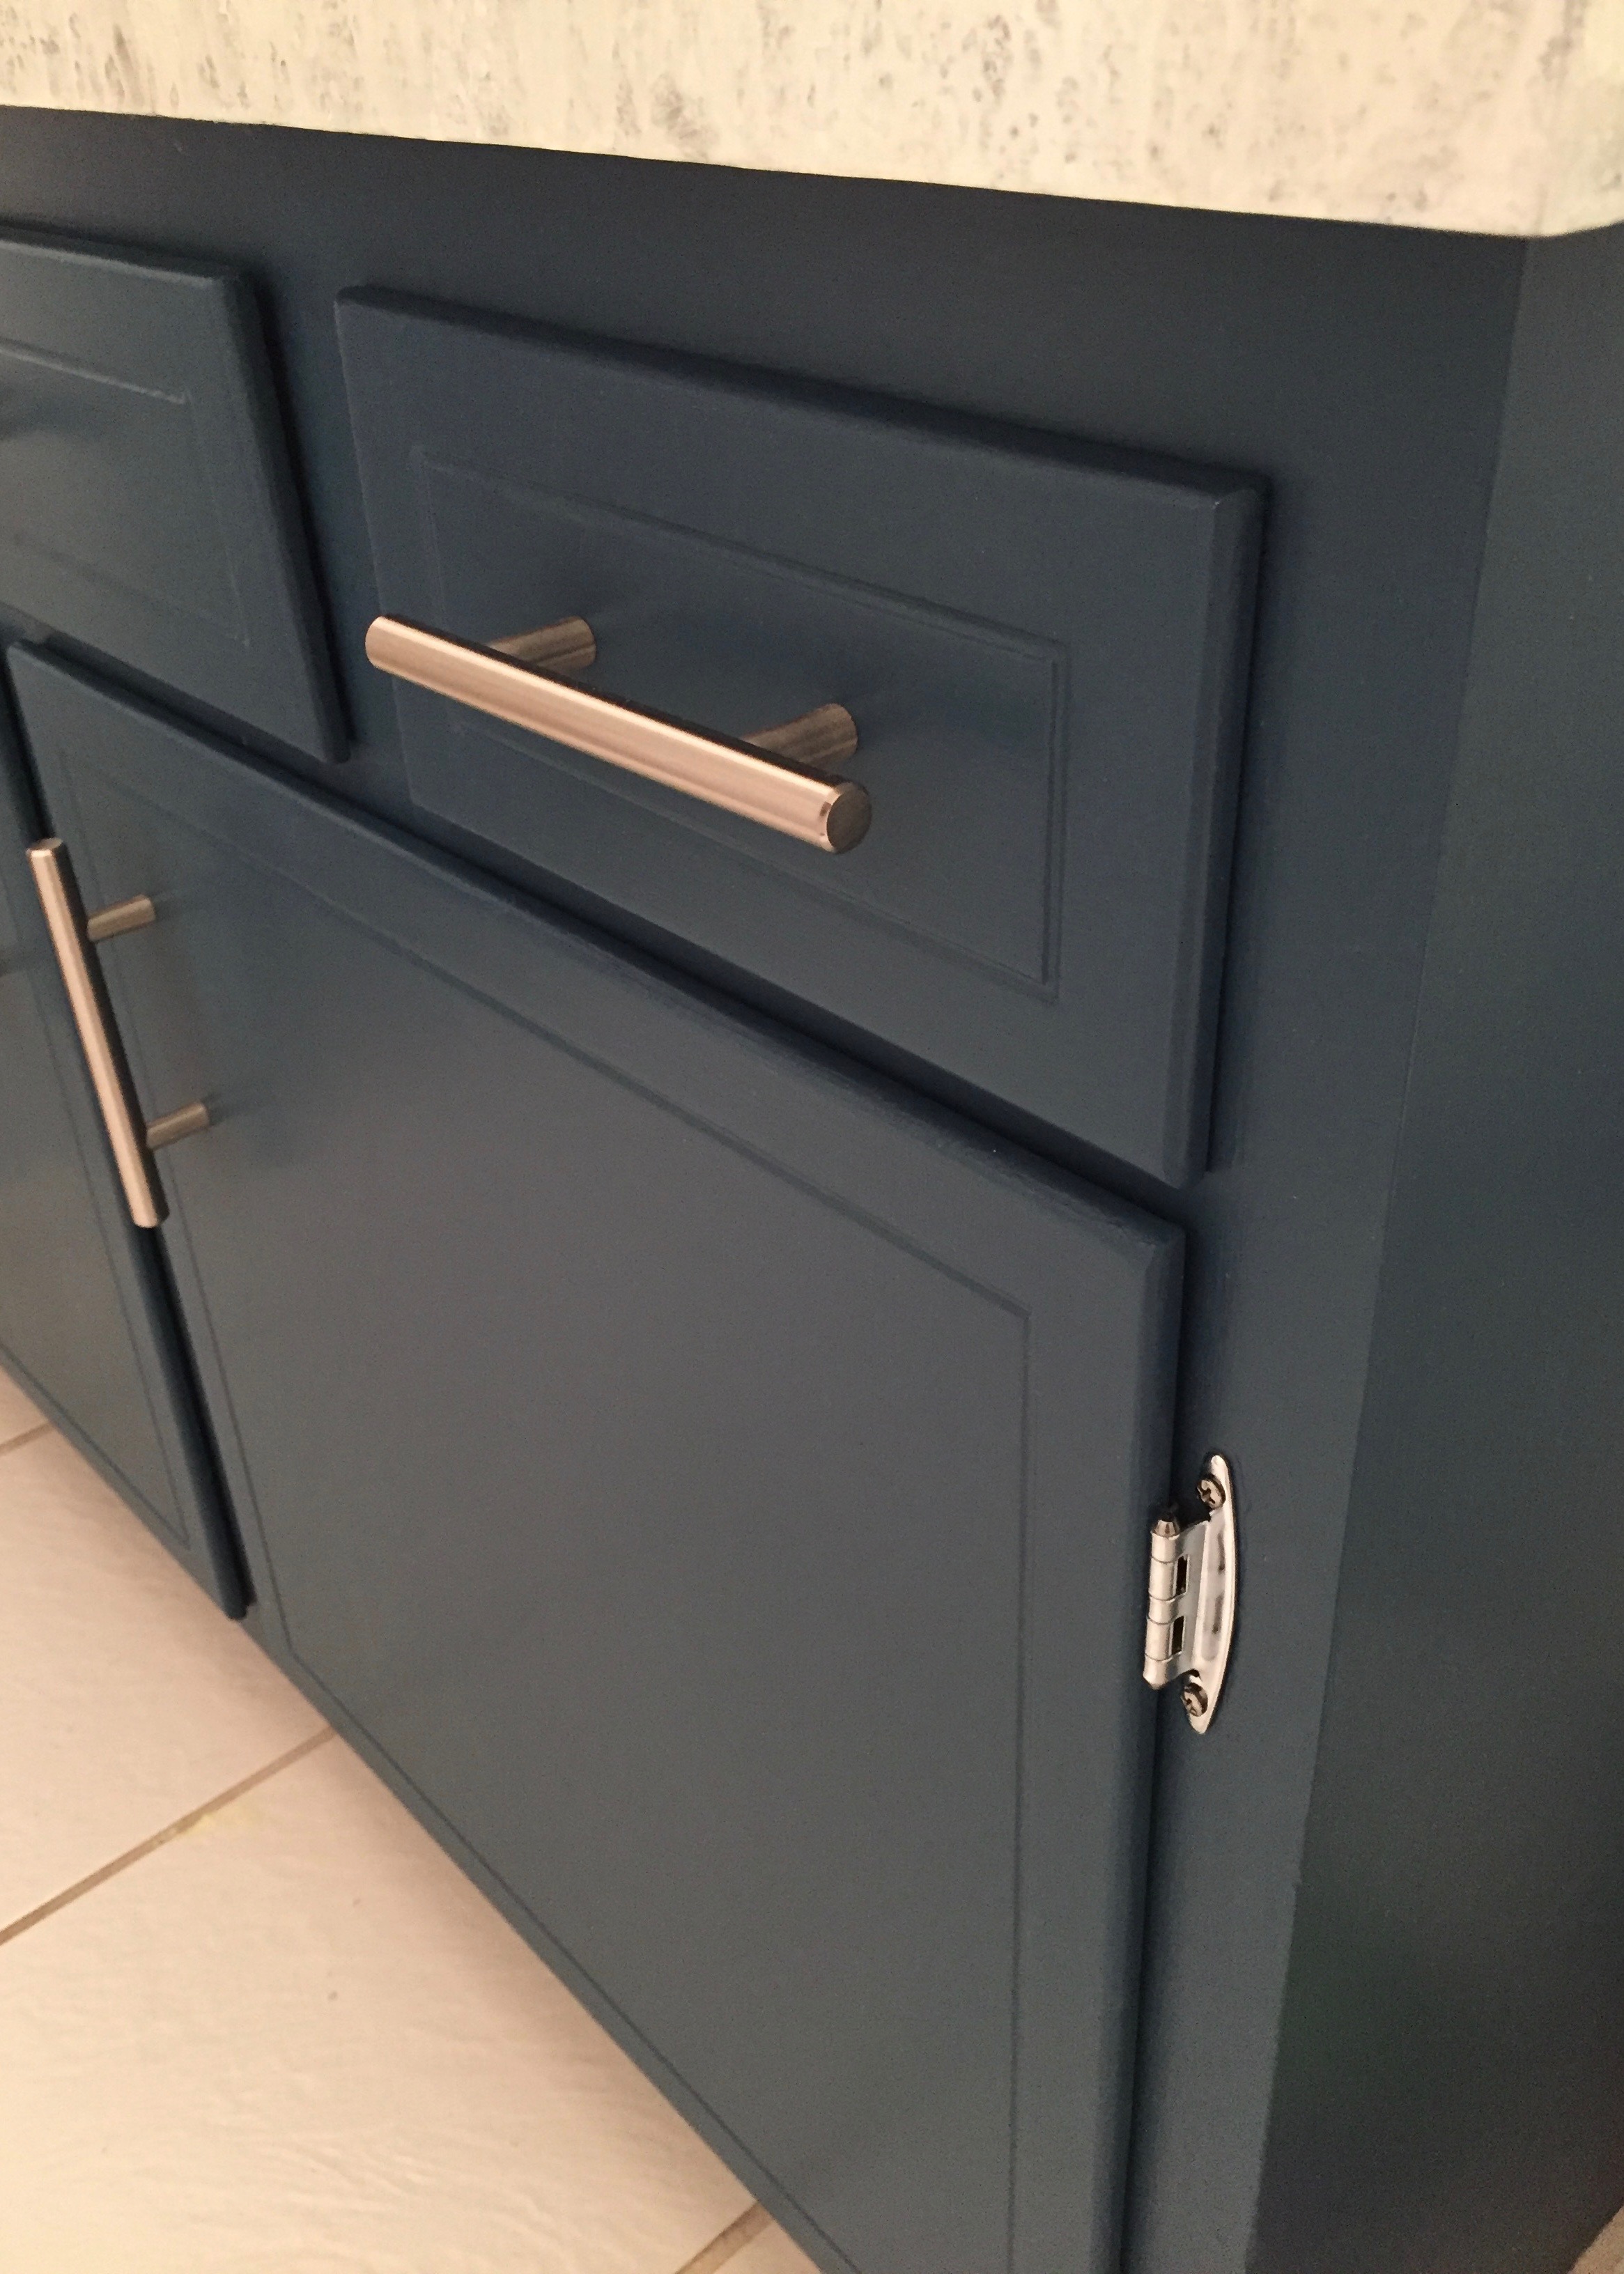
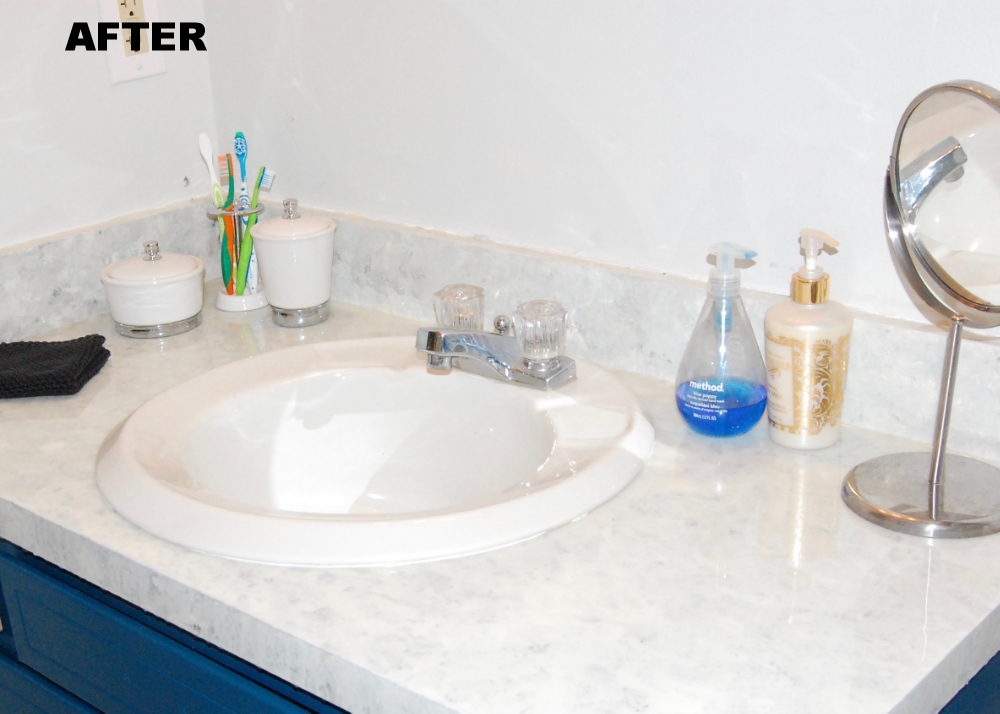
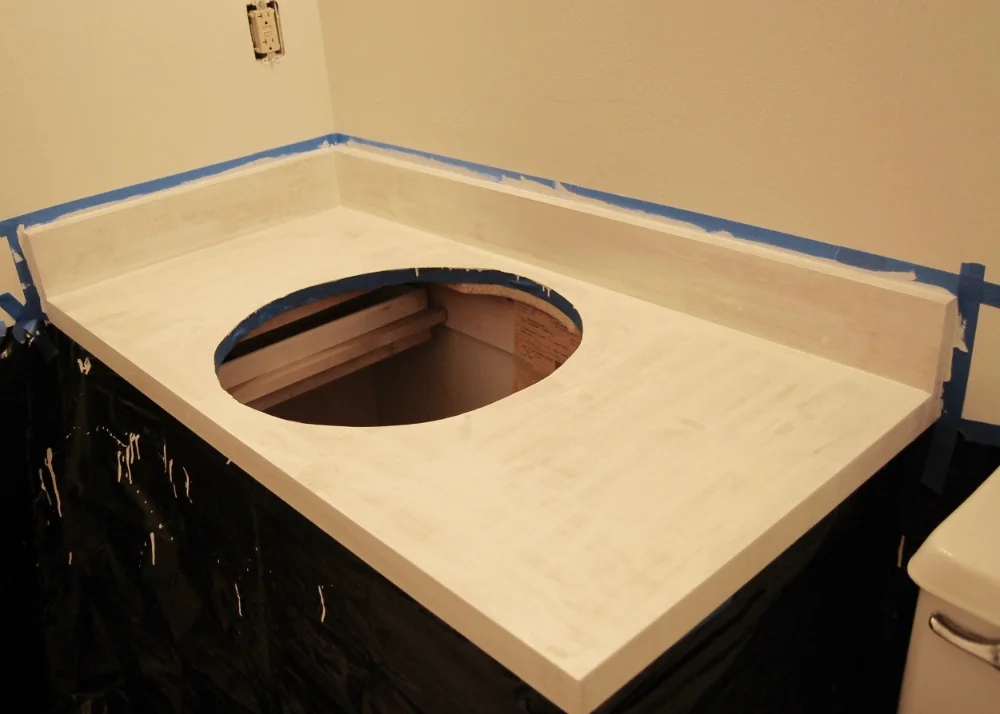
The bathroom cabinet after a coat of paint, new hardware, and a refinished countertop.

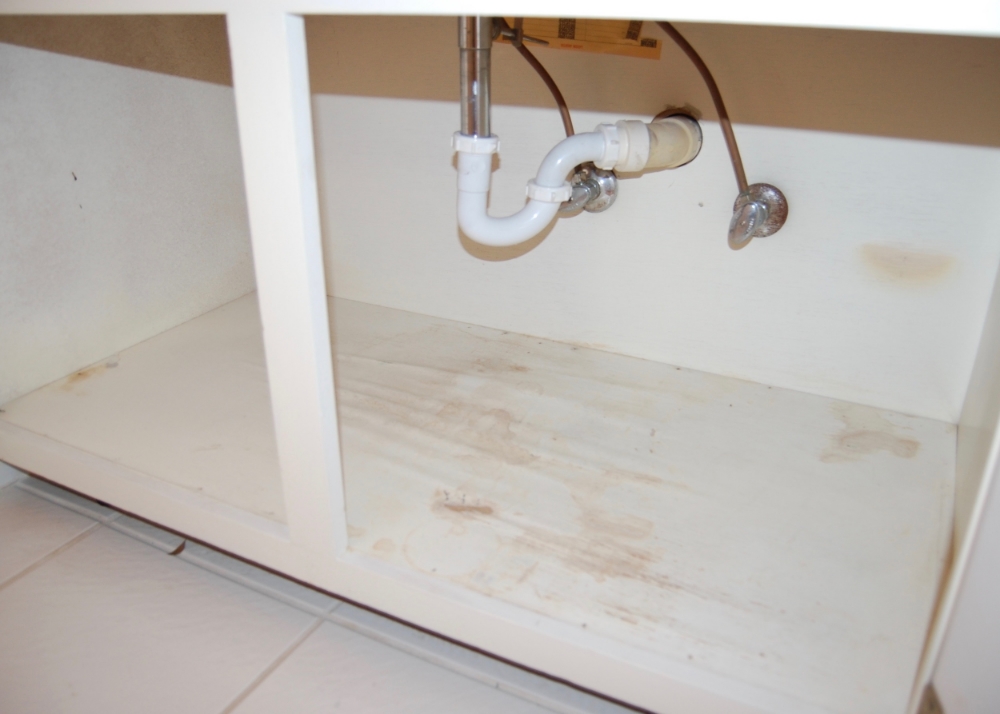
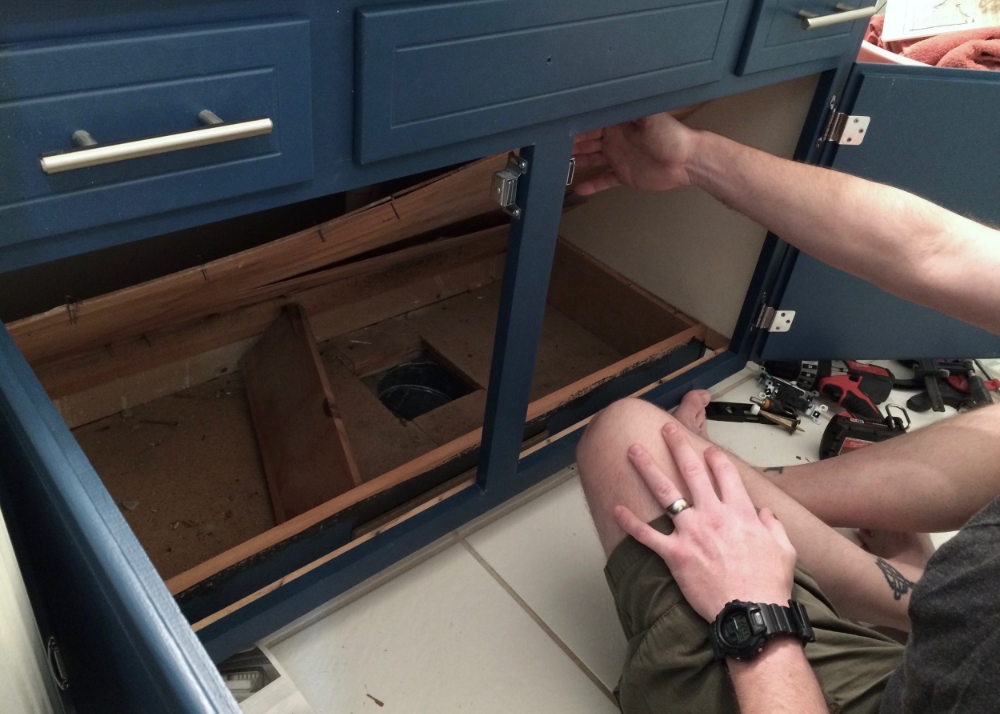
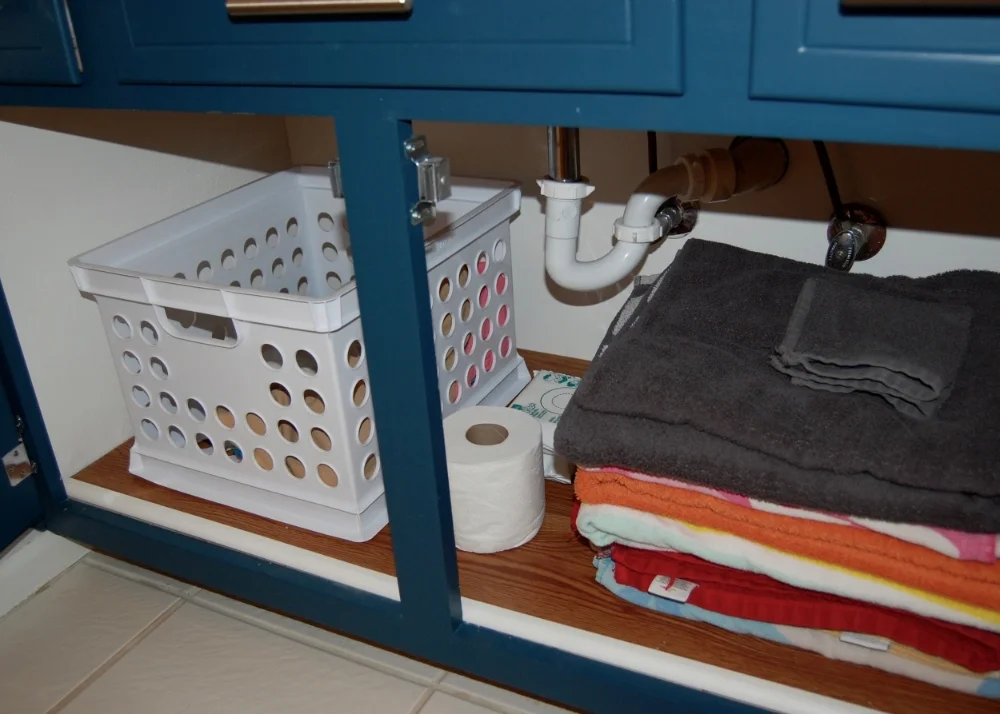
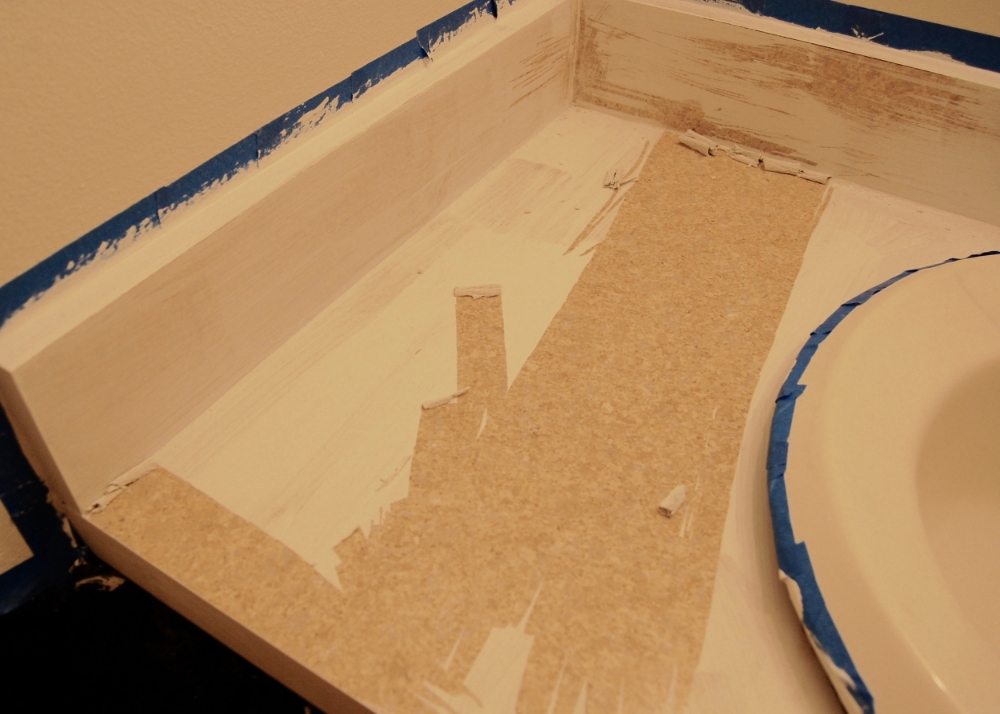
Cabinet interior after paint and new flooring.
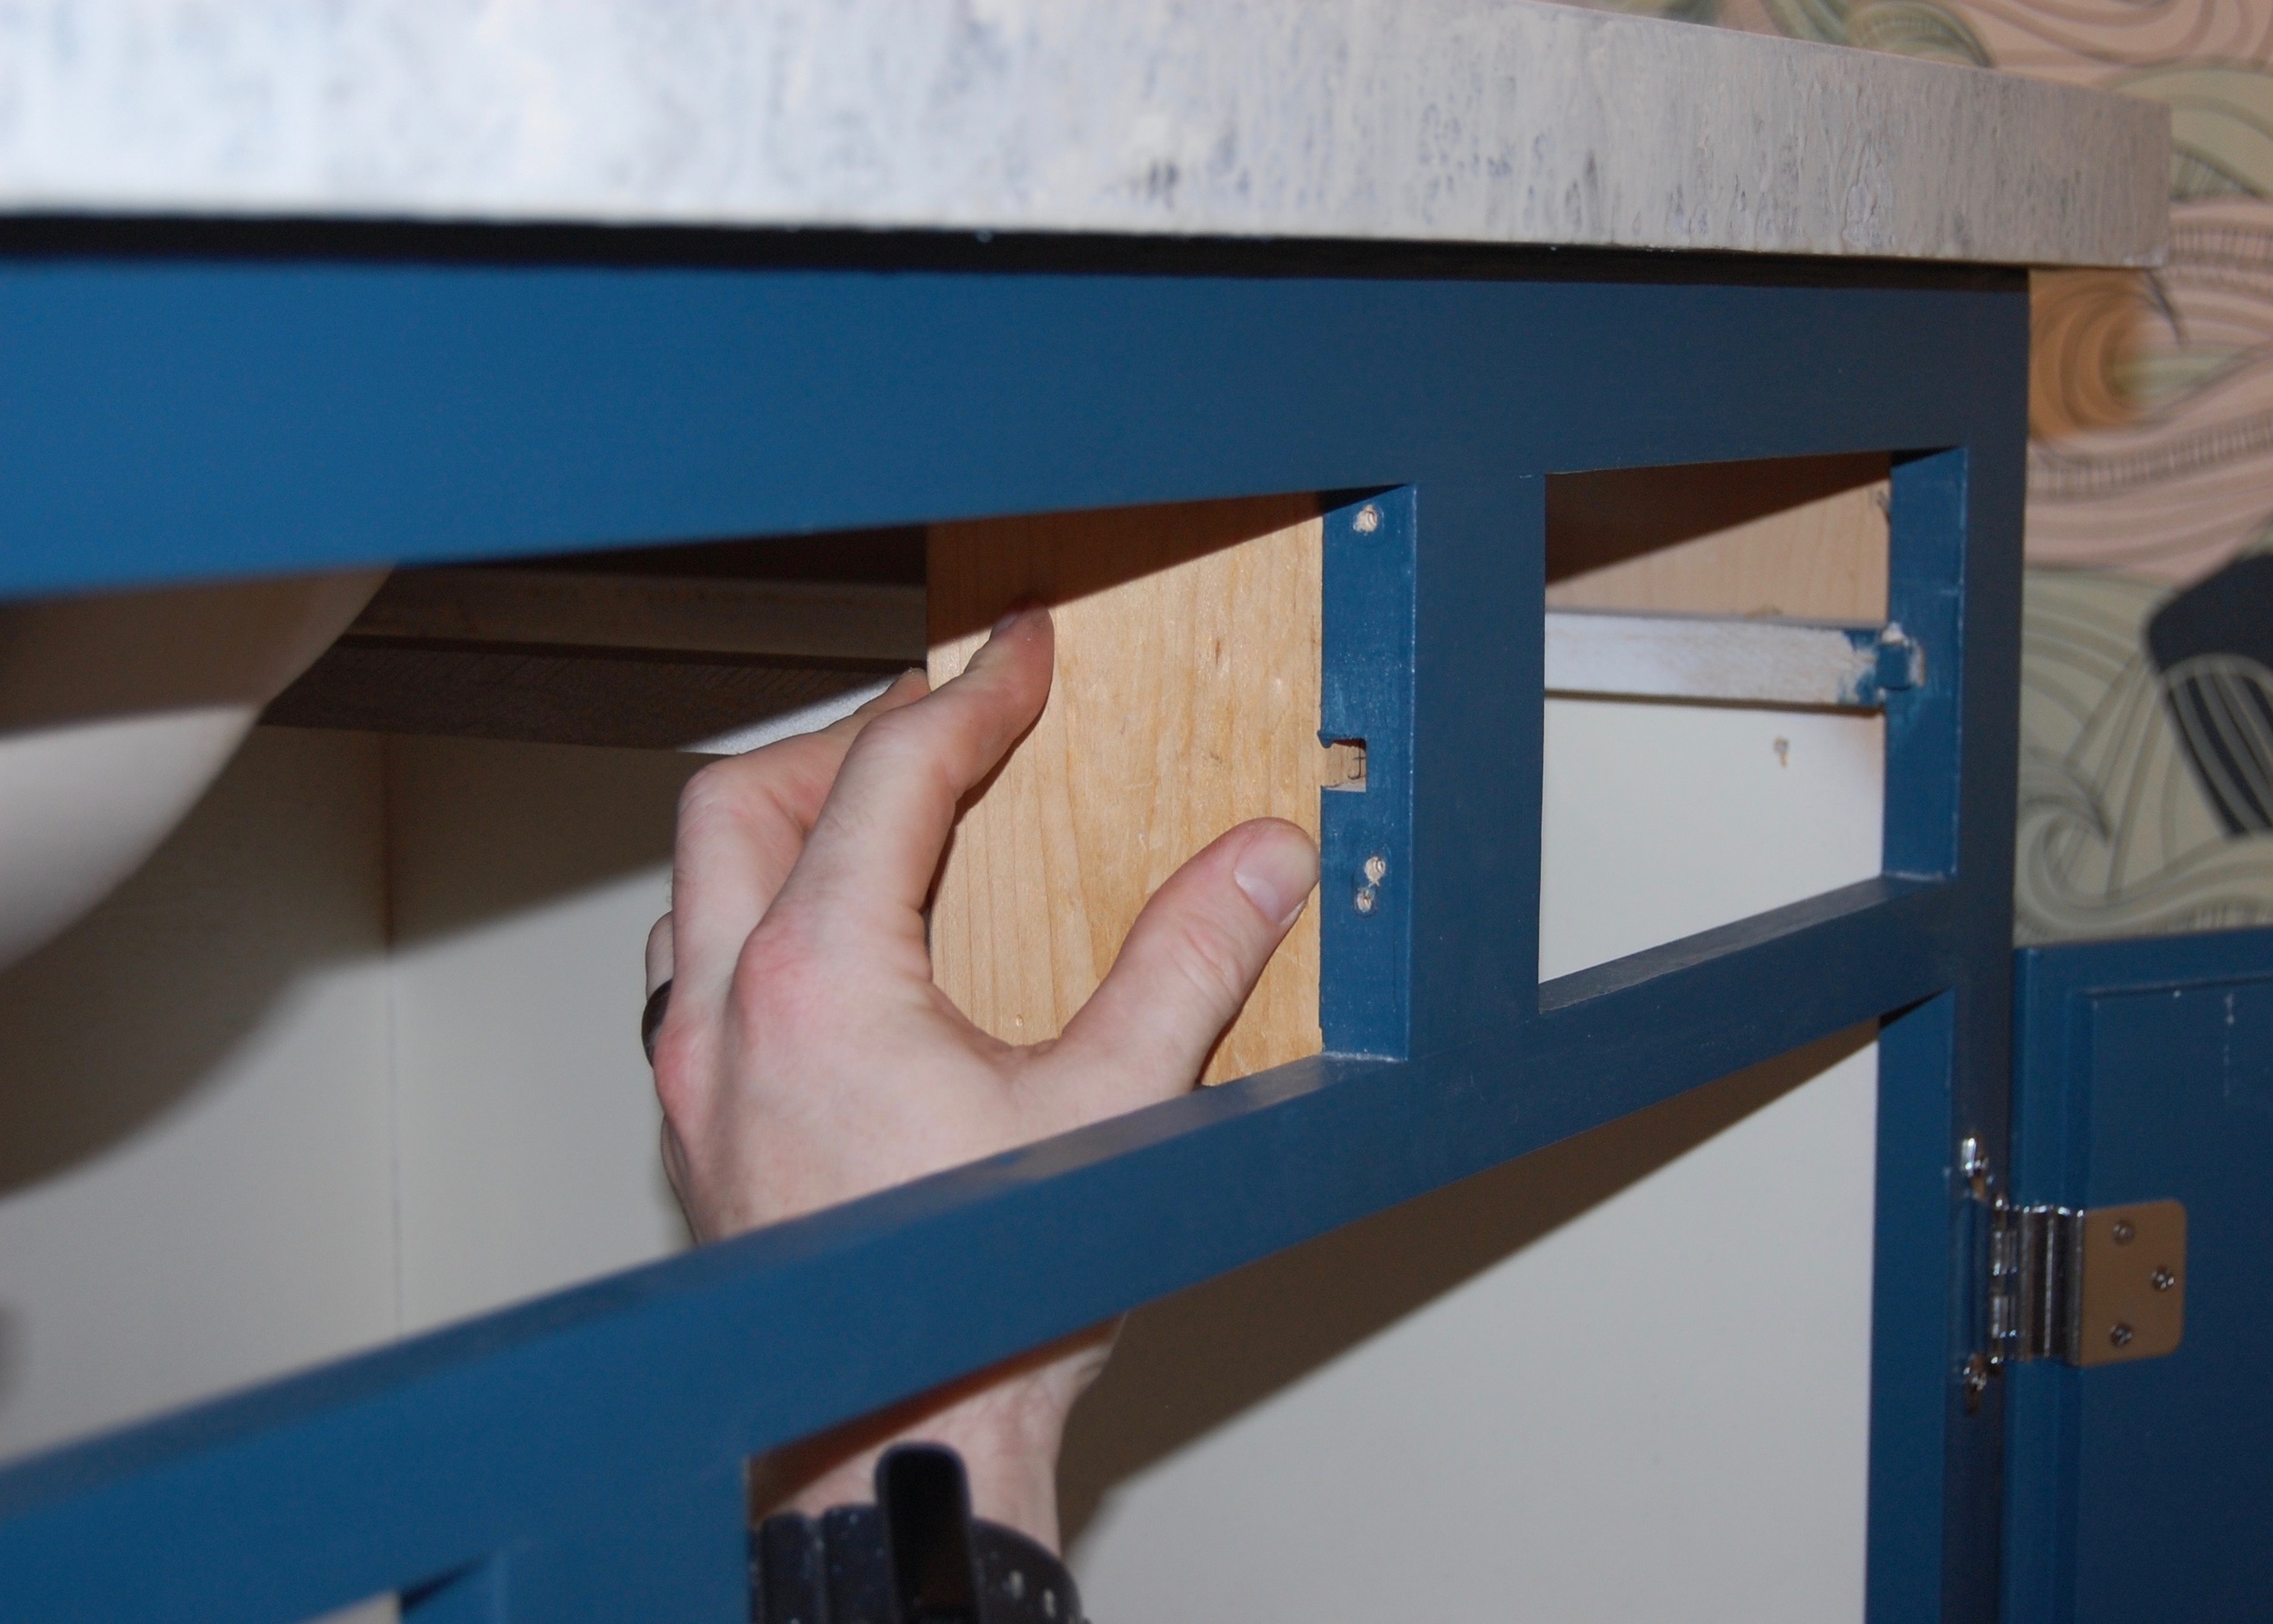
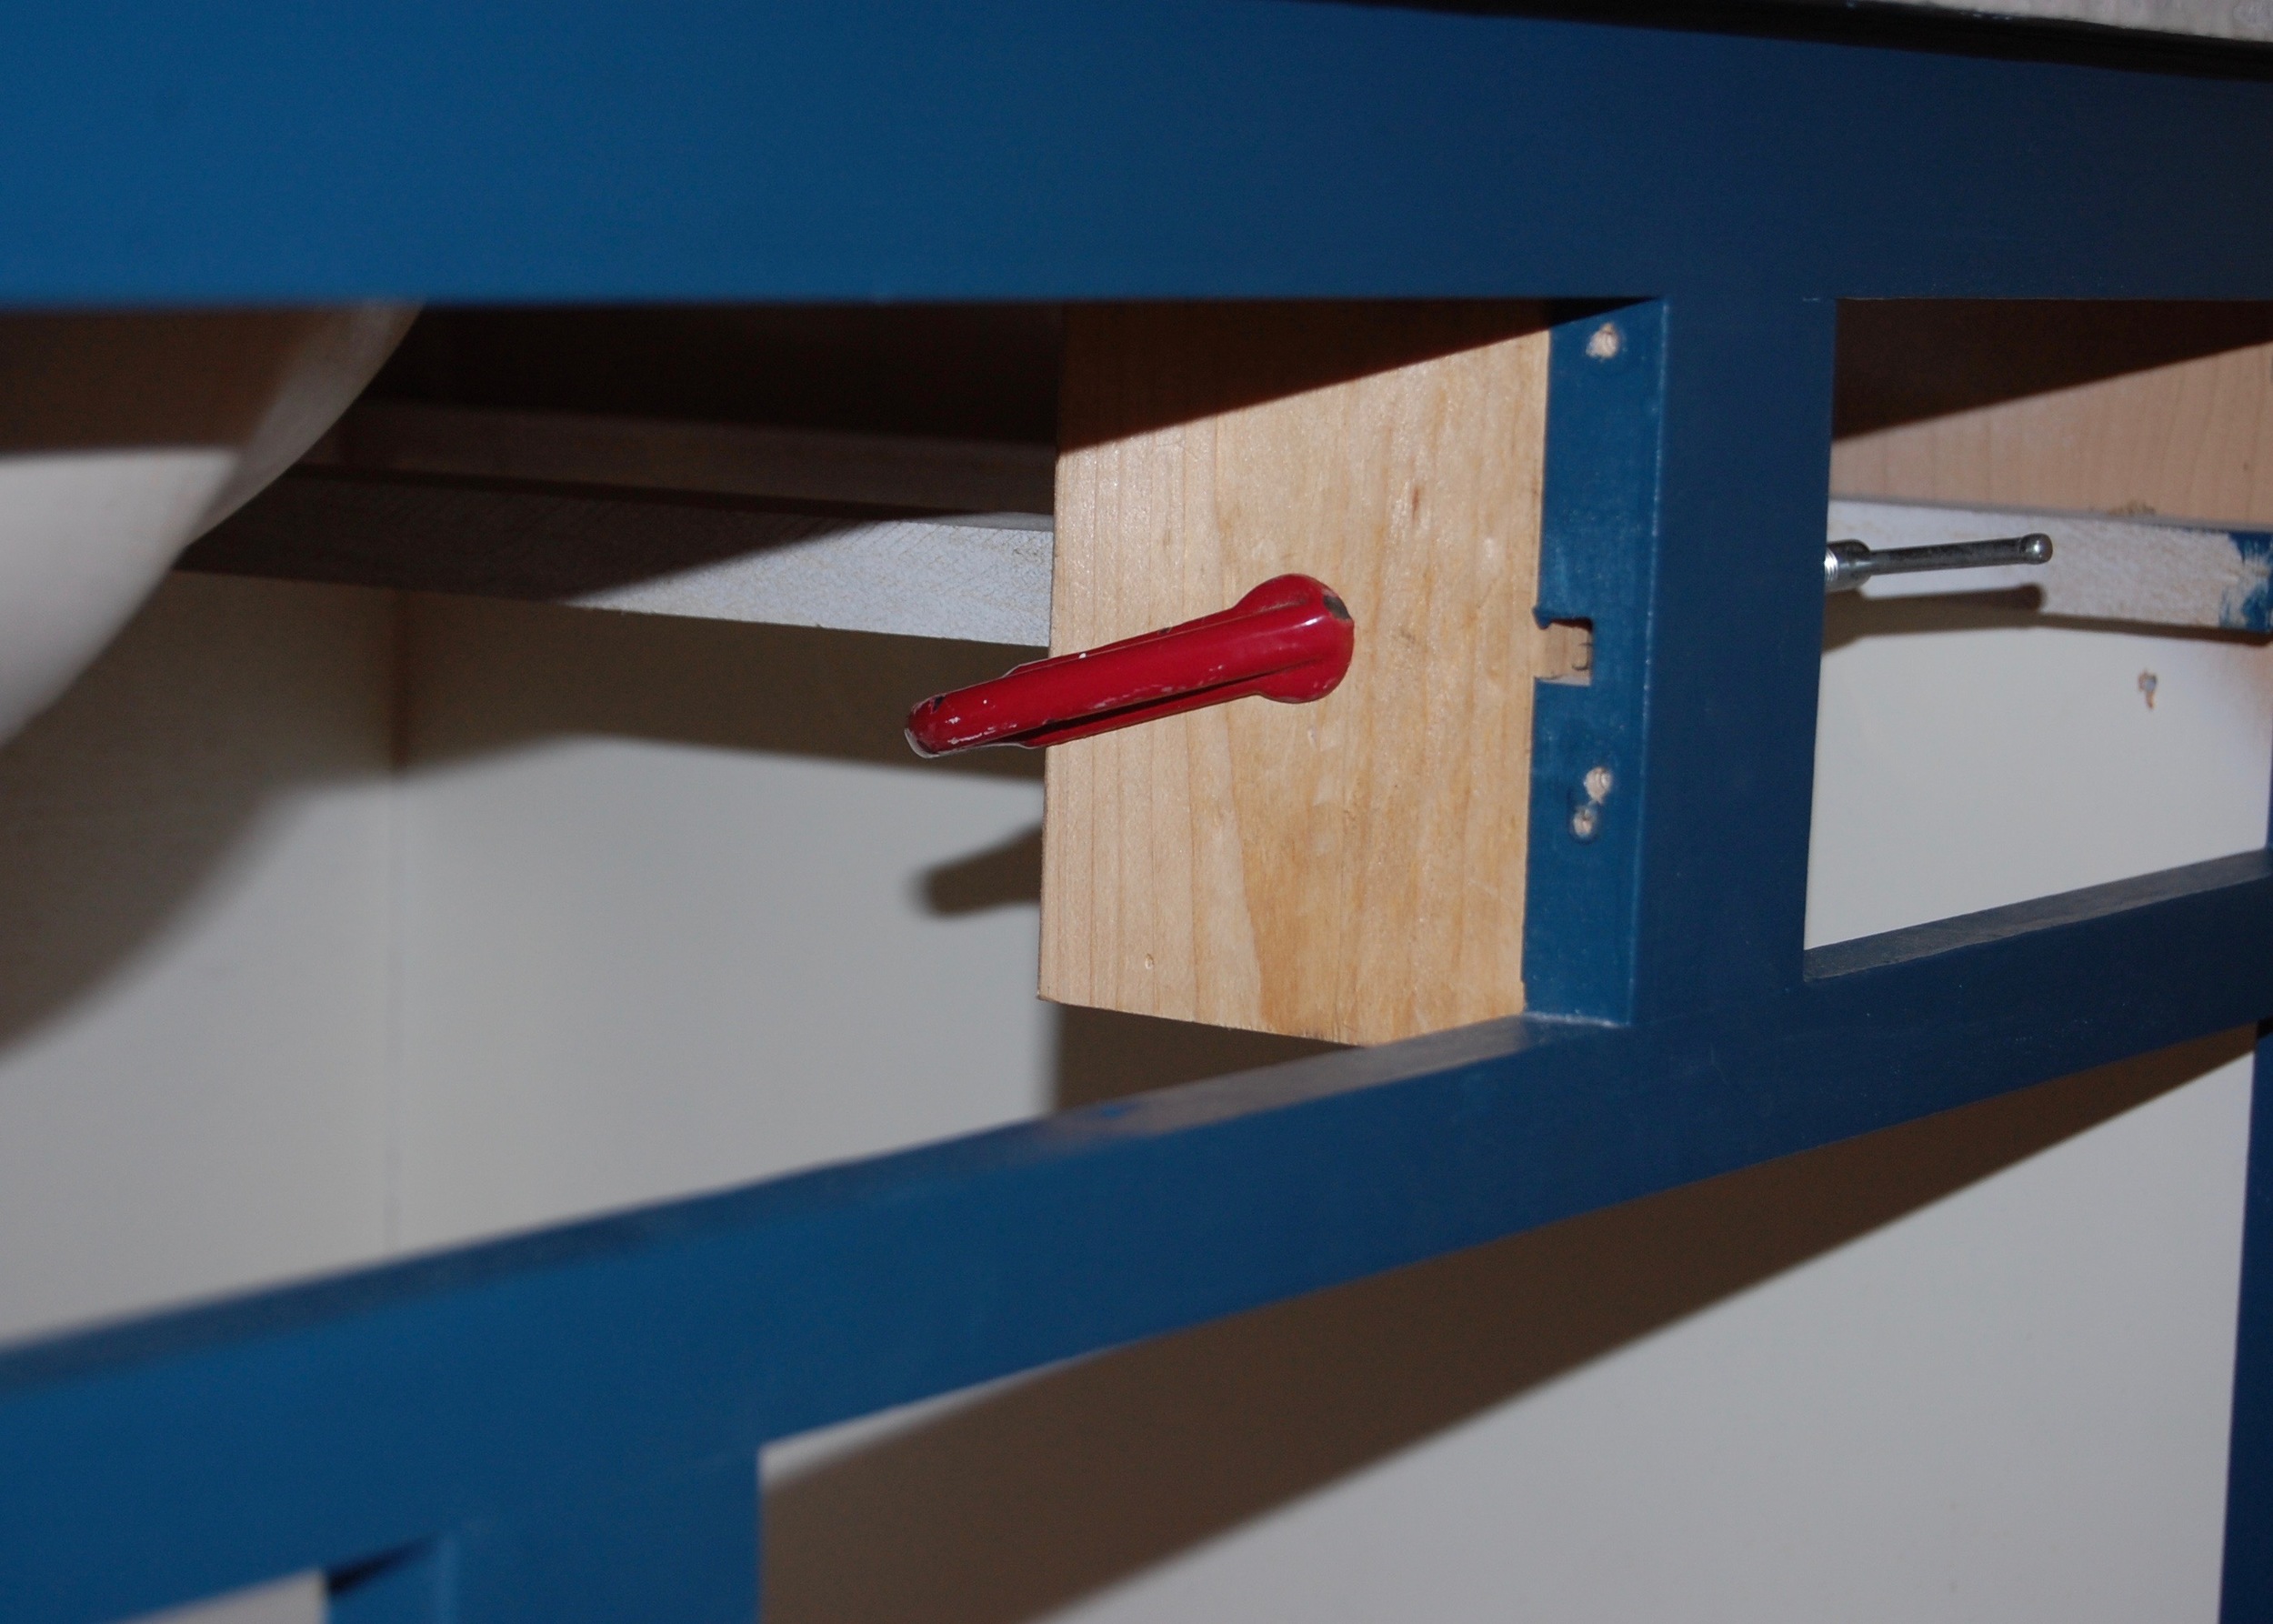
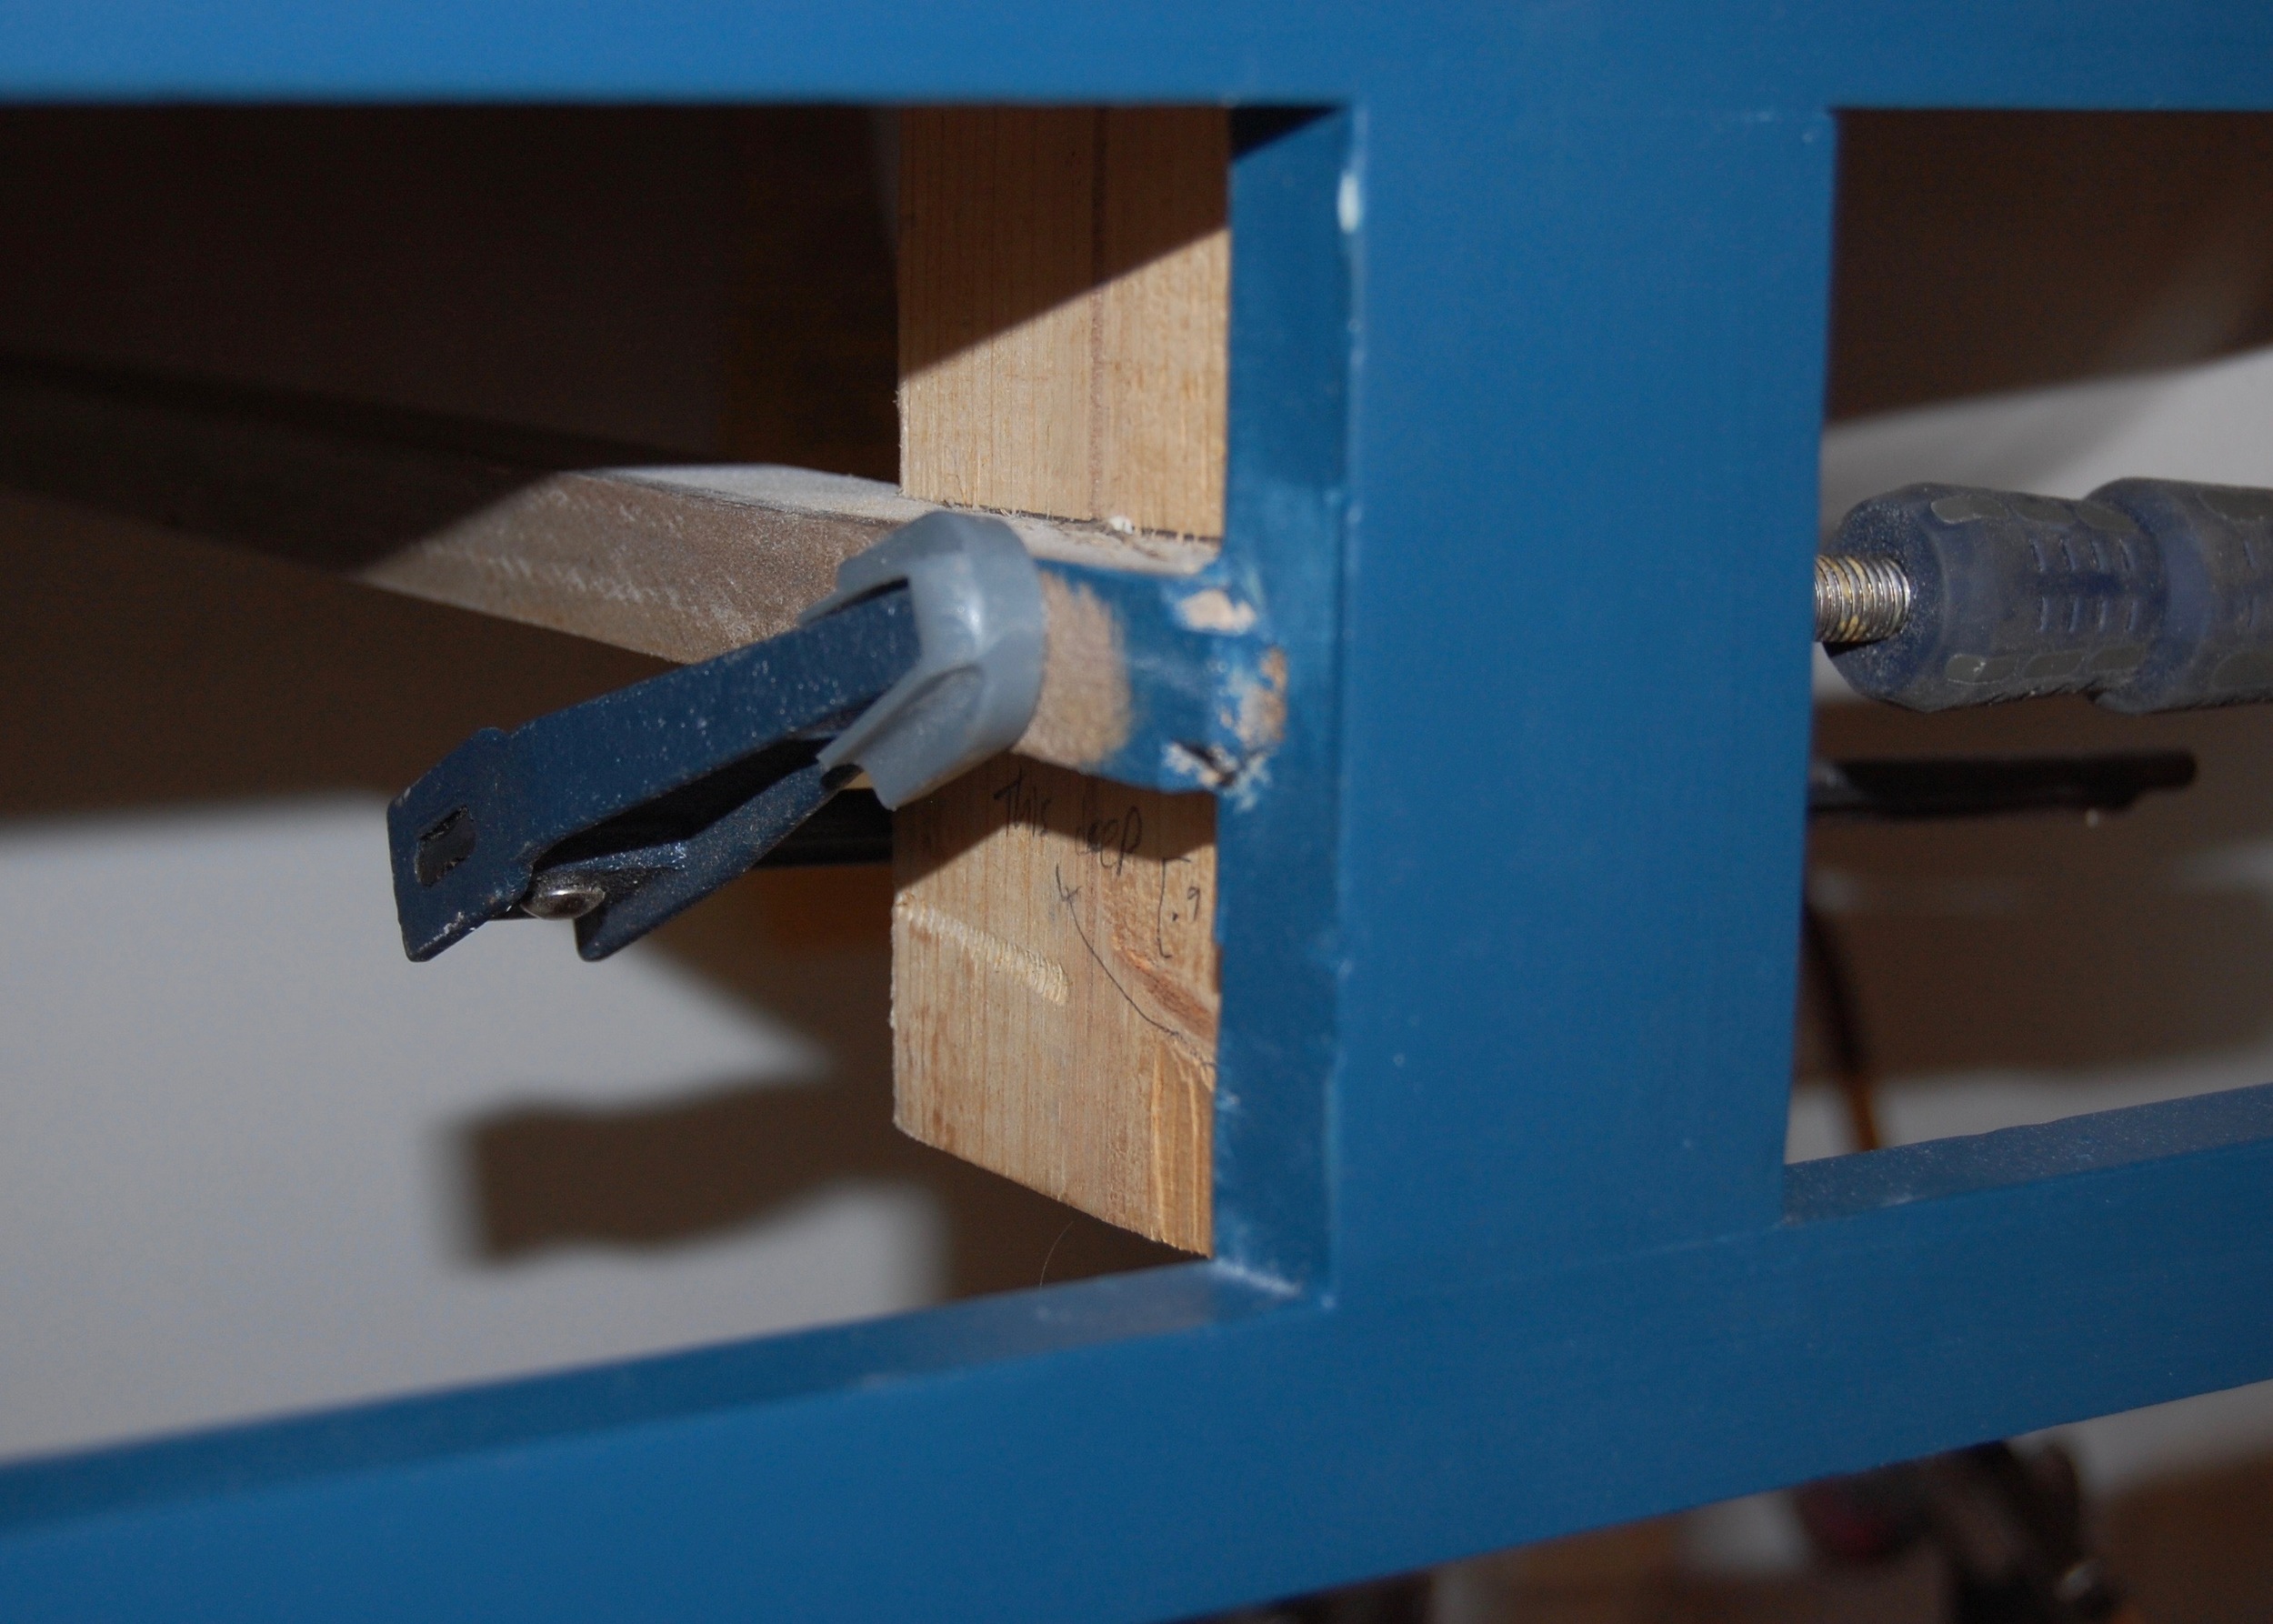
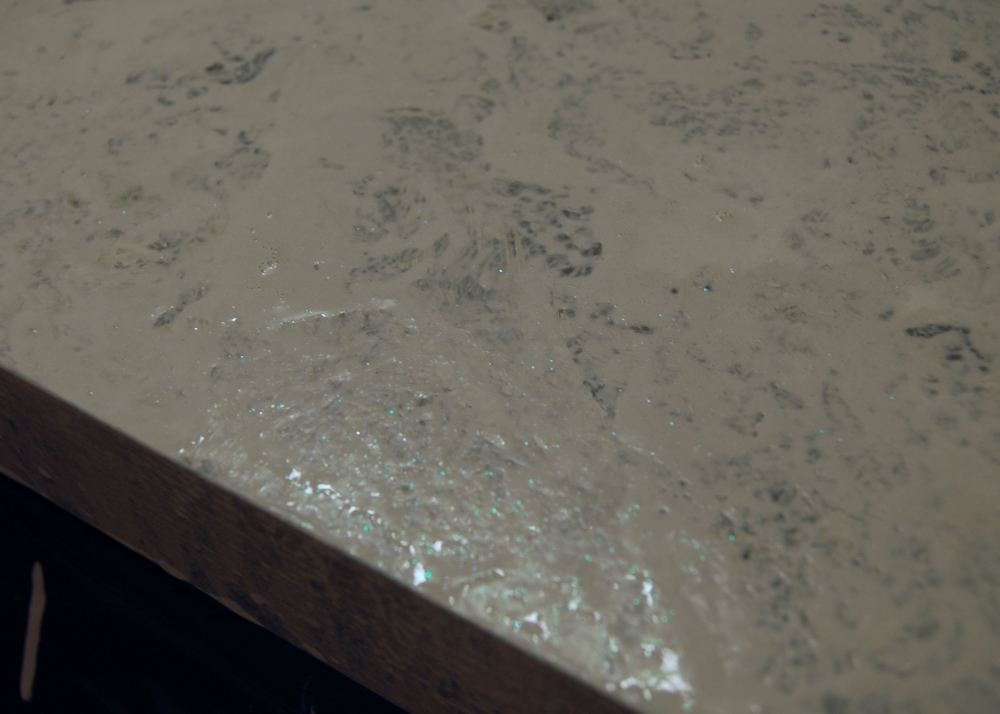
Next, we completely refinished the cabinet, inside and out. It received a new paint job, and hardware. The countertop was also refinished.

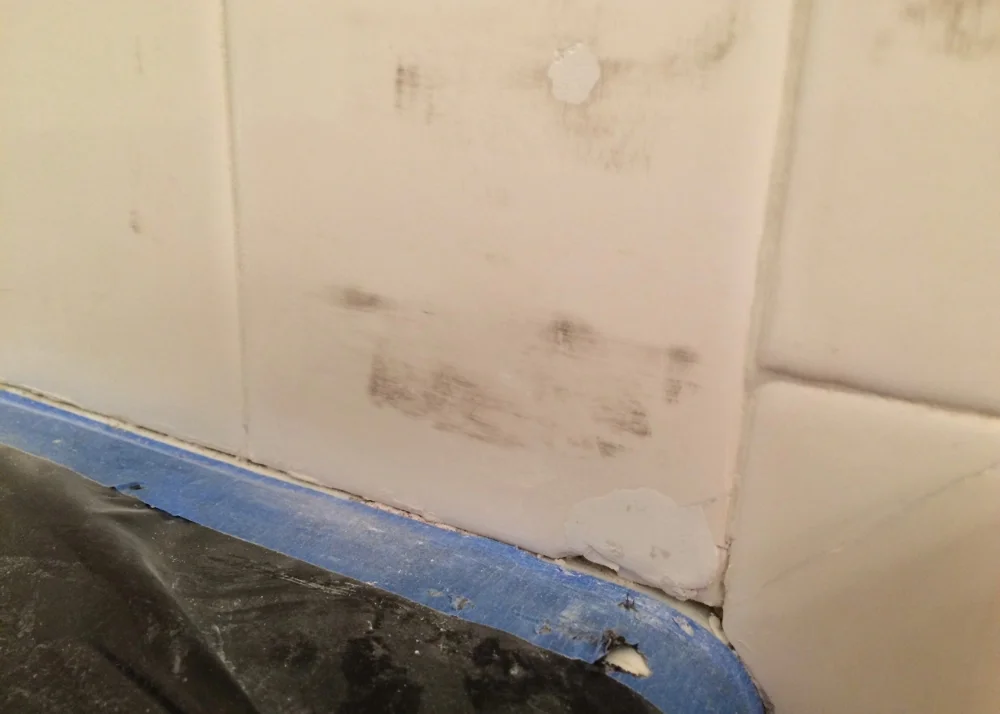
Floor Tile: Before decades of dirt, after nearly new!
We even made the tile look nearly new by refreshing the grout.

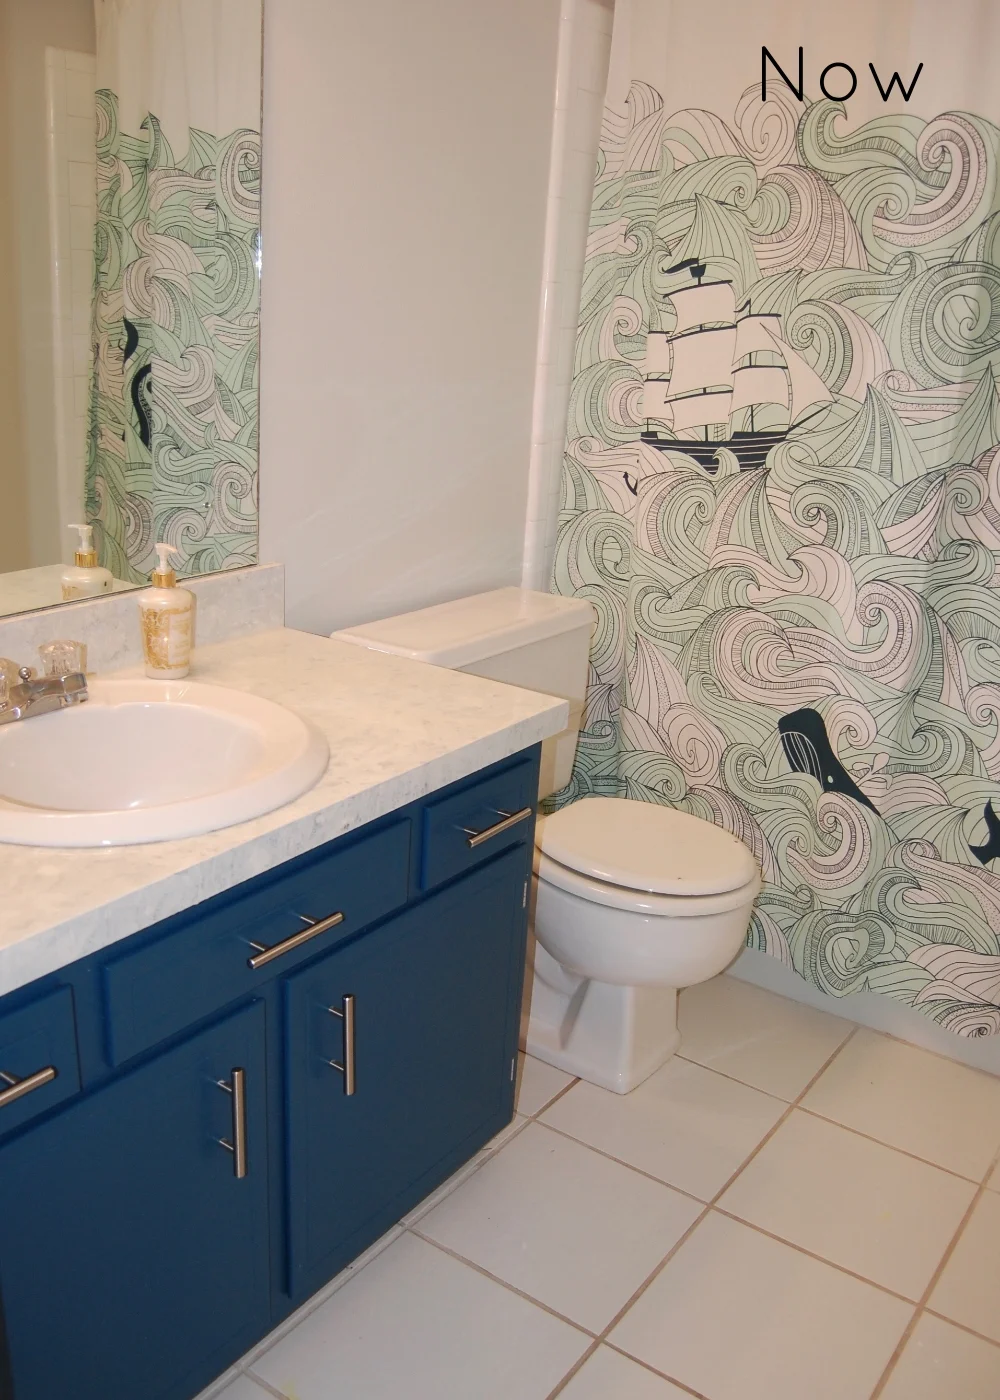
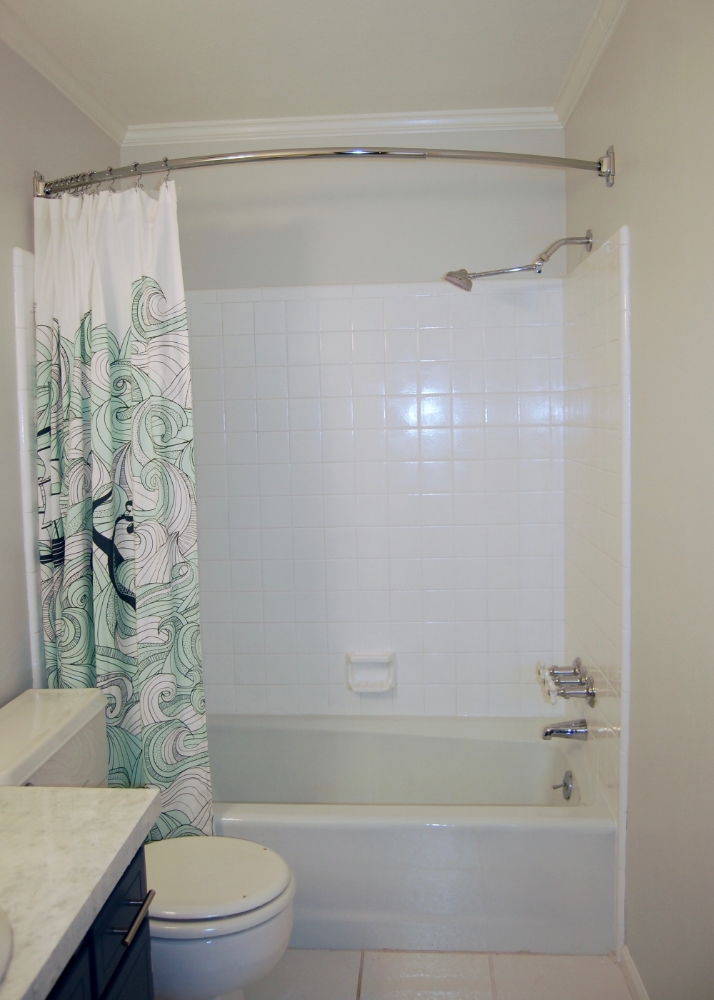
While there are still a few things we would love to update as time and budget allow (like the mirror), the end result of this mini makeover was even better than we expected. The bathroom looks fresh and clean, and it has a bit of personality now. Something that was really lacking previously.
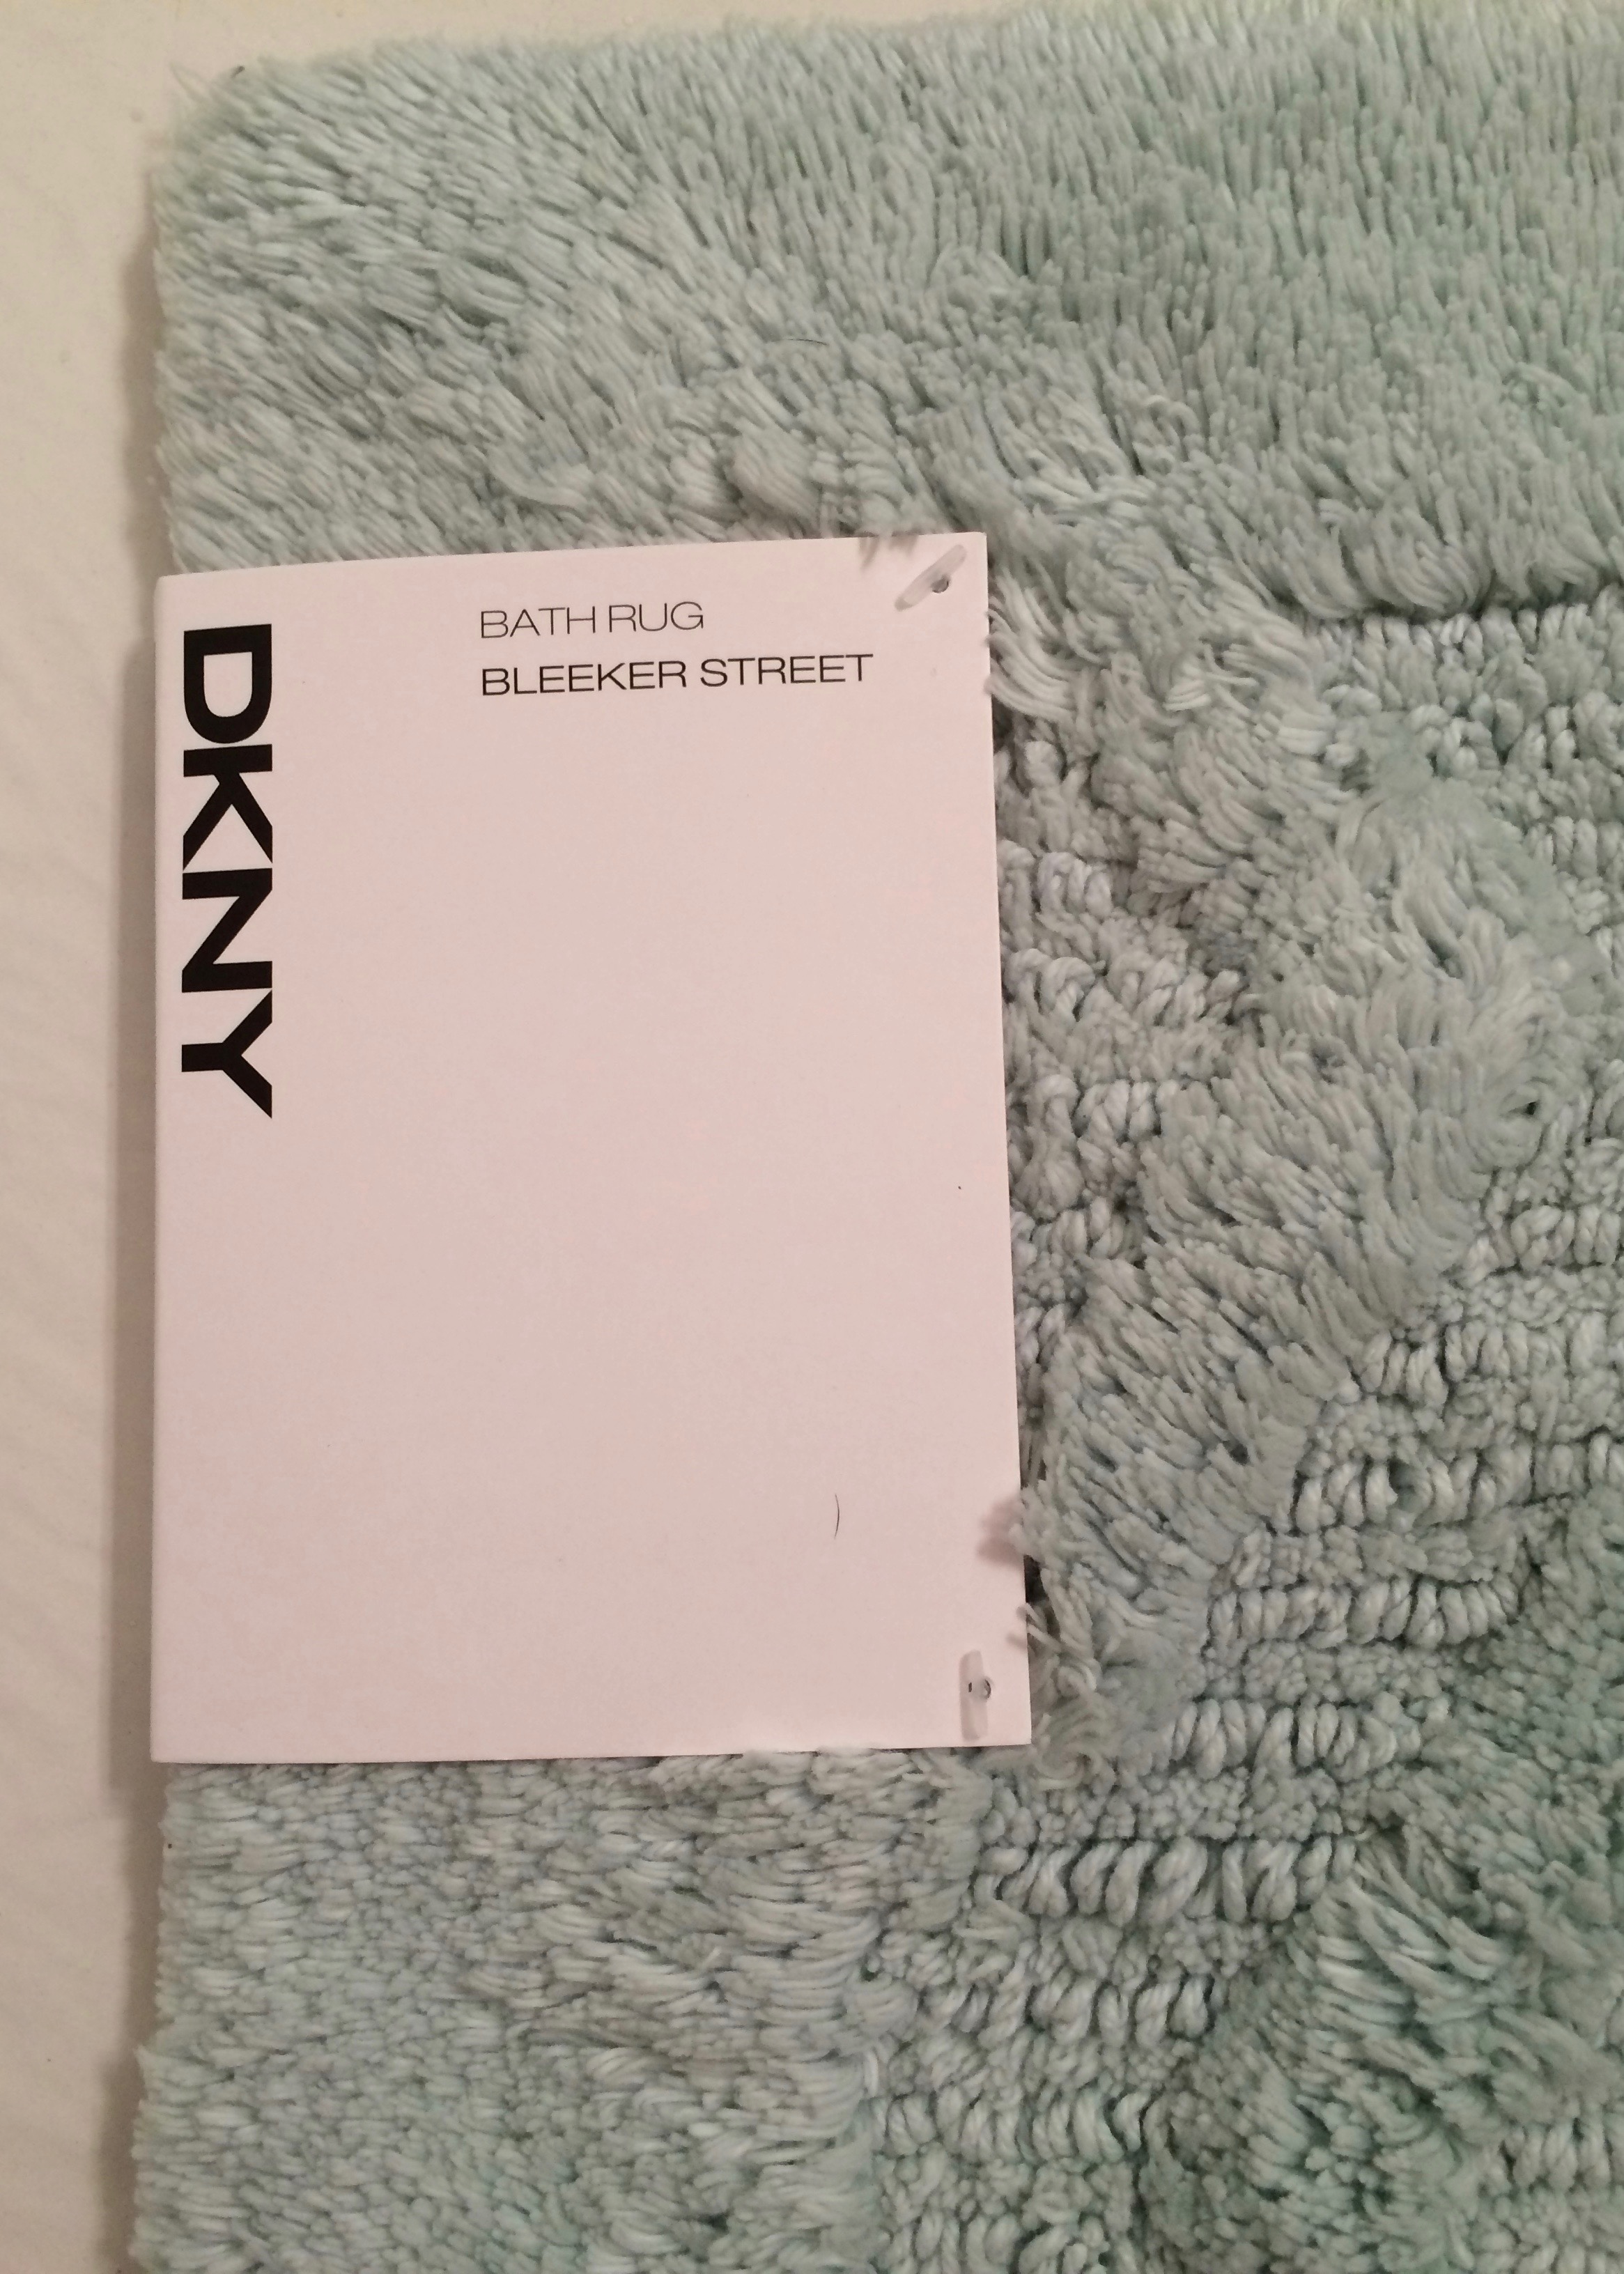
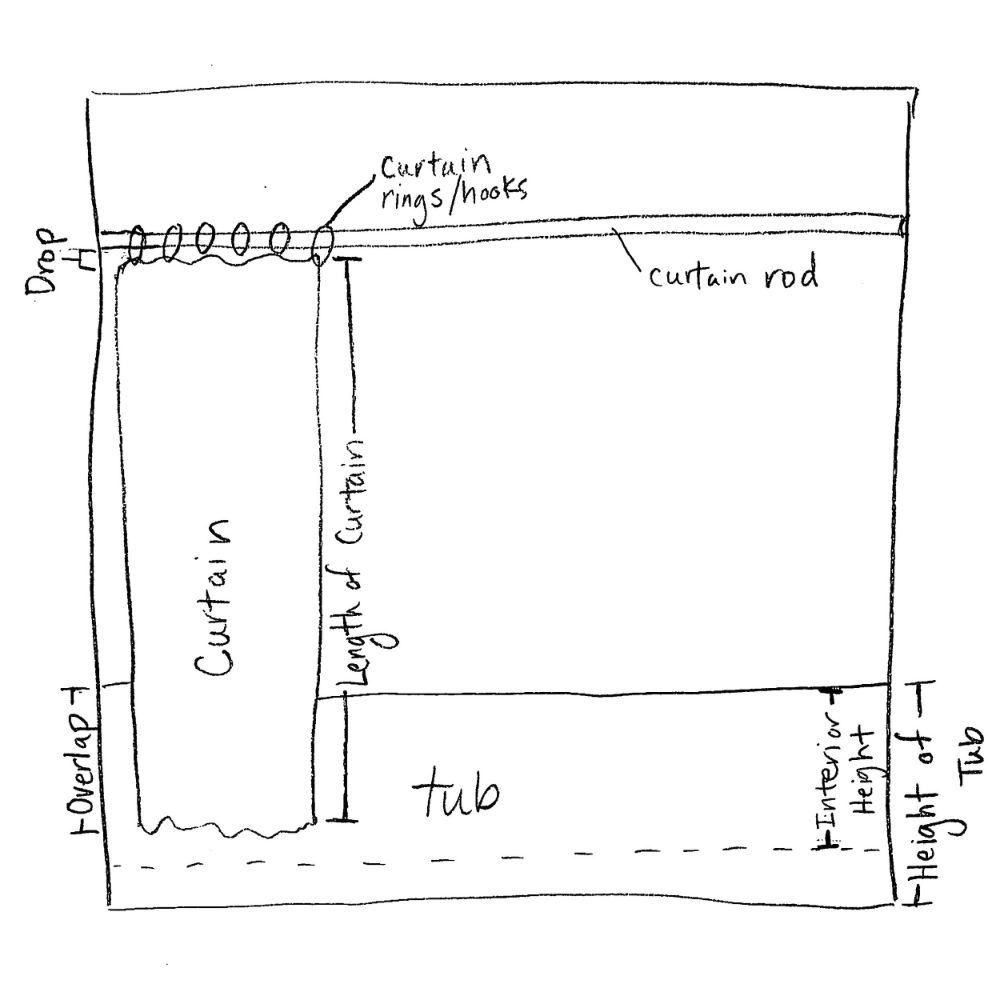
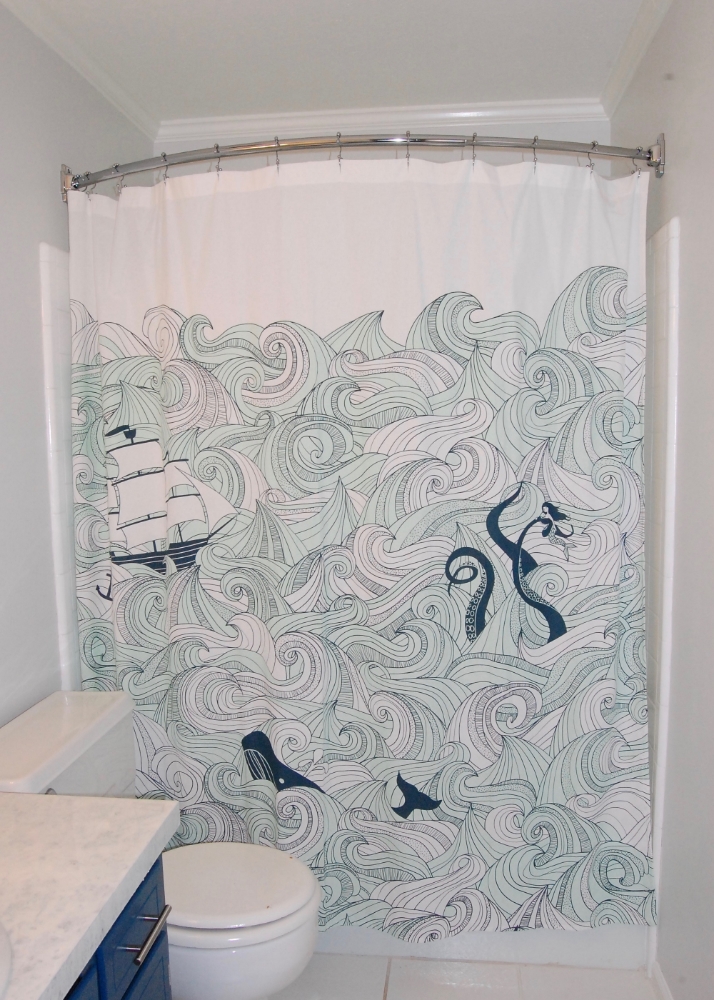
The beautiful Danica Odyssey shower curtain, that was the inspiration for the entire bathroom transformation. I still love it and think it was a great choice. It really makes the bathroom feel like a kid friendly space, without being a kid's space.

To finish off the look I added a neon pothos in an aqua orchid pot, and some beautiful photos of the ocean. The photos were given to Firebeard and I by the photographer, Joe Boris, for our wedding, and they are beautiful. If you are looking for a photographer in the Atlanta area he is your man. He does everything from lifestyle photography to corporate photography, and his work is impeccable.

I think the most shocking thing about these before and after pictures is that one of the few things we didn't change in this bathroom was the lighting. Initially we had fully intended to change out the lighting, because the bathroom just seemed SOO yellow when we started the makeover, but once we removed the yellowy beige paint from the walls and ceiling the room transformed. Without yellow reflecting everywhere the room suddenly seemed bright, white, and cool. It was an amazing visual transformation that we really didn't expect.

To see all of the details of the bathroom transformation, including our many trials and tribulations, you can find them all here.
Stay turned for additional mini remodels!