Does waxing your sink keep it cleaner longer?
/Hang Your Hat Episode 8 just came out, and it is all about spring cleaning. While doing my research for the show I came across a couple of cleaning hacks, a few of which were even good enough to try. My favorite of these hacks was waxing the sink. The idea is that waxing the sink will make water bead up on it, and gunk rinse down the drain easier, keeping the sink cleaner longer. Since kitchen sinks tend to be one of the most disgusting germ filled areas in the home, and since my sink seems to attract filth like a magnet attracts ferrous metal, I thought it would be worth a try.
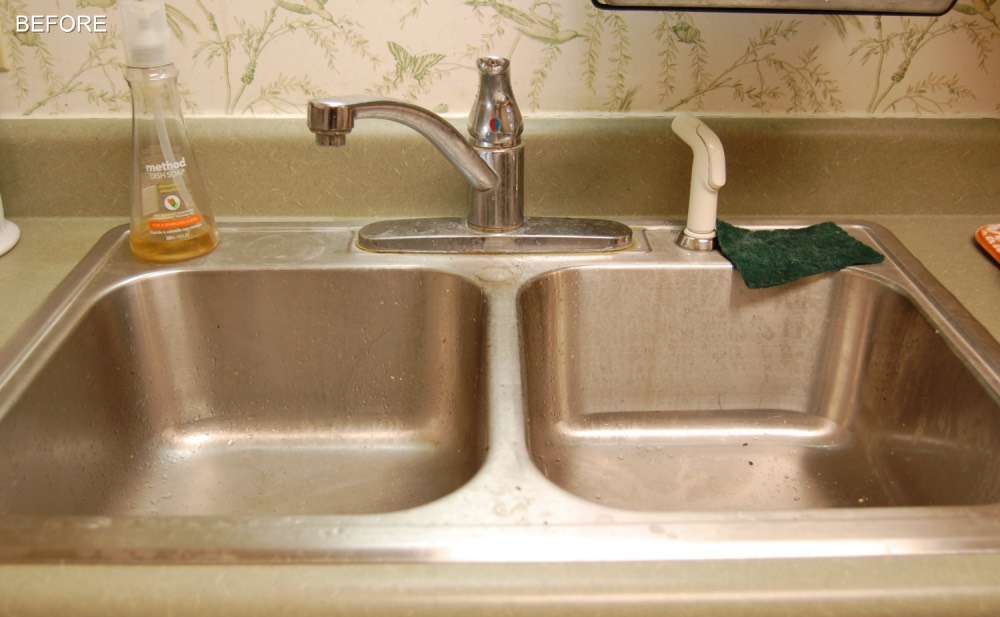
The Sink Before - Not Hiding the Shame Today

The close ups really do the filth justice.
This is what my sink looked like when I started. The close ups really do it justice. I won’t deny it, it was filthy, and also the reason this hack appealed to me so much to begin with. It always feels like as soon as I clean the sink, I blink and it is filthy again. I was really hoping that this hack would give me a bit more time between serious scrub downs.
Step 1: Thoroughly Clean the sink
The sink needed to be cleaned before it could be waxed, so I went with a three step approach to getting it the cleanest it could possibly be. I should note here that my sink is a stainless steel sink, and it can tolerate some pretty heavy cleaning. Always make sure that the cleaning products you use are safe for the surface you are cleaning.
Baking Soda and Dish Soap
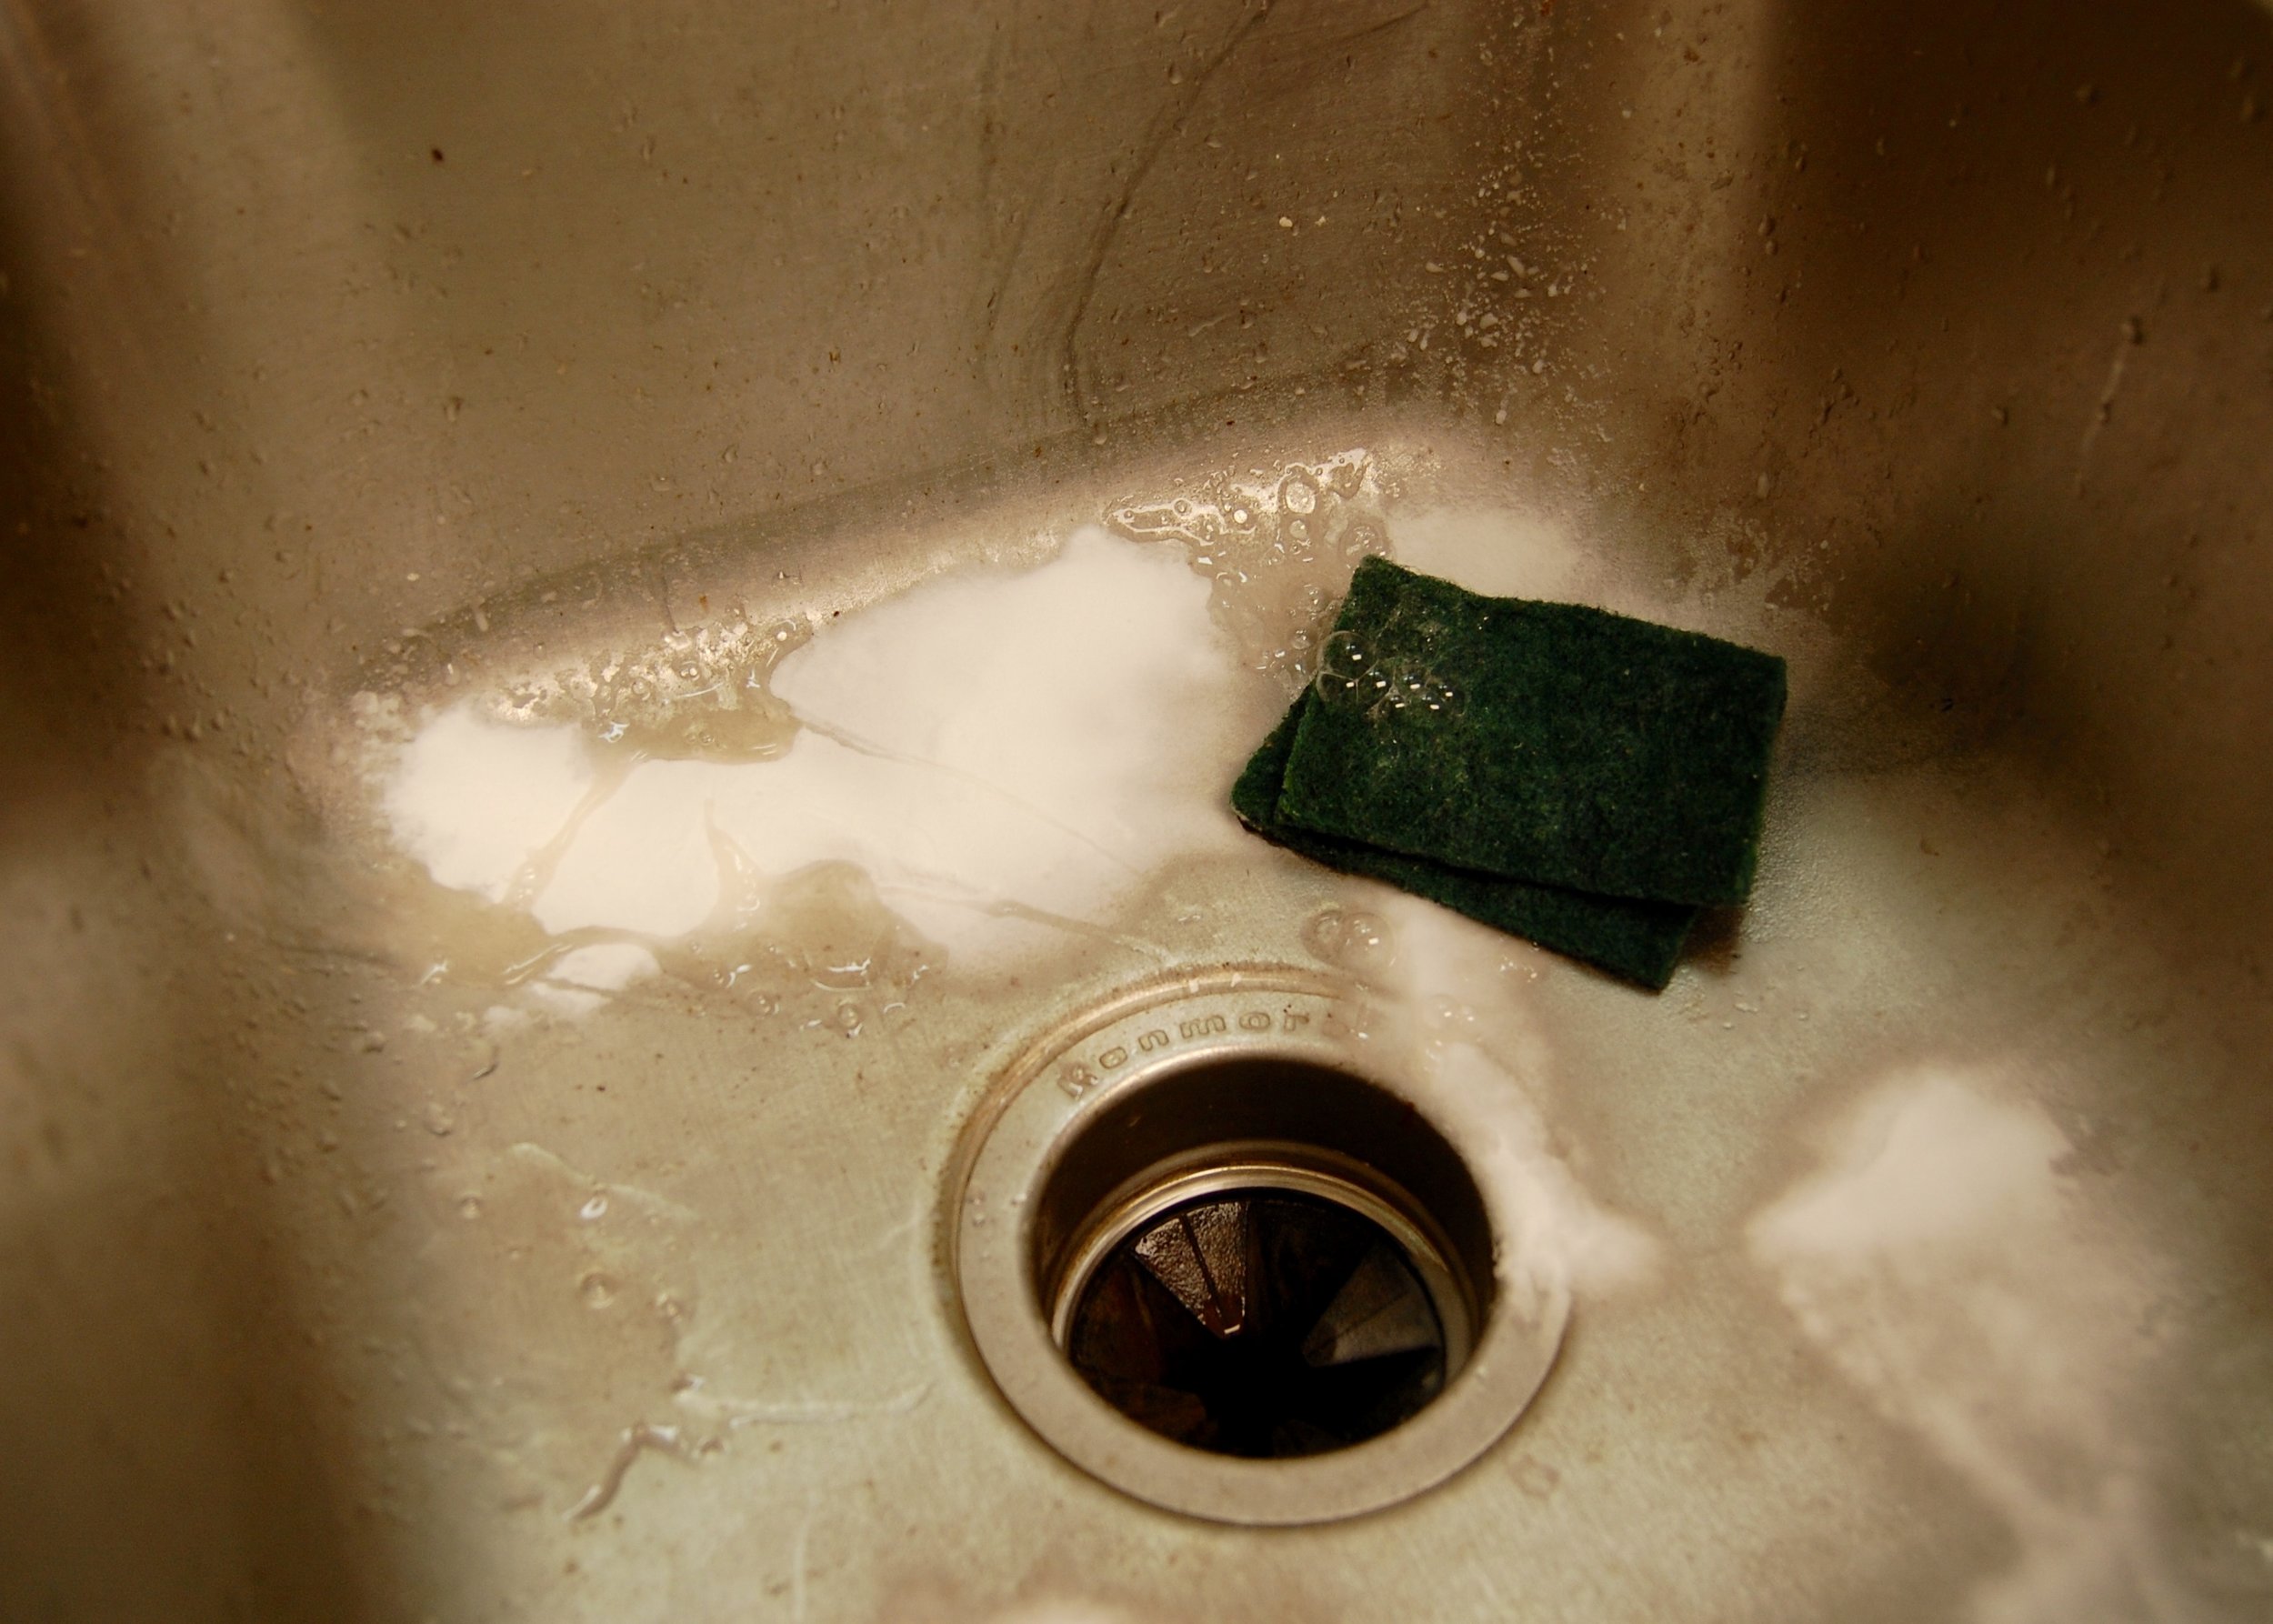

The first step in the cleaning was a good scrubbing with baking soda and dish soap. This combo makes a slightly abrasive paste that is really good for cutting through heavy grime. When I finished scrubbing I rinsed the paste off, and the sink was already looking a lot better.
Vinegar
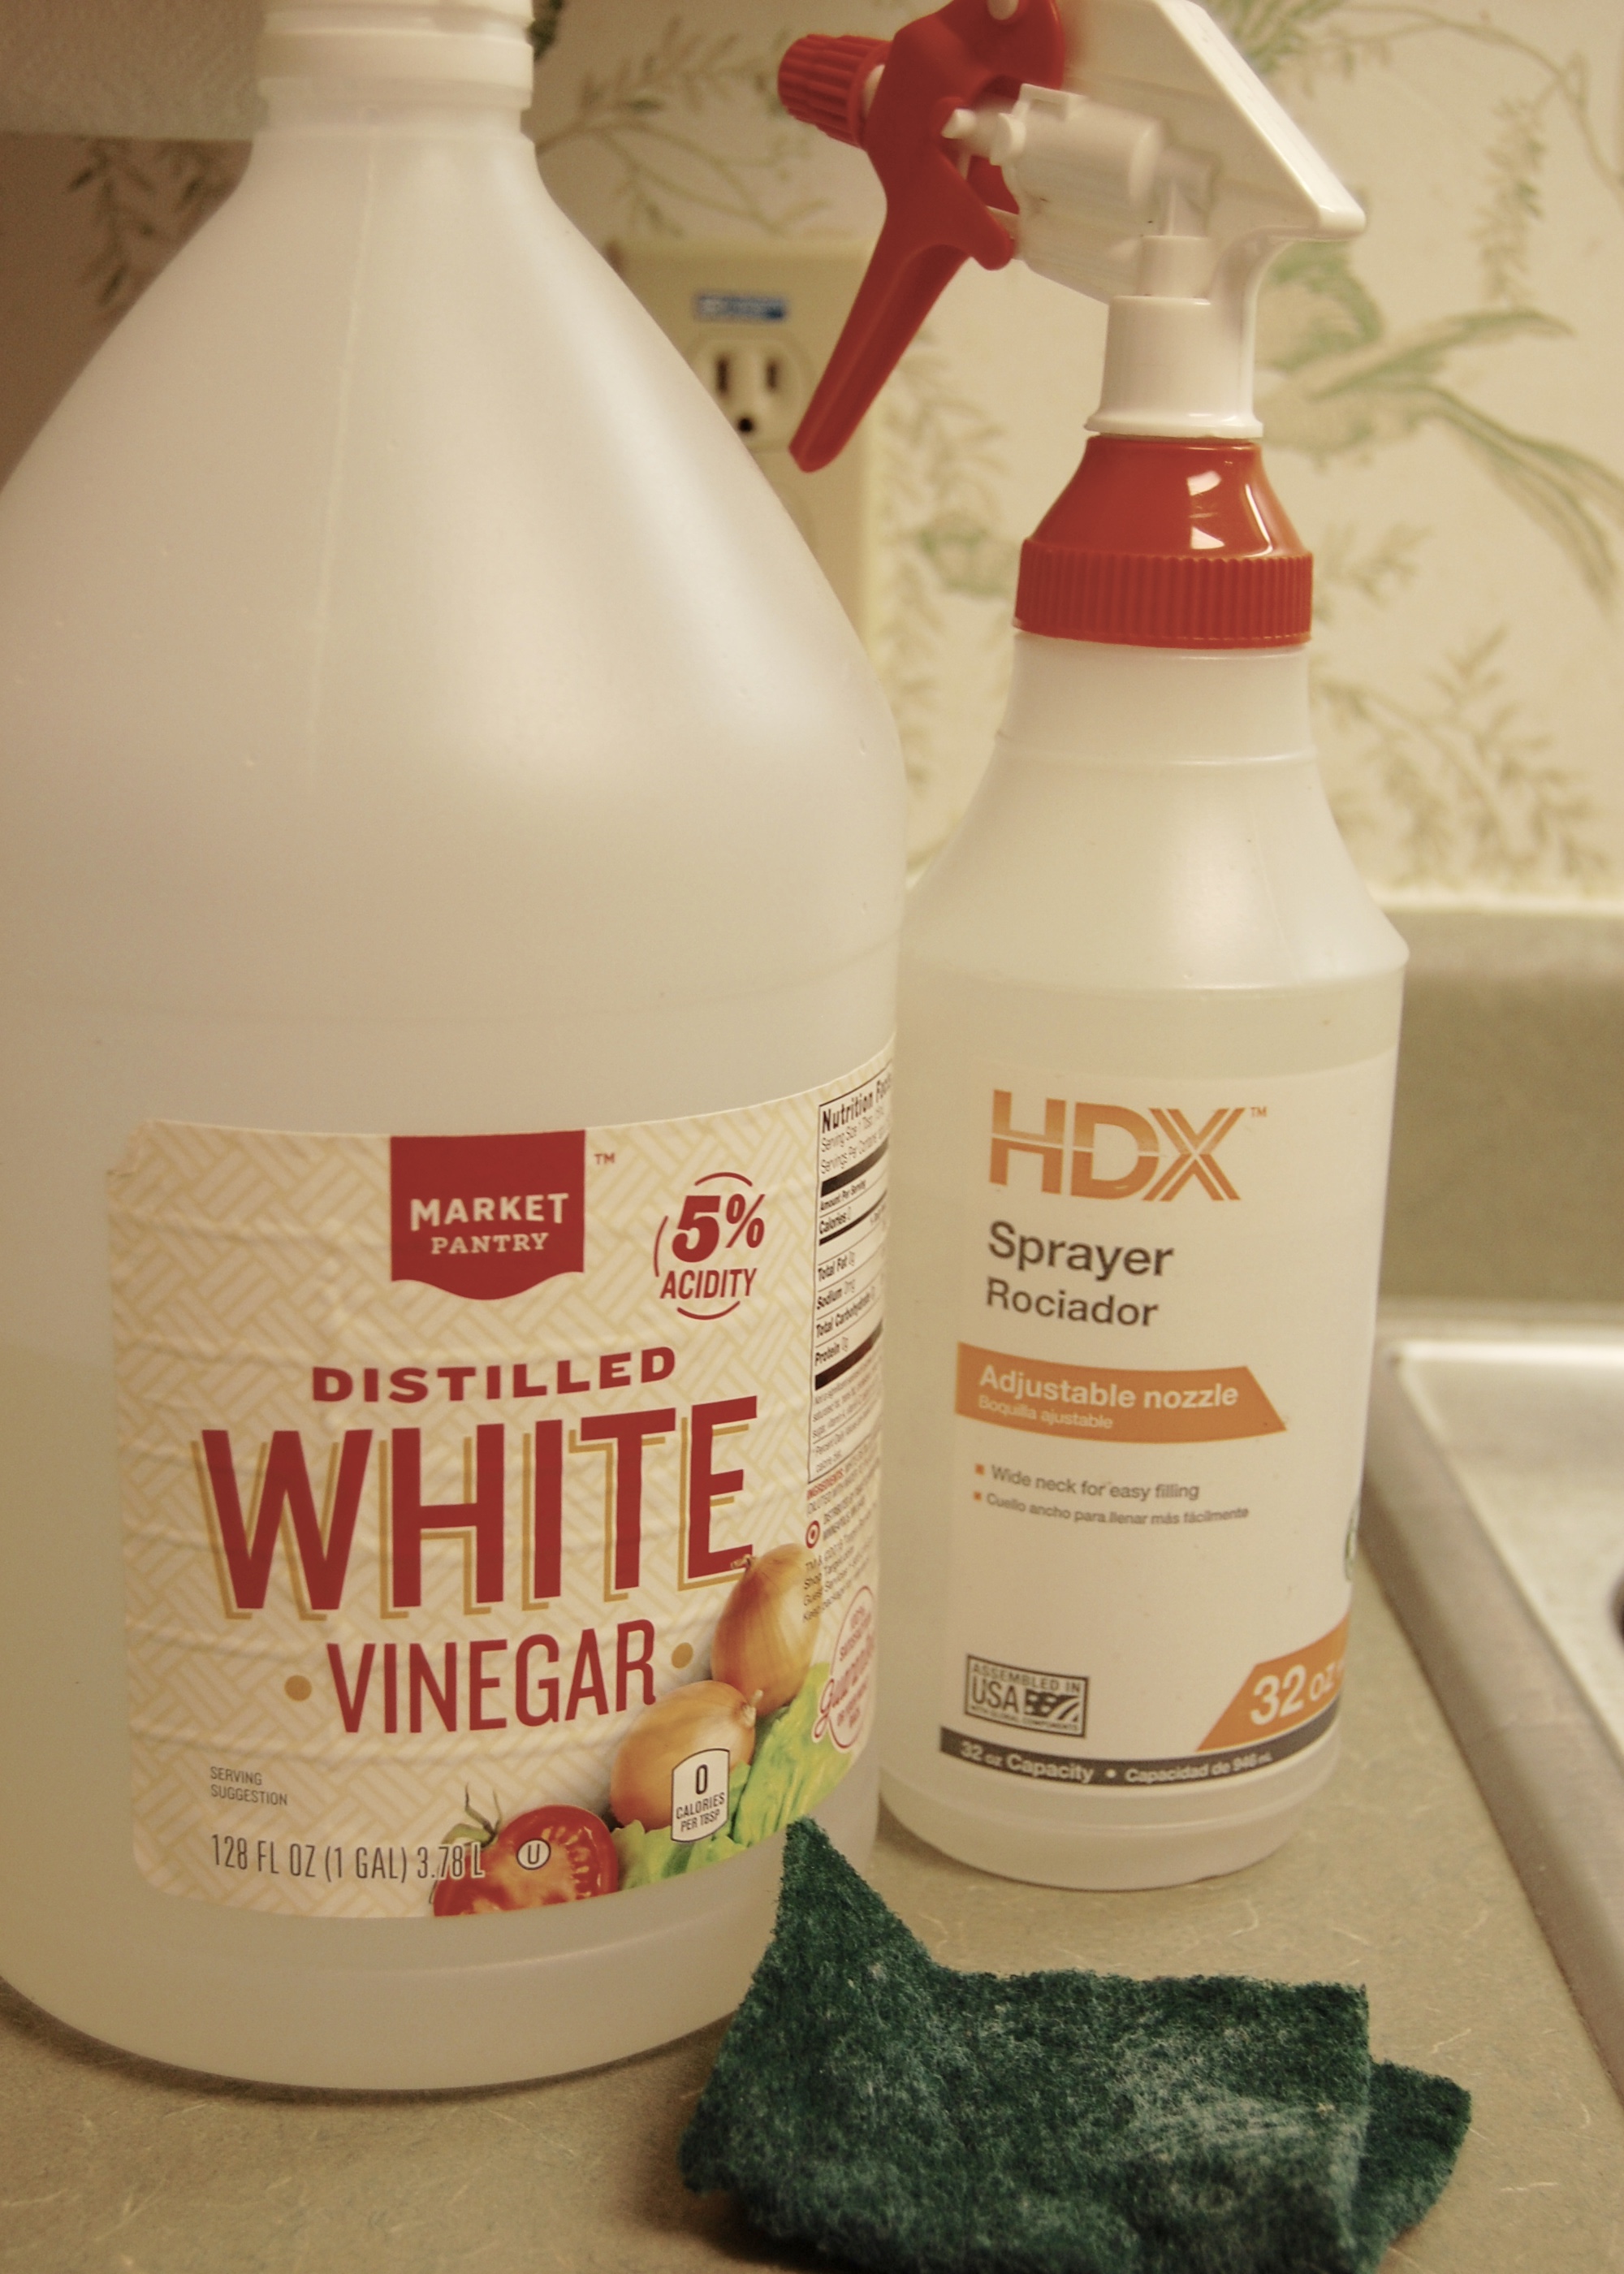
Next I went in with a spray bottle full of vinegar and a scrubbing pad. The vinegar is good at getting rid of water spots and minor lime scale build up (if you have heavy lime scale build up a product like CLR is a better choice). Note here that I washed the baking soda off the sink before applying the vinegar. Combining the two will not do anything harmful, but it probably won’t do anything beneficial either. Since baking soda is alkaline and vinegar is acidic when the two are combined the Ph of the combination becomes neutral, like water. Since I needed an acid for the water spots and the lime scale I did not combine the two.
On a side note, you might notice vinegar reacting to lime scale if you have a lot of it. It bubbles up just like it does when it is combined with baking soda. This is because the lime, like the baking soda, is alkaline. The reaction is a tiny bit of lime scale being eaten away by the vinegar.
Once the vinegar was done doing its job I rinsed it off completely.
Bleach
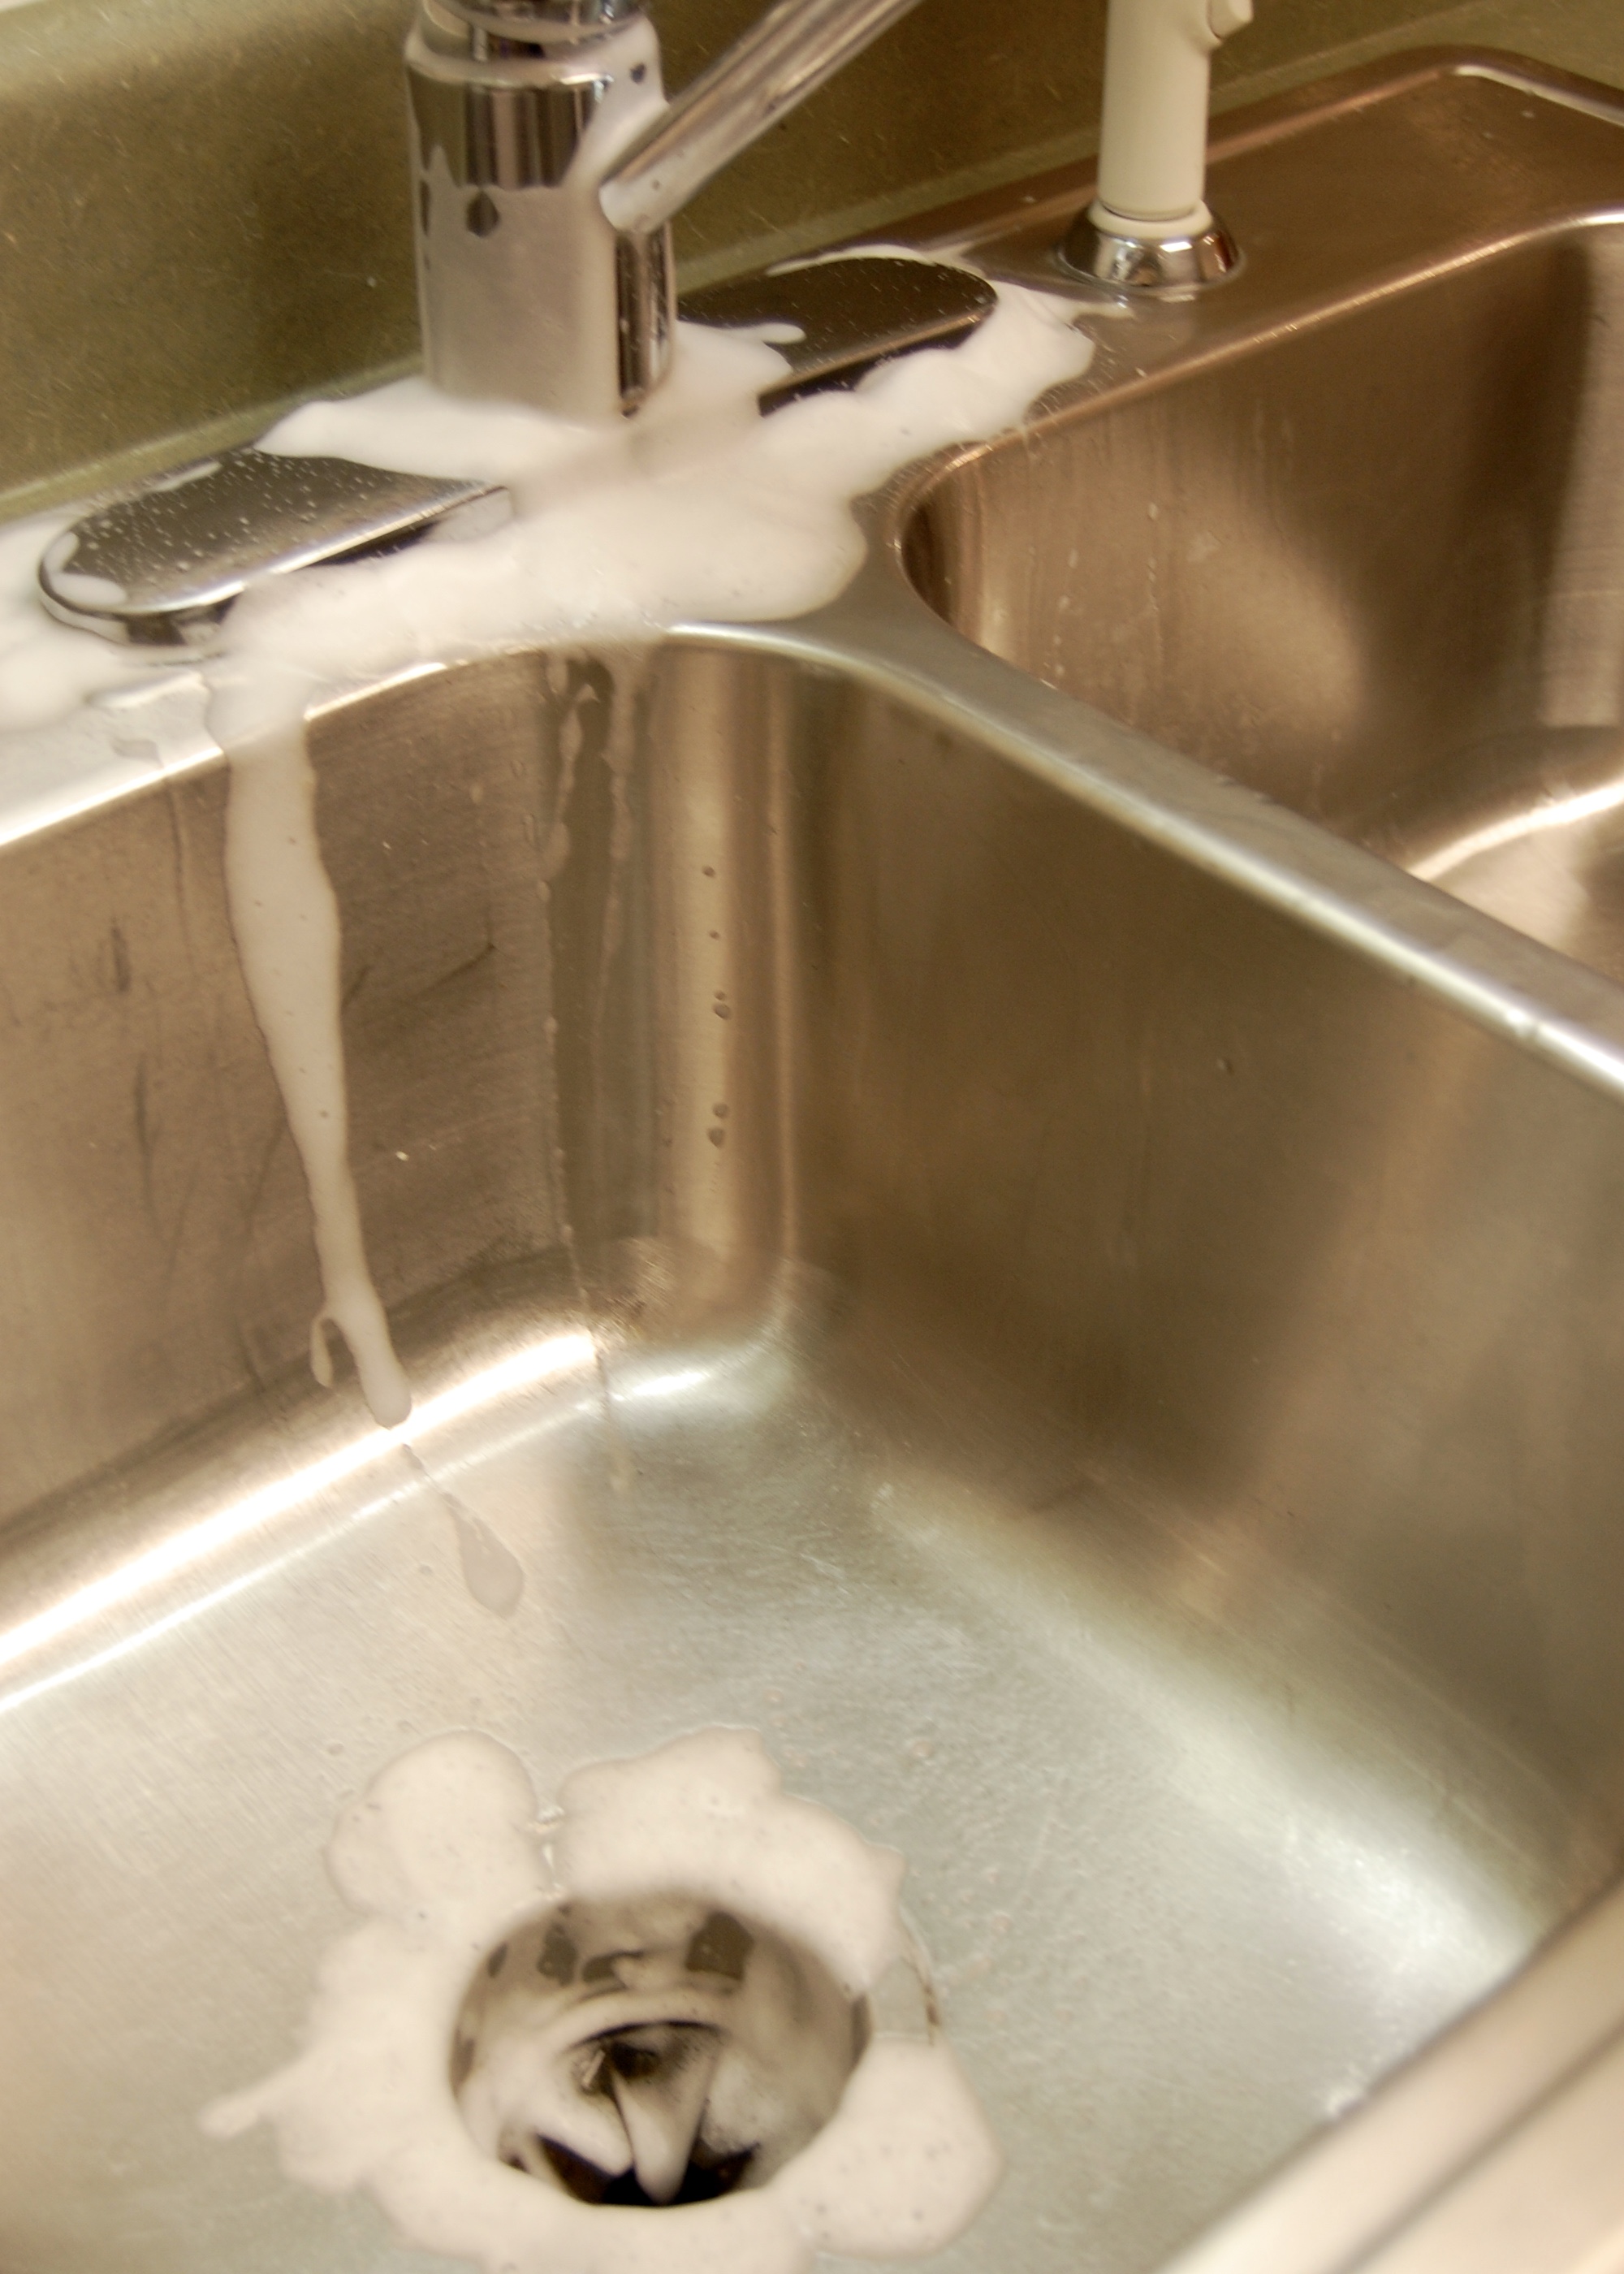
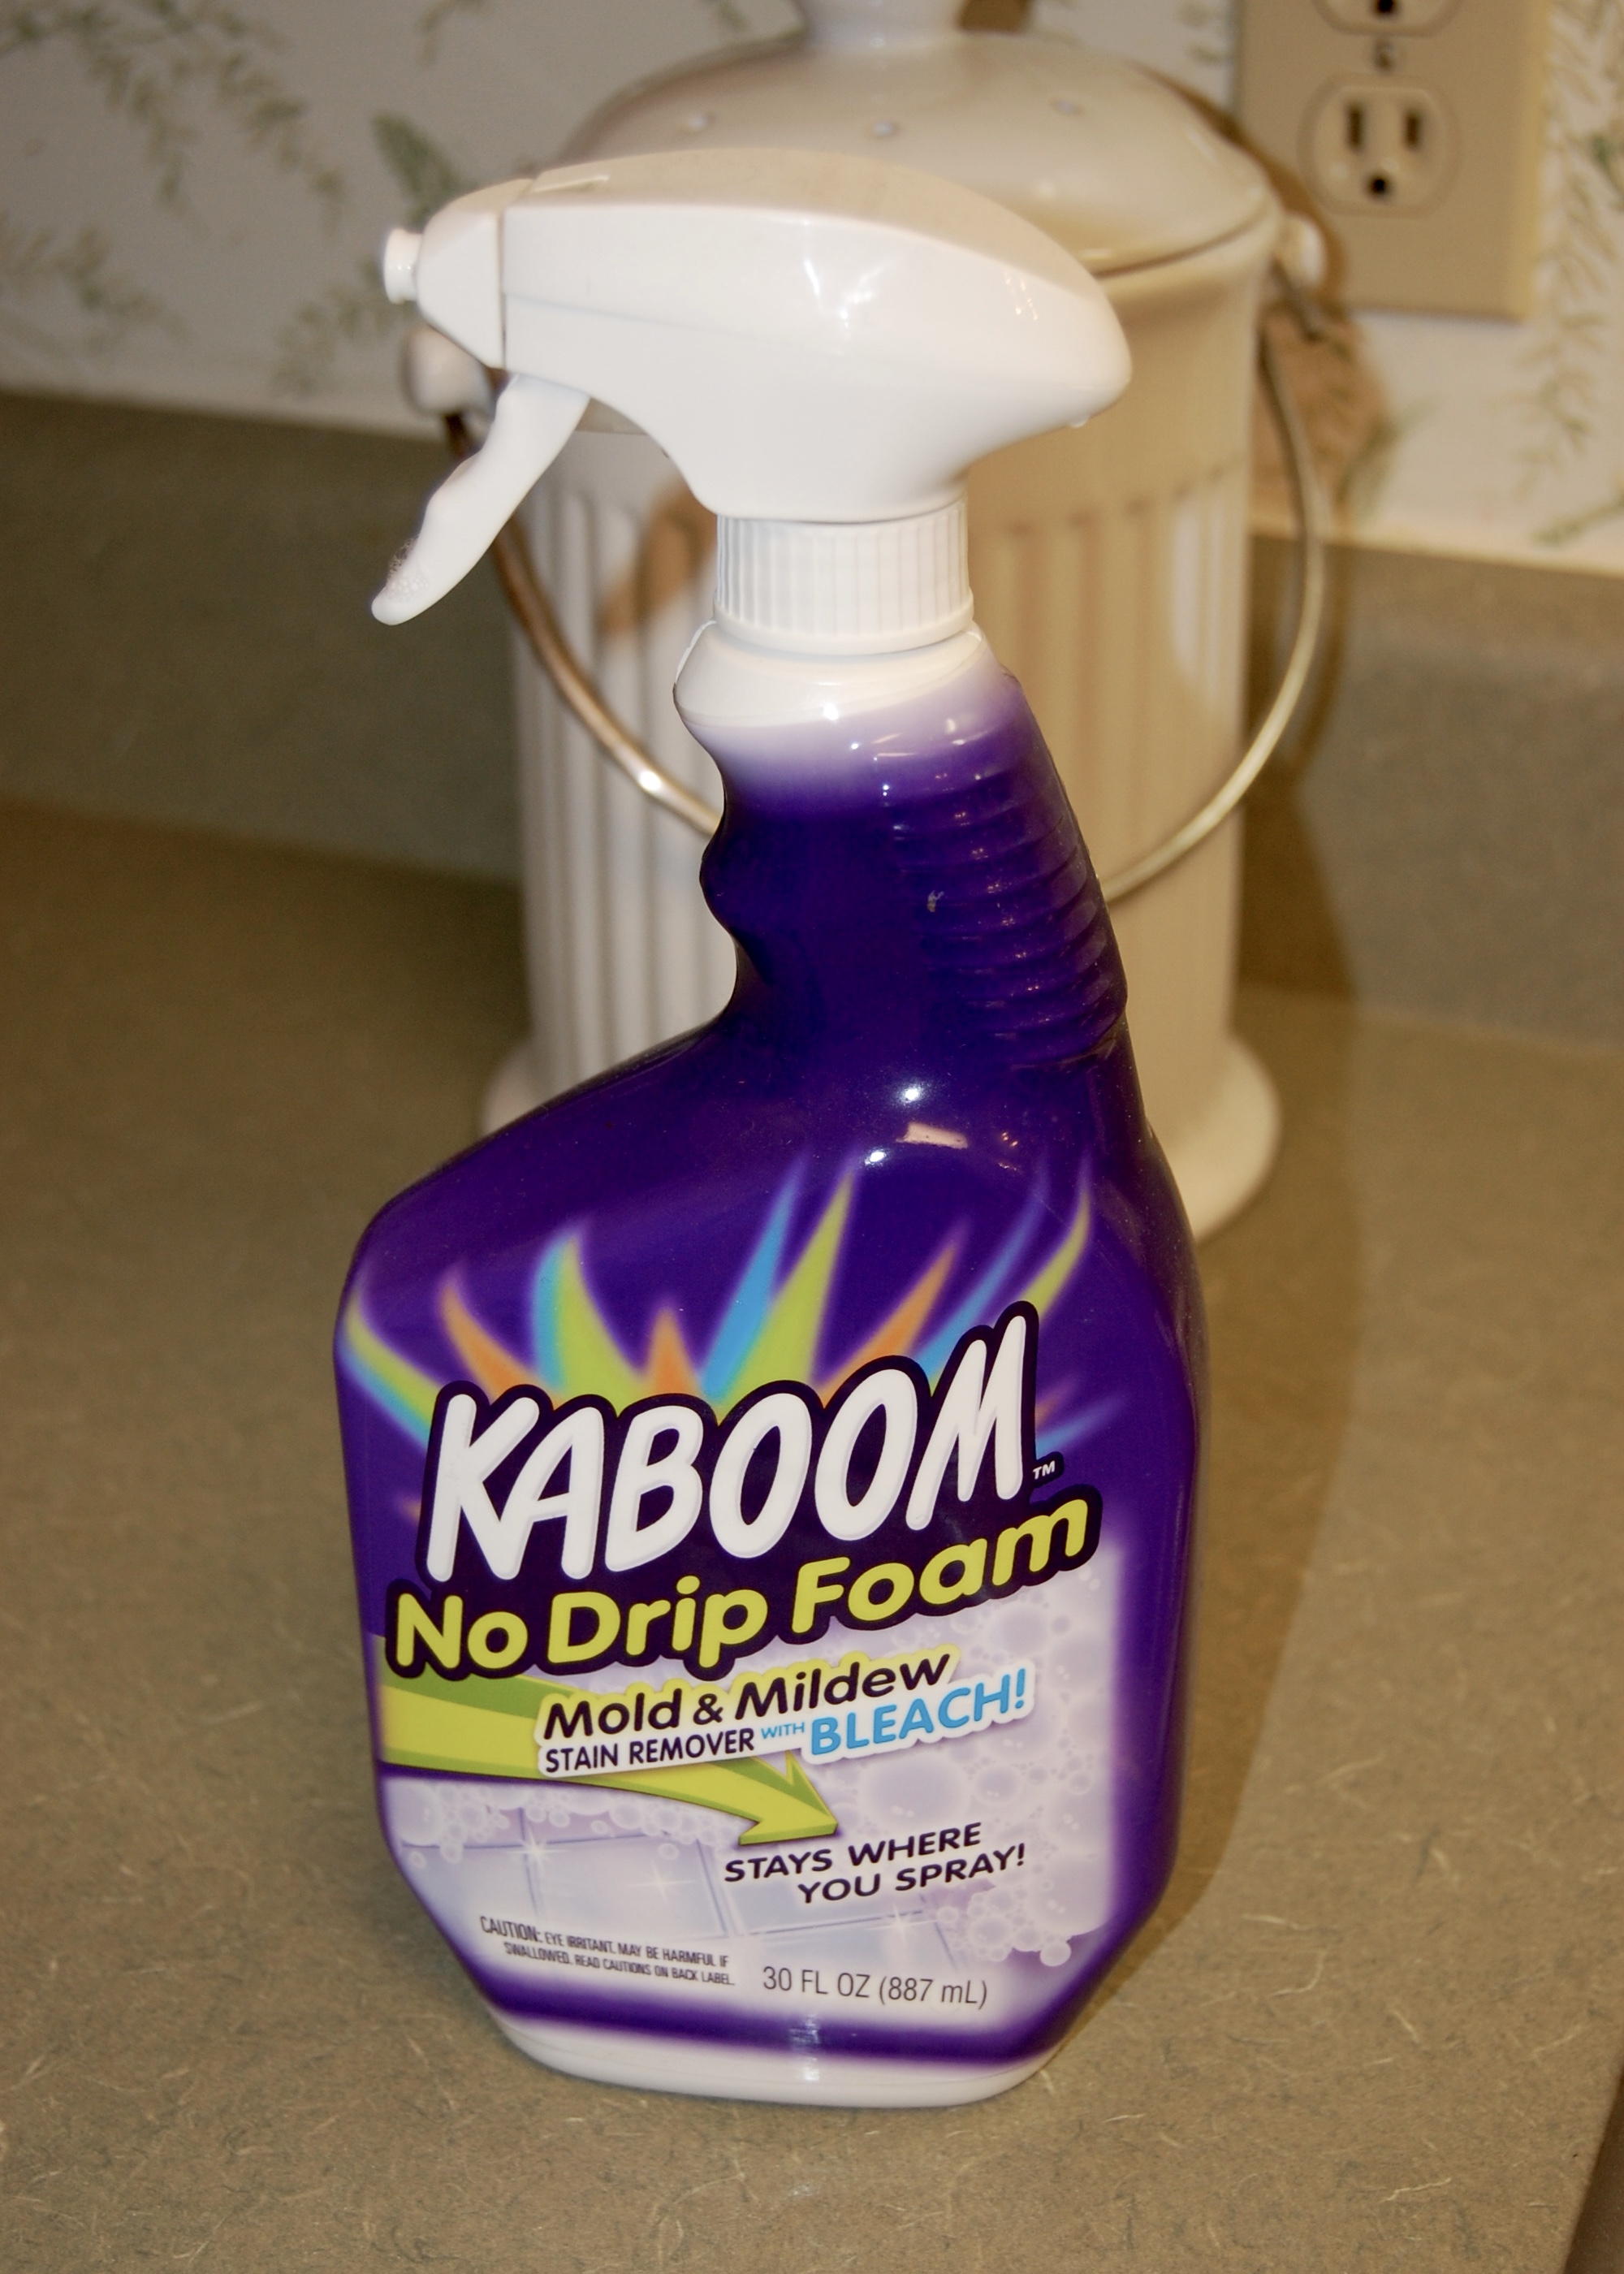
Last I used a bleach based cleaner to disinfect. Make sure the vinegar is completely washed off before applying the bleach because vinegar and bleach can create some harmful gas when combined.
I sprayed on the cleaner, and let it sit for 5 minutes to give it time to completely disinfect. Then I rinsed it off.
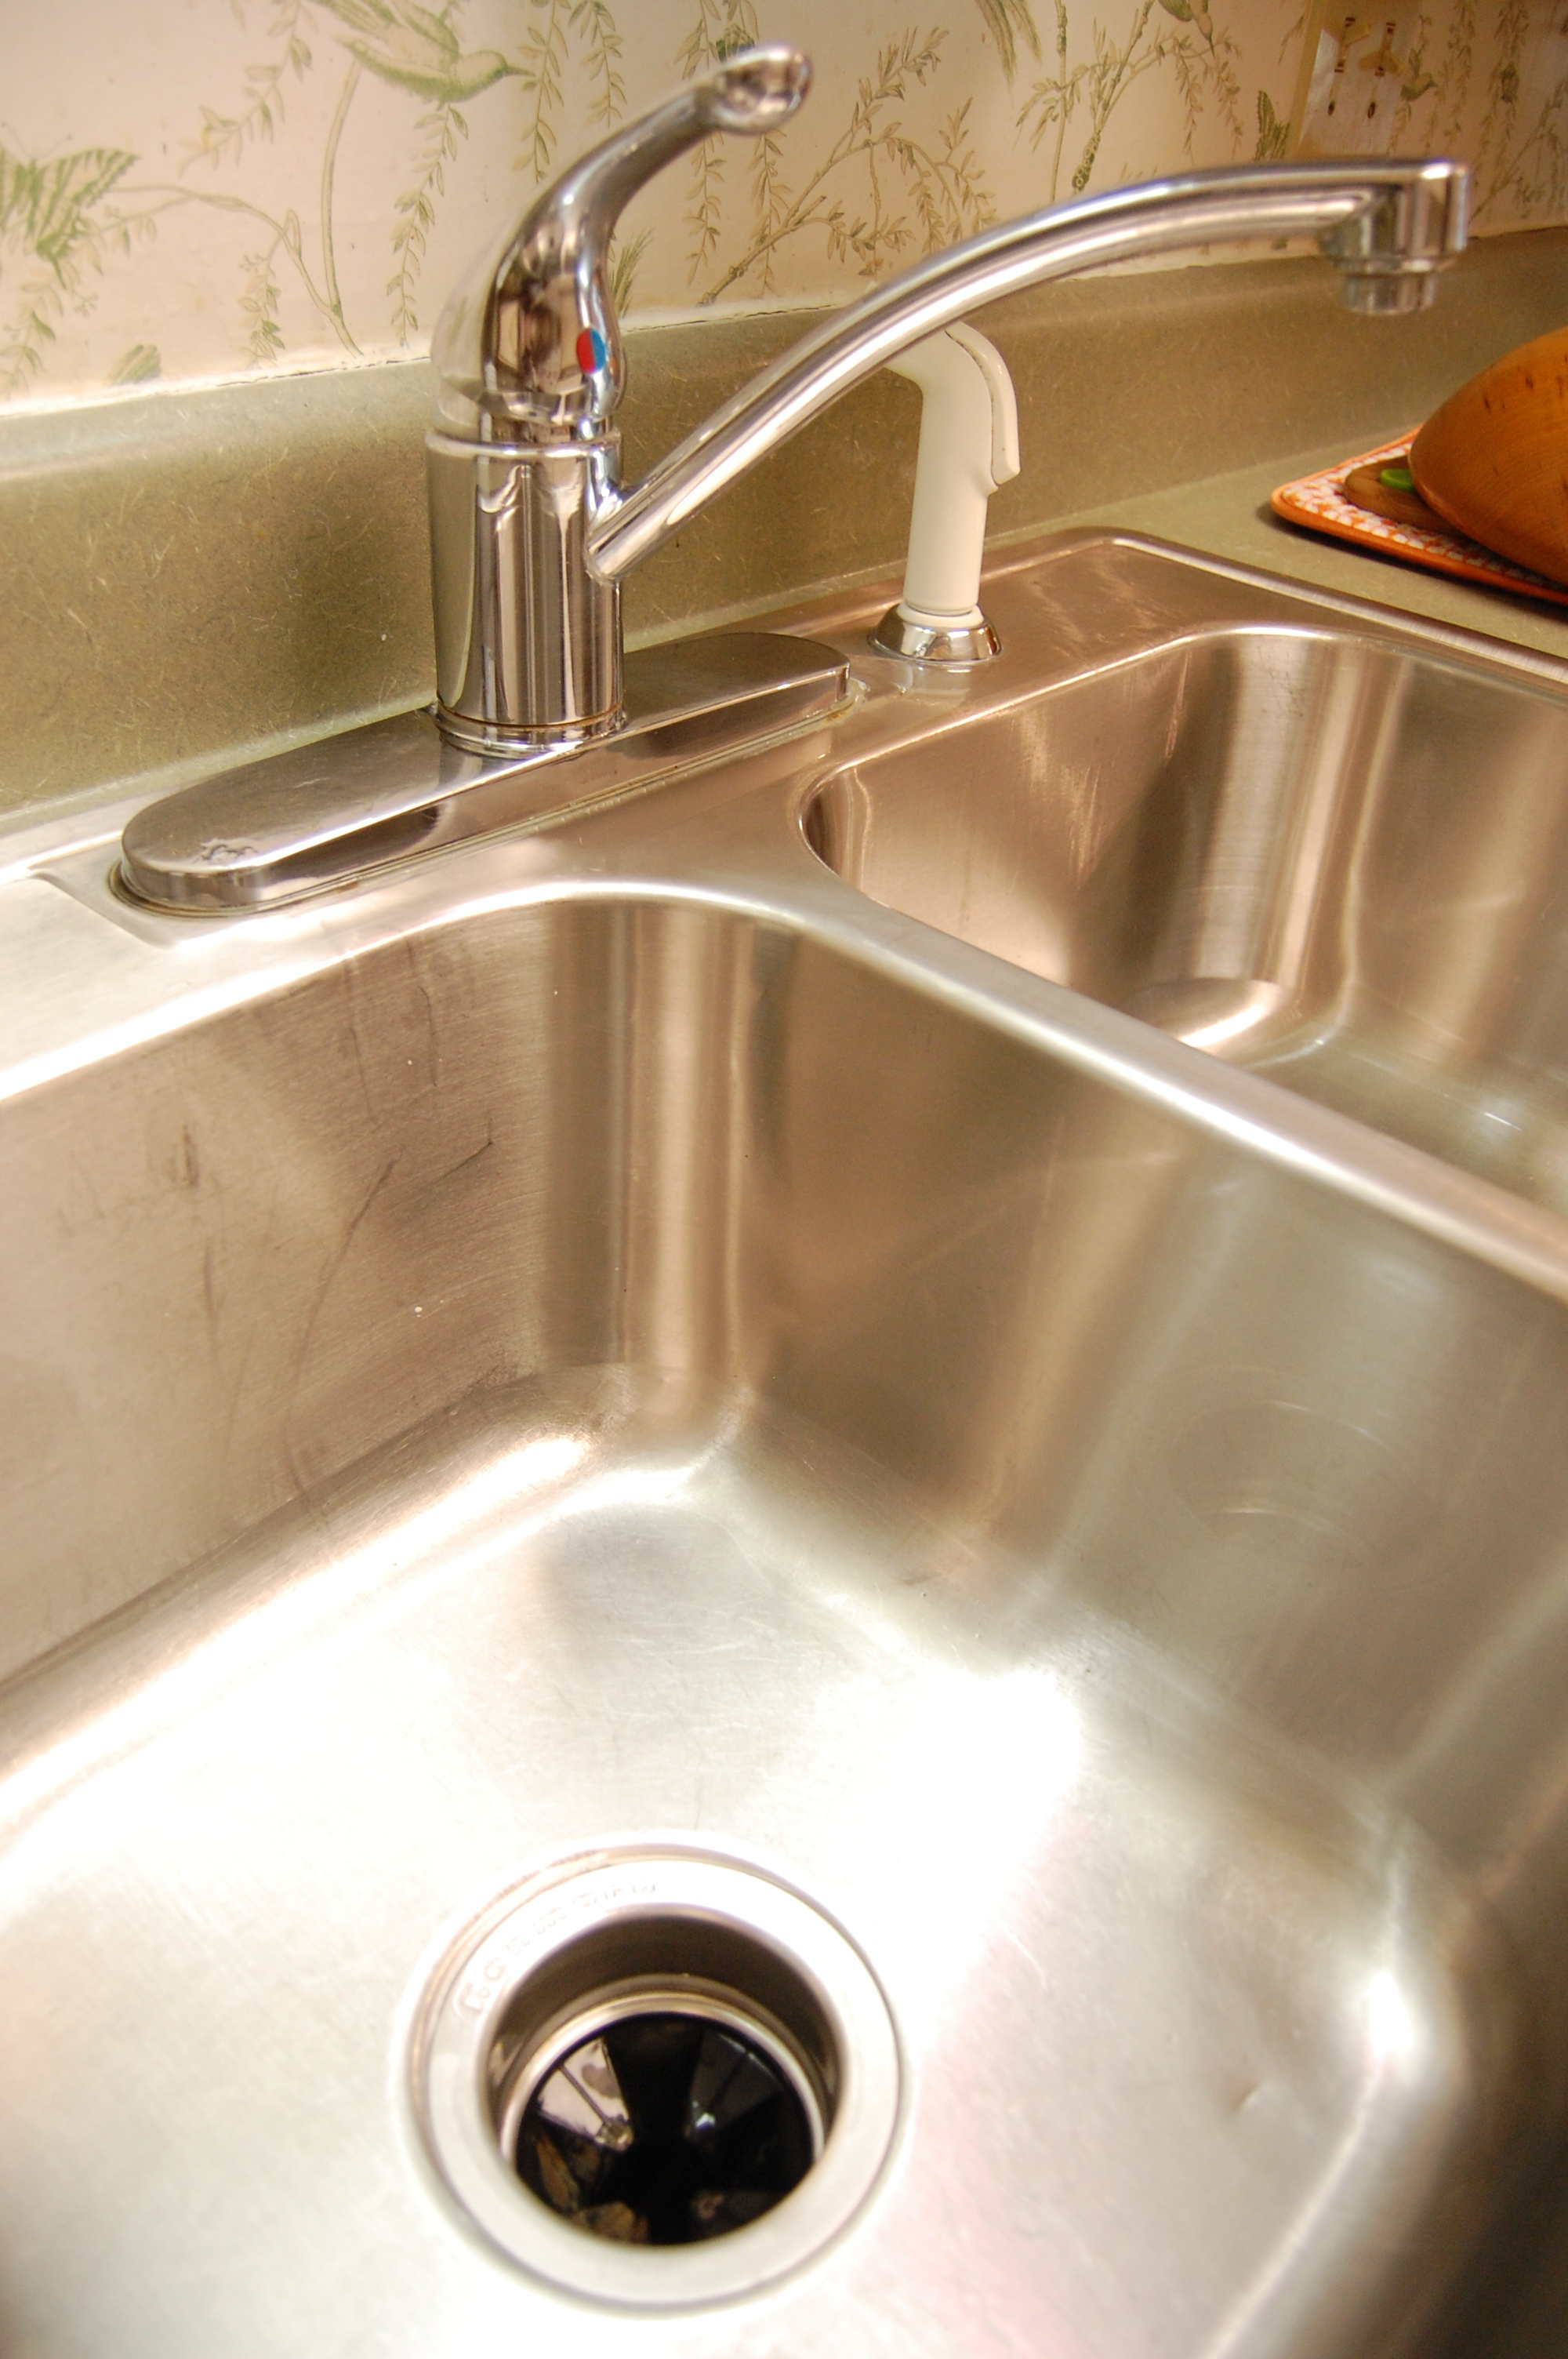
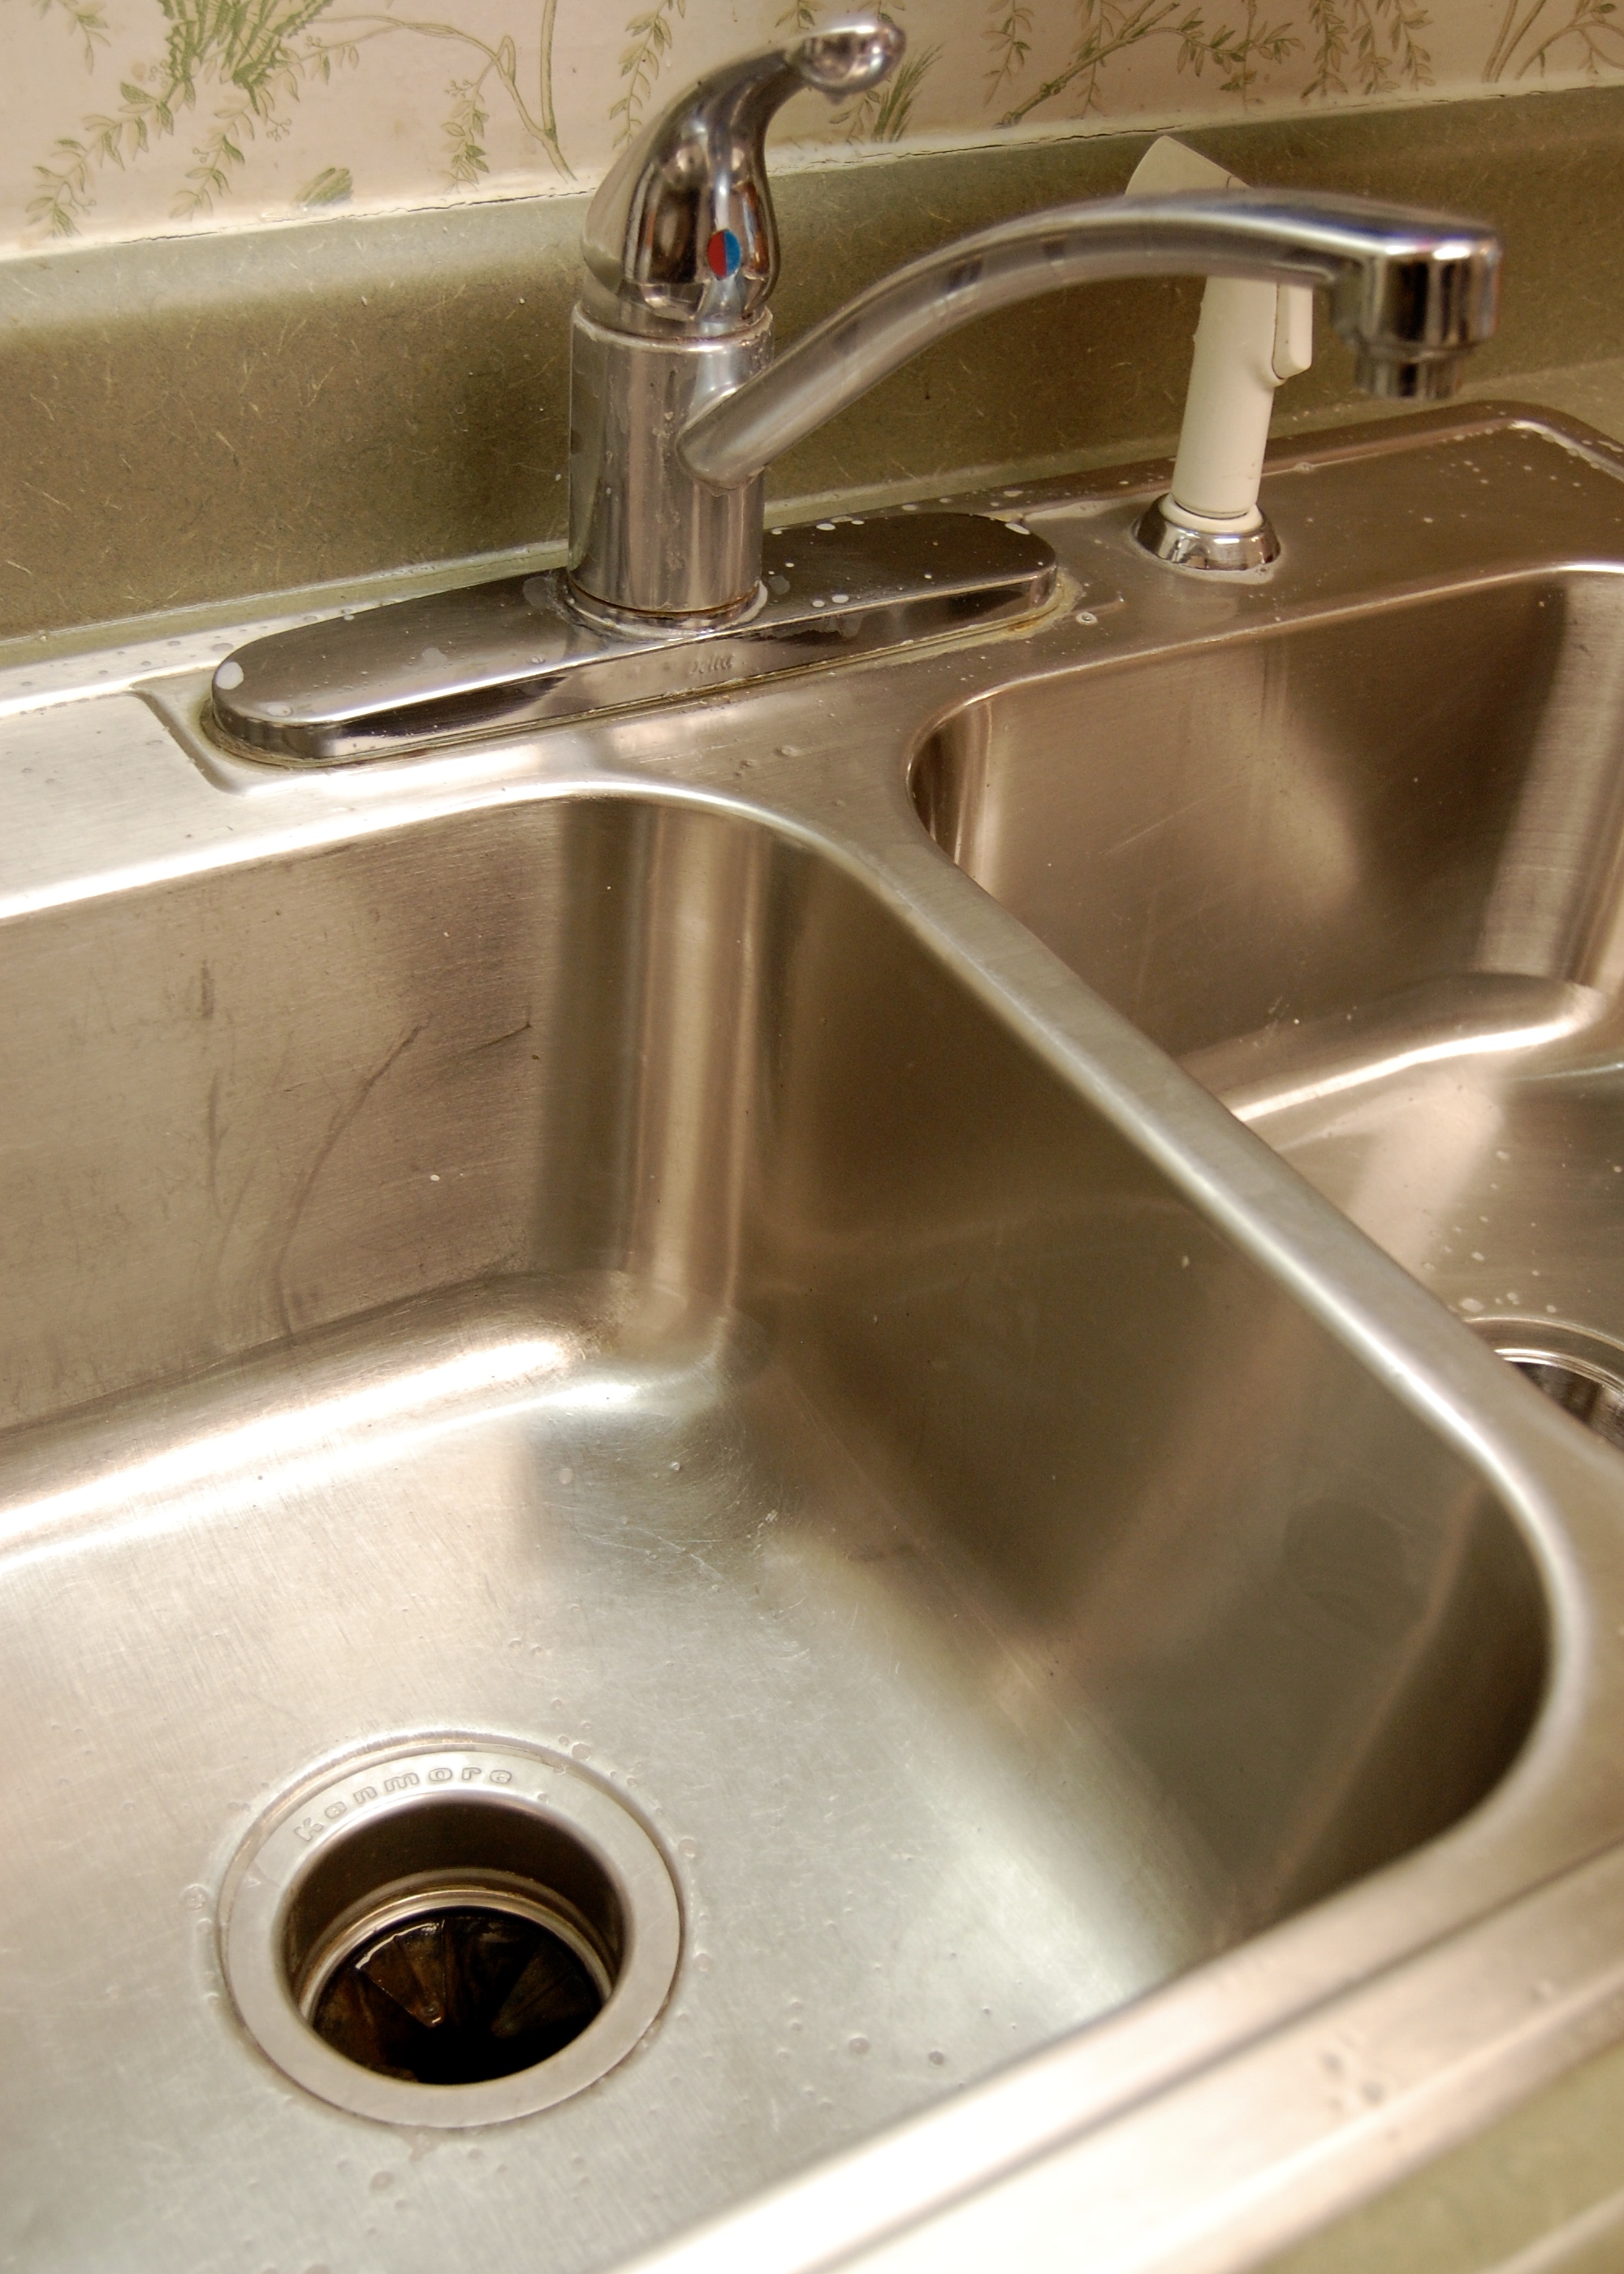
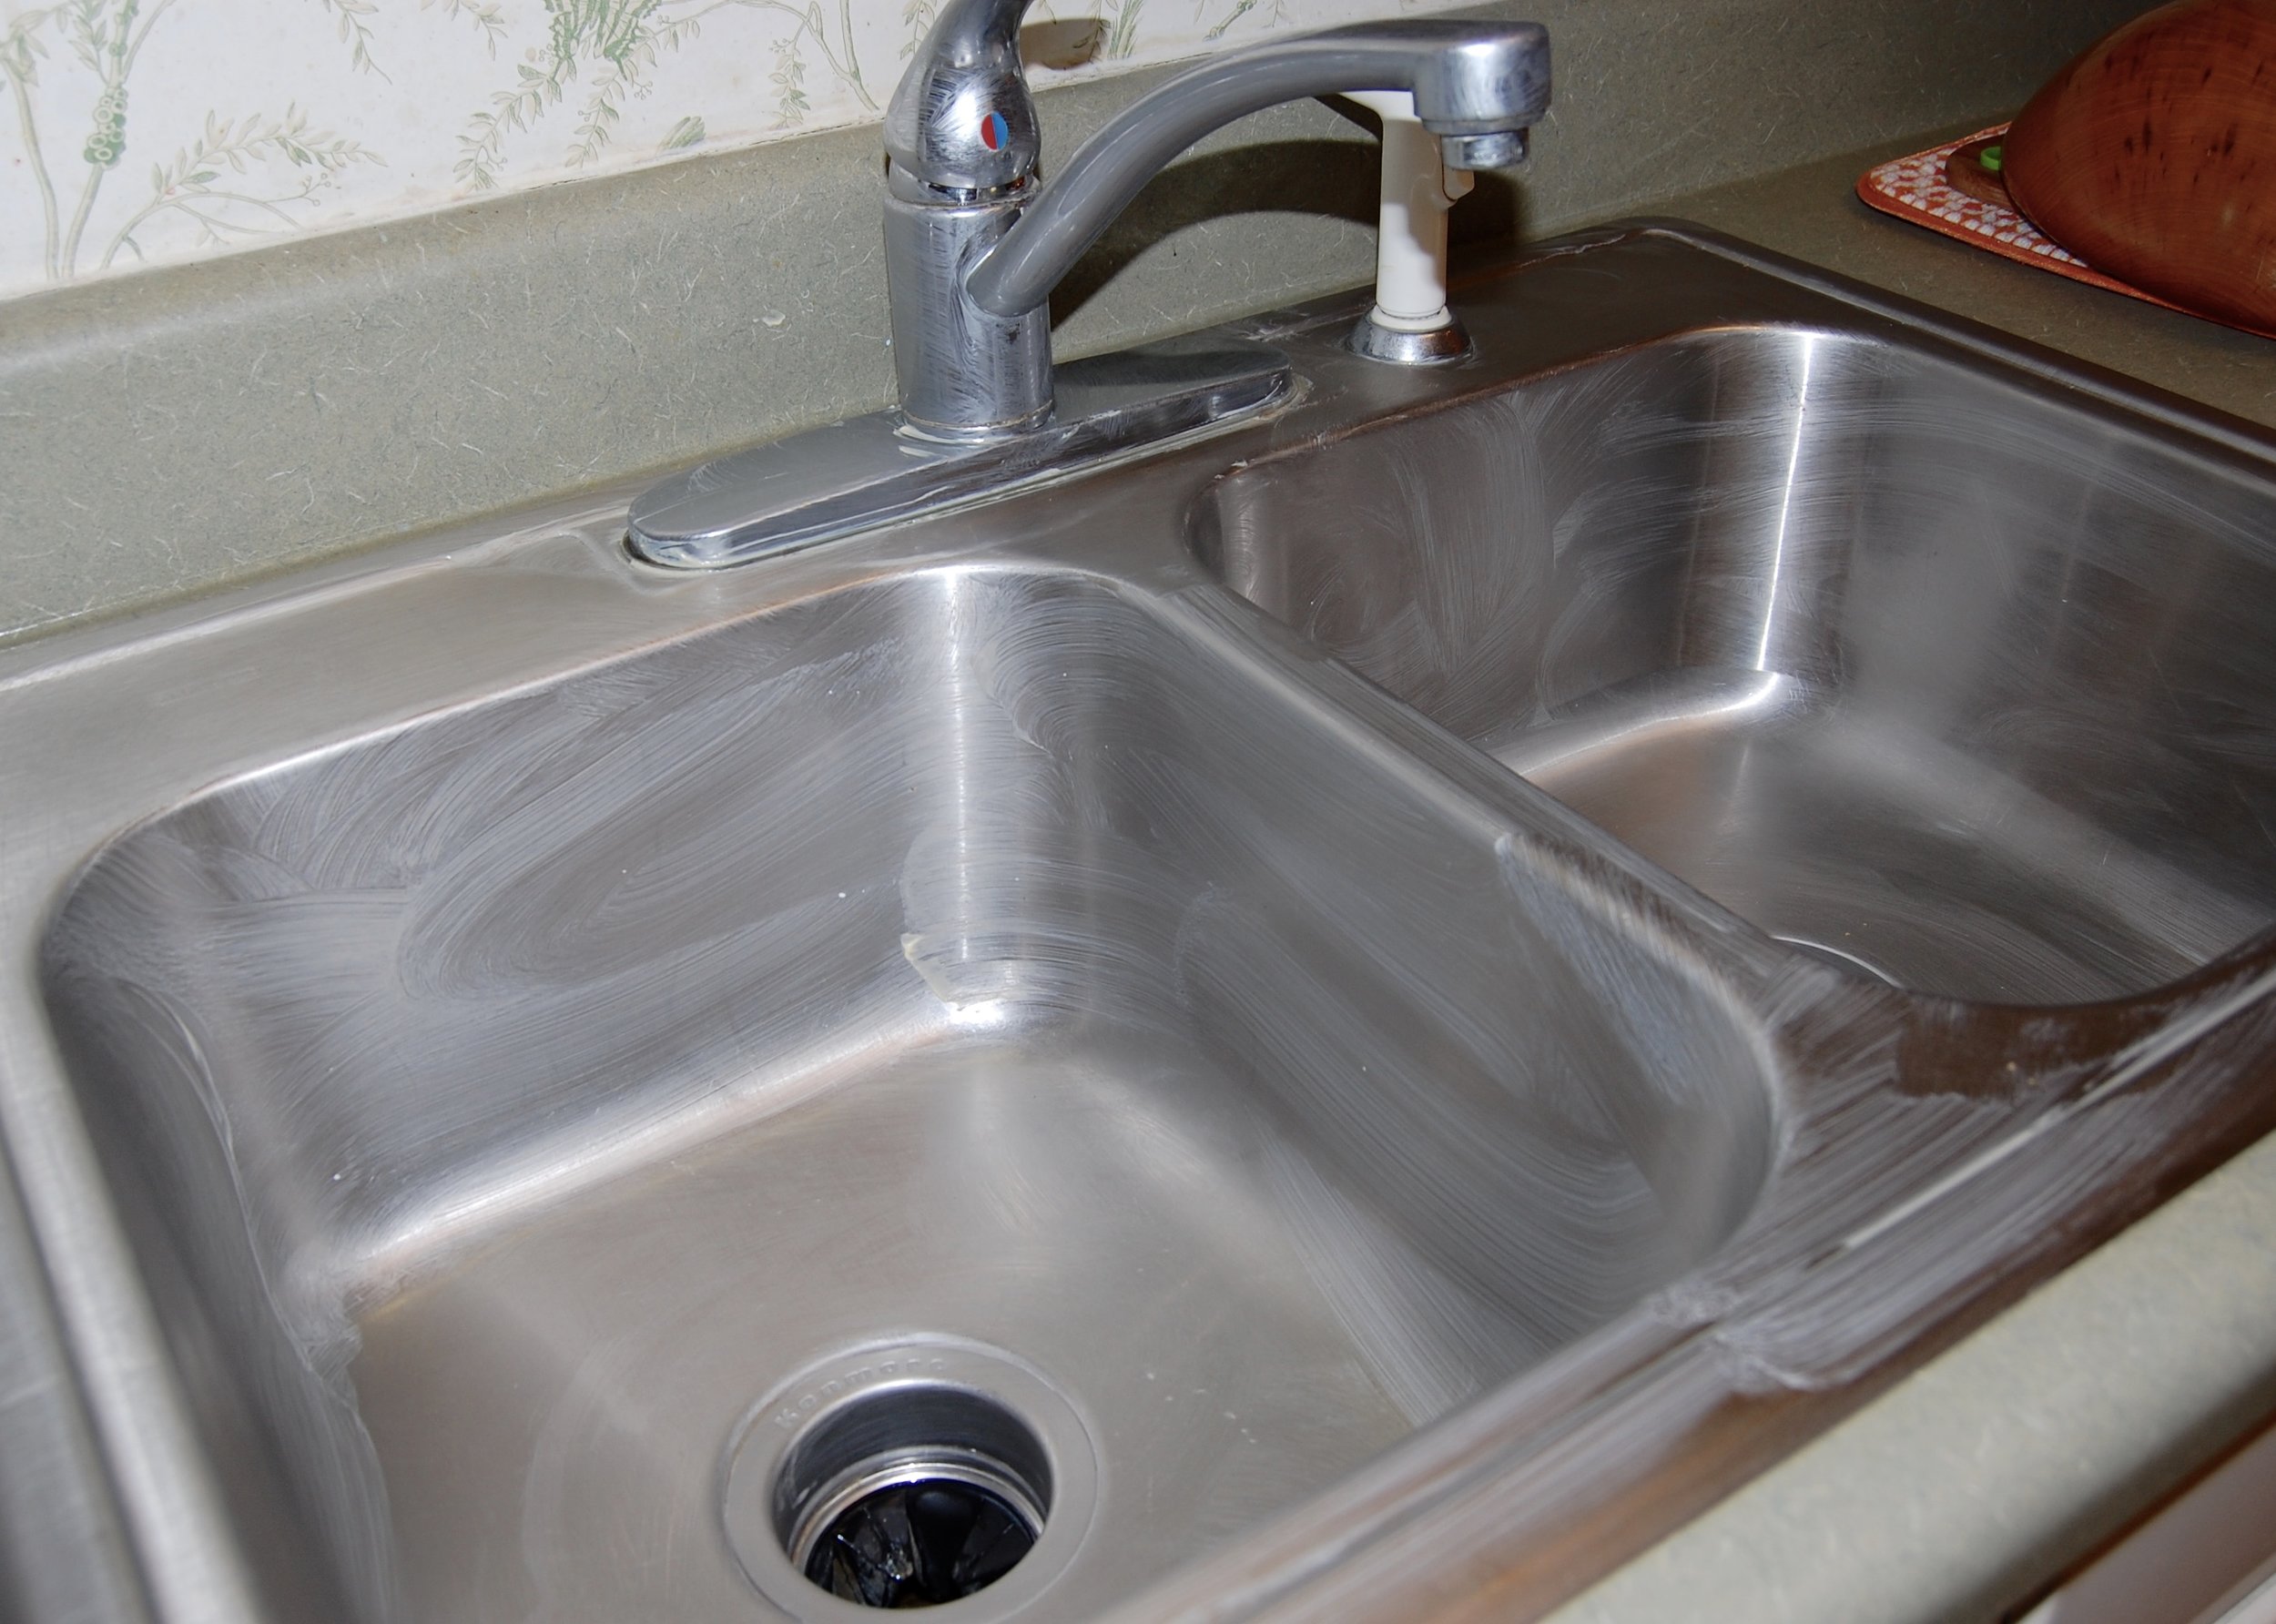
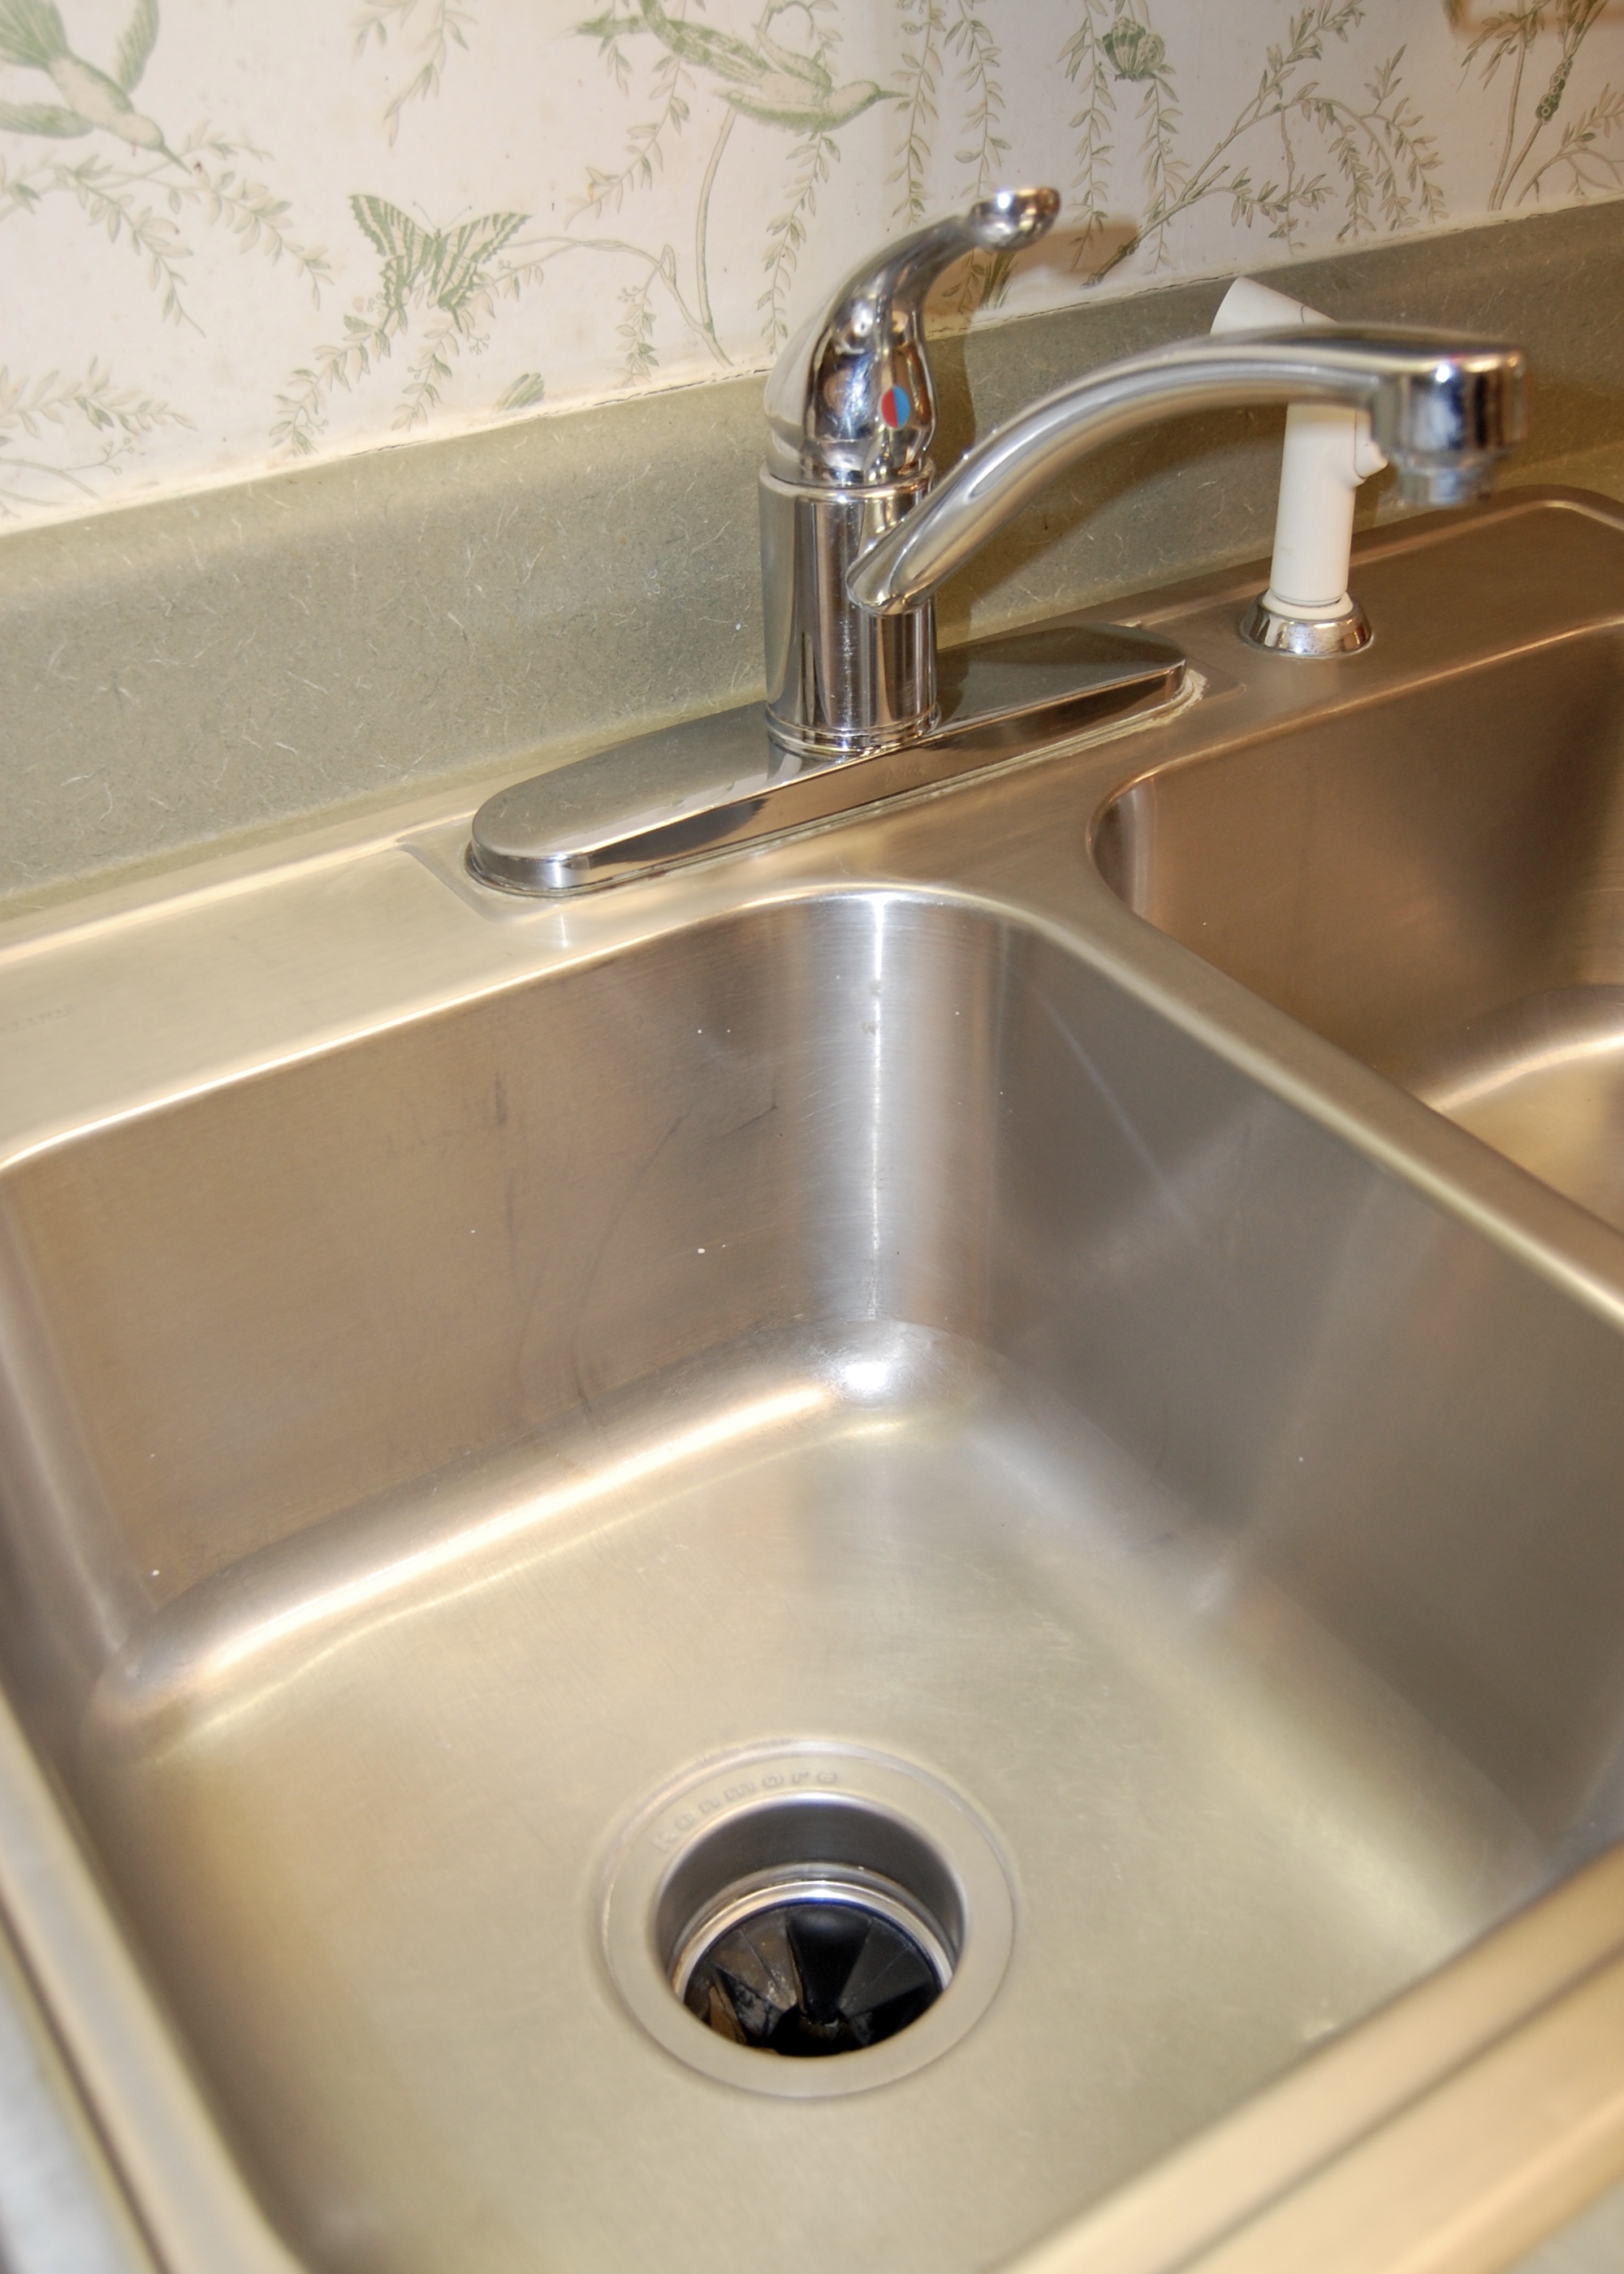
After Cleaning
This is what is looked like when I had finished cleaning it - It cleans up pretty good!
Step 2:
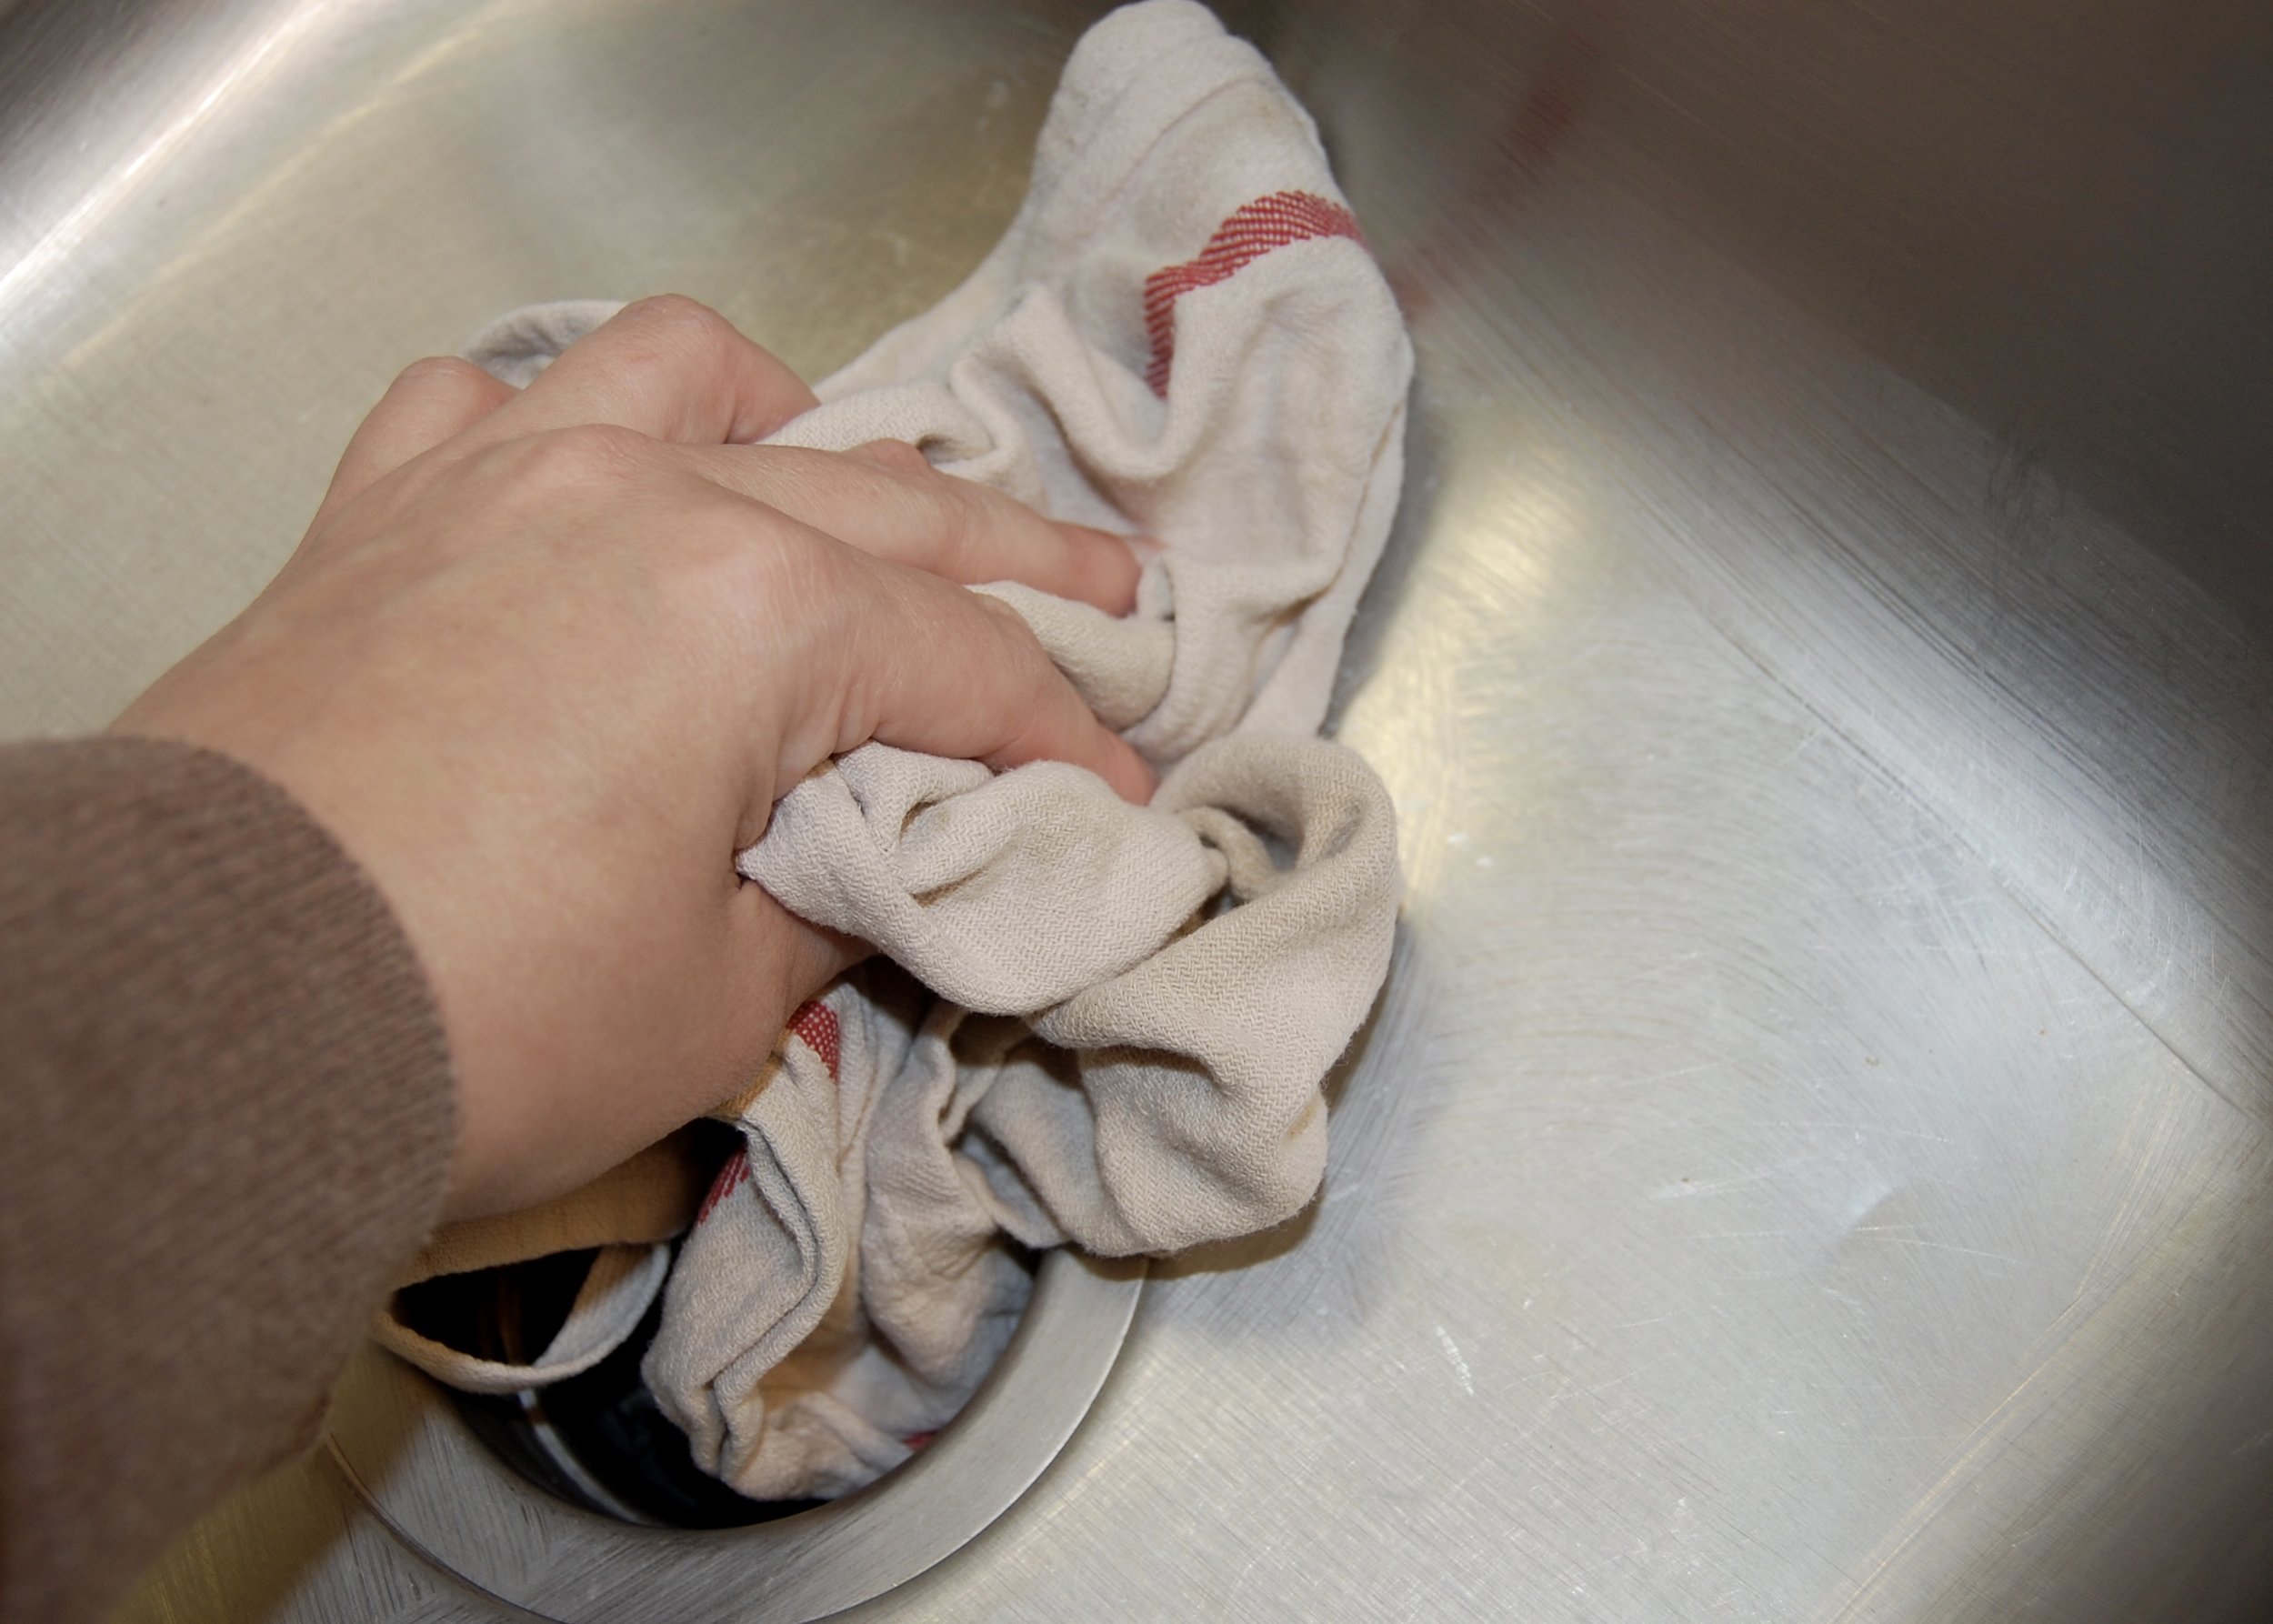
Dry the Sink
Before wax can be applied to the sink it must be dry. I grabbed a clean dry cloth and wiped it down.
Apply the Wax
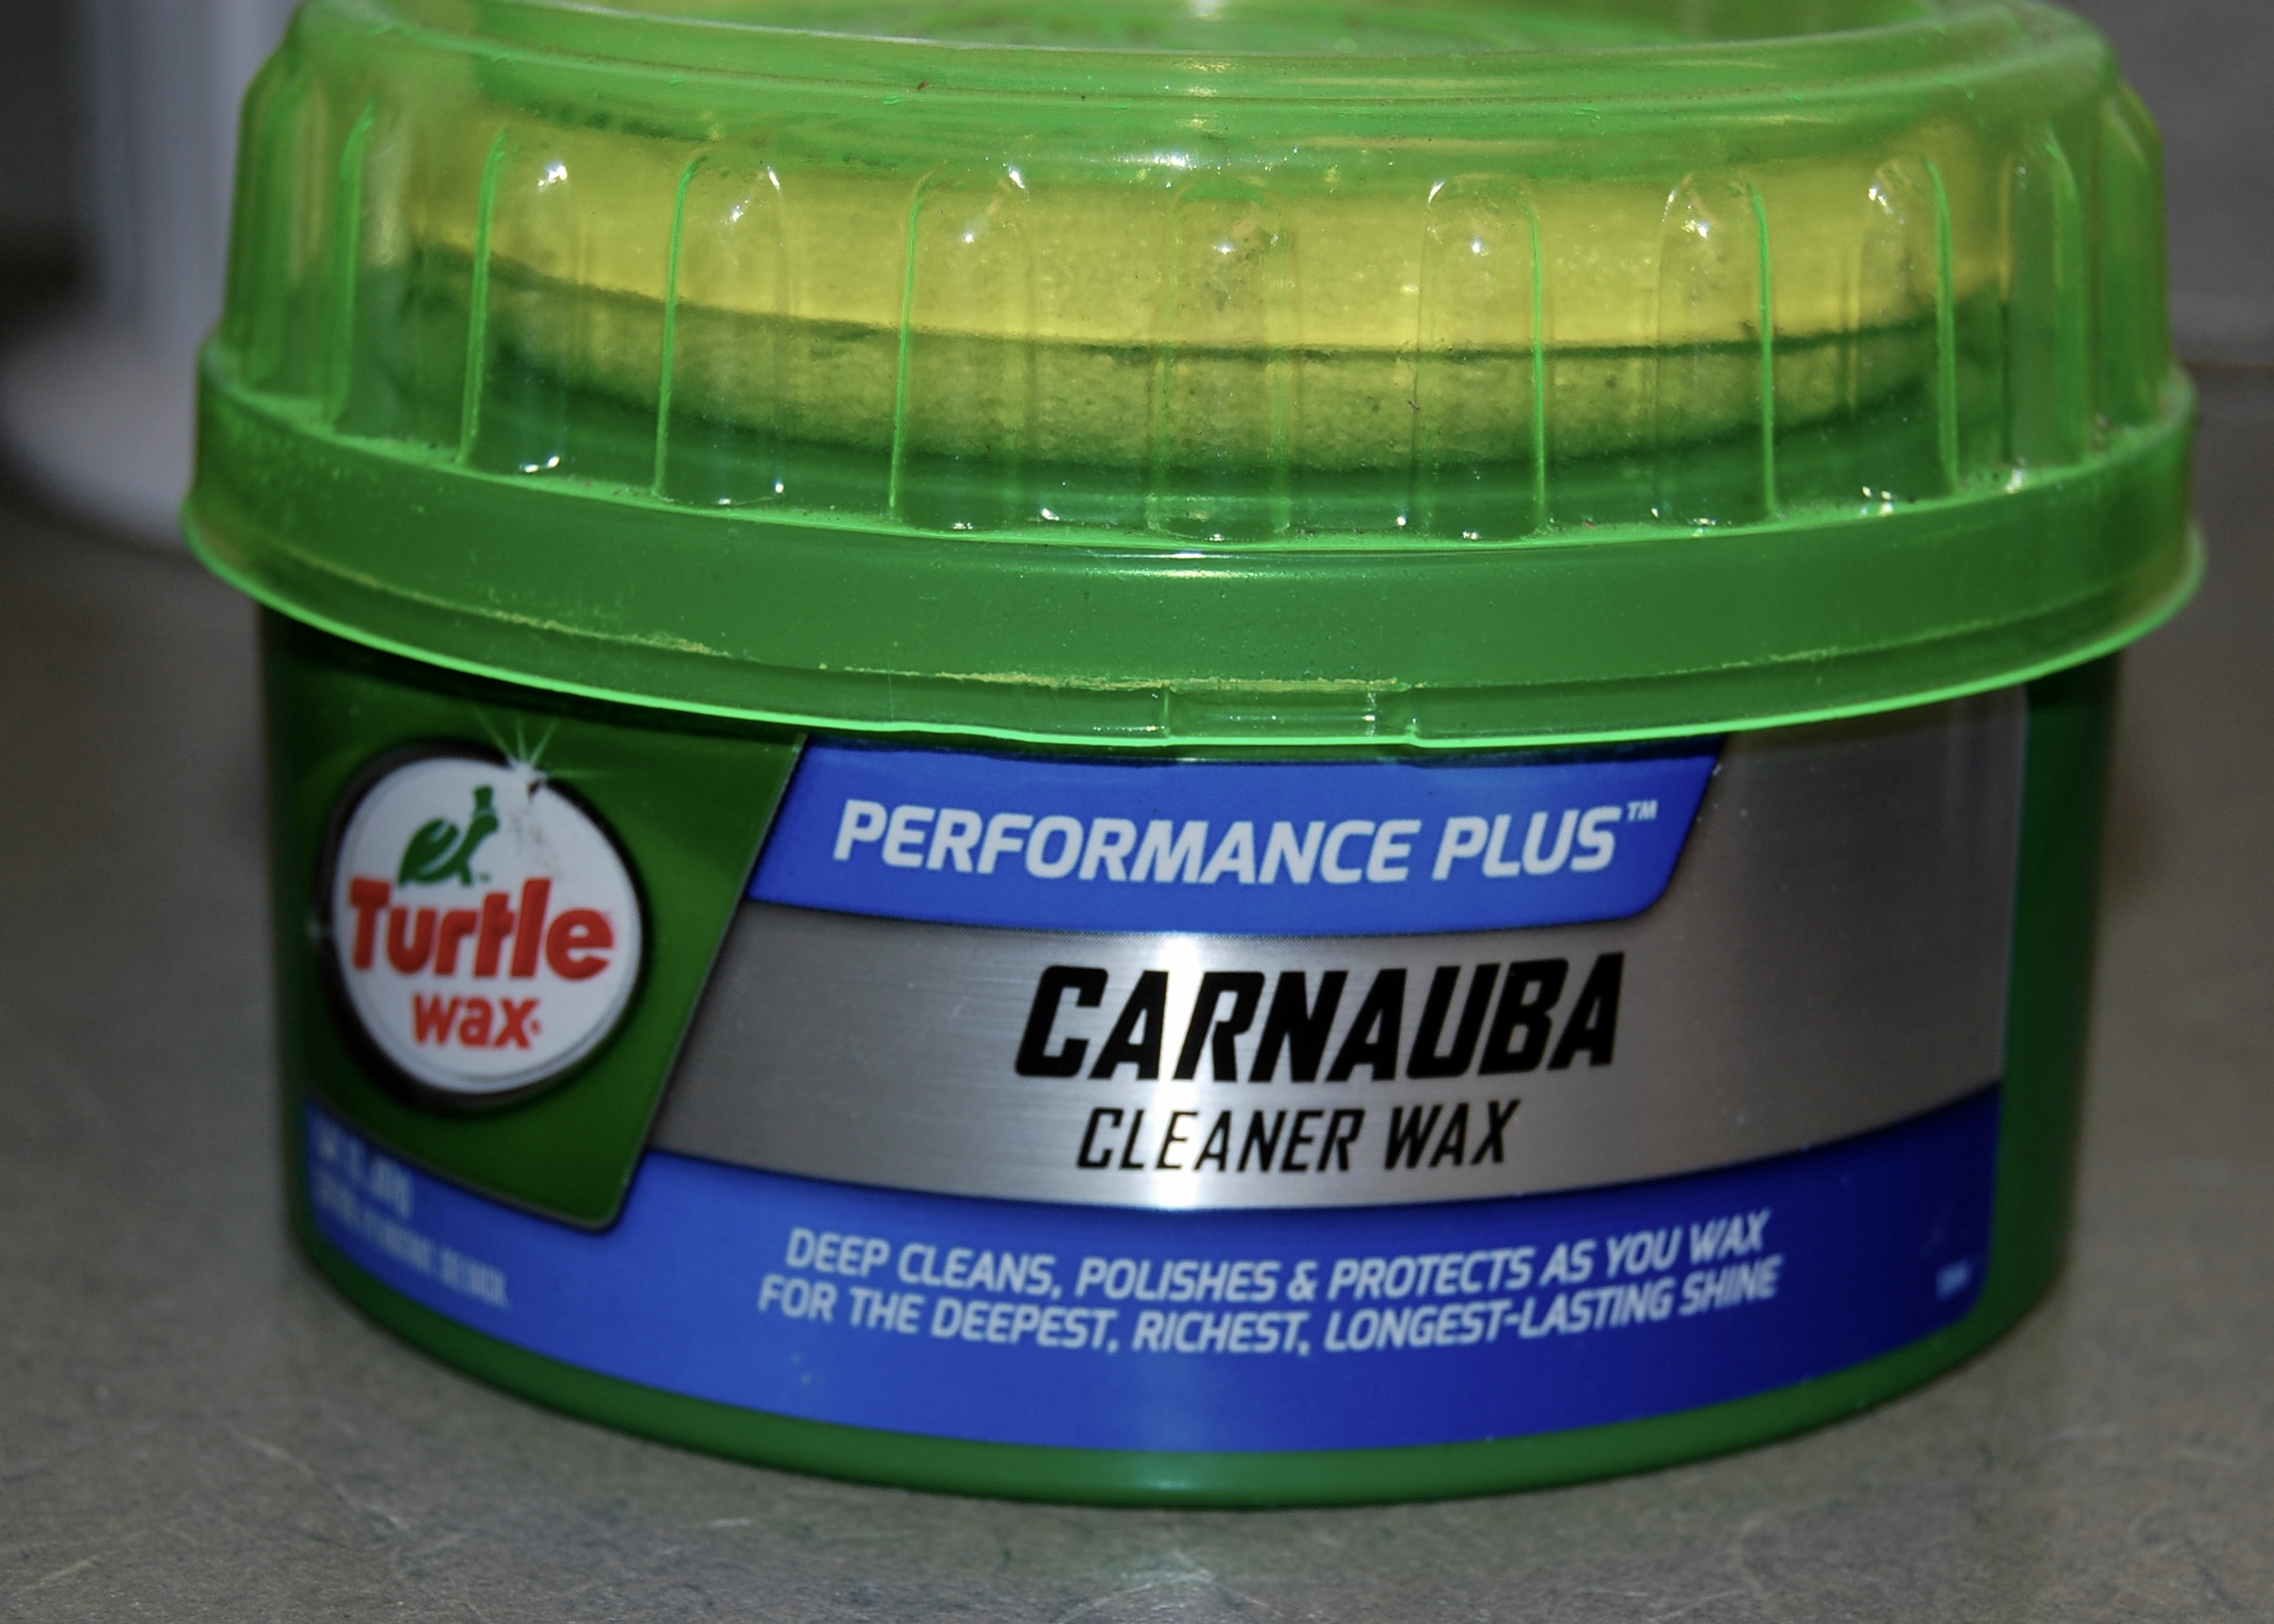
Next I applied the wax. I used carnuba wax – just like the wax used on cars. My family does not put anything directly in the sink that we will be eating later, so I felt comfortable using the carnuba wax. If my family ever put food directly in the sink I would have used a food safe wax instead.
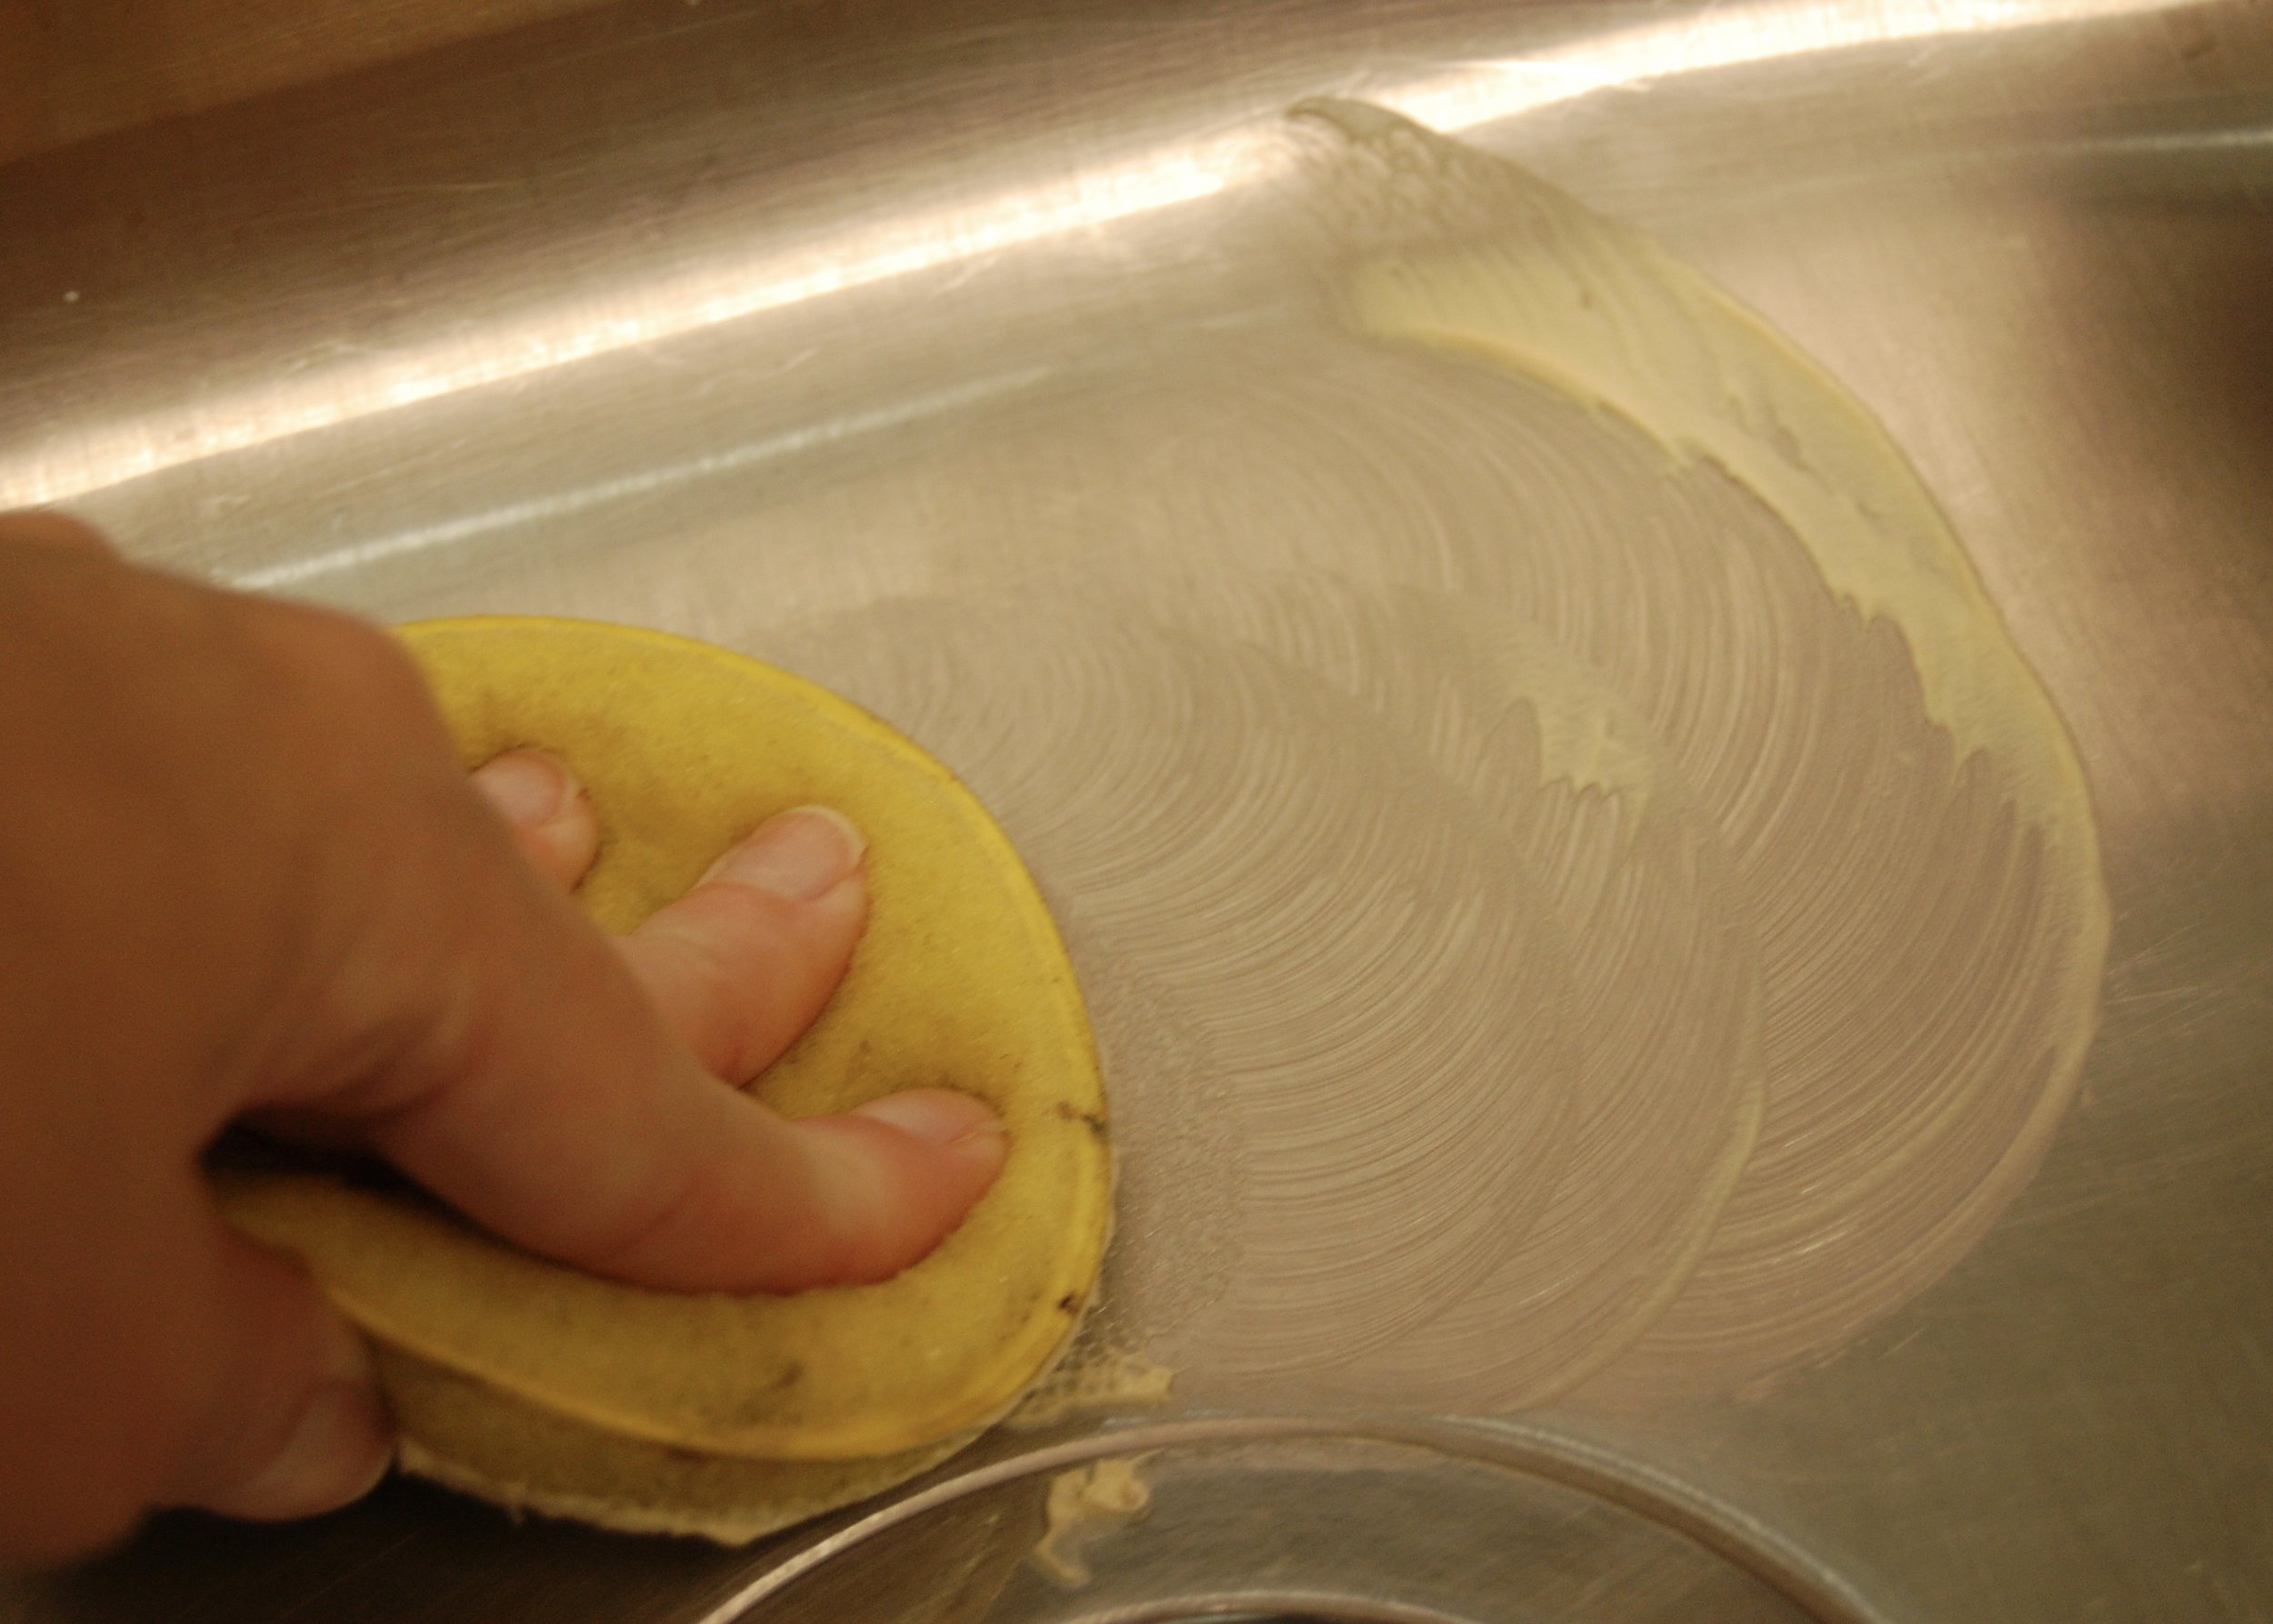
The wax is easy to apply, you just get a bit on the applicator and rub it on the sink trying to apply a thin even coat on all of the sink surfaces. If you leave a few globs, like I did, it is not the end of the world, it just takes those areas a bit longer to dry.
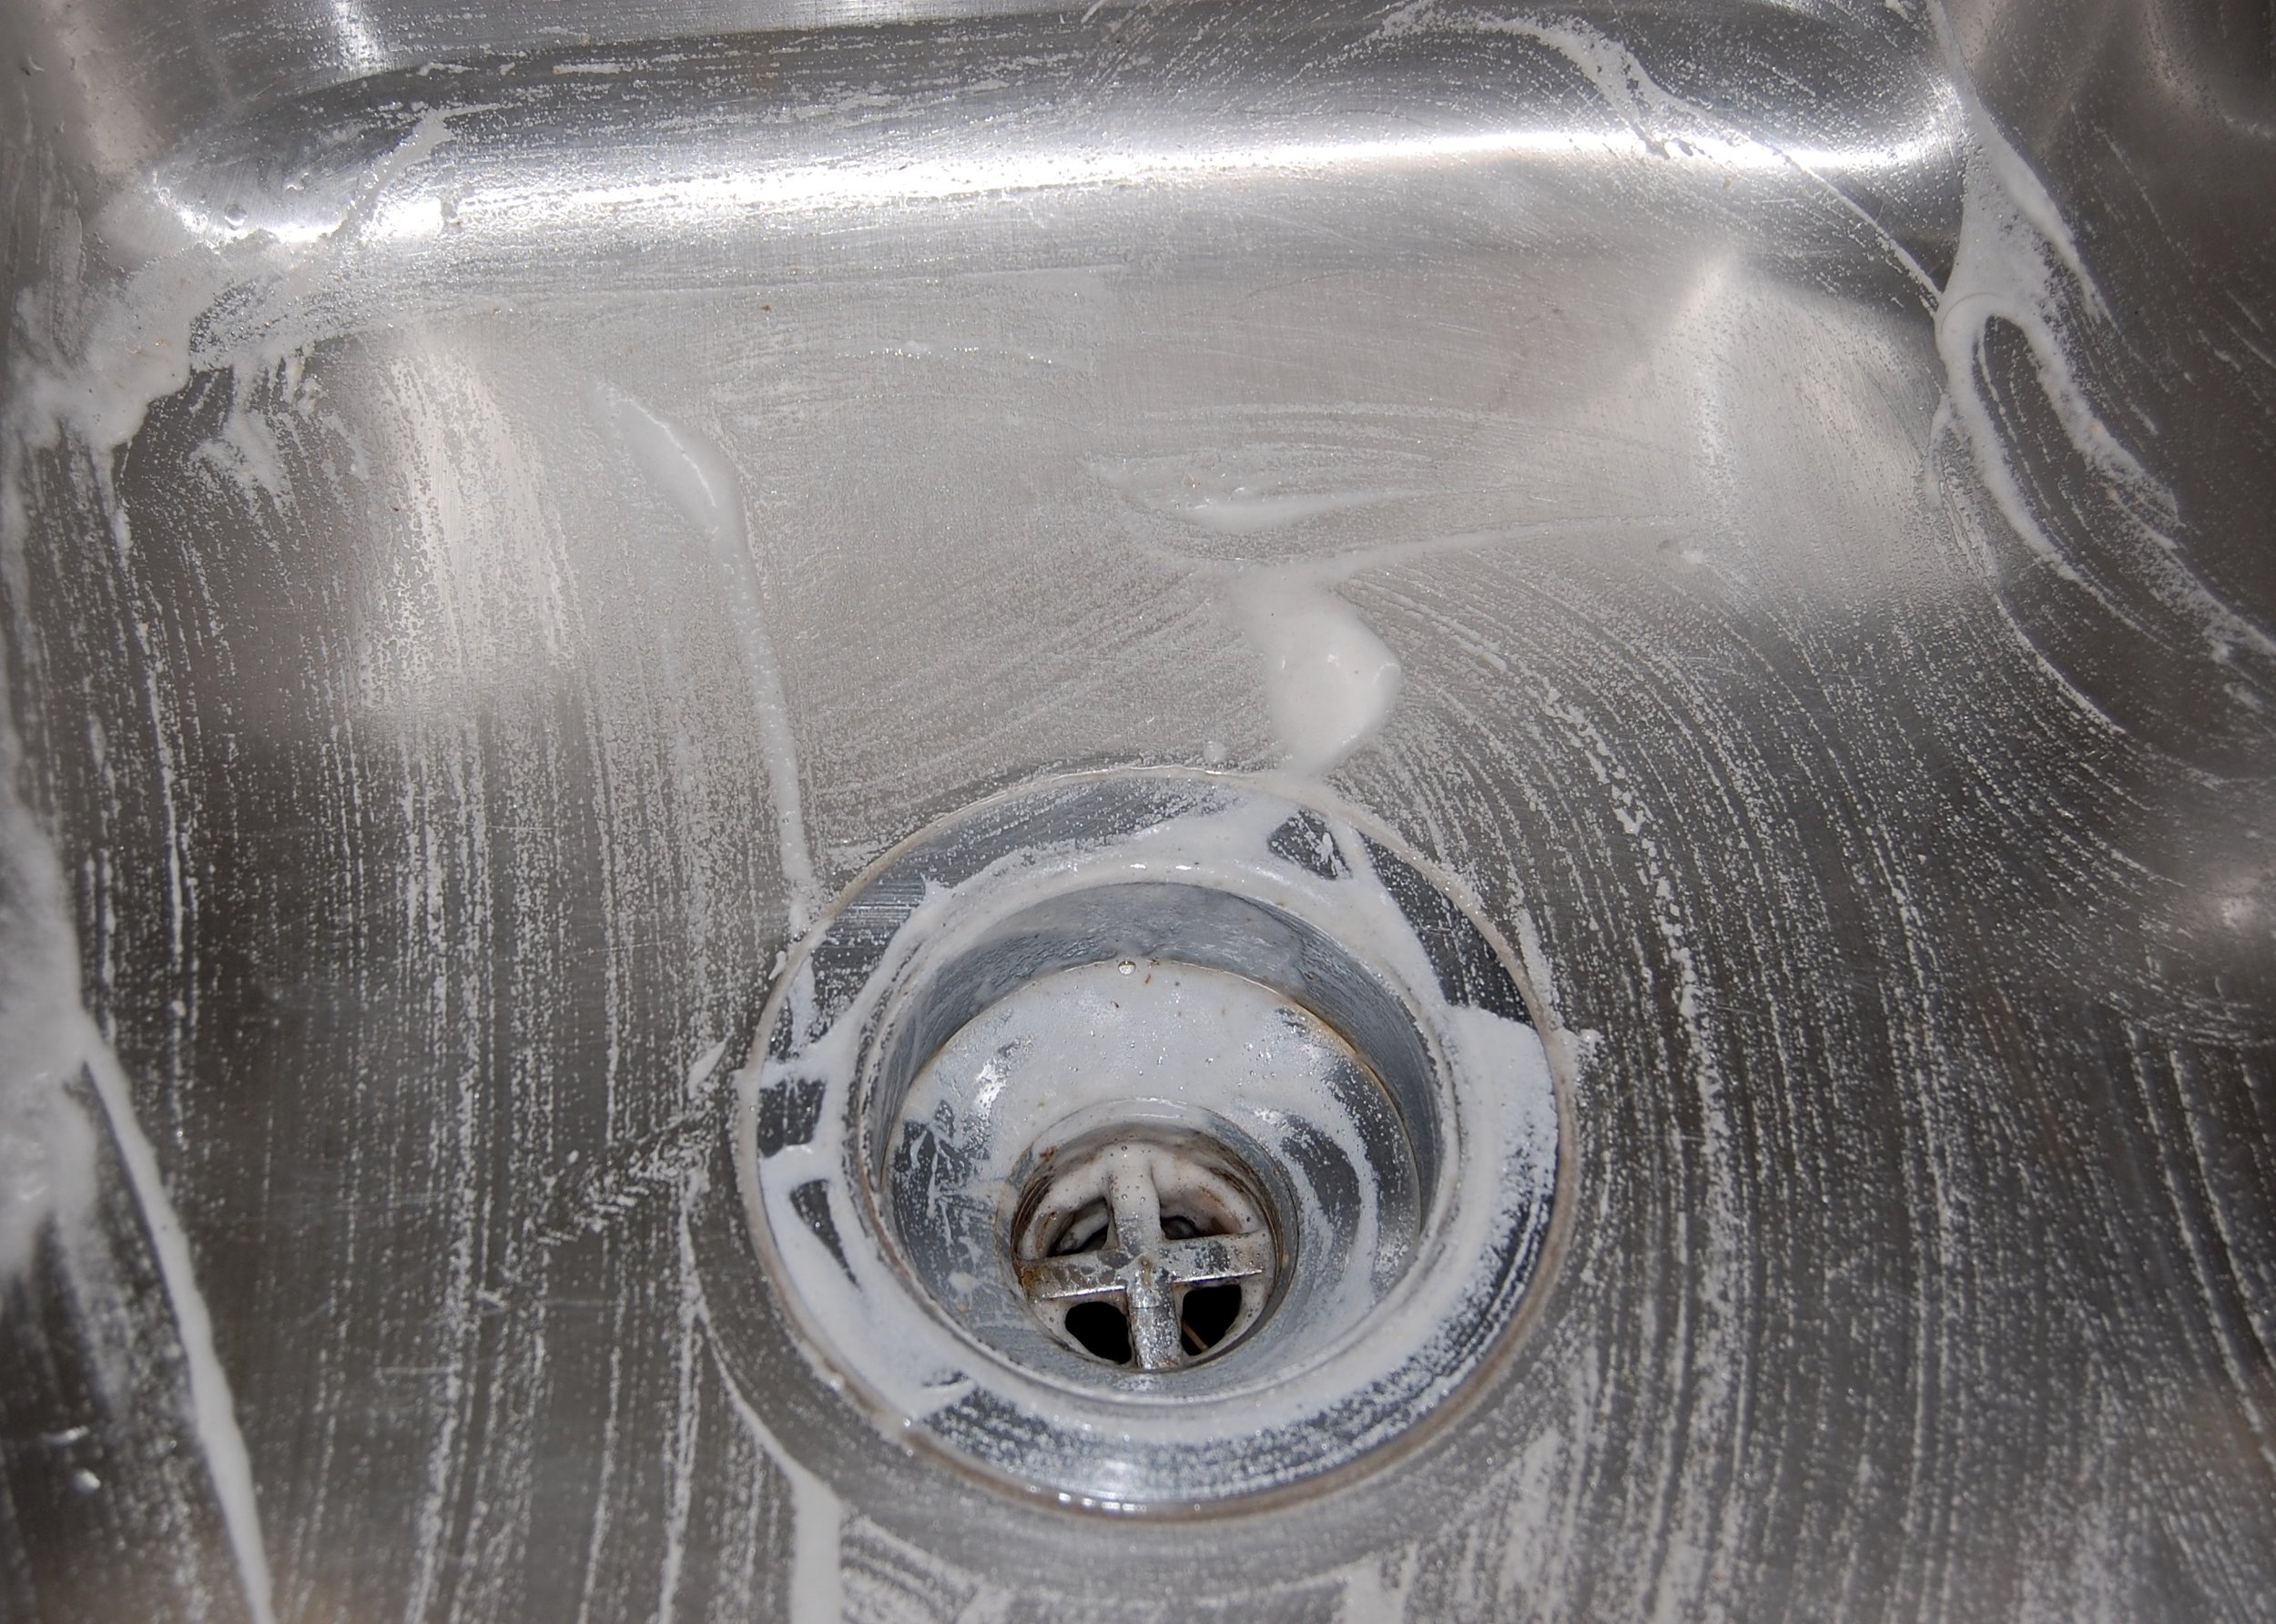
Remove the Wax

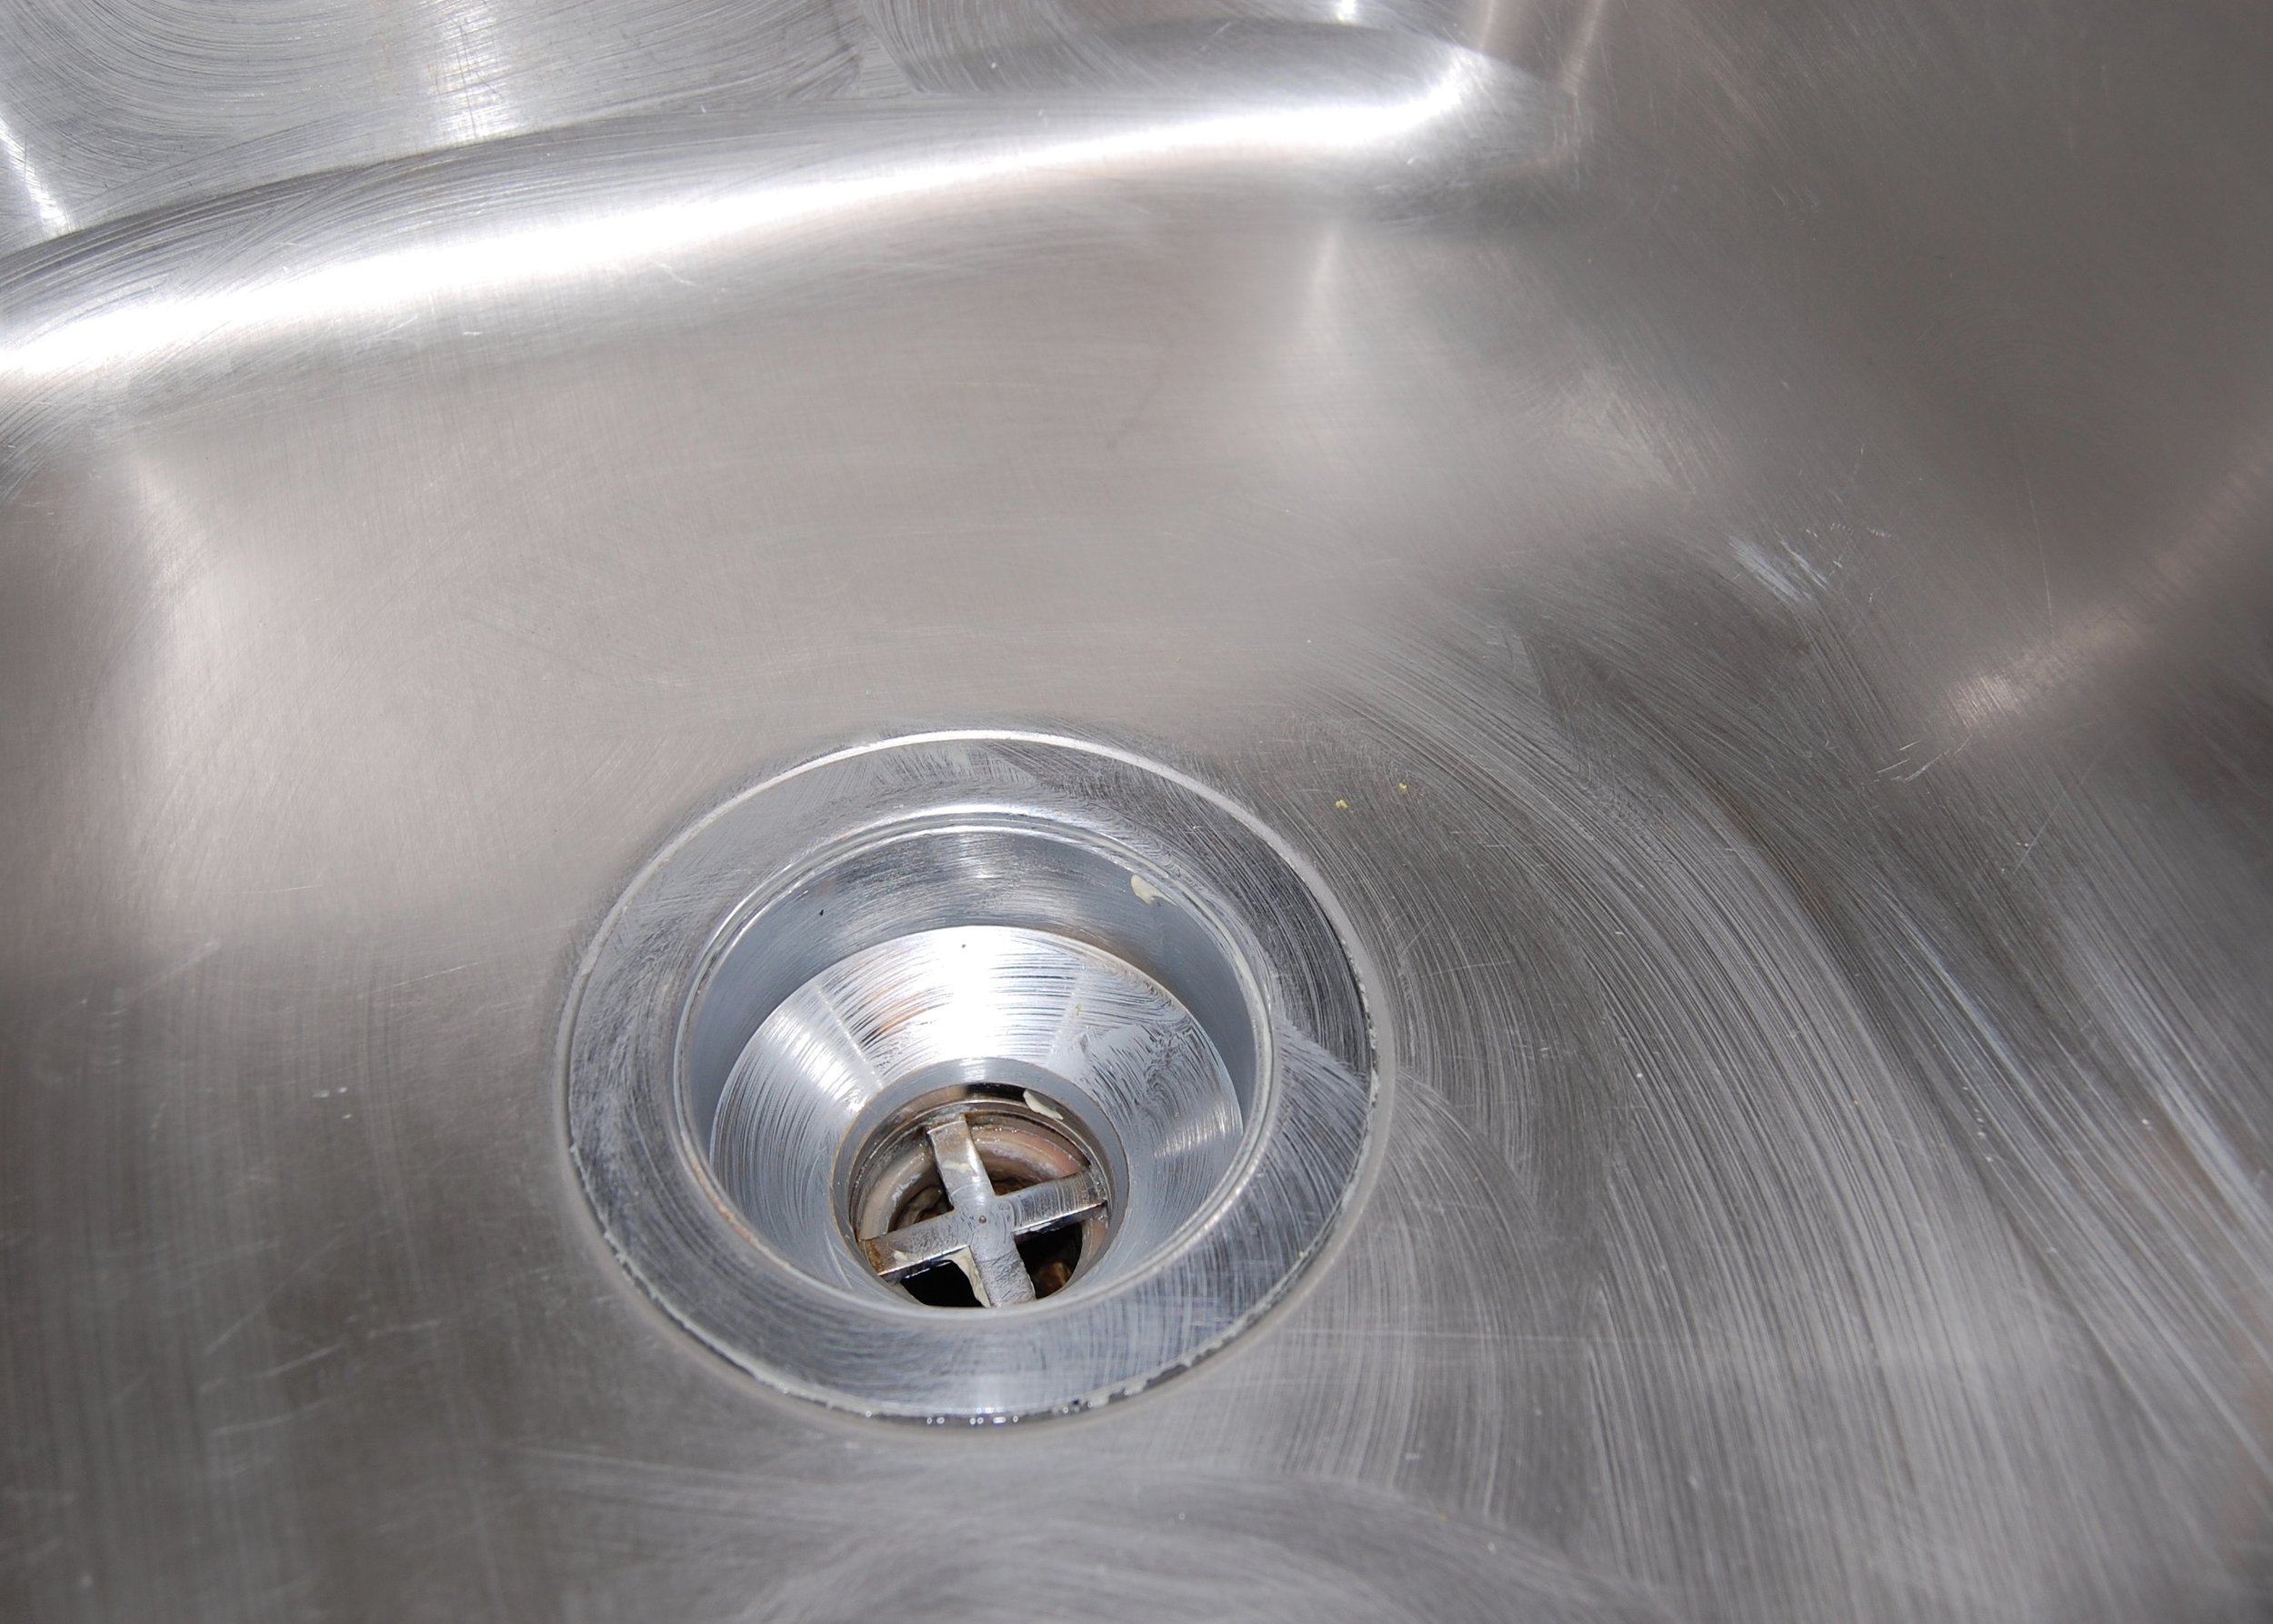
Let the wax dry completely before you remove it. When it is dry it will look like a white, slightly powdery, haze on the surface of the sink.
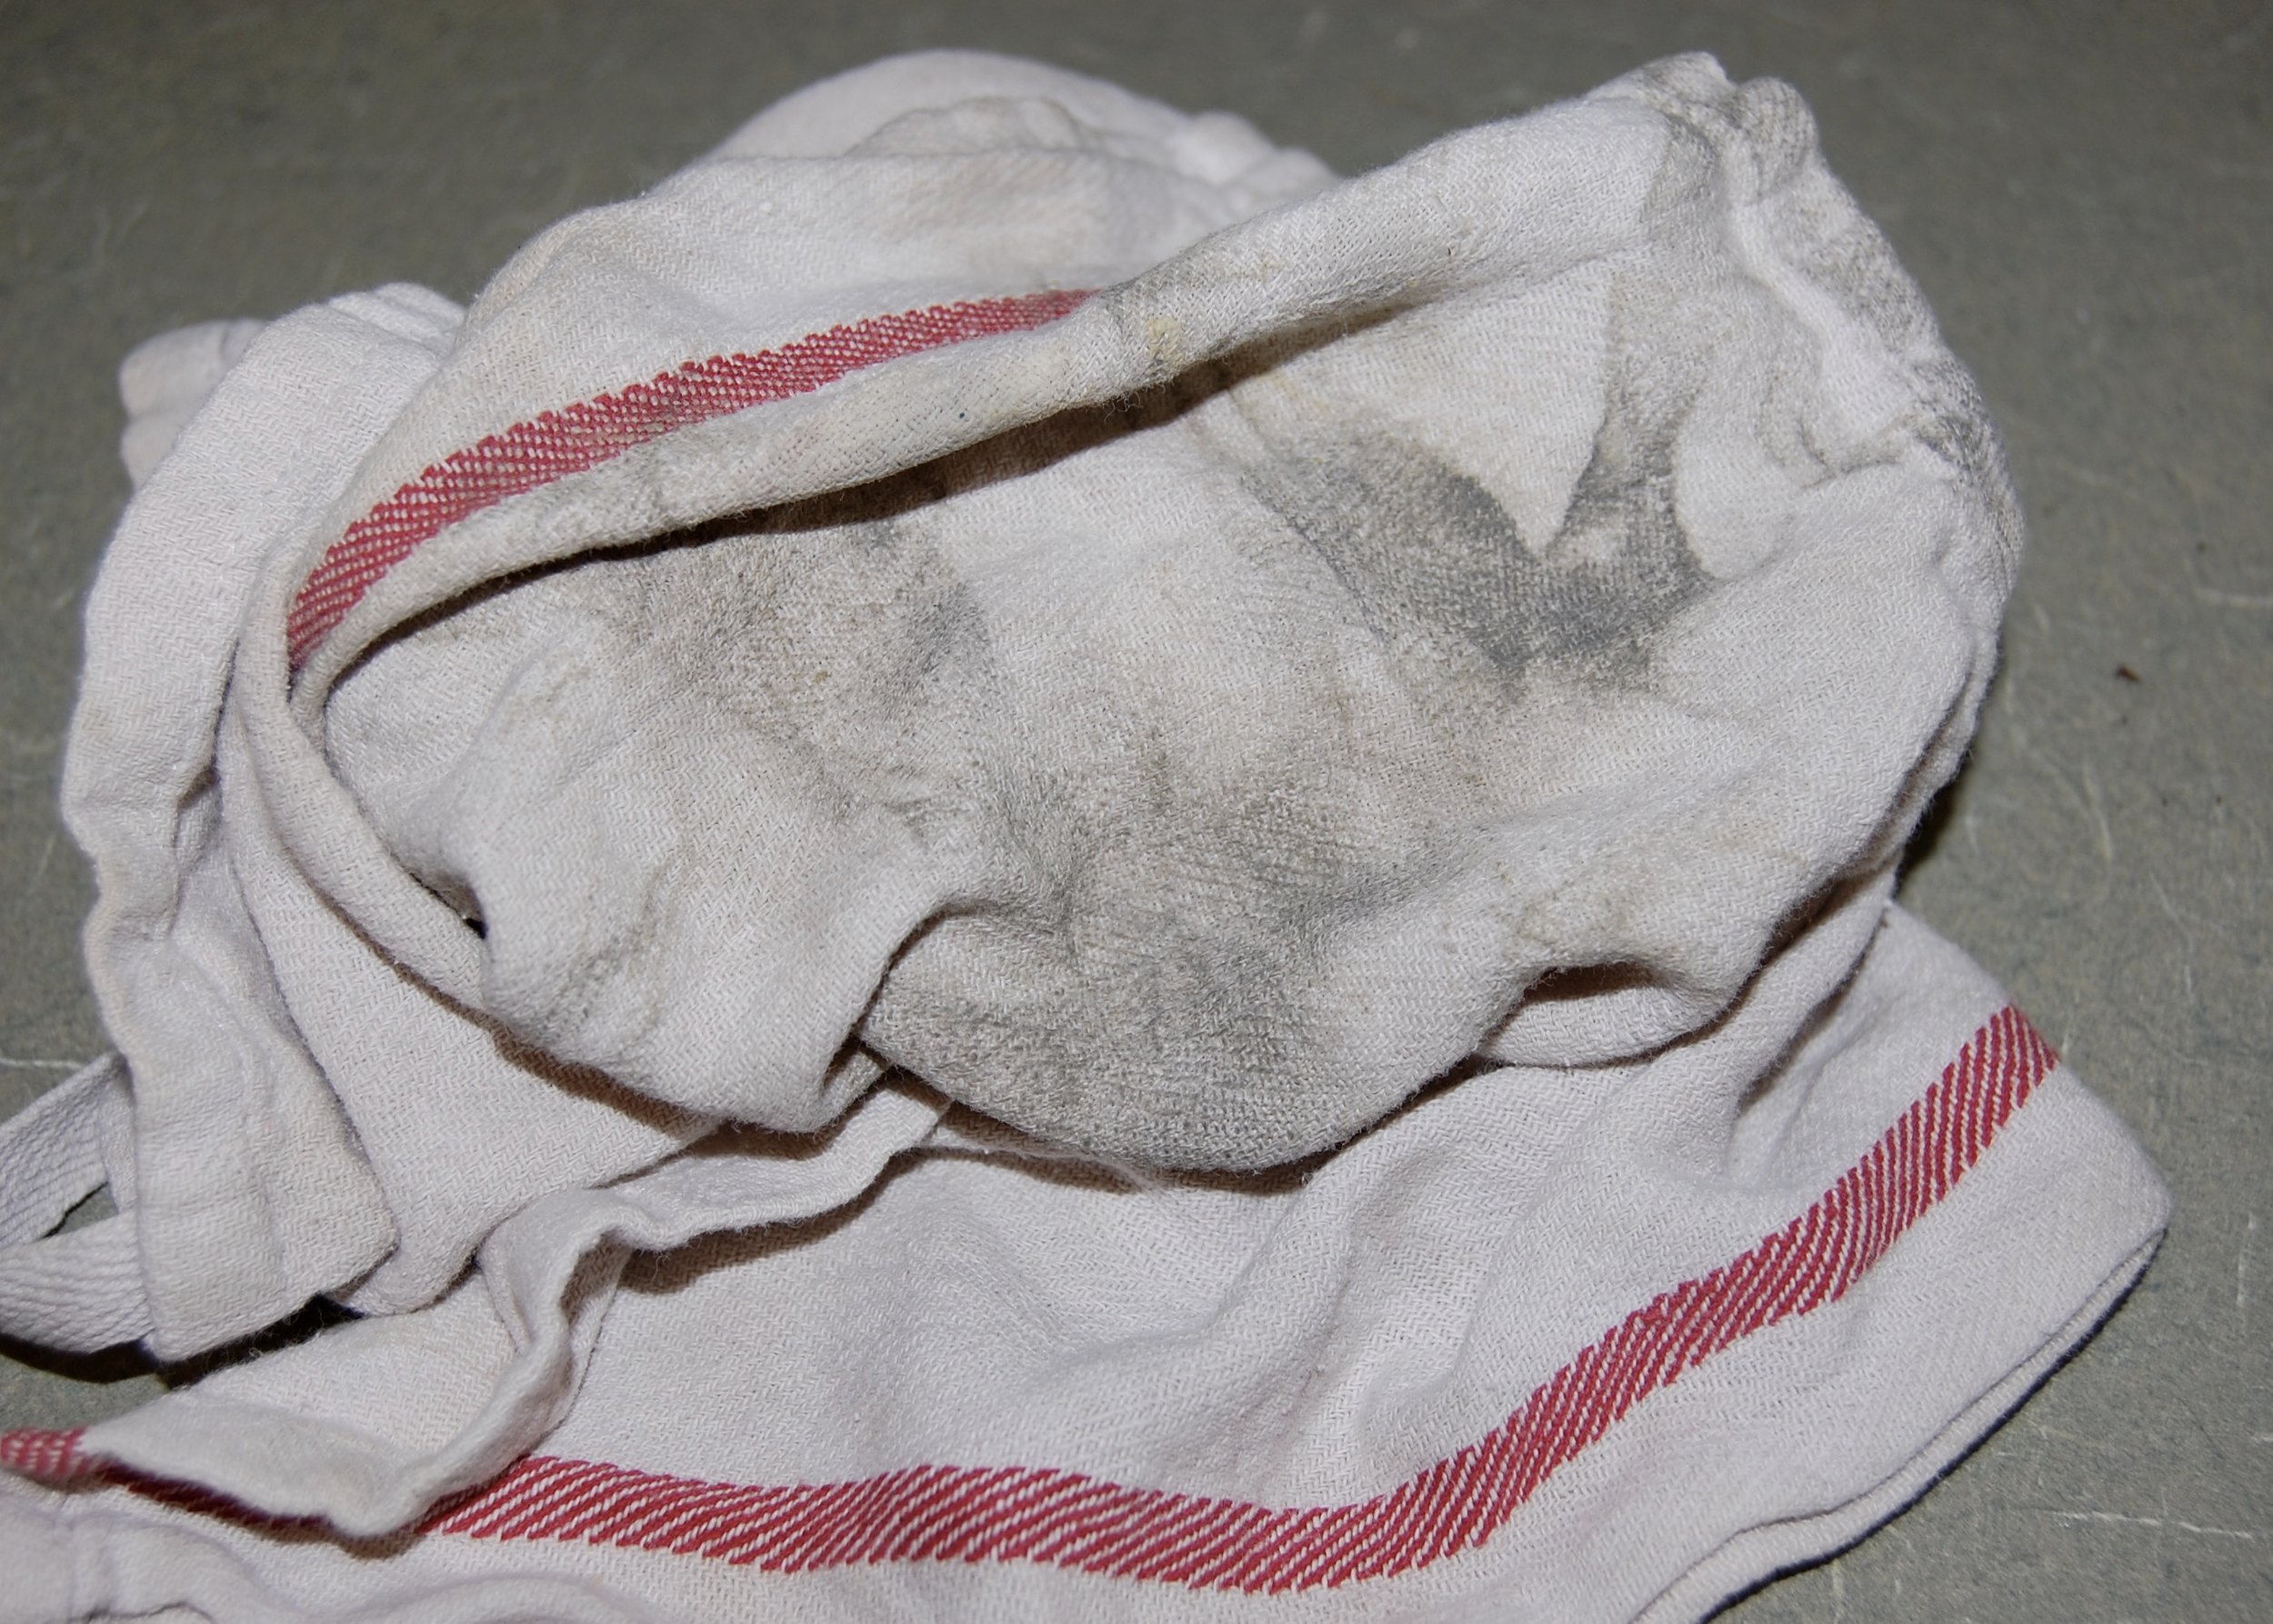
Once it is dry grab another clean dry cloth and wipe off the dry wax (and be amazed how much crap you still get off the sink even after all of that cleaning). You should not see any white haze left once the wax has been removed.
Step 3: Test it
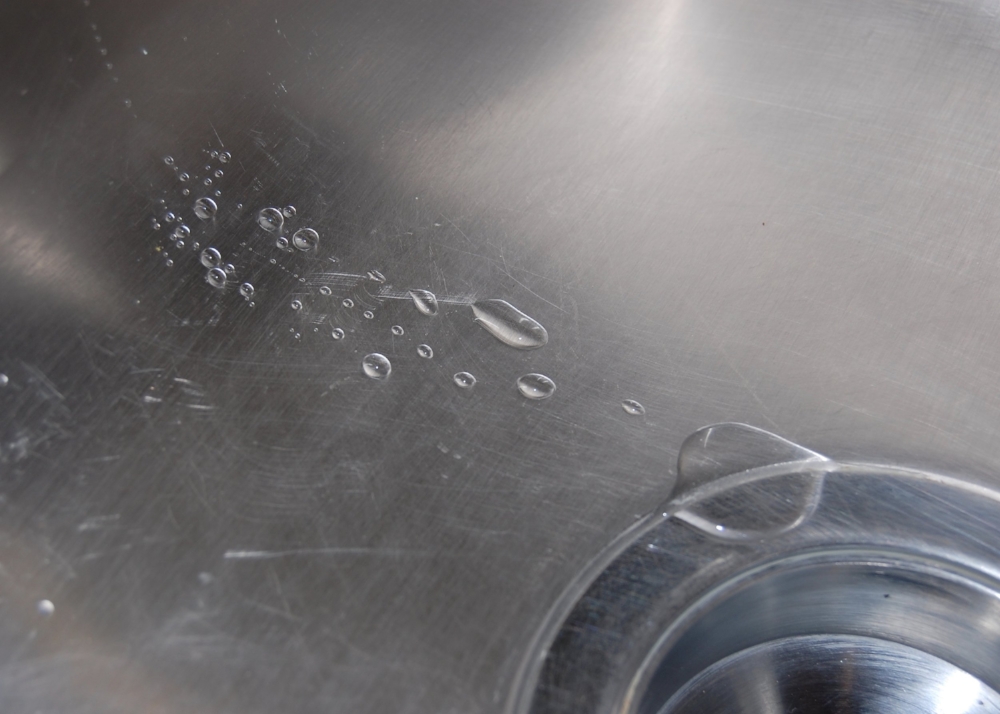
Even tiny drops of water bead up after the application of the wax.
I was a bit nervous to test it. I had such high hopes for this hack, and I really wanted it to work. If it hadn’t worked I was going to be so disappointed. Firebeard ended up getting some water when I wasn’t looking, some of which dripped into the sink. It beaded up beautifully. I spent the rest of the day rinsing things off in the sink and watching water and bits of food slide right down the drain without leaving a mark on the sink. It was a beautiful thing to behold.
Step 4: See how long it takes the filth to build back up again
And then I went on a business trip for 5 days. Firebeard and the kids stayed home, and used the sink like they normally would. It was rinsed out when dishes were done, but it was not cleaned or even wiped down. This is what it looked like when I got back (and put the dishes in the washer):

After five days of use and no cleaning.

Close up after 5 days of use with no cleaning.
Conclusion:
Holy Crap! This is amazing. I am never not going to do this ever again. Five days after being cleaned and waxed it looks like it normally does five minutes after I clean it. I don't know how this isn't standard Home Ec 101. Really I could not be more pleased with how well this turned out. You should definately give it a try! I am heading off to wax the rest of the sinks in my house now.
To learn more about Spring Cleaning and cleaning Hacks check out Hang Your Hat Episode 8: Wax on, Wax Off. If you have a fantastic cleaning hack you would like to share, or have heard of one that might be worthy of a cleaning experiment, please let me know about it in the comments.