Is microwaving vinegar and water a miracle microwave cleaner?
/While I was researching for Hang Your Hat's Episode 8: Wax On, Wax Off, one cleaning hack came up over and over again - Cleaning your Microwave by Microwaving Water and Vinegar. Some sites implied that once you did the microwaving you were done and the microwave would be magically cleaned by the water and vinegar vapor, others indicated that a quick wipe down of the walls after microwaving the water and vinegar mix was required but, it would be so easy to remove the junk that it would practically jump off the side of the microwave onto your cleaning rag.
I was pretty skeptical of these claims. It just didn't seem likely that just microwaving water and vinegar would make that much difference, so I decided to do an experiment of my own.
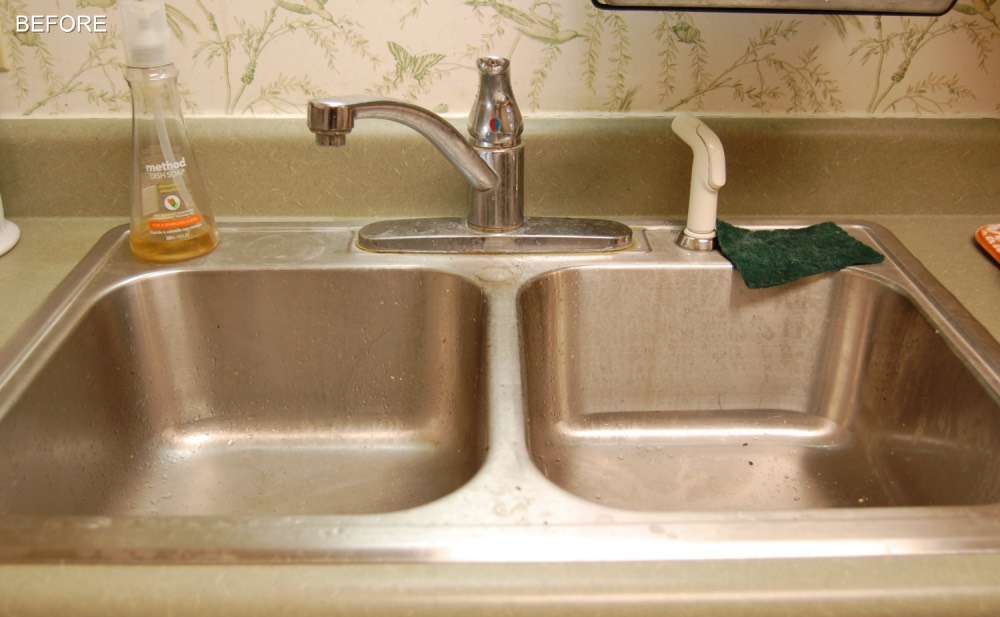
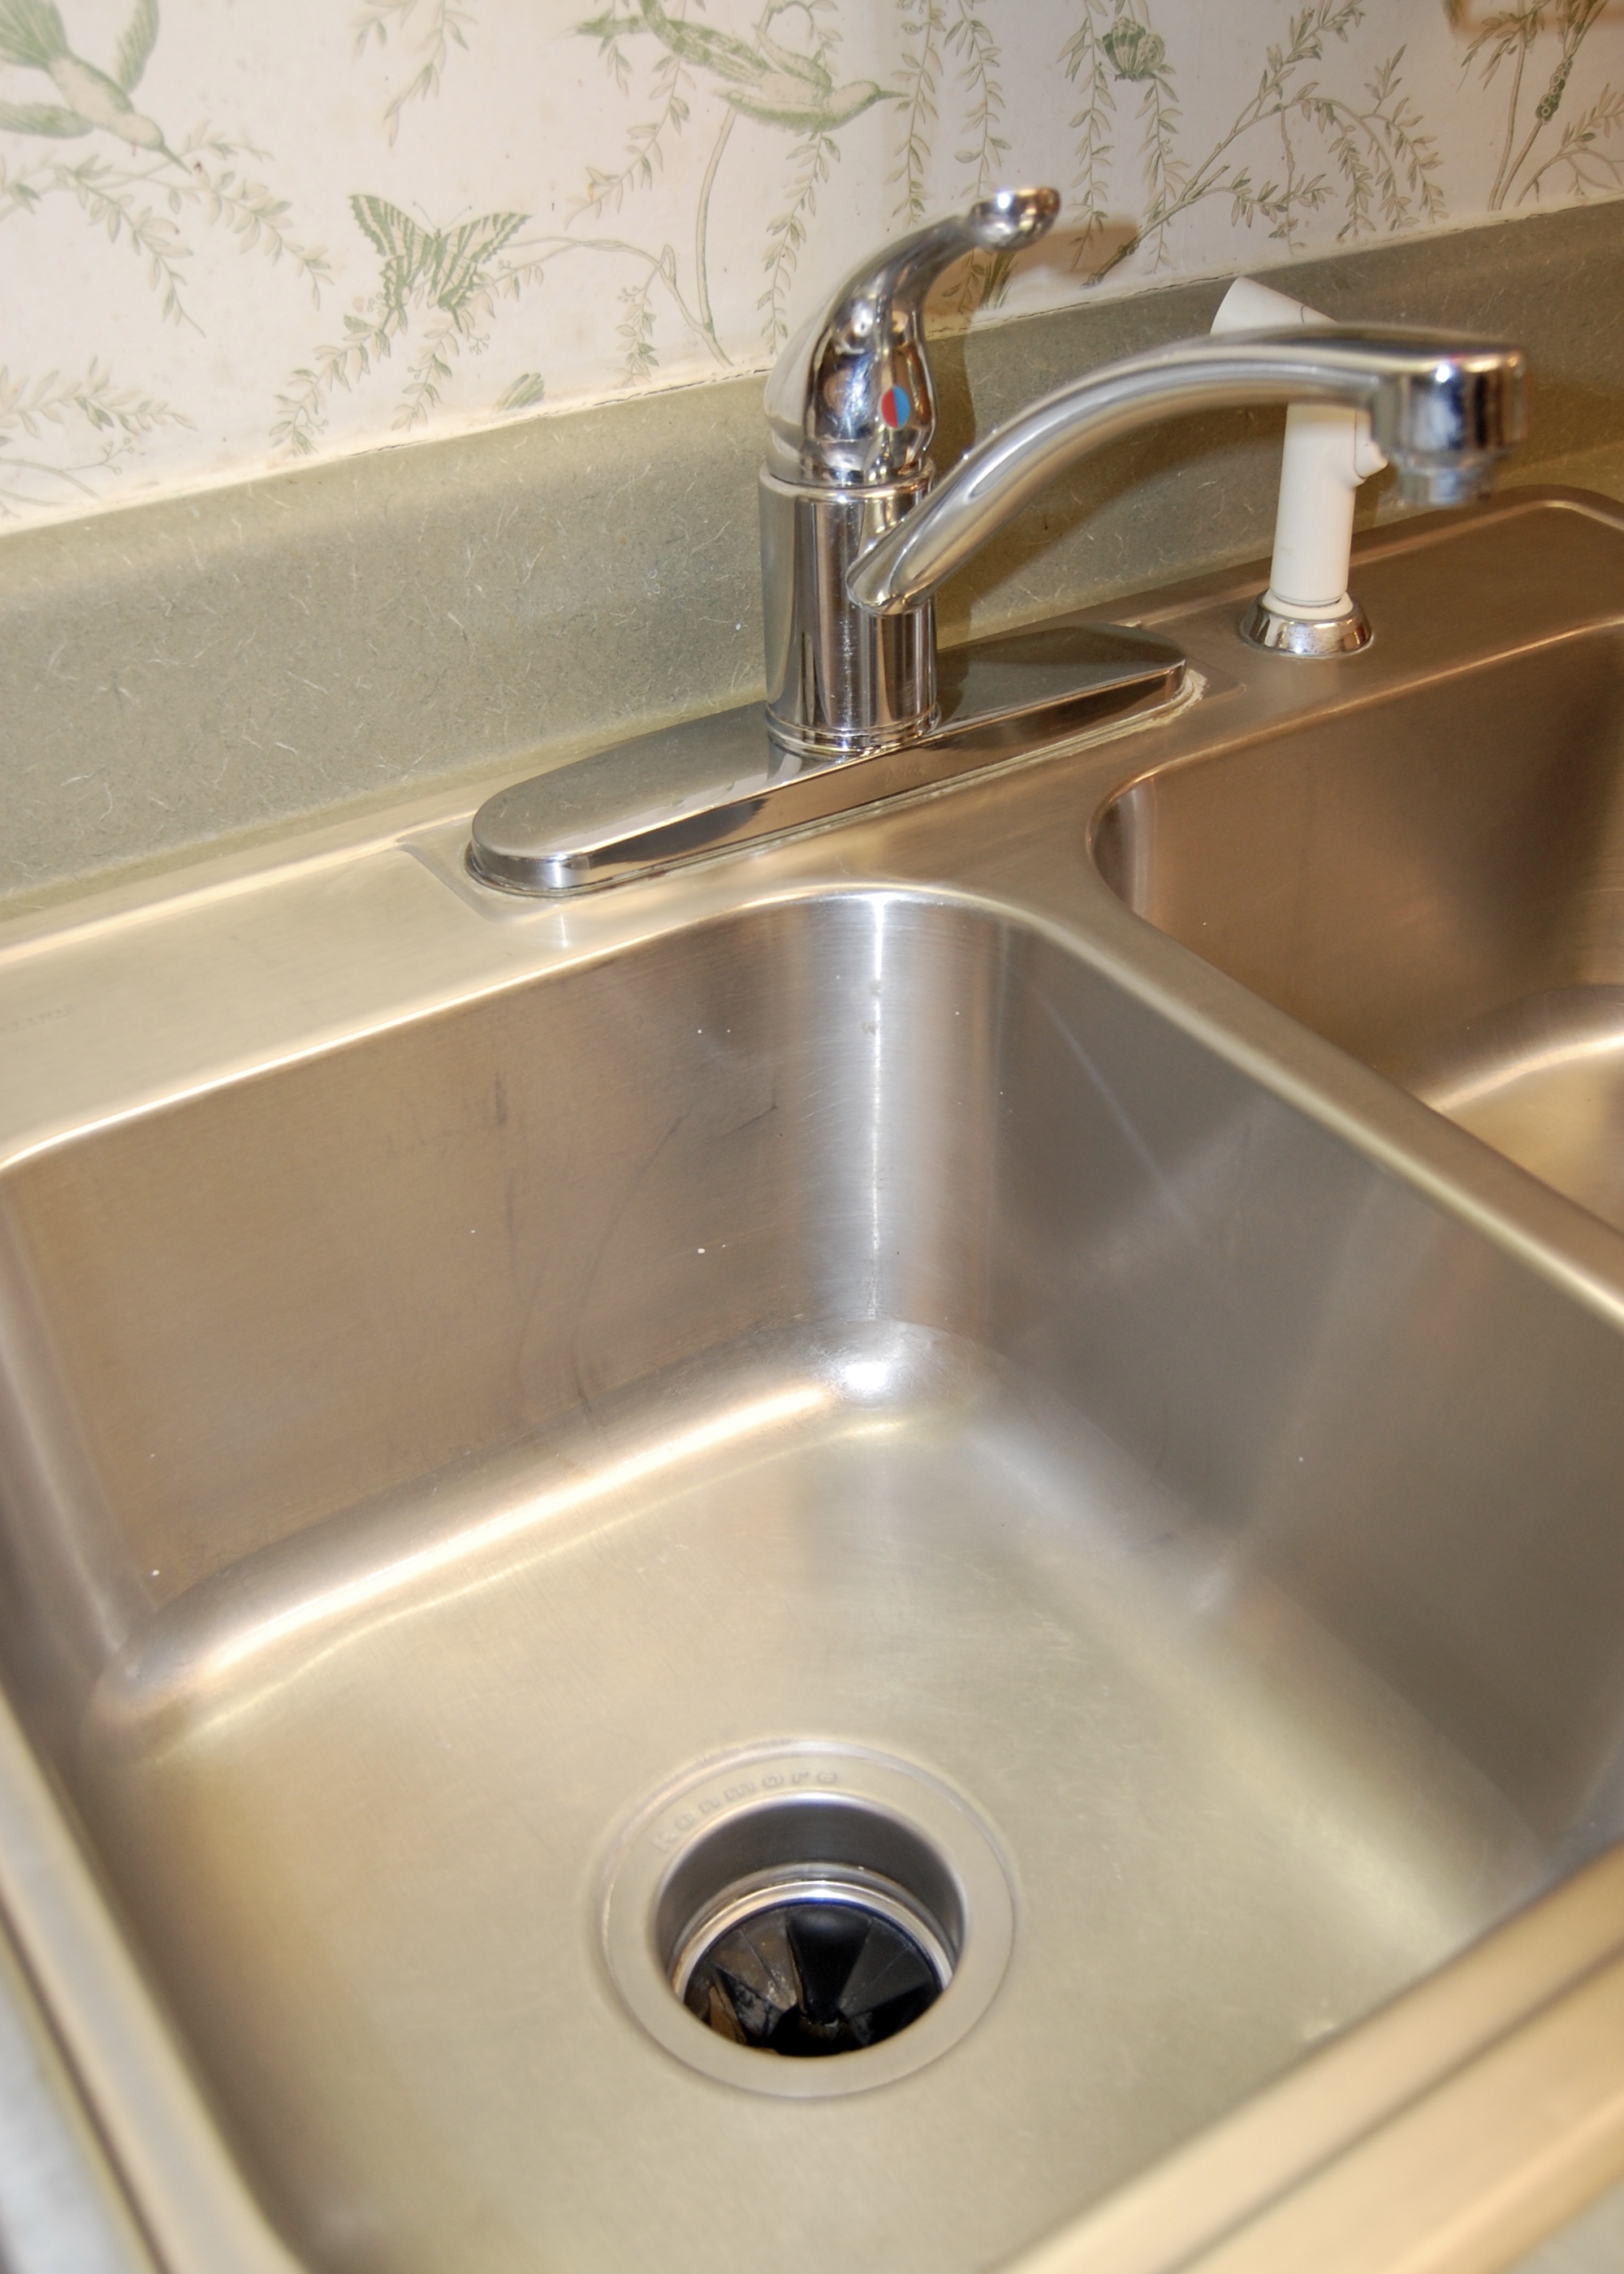
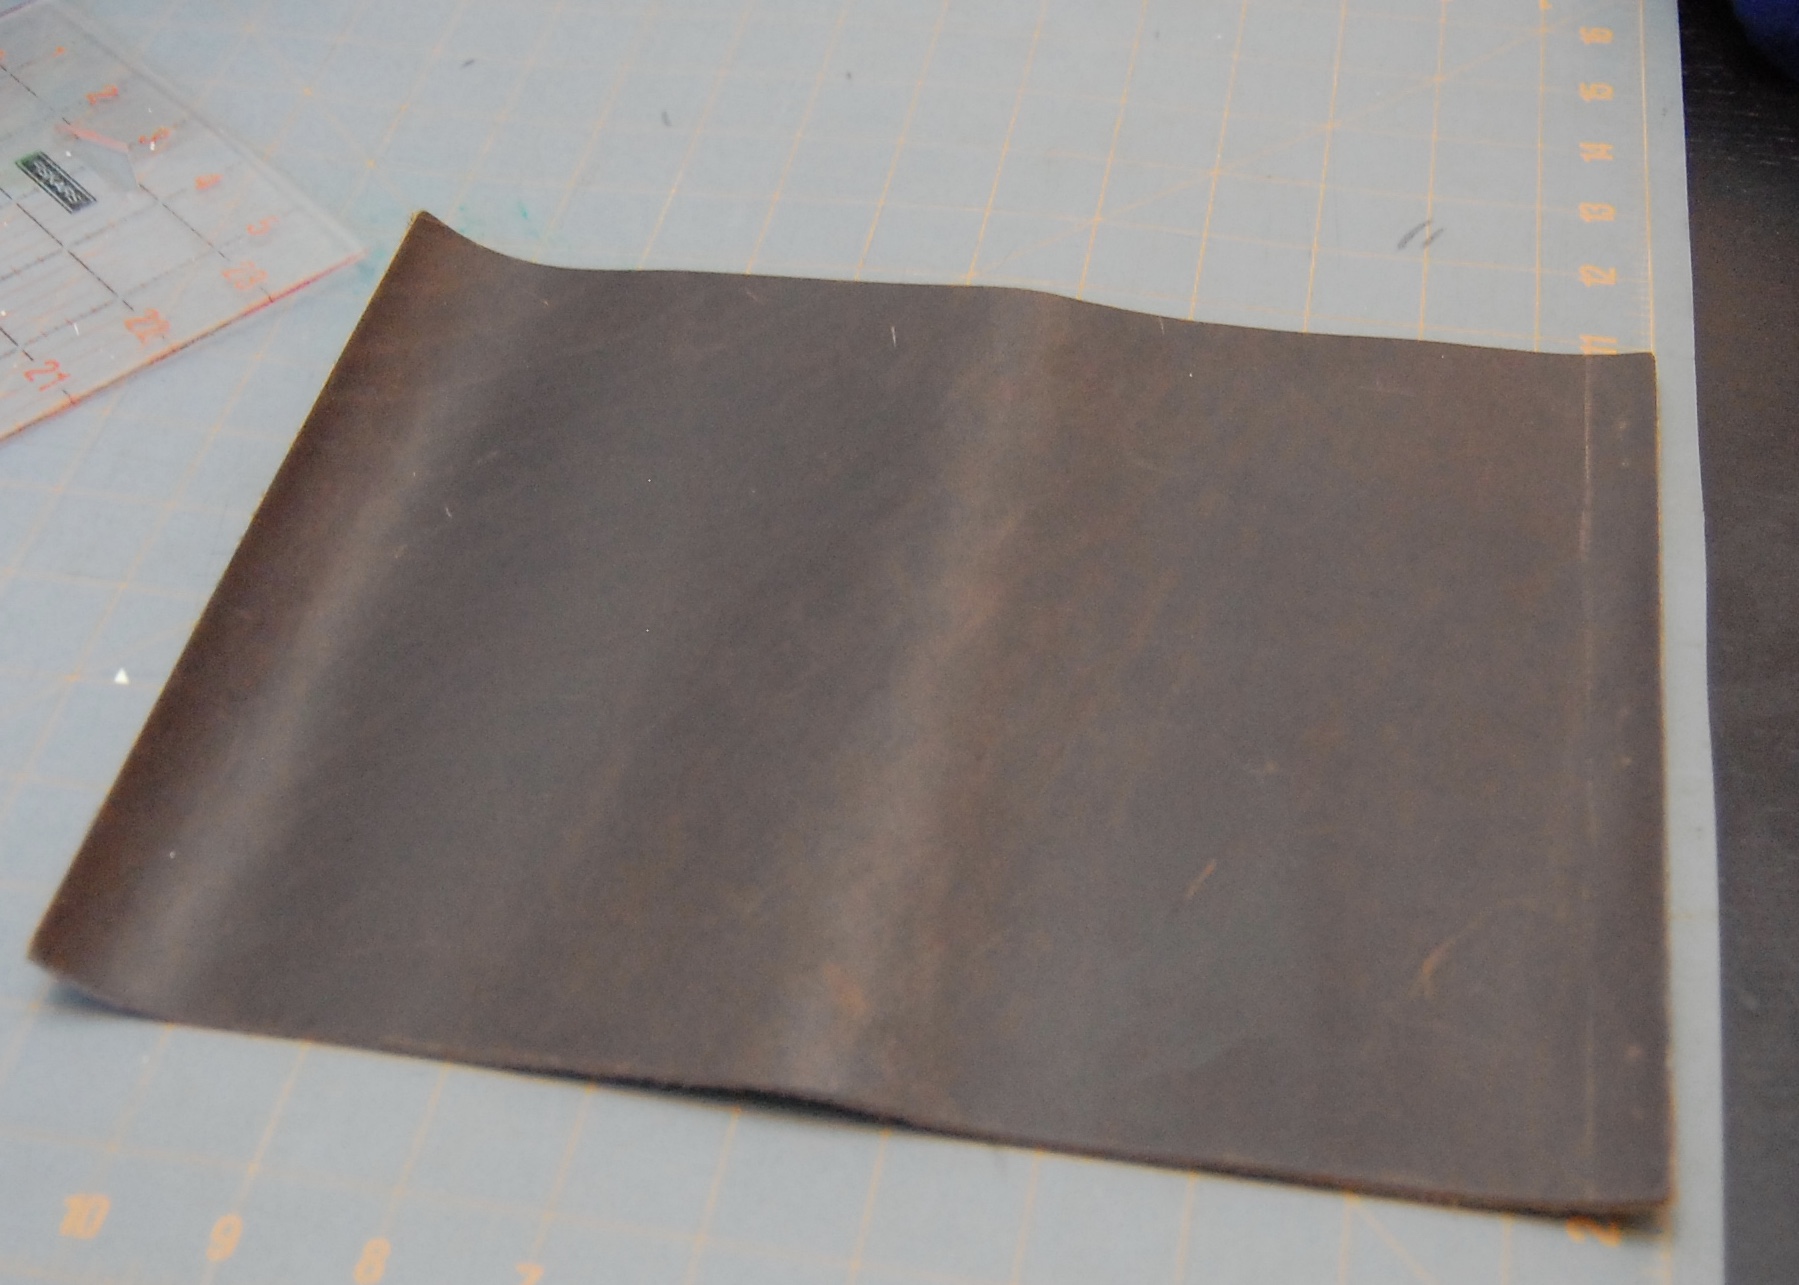
Before

Before Cleaning - Spaghetti Explosion Mess
The state of my microwave is a direct consequence of allowing my kids to microwave their own food. It is messy, and I am ok with that. Letting them fix their own food helps them gain a sense of independence, and learning that an uncovered bowl of spaghetti will splatter the entire microwave will serve them well later in life. The result was that I didn't have to manufacture a mess in my microwave to do this test, so in that sense this is a "true" test of this method; however, despite the volume of mess, it actually hadn't been that long since my microwave was cleaned, so I didn't have junk baked on by eons of use. A truly baked in mess might have different results, as could different microwave materials, wattage, etc. Moving on.
Comparison to Standard Cleaning Methods

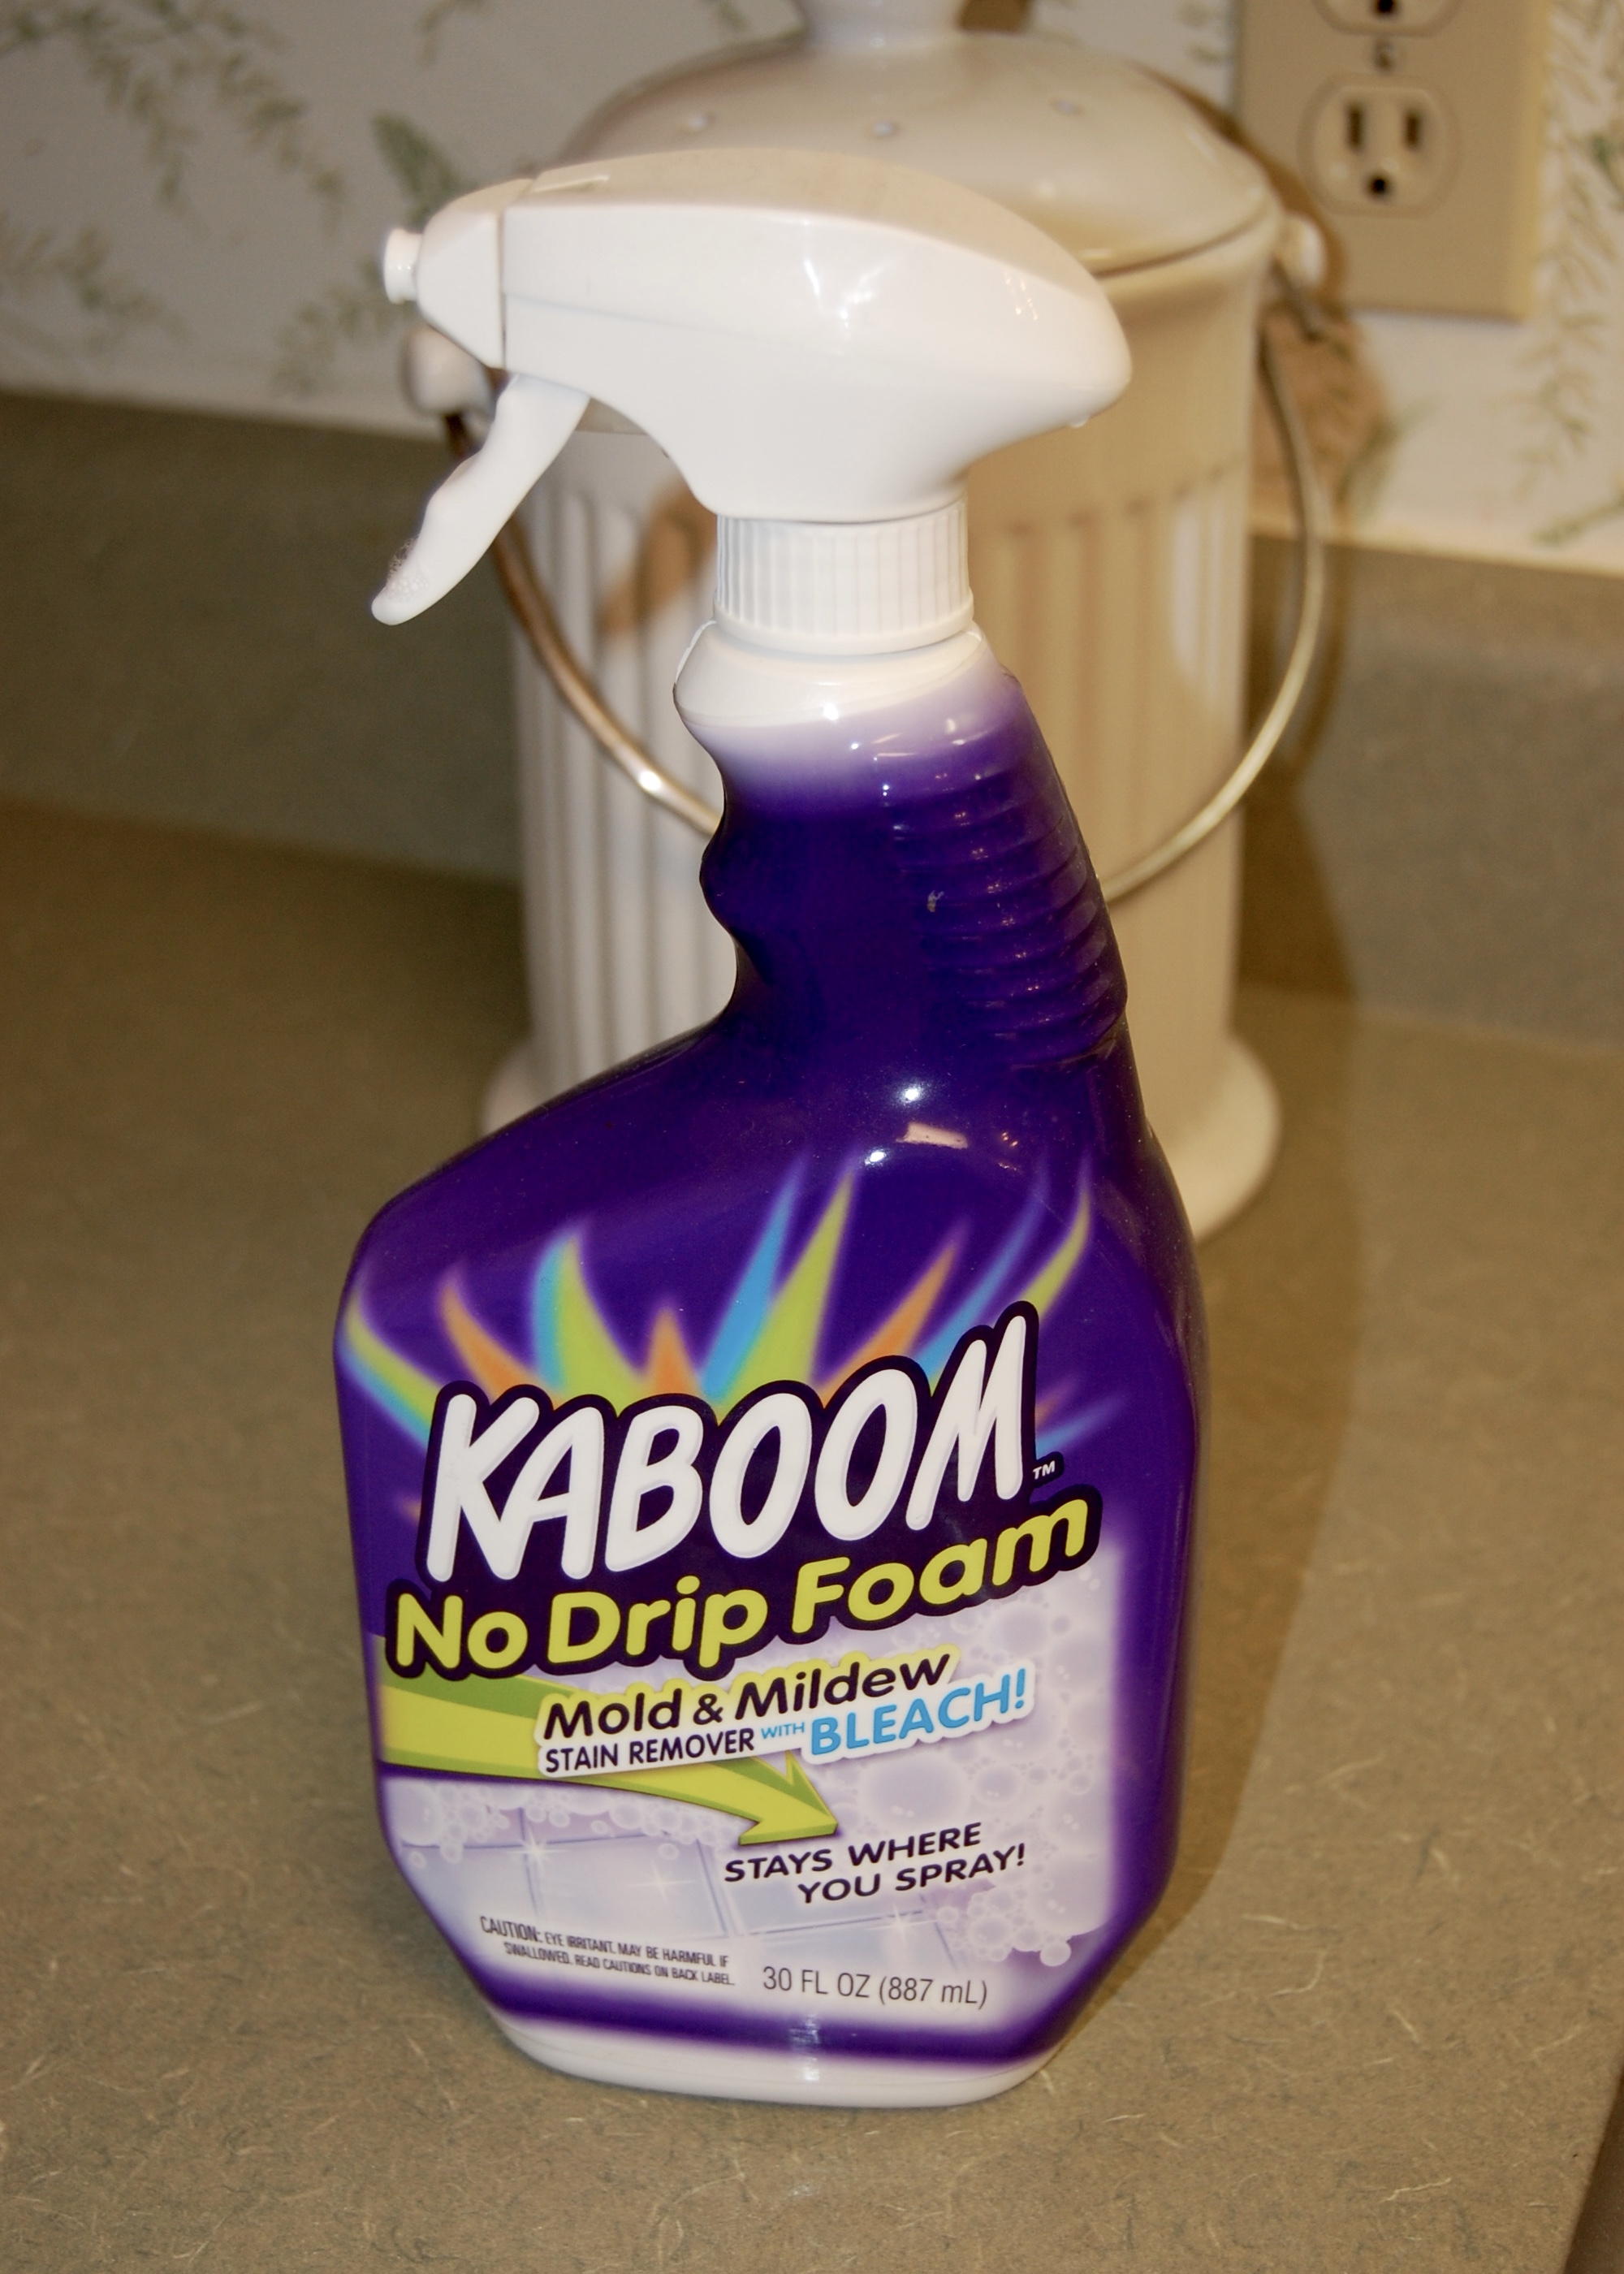
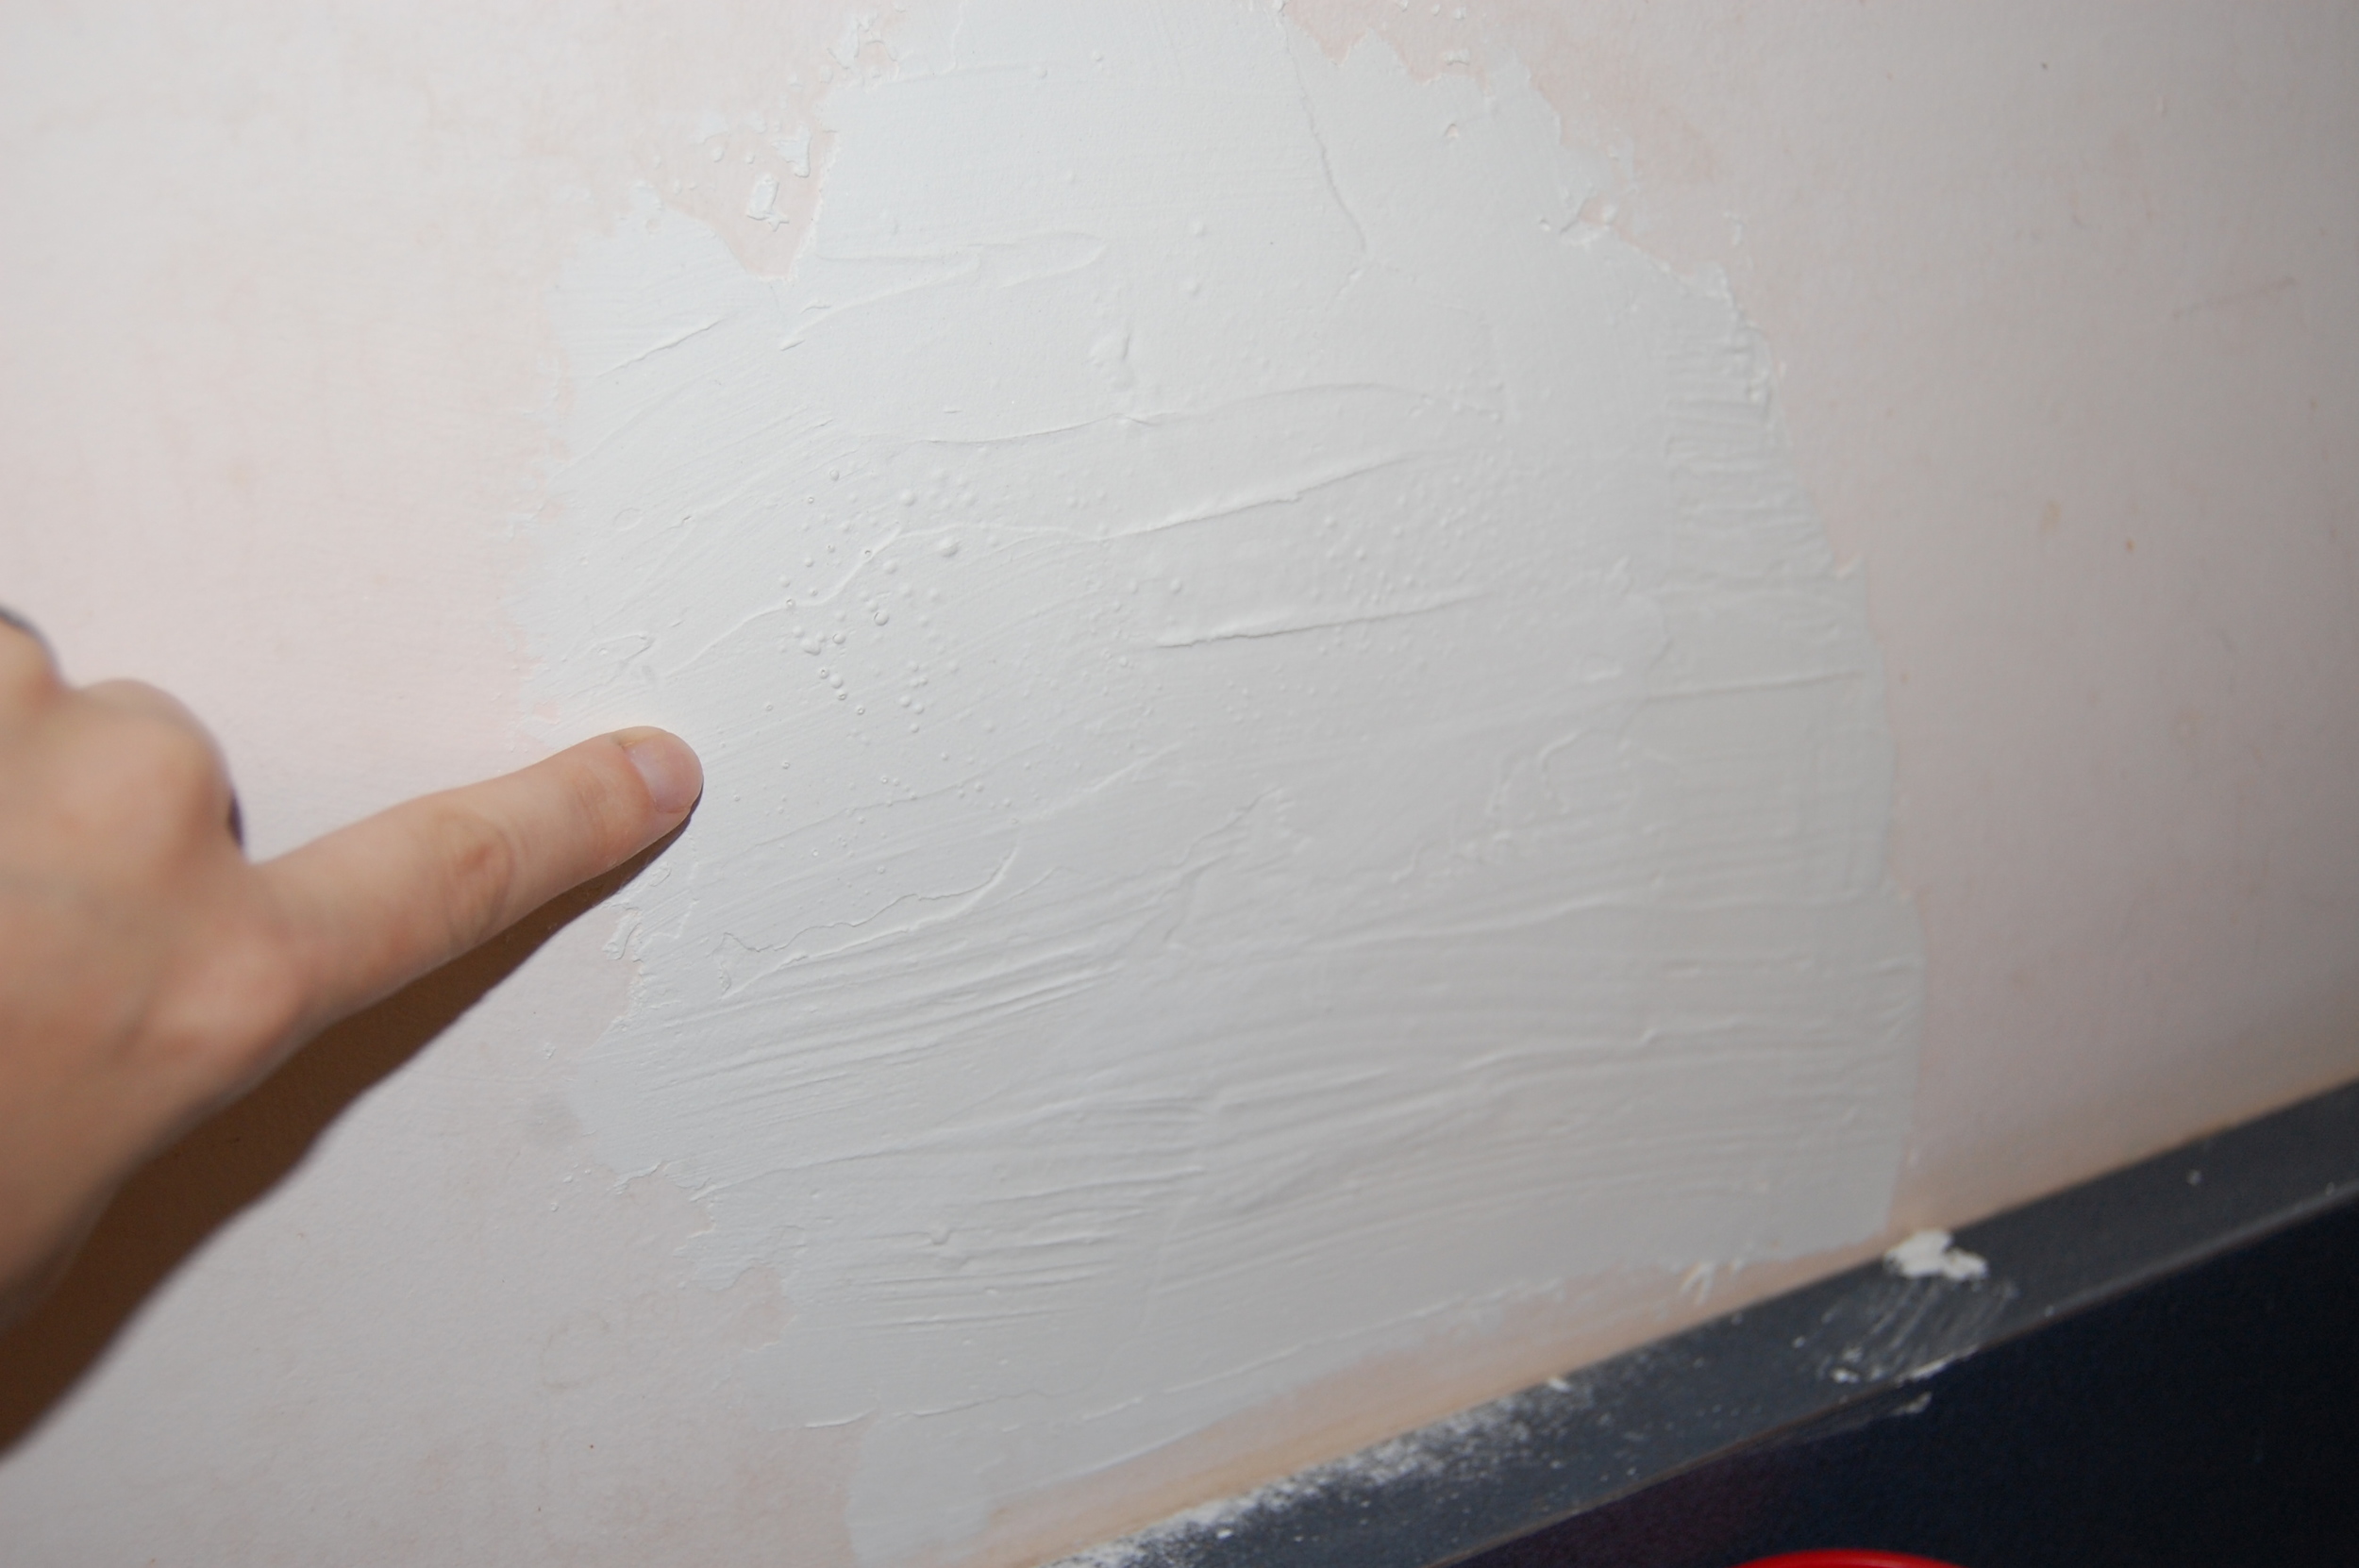
I started by doing a wipe down of just the door using my favorite all purpose cleaner, by Method, and a clean rag. I had no problem whatsoever removing the mess on the door using this method - it came right off.
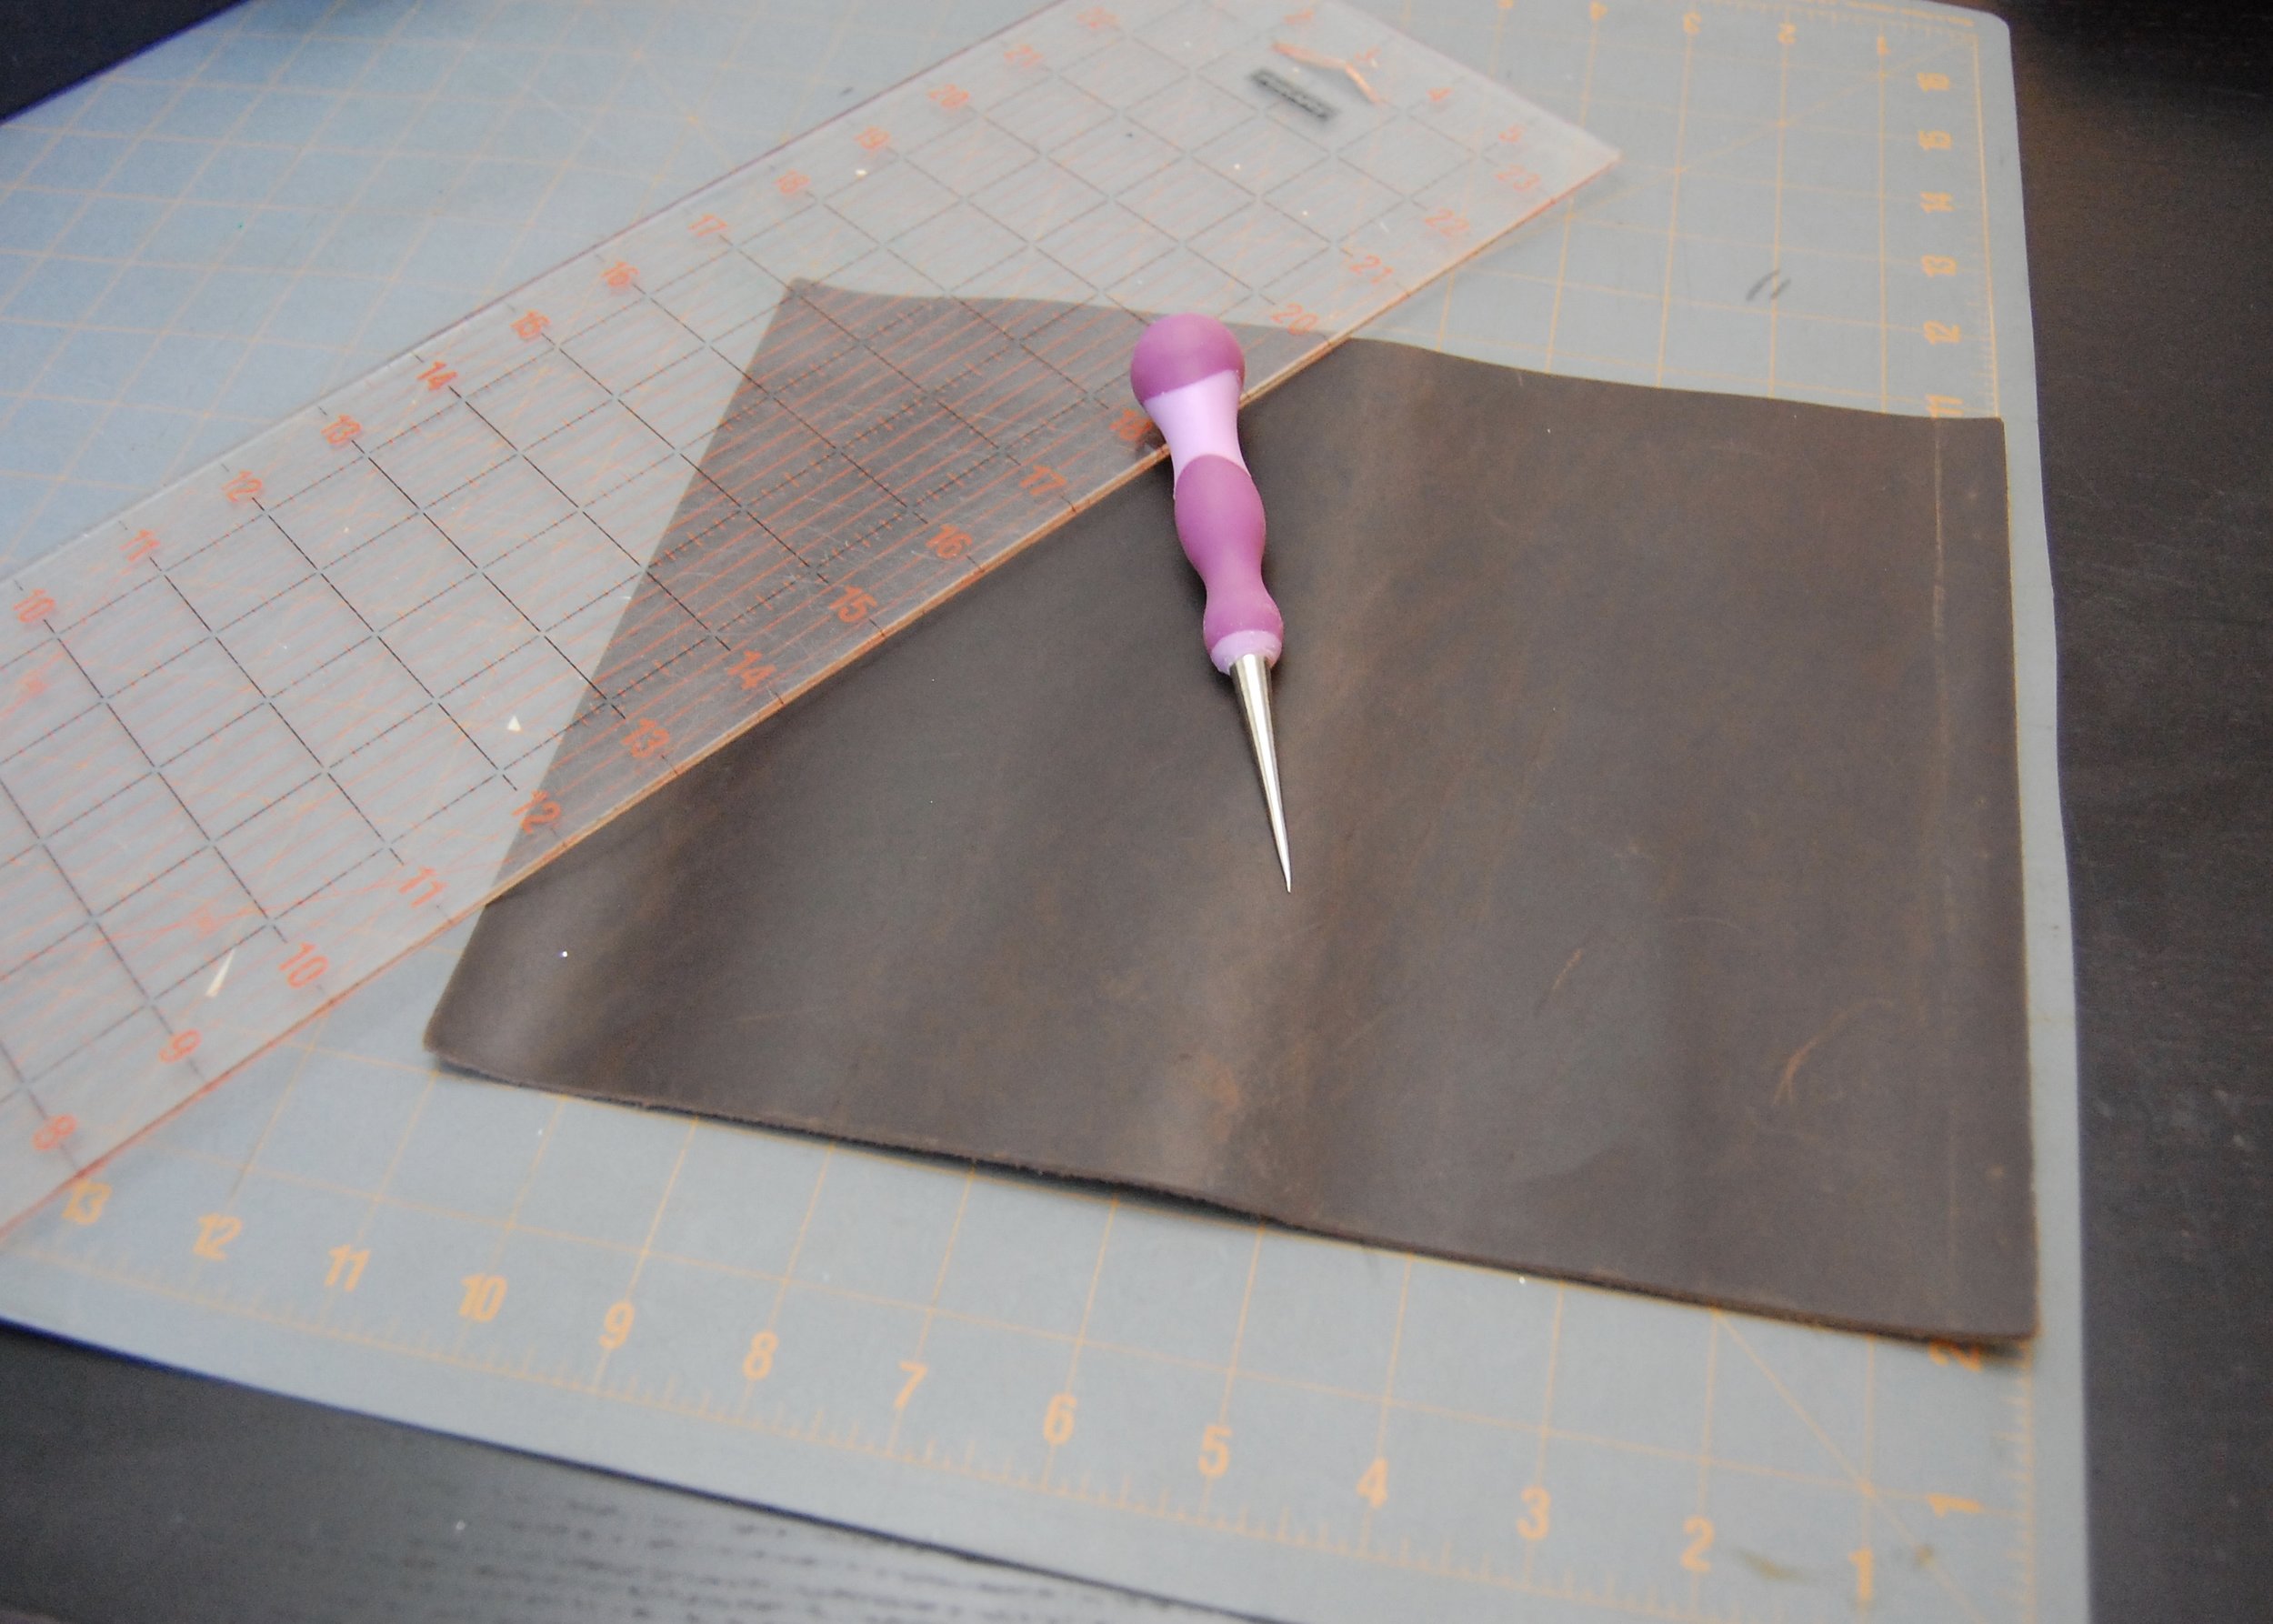
Experiment

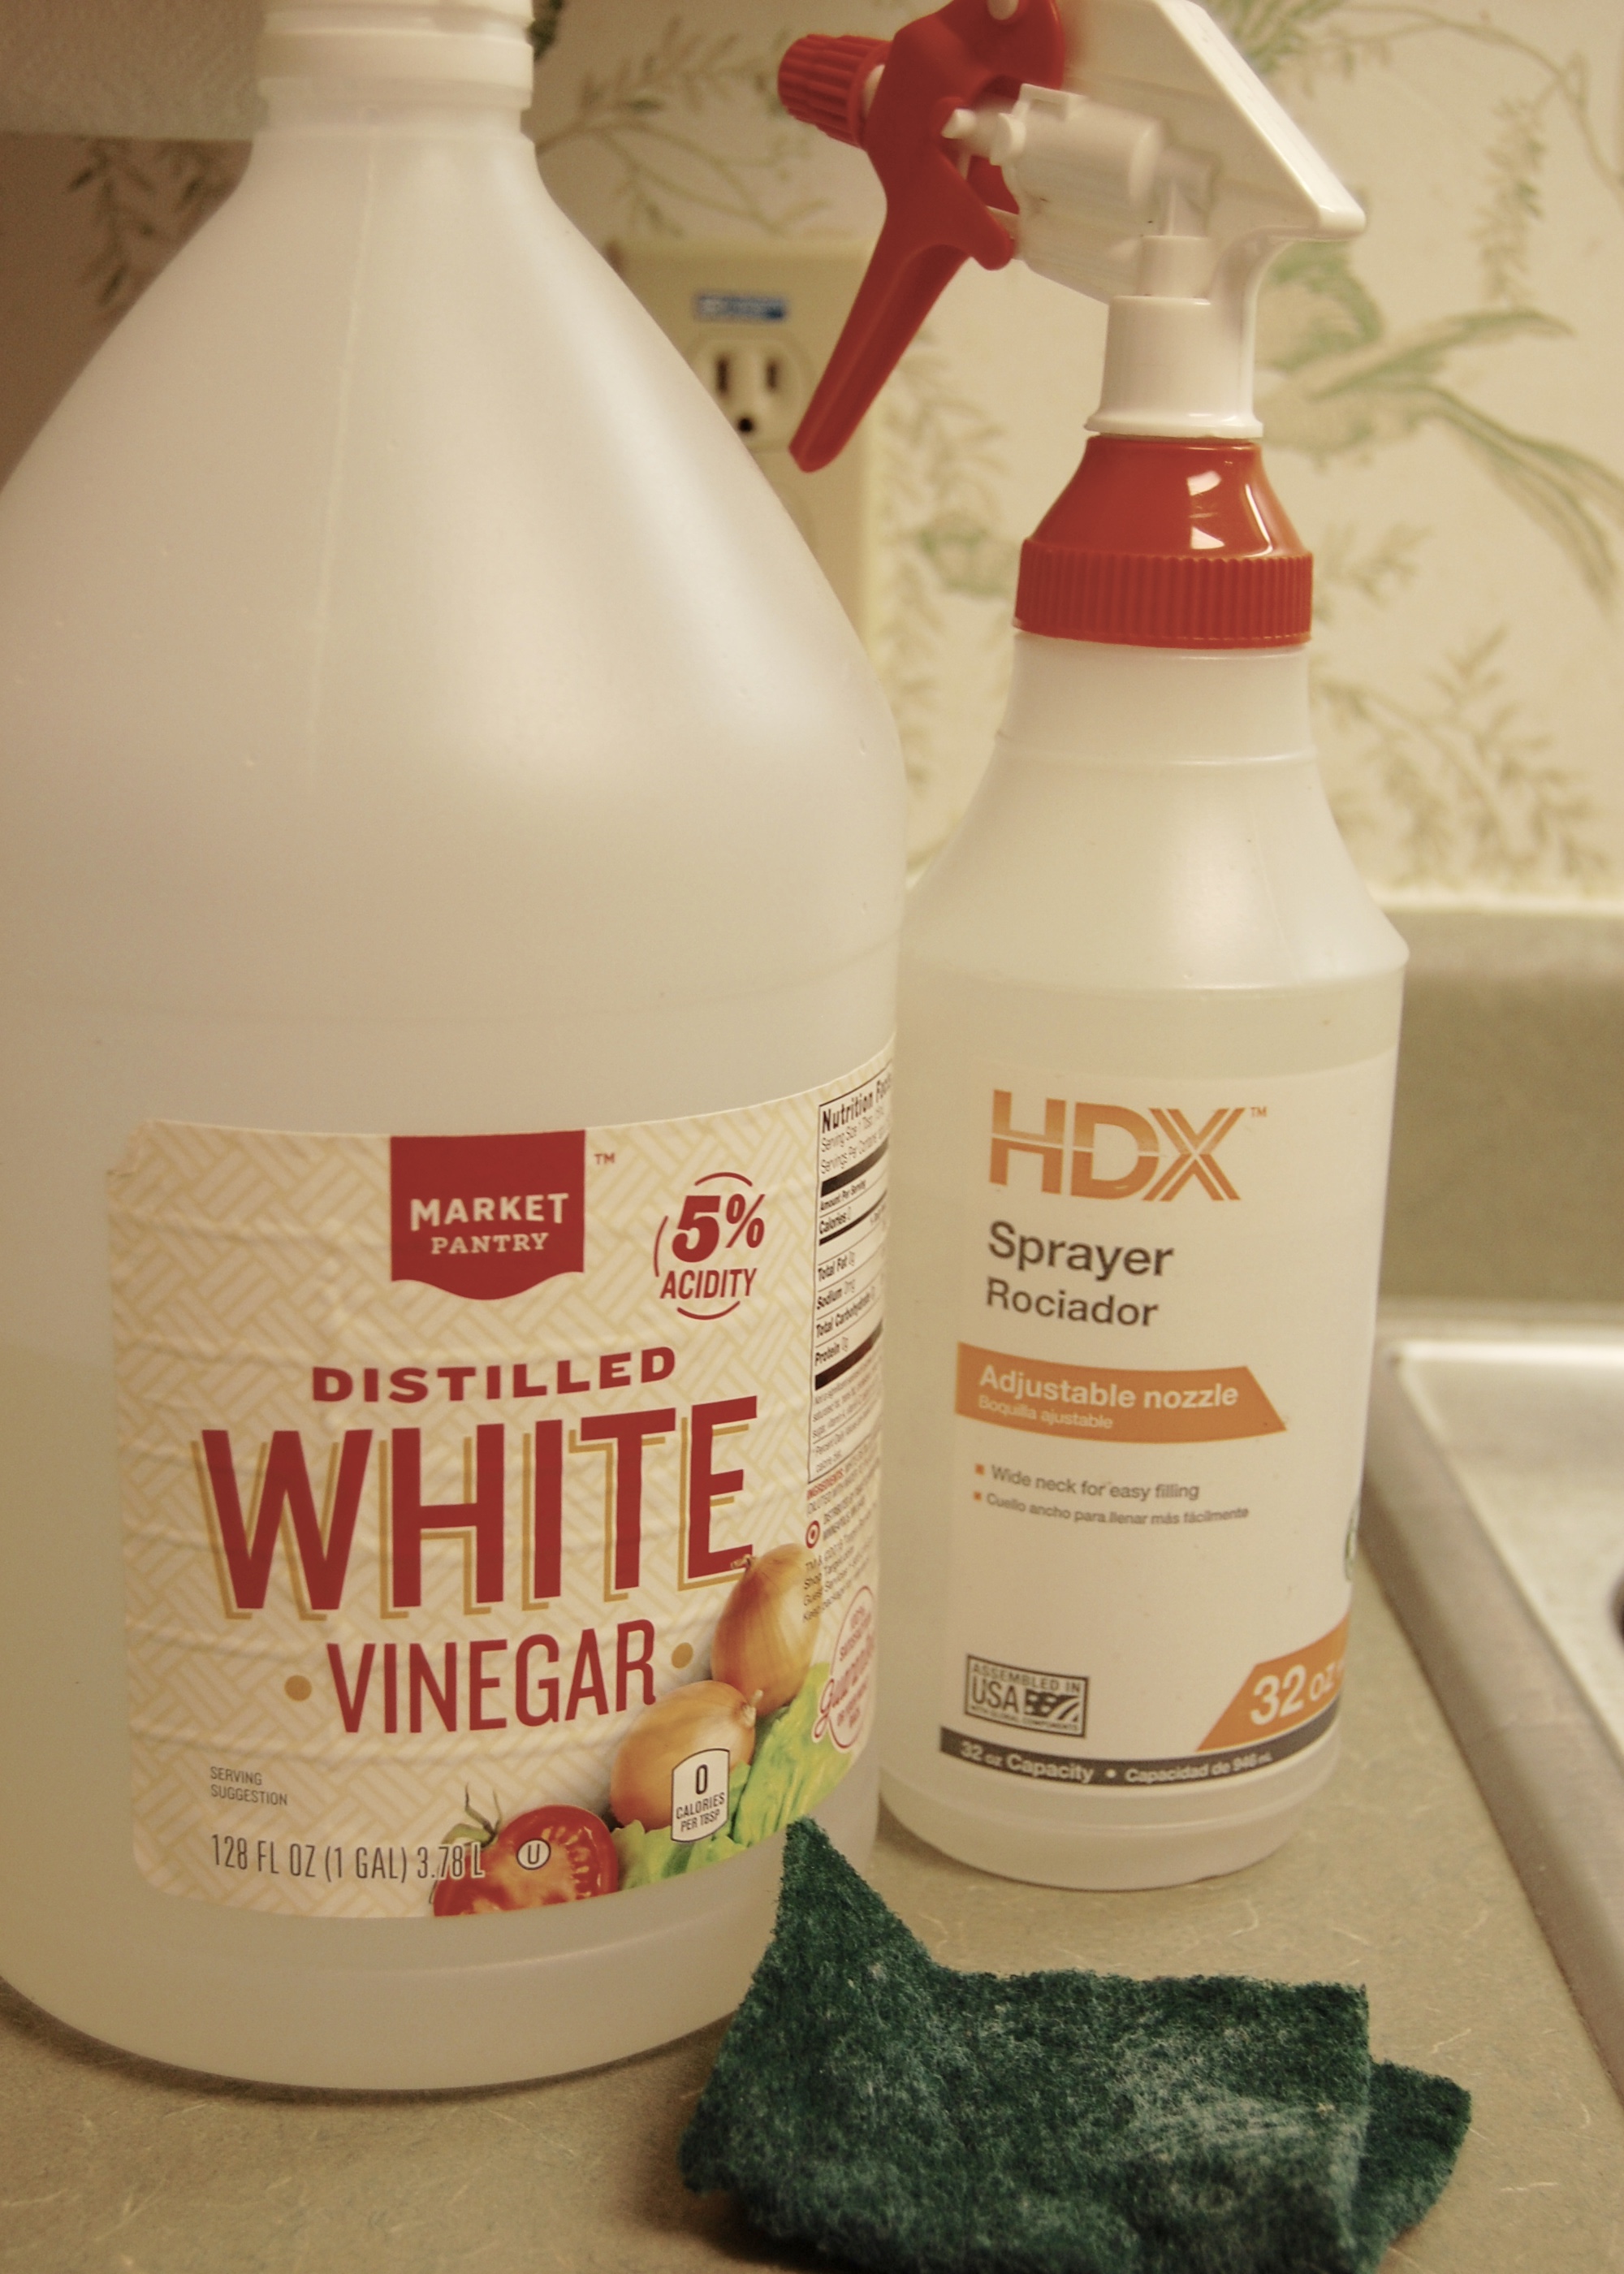
Then I started on the actual experiment. There were a LOT of variations on this method, the one I chose to use was from Magnolia Magazine's 2nd issue, Simplicity. The directions were;
In a microwave safe bowl microwave 2 cups of water, 2 tablespoons of vinegar, and a few drops of essential oil for 4 minutes, then let sit for 4 minutes. Wipe clean.
I followed the directions exactly, even using a timer to make sure I waited just the right amount of time. Since the type of essential oil was not specified I assumed it was added for the smell rather than any specific cleaning quality, so I used Lavender.
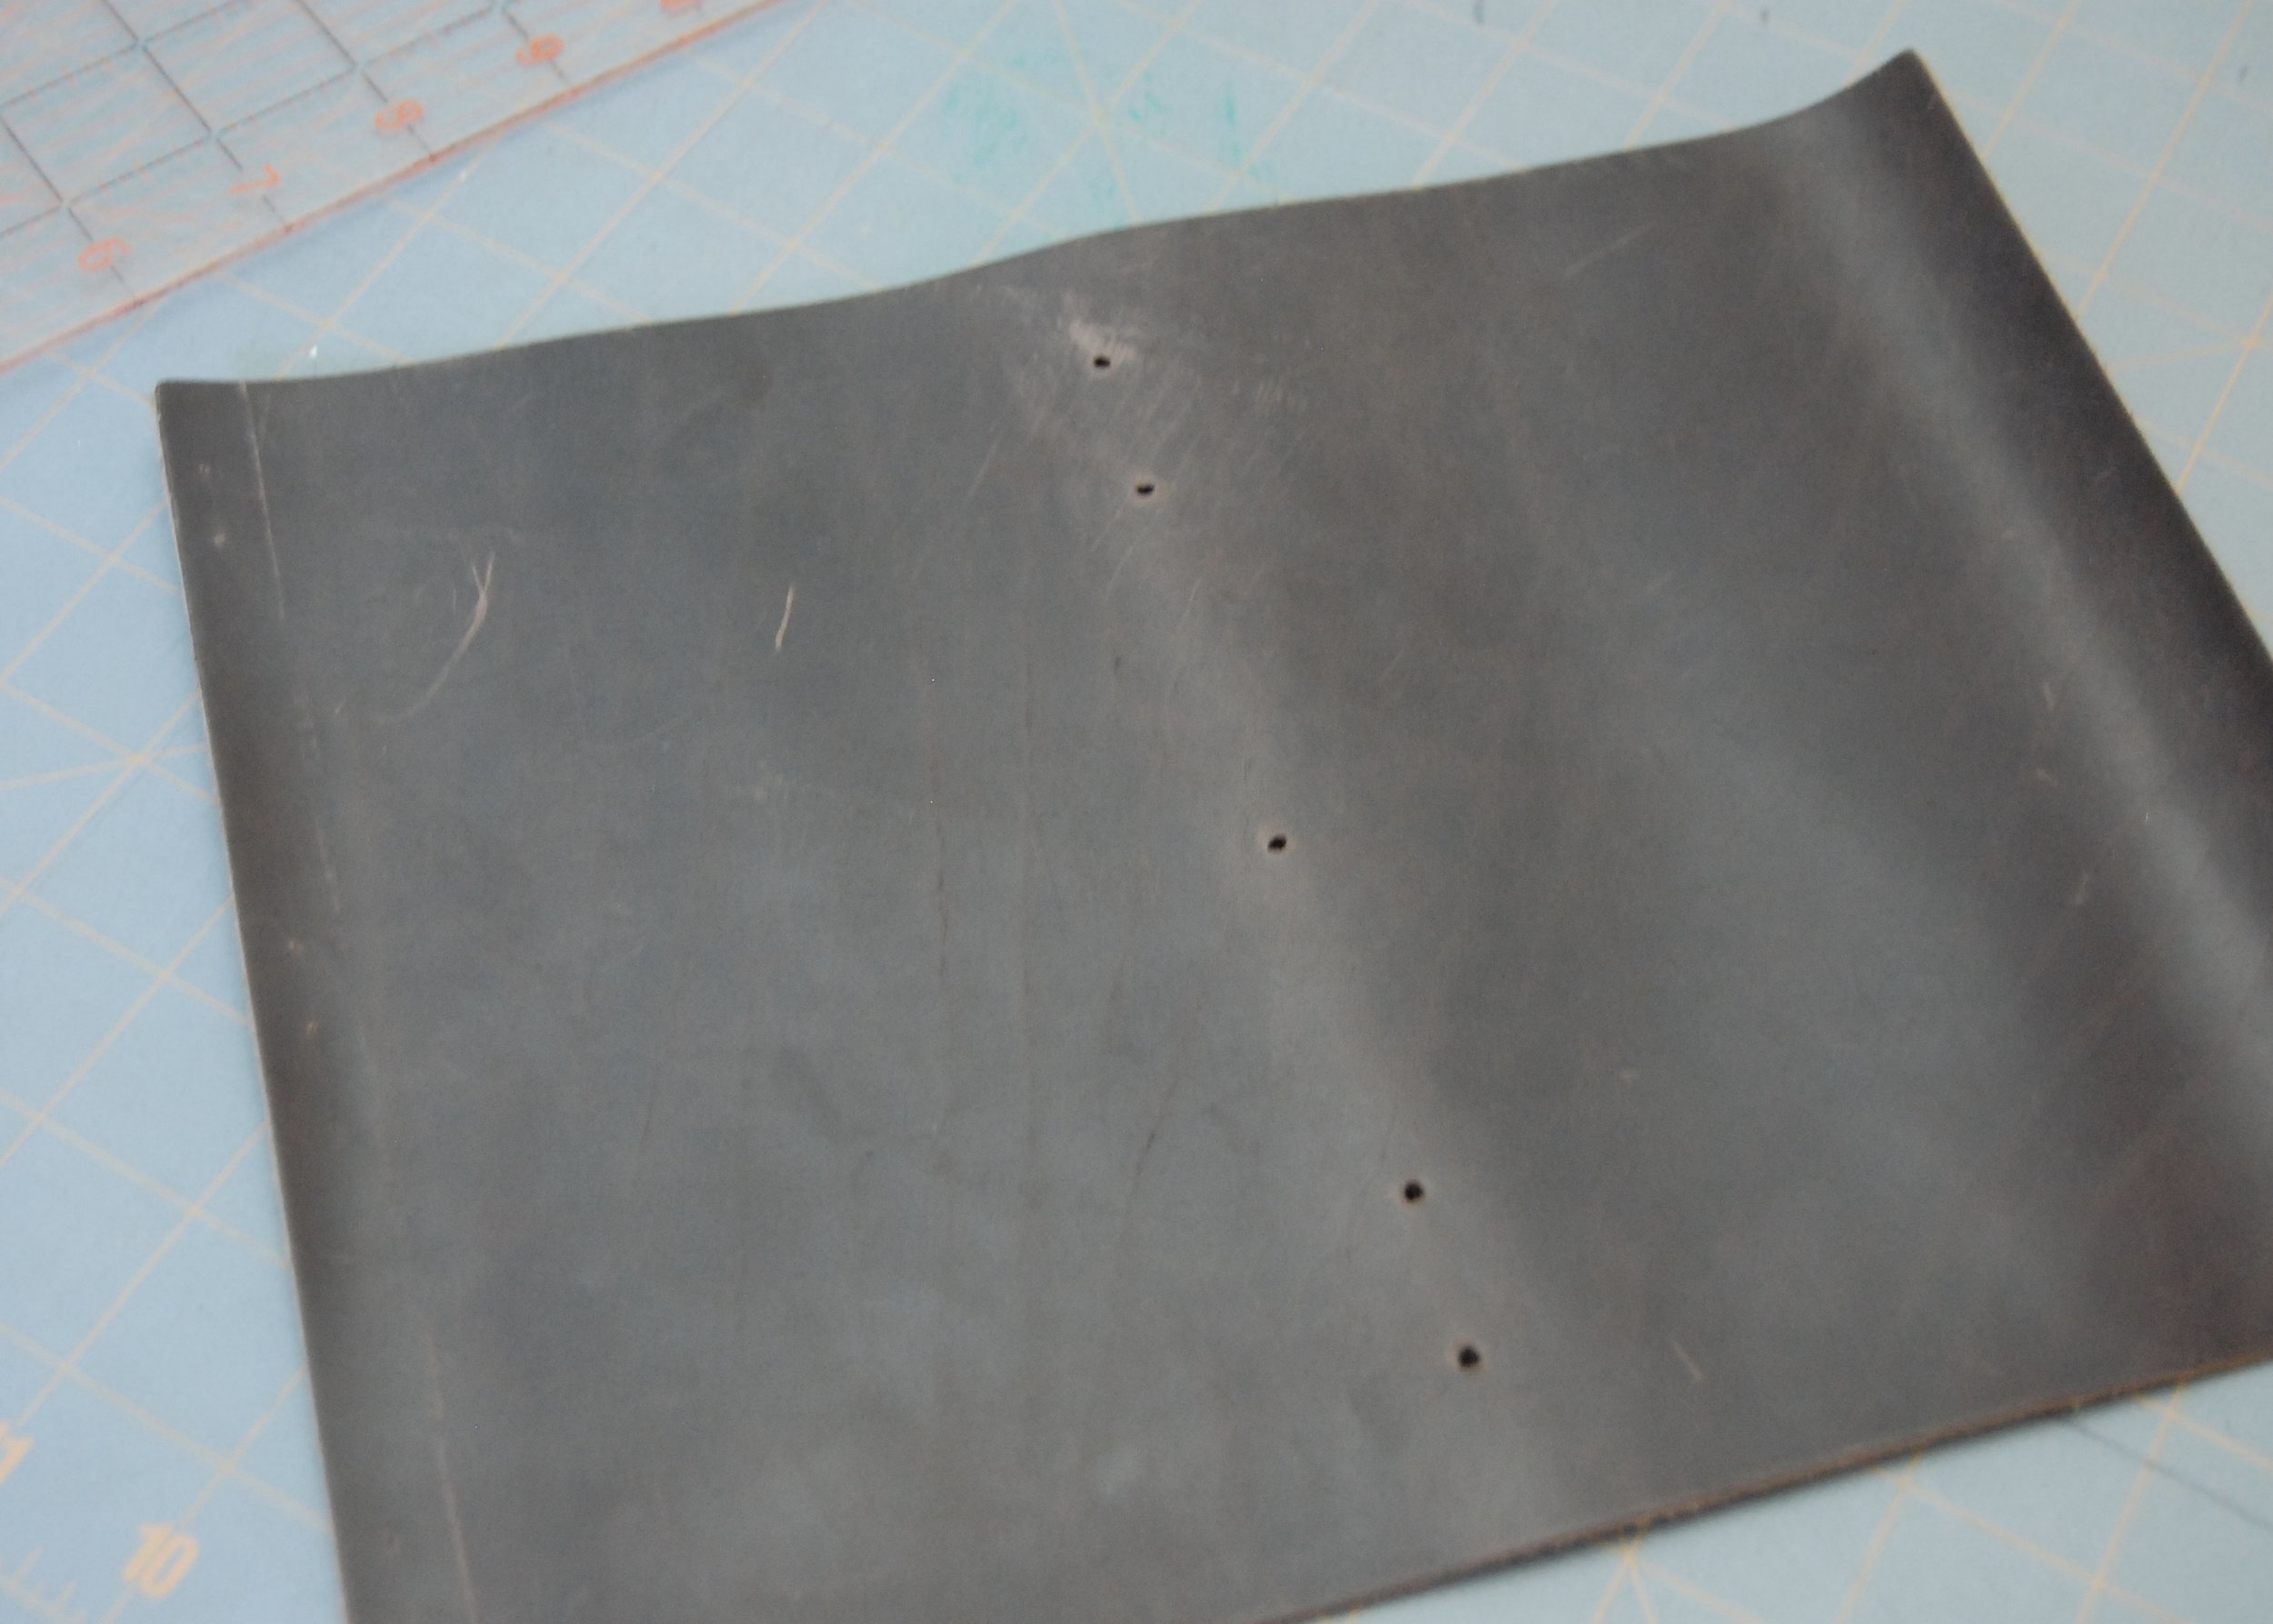
Results

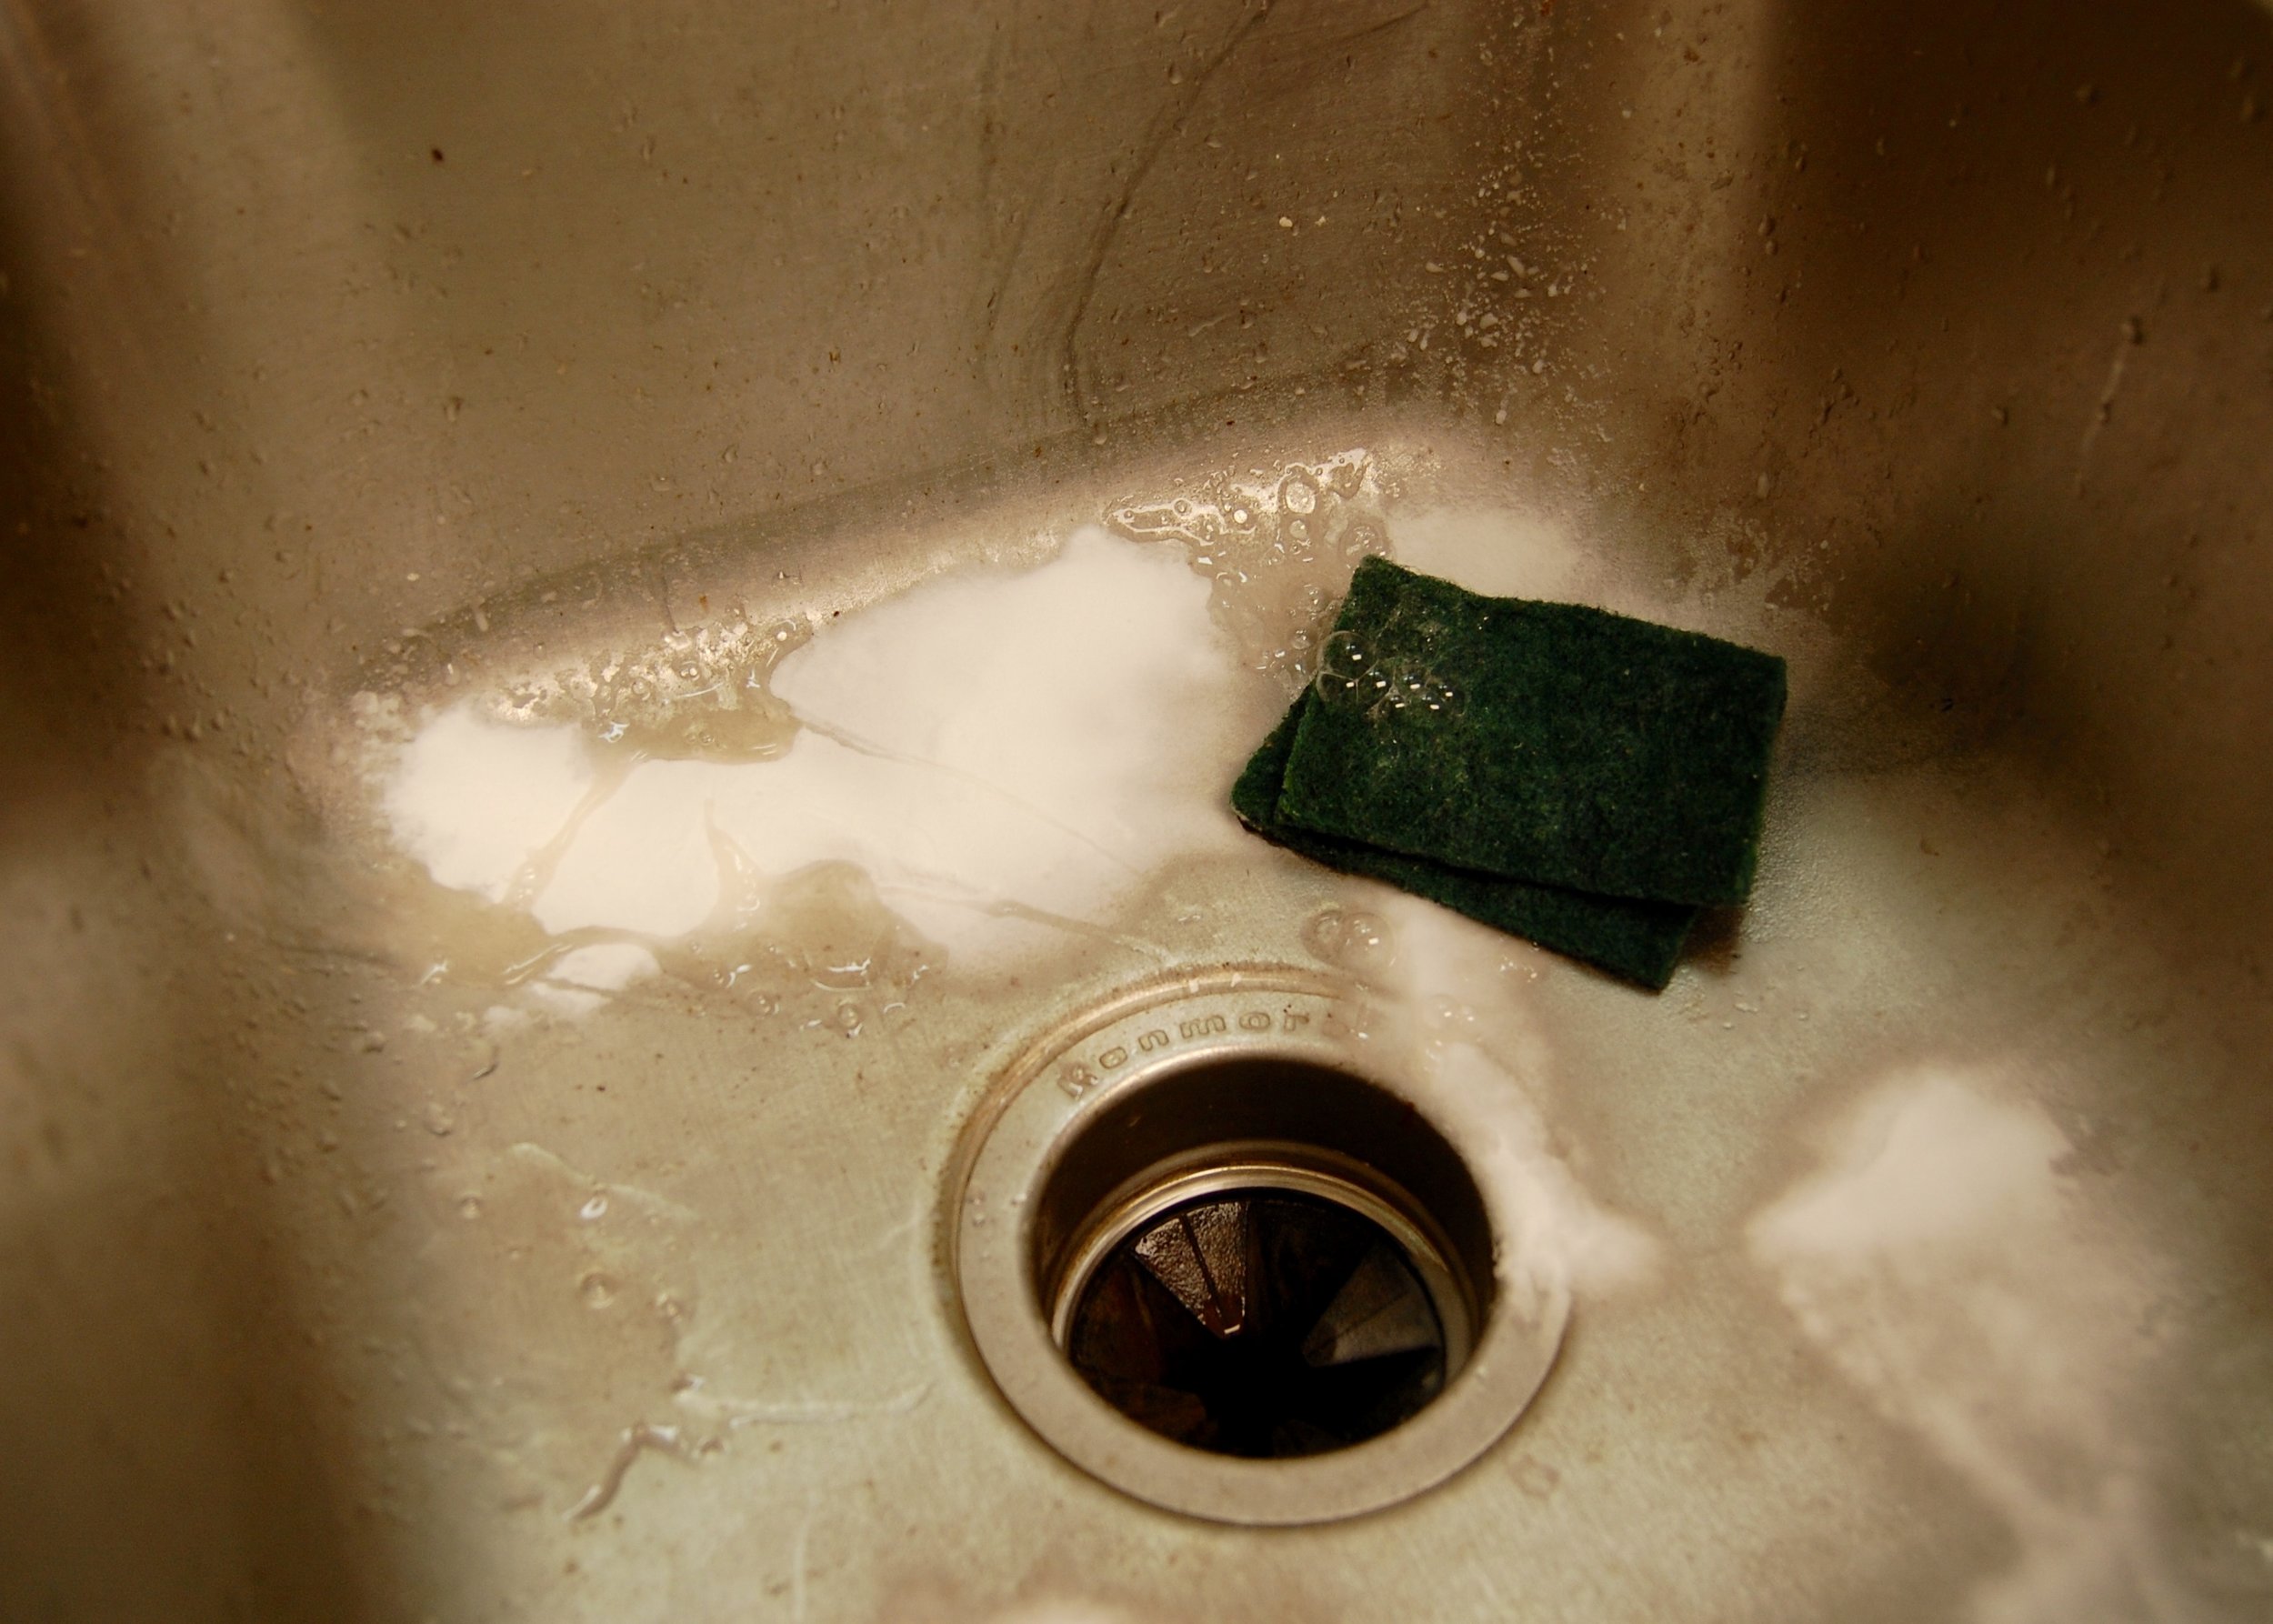
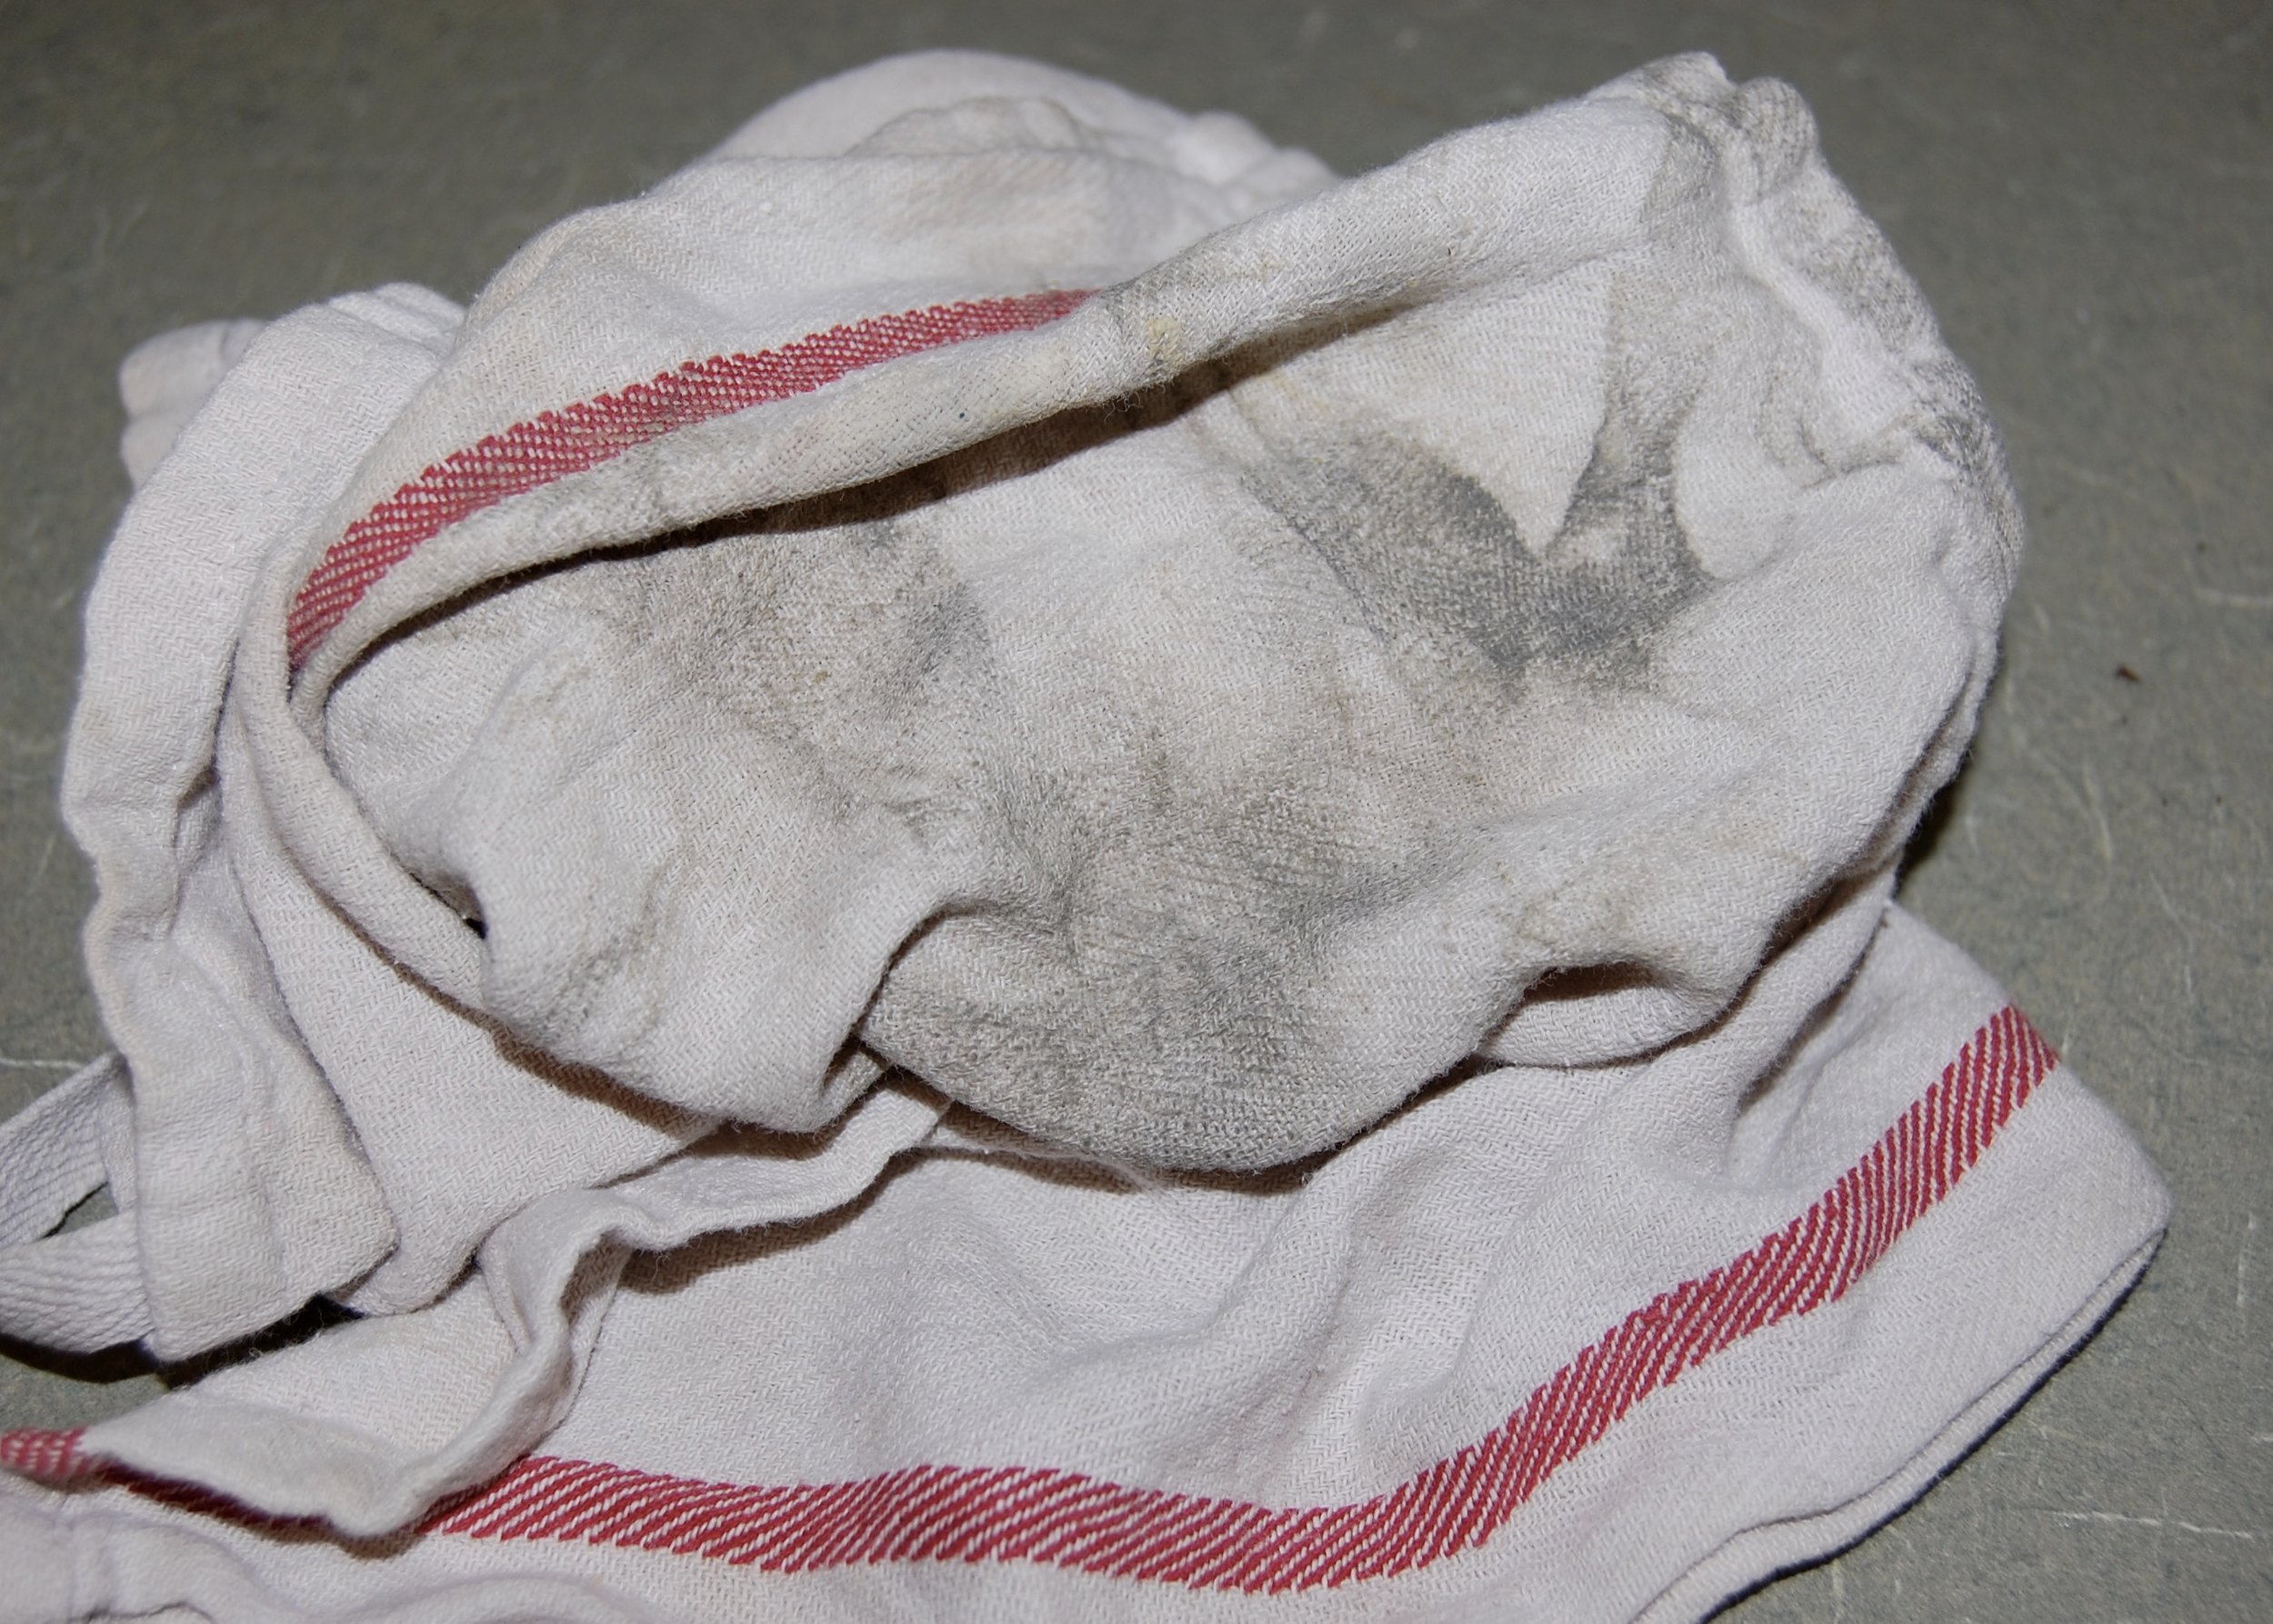
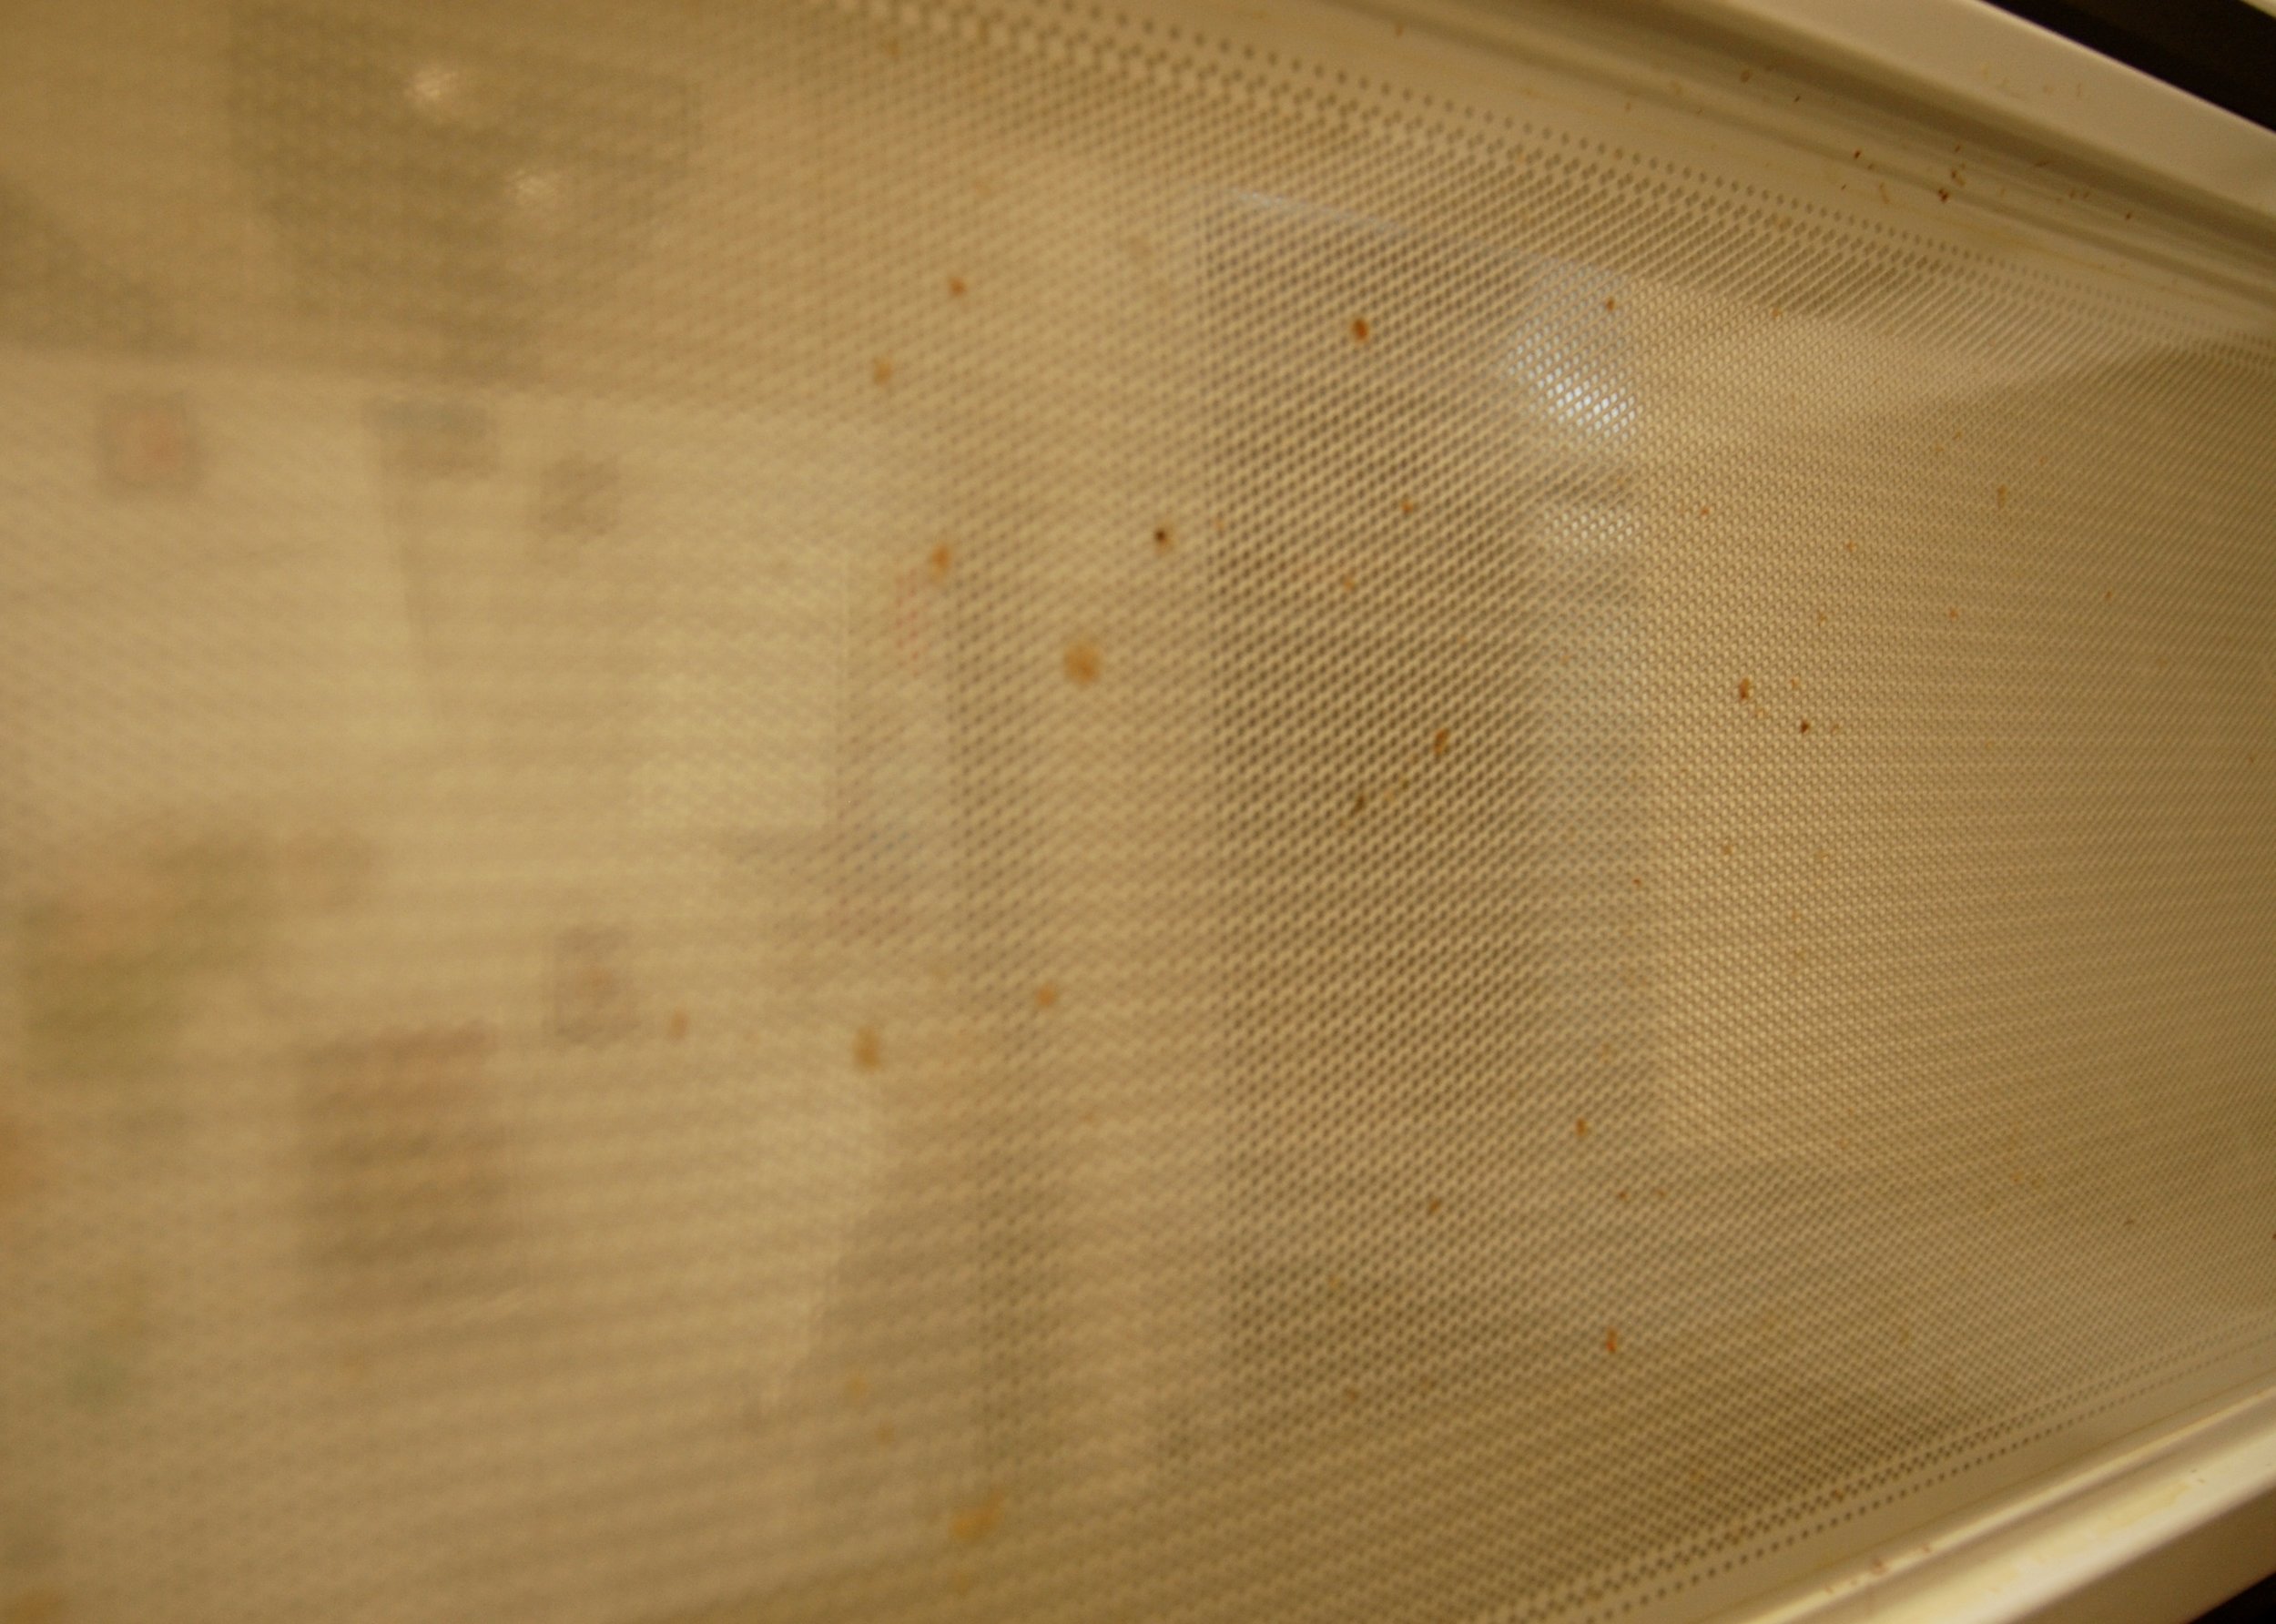
After Microwaving the water and vinegar mix and wiping with a dry rag.
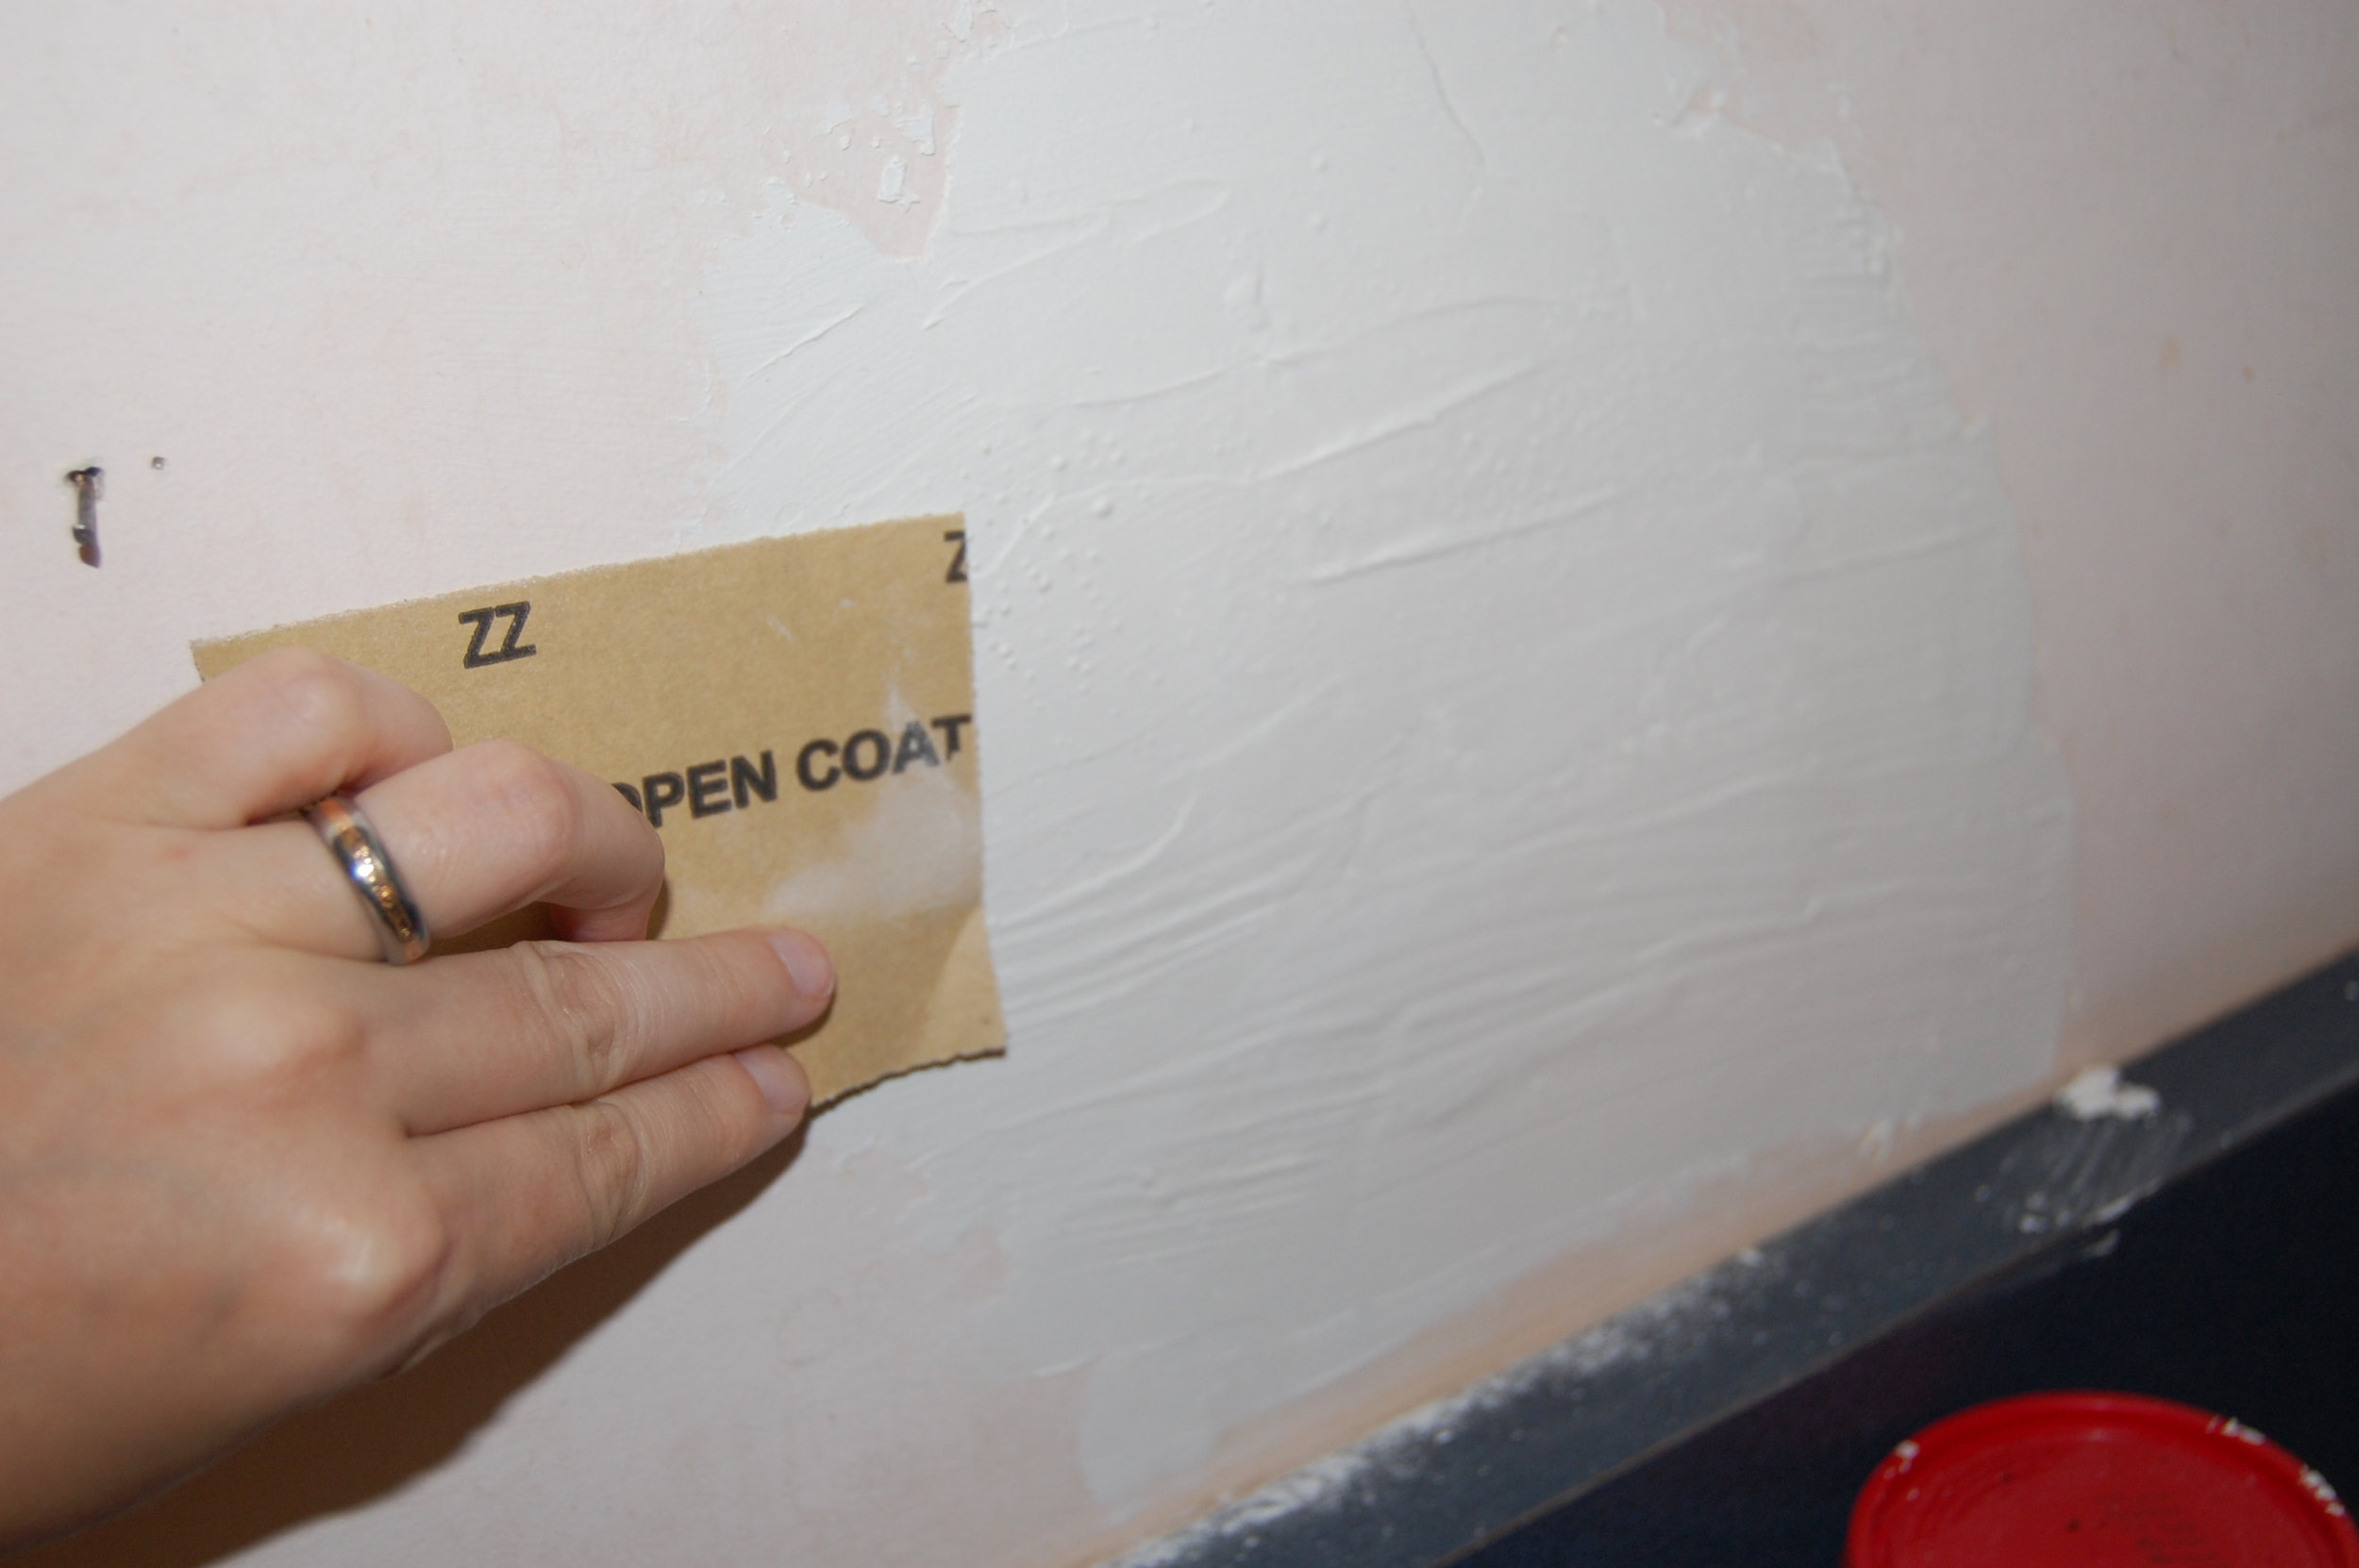
After waiting the prescribed amount of time I wiped down the inside of the microwave with a clean dry cloth. Some of the junk did come off, but it wasn't exactly miraculous. There was still plenty of mess left after I wiped it down.
Recommendation

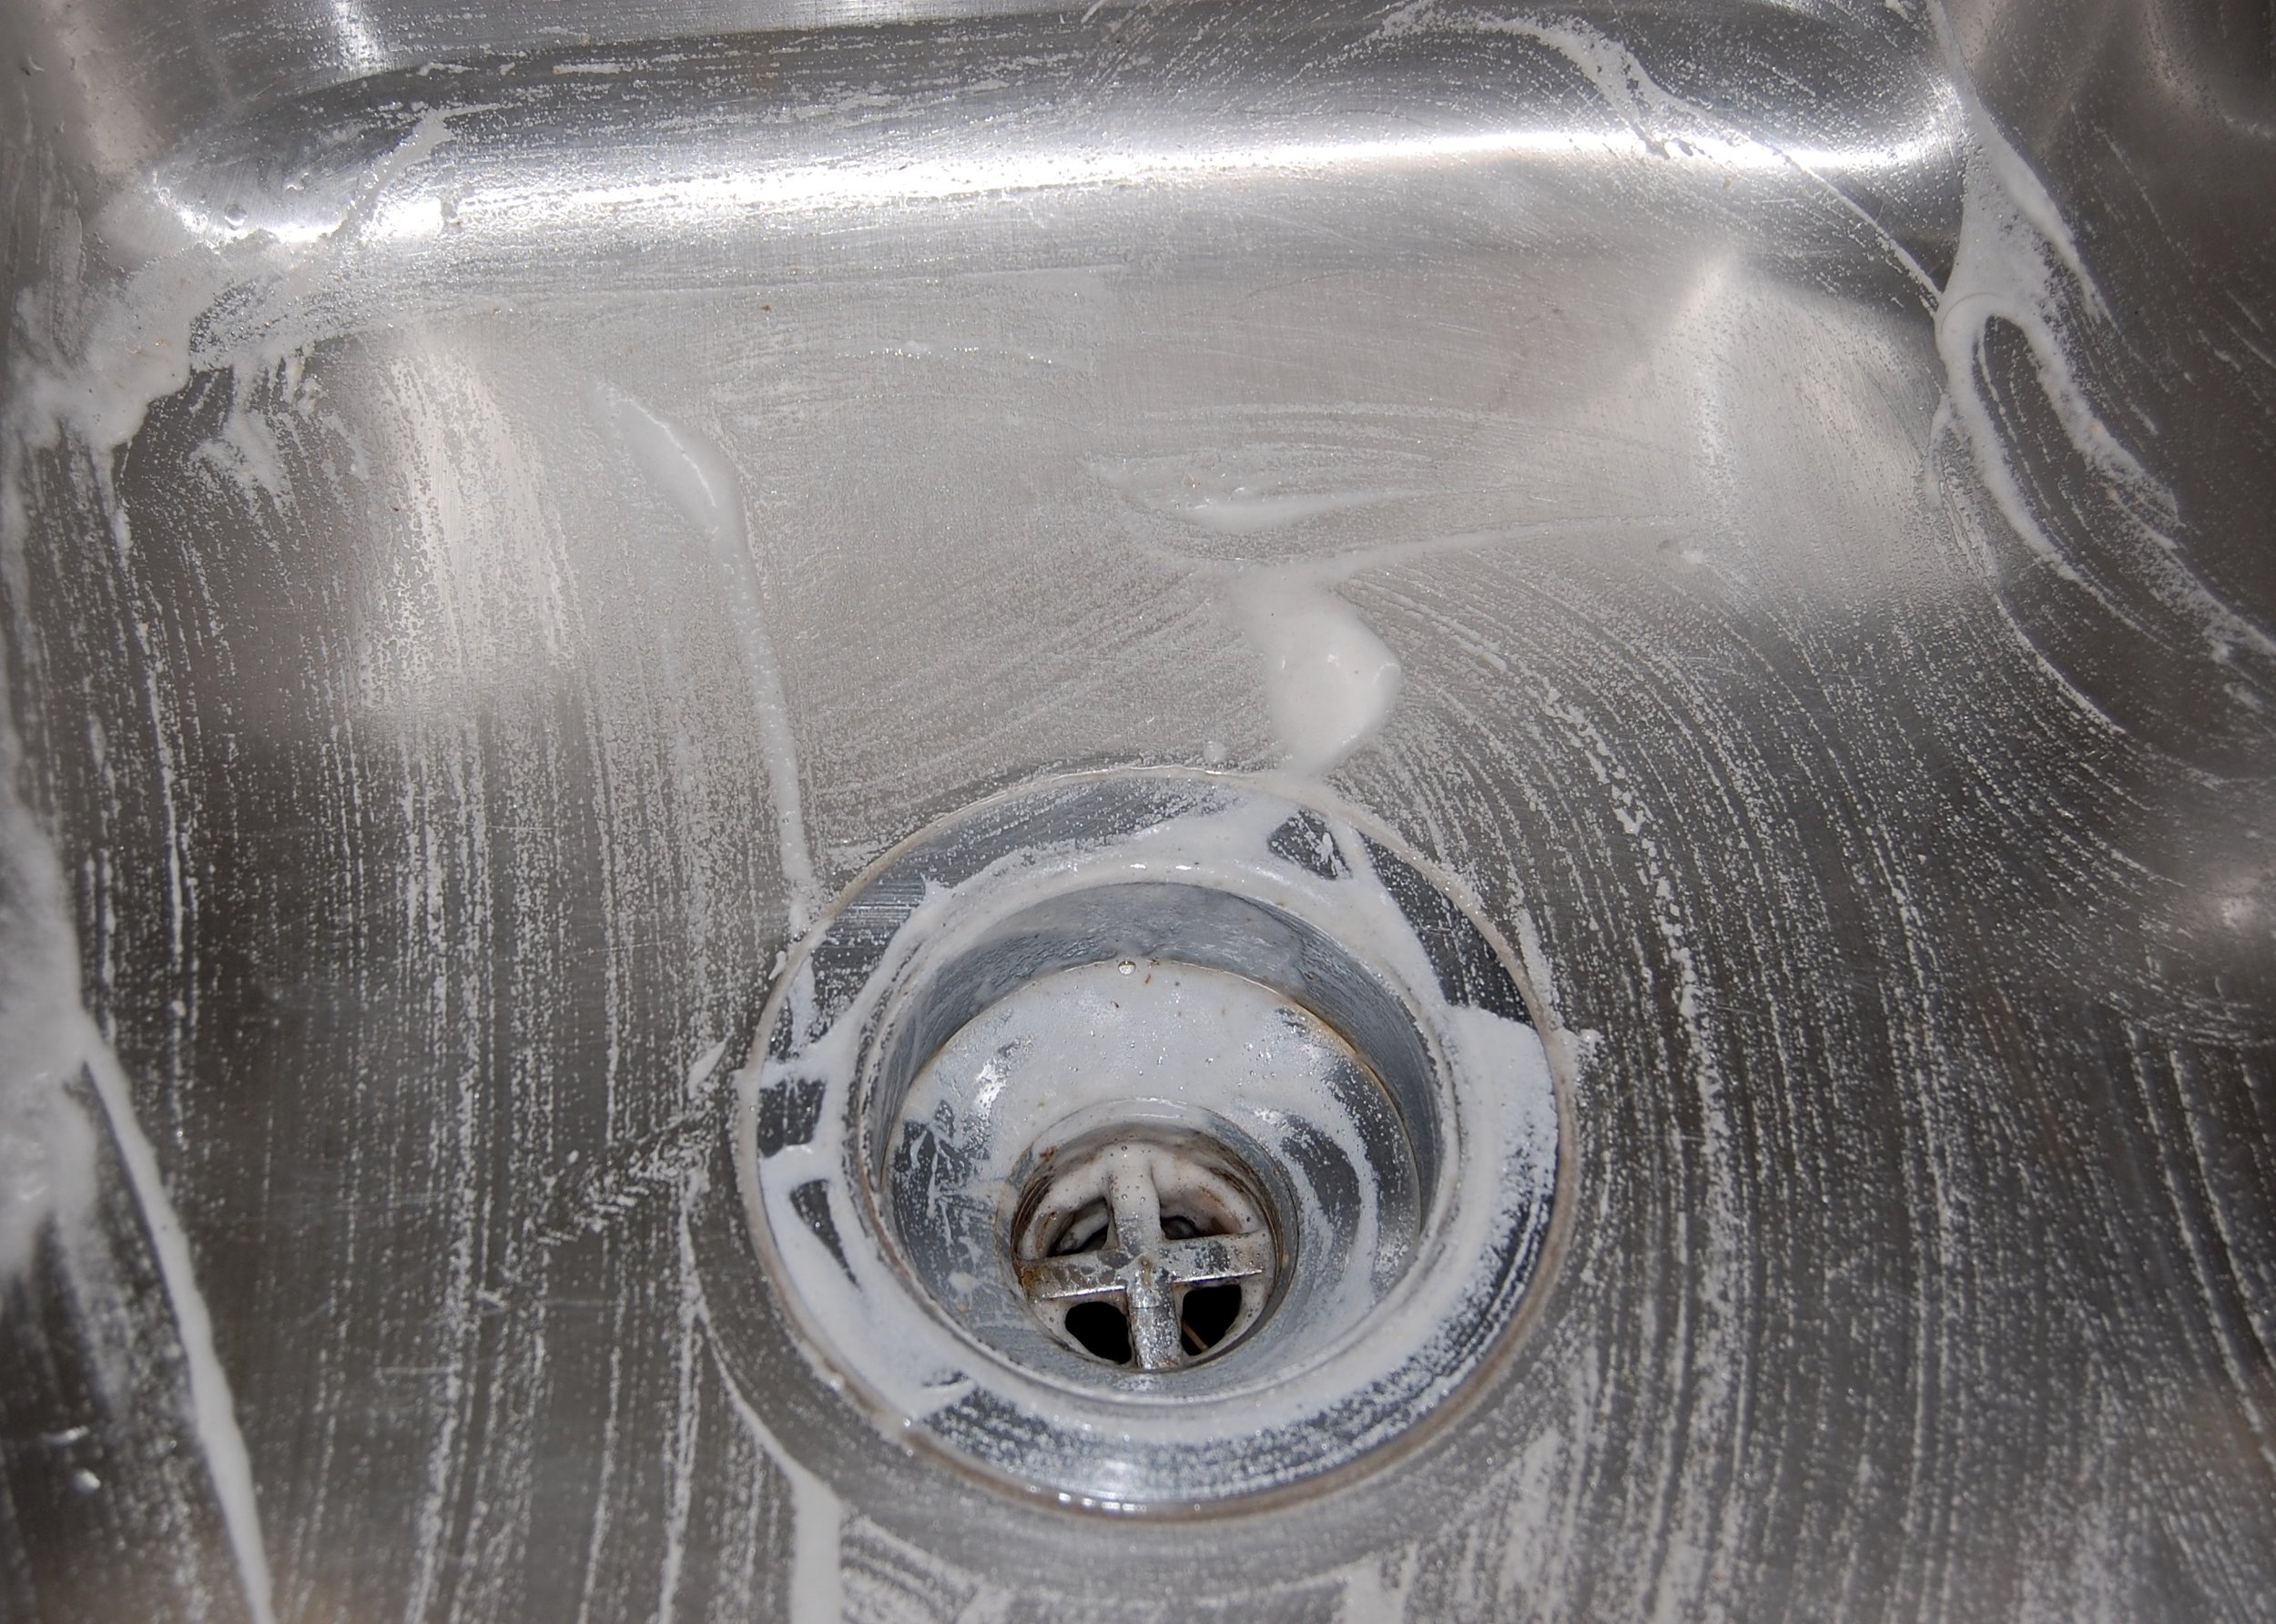
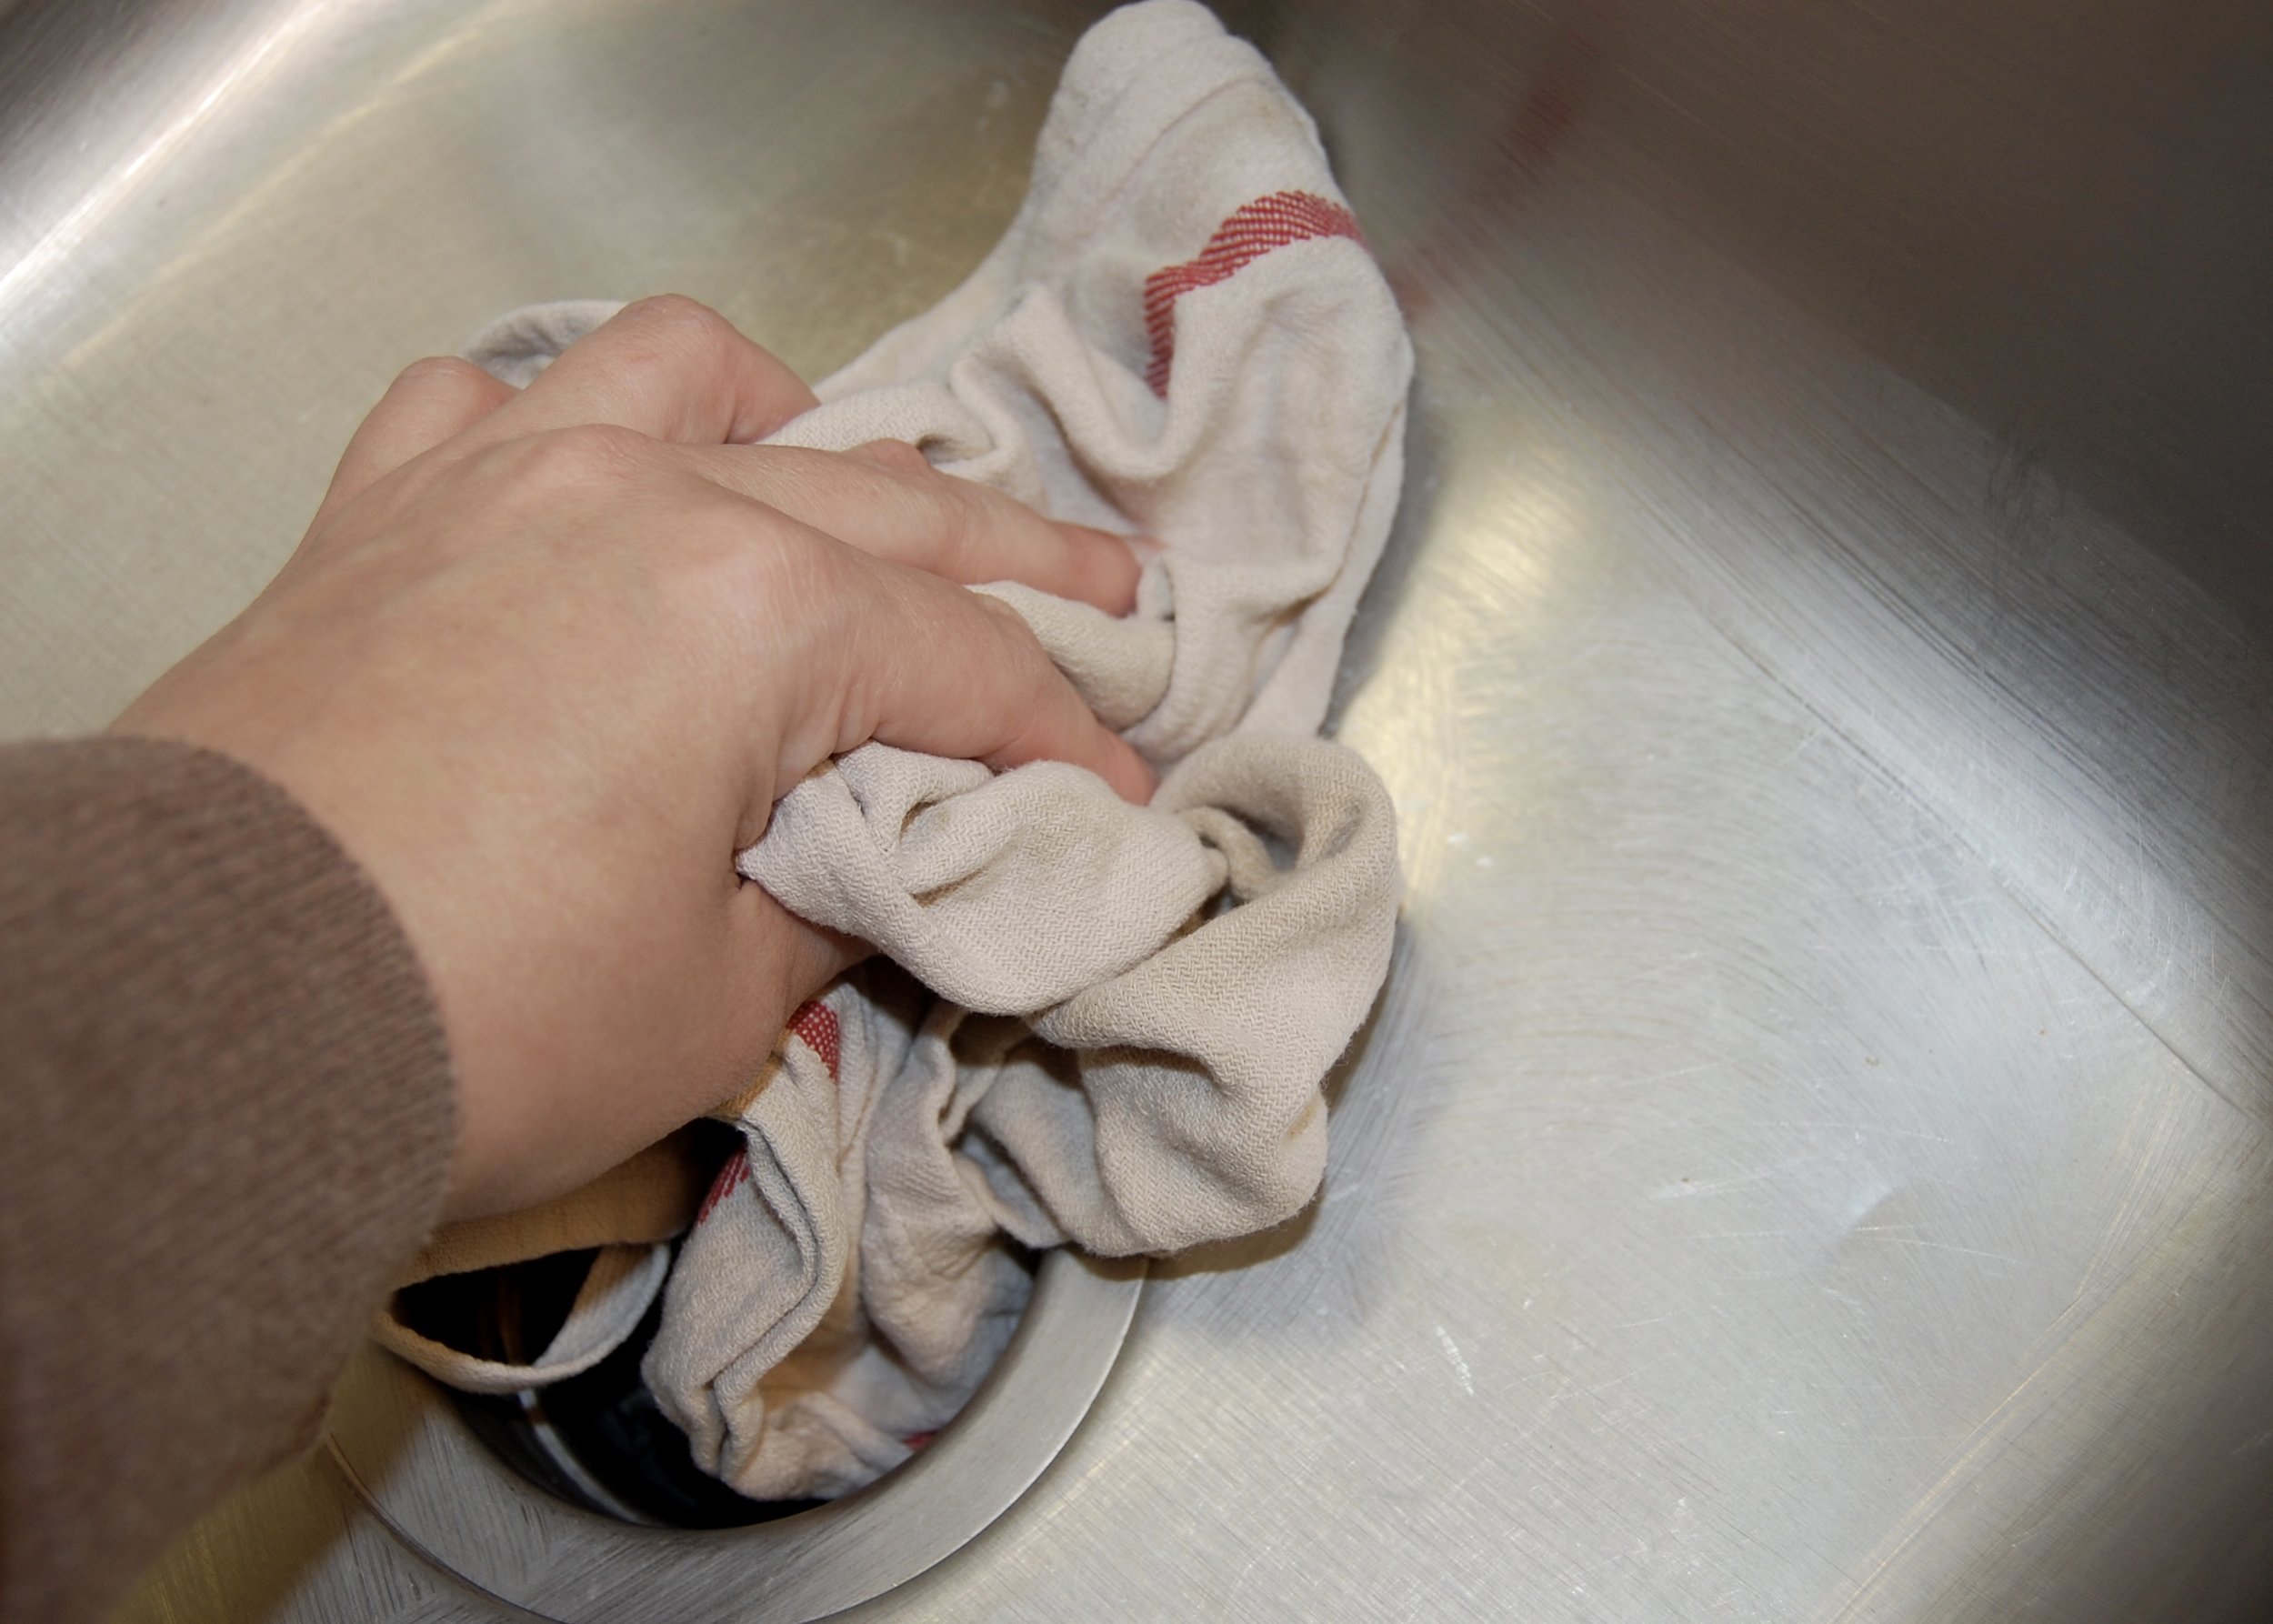
After scrubbing the microwave with the warm water and vinegar mix.
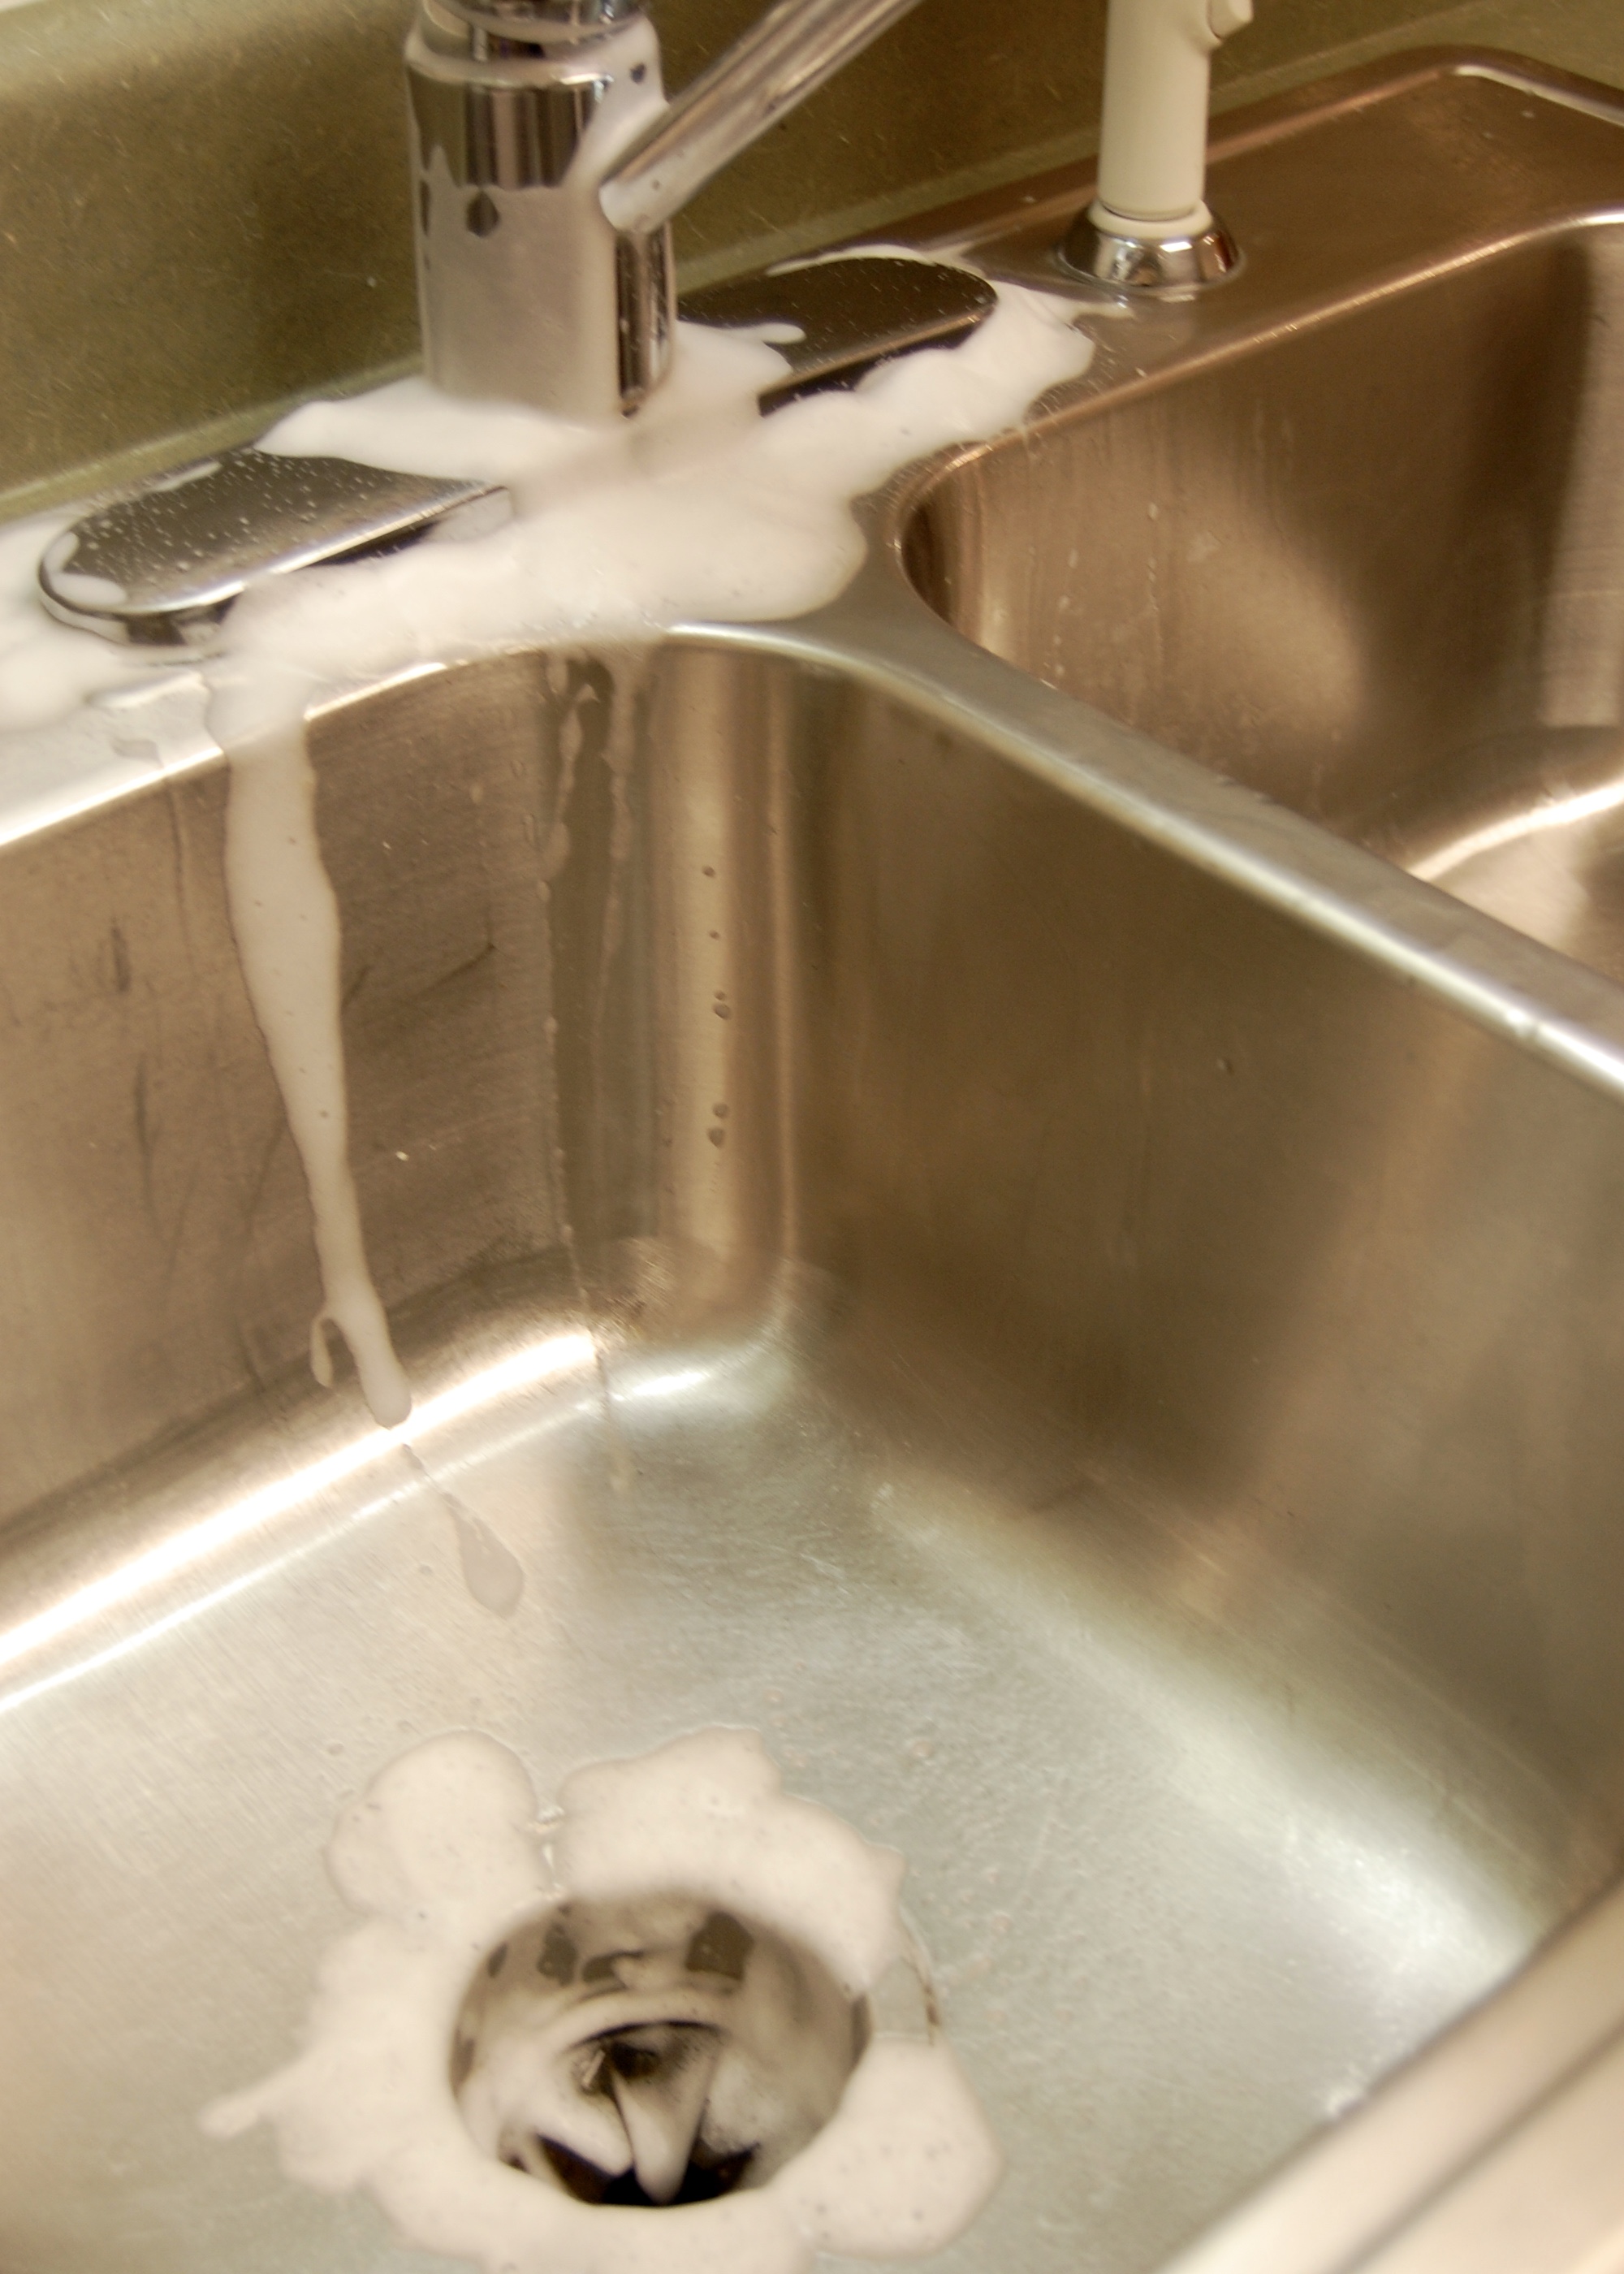
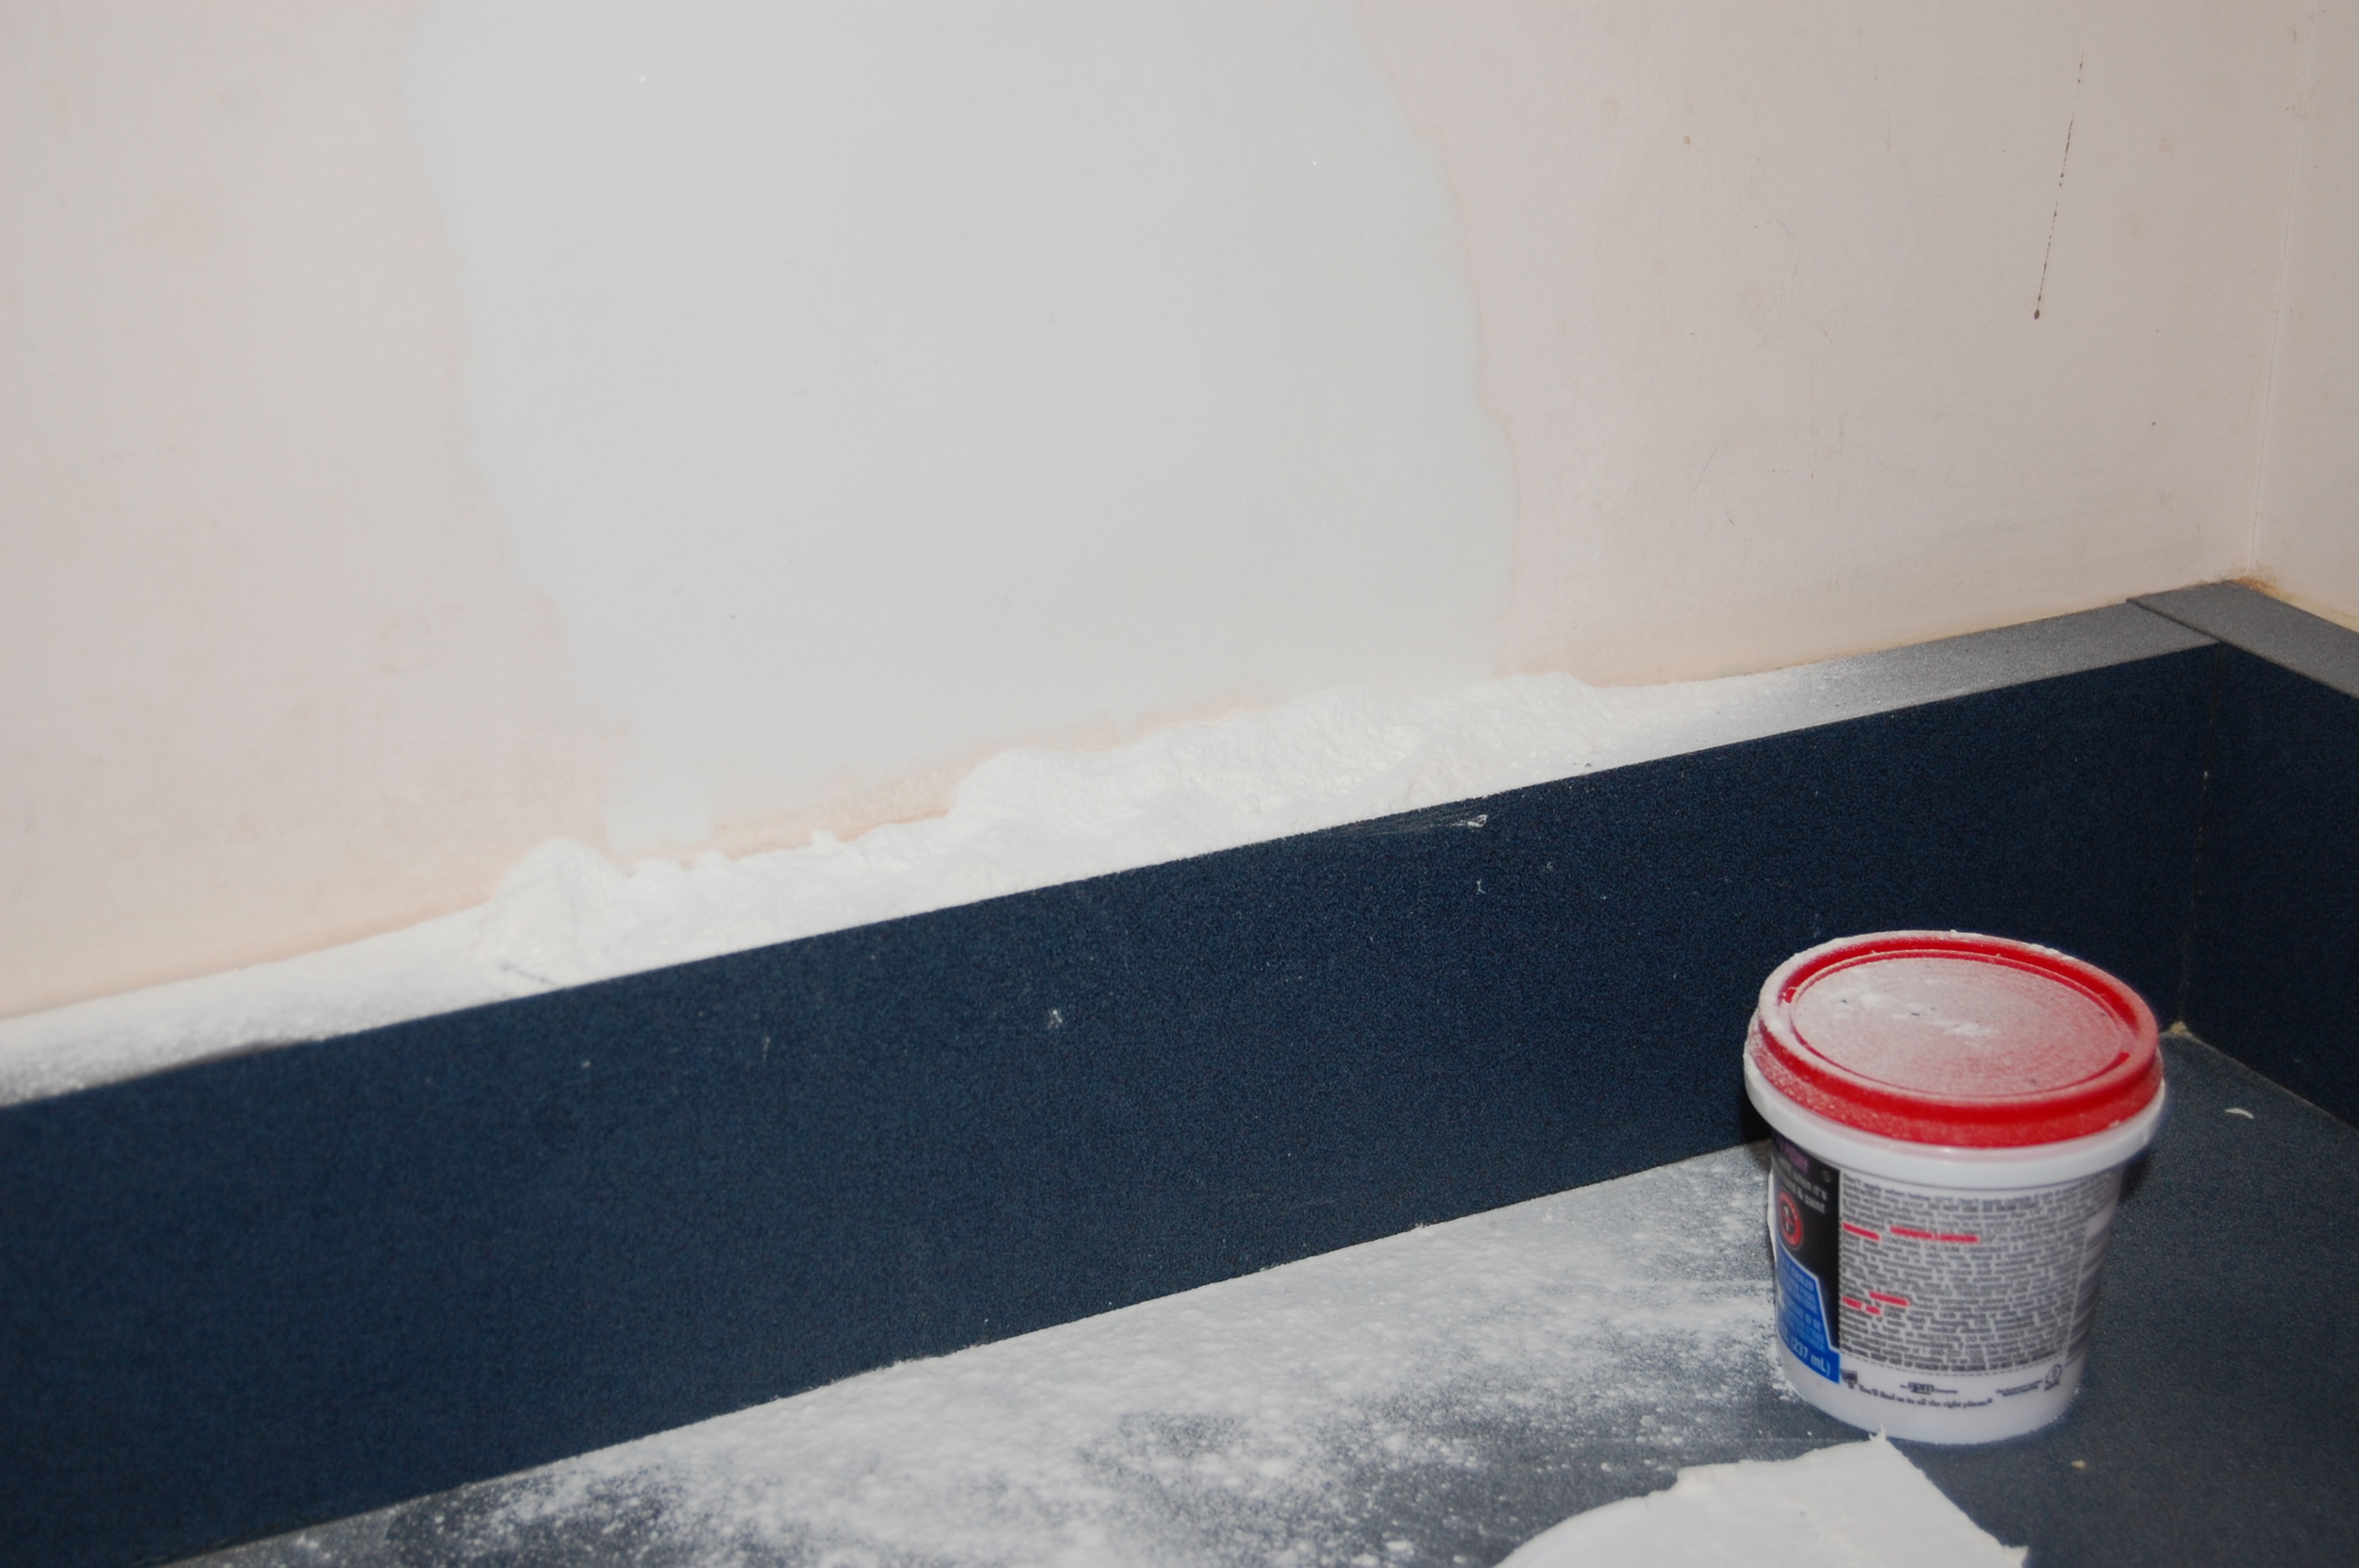
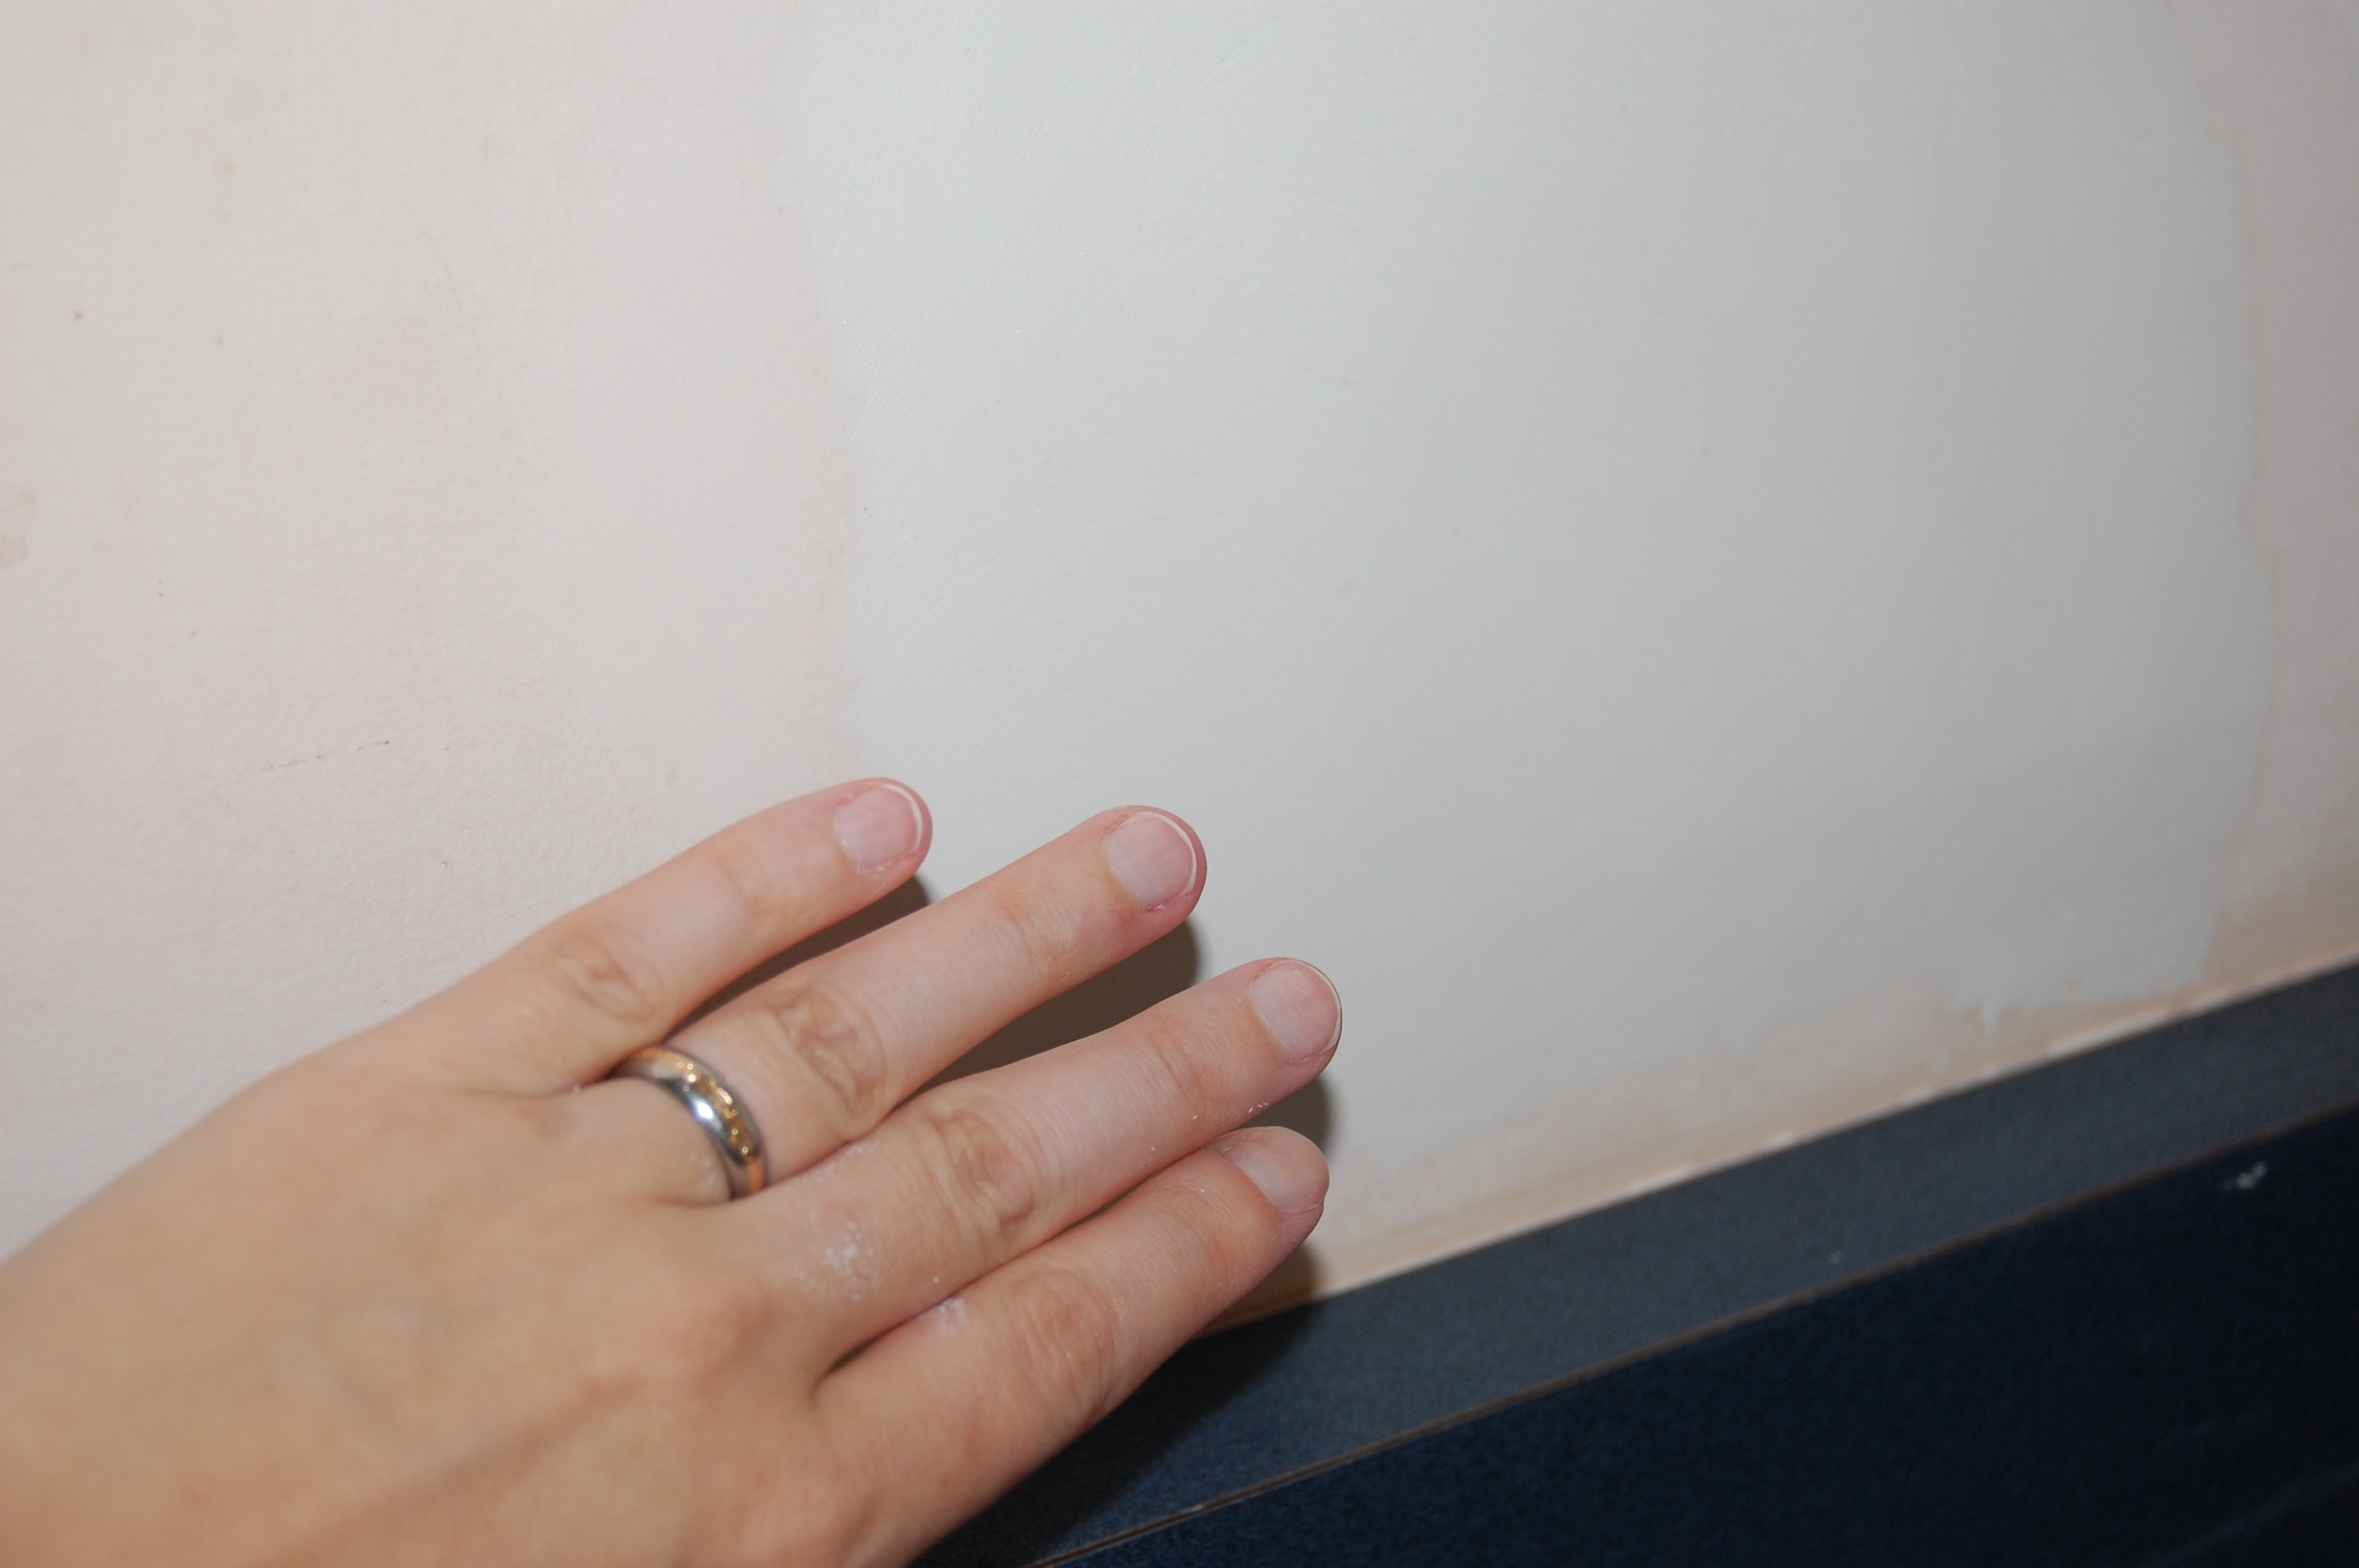
When just wiping the microwave with a dry cloth didn't really work, I decided to use warm water and vinegar as a cleaning solution. I dipped my rag into the solution and wiped down the inside of the microwave with that. The microwaved mess didn't stand a chance. Huge amounts came out with every swipe of my rag and soon it was completely clean.
Conclusion
The simple act of microwaving water and vinegar did not mirculalously clean my microwave; however, the warm water and vinegar mixture that resulted from this cleaning hack was quite a good cleaning agent. If you use this hack expect to do some scrubbing.
For more on cleaning, check out Hang You Hat, Episode 8: Has On, Wax Off.