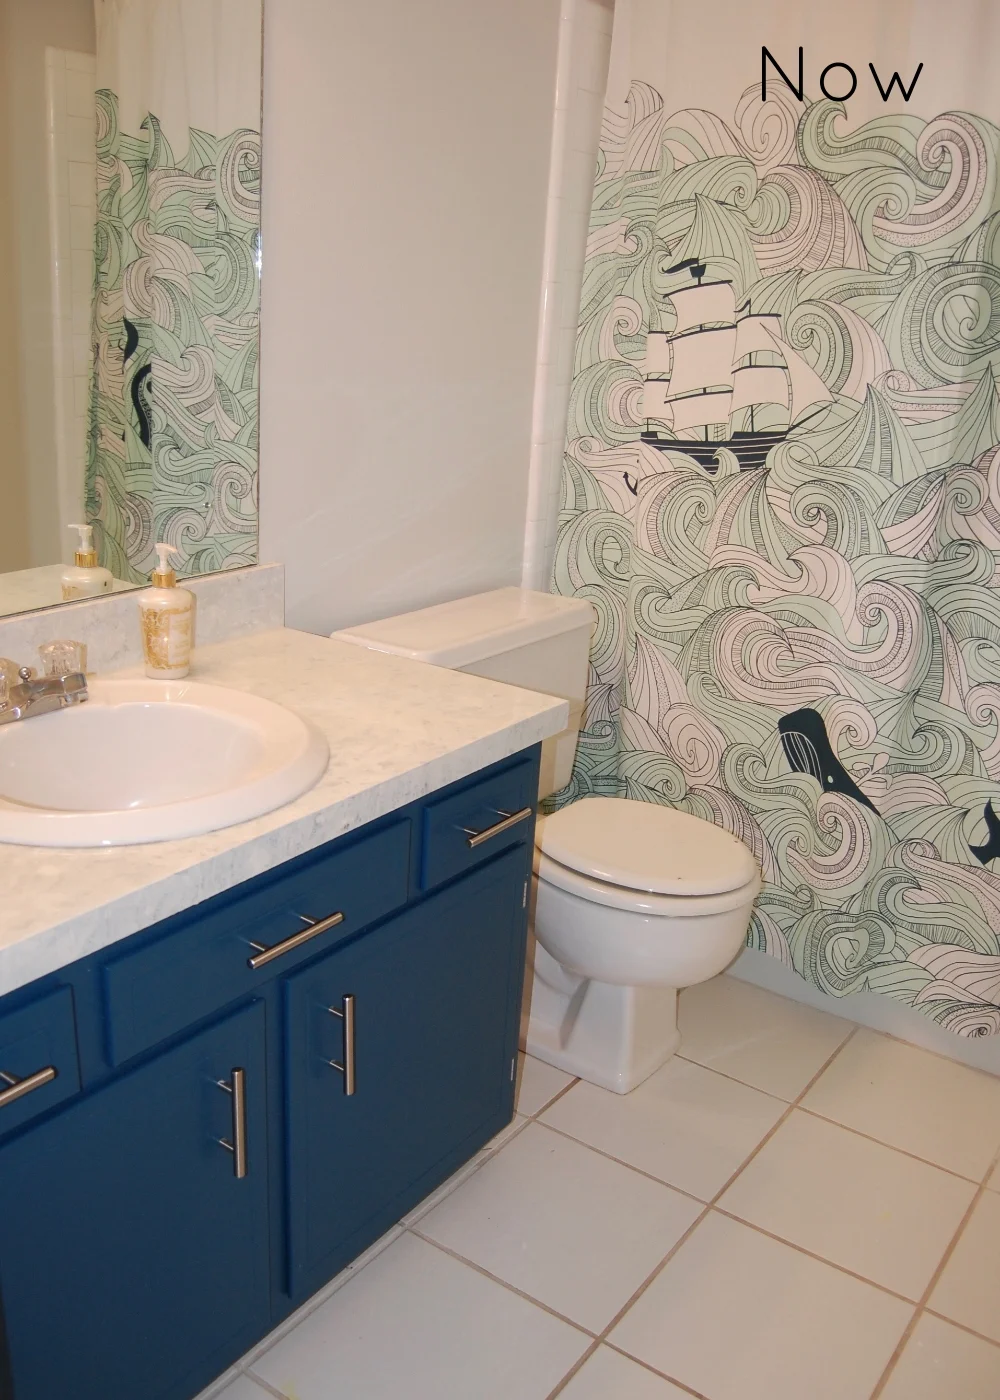
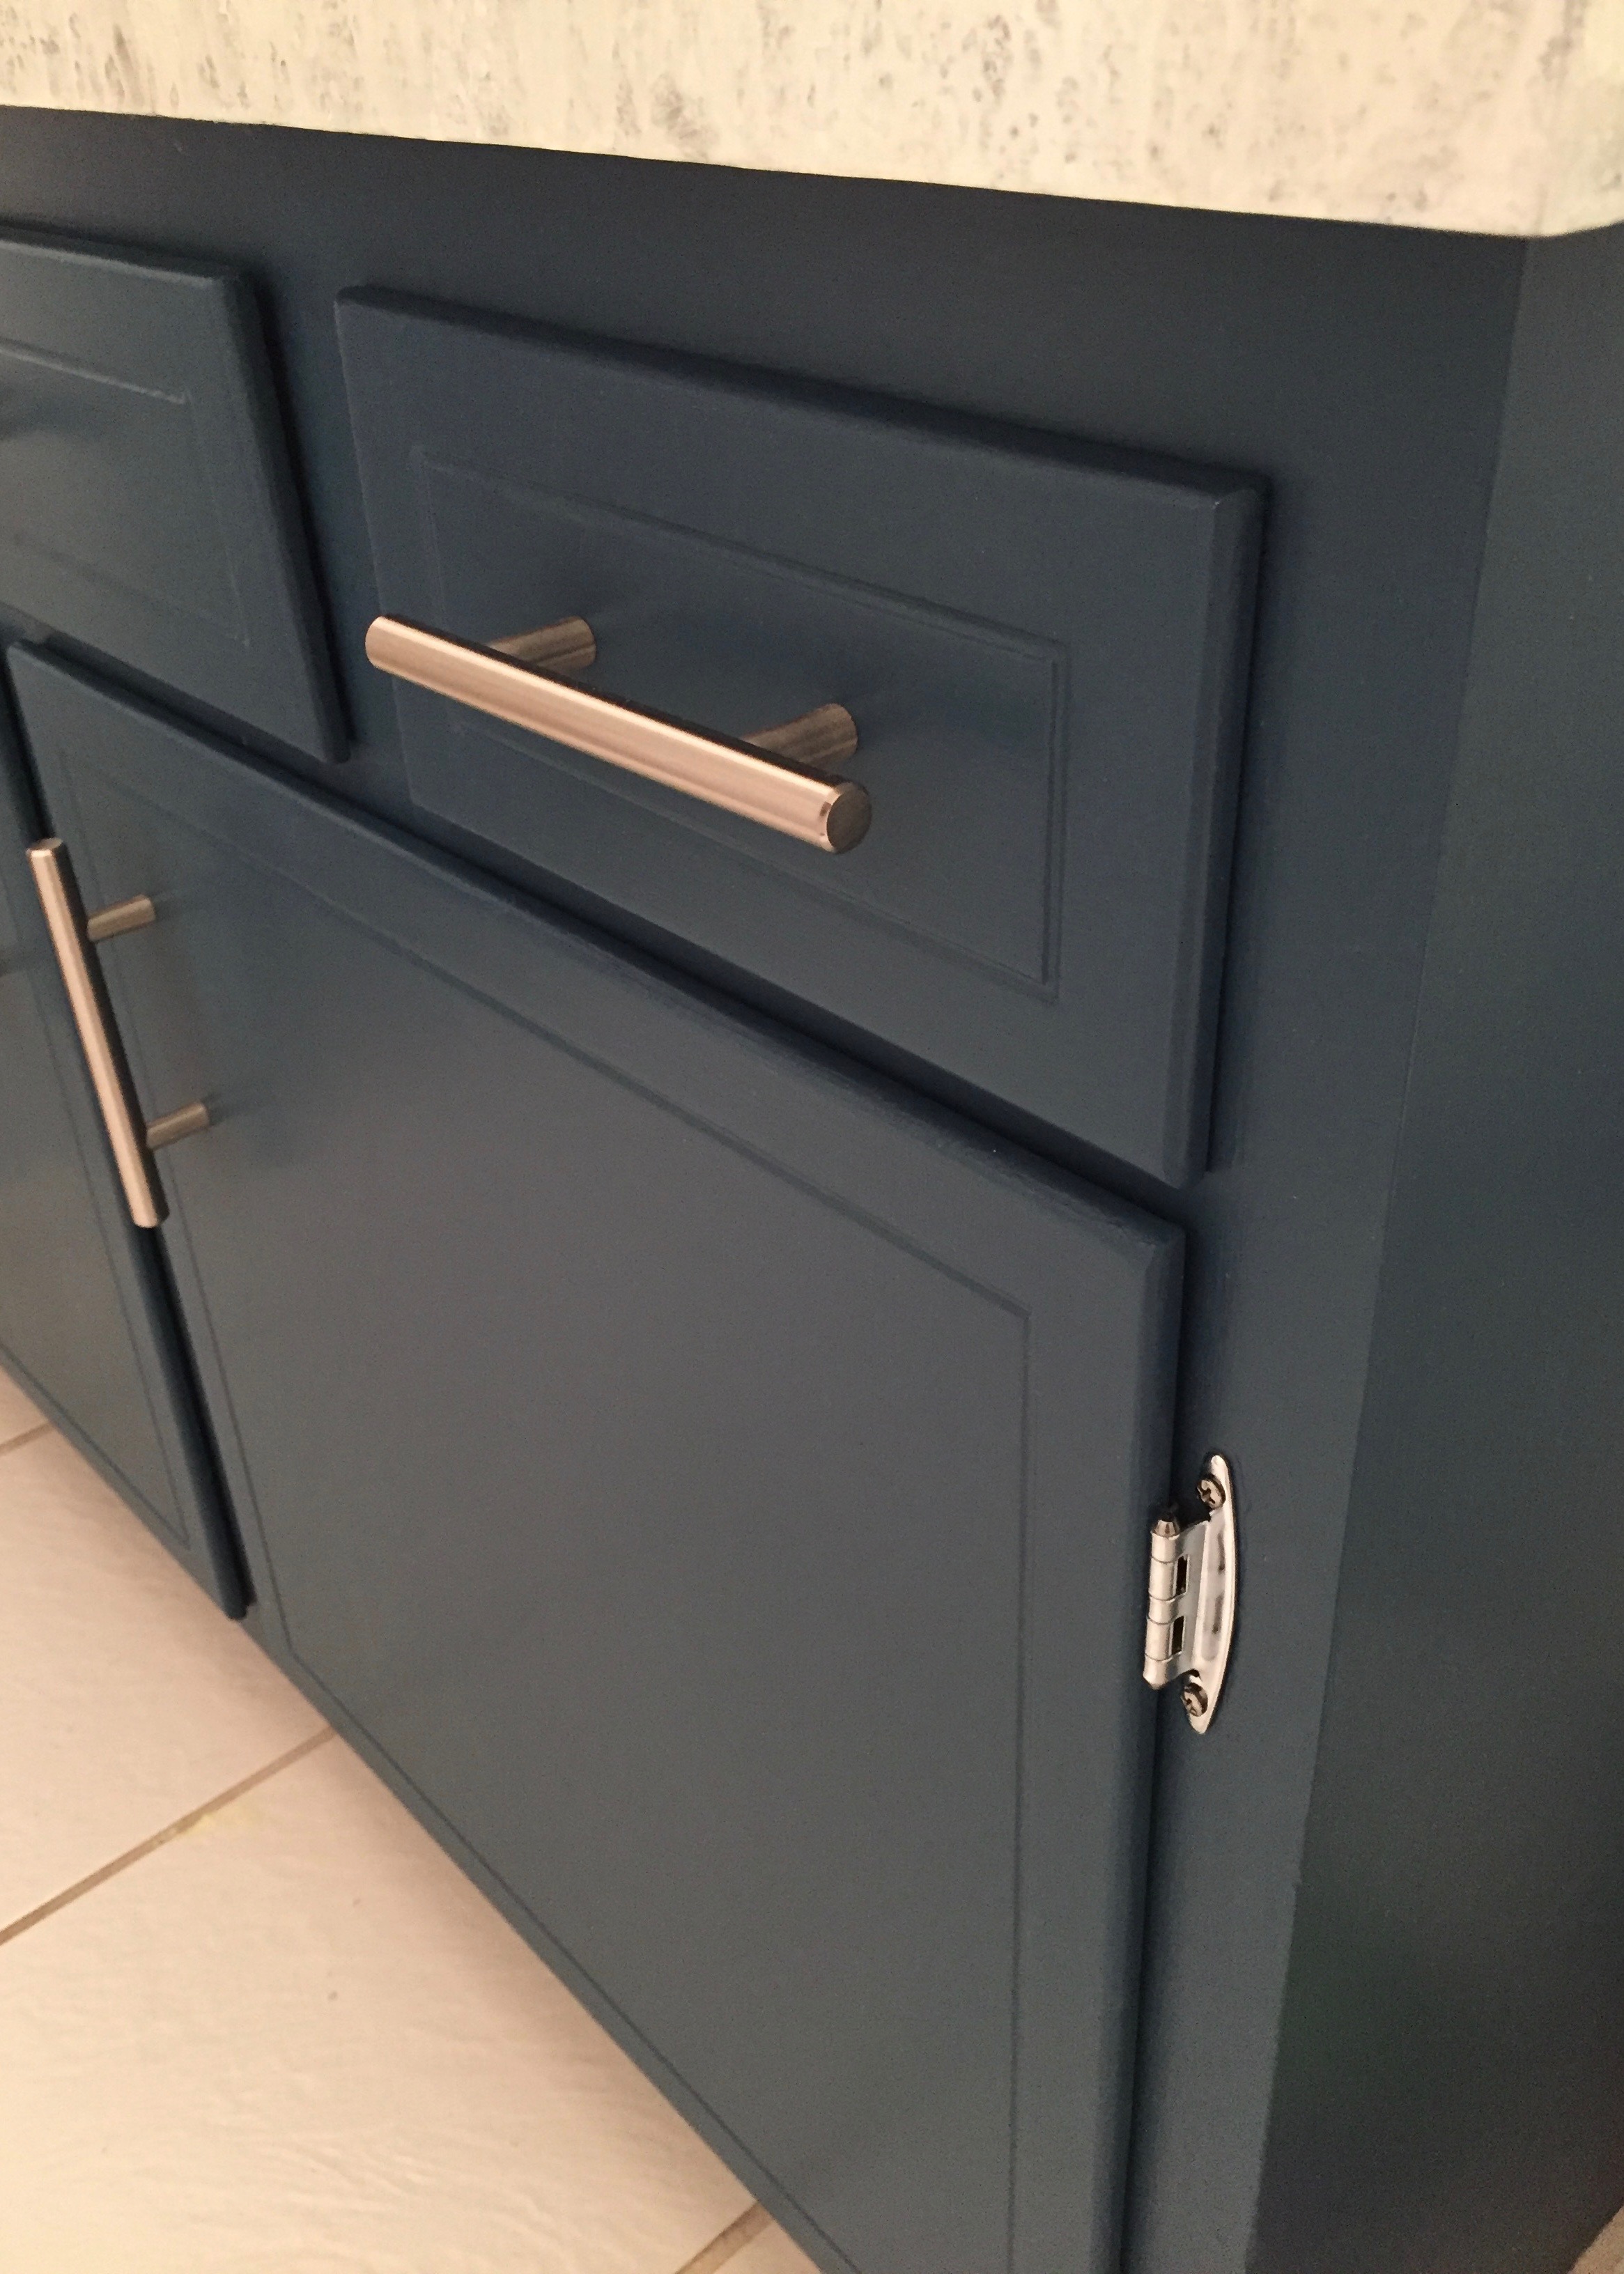
Unappreciated Details: Cabinet Interior
/After we finished making the outside of our bathroom cabinet beautiful the inside looked a little, well, gross. The paint was yellow, there were stains, and the floor of the cabinet had some previous water damage. So we decided to give the inside a makeover as well.
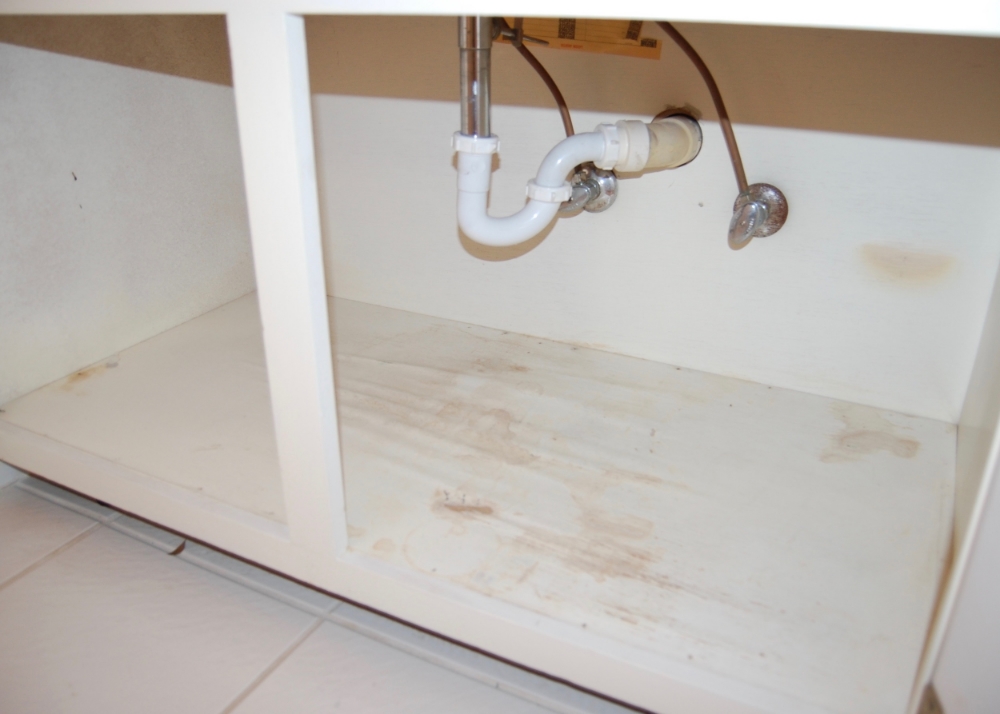
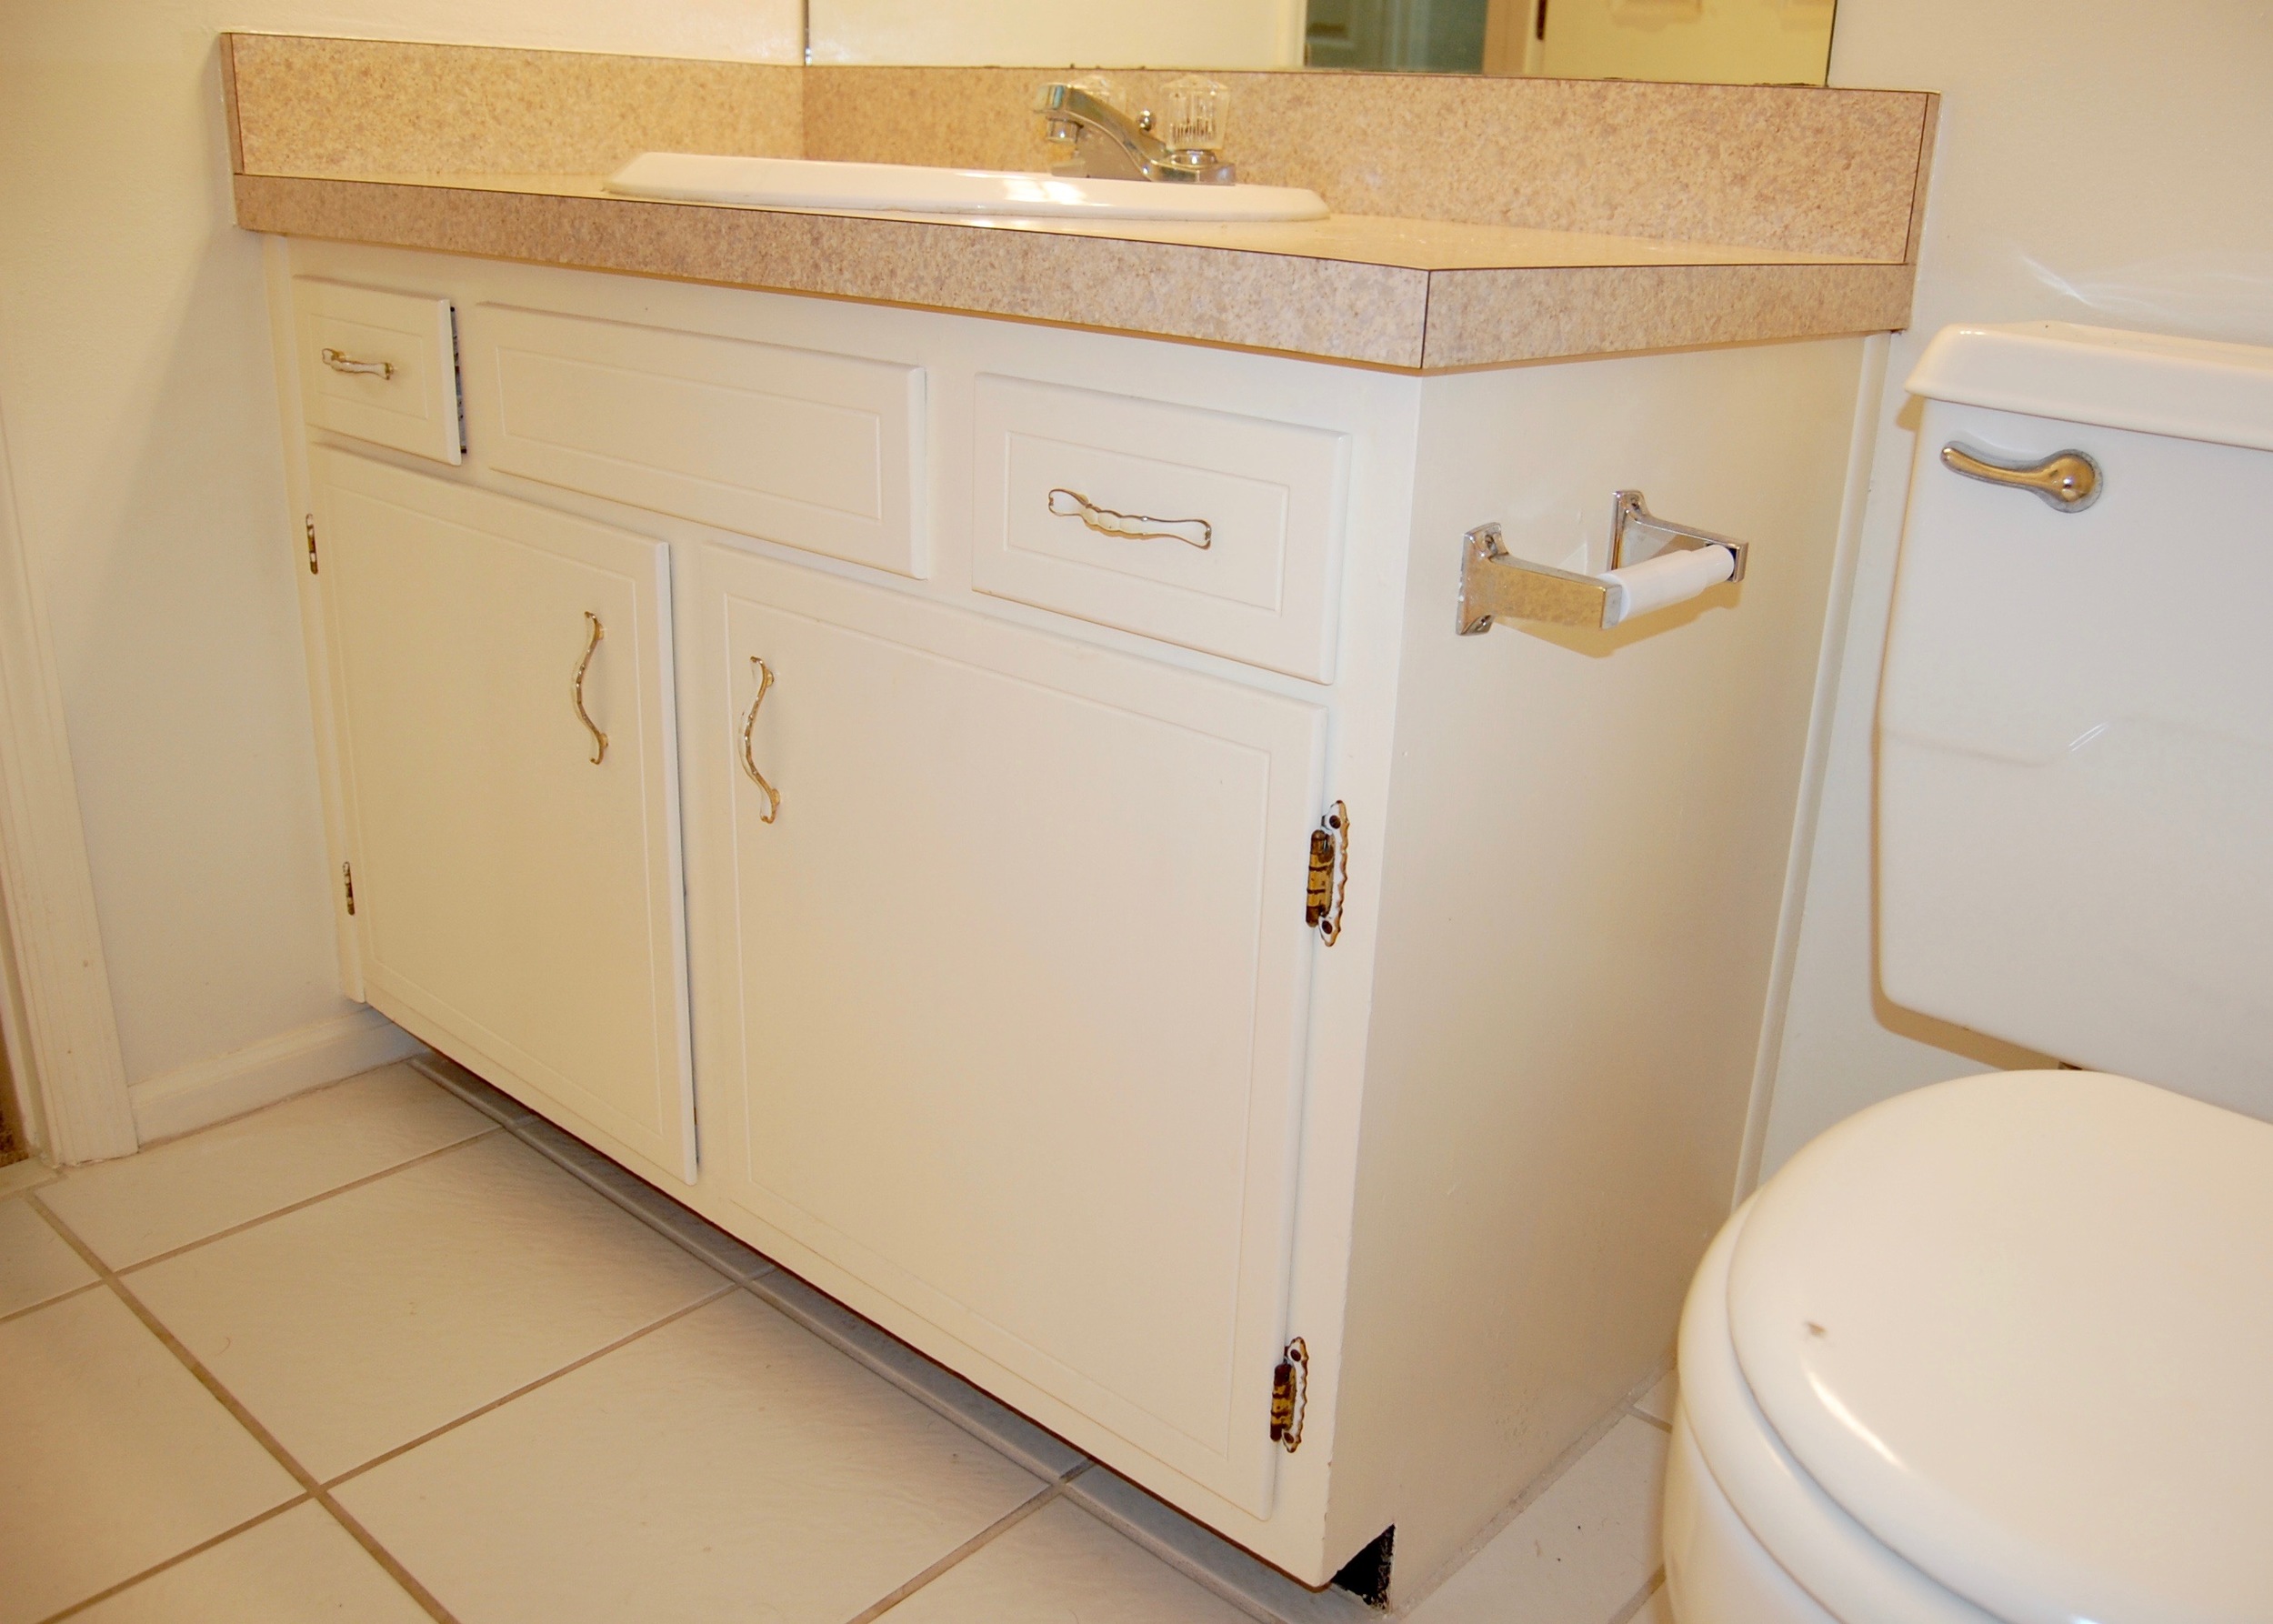
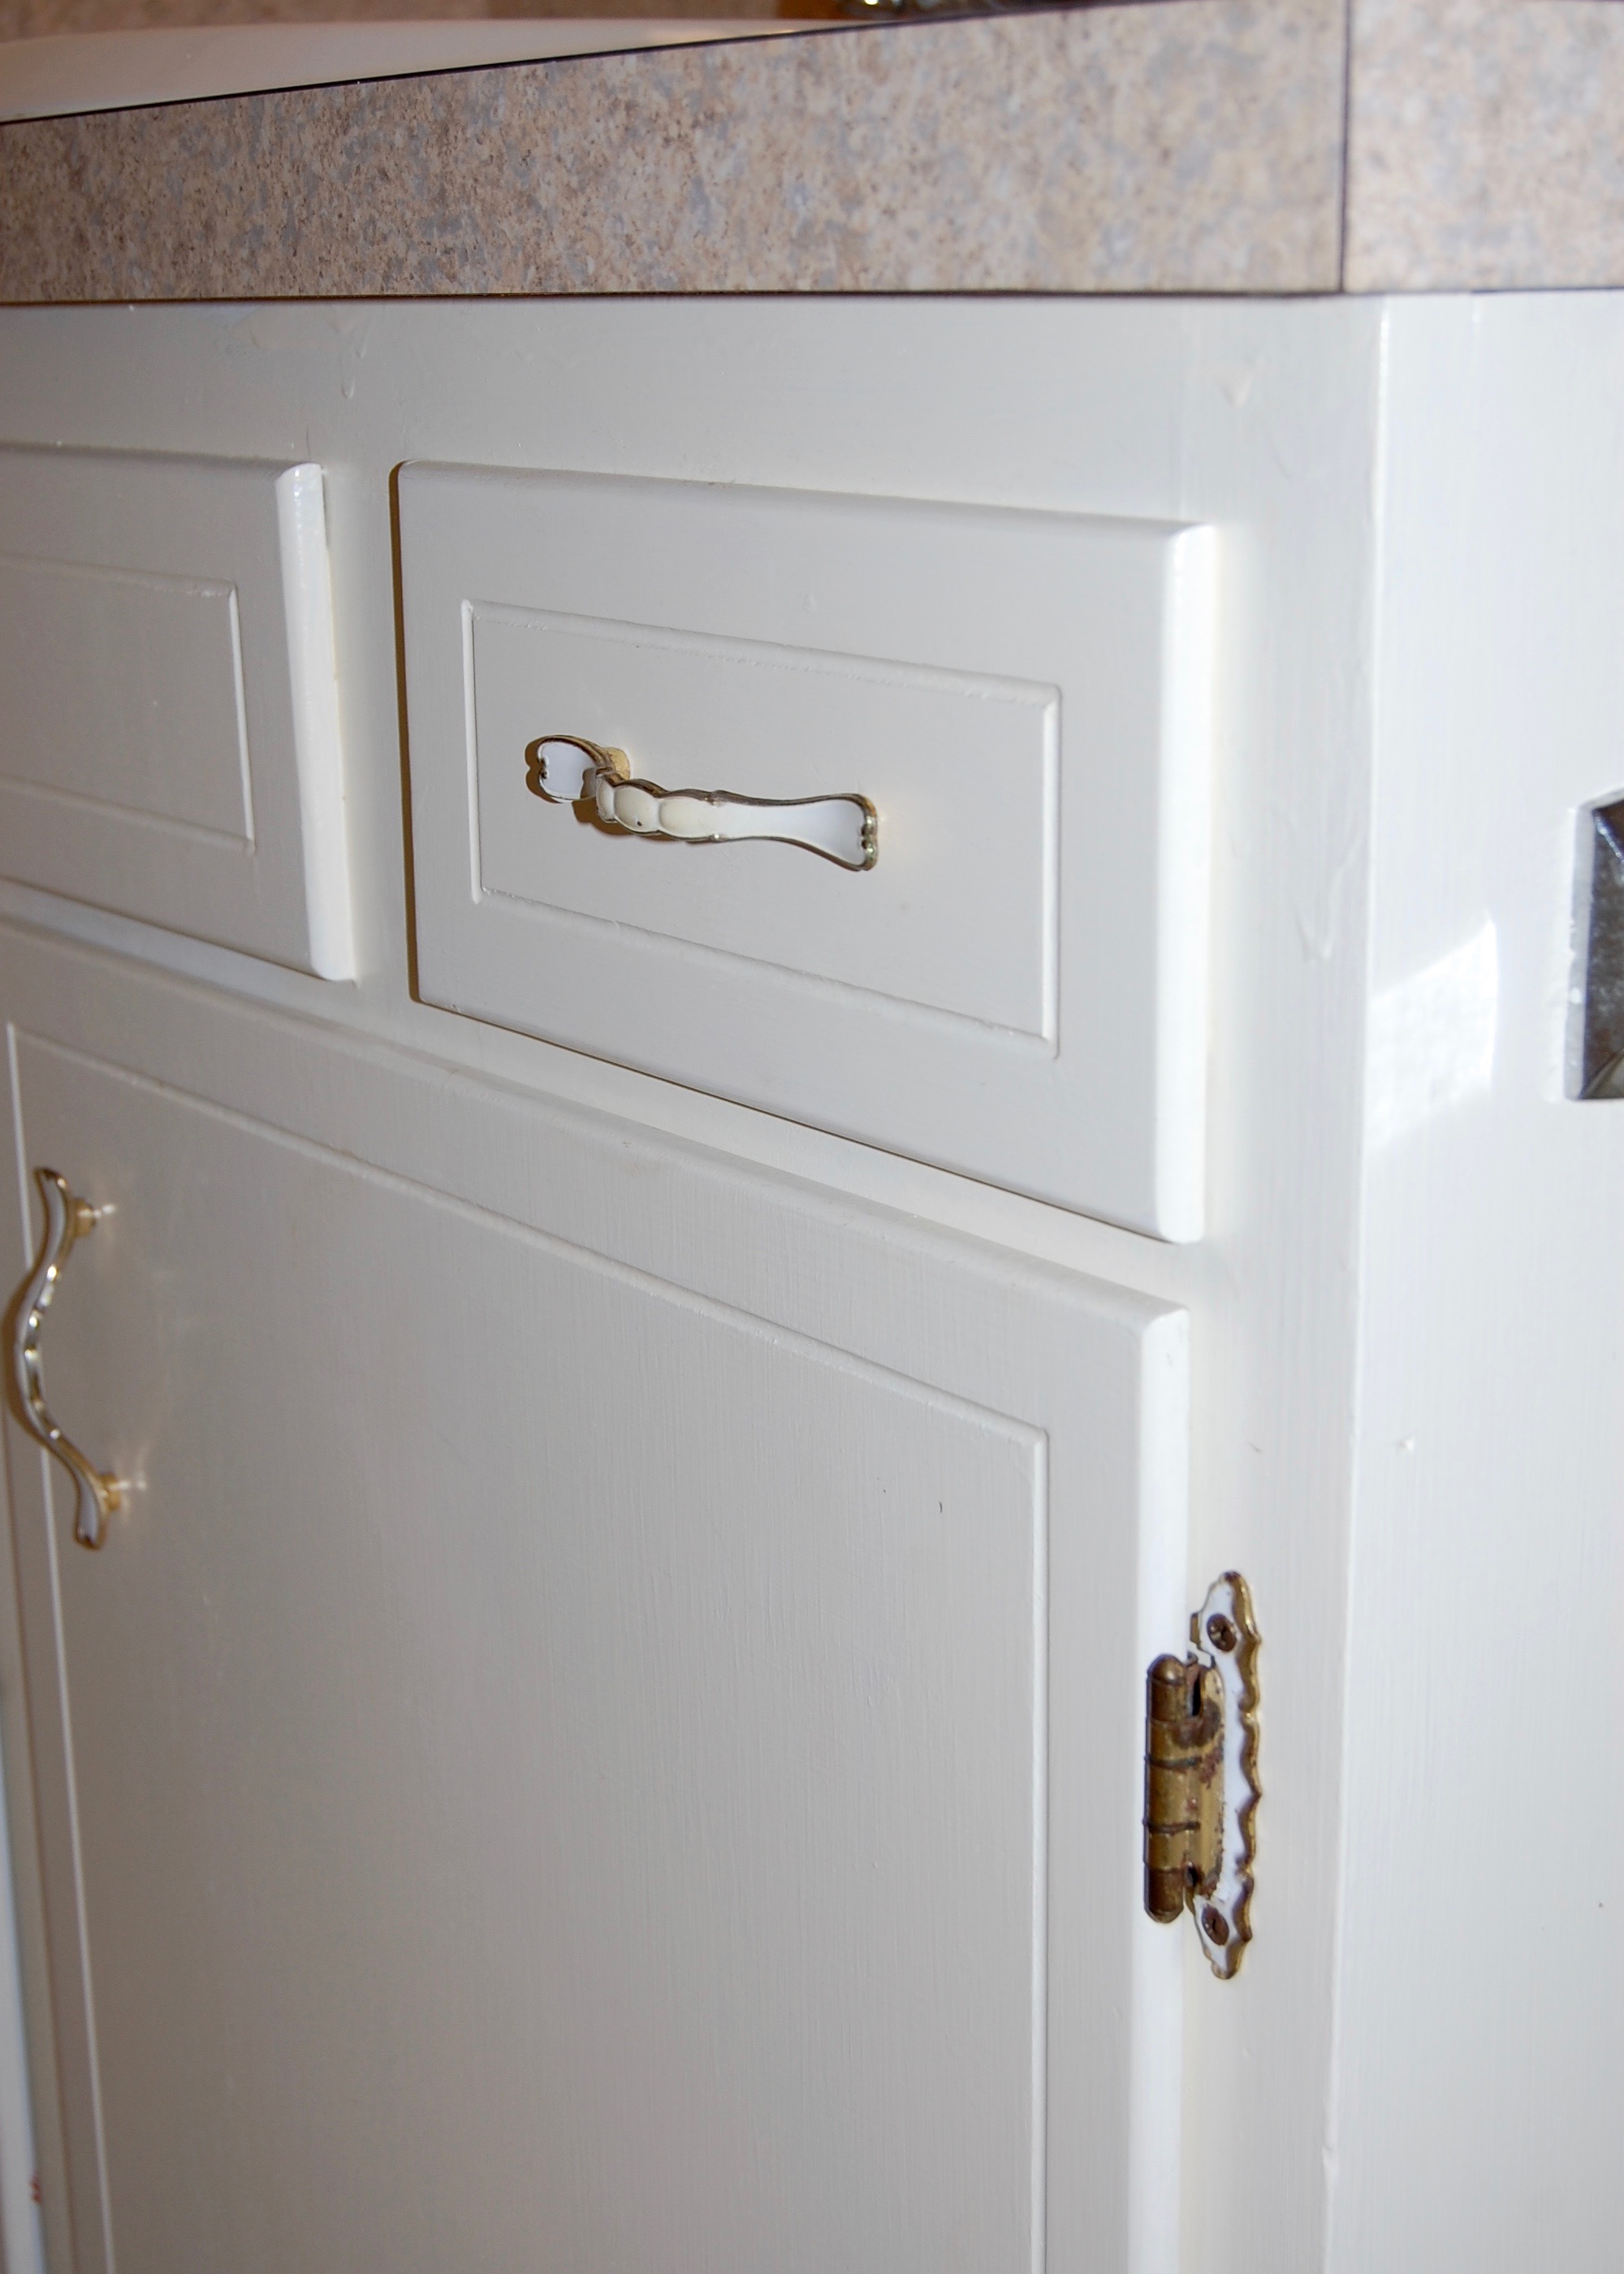
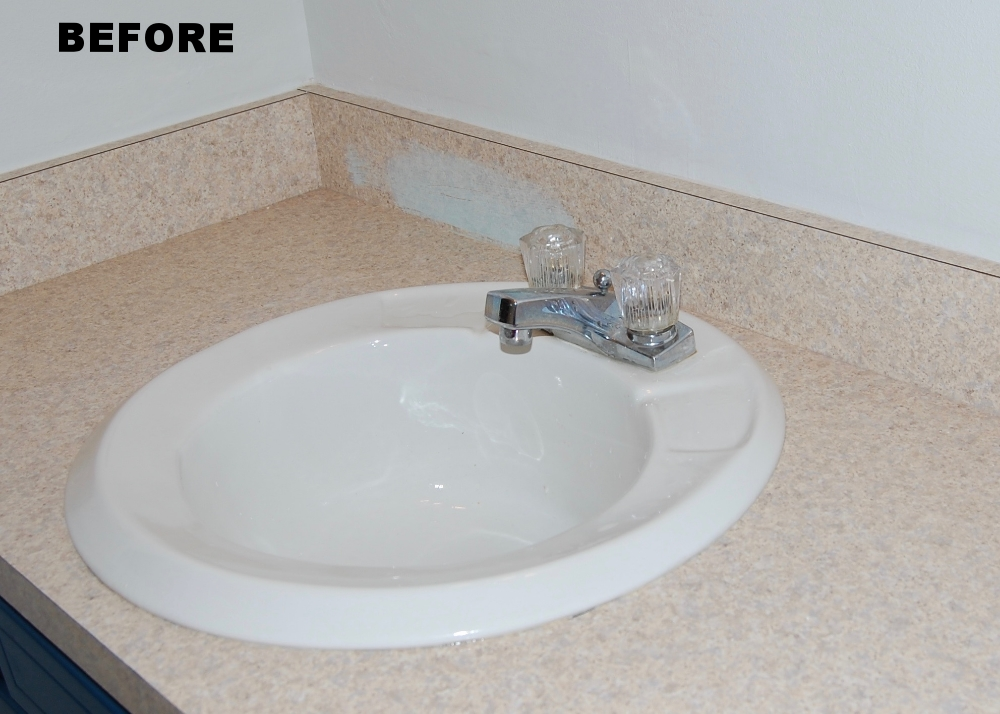
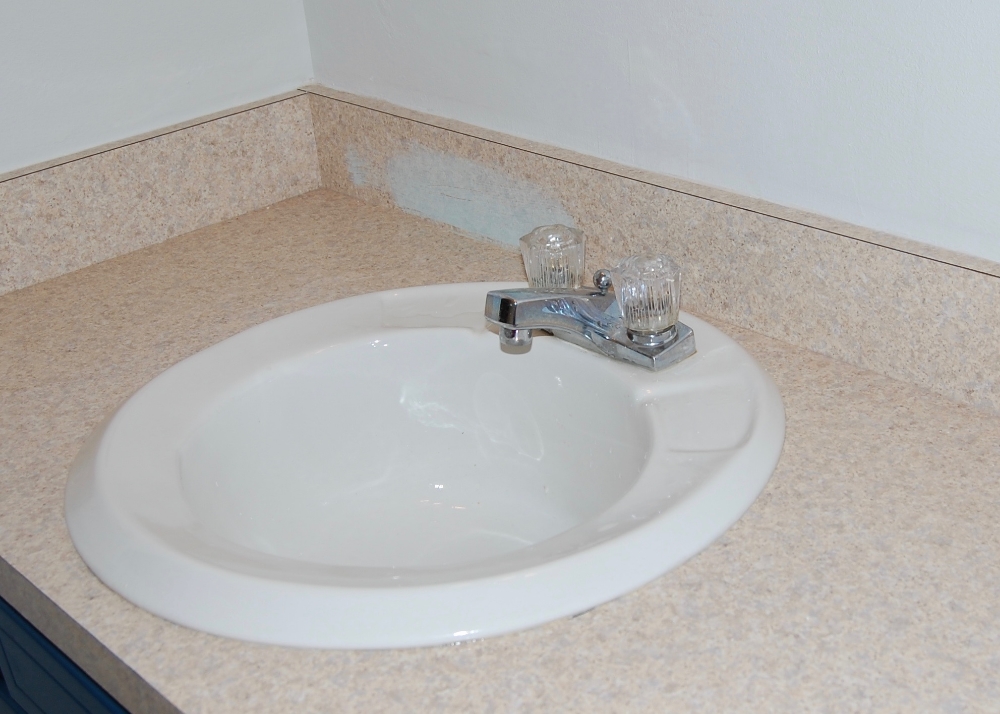
Before: Yellow, stained, and water damaged

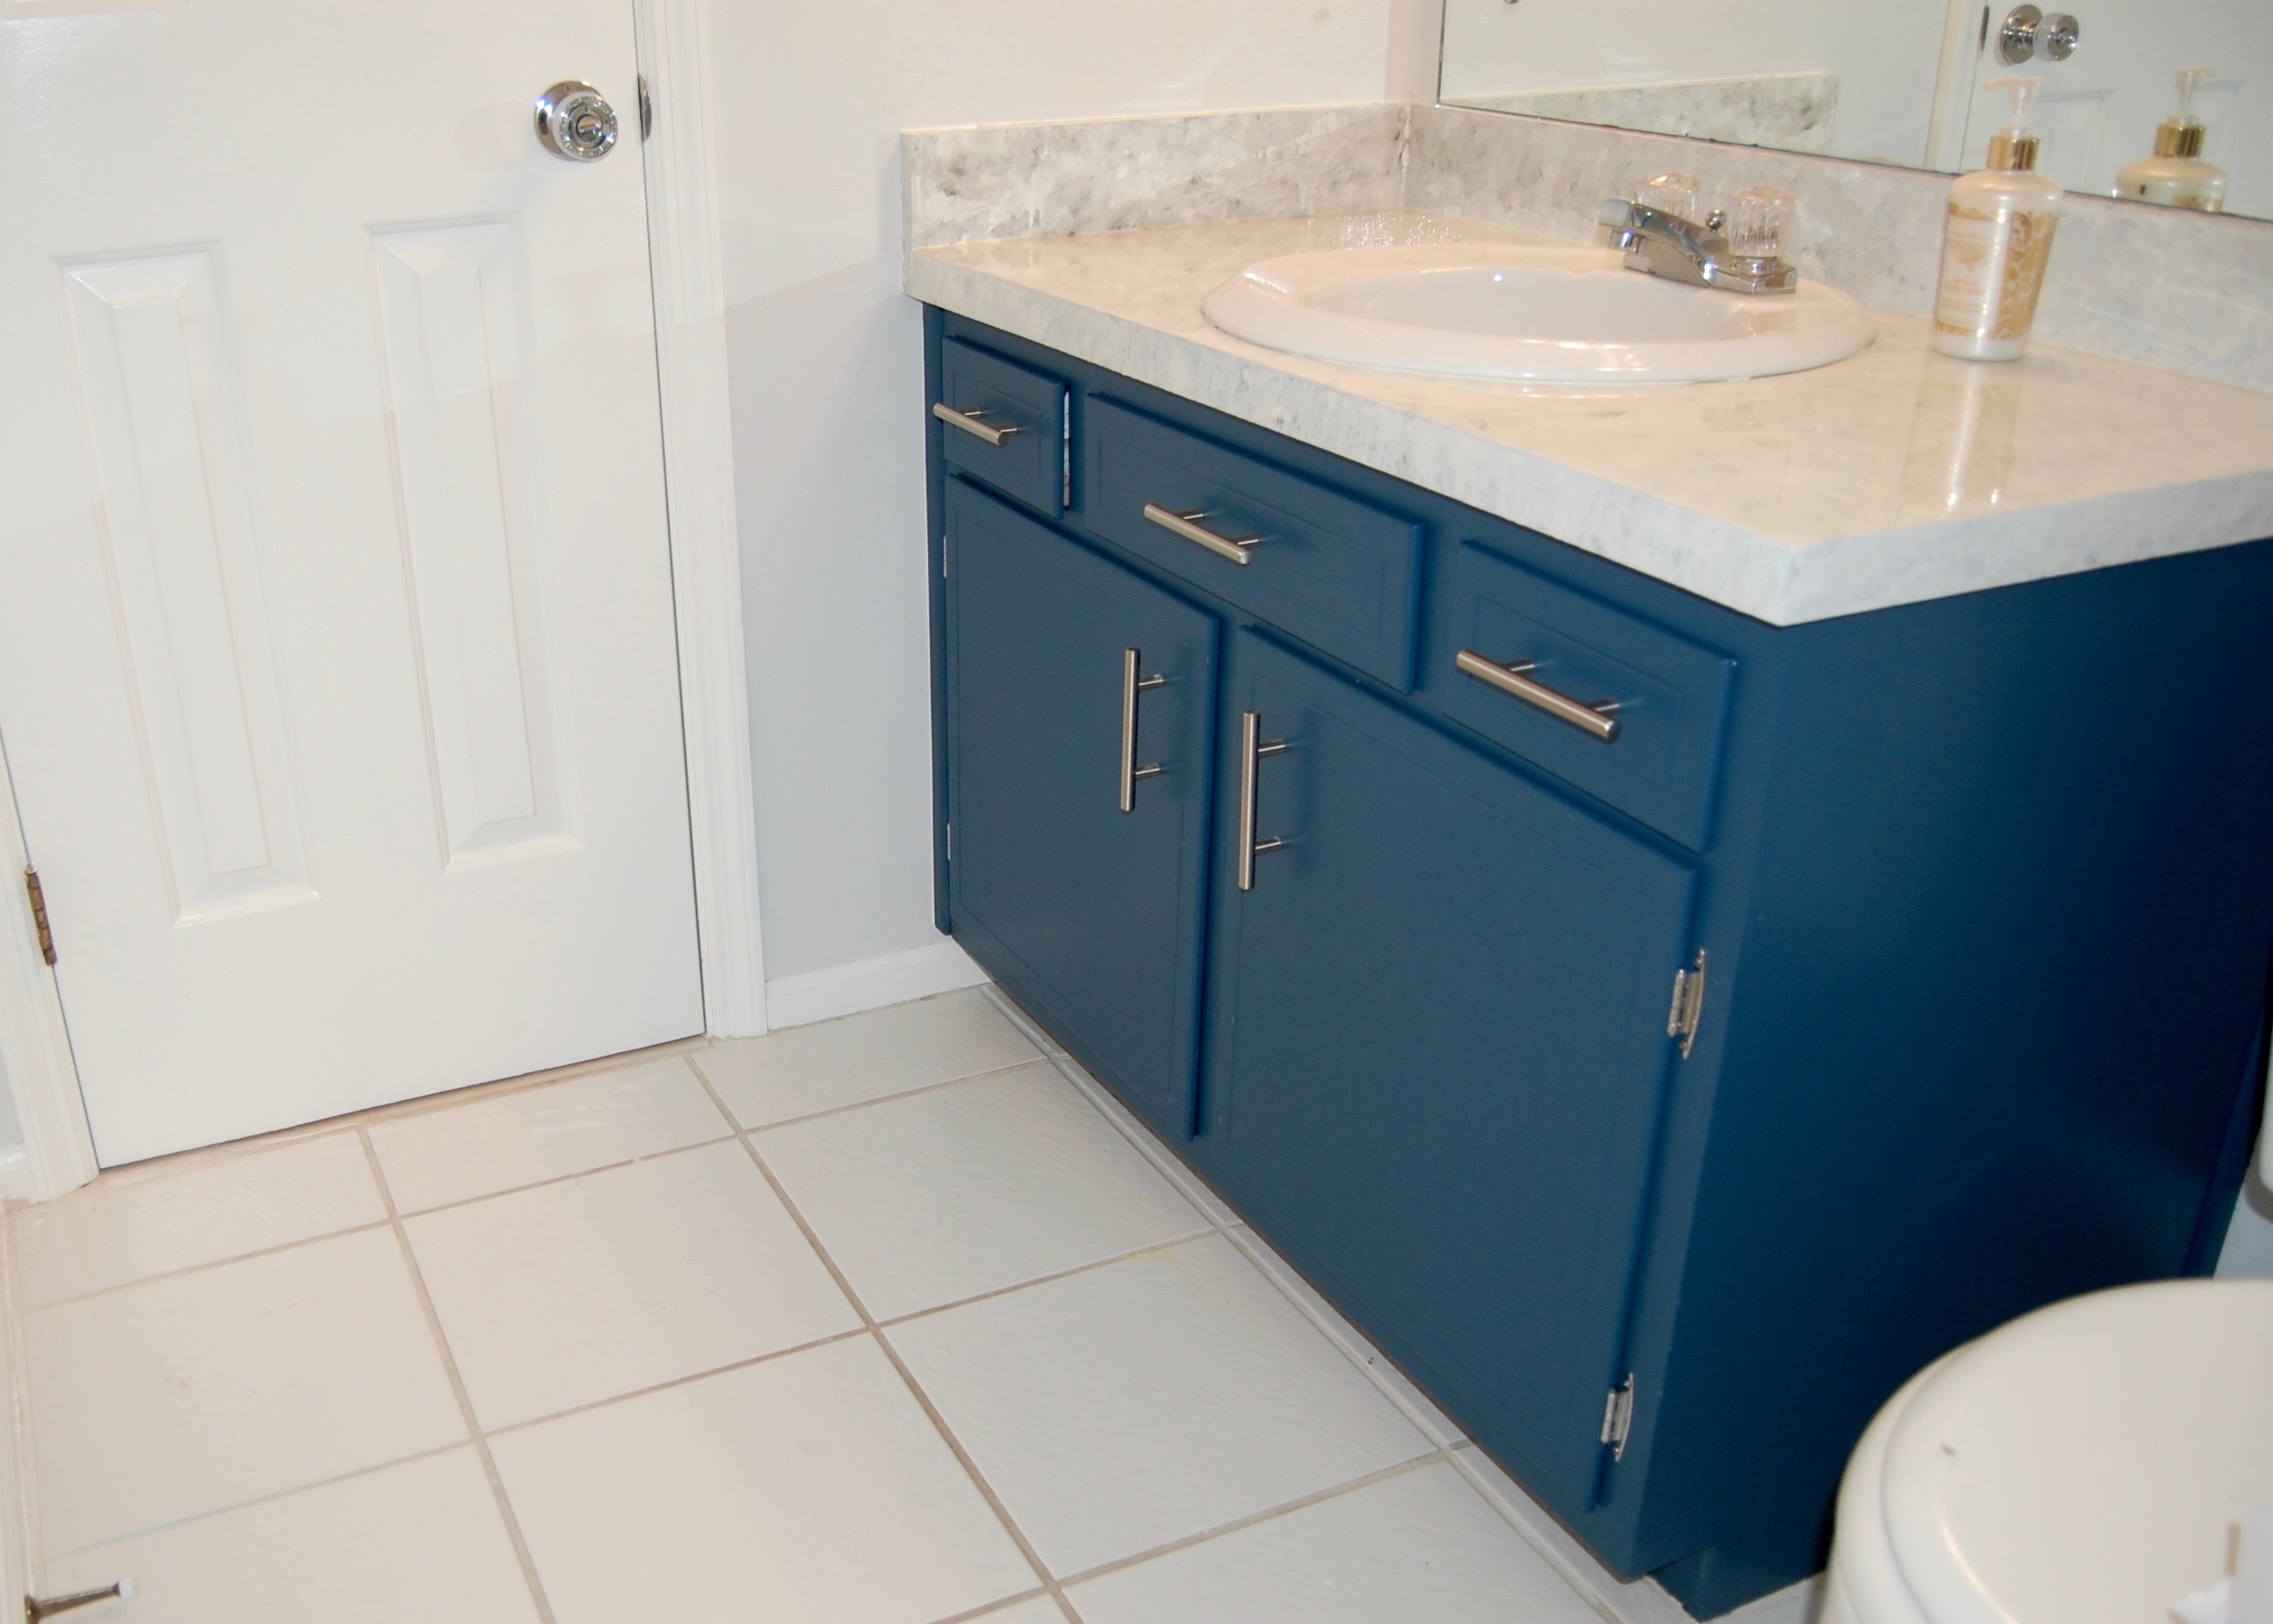
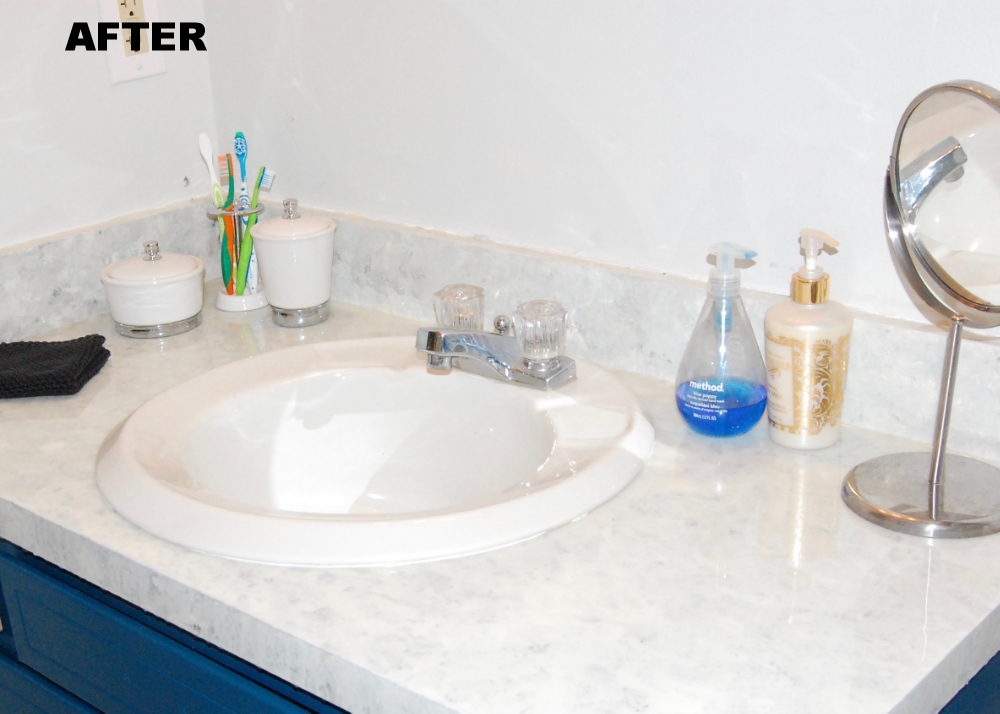
After: Clean and Bright
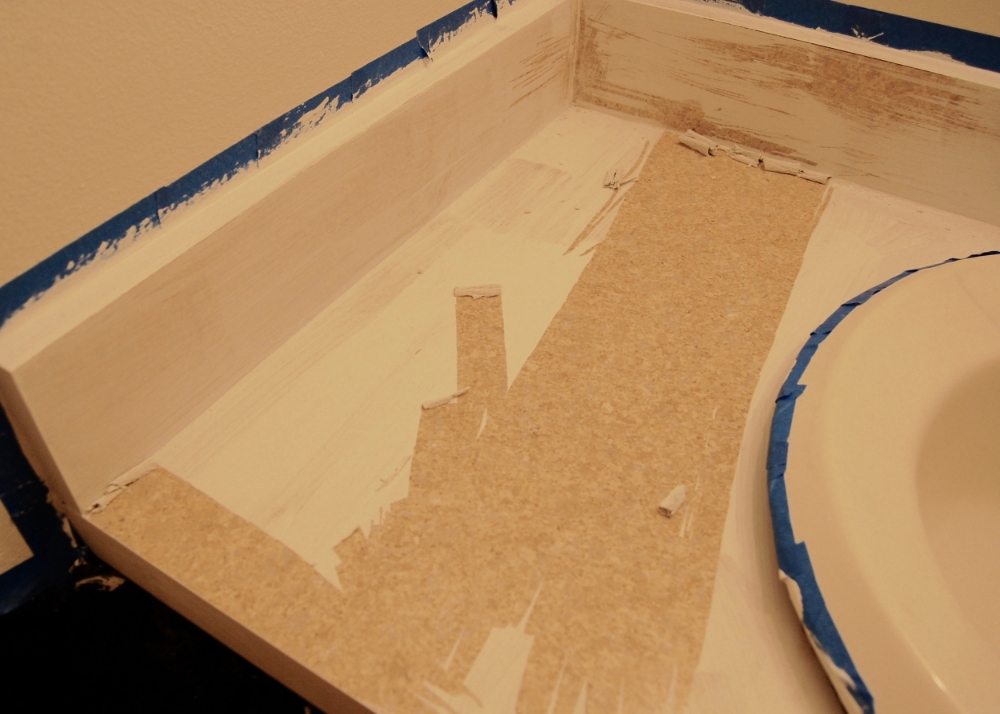
First we pulled up the water damaged floor of the cabinet, and discovered that the AC duct simply let out under the cabinet. The air wasn’t shunted toward the vent at the front of the cabinet at all. The floor of the cabinet also had VERY little support from underneath. Firebeard fixed both of those problems by installing floor supports on either side of the open duct and vent, reducing the space that the air could fan out.

Removing the floor of the cabinet
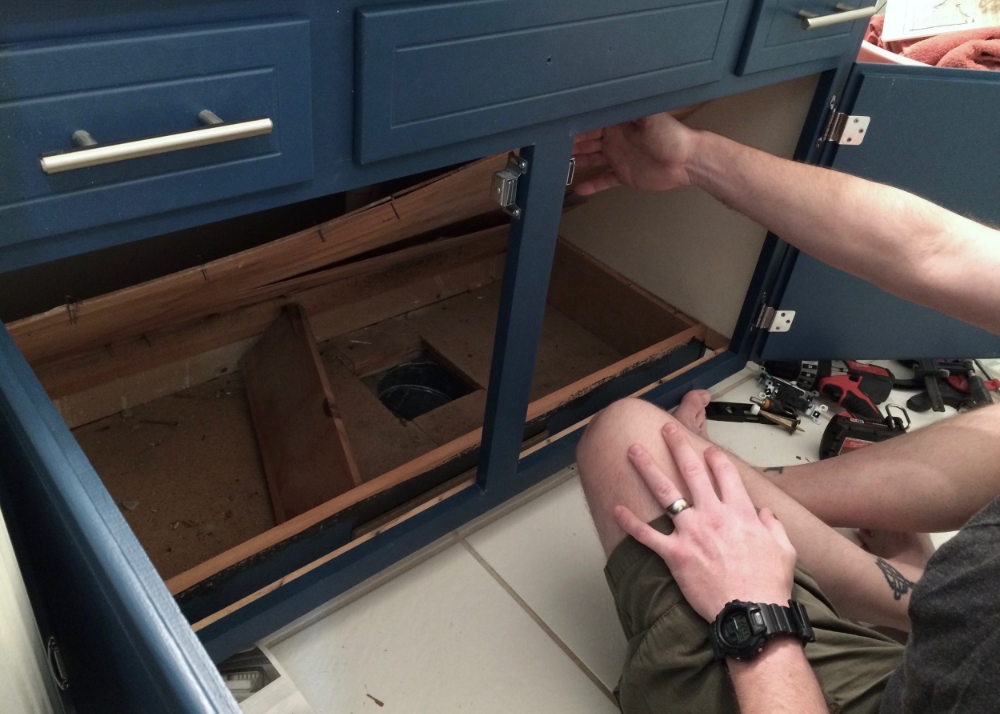
Discovering the open duct and lack of floor support
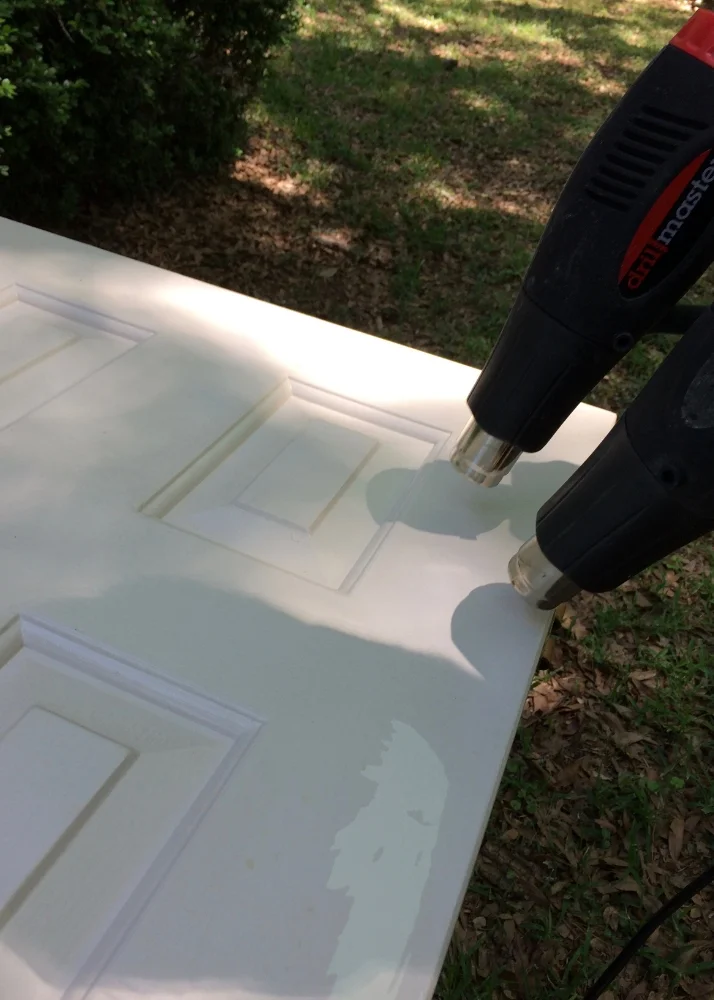
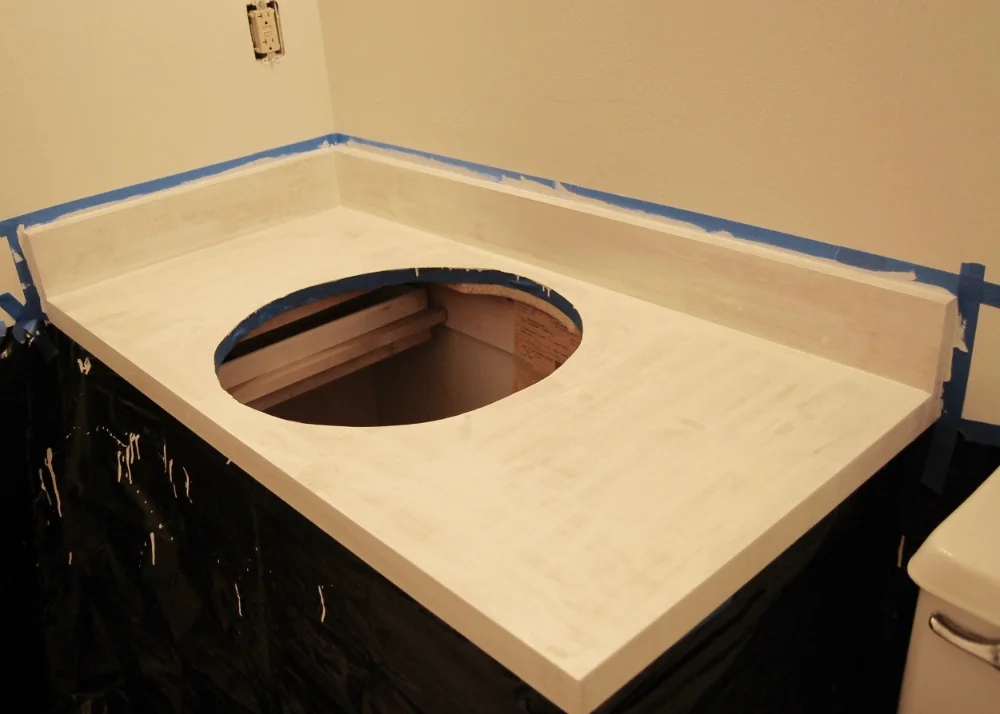
We decided to replace the very thin floor with slightly thicker plywood, but that gave us another problem. The new thicker flooring didn’t bend. We had to cut it into 3 pieces to fit it into the cabinet. Fortunately we had already planned to cover up the plywood flooring with vinyl, click together “wood” flooring that would protect from future minor water leaks better than wood alone. My parents had given us some or their left over vinyl flooring so this part was free. Since the new plywood floor and vinyl flooring was thicker than the previous flooring the cabinet lip no longer covered it. We installed some quarter round shoe molding to take up the additional space. We also painted the inside of the cabinet to freshen it up, and cover a few stains.

Installing the New Cabinet Floor

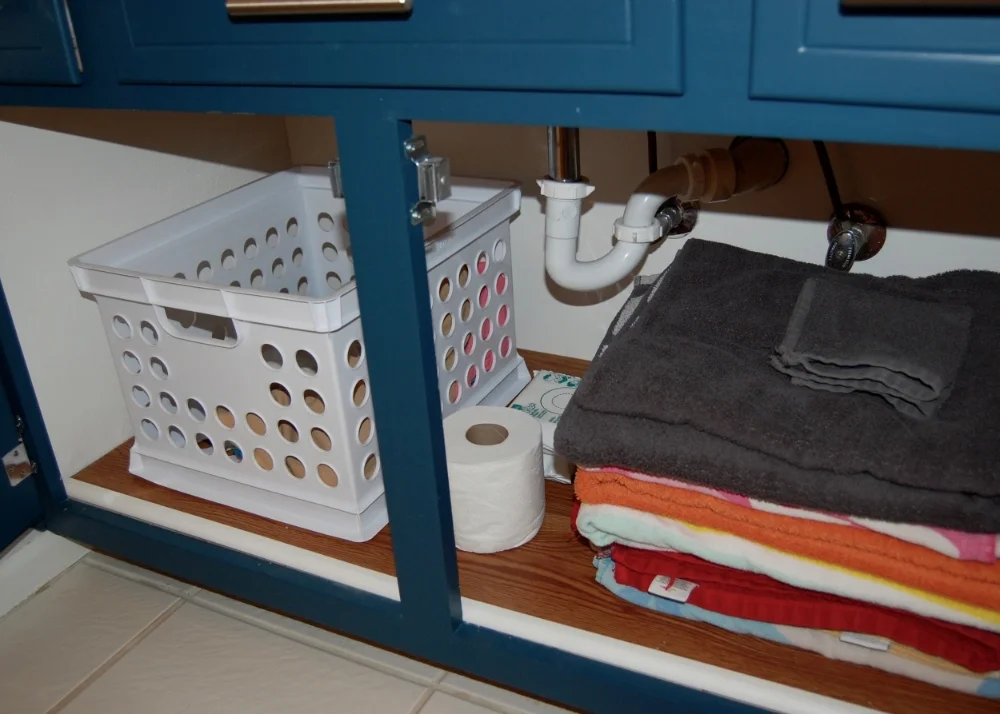
Since we don’t have a lot of floor space in this bathroom, I placed a small laundry basket inside the cabinet to collect clothes after bath time, and I still had enough room under the cabinet for extra towels and a few supplies. I will admit I had to get rid of a lot of older towels to make everything fit, but it was worth it. If you are looking for a place to donate your gently used towels, shelters (either human or animal) are often in need of them.
Stocked with Supplies