Worthwhile Tile Smile
/I watched the Simpsons movie for the first time the other day. It was ok. I’m not sure if it just hasn’t held up that well over time, or if it wasn’t especially funny to begin with. I think my favorite part was probably Homer “fixing” a sink hole in the yard by sticking baby Maggie in it, and the fact that “fix sinkhole” was on Homer’s to do list in the first place. I will try not to spoil a nine year old movie, but suffice it to say that sticking the baby in the sinkhole did not fix it, and because The Simpsons is a cartoon where everything works out in the end, the expanding sinkhole actually benefited the Simpson family, rather than hurting it like it would in real life. Oh, if only neglecting maintenance, and a lack of foresight/follow through were as advantageous in real life as they are in the movies.

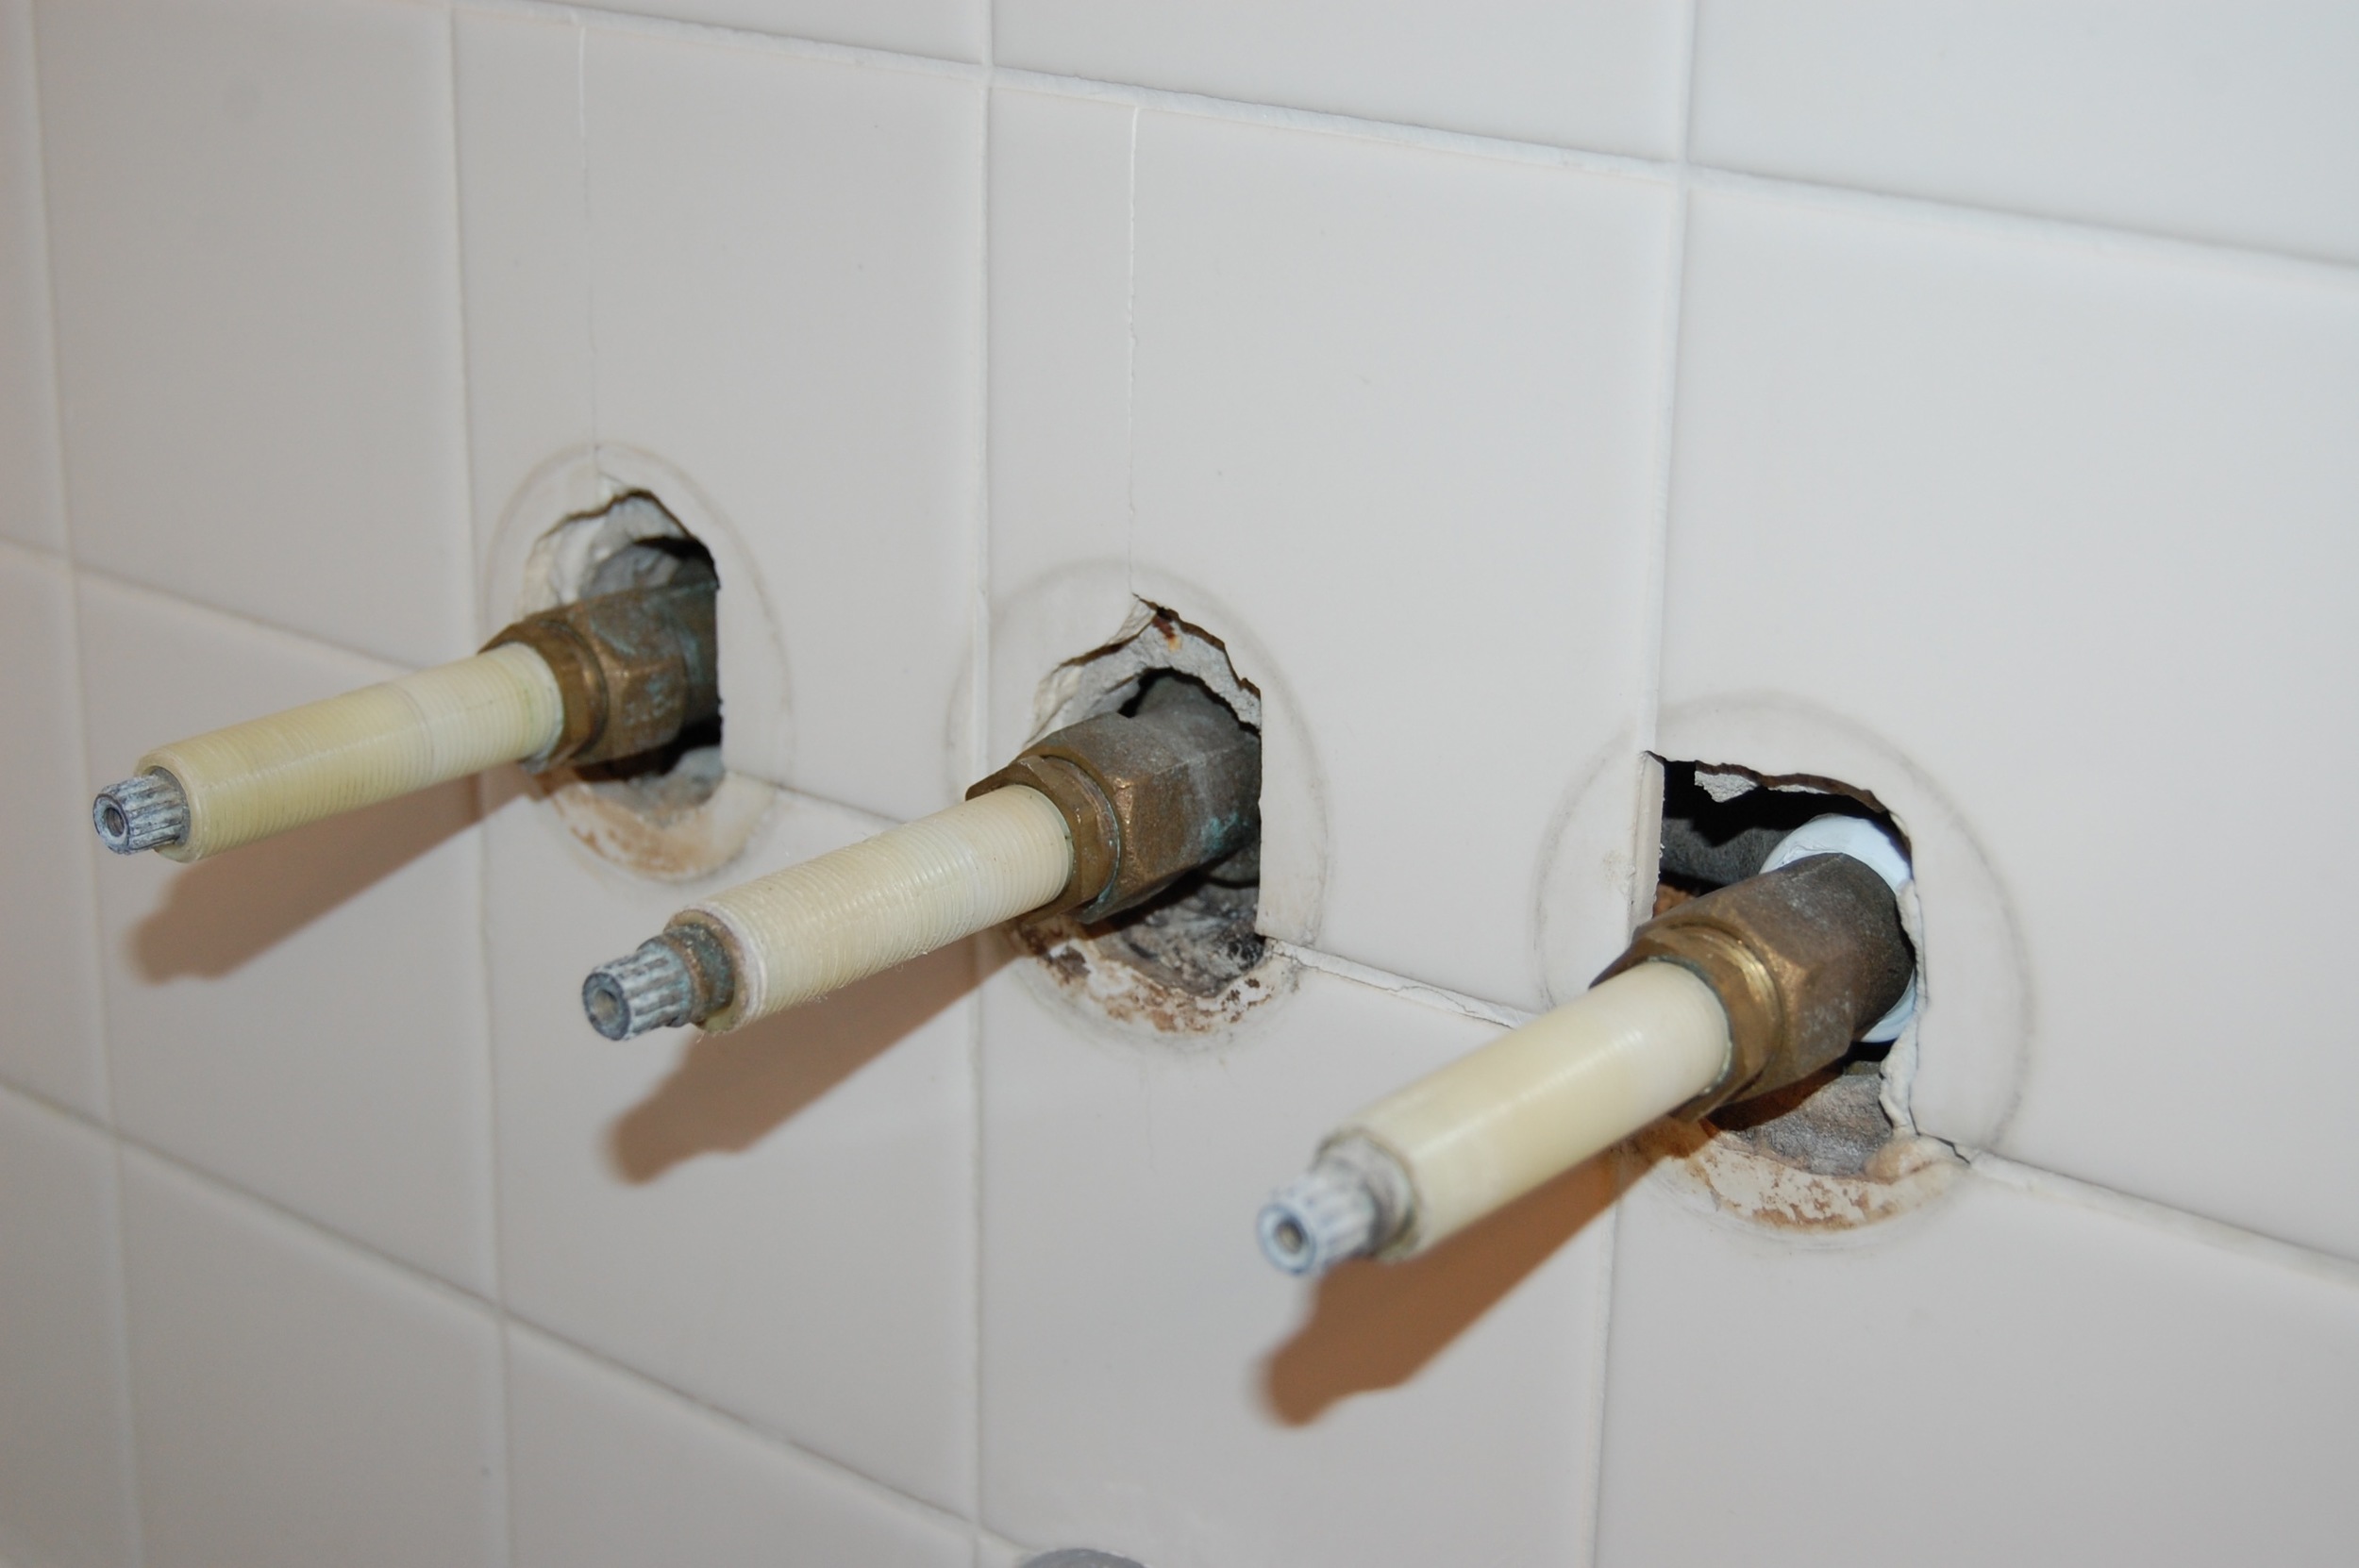
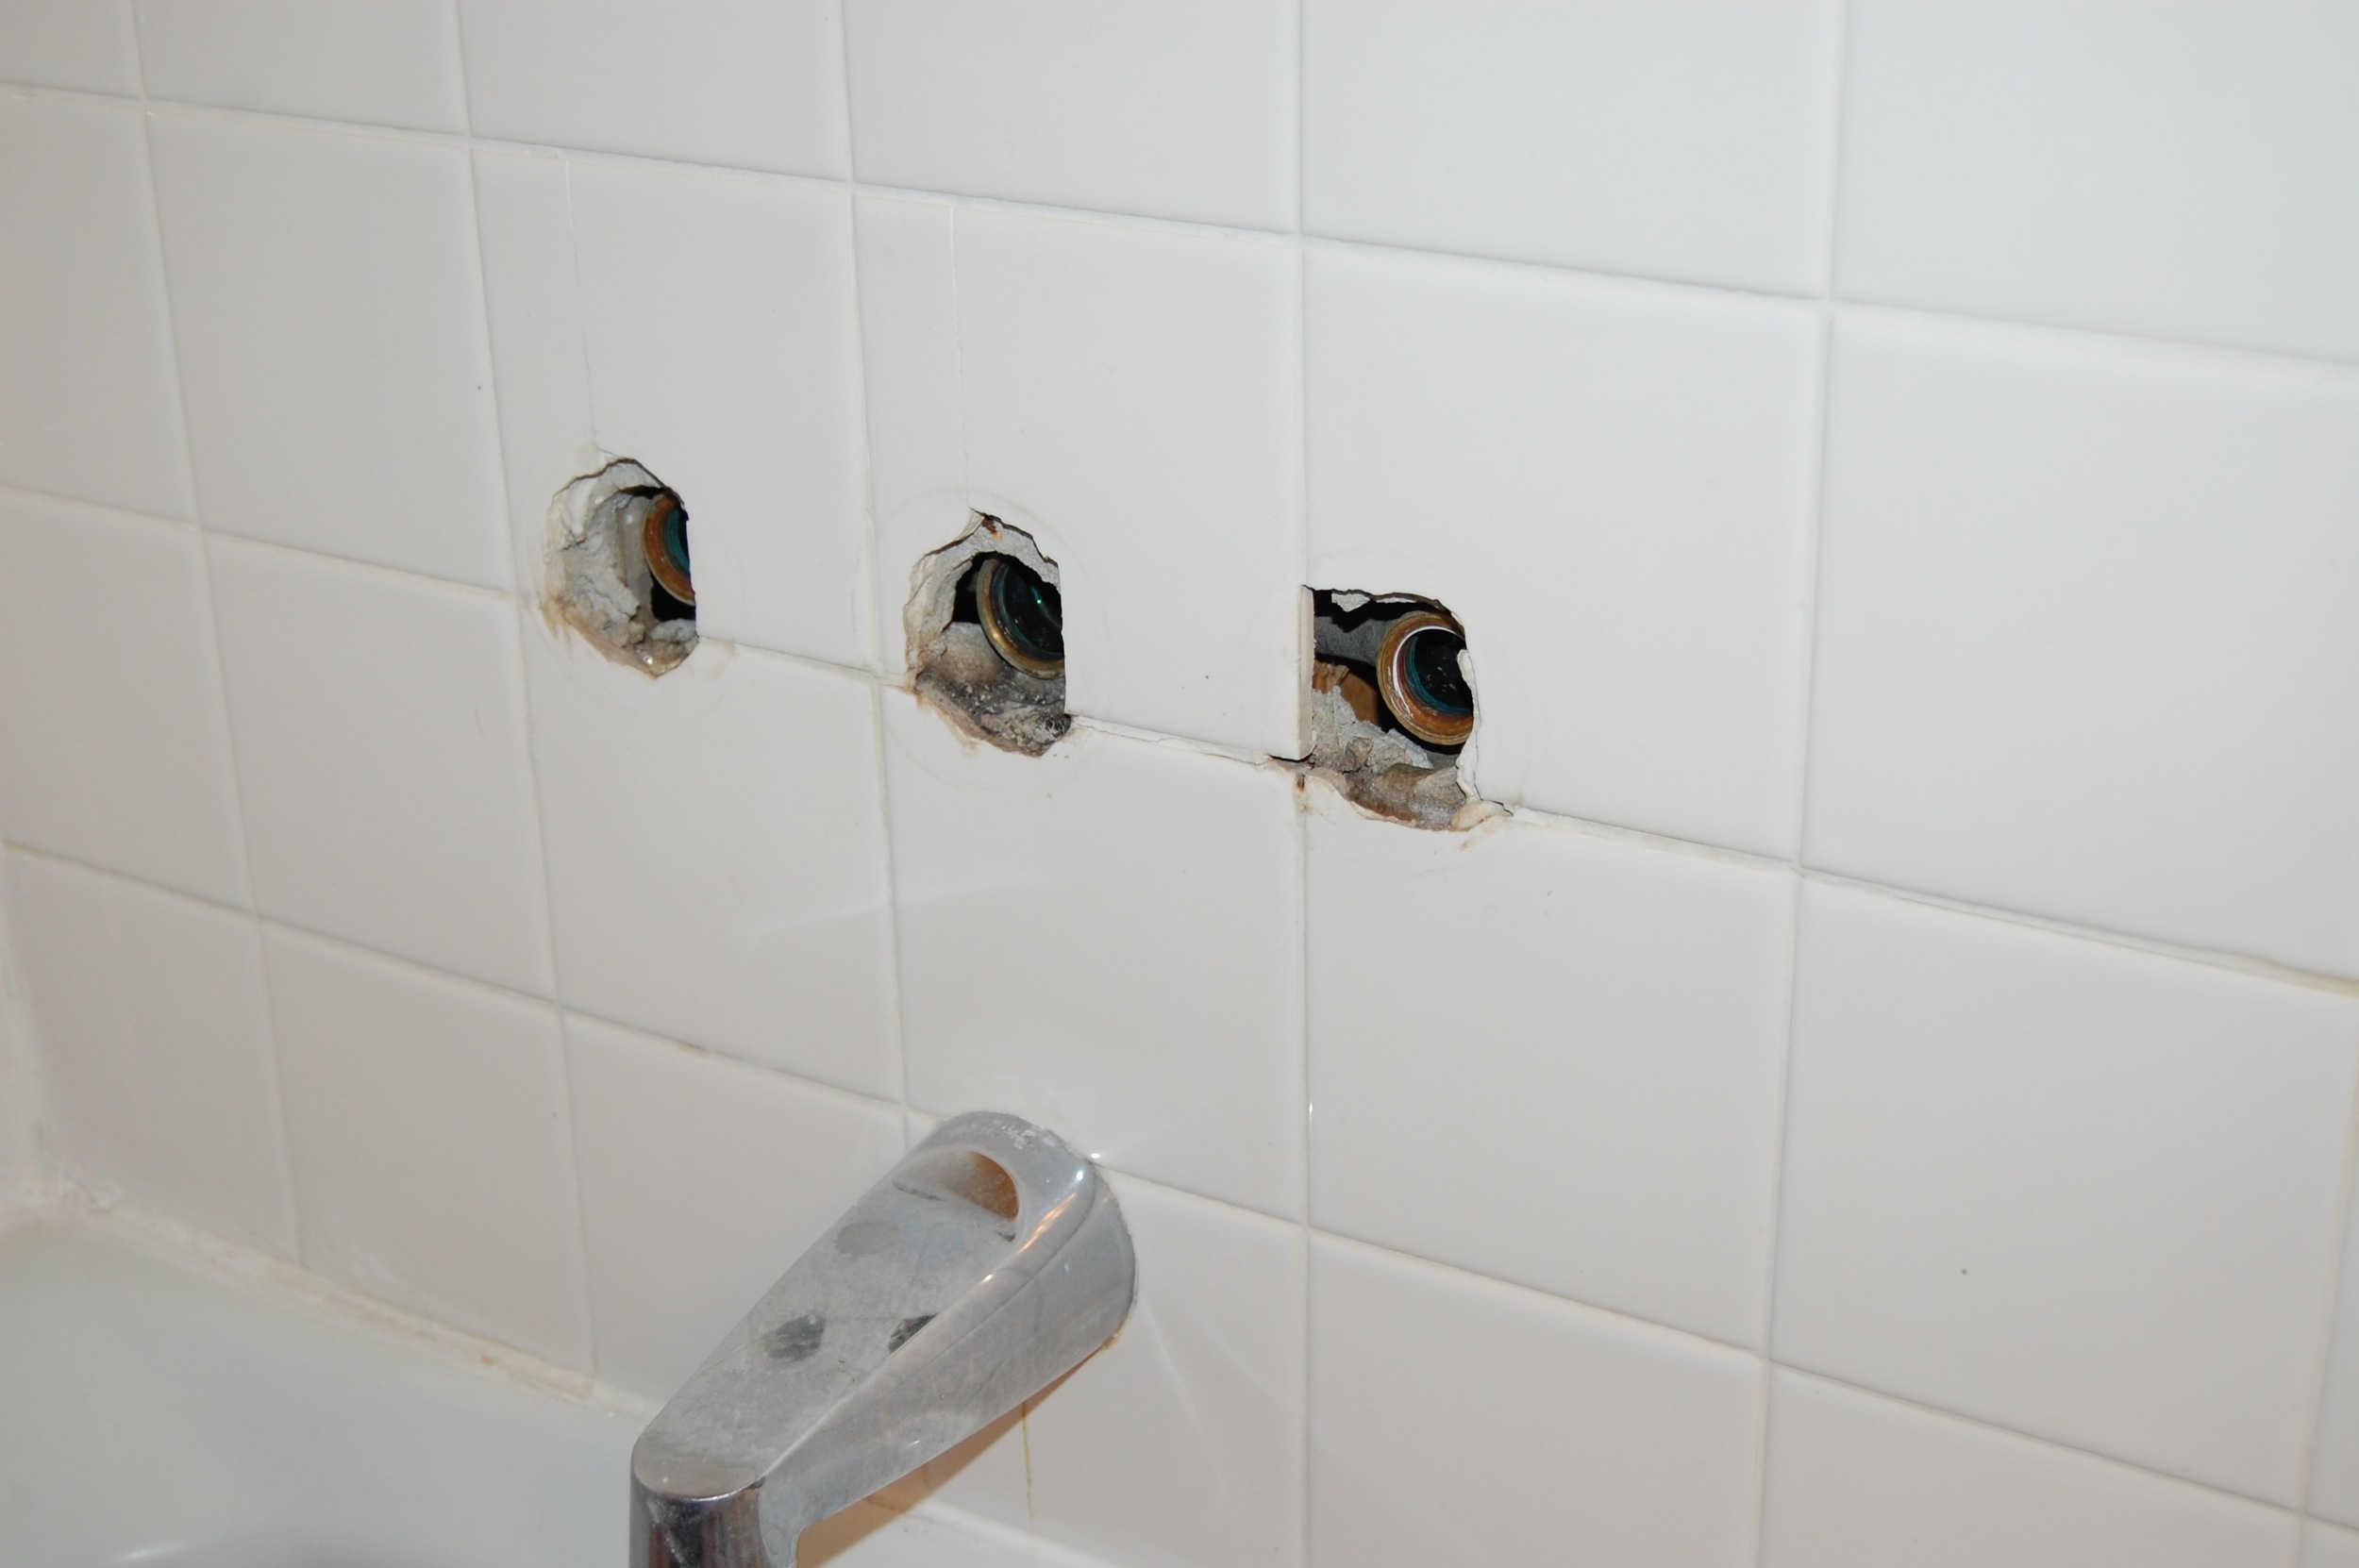
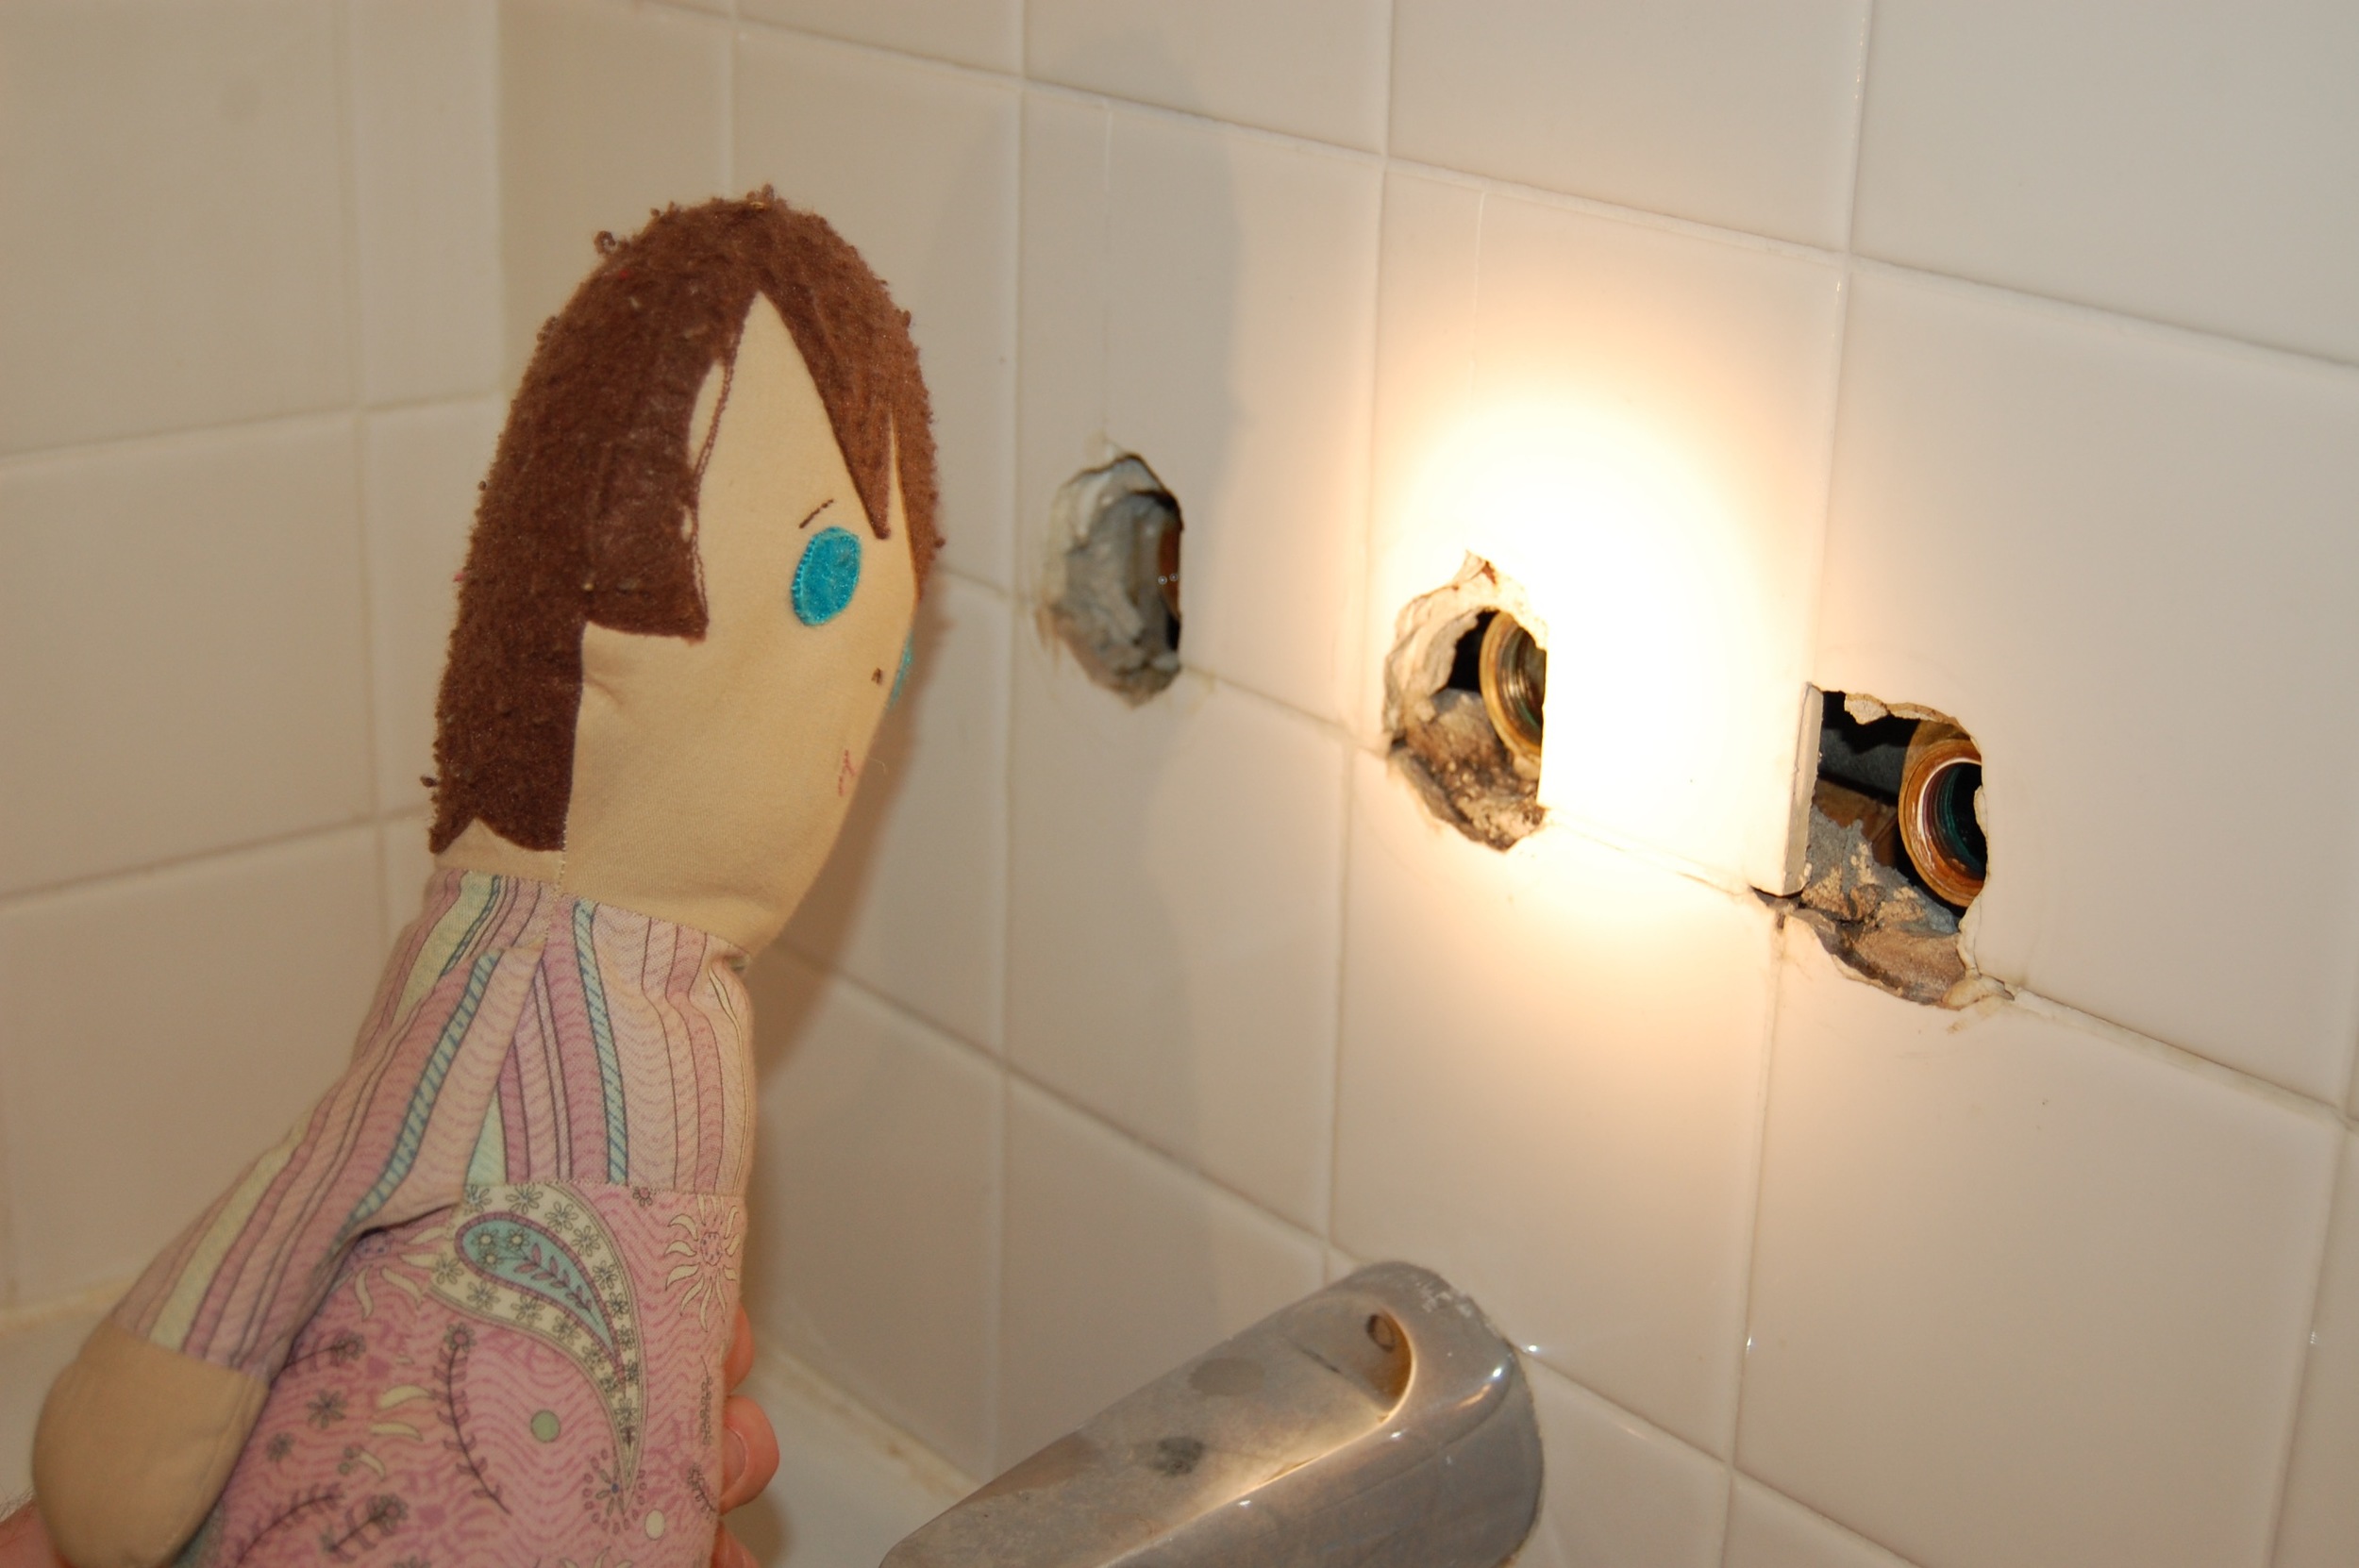
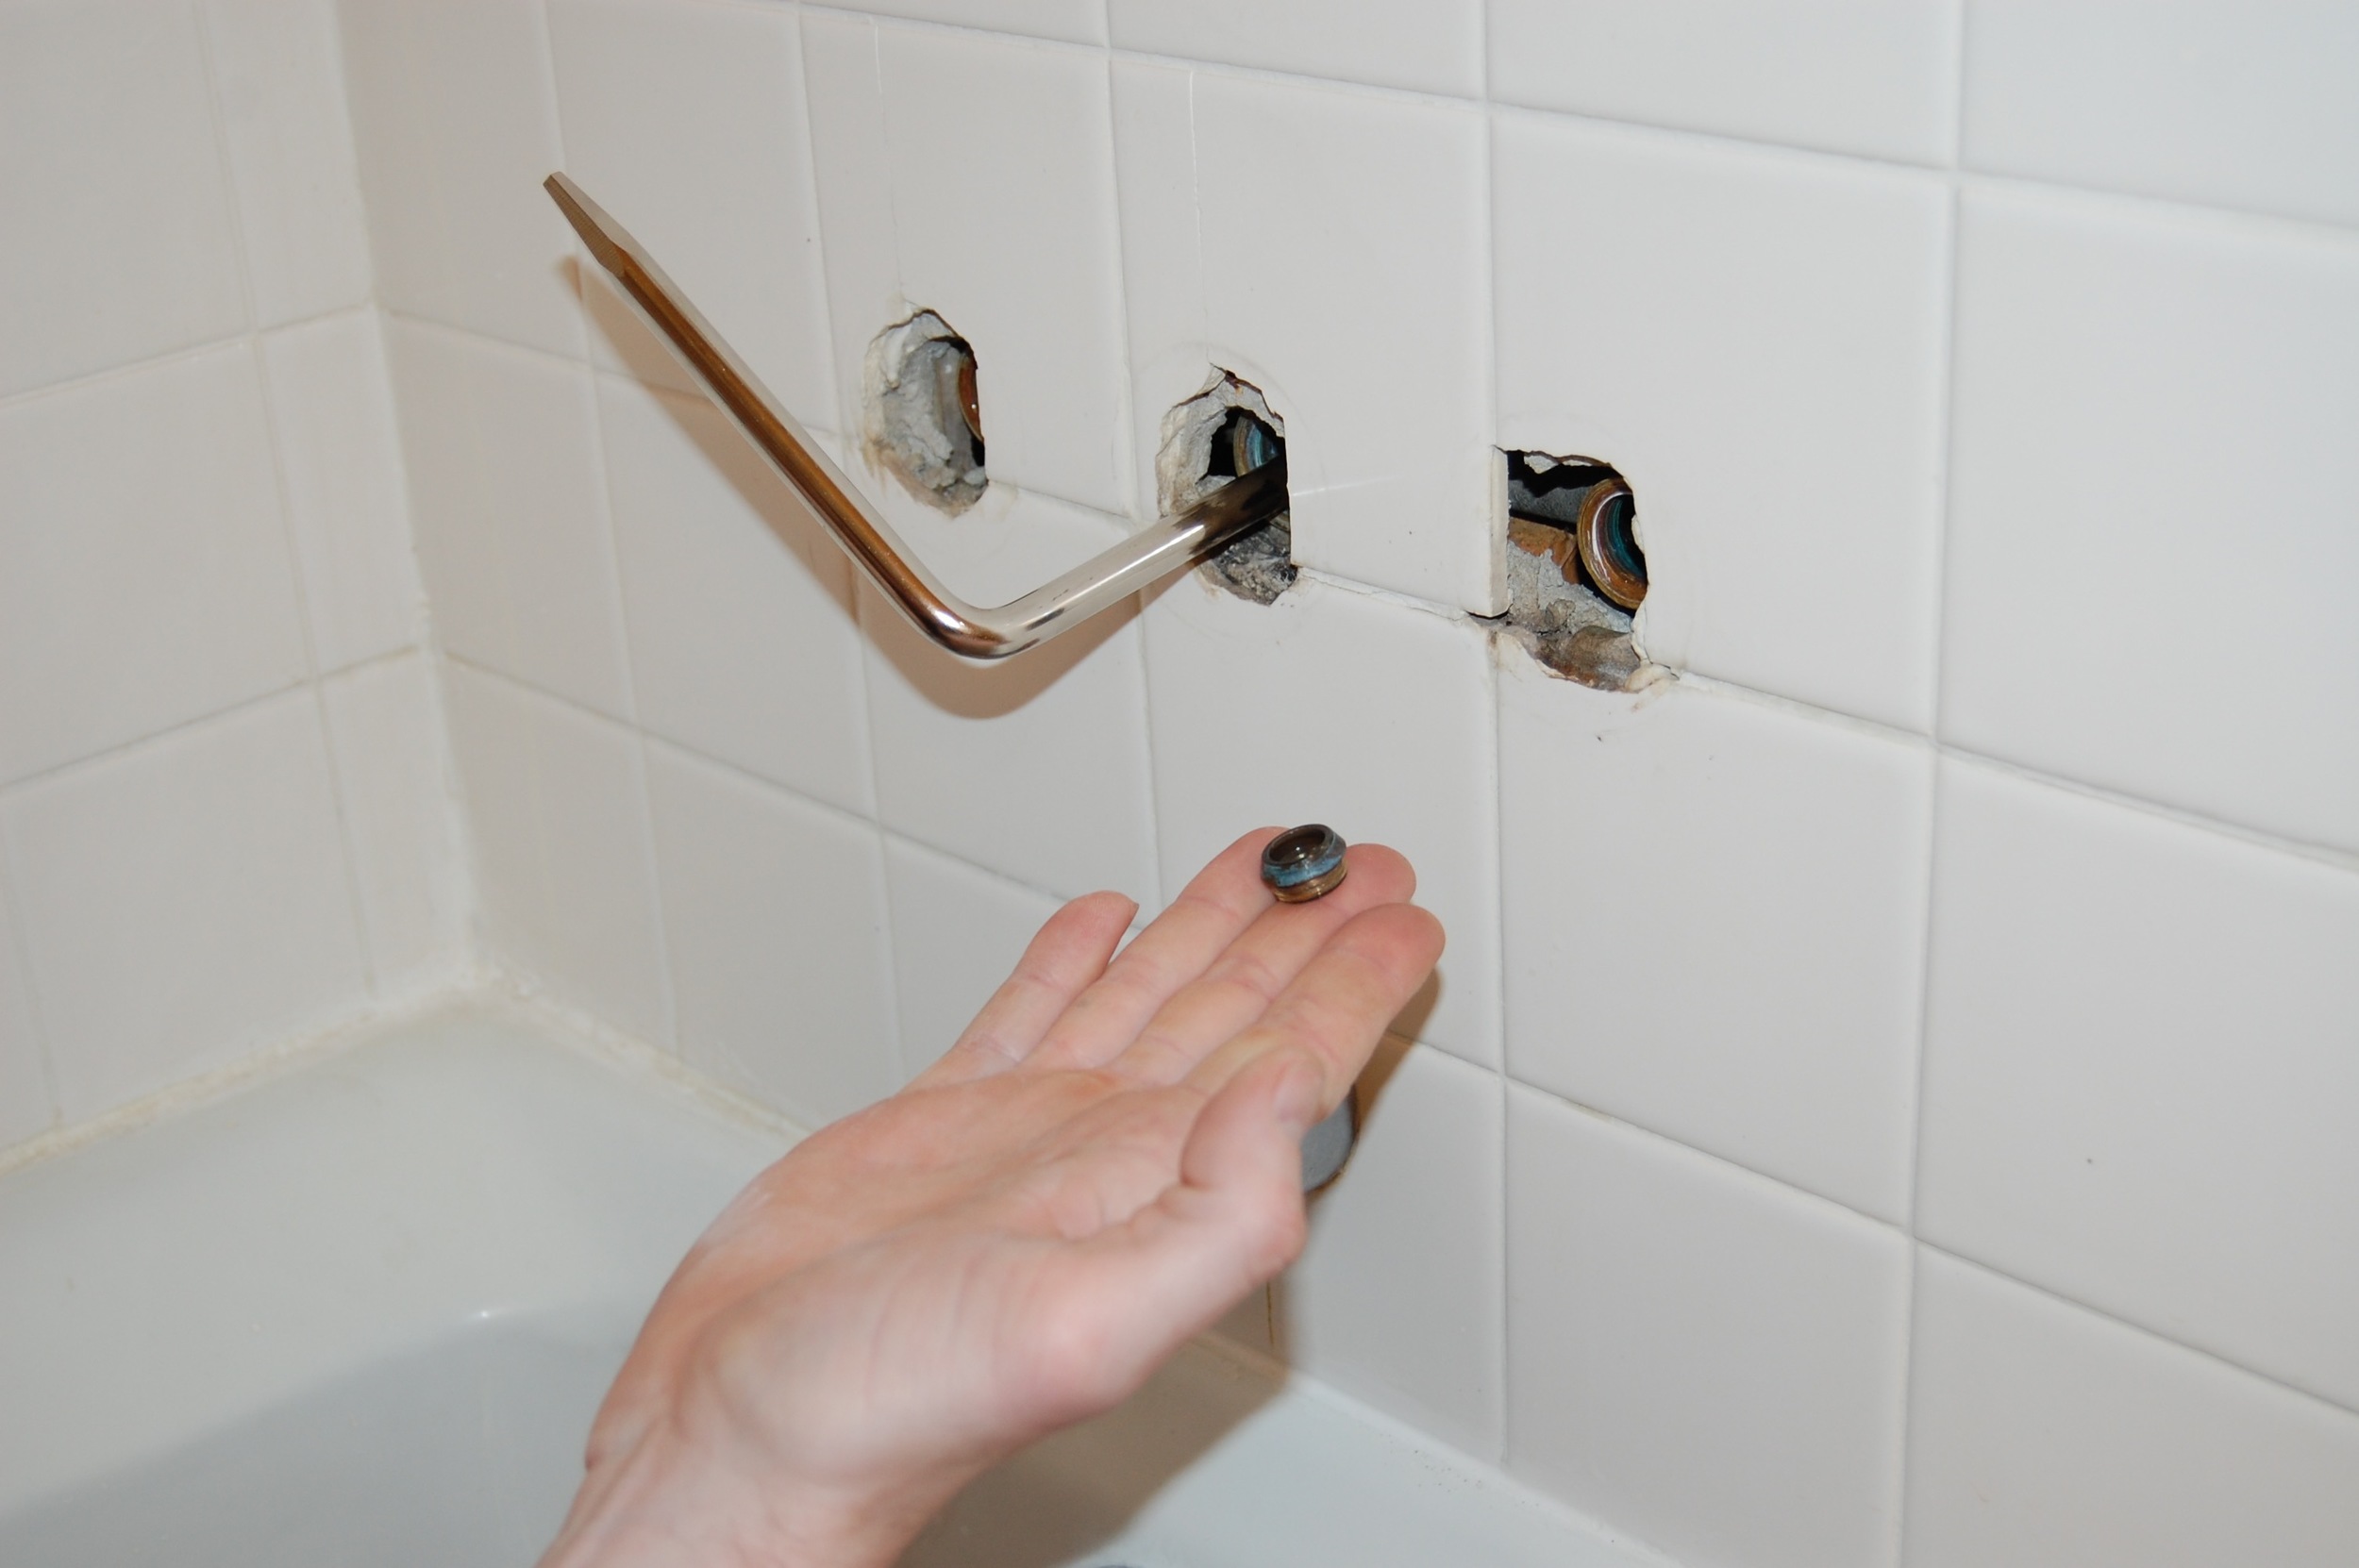
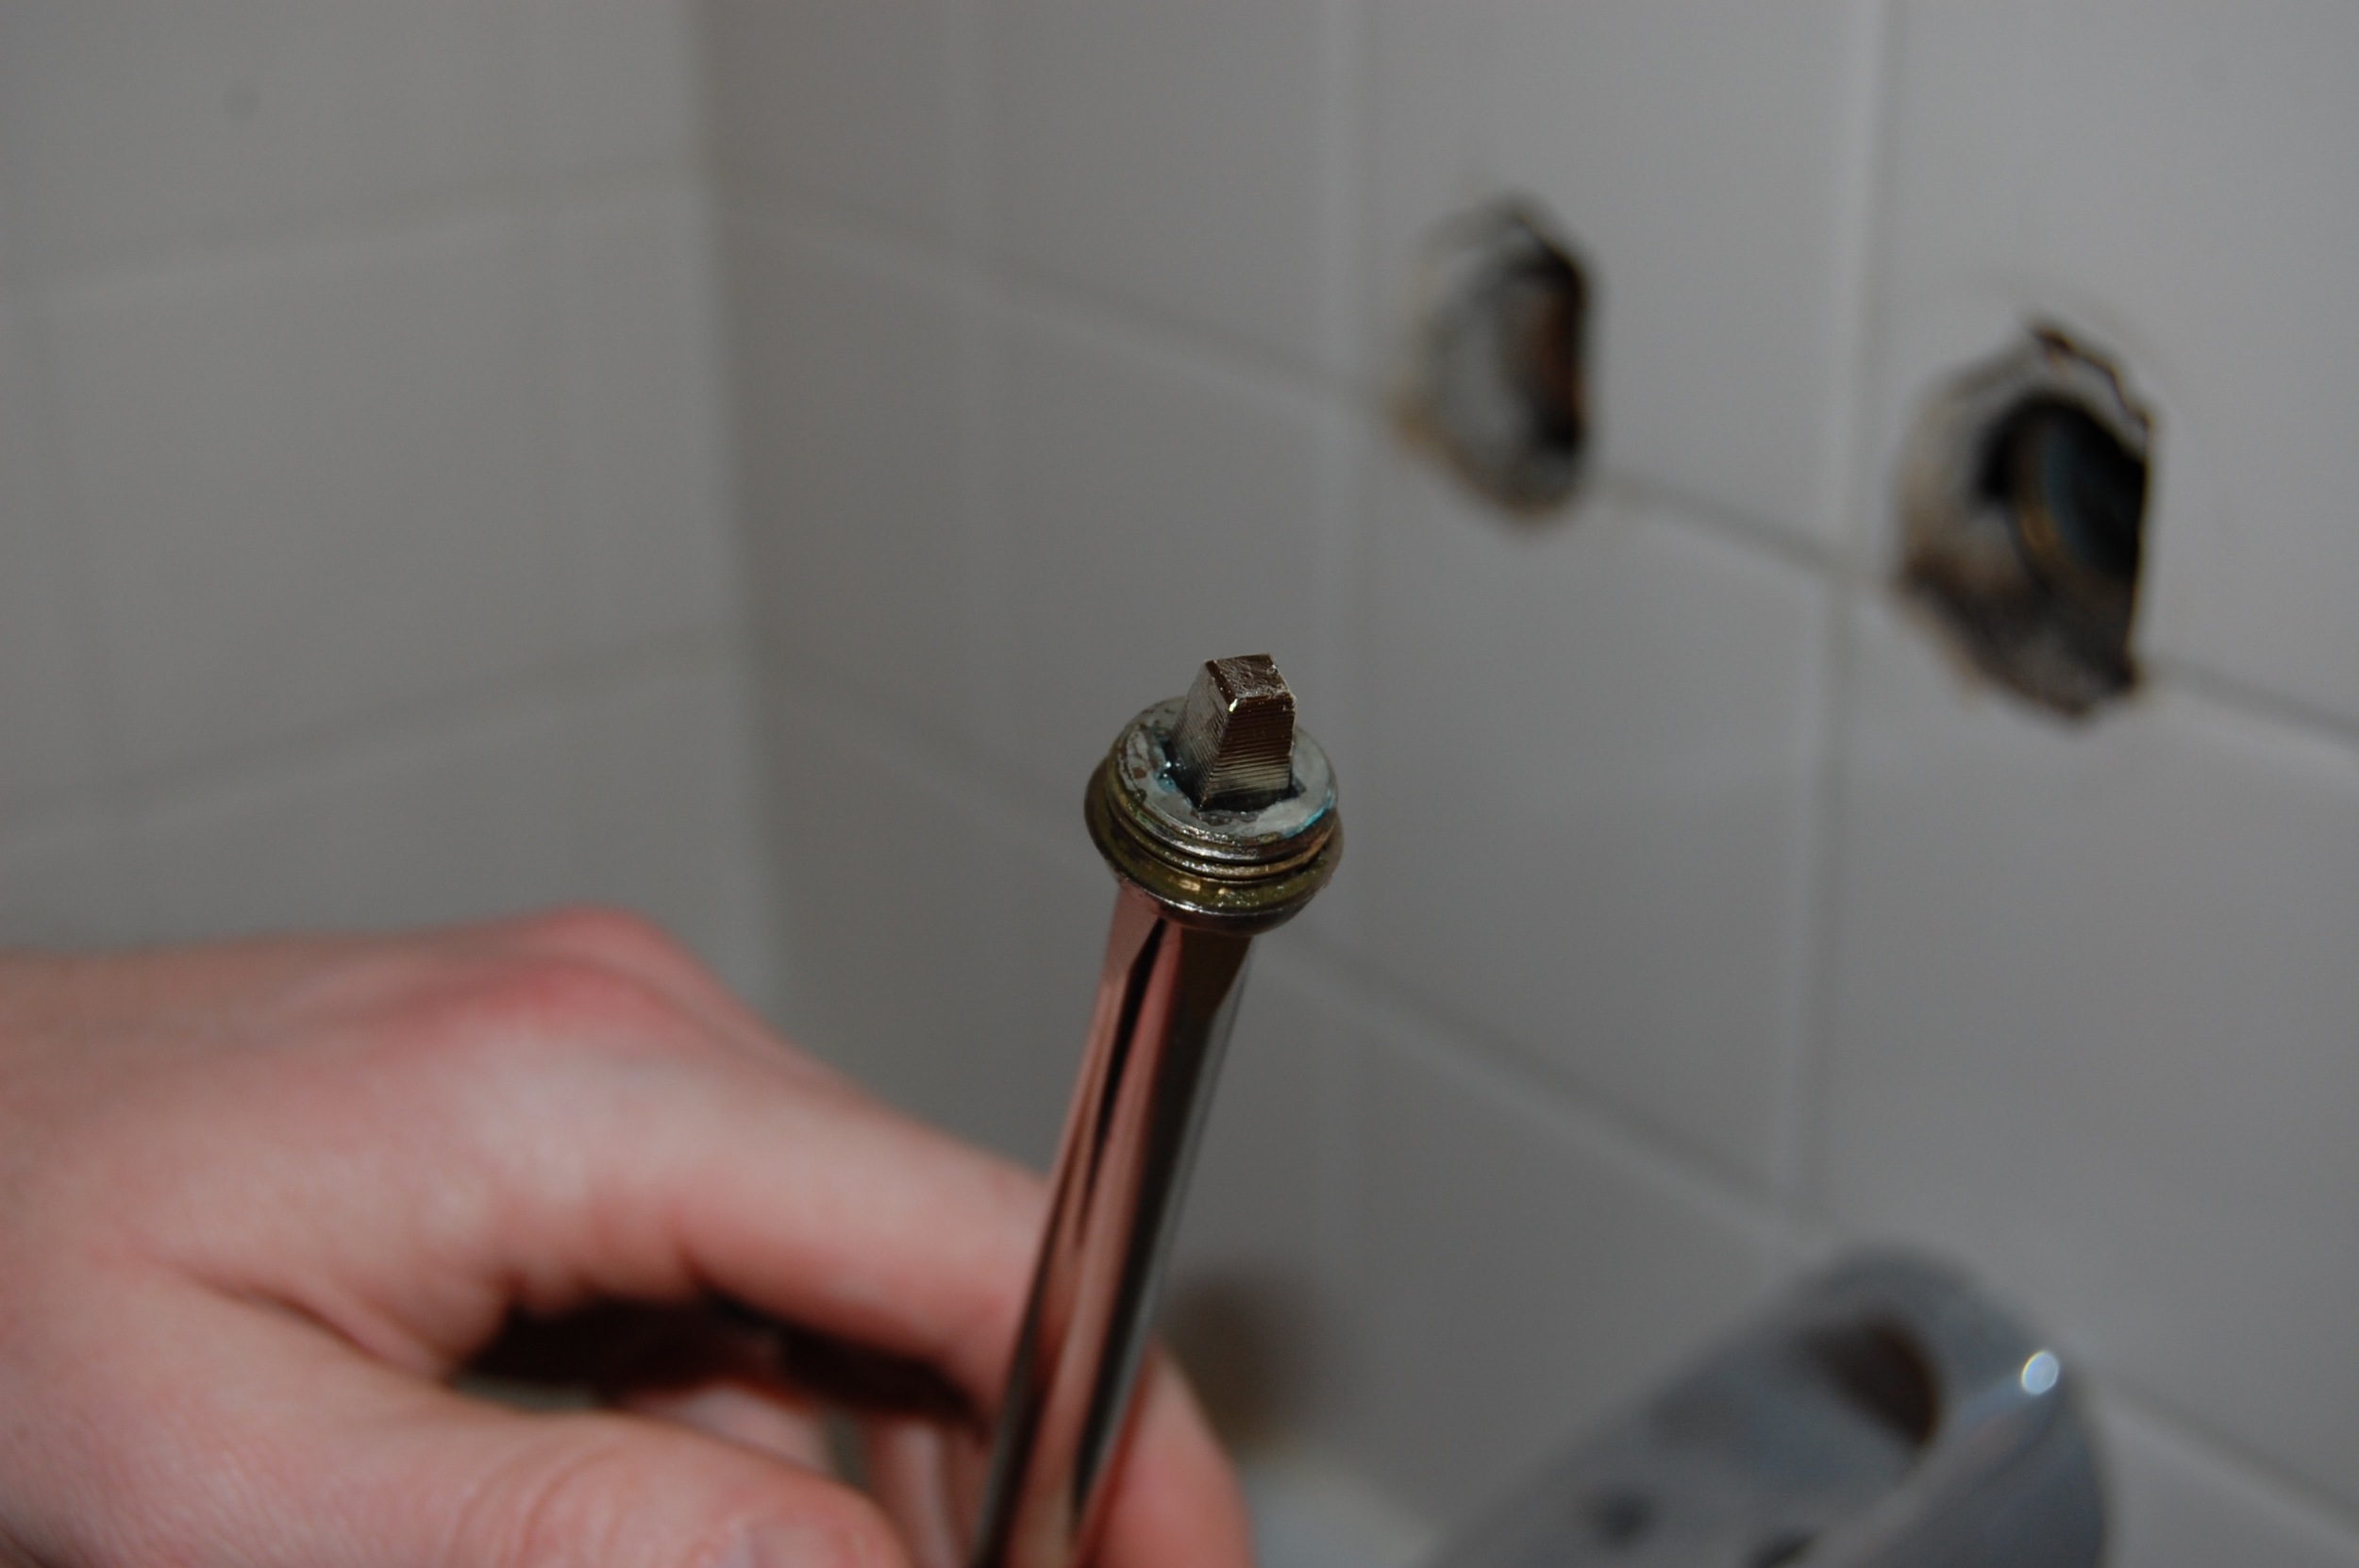
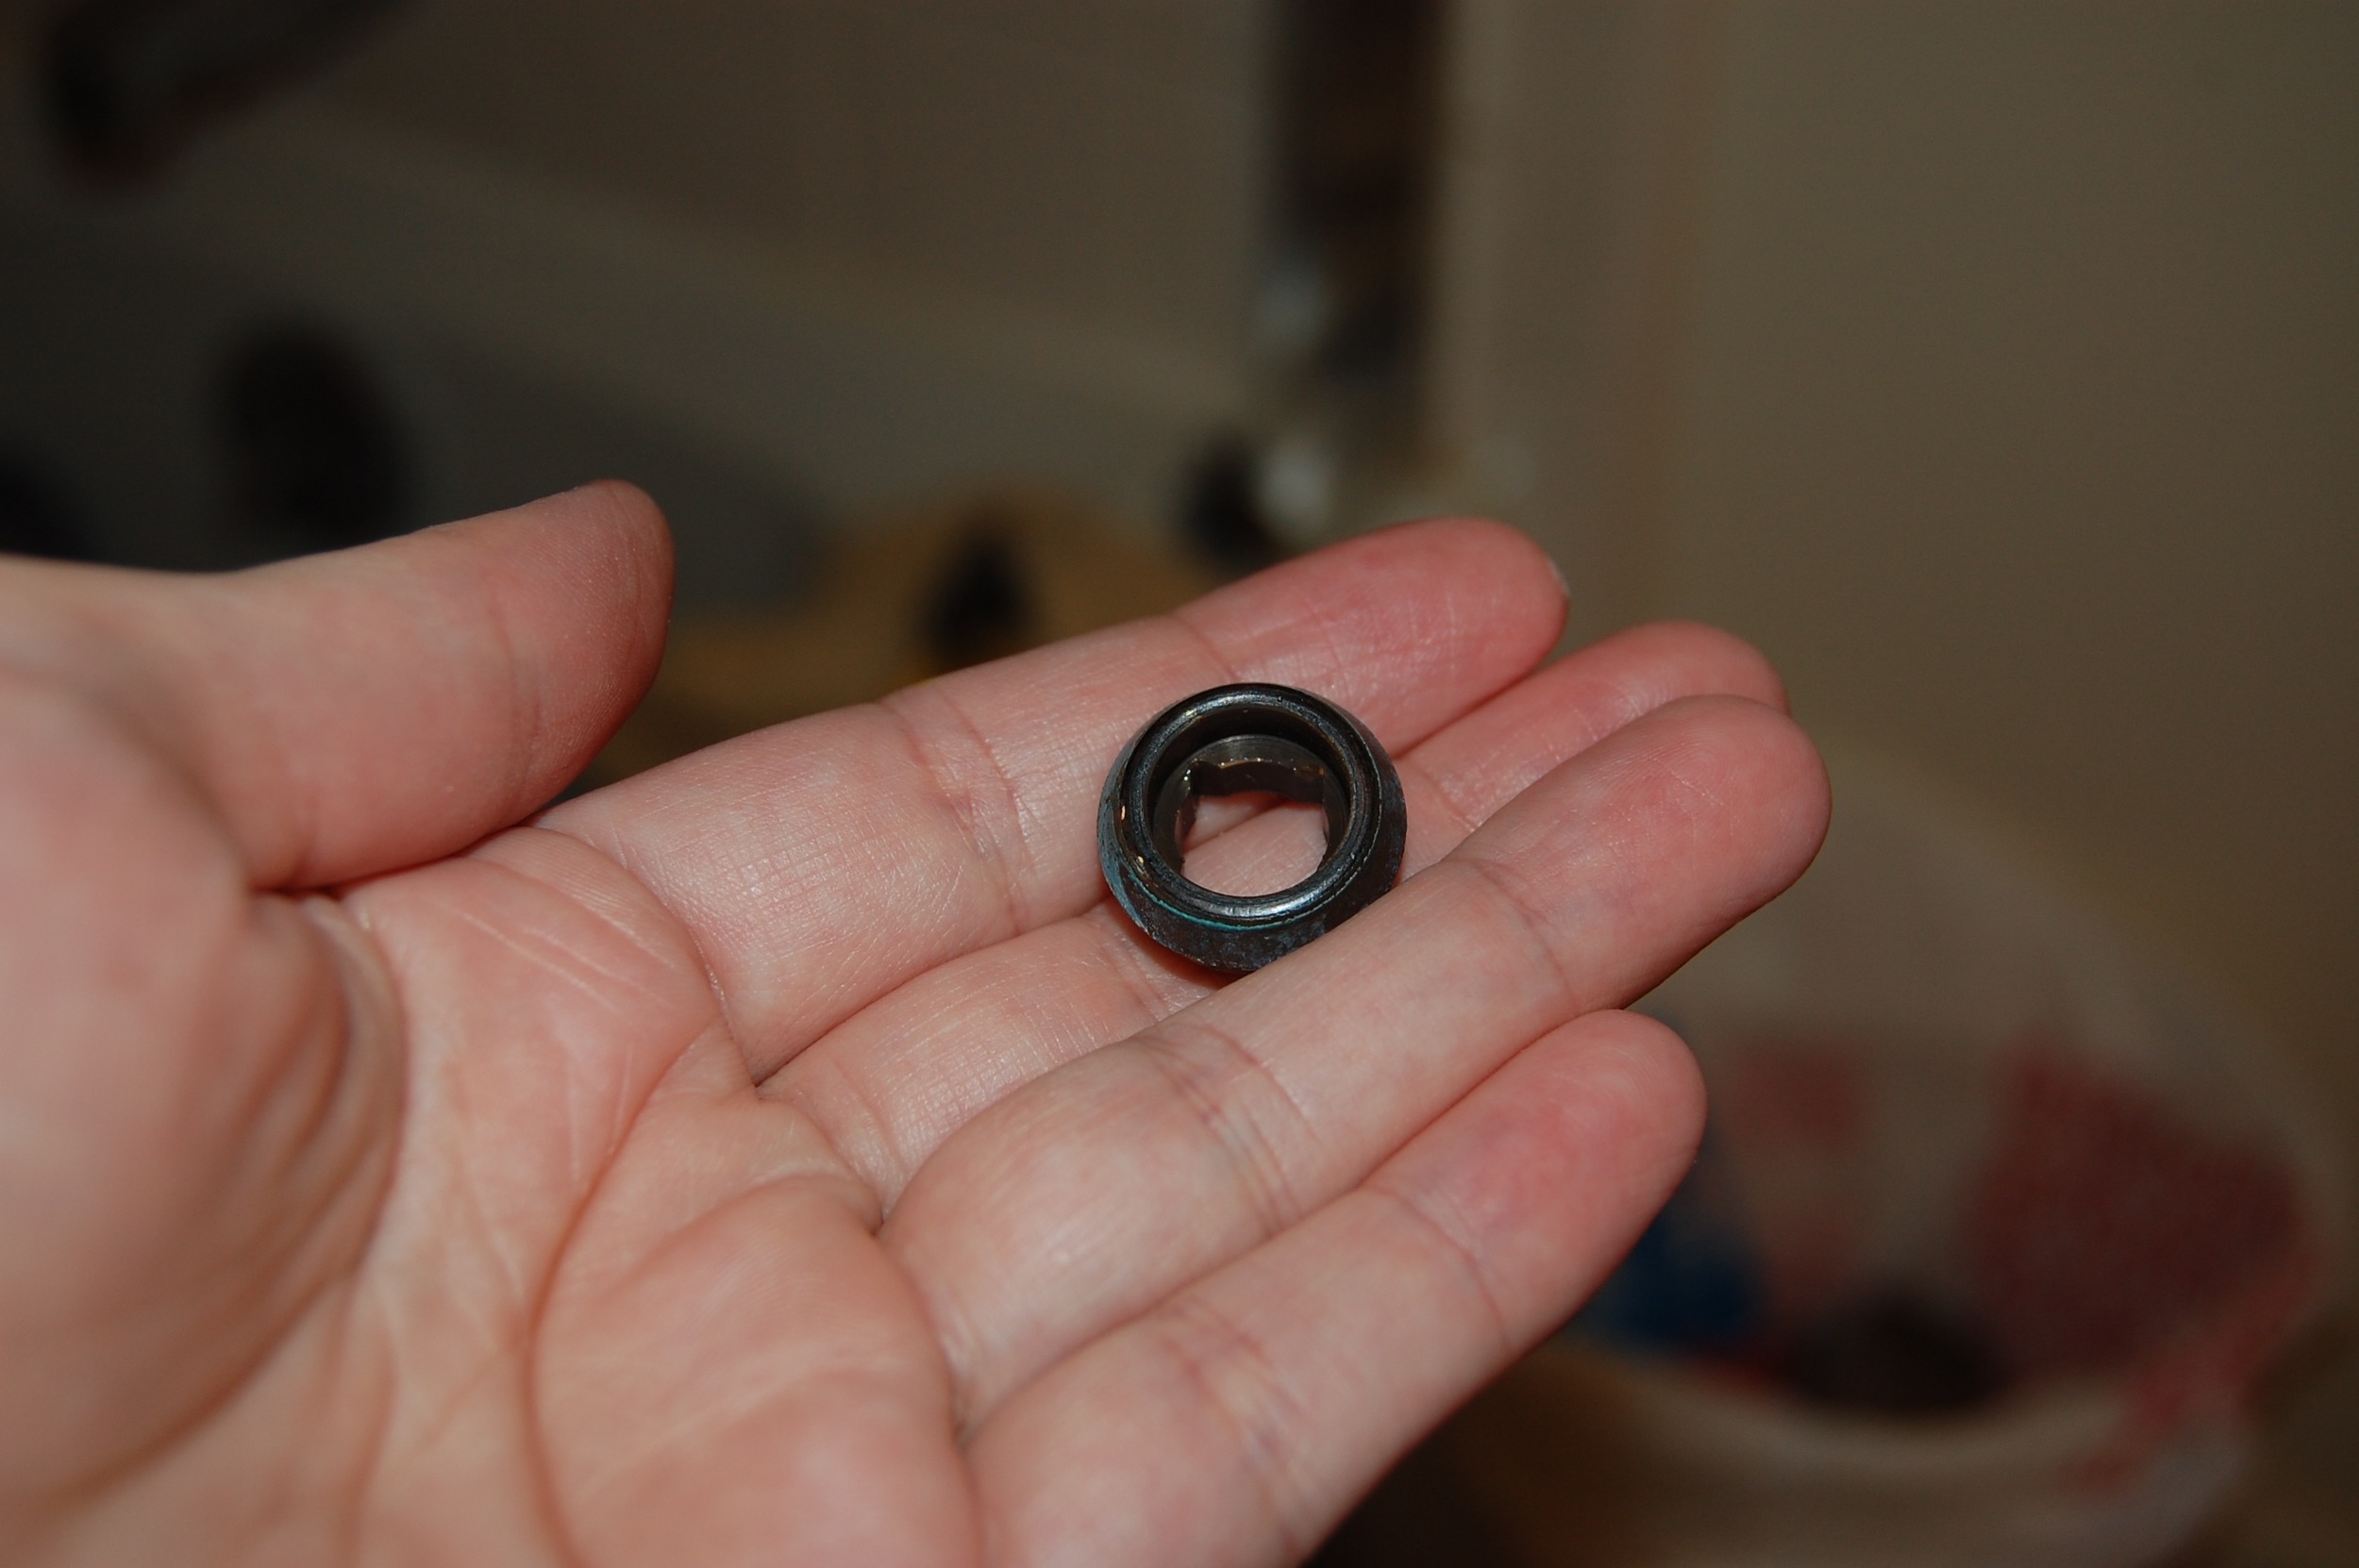
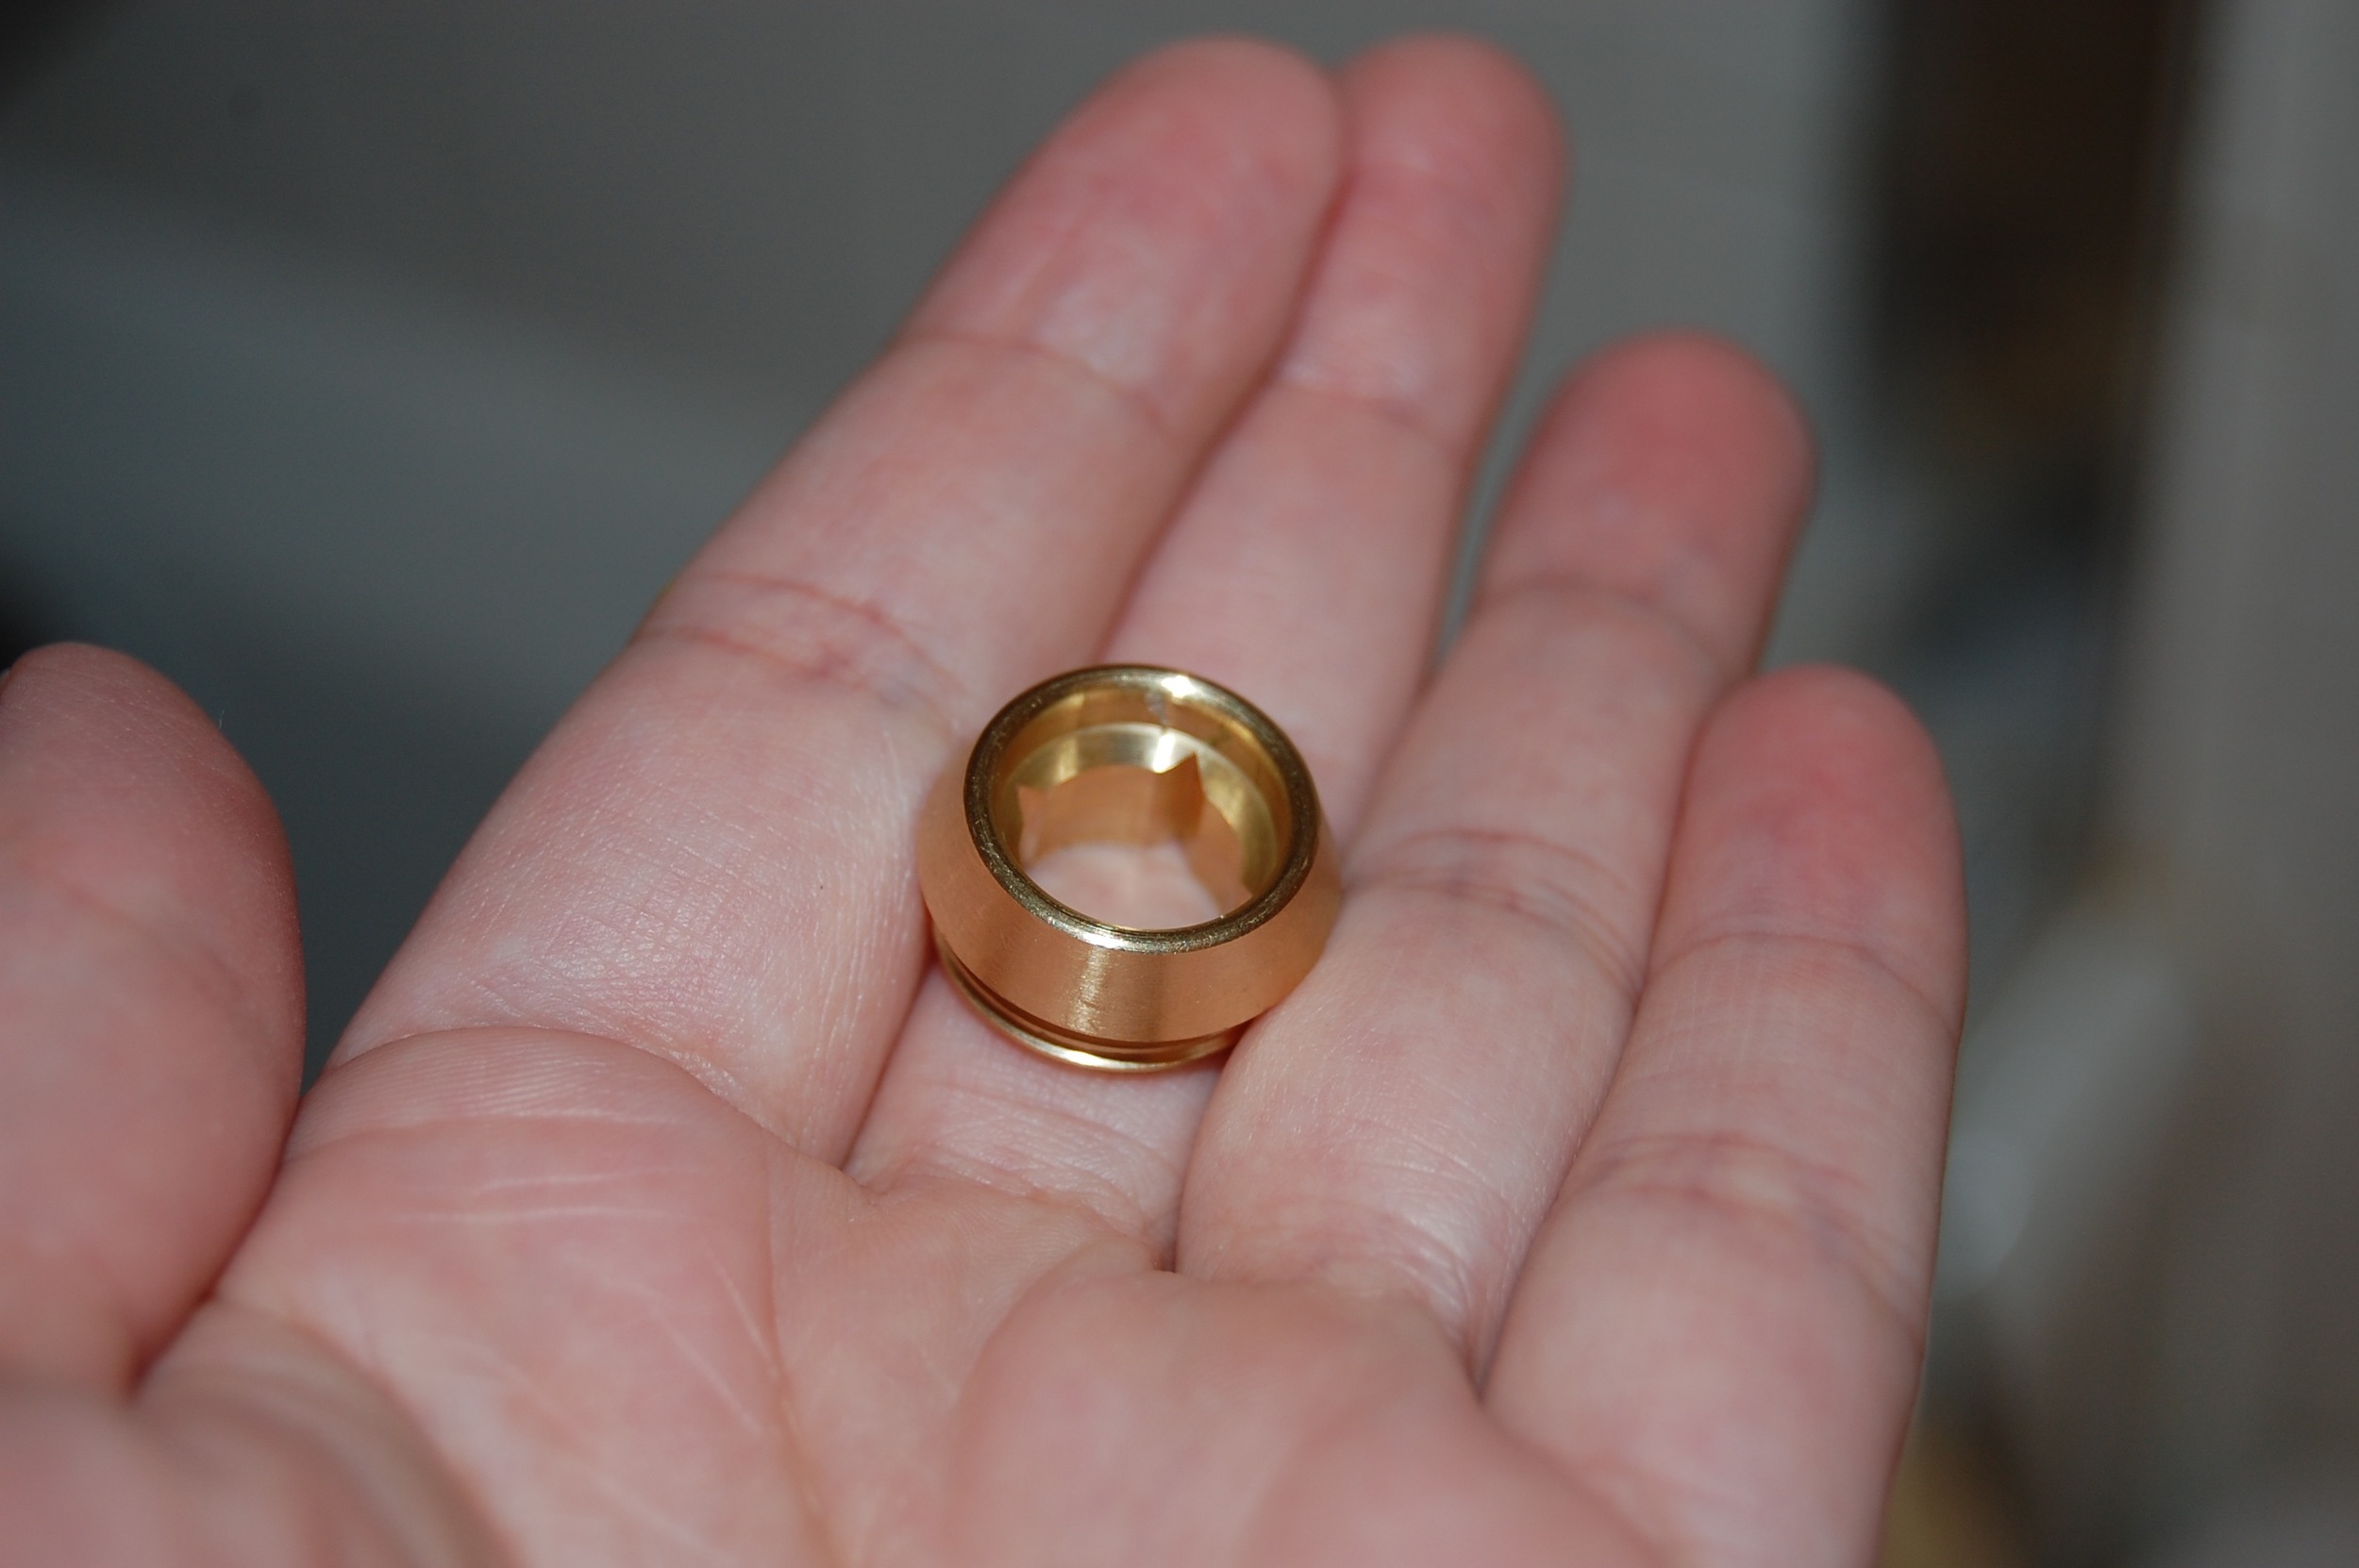
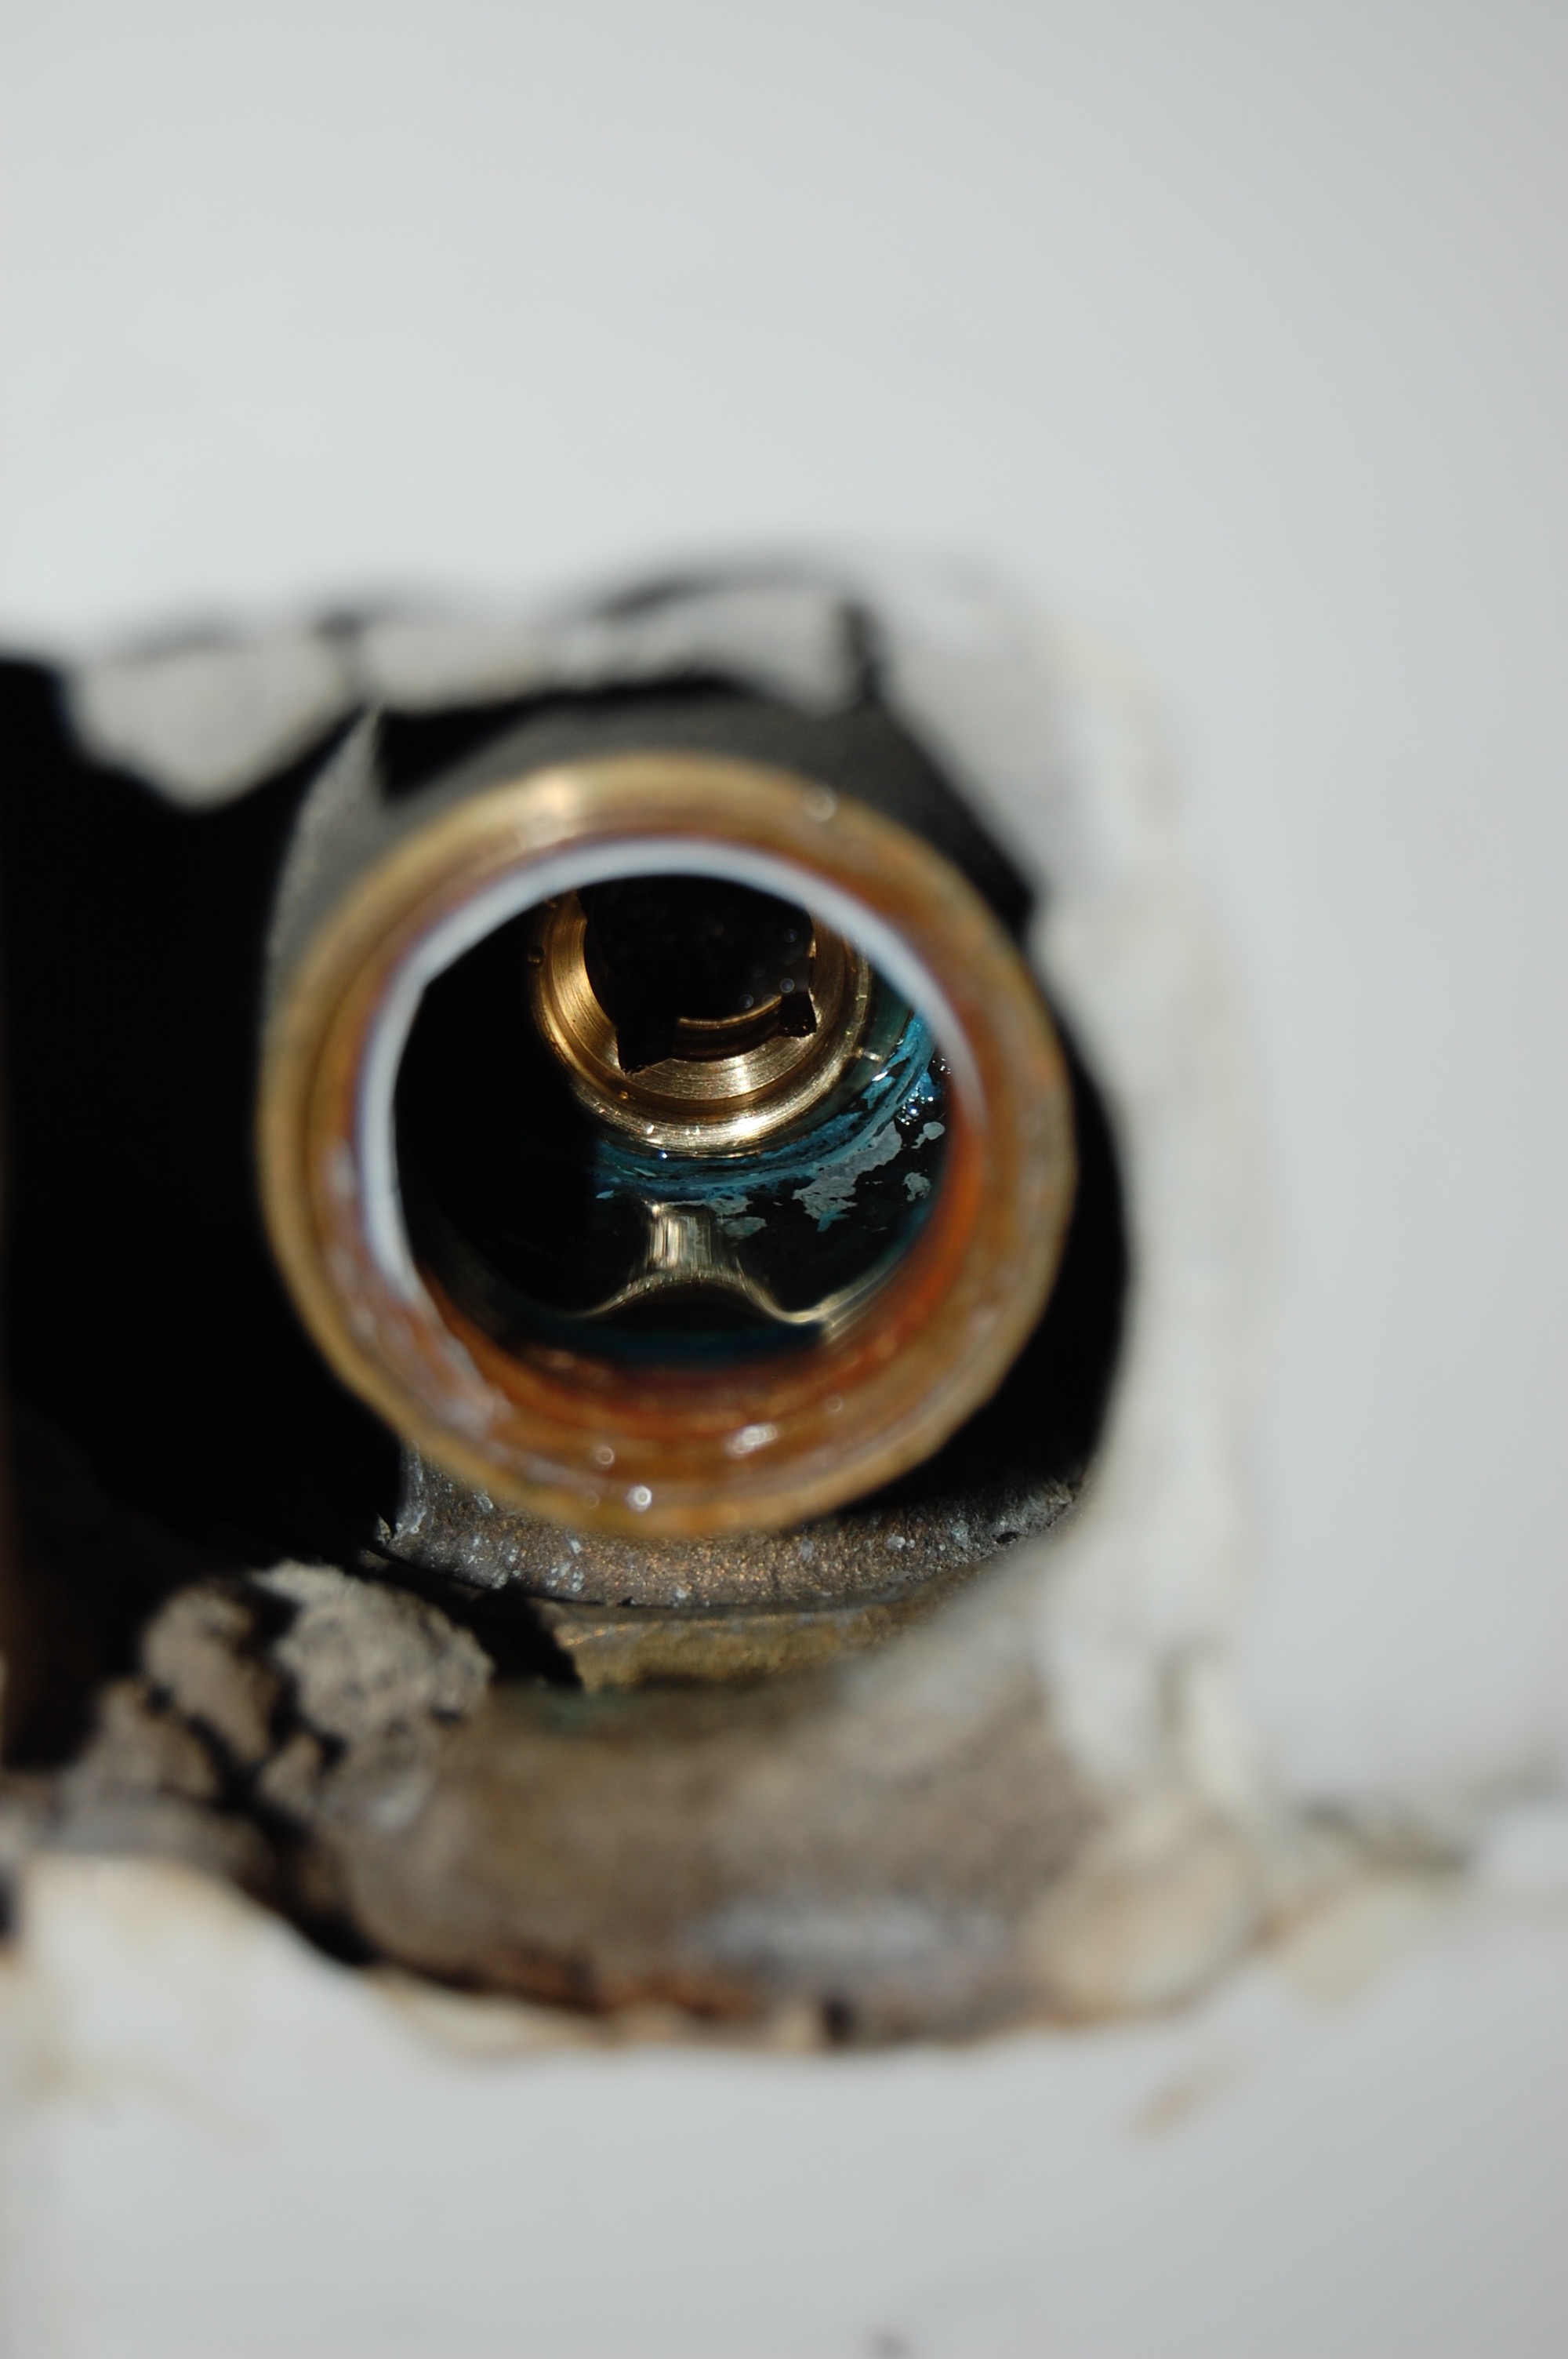
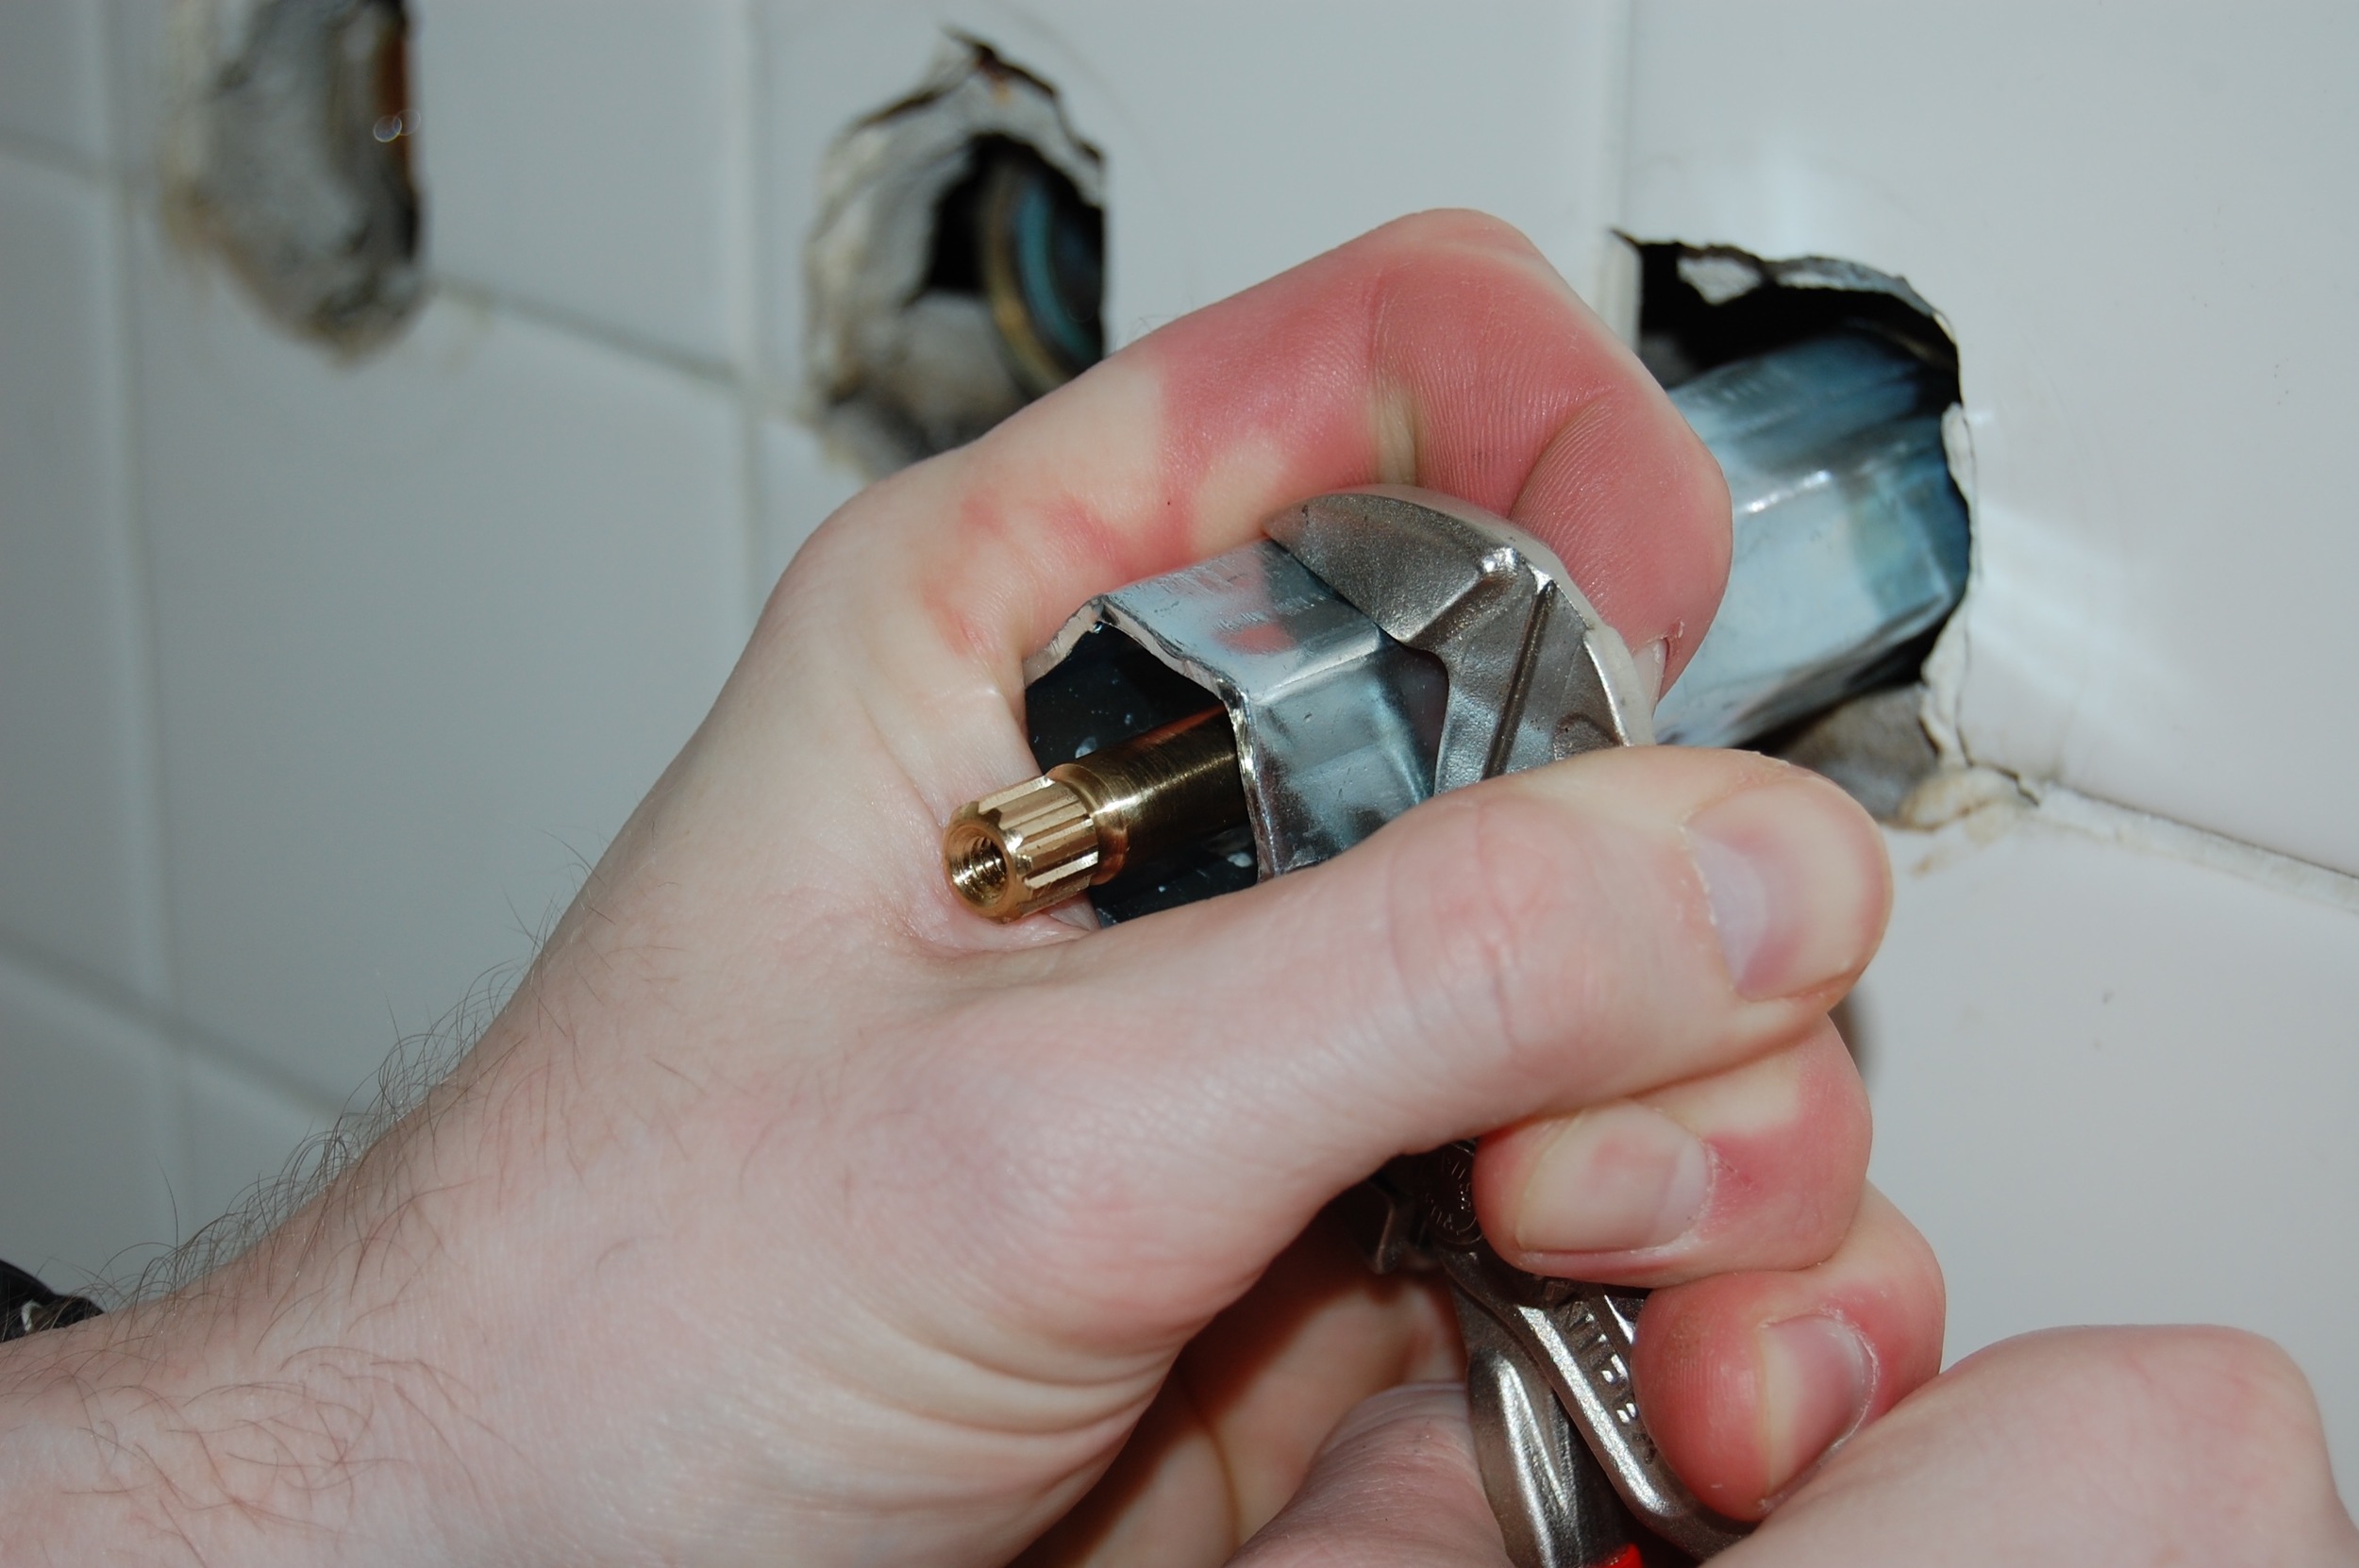
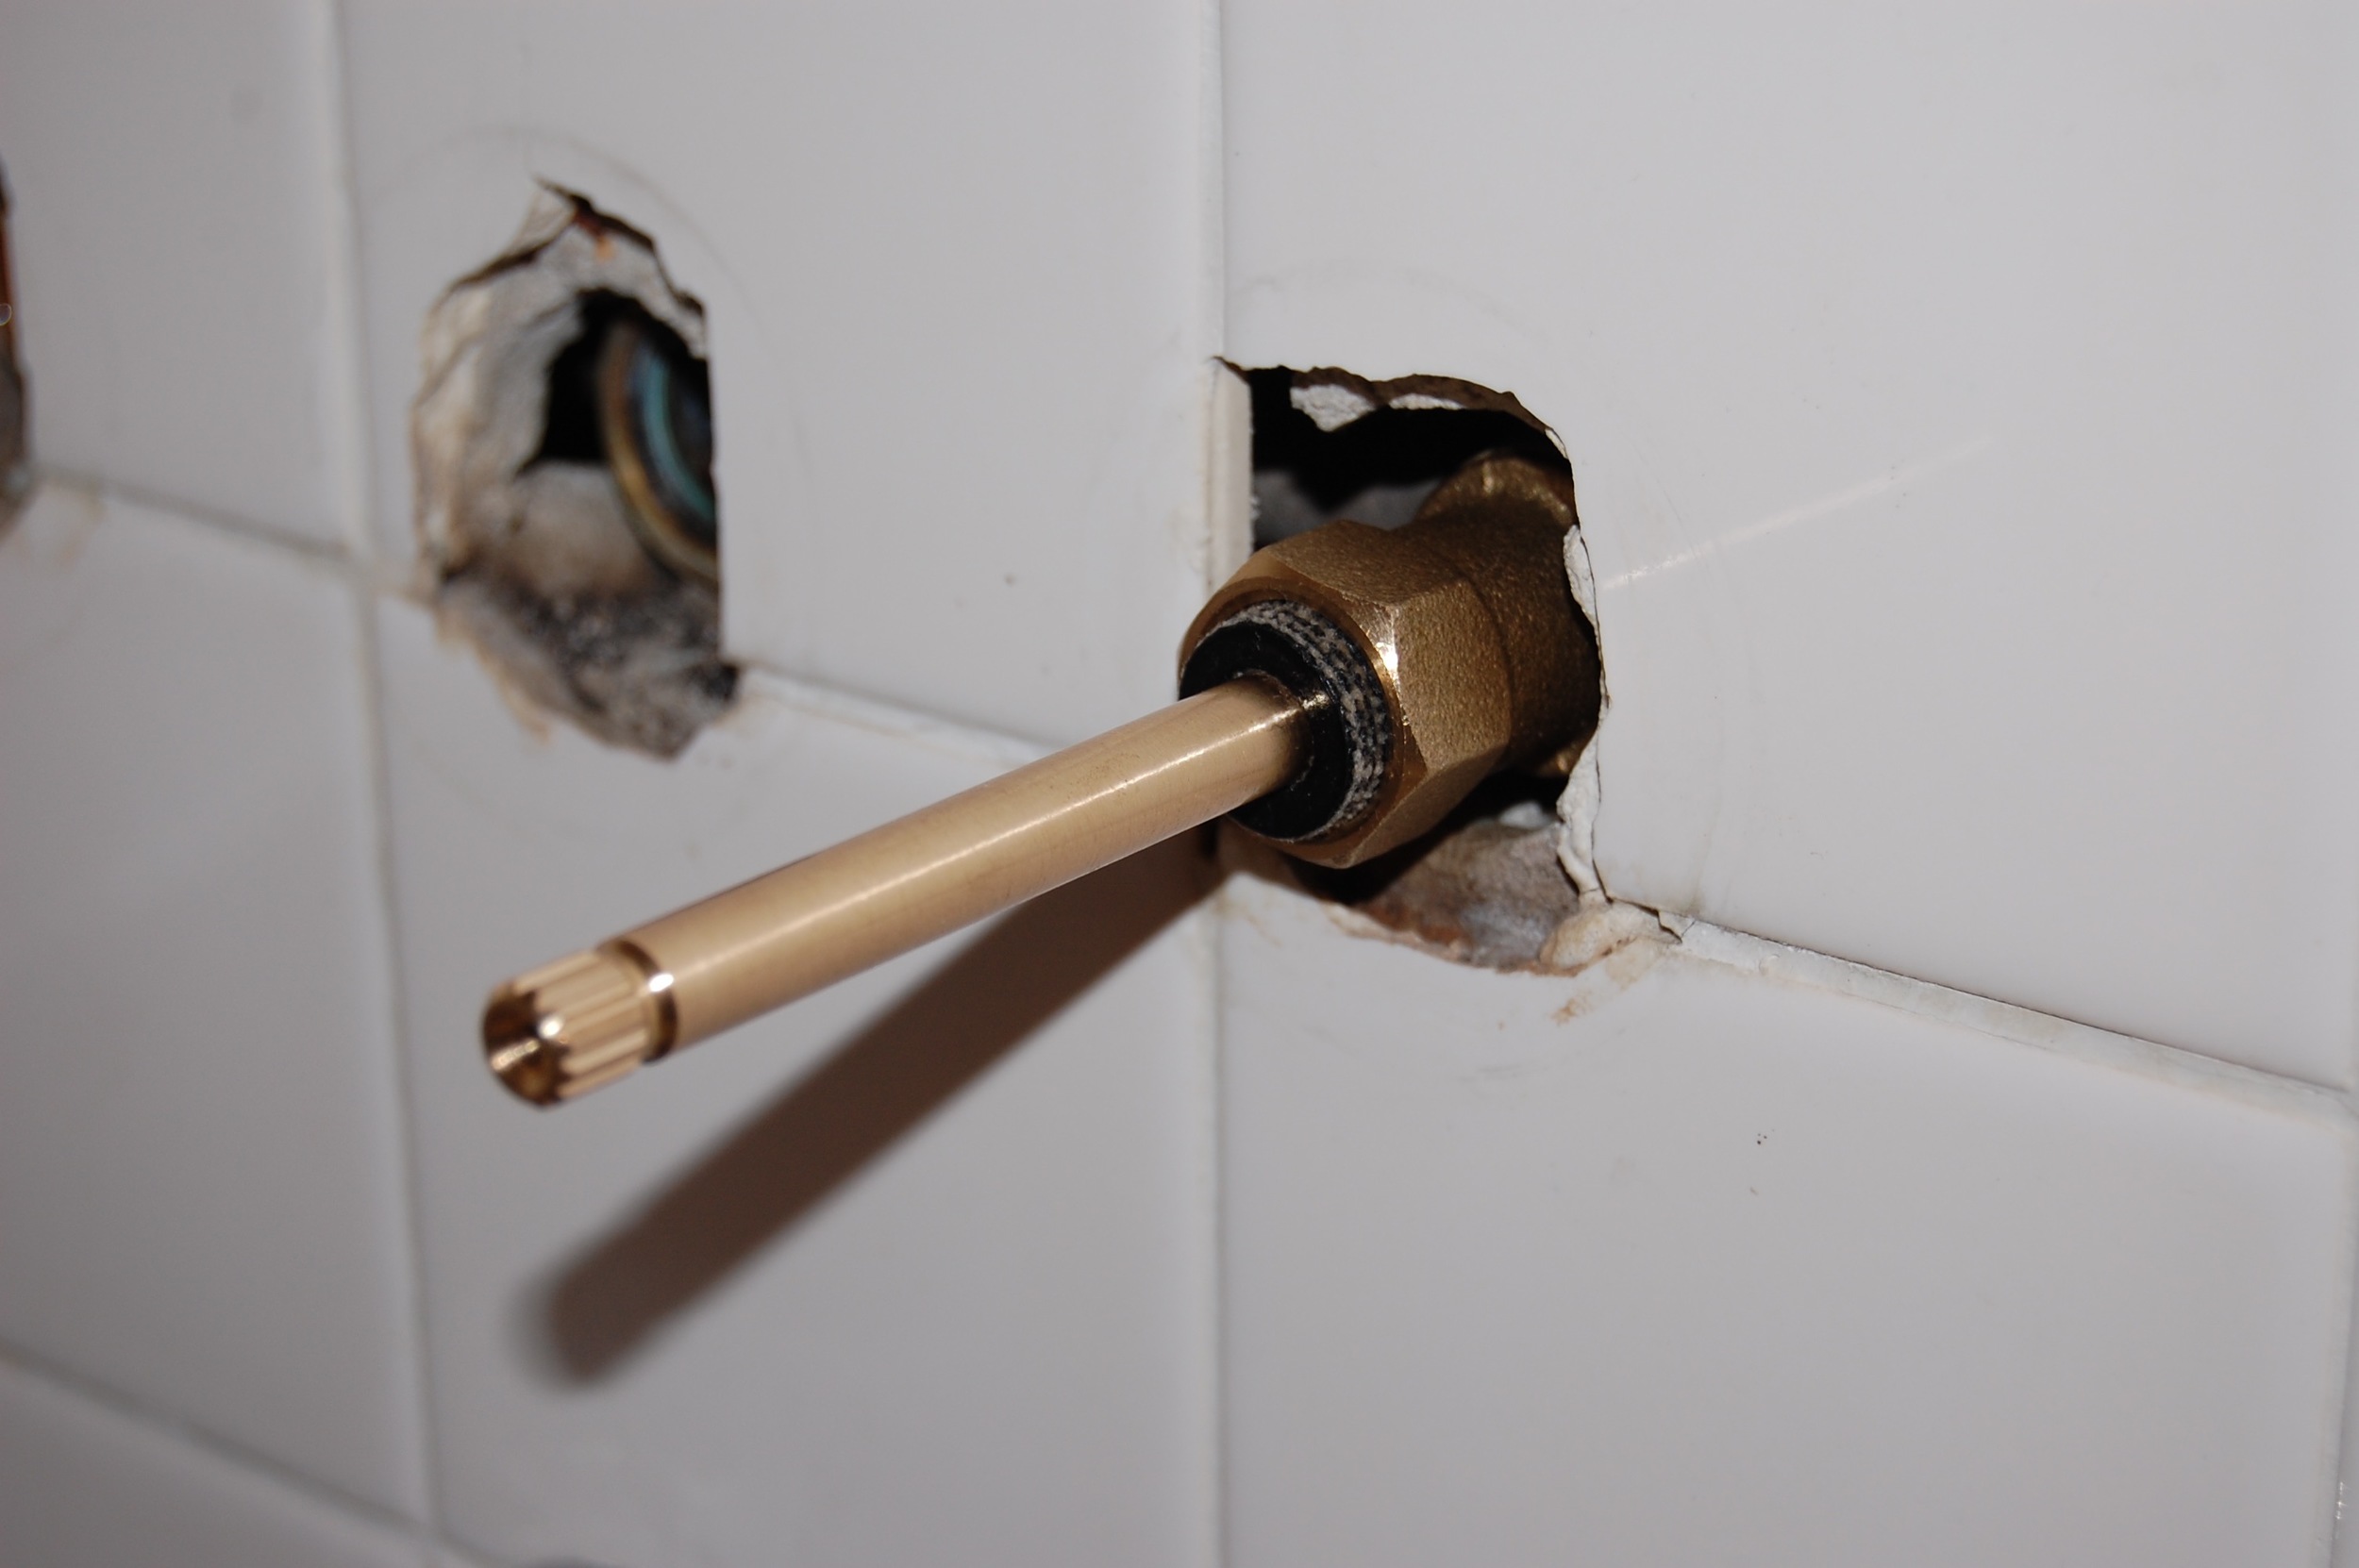
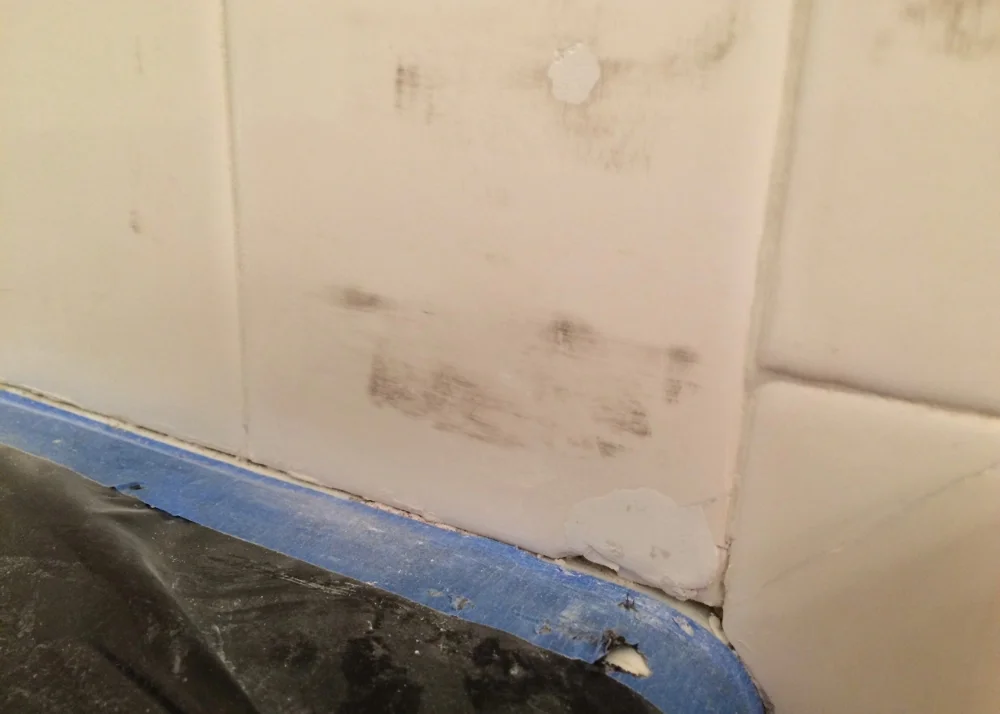
Hole left over from shower door removal.

Cracked Tile Discovered under shower door support.
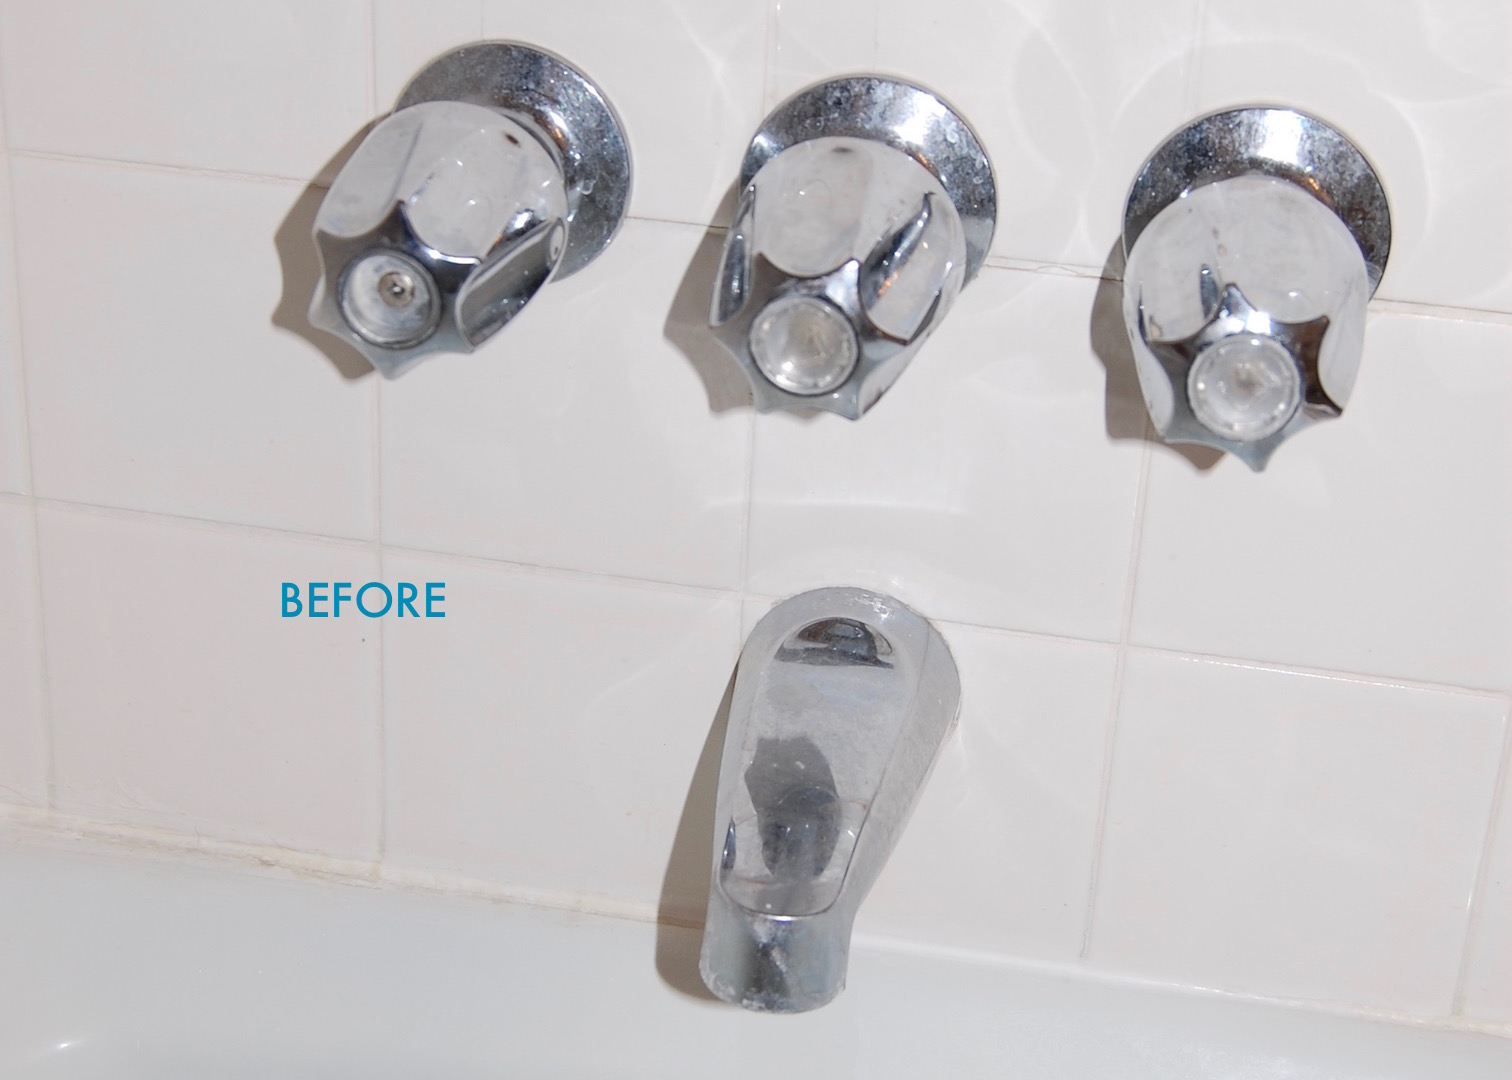
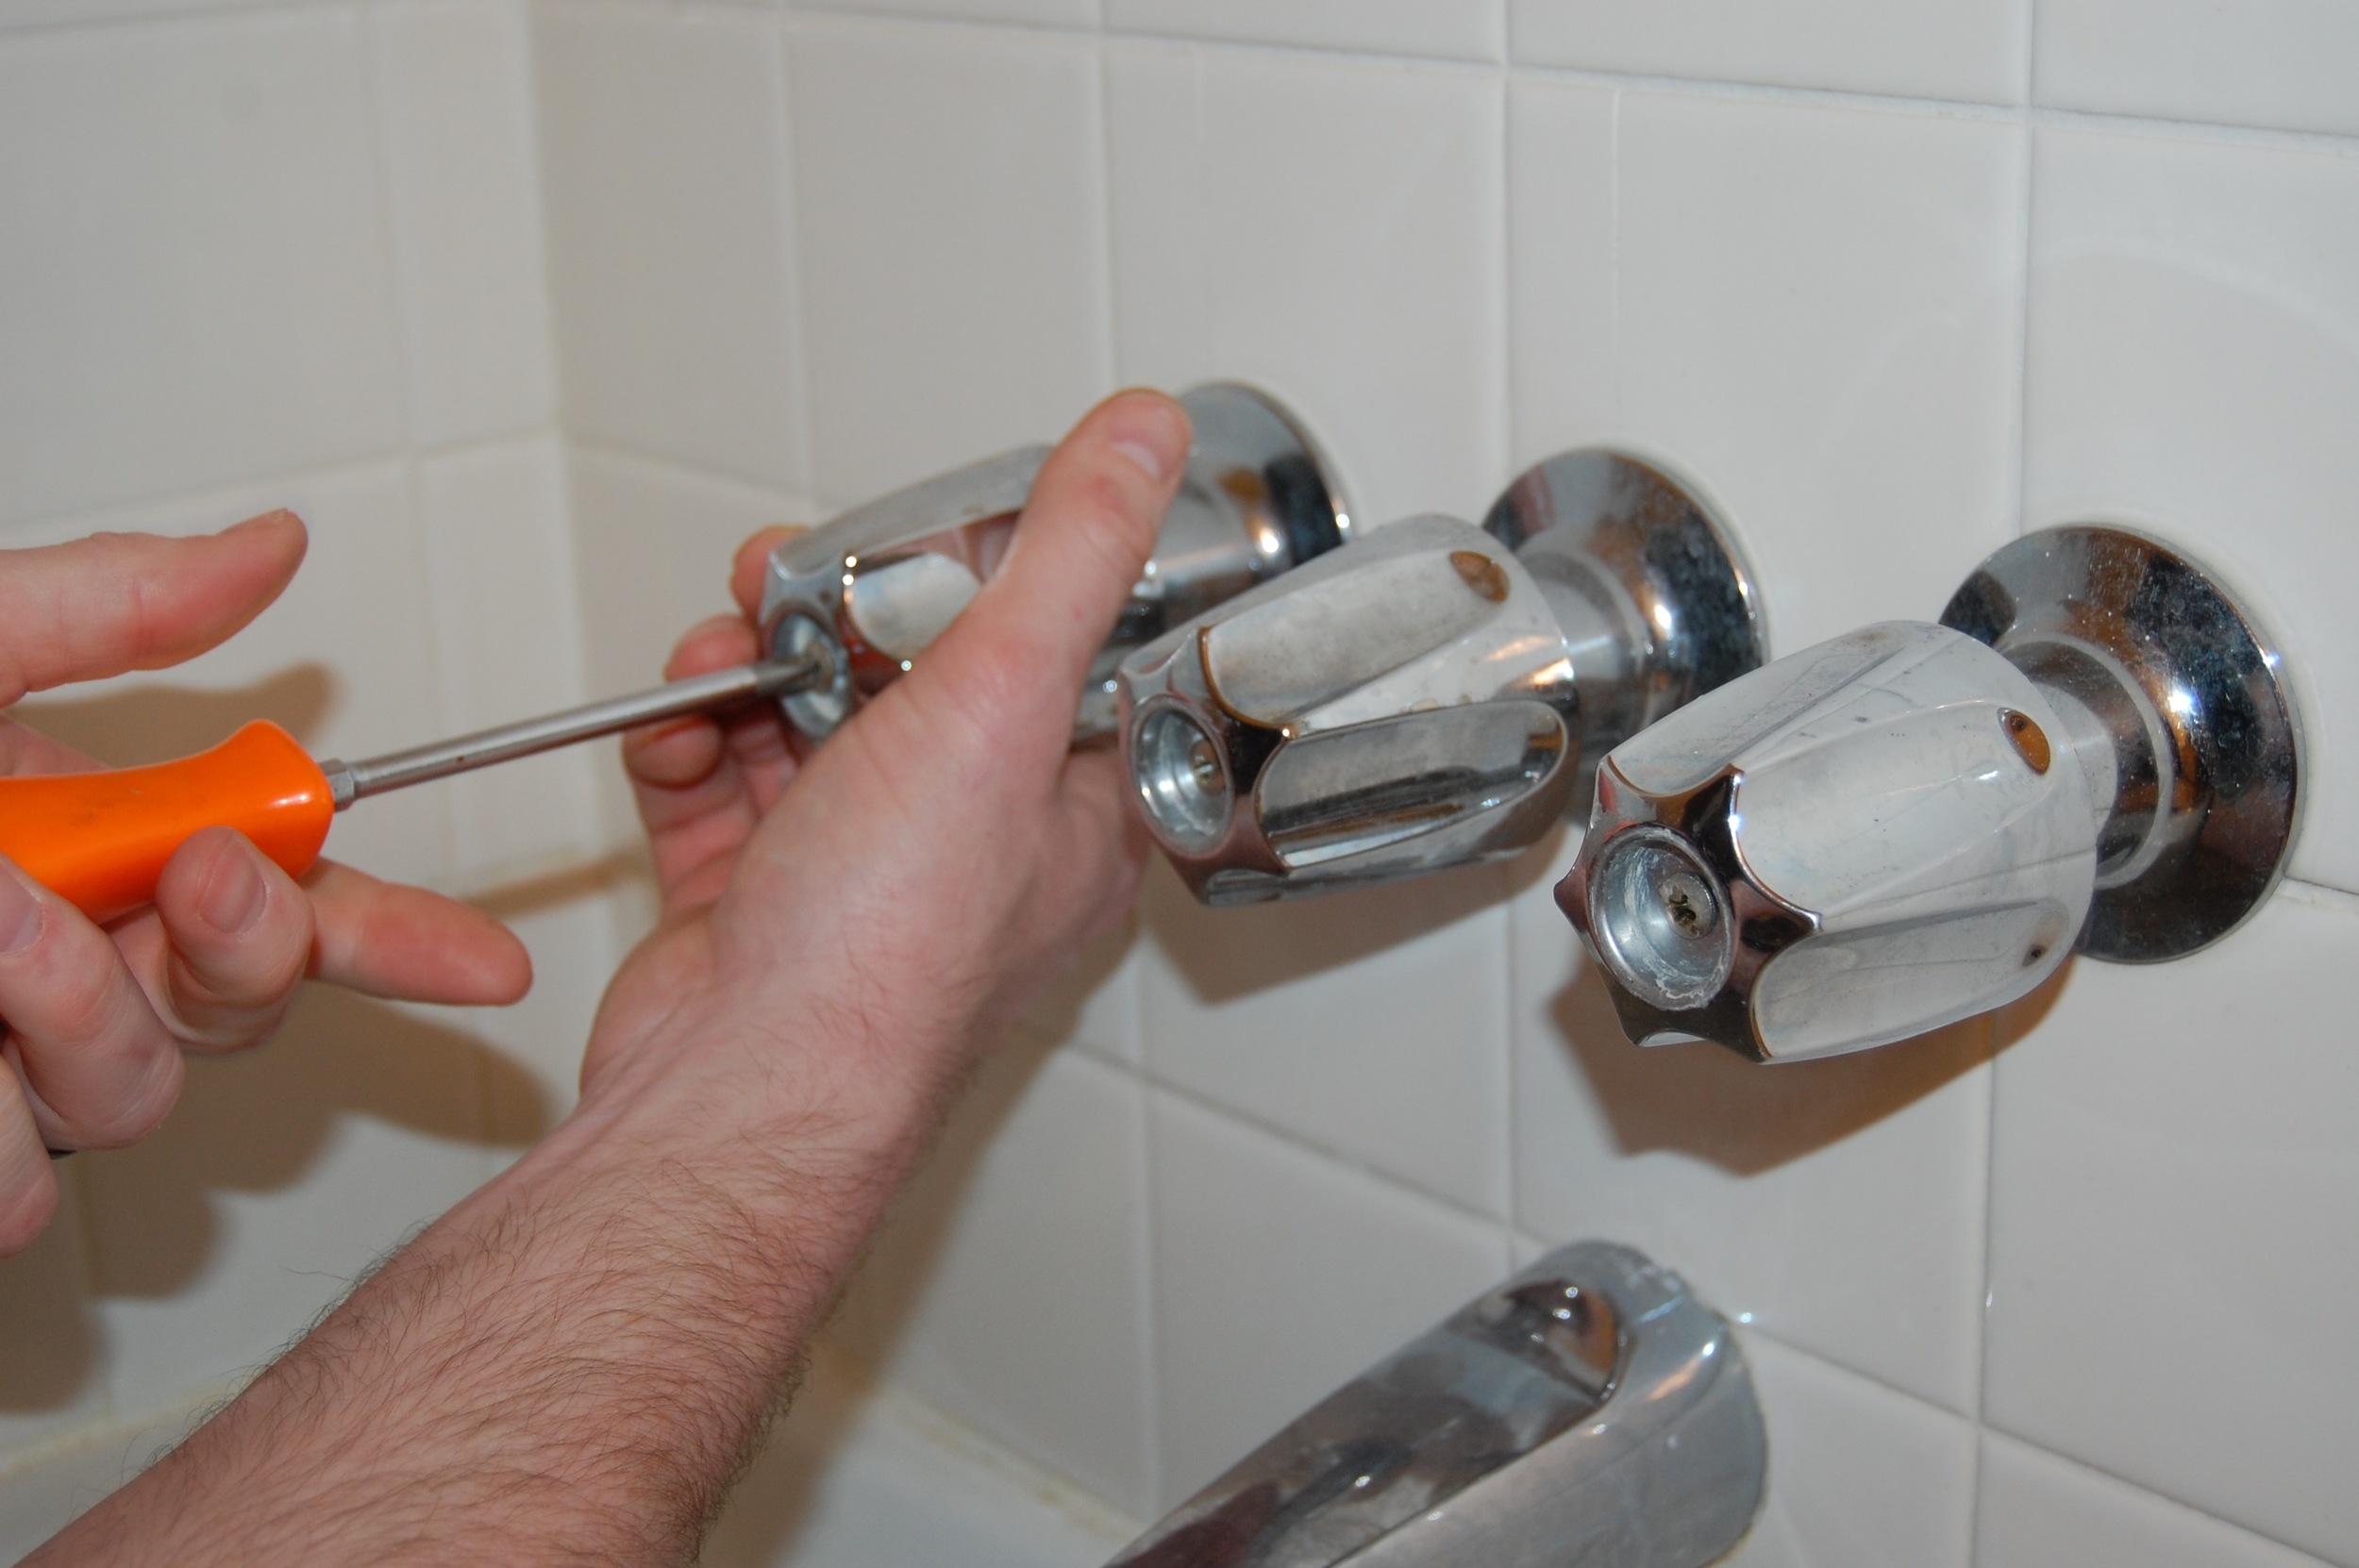
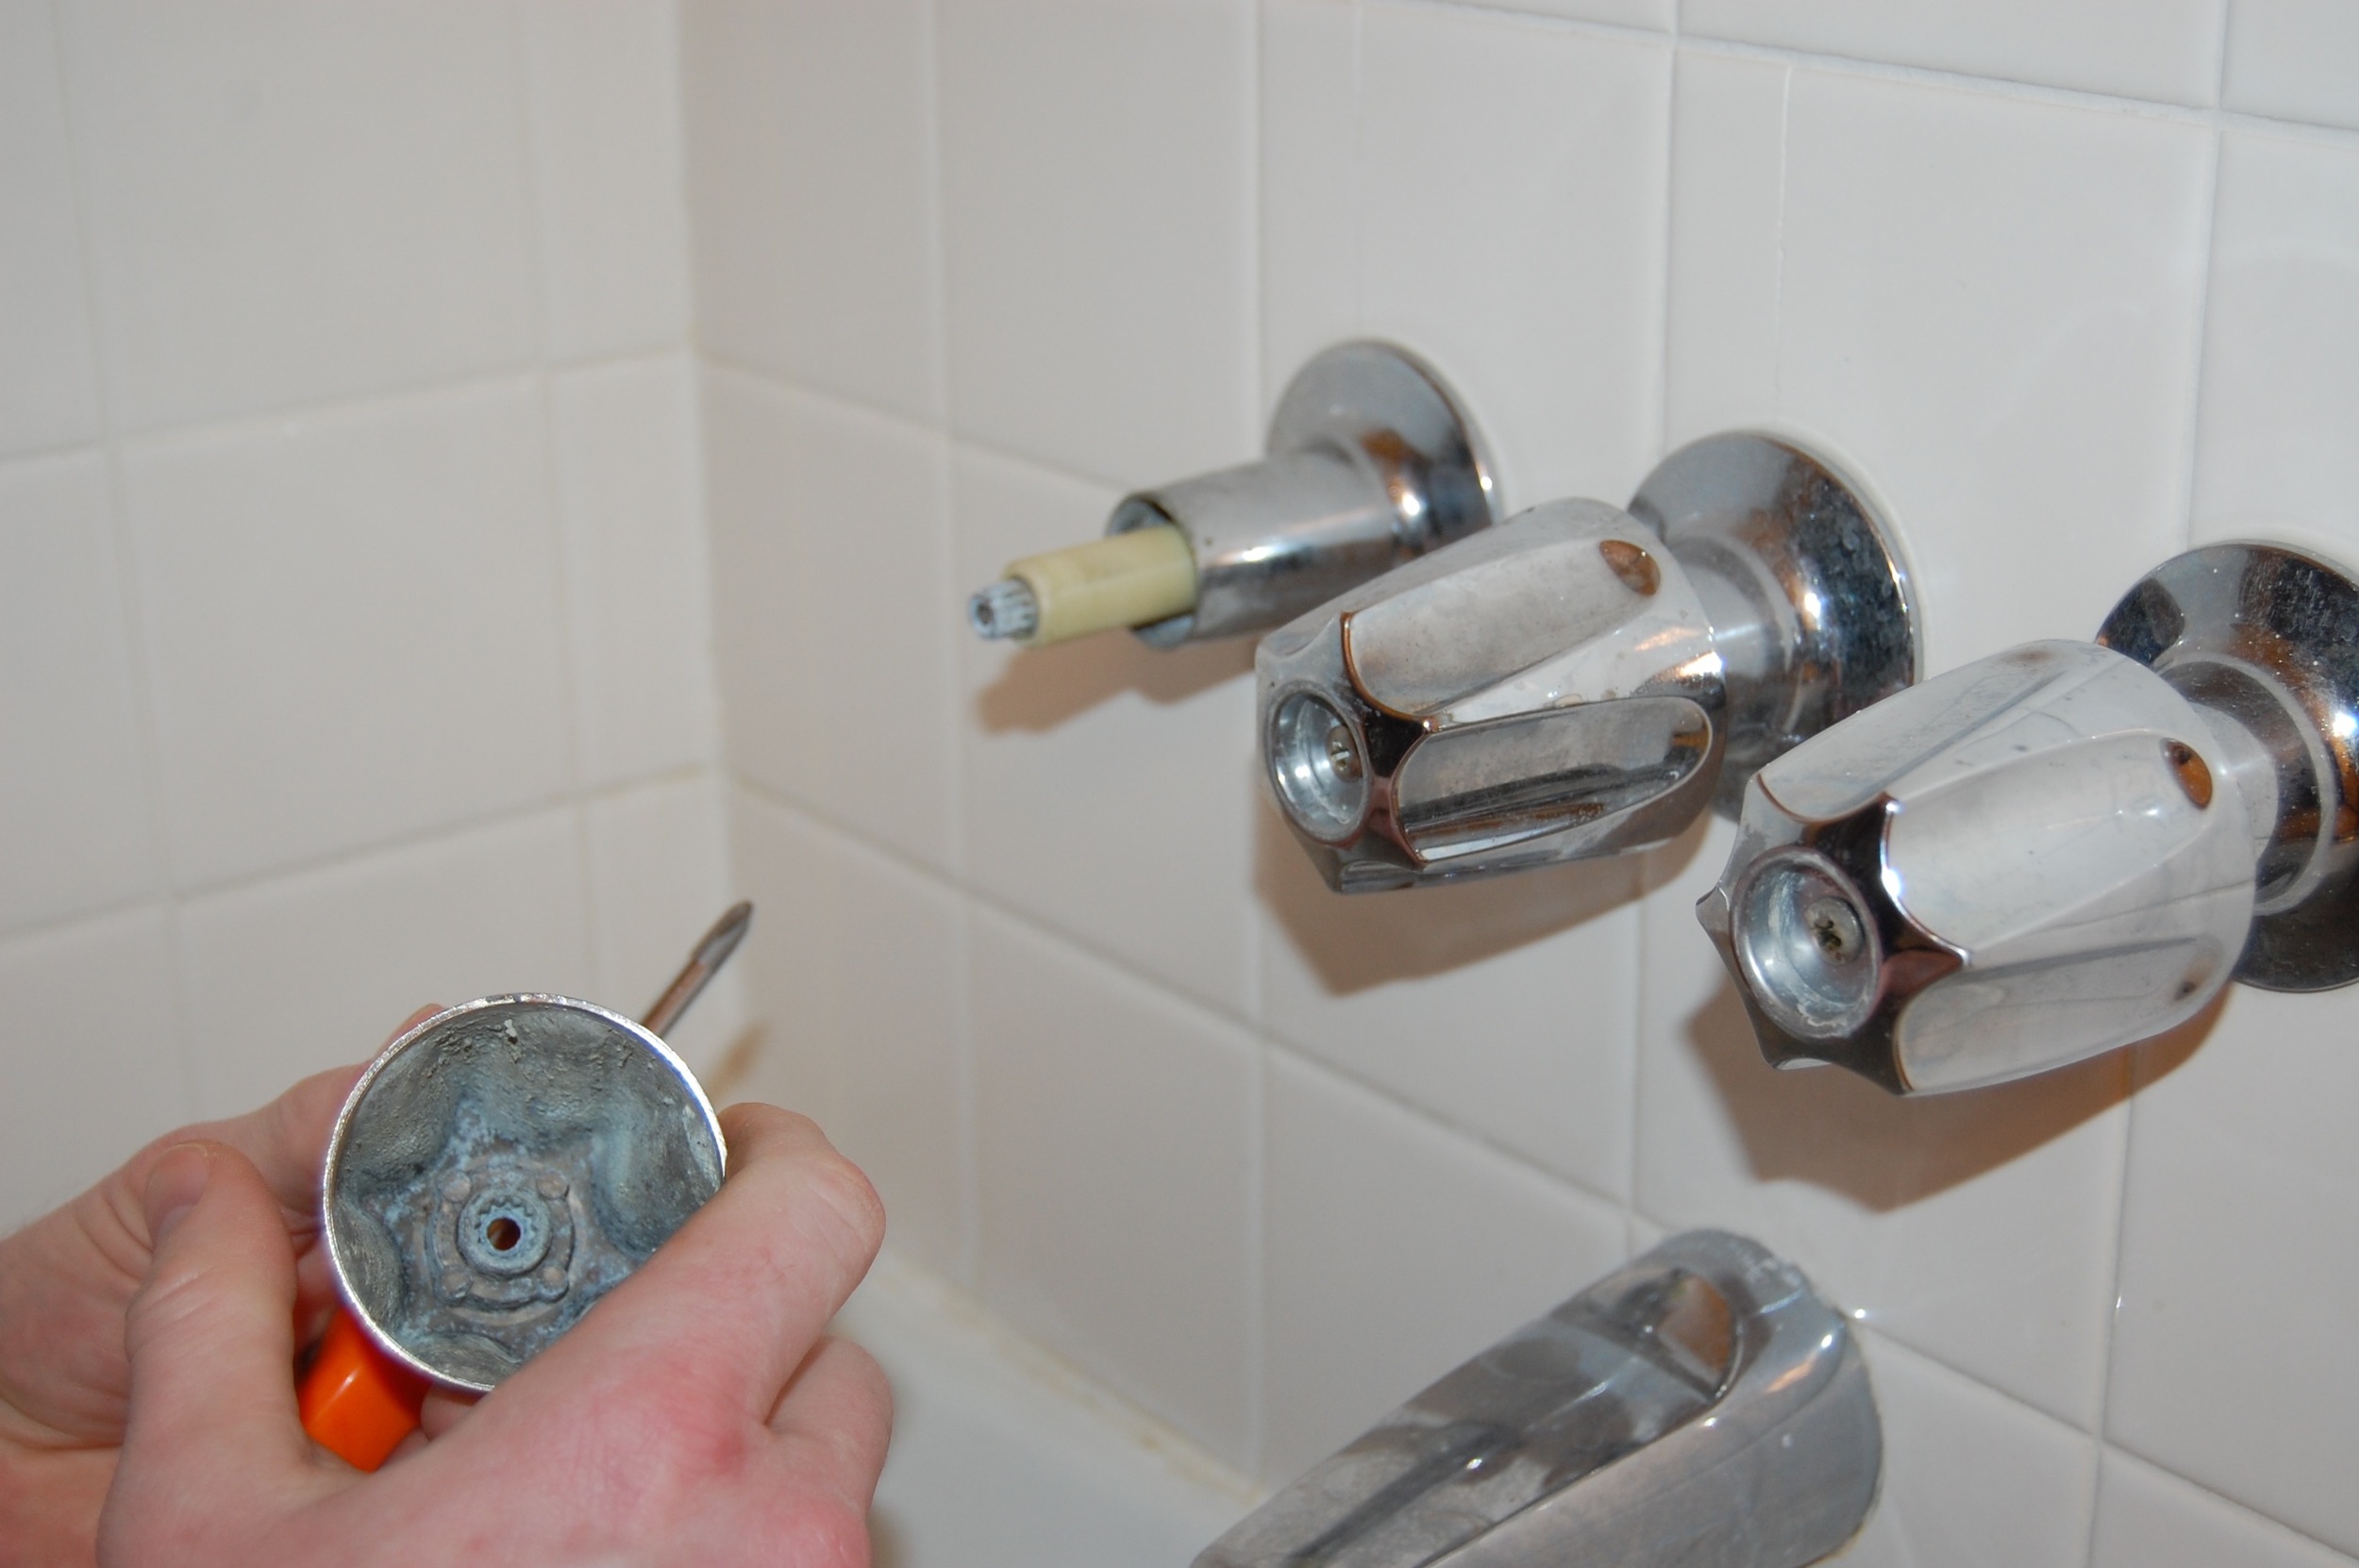
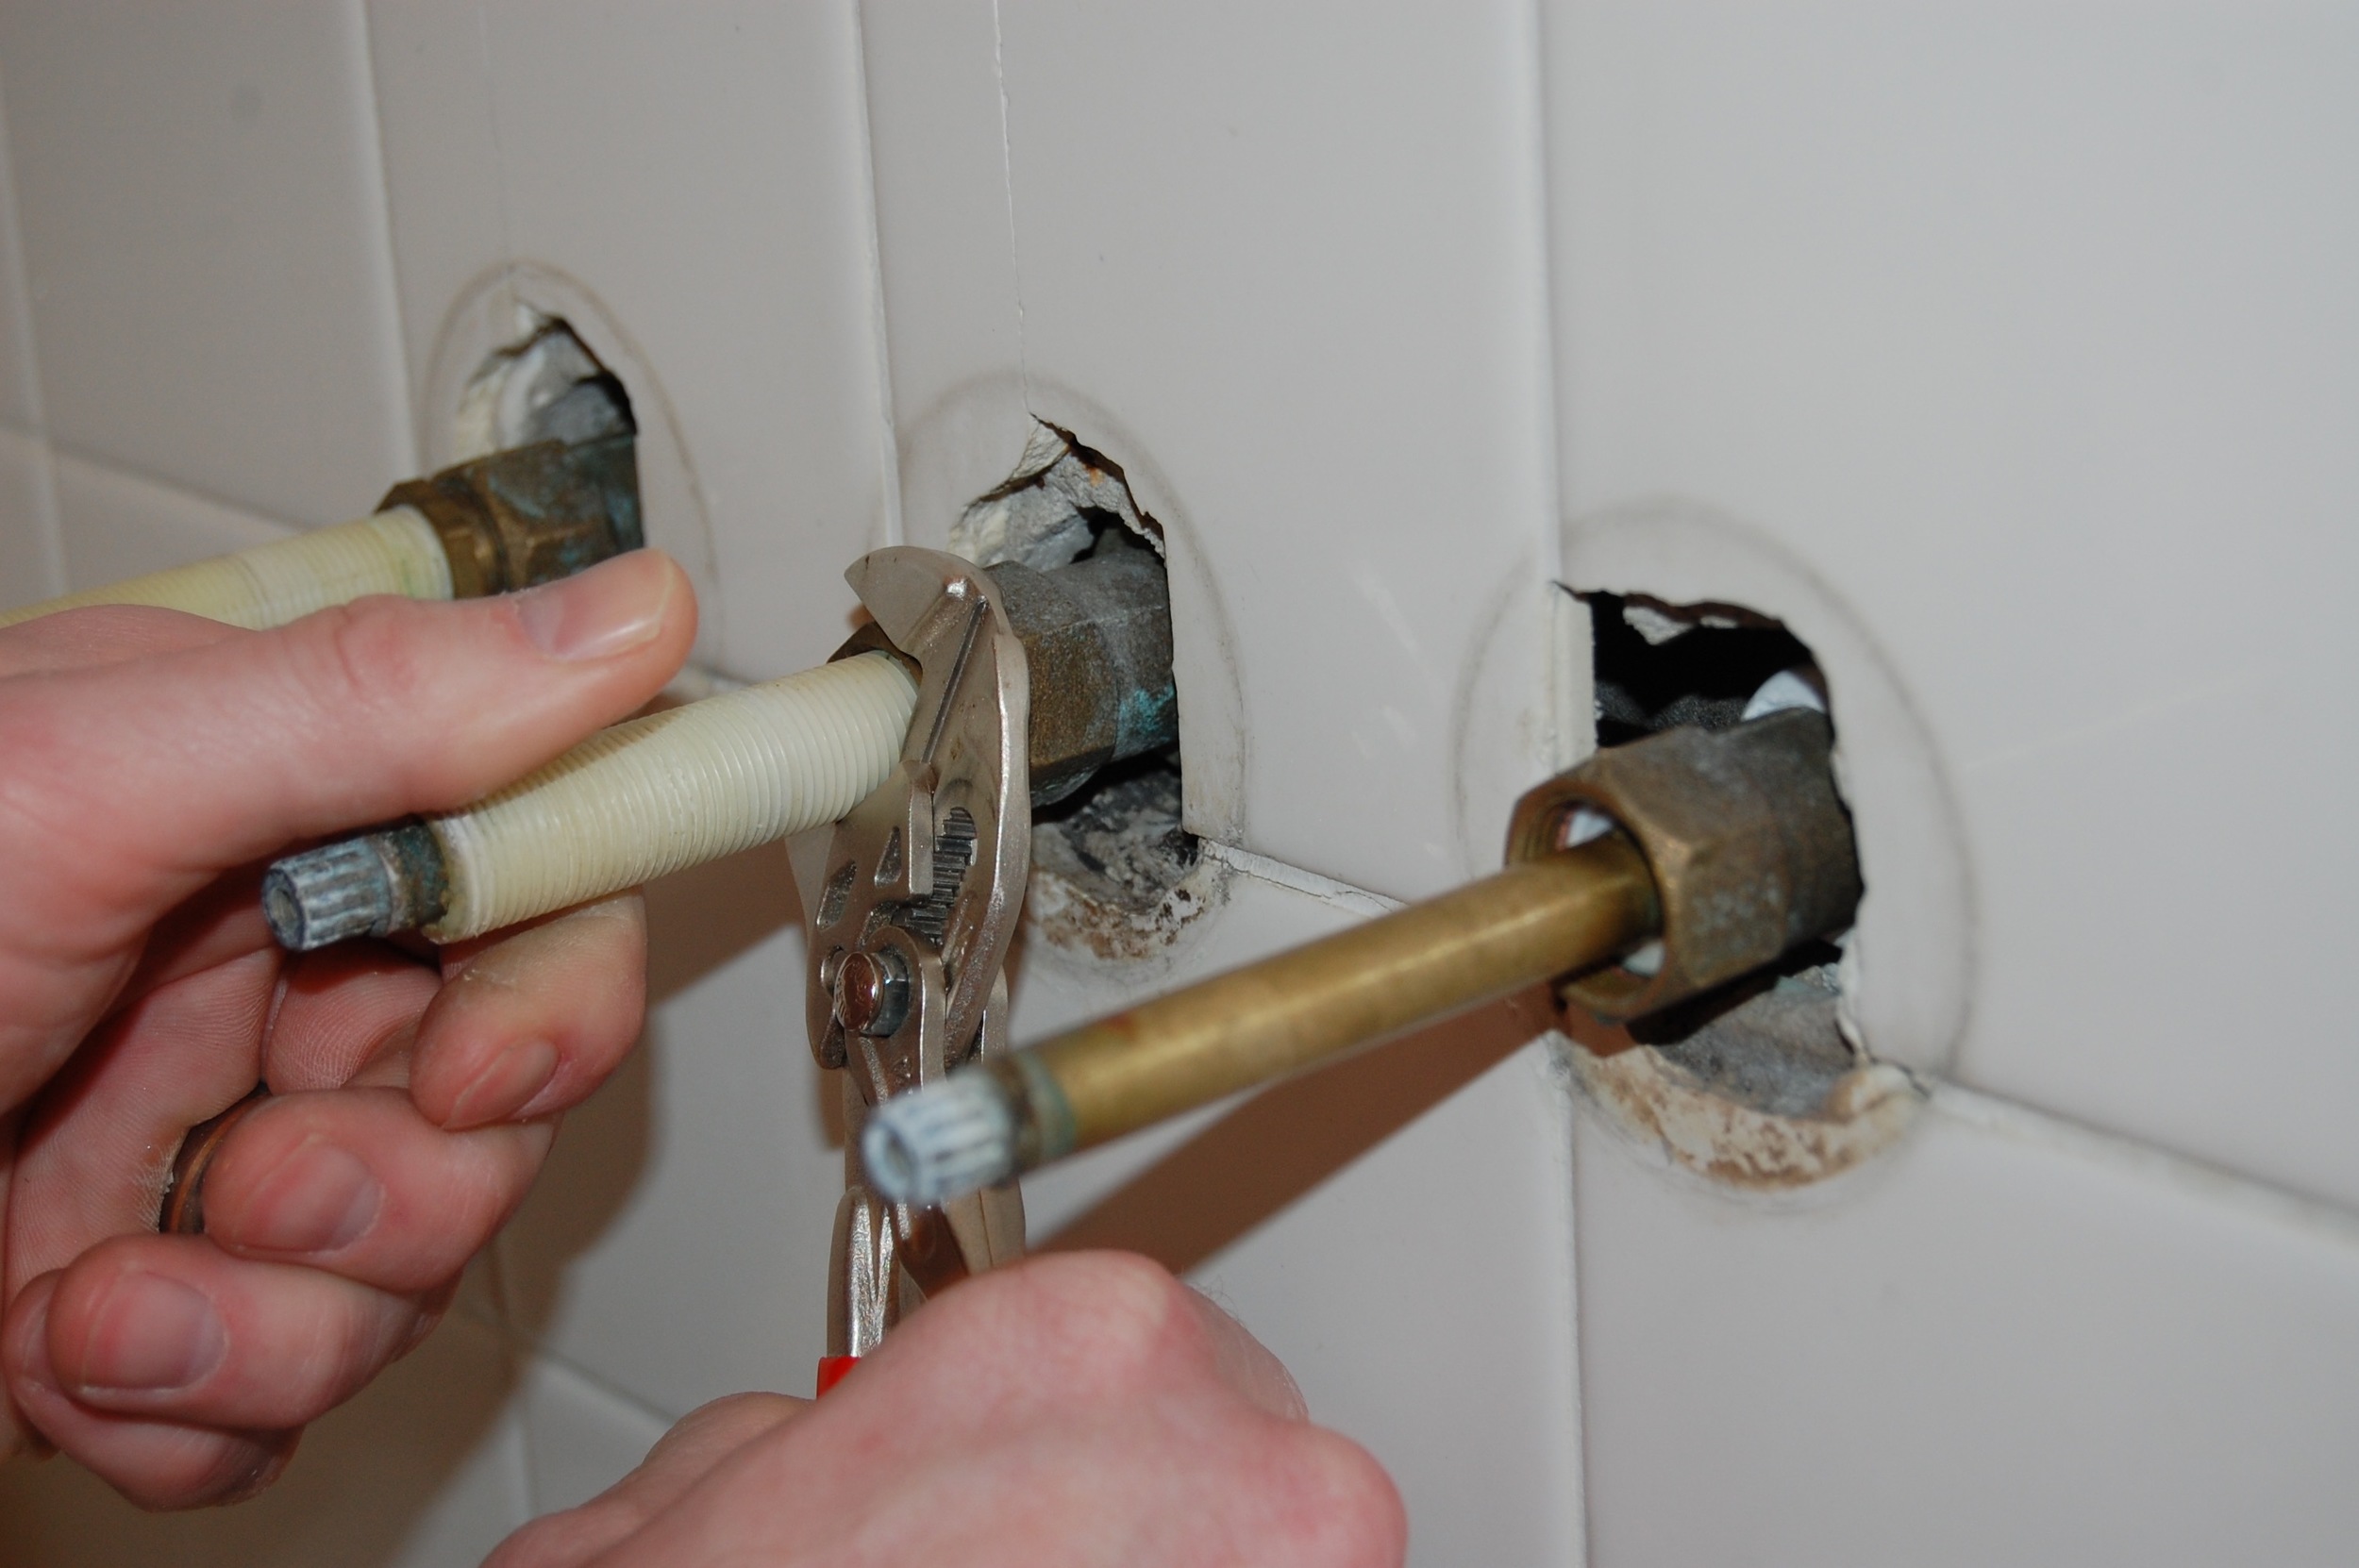
When we removed our sliding glass shower doors we were left with some holes in the tile where the shower doors had been screwed to the wall, and a piece of tile that may or may not have been broken before the shower doors were removed. Even though we plan to completely remodel the bathroom in a few years, leaving the screw holes open and the tile cracked simply was not an option since water from the shower could seep through the holes destroying the drywall behind the tiles, and worse, the subfloor under the tub (ounce of prevention, pound of cure, etc). It was clear we needed to fix the tile. What was less clear was how to go about doing it.
The obvious choice was bathtub appropriate caulk. After all, it is designed specifically to waterproof the gaps between tile and other bathroom surfaces. The problem was that, after the initial caulk removal marathon in the bathroom, I was not feeling very charitable toward caulk, also, a big glob of the stuff on the broken tile would look terrible. So I headed to Home Depot, looking for another solution, and to my surprise found one.
JB WaterWeld is an epoxy putty designed to repair moist or underwater surfaces. Better yet, it can be used on ceramic (like my tile) and many other slick surfaces. It is also pretty cheap (about $4 for enough to rebuild an entire tile), pretty easy to work with (like a cross between drywall spackle and modeling clay), and cures in only an hour. It is pretty much an ideal tile repair material in my opinion, but there is a catch. It dries off white, so it may not match your tile, and like dry wall hole filler, it needs to be sanded if you want your patch to be smooth. Fortunately for us we were already sanding our tile so that we could paint it, so the sanding wasn’t a problem, and we were painting the tile, so the color of the patch wasn’t an issue either.
As a side note, a lot of people use JB water weld to fix plumbing leaks, and a lot of people complain about its inability to fix pressurized plumbing leaks. I didn’t use it to fix a pressurized leak, so I do not know if it works well for that application or not. It worked wonderfully for my application, but I don’t think I would use it to permanently fix my plumbing – I would replace the leaking pipe, or call a plumber.
One Amazon reviewer also mentioned that he used this stuff to fix his bridgework, and it did such a good job that he was able to “eat corn on the cob” ... I don’t recommend this application either.
As a side, side note, some of the questions and answers for this product on Amazon are really funny. My Favorite Question: “bathtub”. That’s right, simply “bathtub”. The answers are the best.
To use JB WaterWeld;
- Prepare the surface to be repaired by sanding (if possible), cleaning, and drying
- Cut off a piece and squish it up for a bit (like sculpey clay), until it becomes soft.
- Stick it on the surface to be repaired, and kind of smoosh it in to all of the cracks and holes and things that need to be filled.
- Smooth it out a bit at this point so you don’t have to sand as much later (it cures pretty hard), just be sure all the cracks and holes you filled stay filled while you are smoothing it out.
- Let it dry/cure. It should take about an hour.
- Sand it smooth/level with the surrounding surfaces (if desired).
- Paint or otherwise finish the surface (again, if desired).

JB WaterWeld Applied
After Sanding
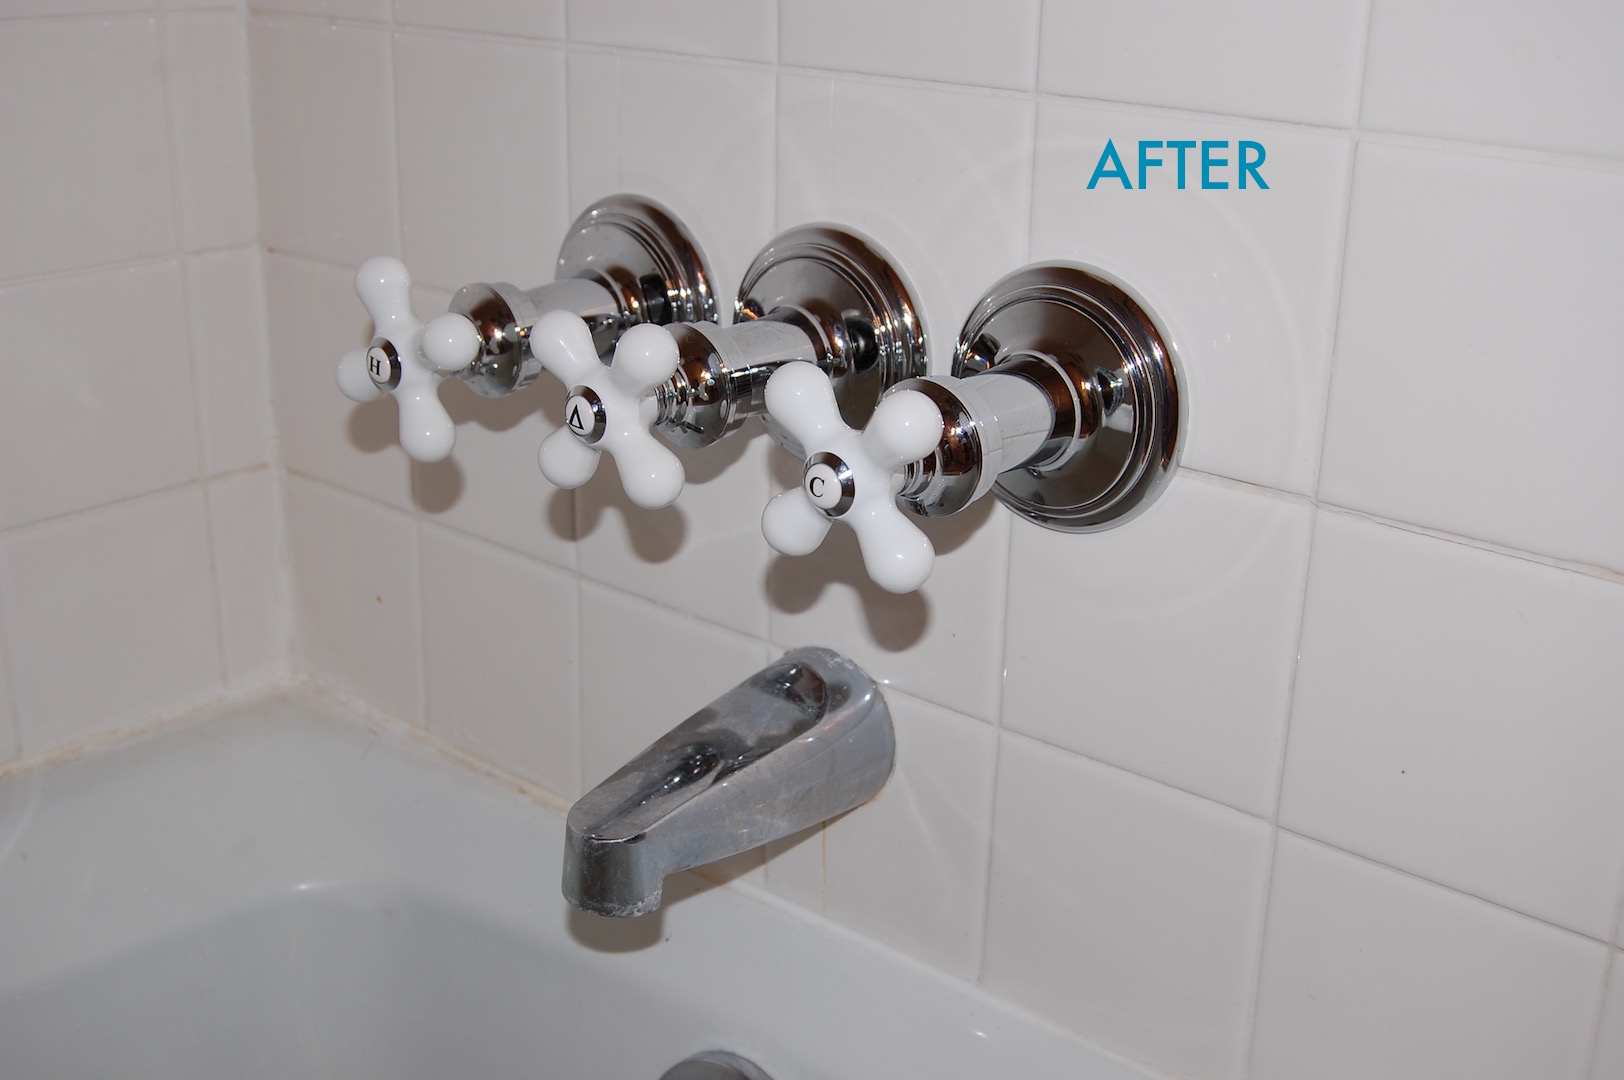
We of course sanded and painted our patches, and when we were finished the holes left by the shower doors were nearly invisible, and it was even hard to tell the broken tile was ever broken.

After Painting - The repair is nearly invisible!
All in all the easiest fix we have made to this bathroom so far, and I recommend JB WaterWeld without hesitation to fix your tile, but not your teeth.
(This post contains affiliate links, but I was not paid to review this product, I just like it).