Completed Cabinet
/I hope everyone had a wonderful July 4th, whether you celebrate American Independence or not. I am happy to say that in my house we took a little break from the home remodeling projects and actually did a bit of relaxing. We decided to stick with tradition this year, and did all of our normal 4th of July activities. First was dinner - burgers/veggie burgers. I make a cake that the kids refused to eat. Then we moved on to the annual Nerf war, which, as dictated by tradition, only ends when the losing child begins to cry. Finally the combined blood sacrifice to the mosquitoes (lest they suck out our souls), and fireworks. It all ended at about 10pm with all of us literally dripping sweat (Florida), and smelling strongly of exploding gunpowder. Good times.
I actually felt good about relaxing this 4th of July rather than guilty for slacking off because we are nearly at the finishing line in our mini bathroom remodel. Today I finally get to reveal the last of the big items in the remodel, the bathroom cabinet.

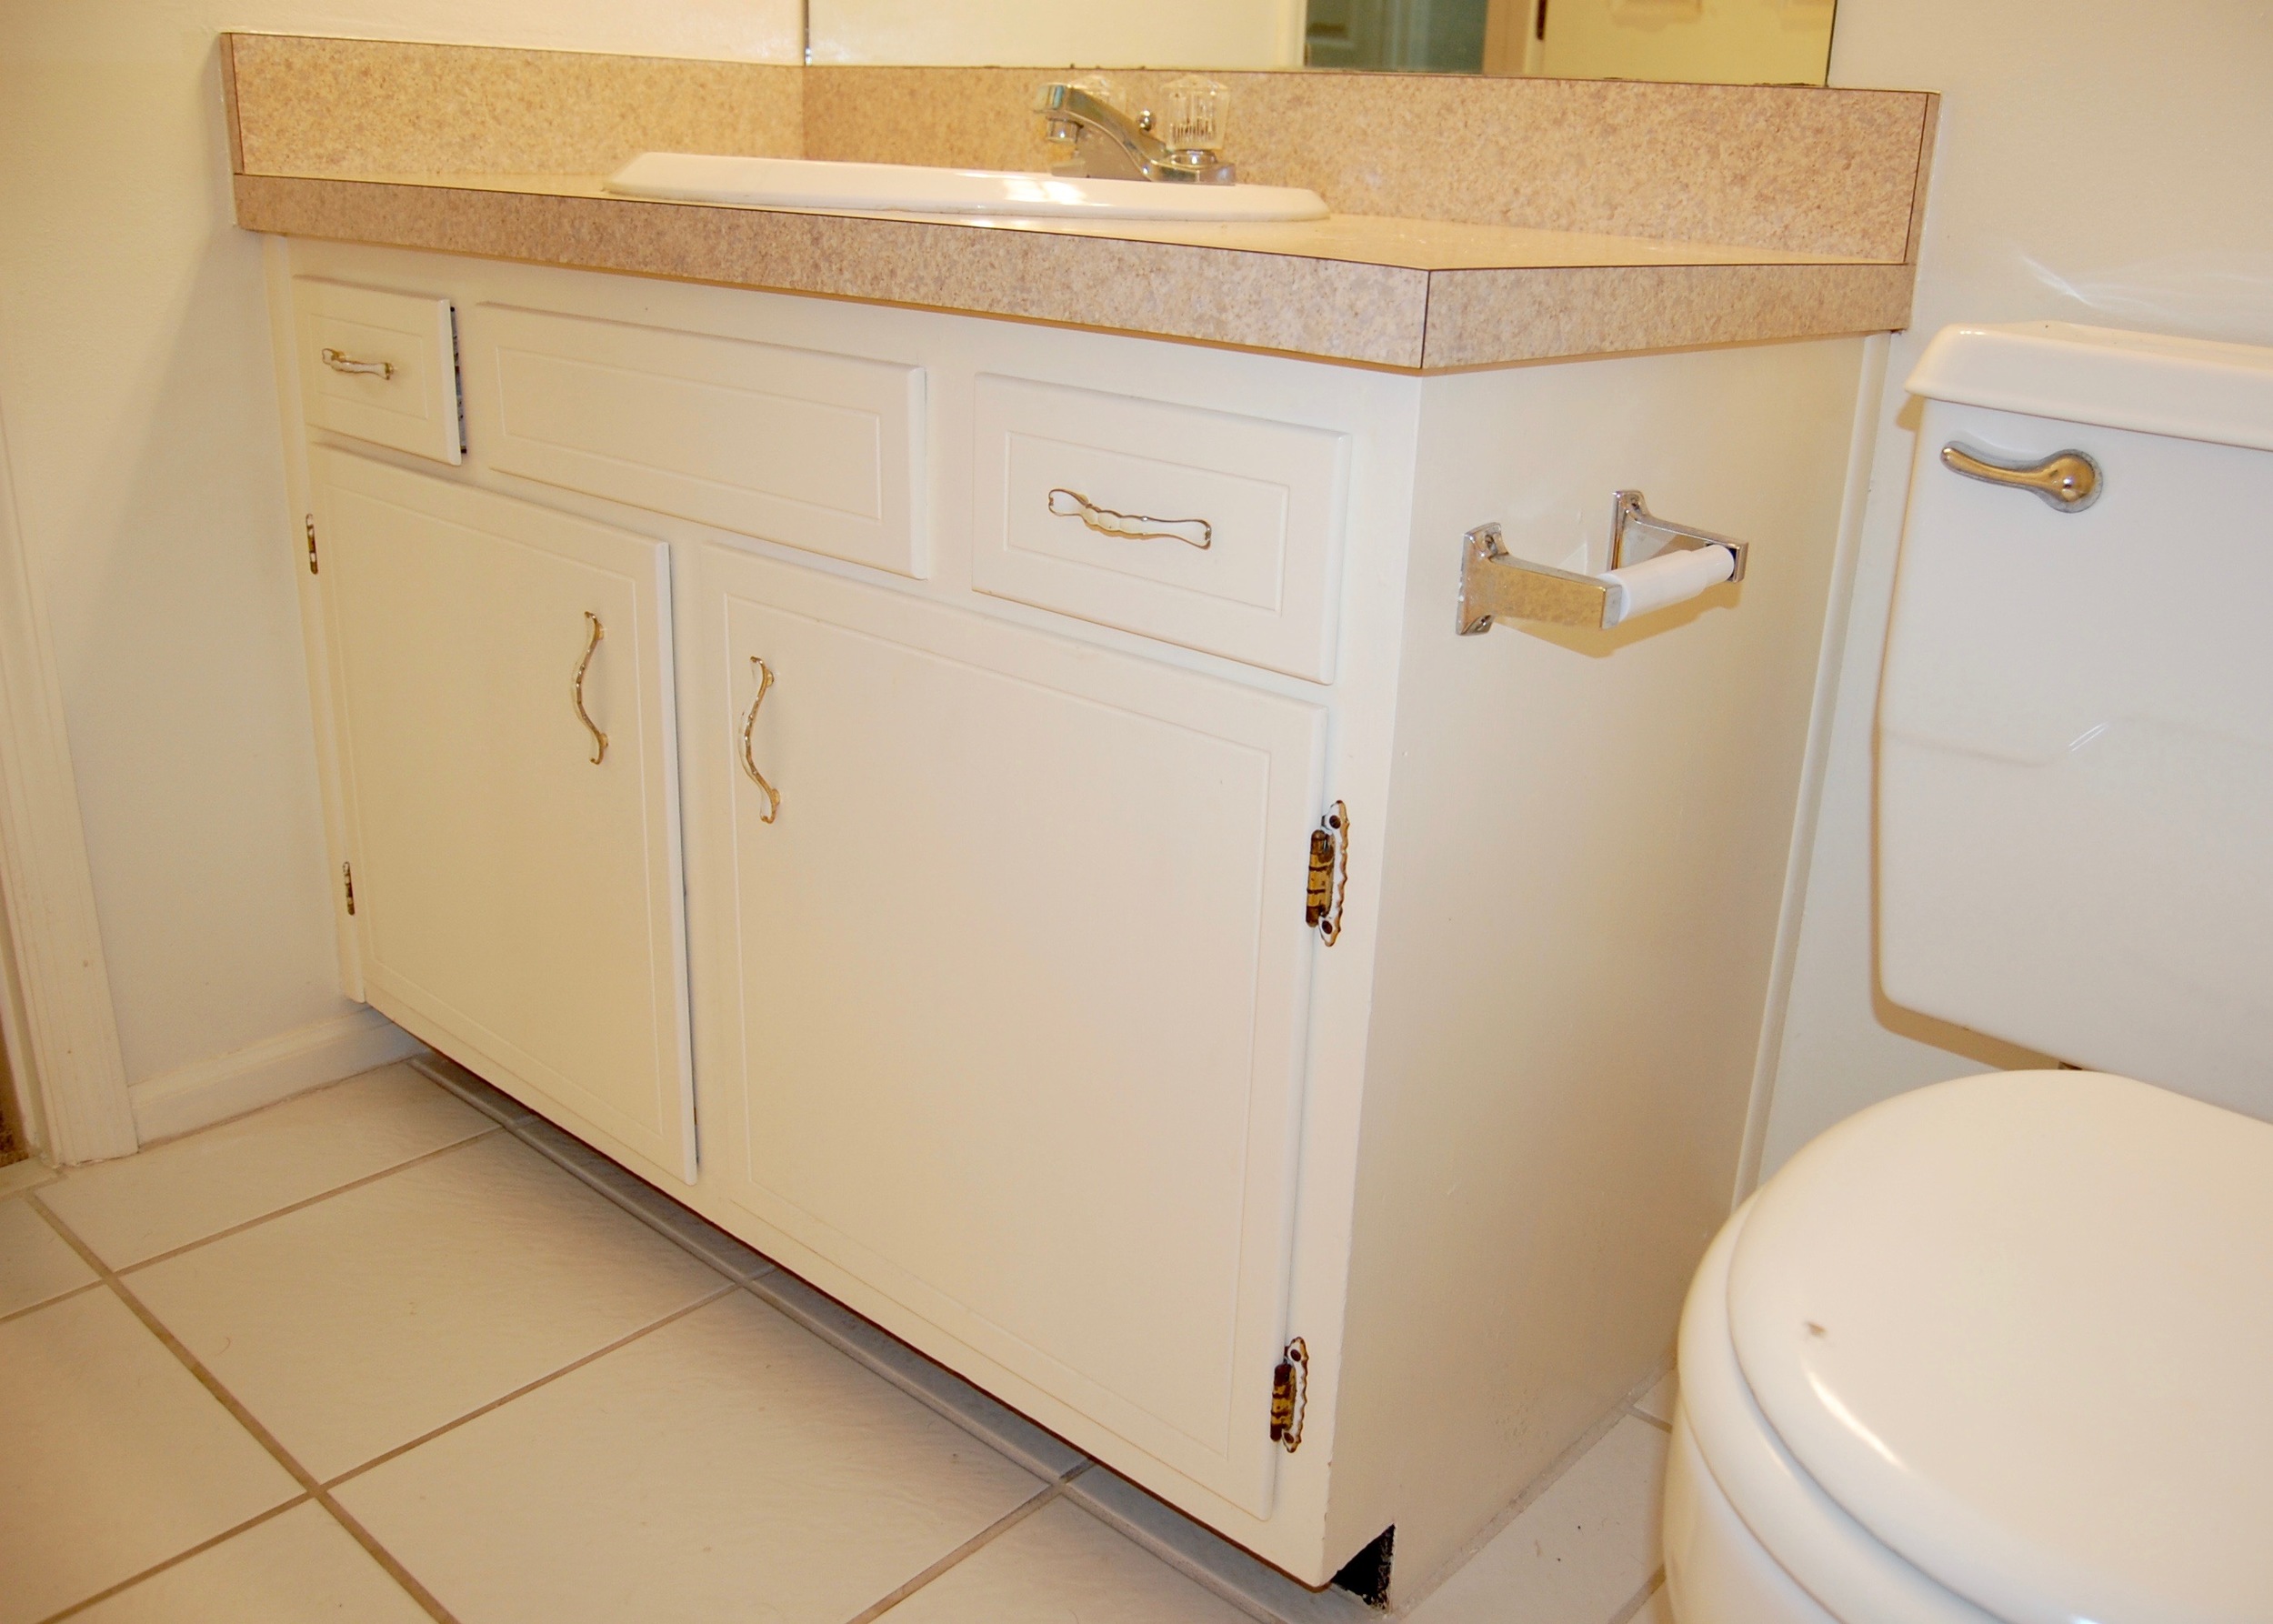
Before: Dated, dreary, and dirty looking
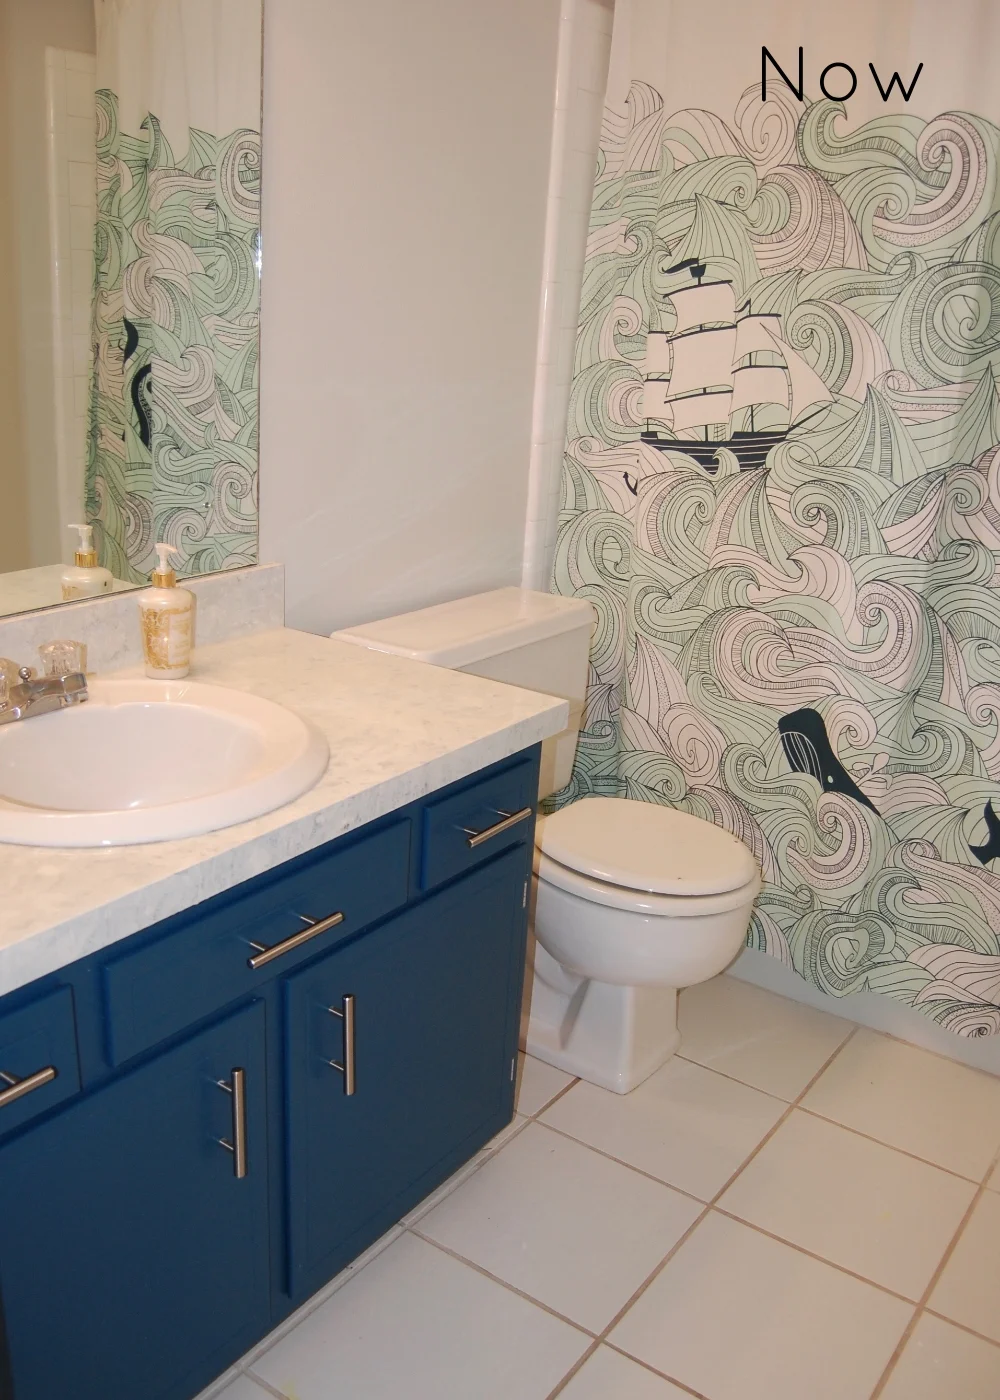
Now: Brighter, and whiter yet more colorful
The bathroom cabinet has been nearly complete for quite a while, the only thing that was stopping us from completing it was the installation of a tip out drawer in the place of the cabinet’s false drawer front. This sounds easy enough, but it was a complete nightmare. I will go into the tilt out drawer a bit more next time, but for now, bask in the pretty completed cabinet.
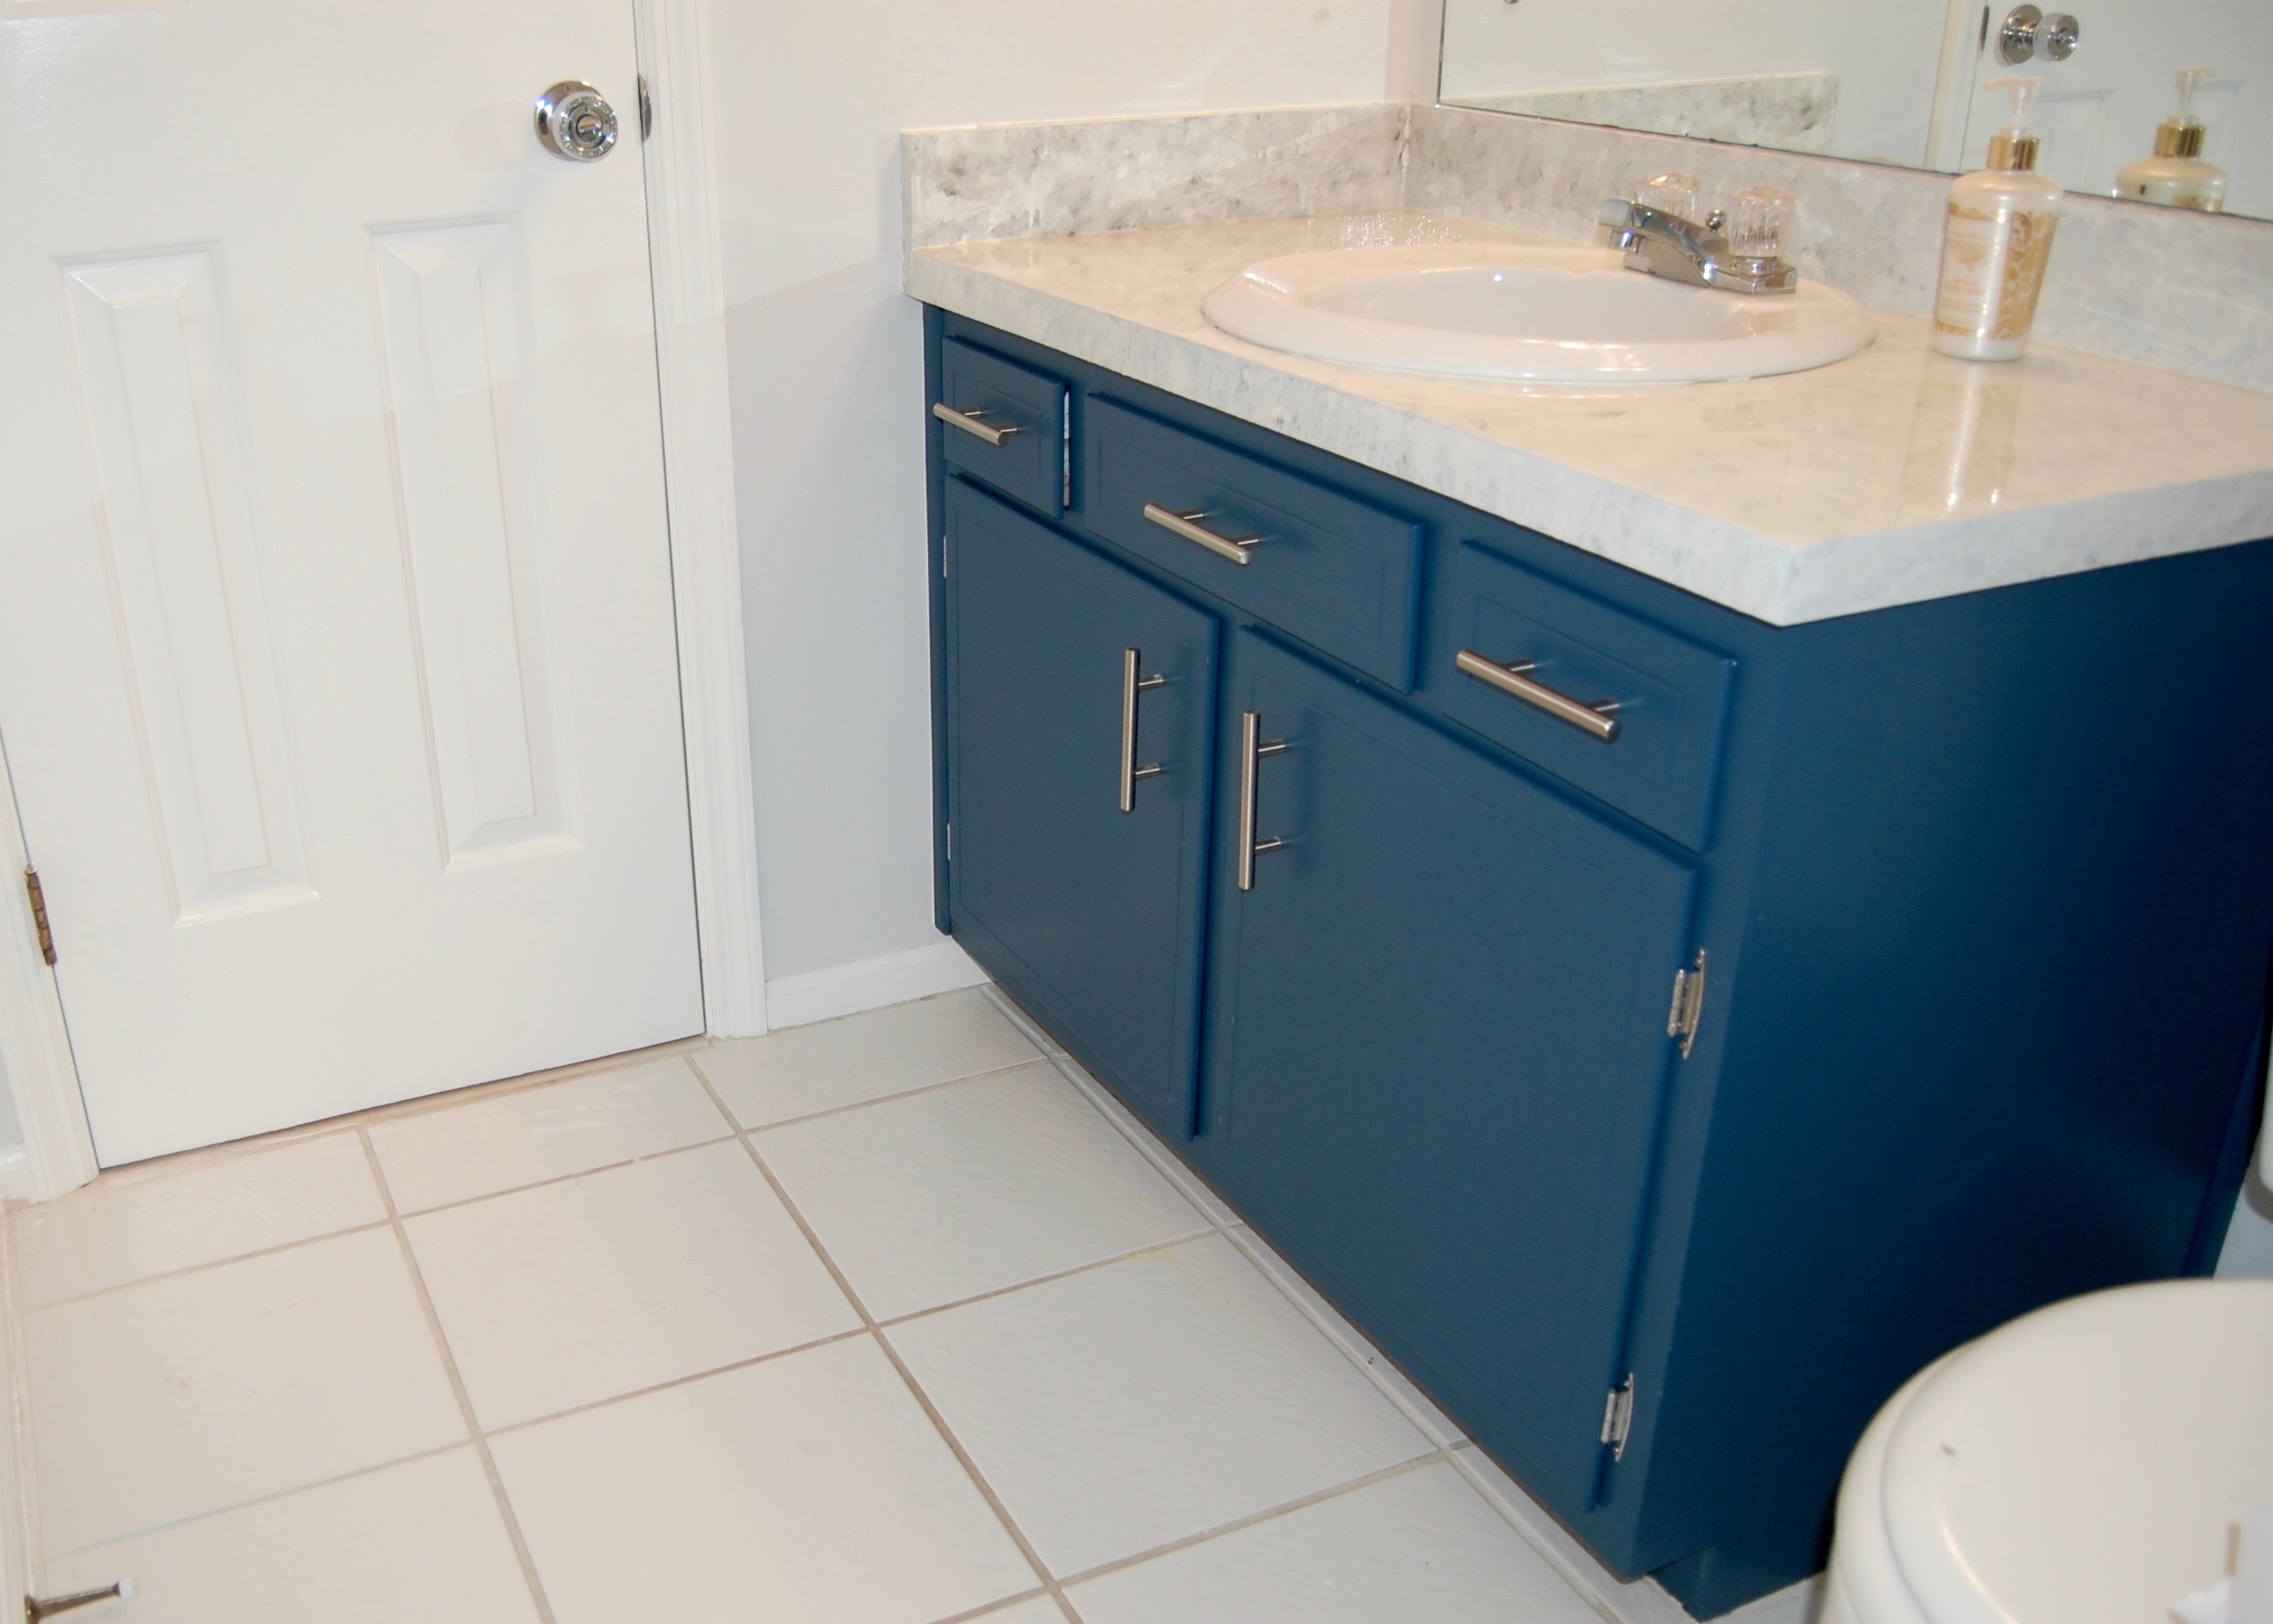
The color is Everglade Green by Clark + Kensington, color matched to Valspar’s Interior Satin wall and trim. We wanted to match the dark blue of the shower curtain and actually took the curtain to several stores before we found Everglade Green. Initially wasn’t completely sure of the color (while it was the closest I could find it still wasn't a perfect match) so I just got a small tester can. I ended up painting the entire cabinet with just the tester (total cost $4). I may eventually polyurethane over the paint if it starts to wear a little too fast, but for now it is holding up pretty well.
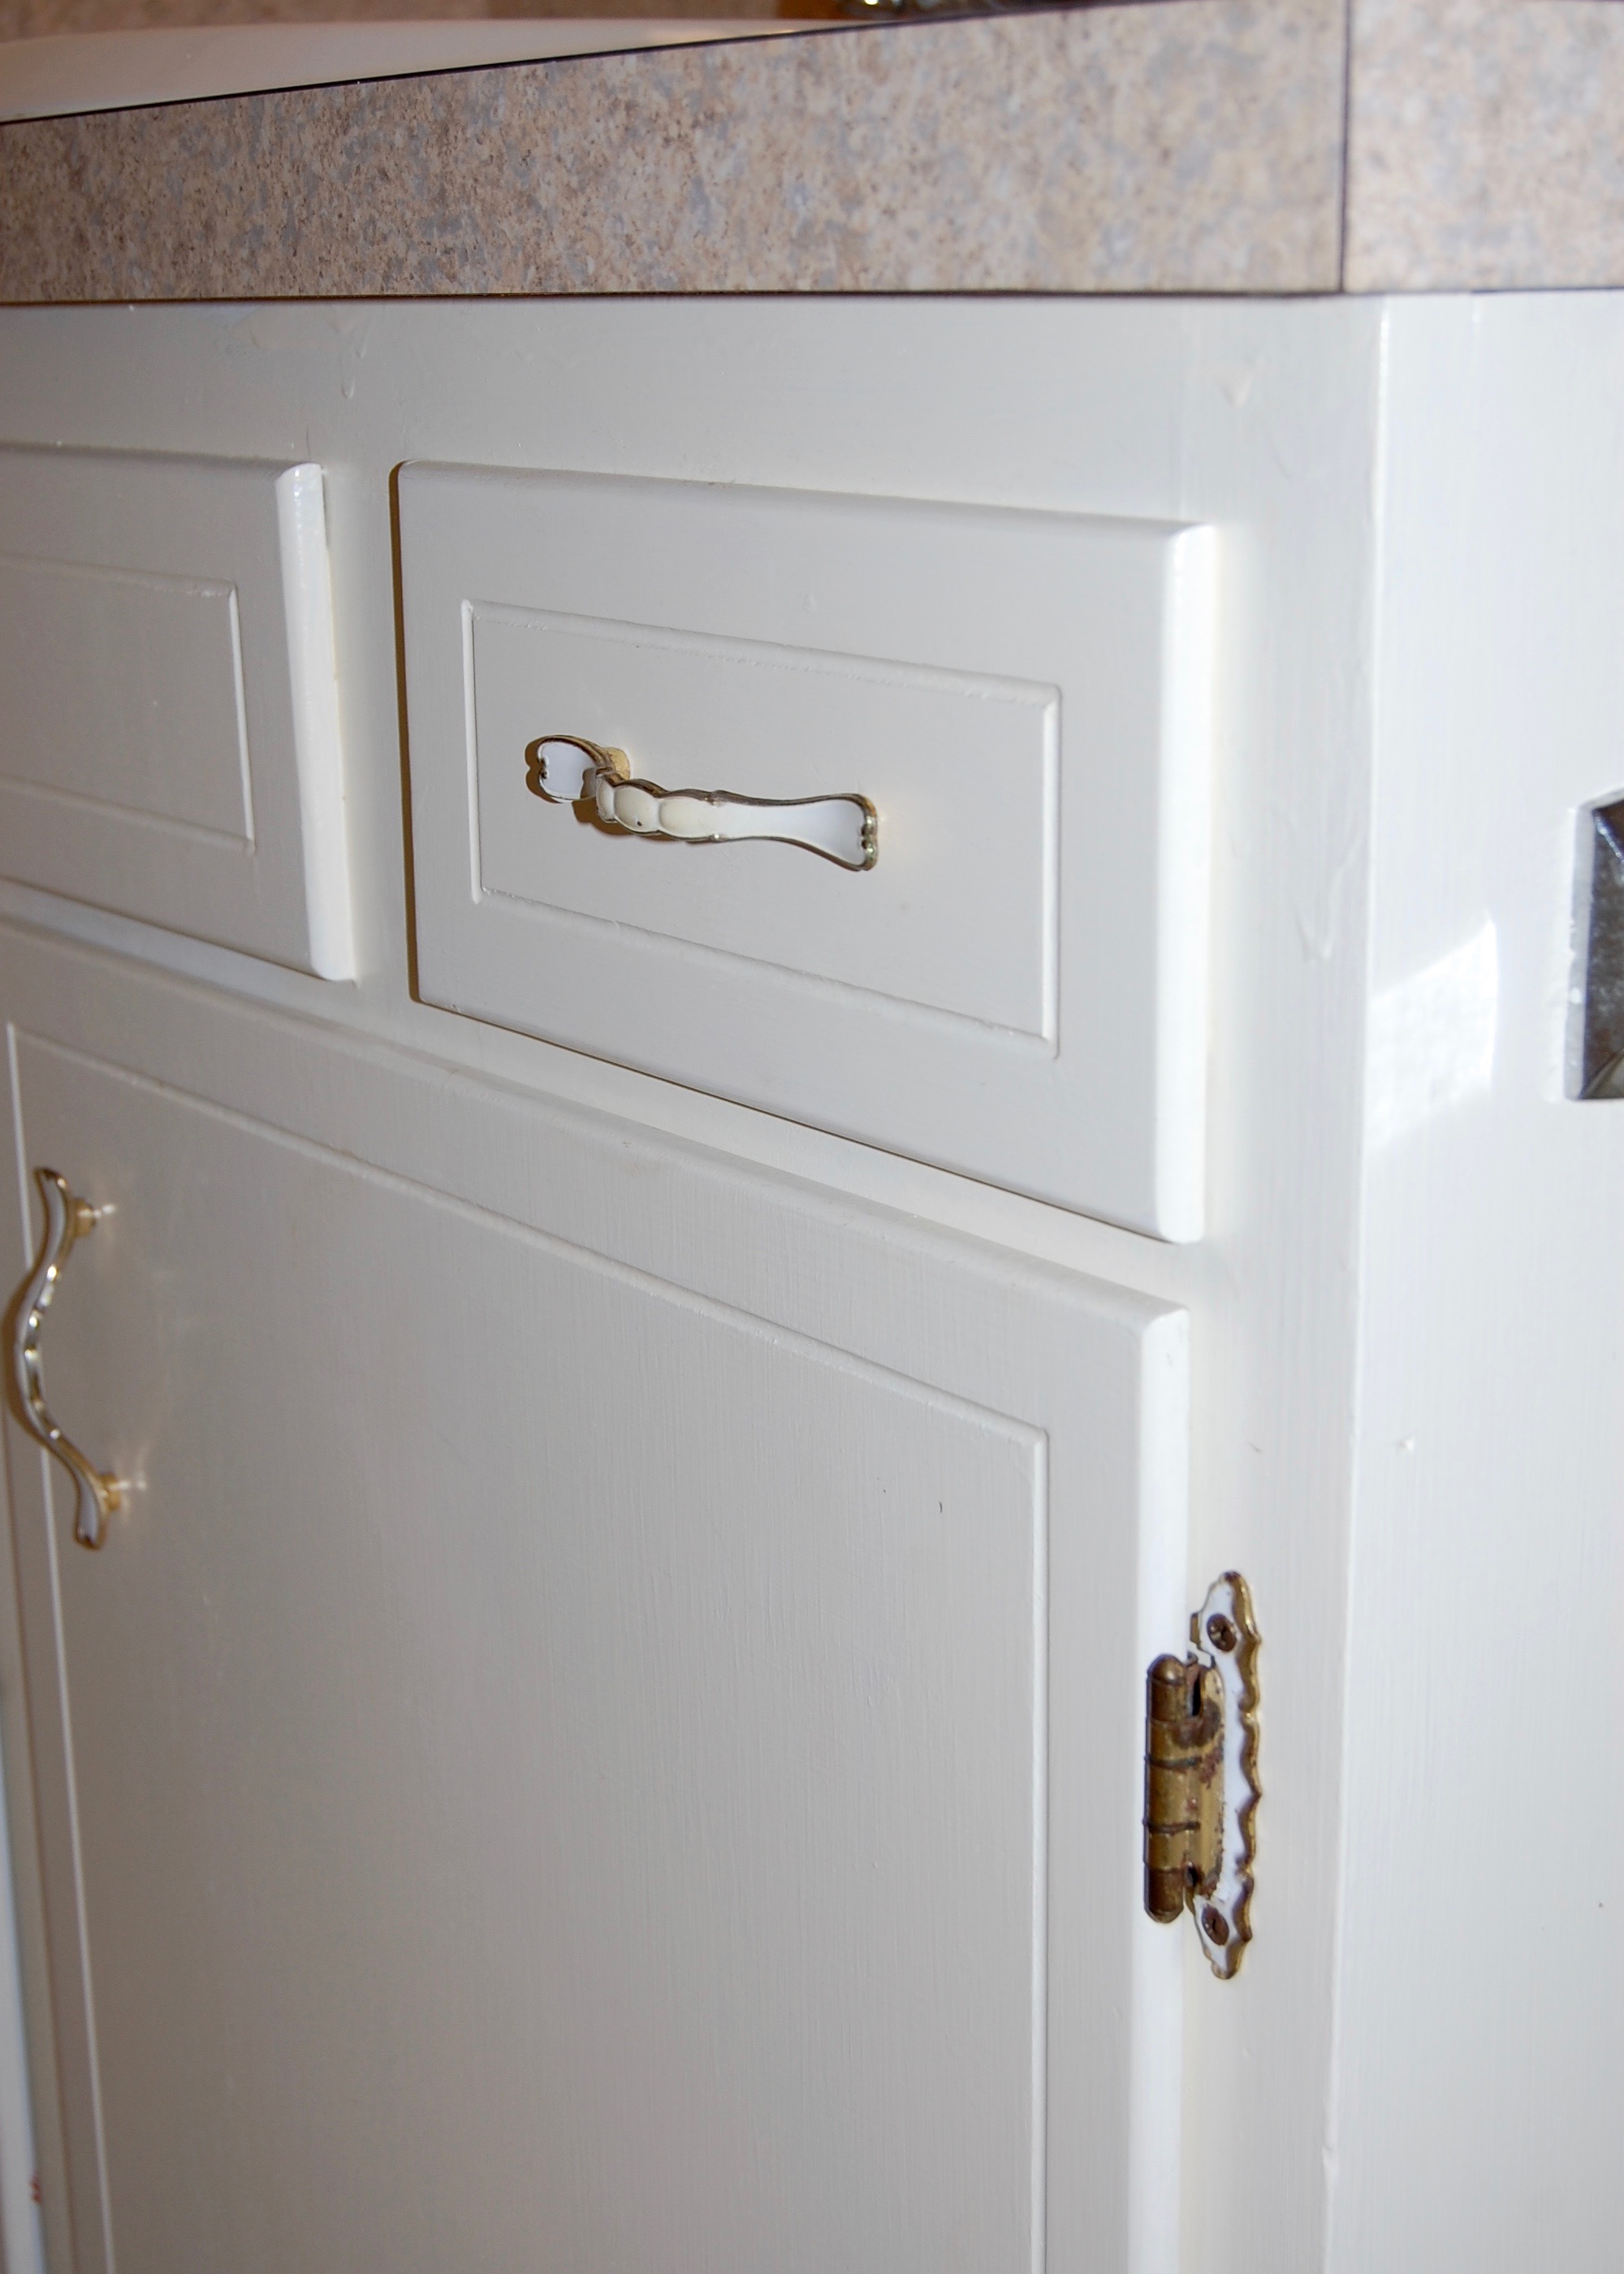
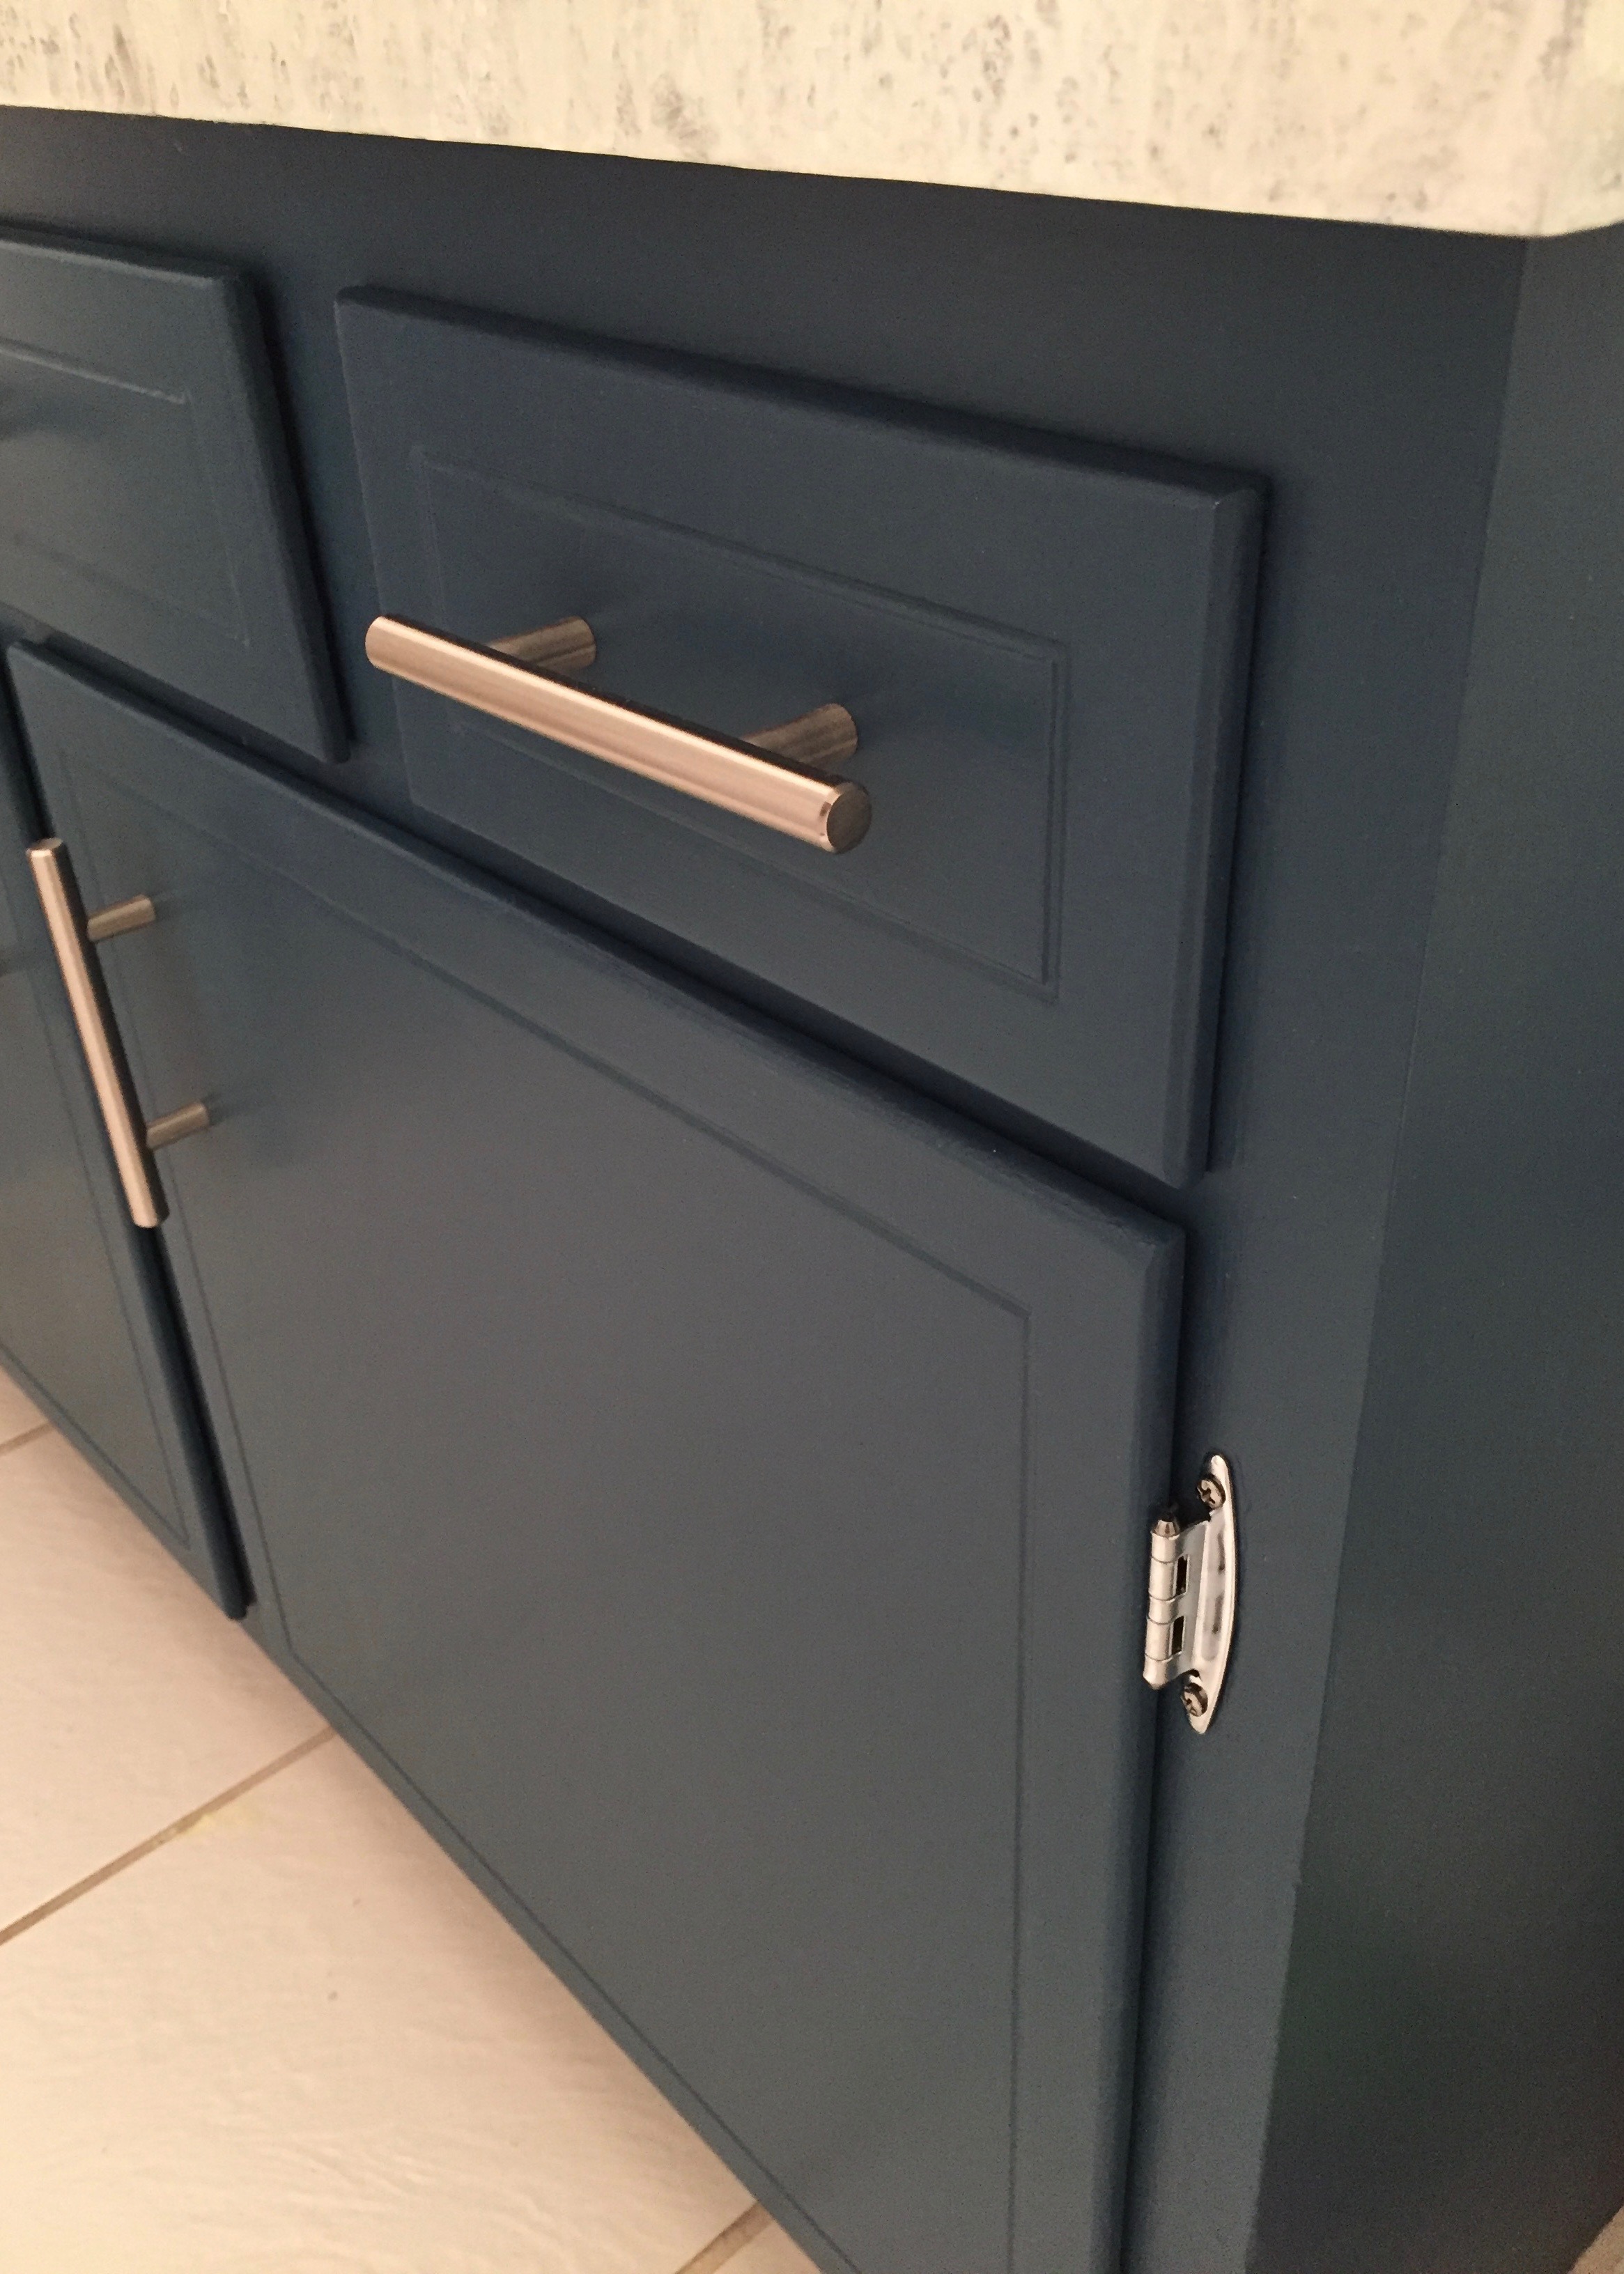
We also changed out all of the cabinet’s hardware. The old stuff was just a bit too frumpy for our sleek new look. The hinges are super basic chrome hinges from home depot similar to these. They were about $1.50 each, or $6 for entire cabinet. The European Steel Bar Style handles, by Franklin Brass were another Amazon steel. We got 10 for $16.99, about a $1.70 each (as of this writing they are currently $26.00 for 10, or $2.60 each). I am pretty happy with the quality of these and would definitely get them again, however, they were not as shiny as I expected them to be.
Total exterior transformation cost $18.50, not too shabby.
This post contains affiliate links, all opinions are my own.


