Tile doesn't sand
/If you have ever watched Supernatural, you know that the beginning of every show starts with backstory. So much happens in each show that missing a couple of shows would leave you completely lost. The backstory provides the context for the current insanity and makes it seem like the logical progression of events rather than a complete plot twist. I feel like this post deserves backstory, so that you will know what brought us to this point. We got to the current insanity through a logical progression of events.
We started out just a few weeks ago with the dream of a quick bathroom refresh. A little paint here, some accessories there, and voila, a brand new bathroom. Sure we wanted to fix a few small things along the way and remove those disgusting shower doors, but those were quick projects that wouldn’t take any time at all, right?
Wrong! We were wrong. So far everything has taken about twice as long as we expected it to. Well that was until we tried to deal with the tub surround tiles that looked pink after painting the bathroom. This project was supposed to take a day of work, and 3 days of dry time. So far it has already taken 2 weeks, and we are all feeling a bit crazed.
So, what brought us to this point? Here is the back story;

Sickly Beige Tile.
Next to our swatch of Paper White paint, our tiles looked sickly beige. While I am not a fan of sickly beige, I felt like it wouldn’t stand out, and I could pretend that they were just slightly off white and I could live with it until we were able to do a full bathroom remodel in a couple of years.
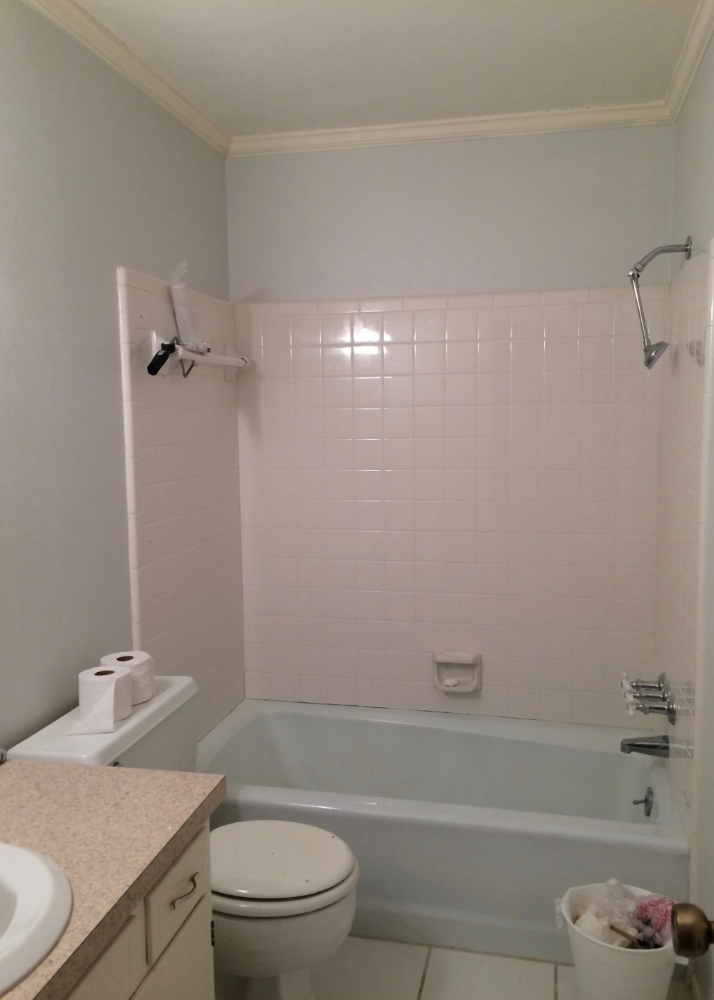
Tile looks pink after painting.
Once the Paper White covered the entire wall the tile no longer looked sickly beige.... it looked pink. I will admit, I had been hoping that the slightly cool Paper White would tone down the yellow in the tile a little bit, but it worked a little too well. The yellow undertones in the tile were nearly eliminated, but the red undertones were accentuated.
After about a day of trying to convince myself that the pink tile didn’t bother me (and failing miserably), I started looking for a solution. I had a couple of options;
- Living with the pink tile until we could do a complete remodel, the pink grating on my aesthetic sensibilities every time I walked by the bathroom.
- Getting one of those drop in plastic bathtub surrounds (I would rather live with the pink tile)
- Tiling the bathtub surround (I seriously considered this option, but it was so far out of the budget that this really wasn’t a viable possibility)
- Painting the tile
Painting the tile is not something I would have EVER considered prior to this, but suddenly it was an option that seemed filled with possibly. Since we had already removed all of the caulk there wouldn't be that much prep work. It would only take a couple of days from start to finish. I wouldn't have to spend a fortune on new tile, and I could get the white tile I had wanted in the first place. I could have my cake and eat it too. In retrospect, painting the tile was too good to be true, and I should have seen this as a warning sign from the beginning.
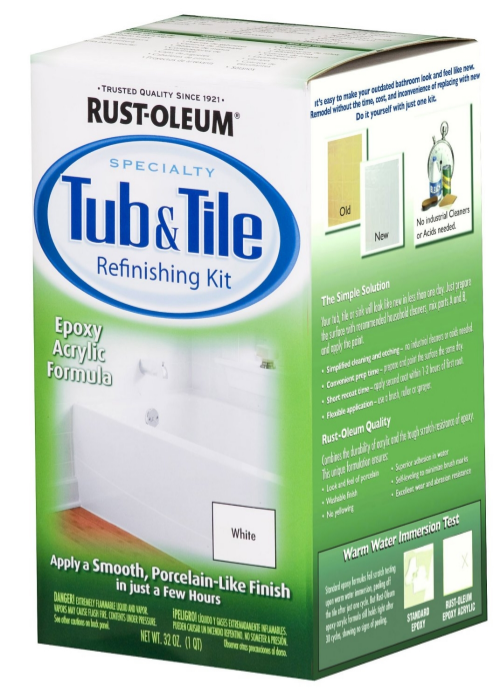
We decided to go with the Rust-oleum Tub and Tile refinishing kit. It is a 2 part epoxy acrylic paint that can be rolled on like standard wall paint, but should hold up well under high humidity. It was only $25 on Amazon when we bought it, and it had pretty great reviews. The only warning we repeatedly saw from the Amazon reviewers was that the tile needed to be well prepared. "No problem," we thought. The kit would be delivered in two days (thanks Prime!), and we would do the prep while we were waiting on the kit and dive right into the painting when it arrived.
What did the prep entail you ask?
- Removing all of the caulk from the tile that would be painted
- Sanding the tile.
We had this in the bag. We had already removed the caulk - step one done. All we had left to do was sand the tile. The Amazon reviewers really stressed this part. The most knowledgeable (sounding) among them recommended that the shine be removed from the tile so that the paint would be able to grip the tile. This made perfect sense (its what you do when you refinish wood), so this is what we set out to do.

Our tub spout just twisted off.
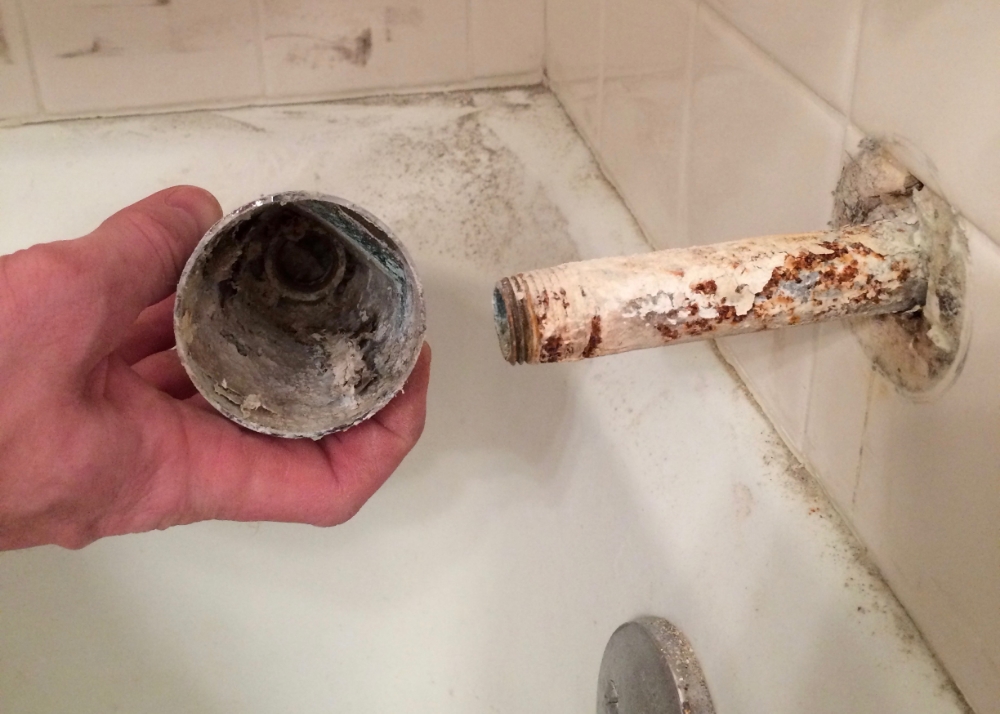
About 40 years worth of hard water deposits.
First we had to remove our newly installed tub faucets, and the tub spout. The tub spout just twisted off. We were shocked to find what we think is nearly 40 years of hard water deposits. It was pretty gross. The good news is that when everything goes back on we will have a shiny new tub spout to match the new faucets.
We started sanding the tile with the 220 grit sandpaper that the kit recommended. It didn't seem to do anything at all.
Then we switches to 60 grit (super course) sandpaper. It made the tile shinier.
I went to the web searching for a tile sanding solution and found Emery paper, a sandpaper made from silicon carbide. We grabbed the only kind they had at Home Depot (which did not fit on any of our electric sanders) and went to town on the tile. It worked, but sanding the tile by hand was maddenly slow.

After the belt sander.
Then finally one day while I was at work Firebeard took out the big guns - the belt sander. While still at work I texted to ask how it was going, and the above picture was the response. All of the flat tile surfaces had been throughly sanded and were ready to be painted, but the curved edges of the tiles were as shiny as ever.
At this point we were starting to get a bit desperate, and I opted for some chemical warfare. Muriatic acid is a fairly strong acid that when pretty heavily diluted is sometimes used as a hail Mary bathroom cleaner. It is used heavily diluted and as a last resort because it has the tendency to remove the shine/finish from tile, porcelain, etc. Fortunately this generally negative tendency of muriatic acid was exactly what we needed. We strapped on the safety gear, and allowed the muriatic acid to eat as much of the remaining finish off the tiles as we dared (while keeping it off of everything else).
After this we did one last round of hand sanding, and then very through cleaning, and we were finally ready to paint.
Next time on, "This is taking significantly longer than we thought it would Mini Bathroom Remodeling Project," the painted tile.
(This post contains affiliate links.)


