Primer on Primer
/This weekend we started refinishing our bathroom countertop, and like nearly every other aspect of this Mini Bathroom Remodel, things didn't go quite to plan. This is the story of how we discovered that not all primers are created equal, and I discovered the primer that I will be using on all shiny surfaces from now on.
The current countertop in our bathroom is a sandy beige laminate, that is very likely original to the house. While it is not the worst looking laminate countertop I have ever seen (our Master Bathroom Countertop is significantly worse), it doesn't match with the rest of our updated bathroom, so we decised to refinish it, since it was an inexpensive alternative to replacing the countertop. Initially we considered overlaying the countertop with concrete, as was done here, but eventually we settled on painting and sealing the countertop, because it was (at least theoretically) faster and less messy than concrete.
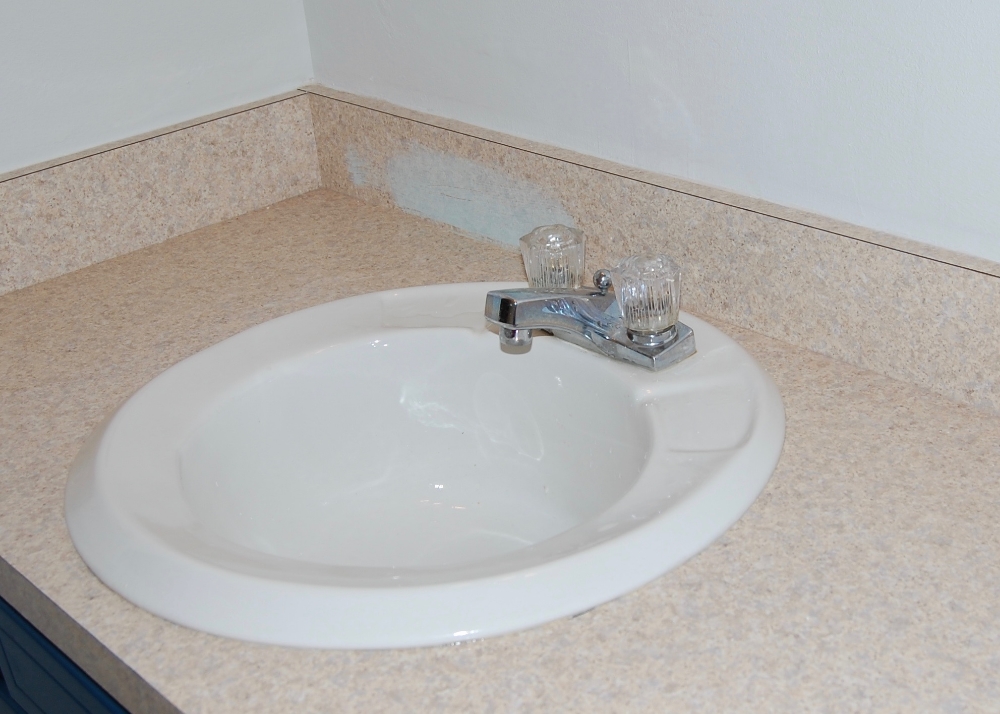
The ORIGINAL countertop - sandy beige.
Since laminate is a hard, slick surface, paint has difficulty sticking to it, so we made sure to prepare the surface for the paint by roughing it up and thoroughly cleaning it. I started with a 150 grit sandpaper, and finished with a 220 grit. There really wasn't much visible difference after the sanding, but the countertop felt subtly less slick. After removing all of the sanding dust I thoroughly cleaned the counter top, first with my normal all purpose cleaner, then with a calcium, lime and rust remover. I have seen a lot of people use TSP to clean countertops and cabinets prior to painting. Personally I wouldn't use TSP to clean any interior surfaces because it needs to be really thoroughly rinsed off with water, and generally I don't want to be using that much water on an interior surface. And because anything that is worth doing is worth overdoing, as a last step before paint I used a de-glosser, also known as liquid sandpaper, to further remove the shine from the countertop. Oh, and we also lifted the sink out a bit so I could paint under the lip – no shortcuts here. Then it was go time.

Sanded, cleaned, sink elevated, taped and ready to be painted.
I had a giant container of Kilz Hide-All Primer (similar here) left over from another project so I decided to use that. It was after all primer, and it had worked perfectly fine on other projects, and as they say waste not want not (foreshadowing anyone?). This is what it looked like after the first coat – not too shabby.

After one coat of kilz hide-all primer
After waiting the prescribed recoat time I went back in for a second coat, and that is when things went wrong. As I began painting I accidently scraped the dry surface with a fingernail. The paint didn’t scratch – it completely came off. I tried to simply fill in the hole with more paint, but as I did so additional paint began to bubble up. I decided that perhaps I hadn’t waited long enough – paint drying times are not exact after all. So I carefully scraped off the bubbling paint, and still more carefully patched the hole I had made with more paint. Then I left the mess to dry ever longer.
Several hours later (around 10 o’clock at night), I went back to the bathroom to put on the second coat of paint before I went to bed so that it would be ready for its 3rd coat in the morning. Before I got started I gently touched the dry paint and it came off in my hand. Tired and frustrated at a day wasted, I began scraping off the paint. It was so poorly adhered that it came off in wide swaths, and only 10 minutes later I was done. The countertop looked exactly as it had before I had started painting.
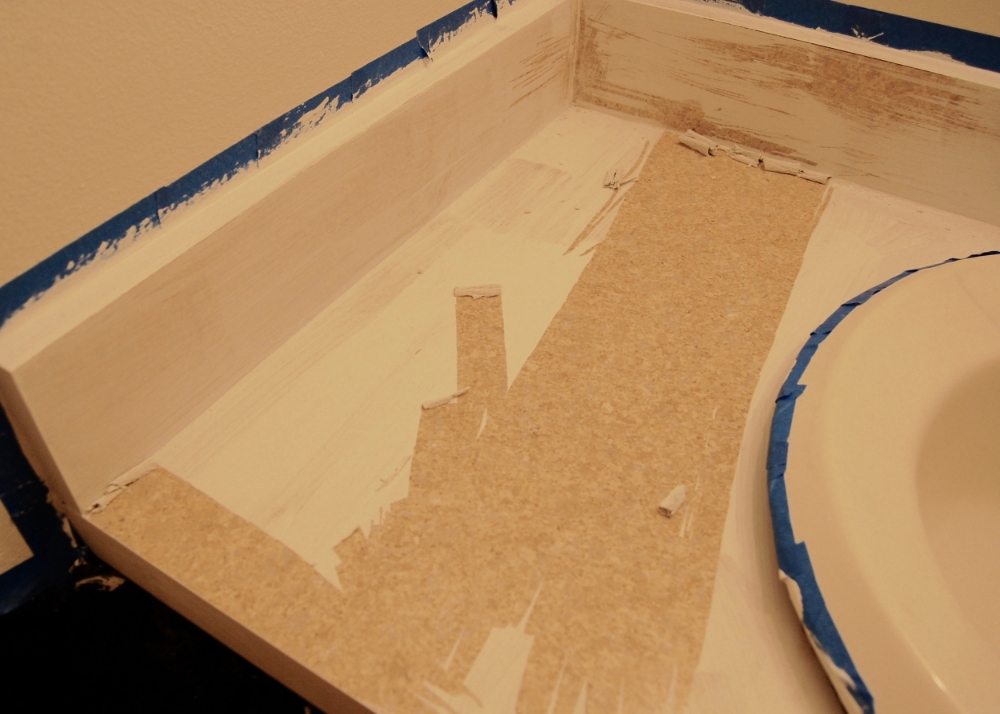
Kilz hide-all primer coming off in strips.

After ten minutes of scraping the countertop is back to it's previous state.
To ward off nightmares of endless repetitions of painting and scraping and repainting, I began my research into primer types and their applications that night. I had seen examples online where countertops had been successfully painted so I knew it could be done, but most of the time the bloggers that had done the painting didn’t specify the type of primer used. I had to go a bit deeper and ended up searching on the major Primer Manufacturer’s websites. On the Zinsser website I found a likely candidate, Zinsser Bin, which was touted as ideal for hard slick surfaces. Zinsser Bin is a shellac formula primer with an alcohol base. This primer cures in about 45 minutes (once all of the alcohol evaporates), and water based paints can be used on top of it. I decided that I would go straight to the hardware store the next morning to pick some up, and had mercifully paint free dreams that night.
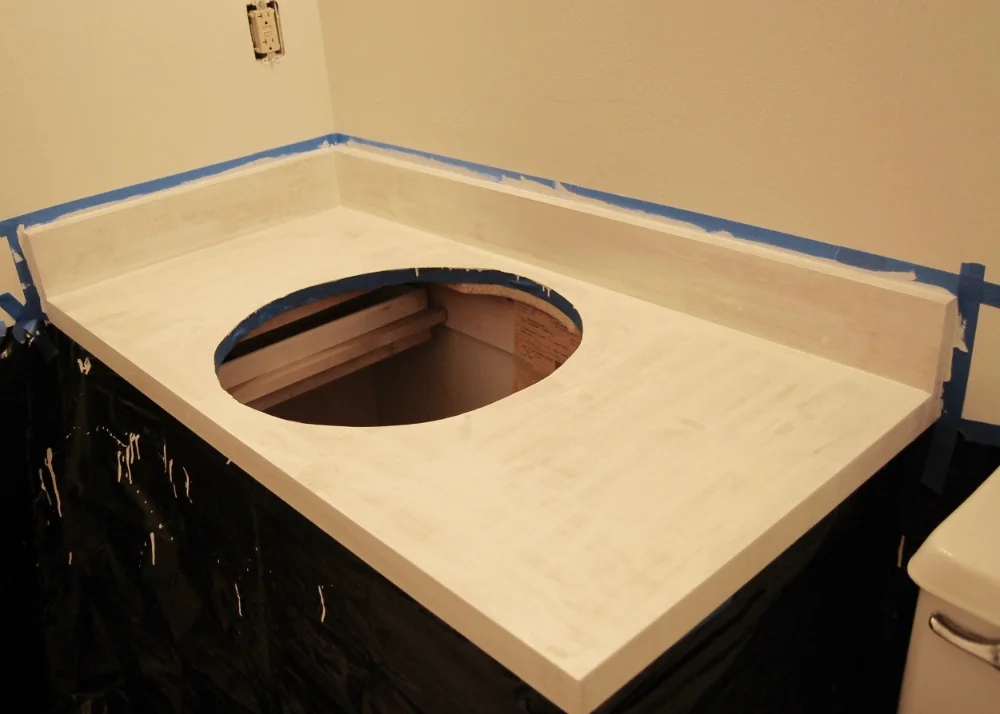
The next morning Firebeard helped me remove the sink completely (it was a pain to work around) and I sanded and cleaned the countertop again before we headed to the hardware store. I was able to pick up a quart of the primer for $13, and had it shaken at the store (apparently alcohol based paint separates pretty easily). I also picked up some cheap foam brushes to apply the primer because it does not clean up with soap and water. When we got home I set to work.

Re-sanded, Re-cleaned, re-taped and sink removed - Ready for round two
The Zinsser primer was much thinner than I expected but went on pretty easily. The whole bathroom smelled like alcohol for about an hour after painting, but it was by no means the worst smell we have encountered in this mini remodel. Below is what it looked like after application. It seemed about the same as the Kilz primer after its first coat, so I wasn’t holding my breath expecting success. I was in fact expecting another failure, and wondering if home depot would take it back as defective.
After a coat of Zinsser Bin.
After an hour I nervously came back into the bathroom and gently scratched the countertop – nothing happened. I couldn’t believe my eyes, surely this was a fluke, so I scratched a bit harder – still no damage. The primer stuck! It worked! Finally something had gone to plan! I was so excited I think I might have danced a little jig. We were back in business.
So I have officially found my go to shiny, hard surface primer – Zinsser Bin. And until it fails me, or I find something better, I am going to preach it to the masses in blog land. Zinsser Bin is, as far as I know, the best primer out there for shiny hard surfaces. If you are planning to paint your laminate countertop, save yourself a headache and a day of wasted work, and start with this stuff.
Next time I hope to show you the finished, refinished countertop in all of its shiny glory. Until then, please let me, and fellow readers, know about your favorite primers and their ideal applications in the comments.
This post contains affiliate links. All opinions are my own.


