DIY Midori Style Traveler's Notebook
/
Recently, my friend the Good Doctor directed me to the Darbin Orvar You Tube Channel, and I fell in love. It is filled with DIY ideas, and building projects that are simple, creative, and beautiful. One of the projects that immediately caught my attention was their DIY Midori Style Traveler's Notebook, and I knew I had to make it. Unfortunately, the Darbin Orvar Tutorial was a bit light on measurements, so I had to figure out a few things as I went along. It really wasn't a problem, because the notebook is really very simple, but I thought I would share the measurements I used, in case it helps out anyone in the future.
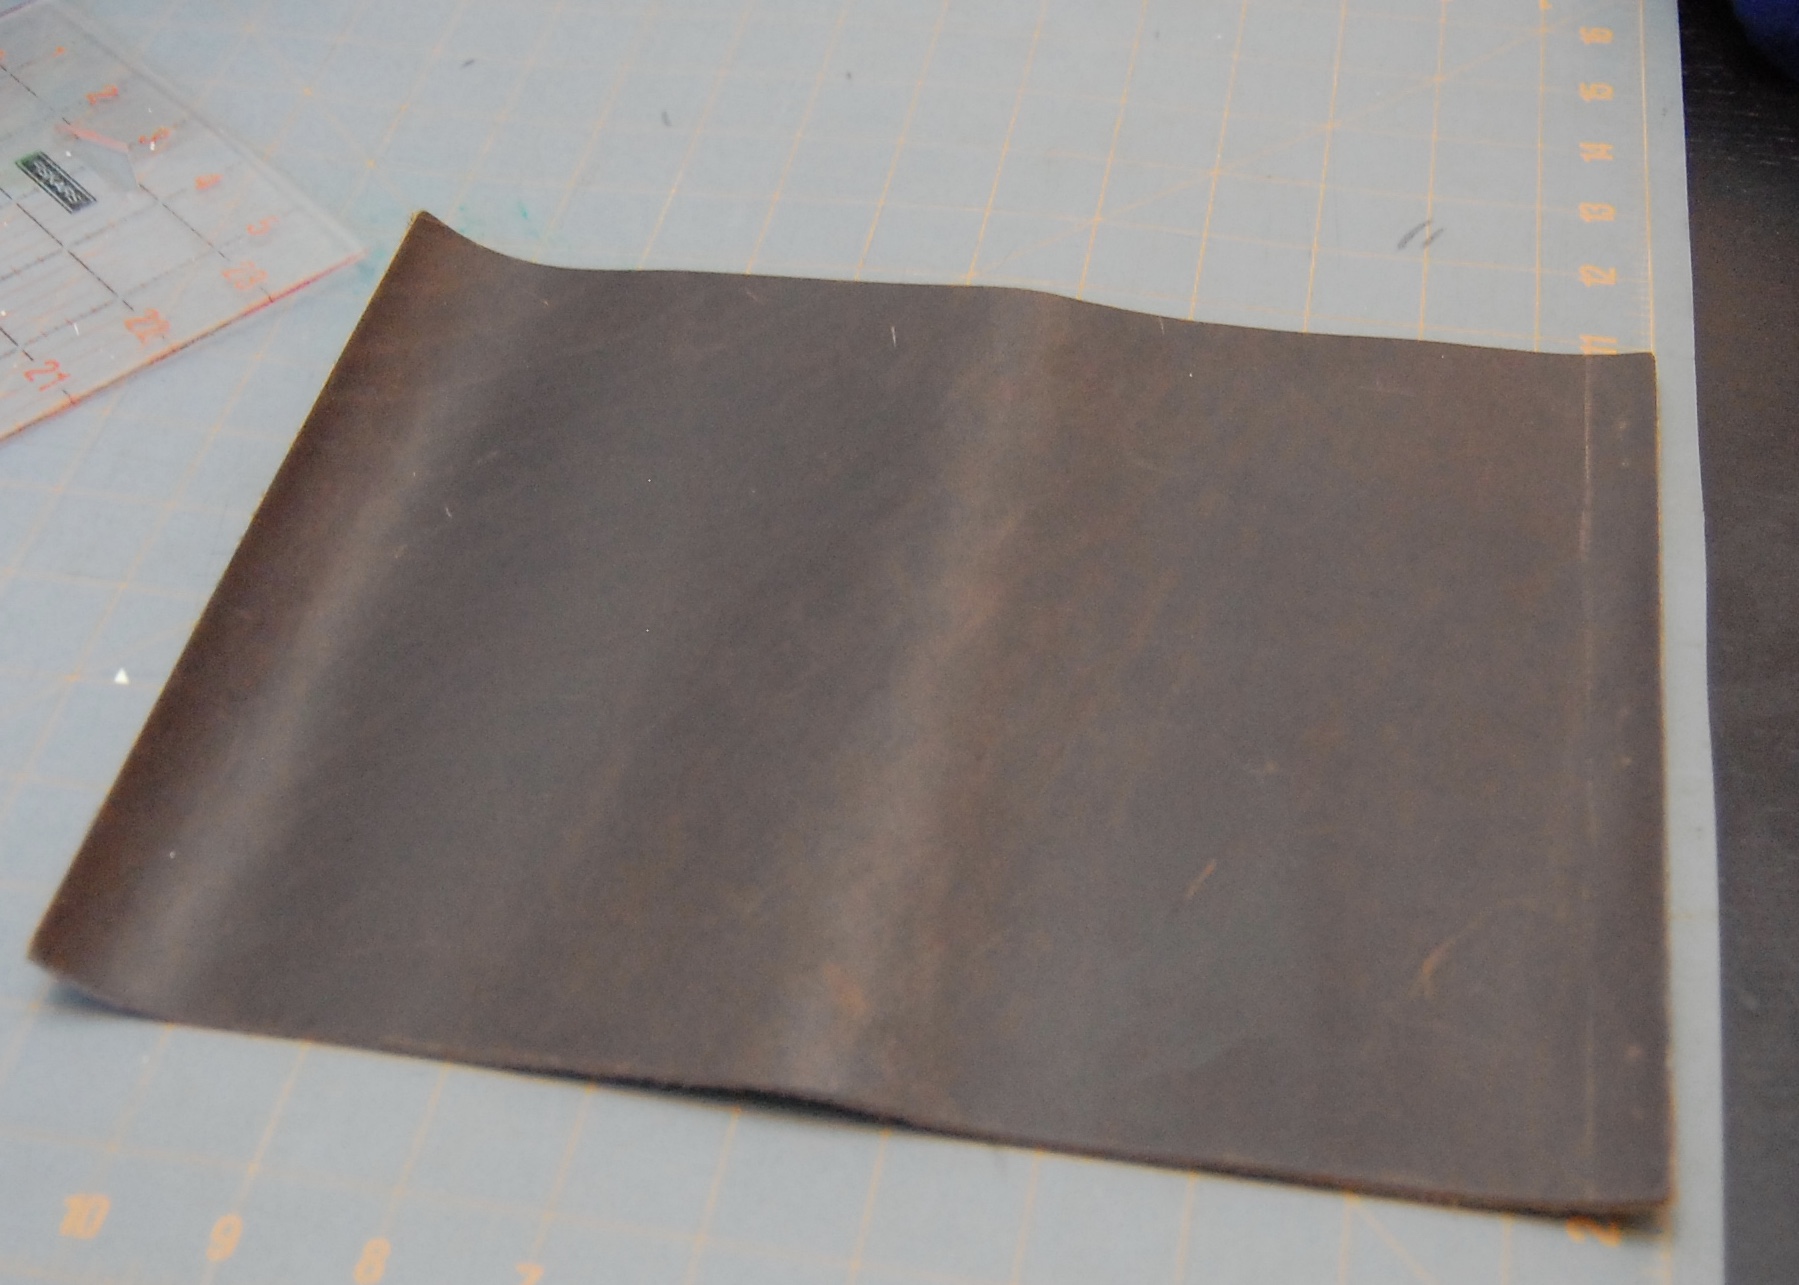
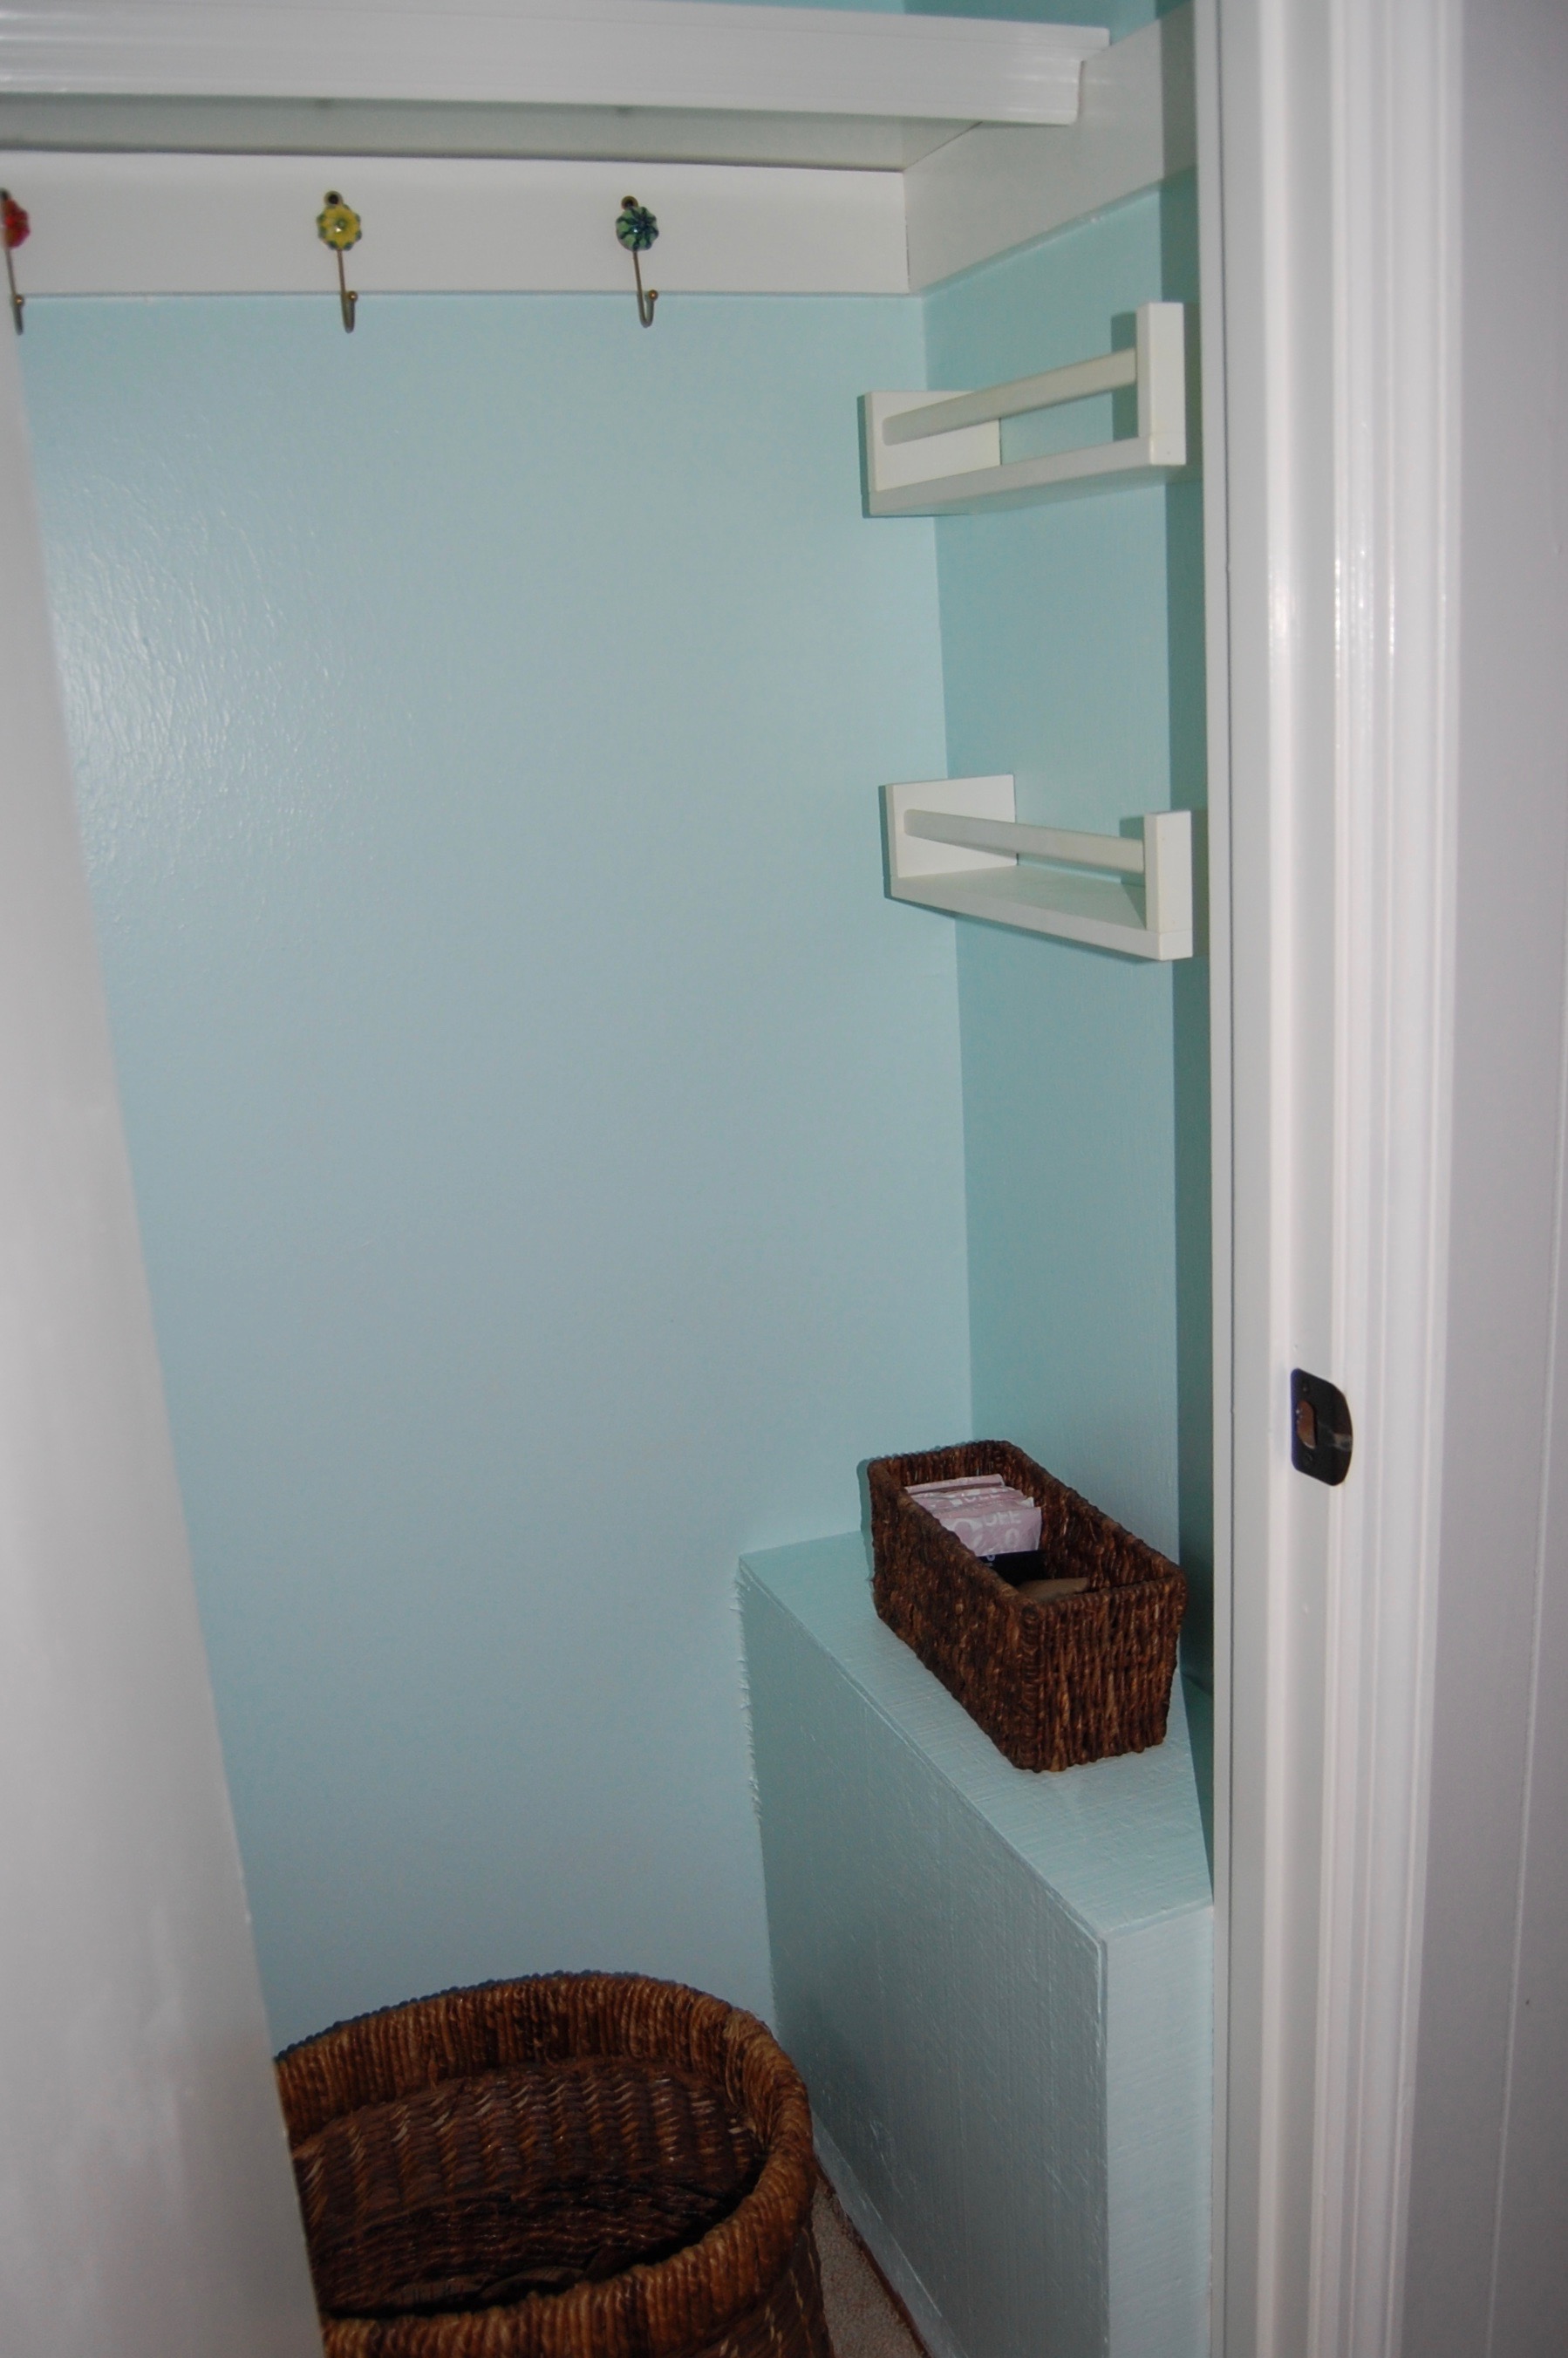
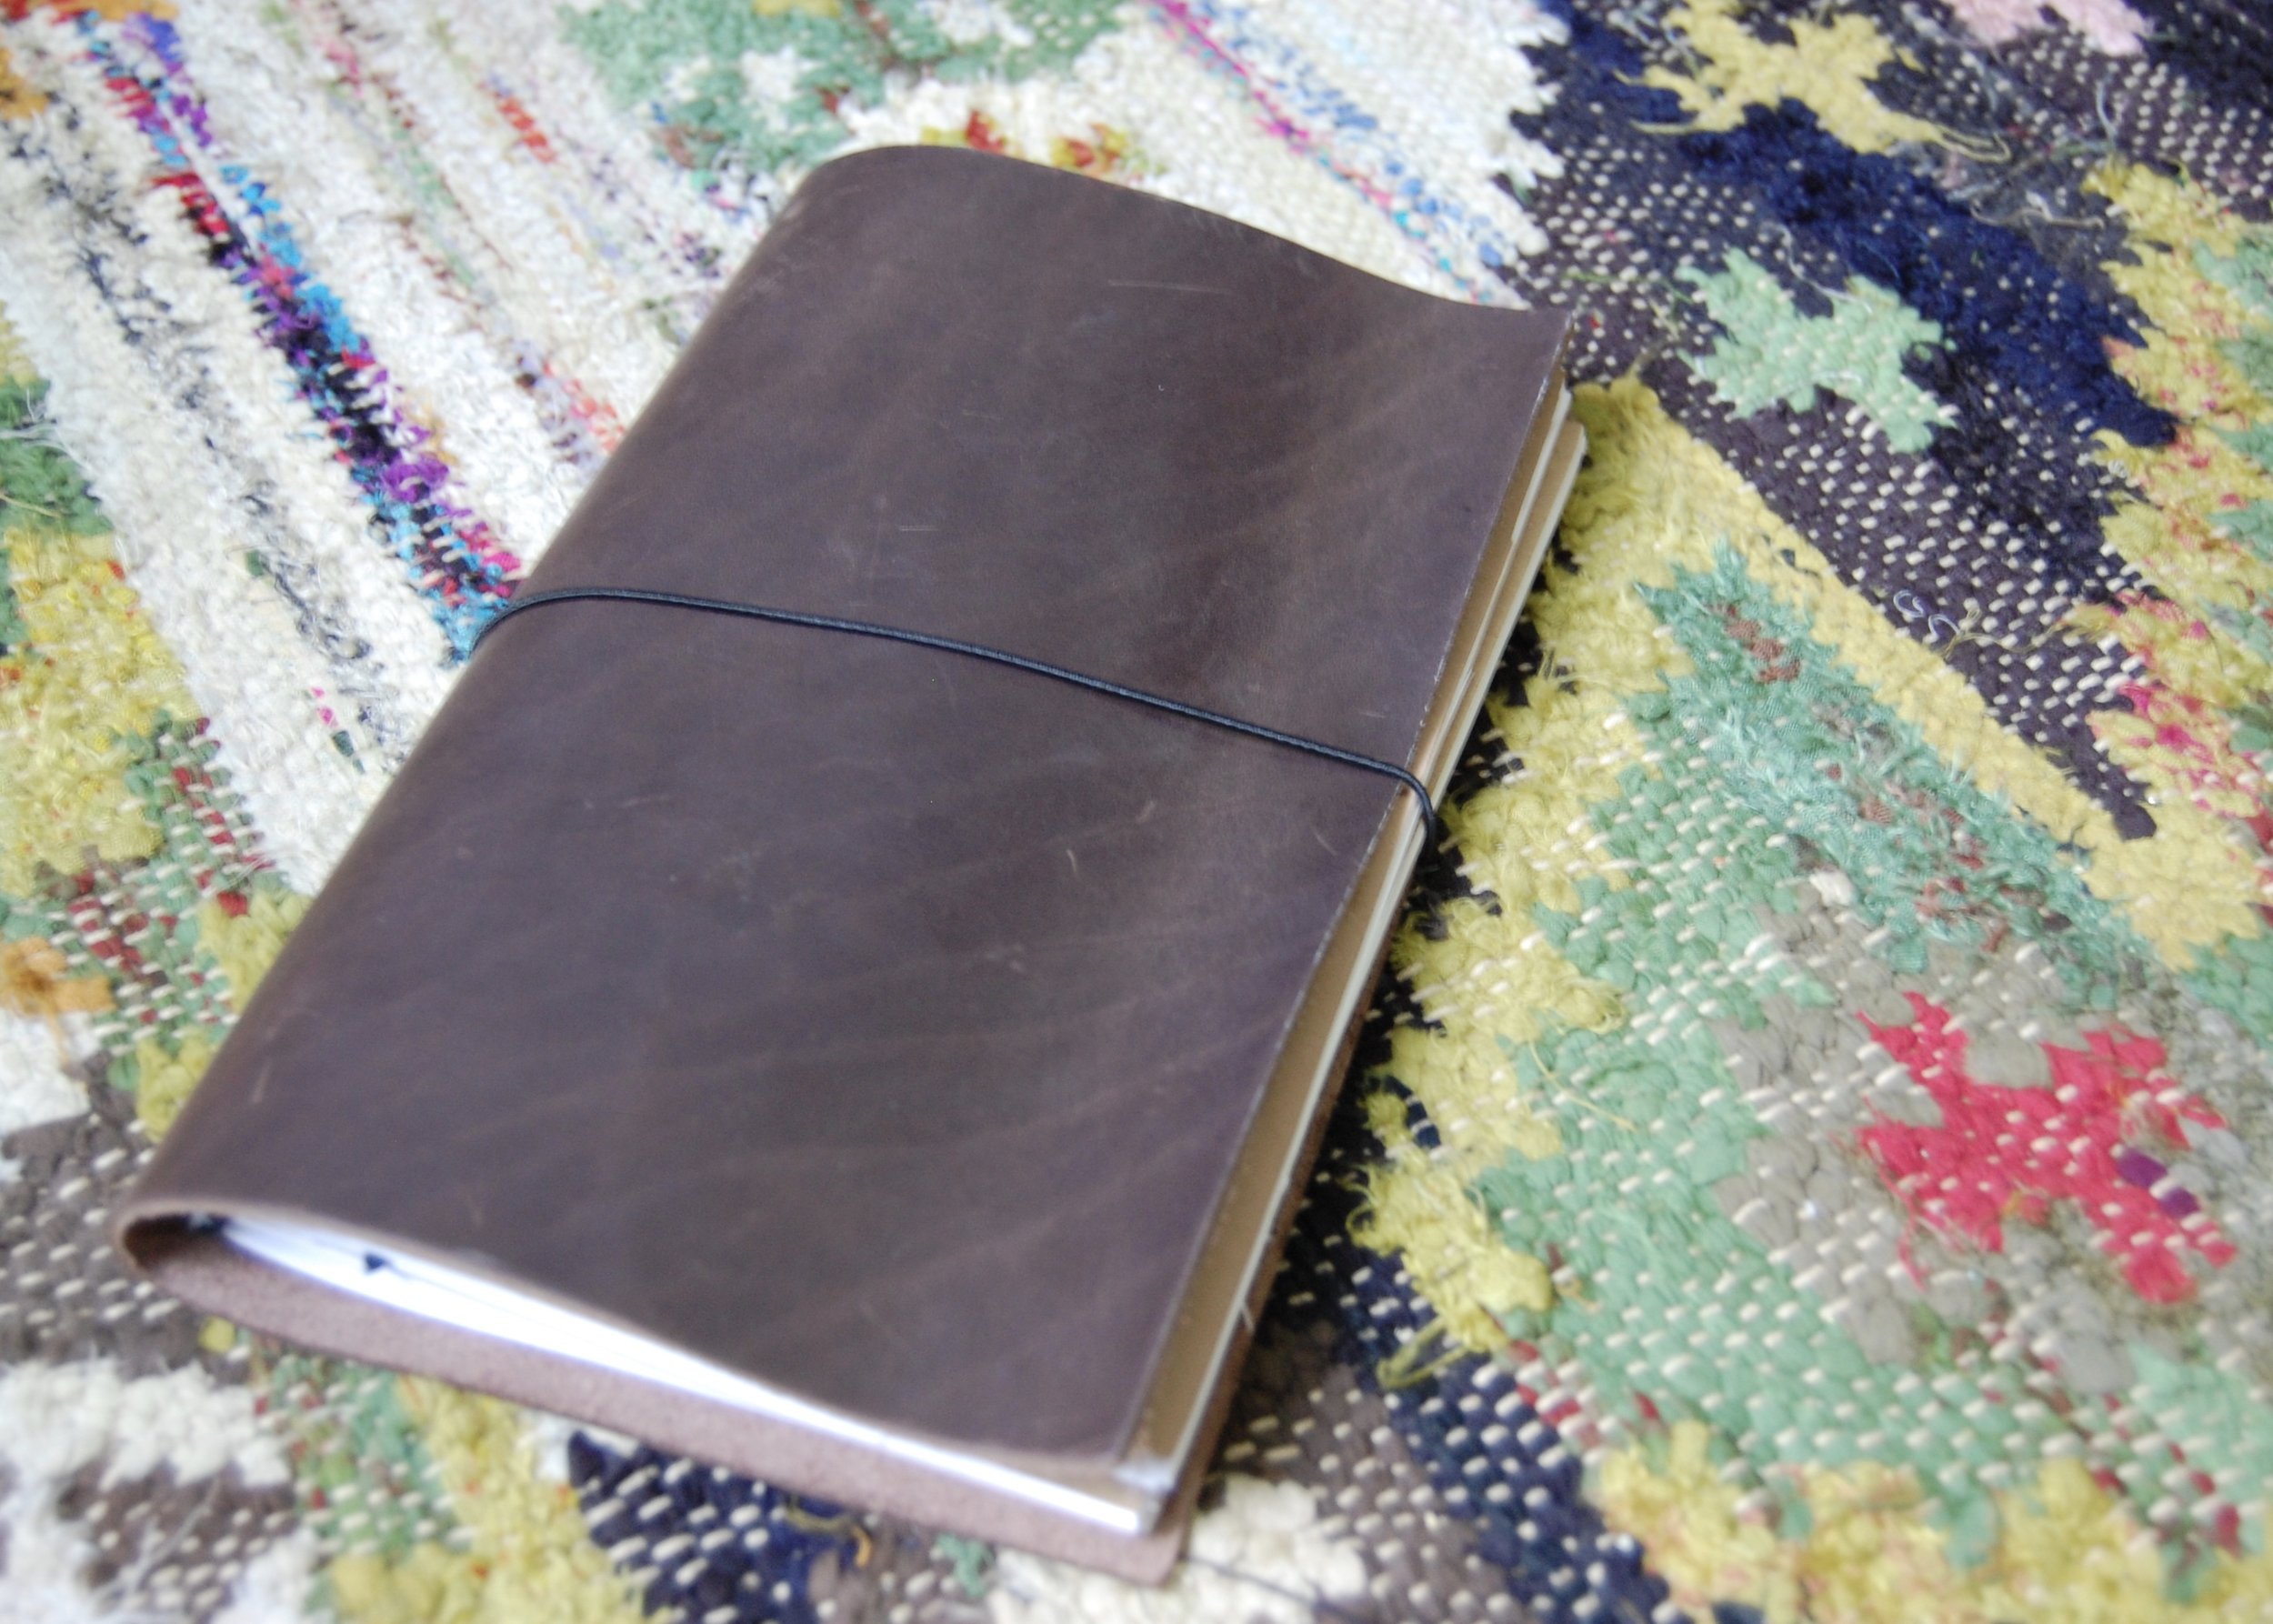
Cover: A sheet of 8.5" x 11" leather by ArtMinds
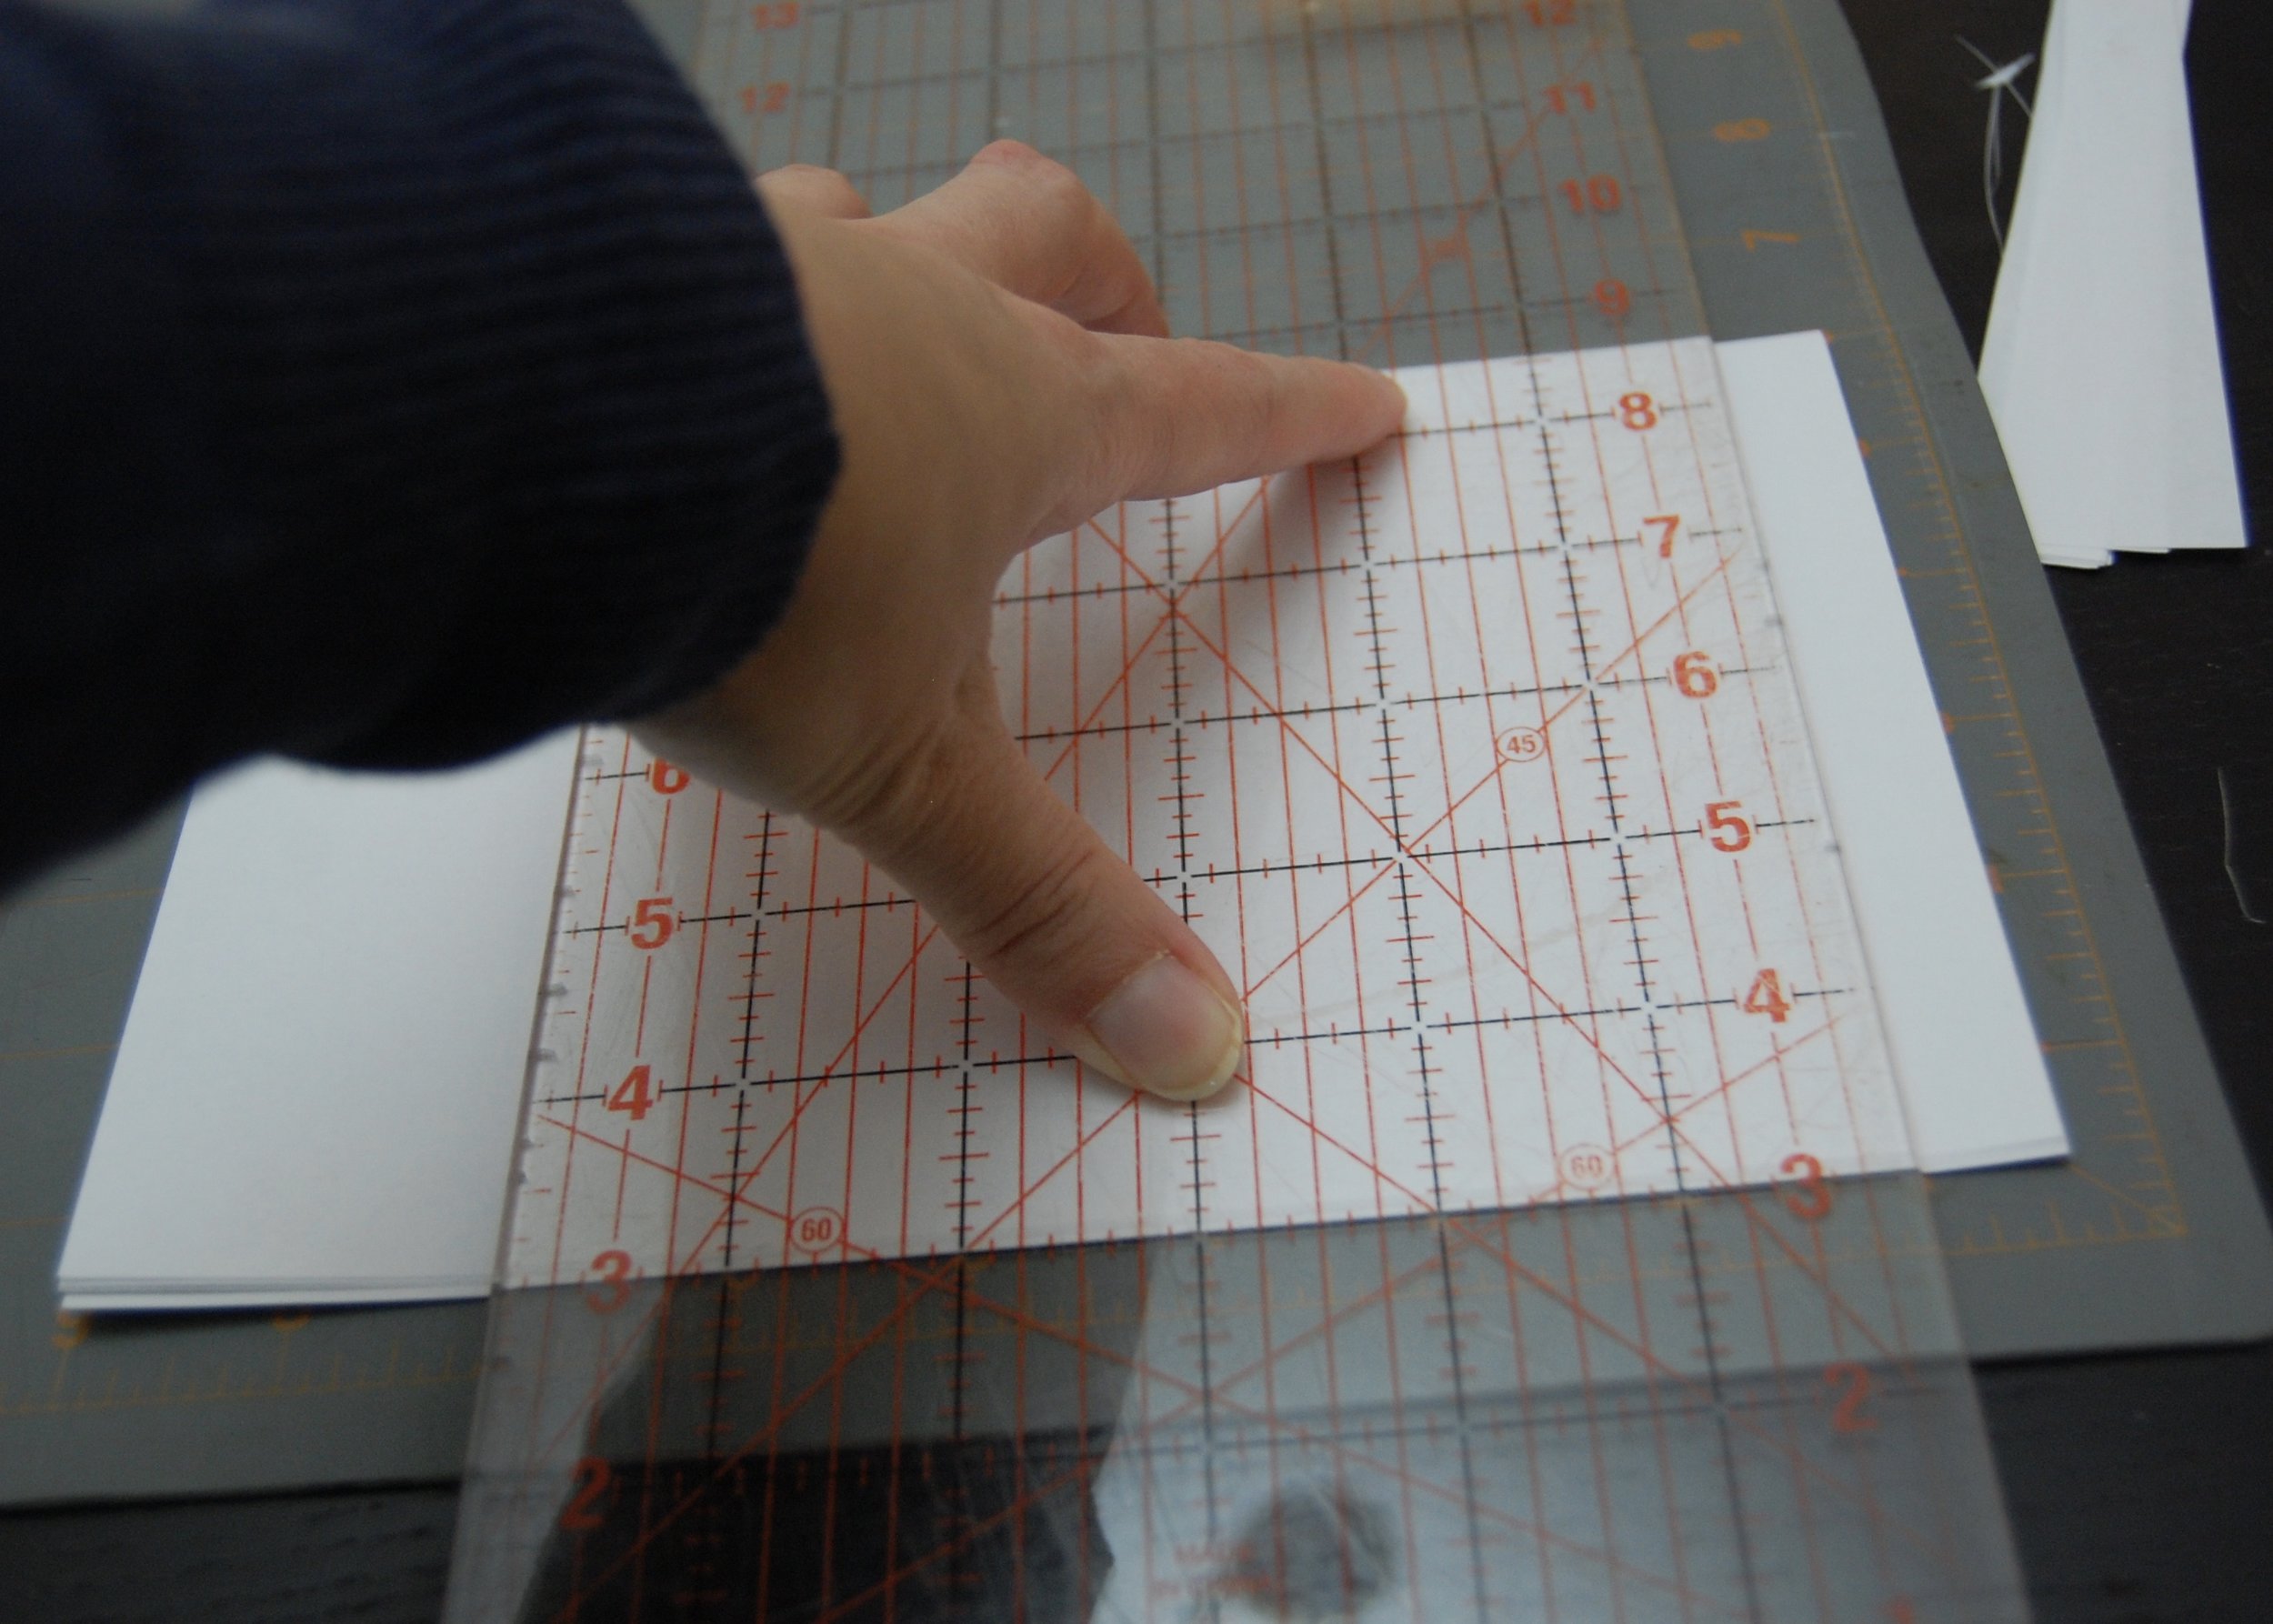
I started with an 8.5" x 11" piece of thick yet flexible leather (215.9mm x 279.4mm) by ArtMinds found at my local Michaels. It is sold out online as of my writing this, but it is really similar to this leather sold by Amazon. I used it as my cover, and it really dictated the dimensions of the rest of the journal, including the paper inserts. Had I had a larger piece of leather available initially, I think I probably would have let the paper inserts determine the size of the notebook, but in the end I am very happy with the size of my finished product, and I am not sure that I would change the size if I make another.
Prepare Cover
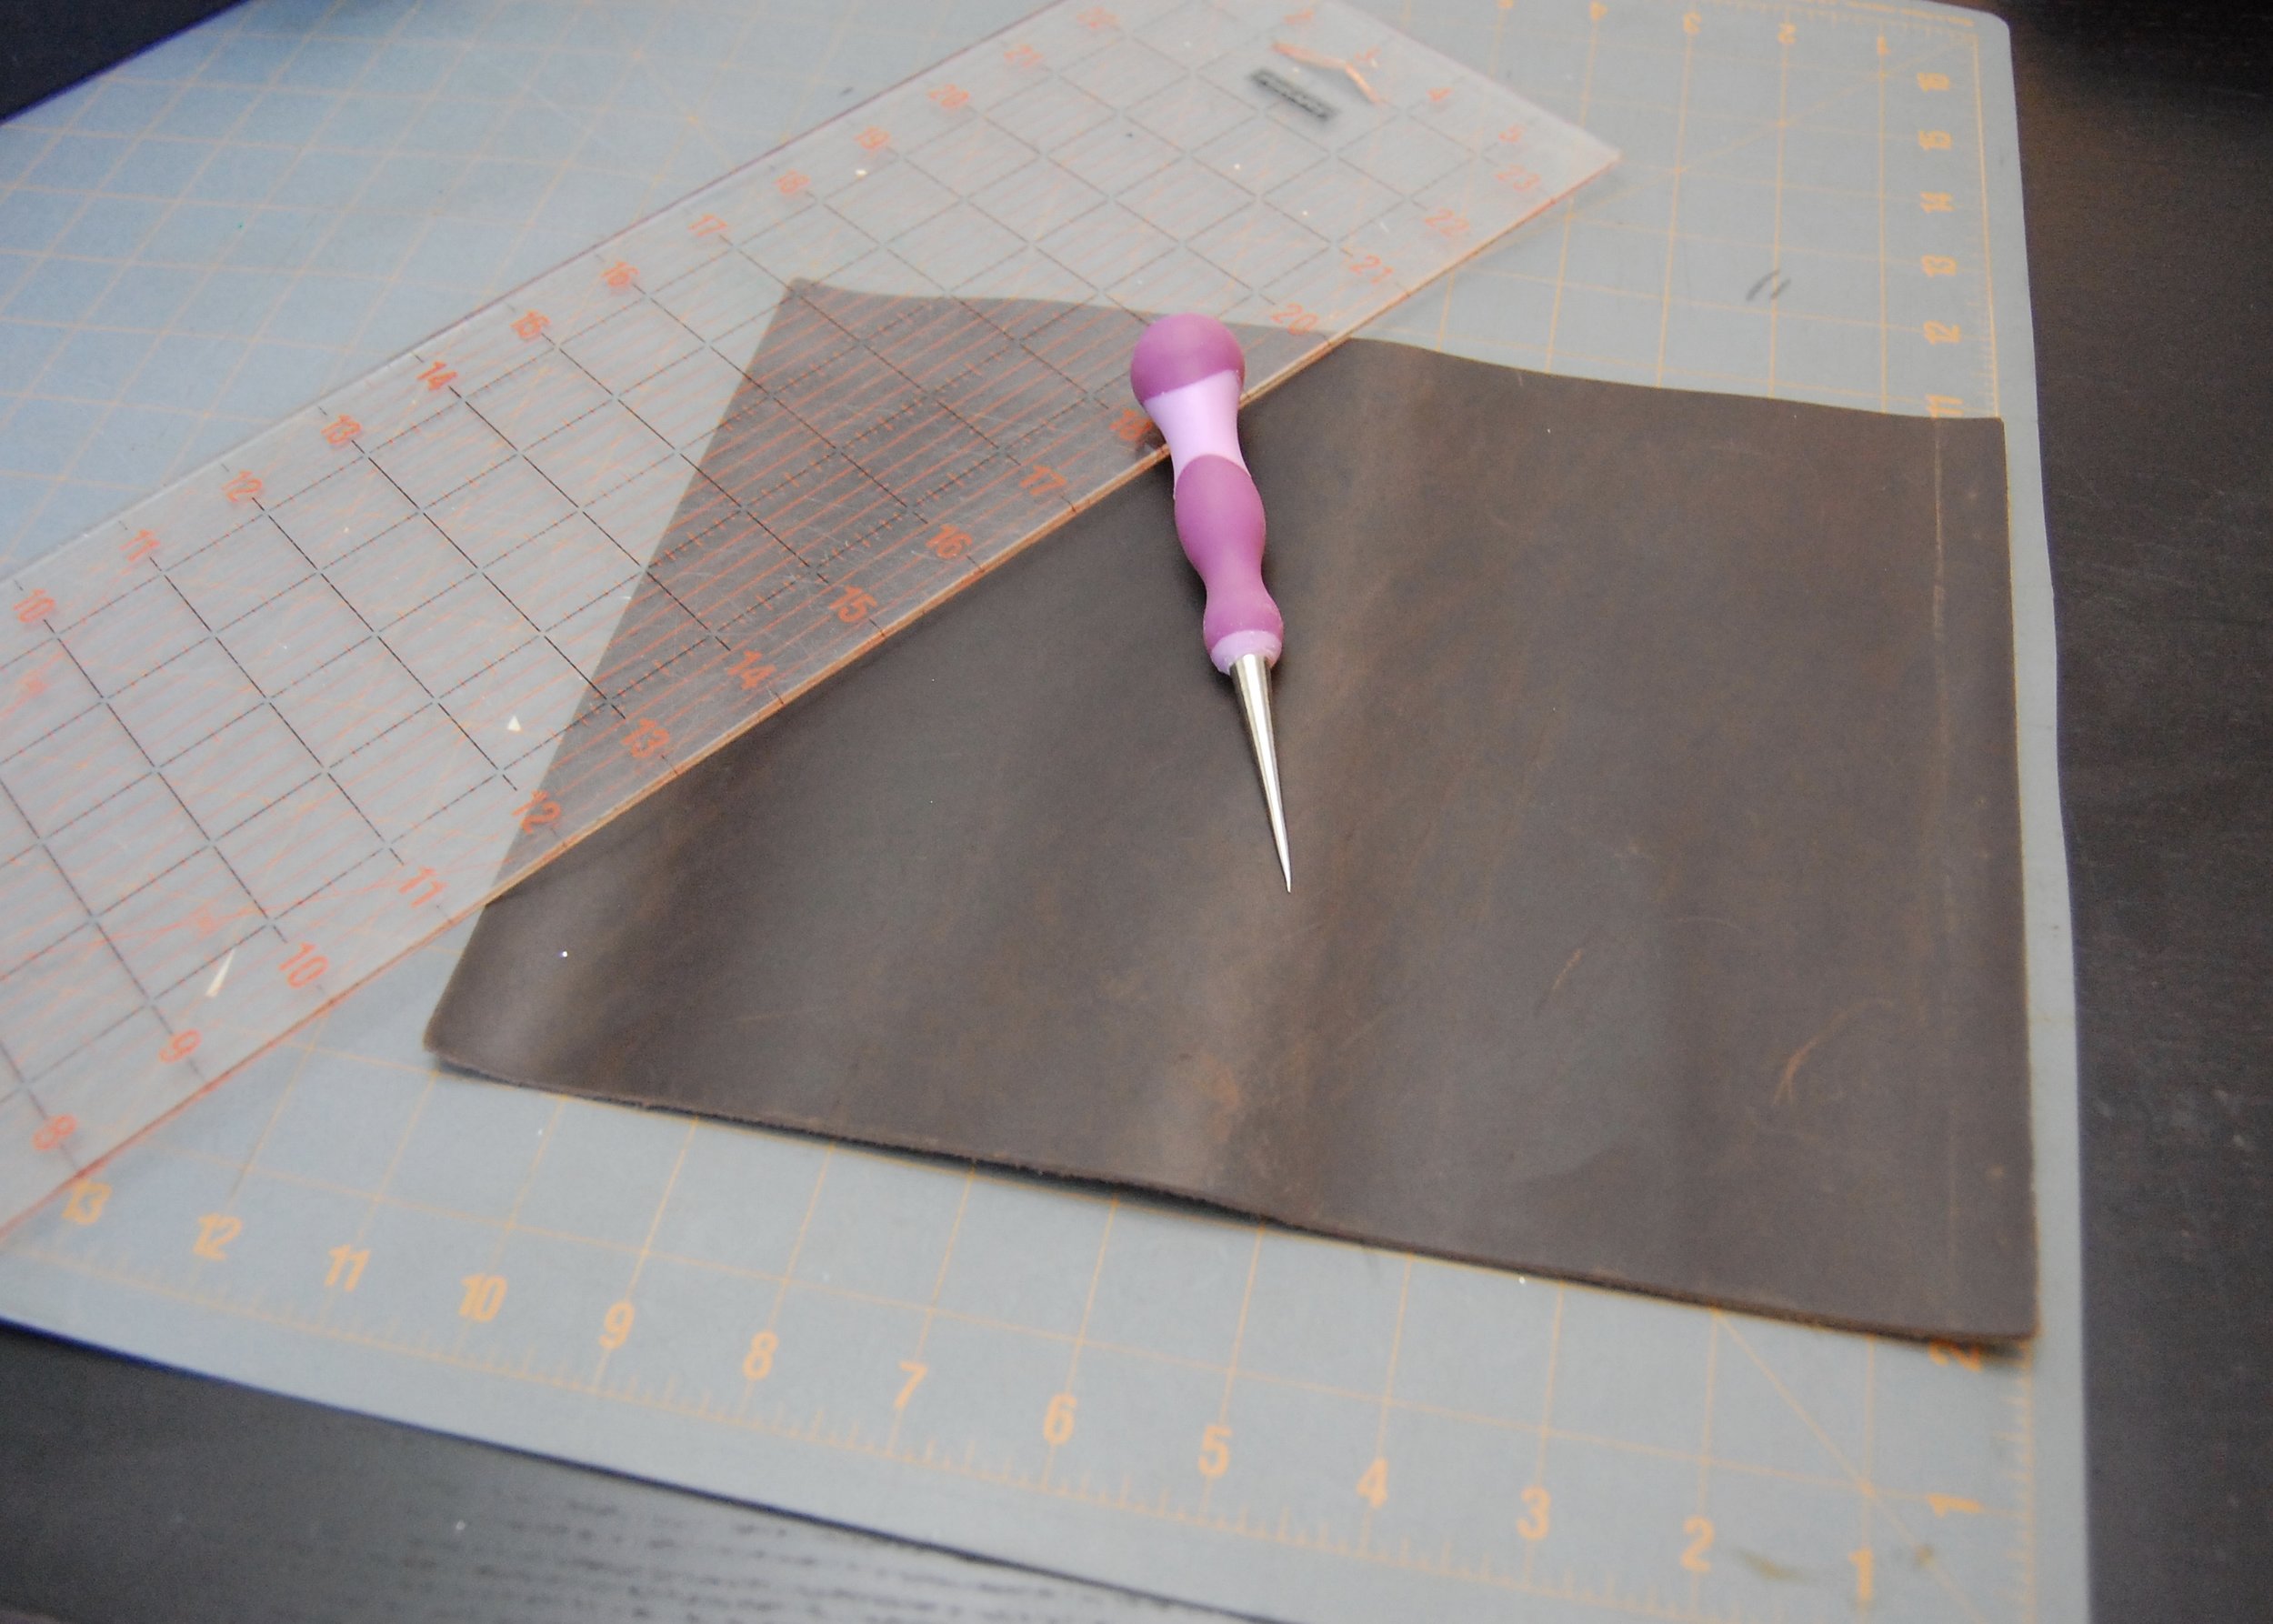
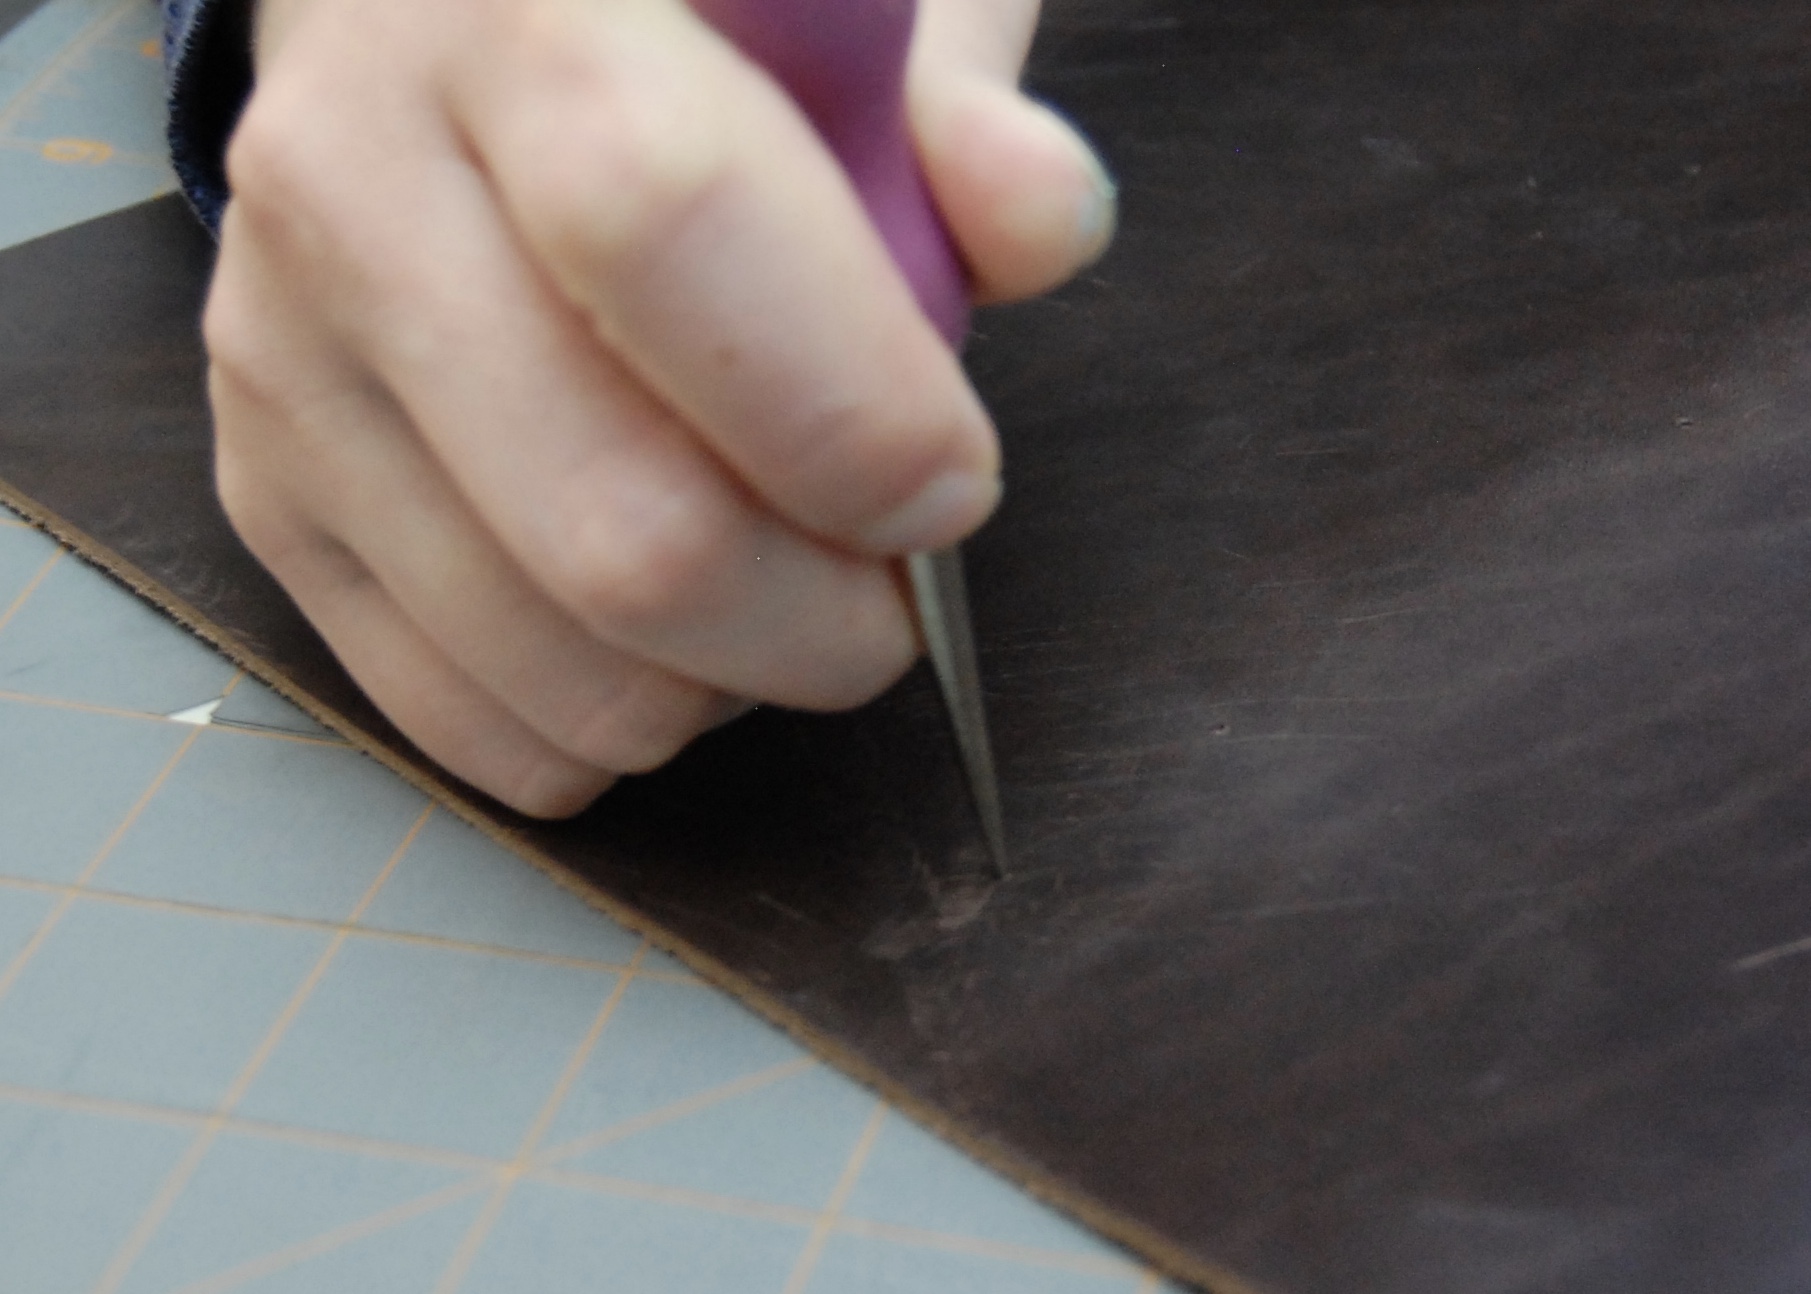
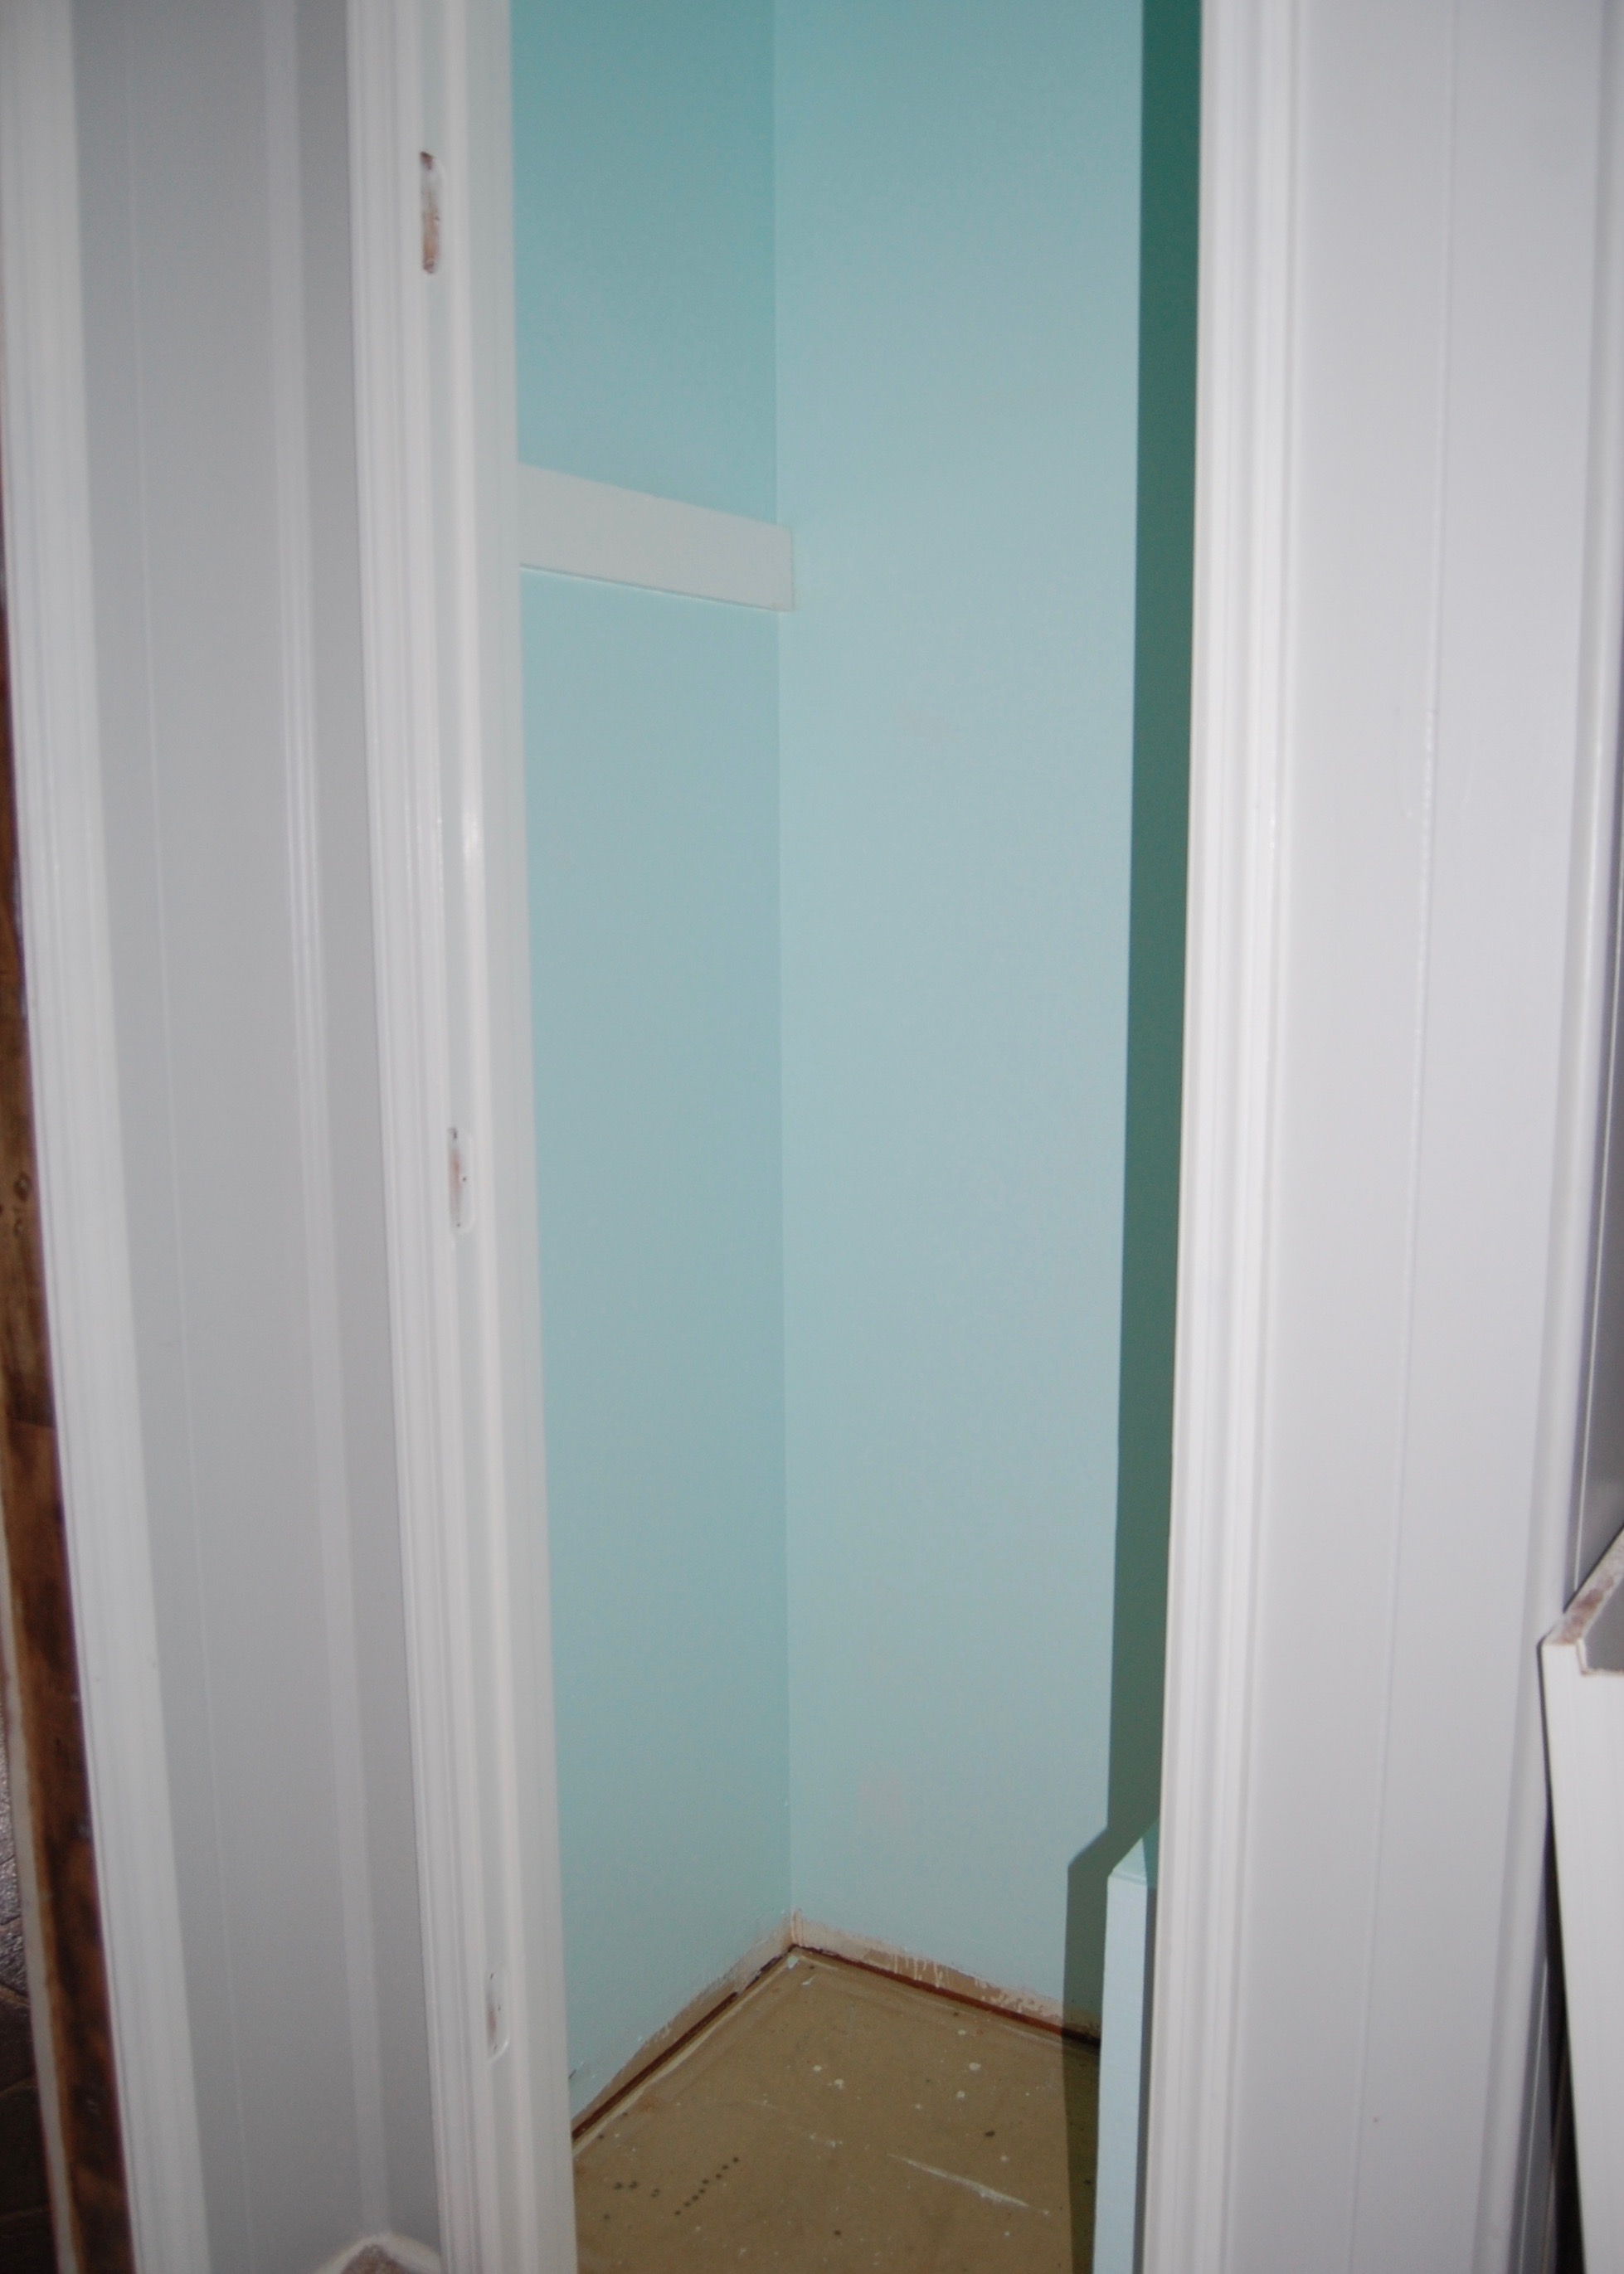
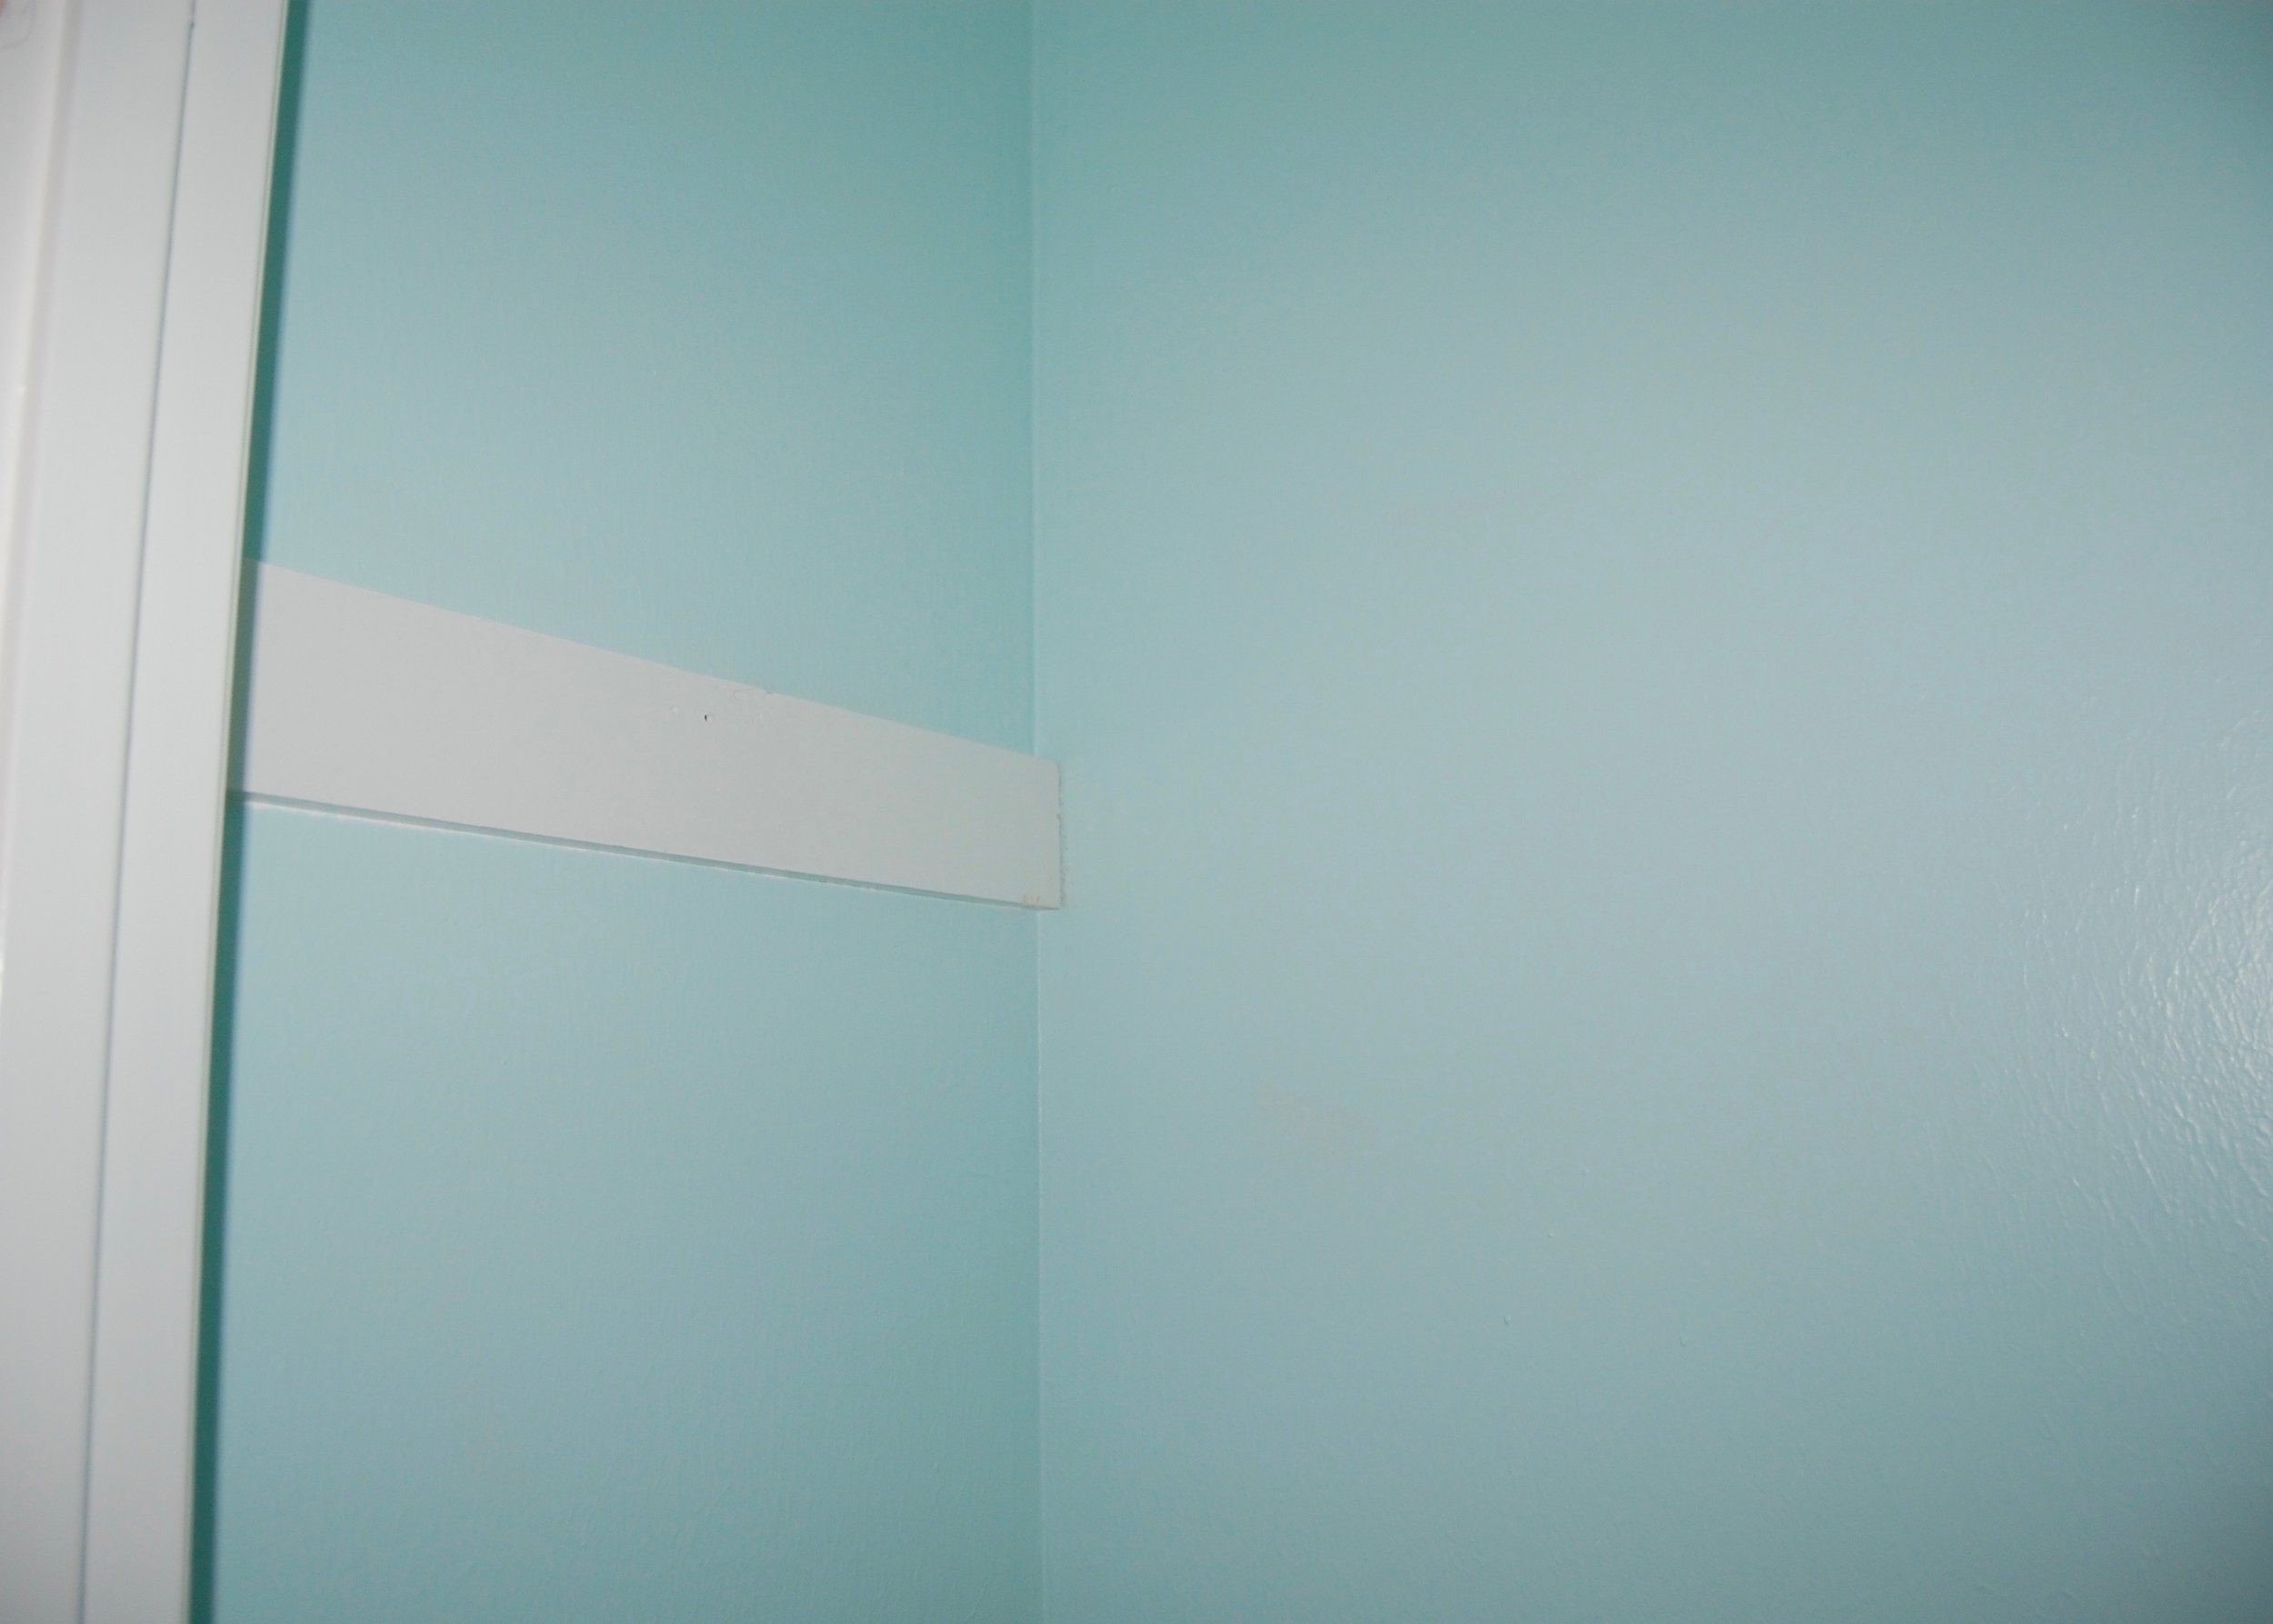
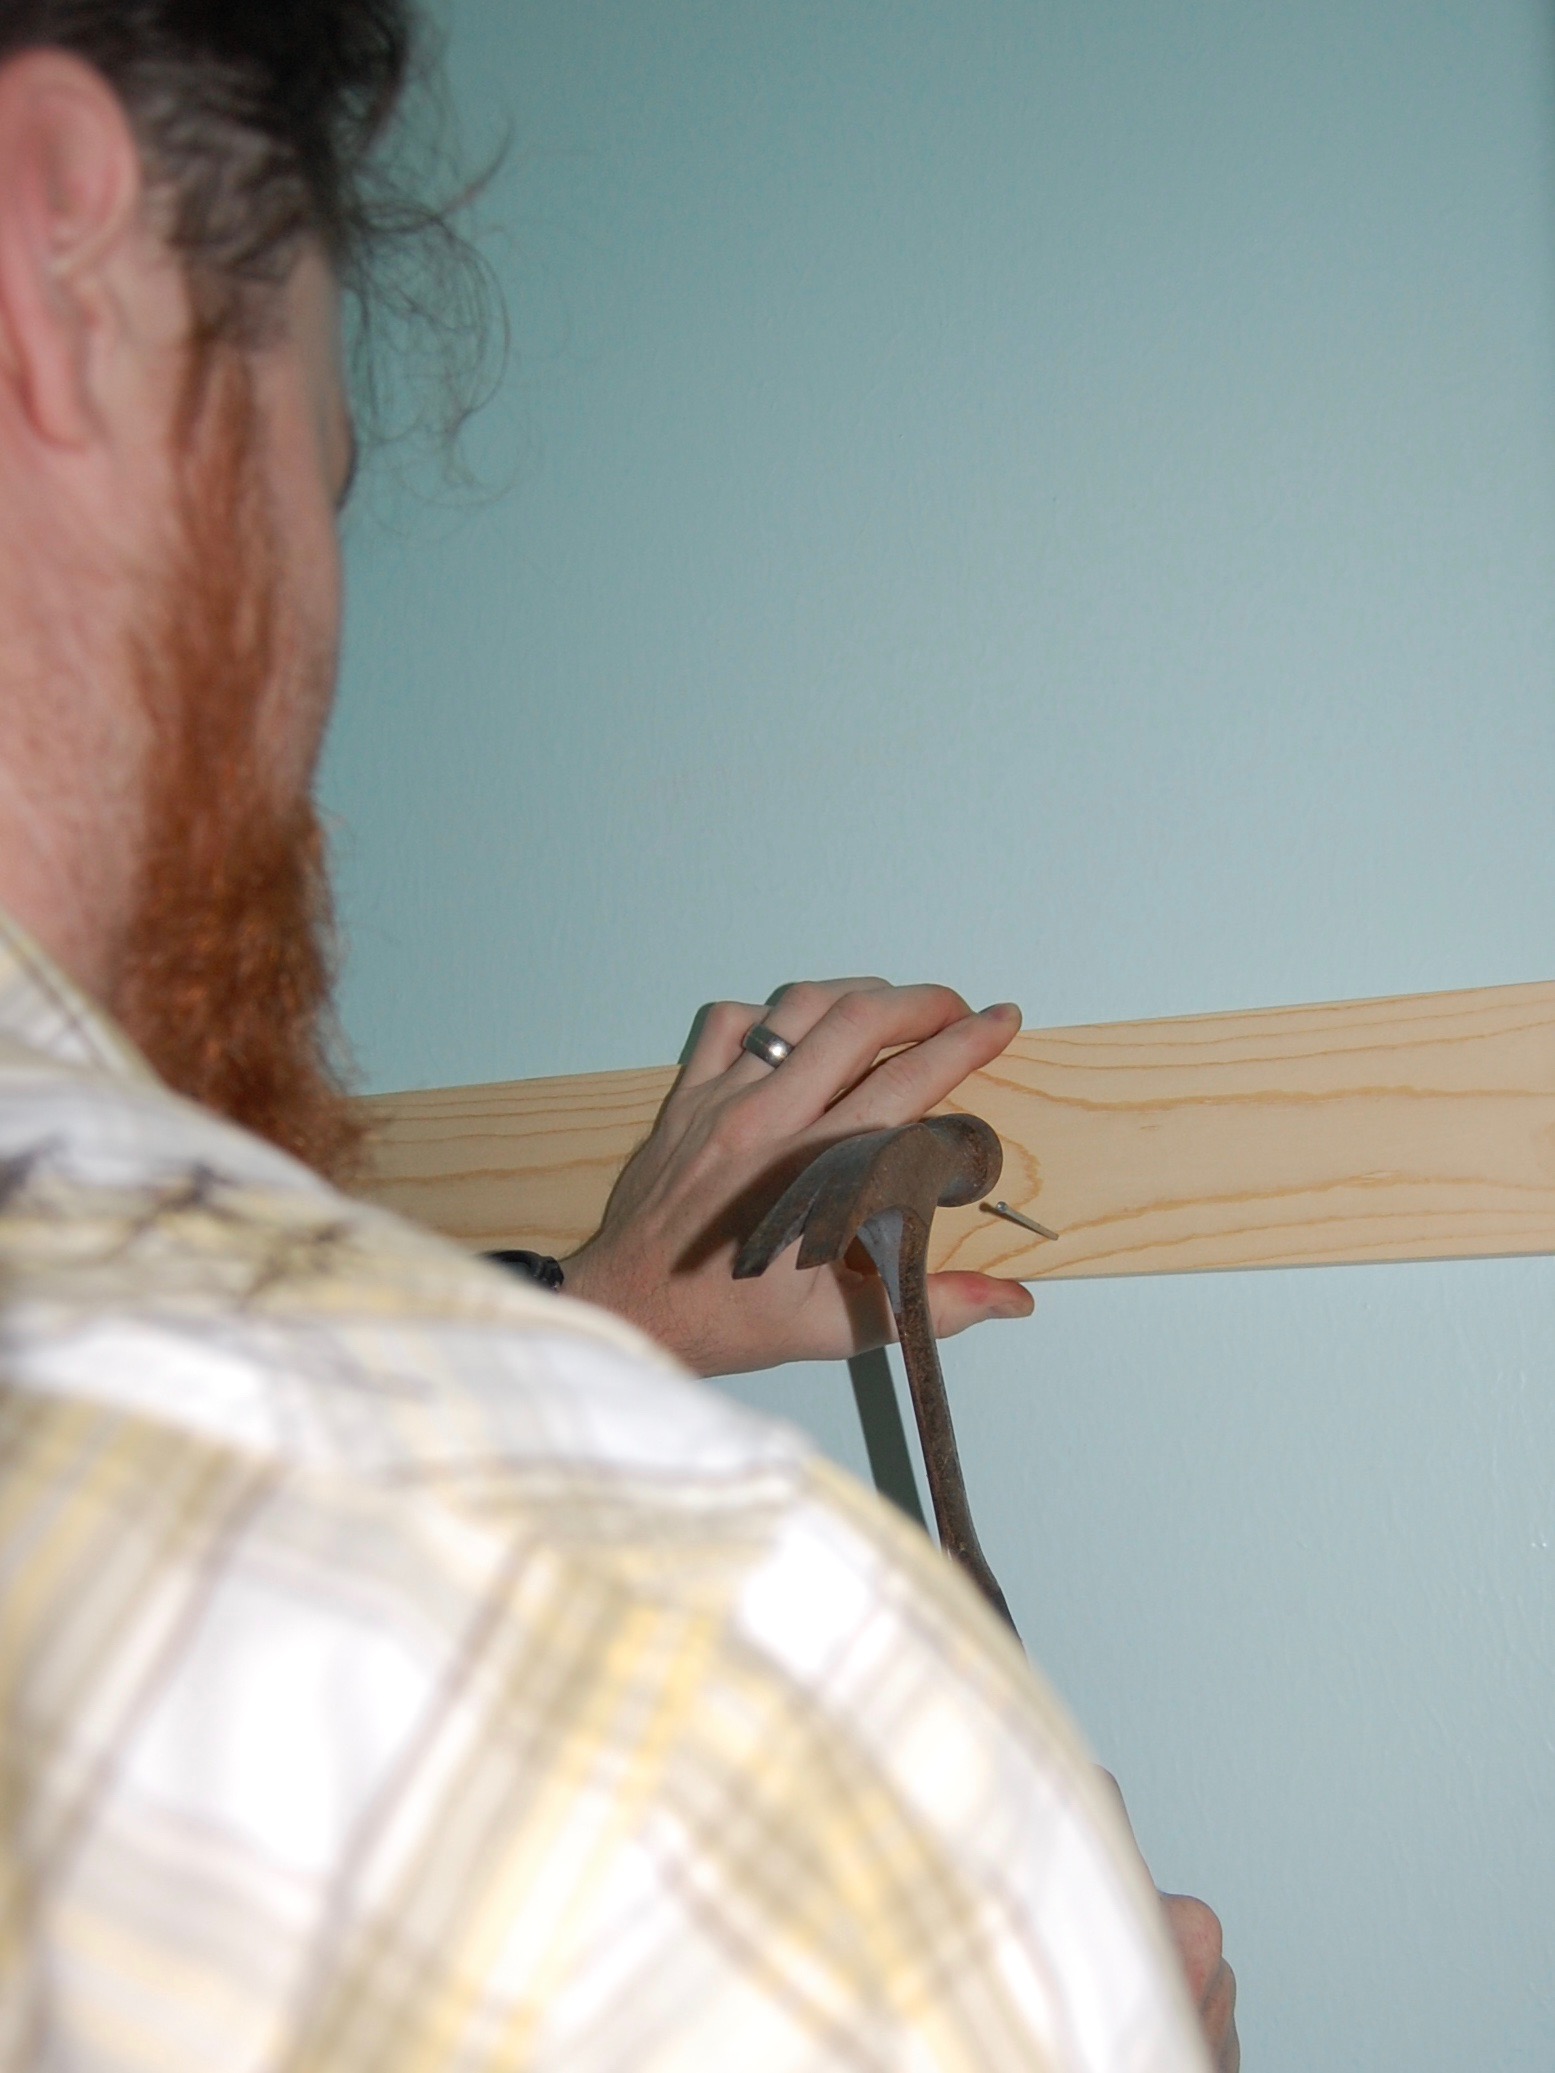
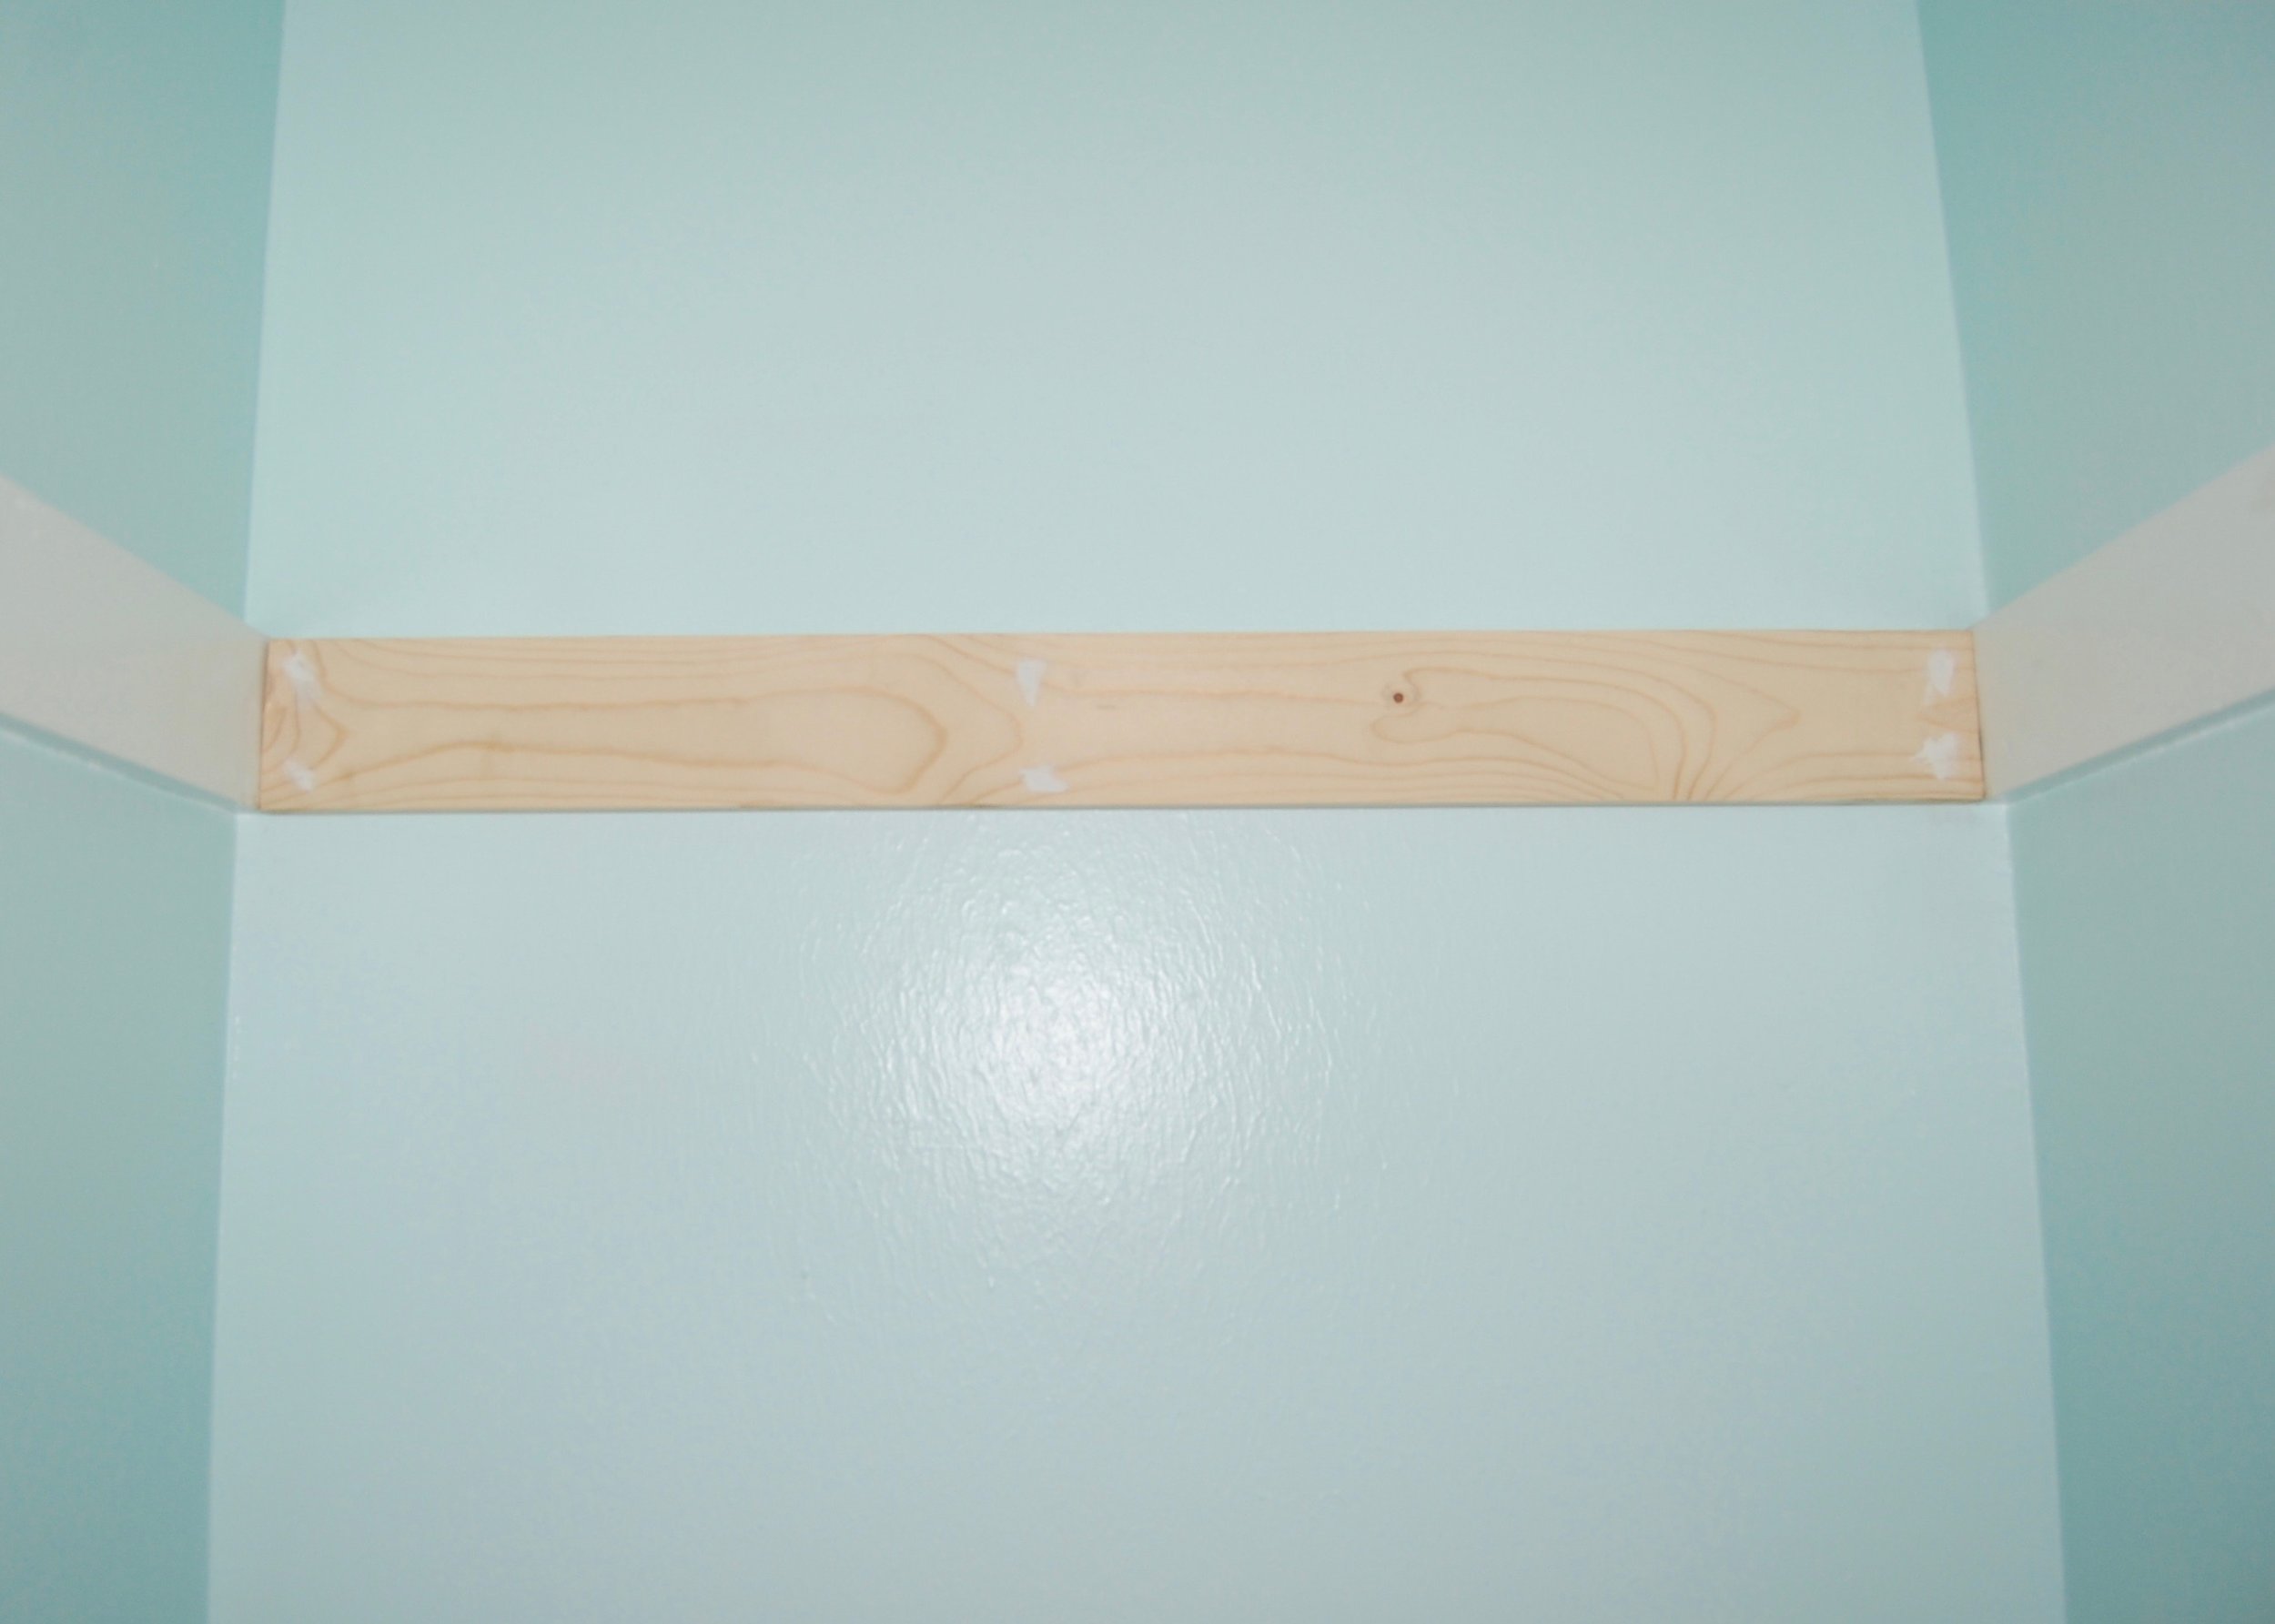
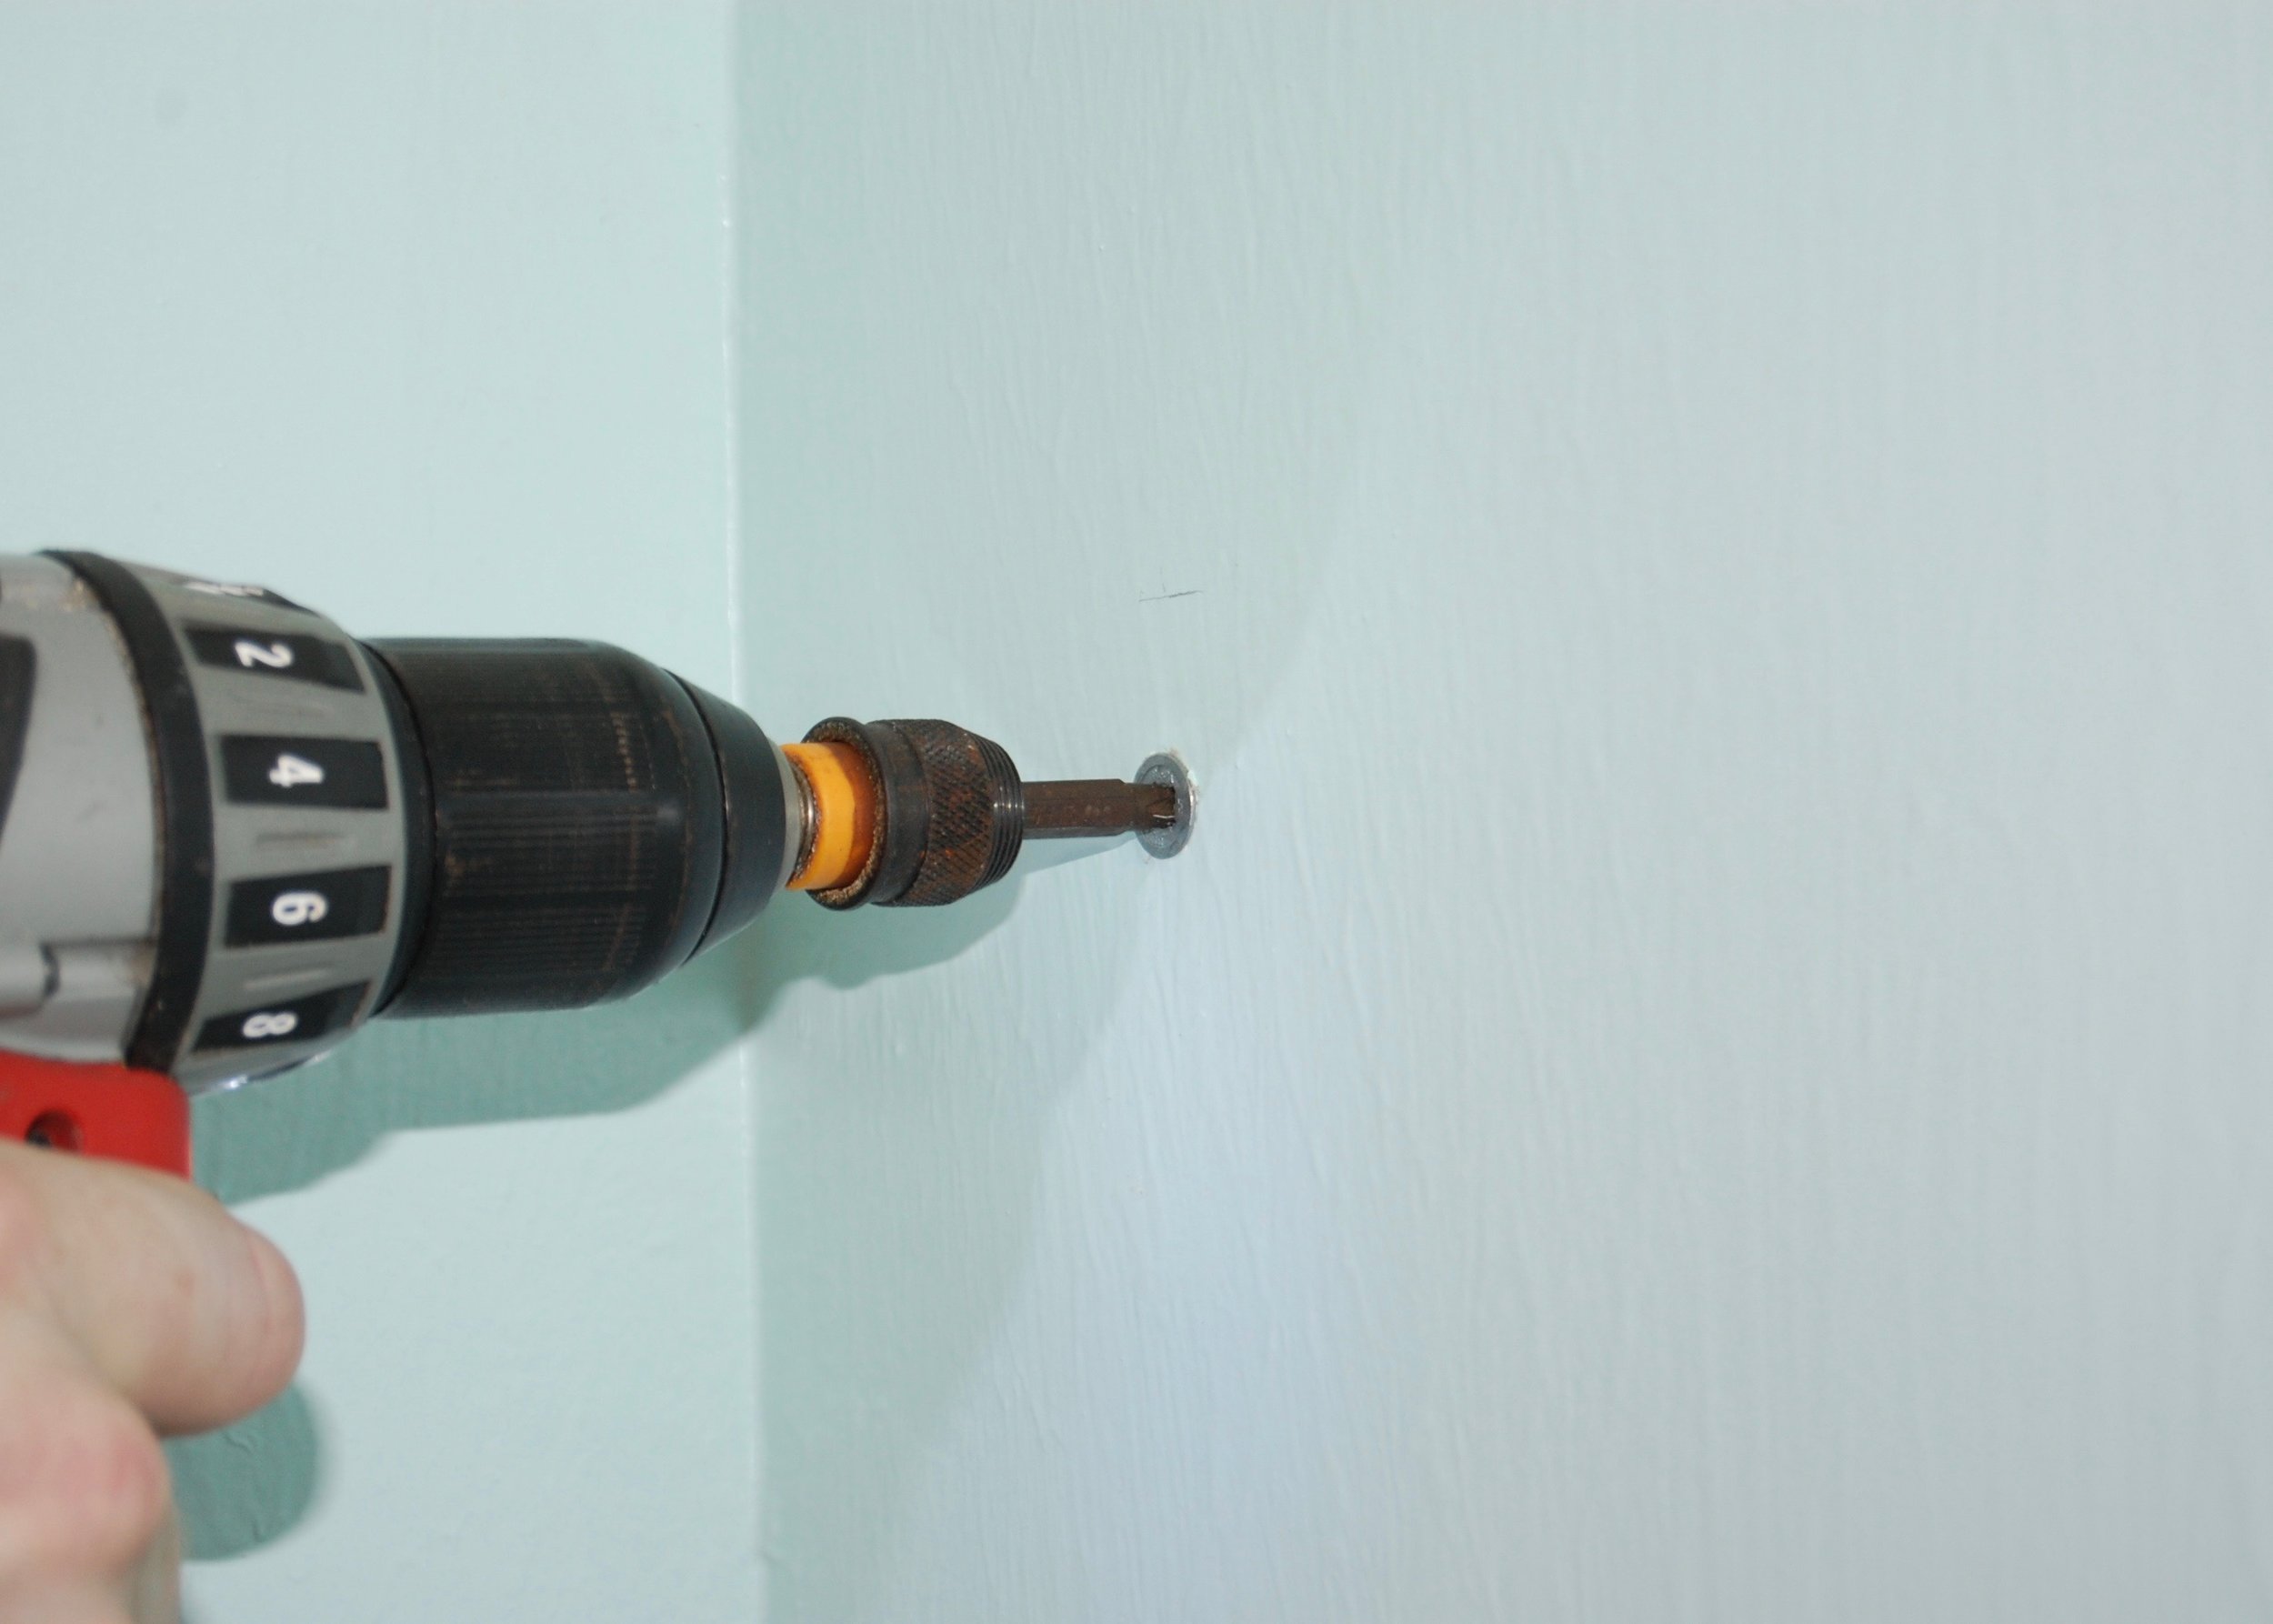
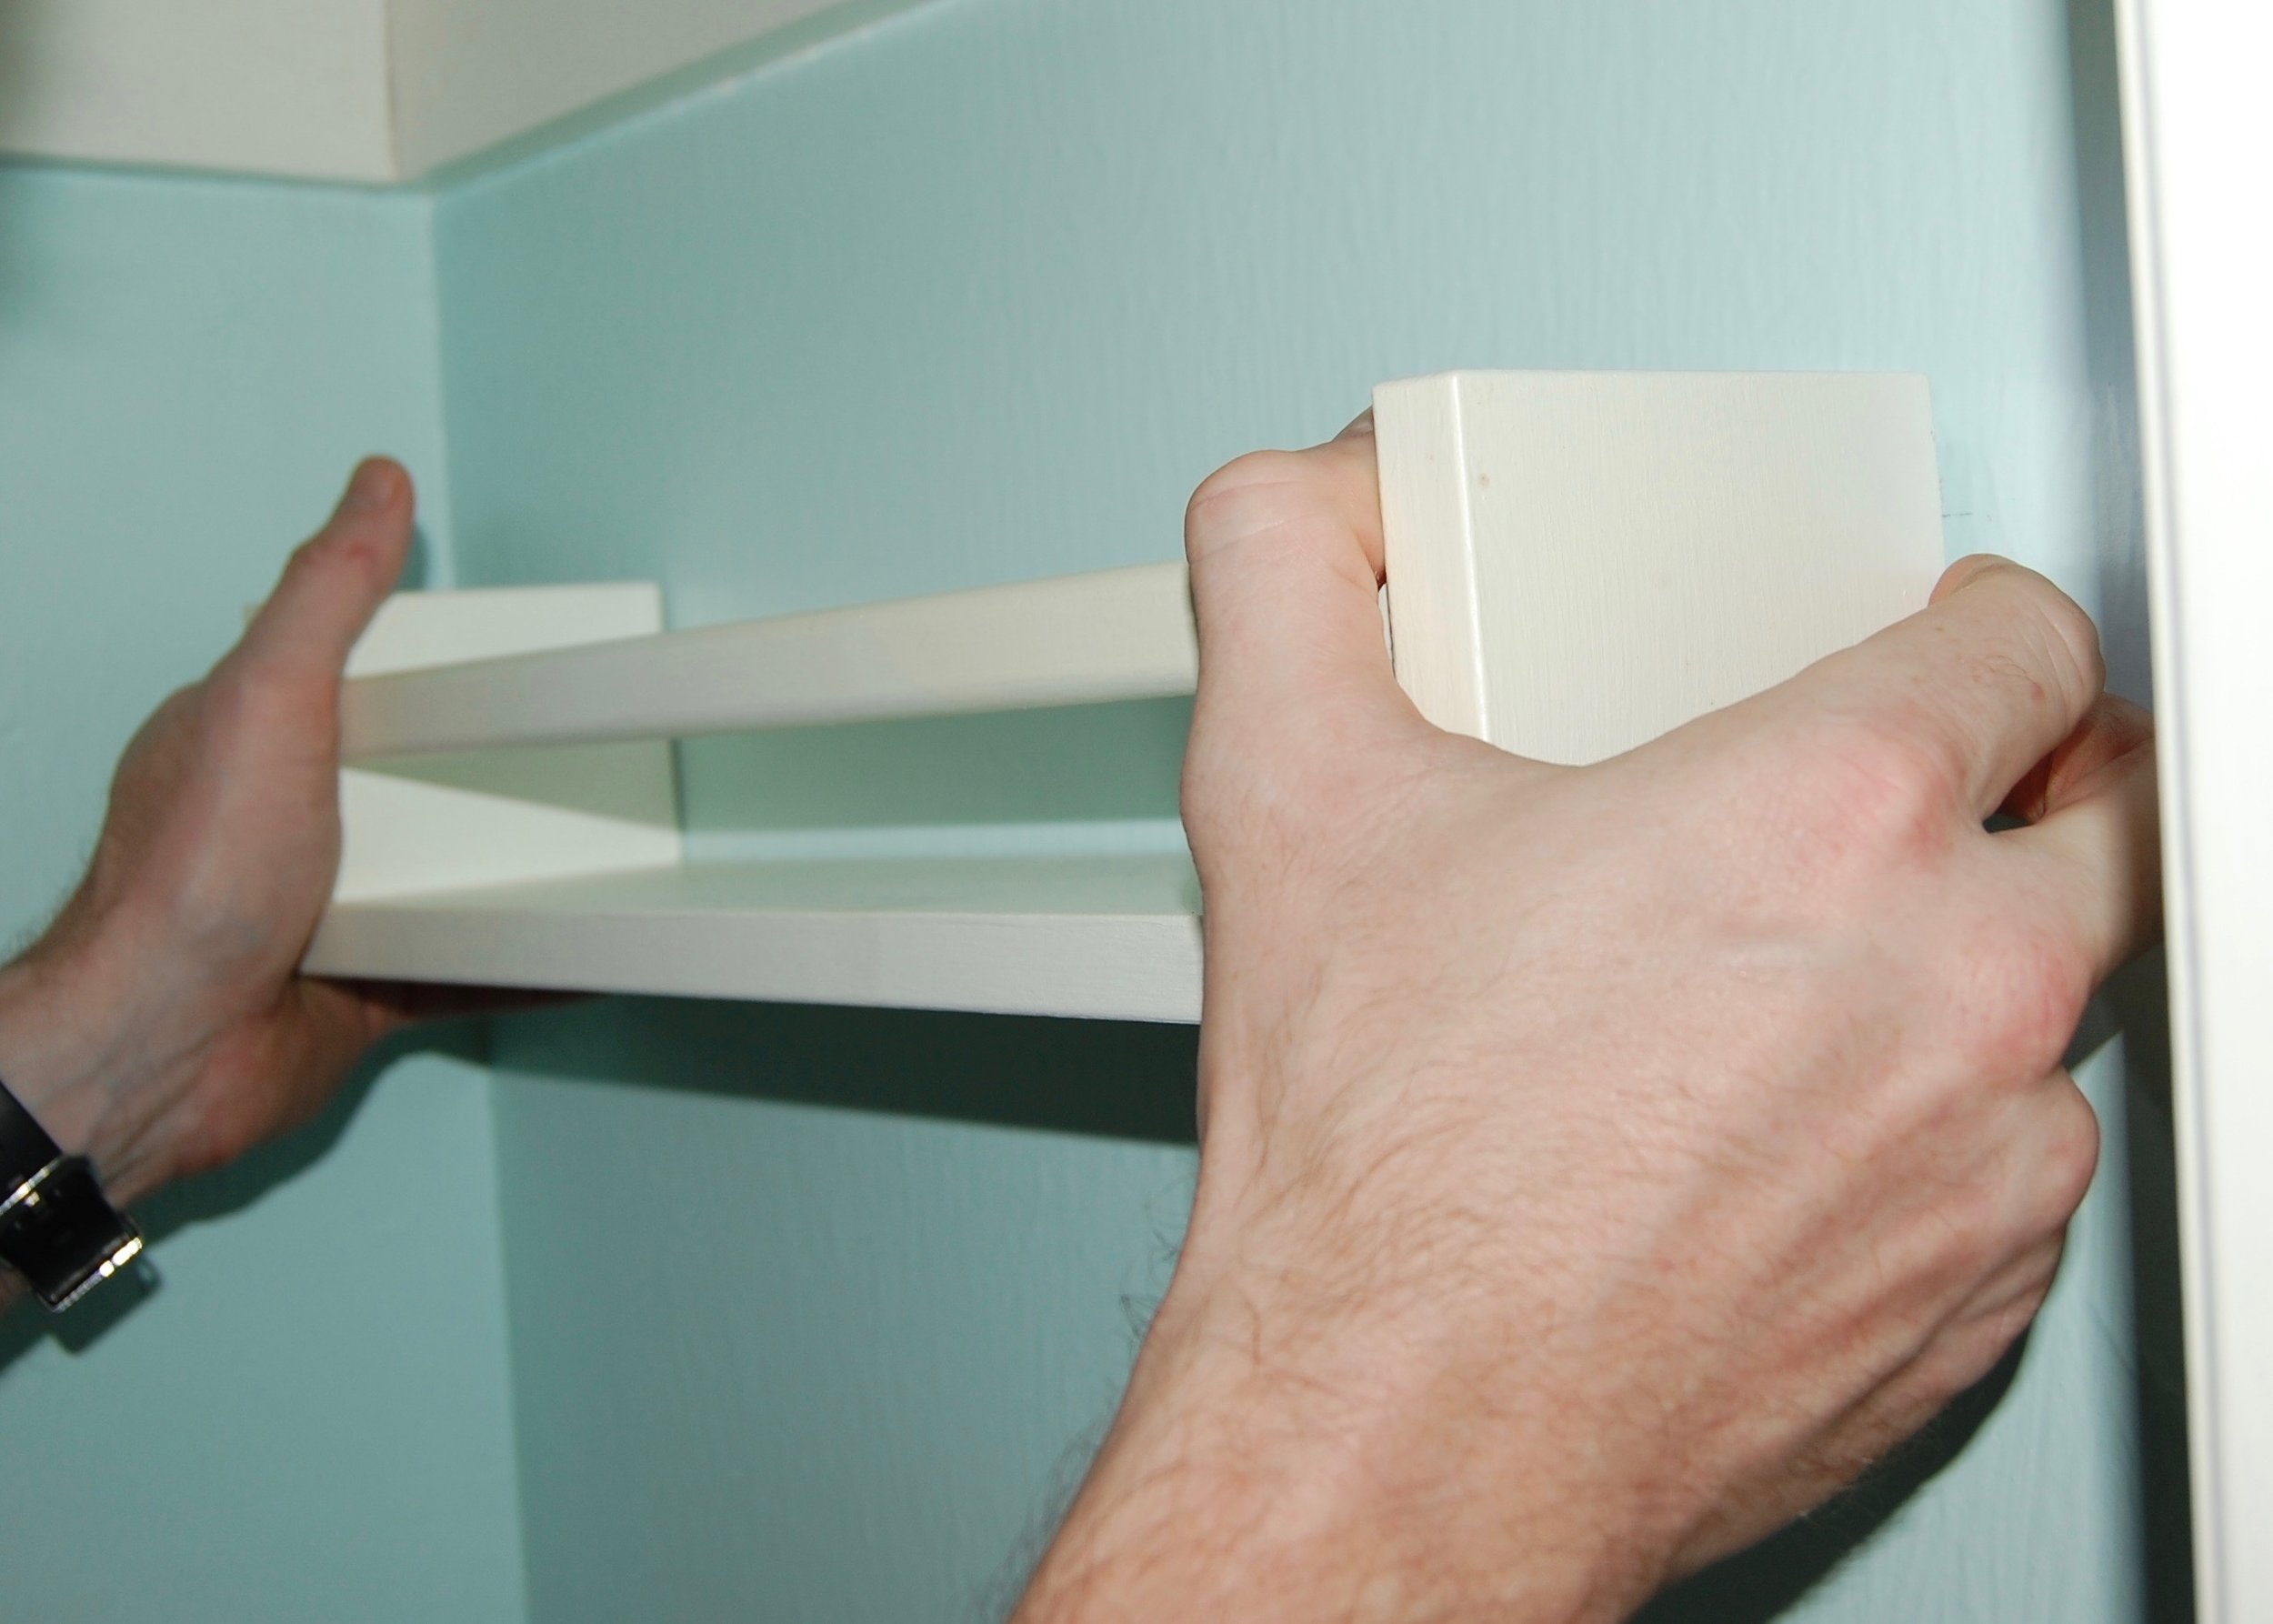
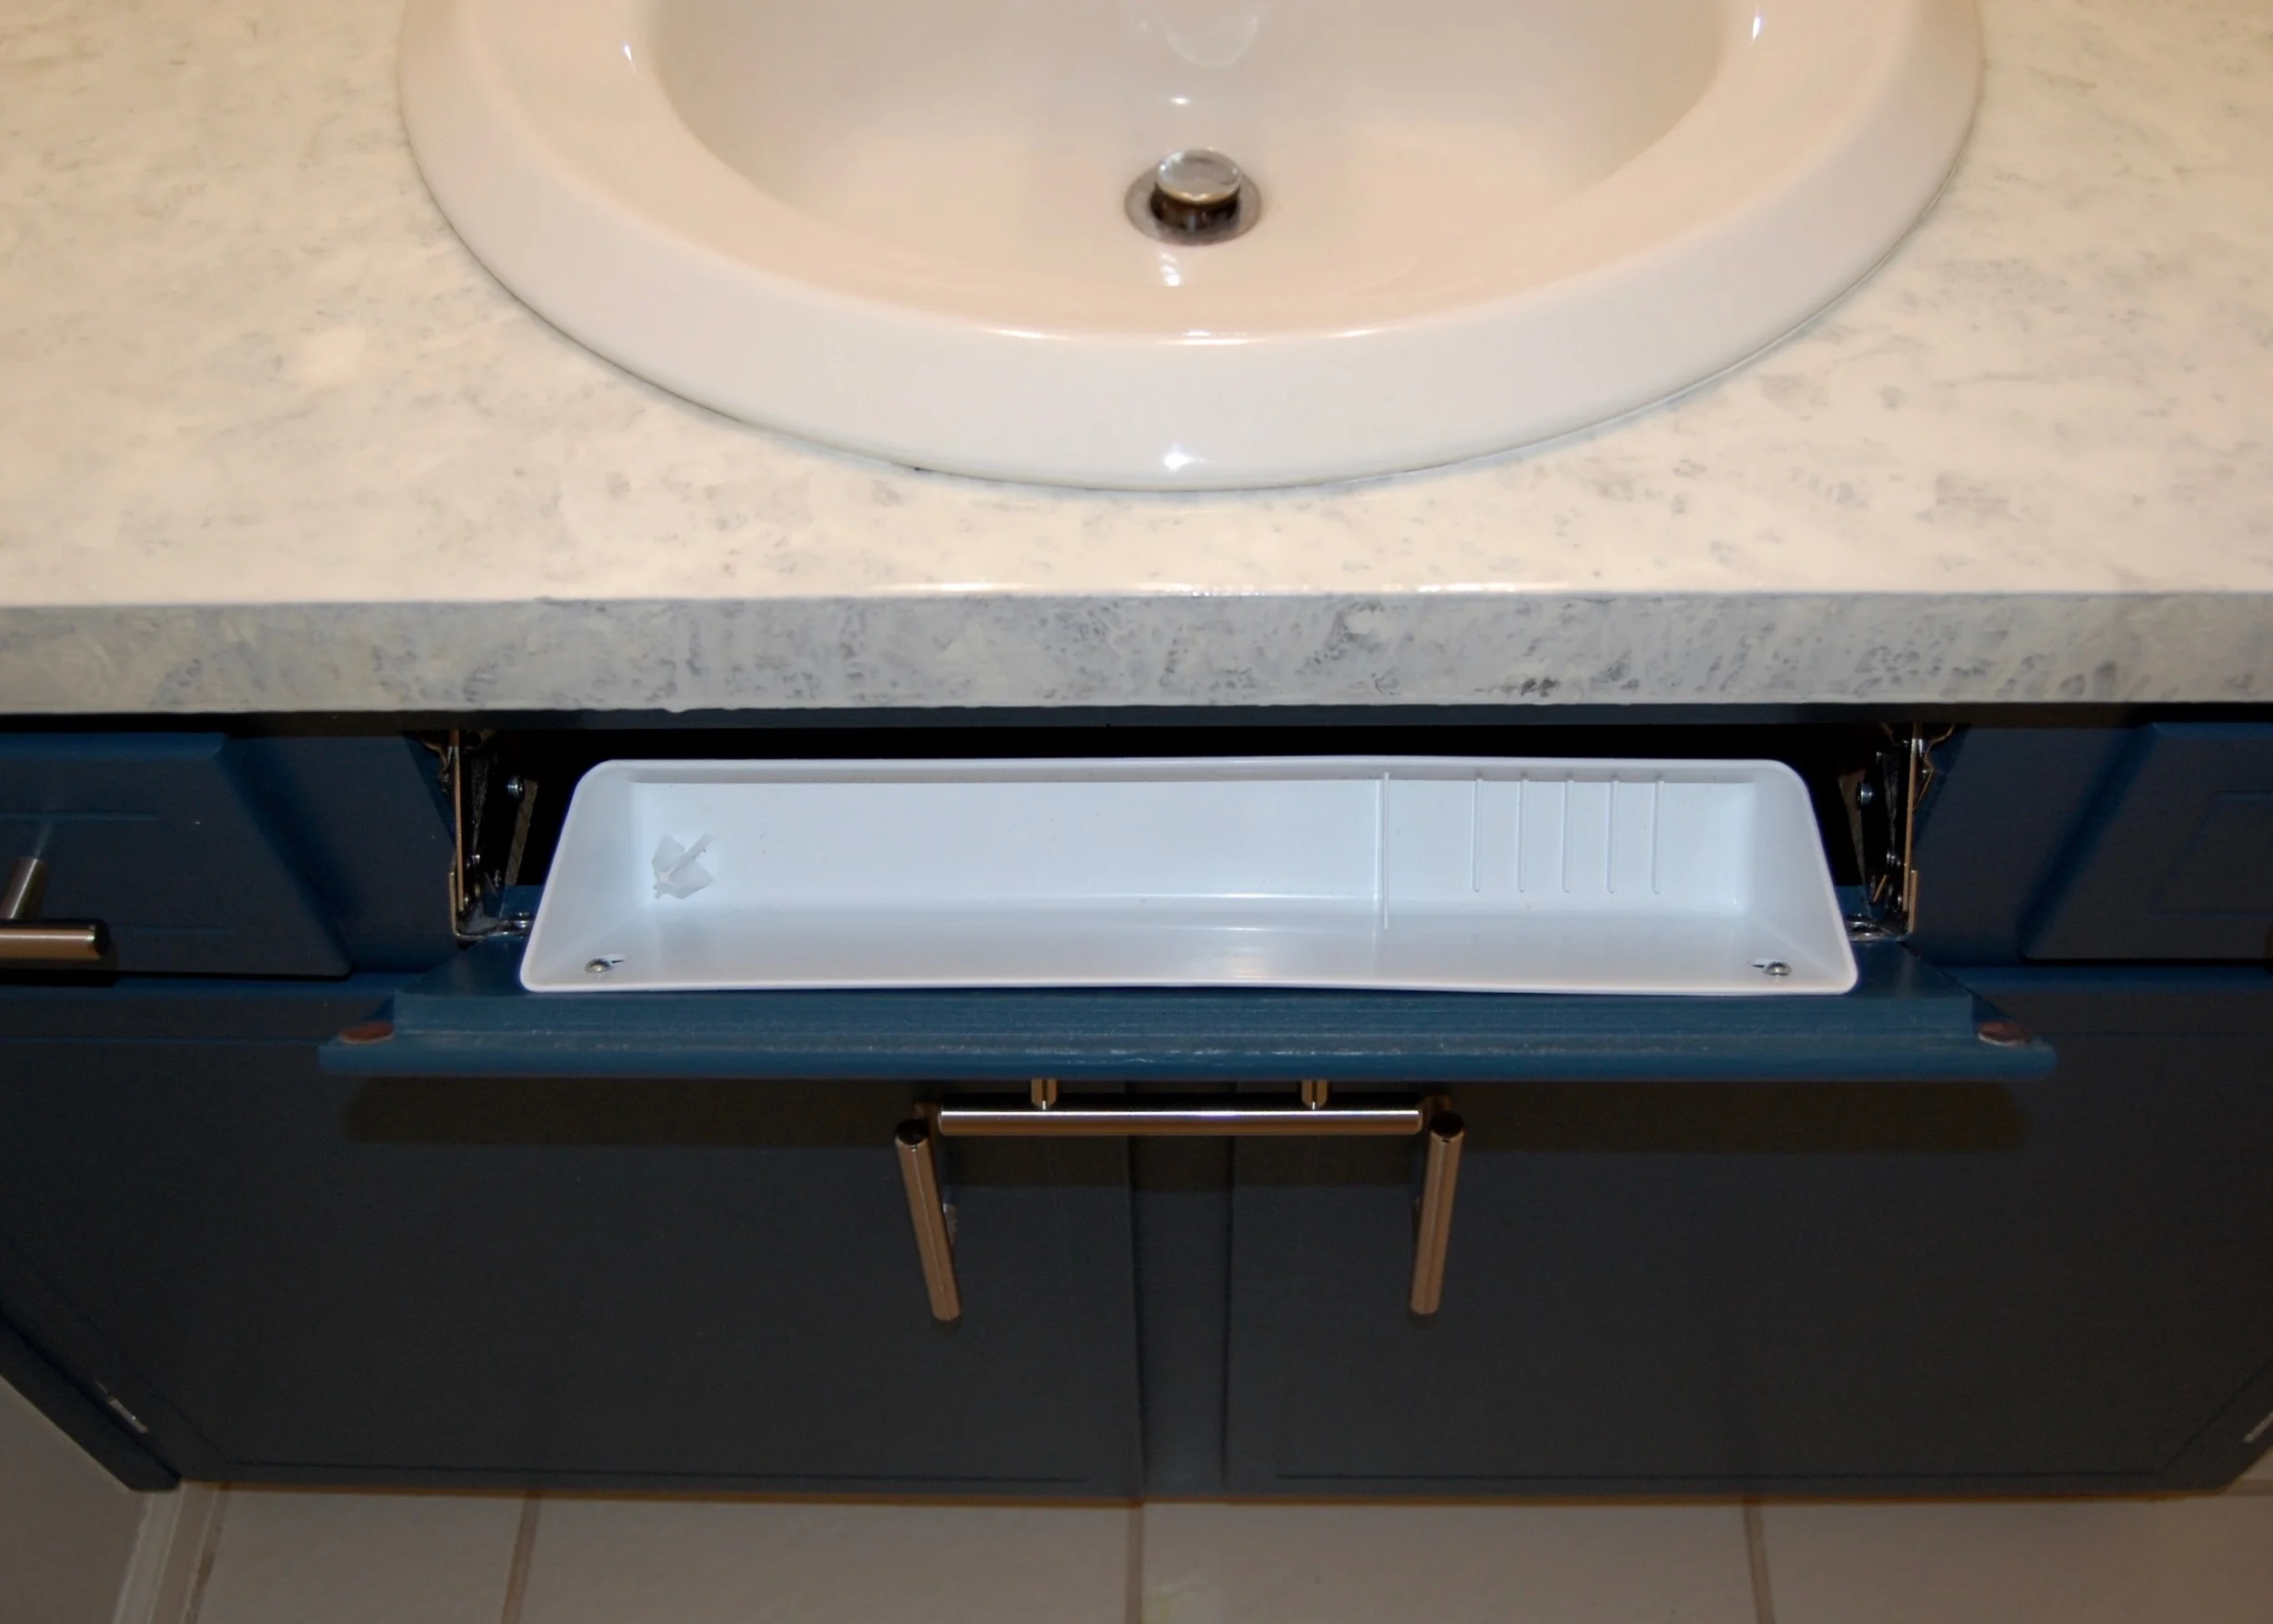
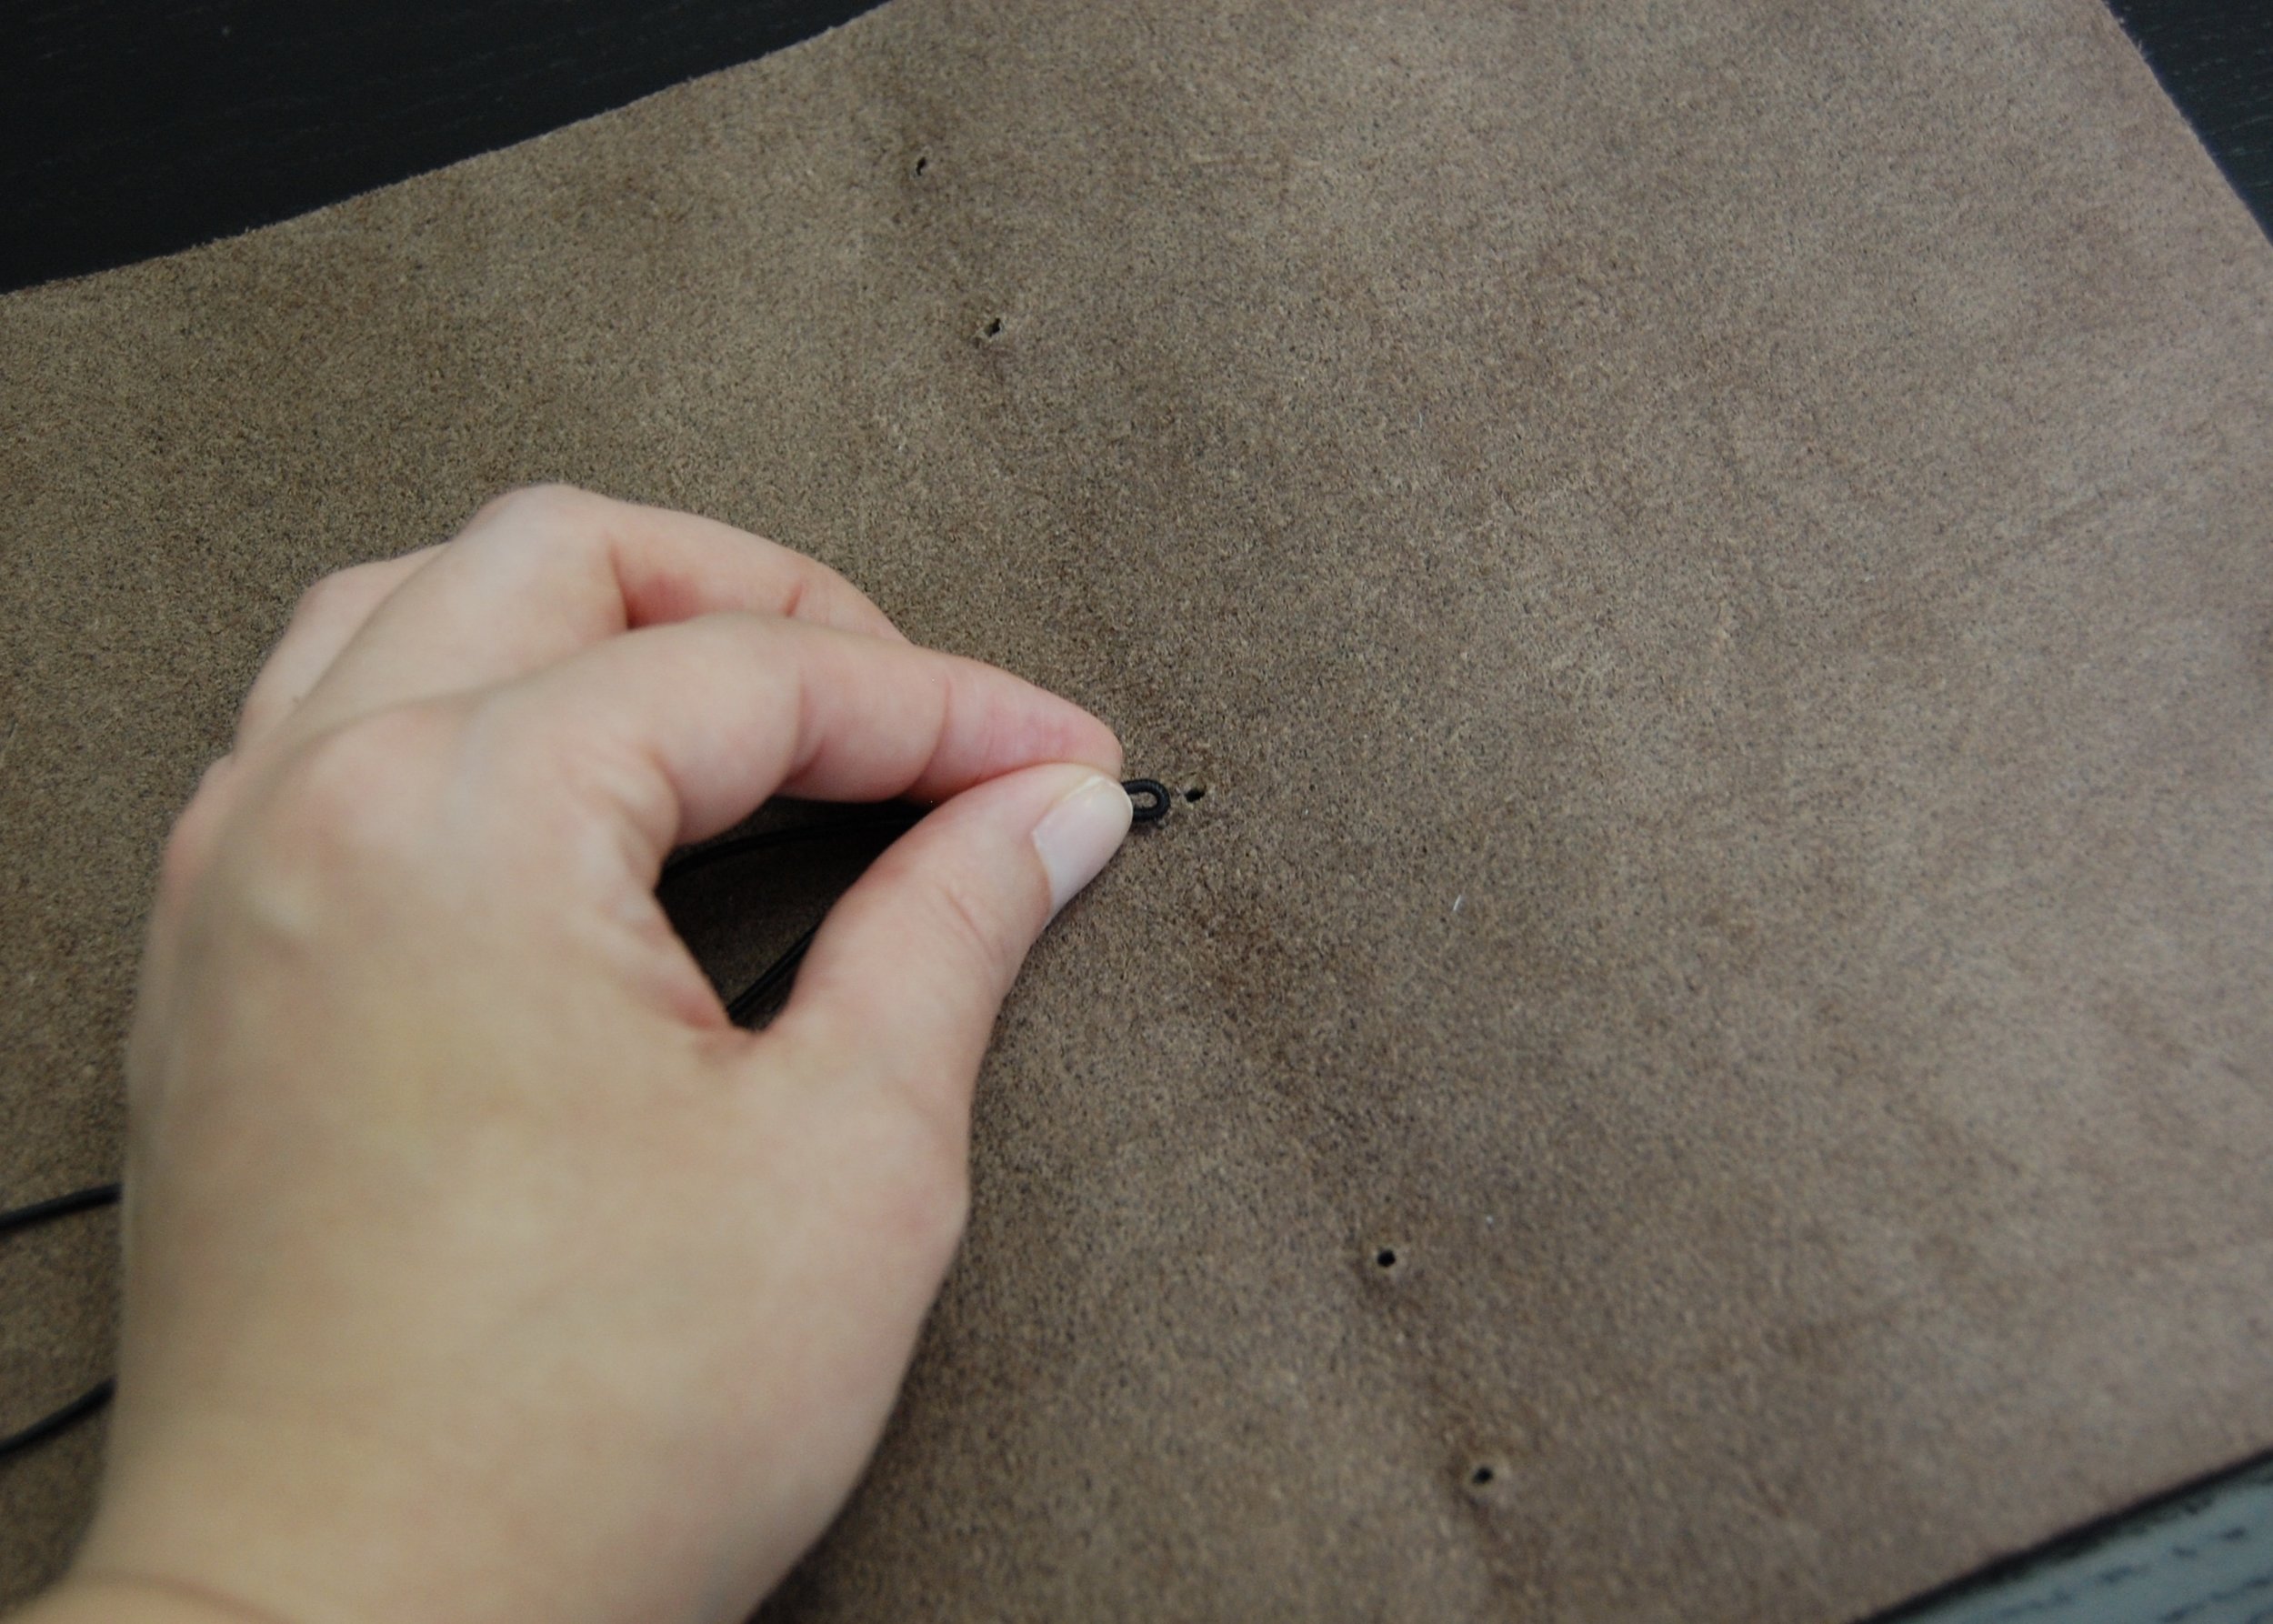
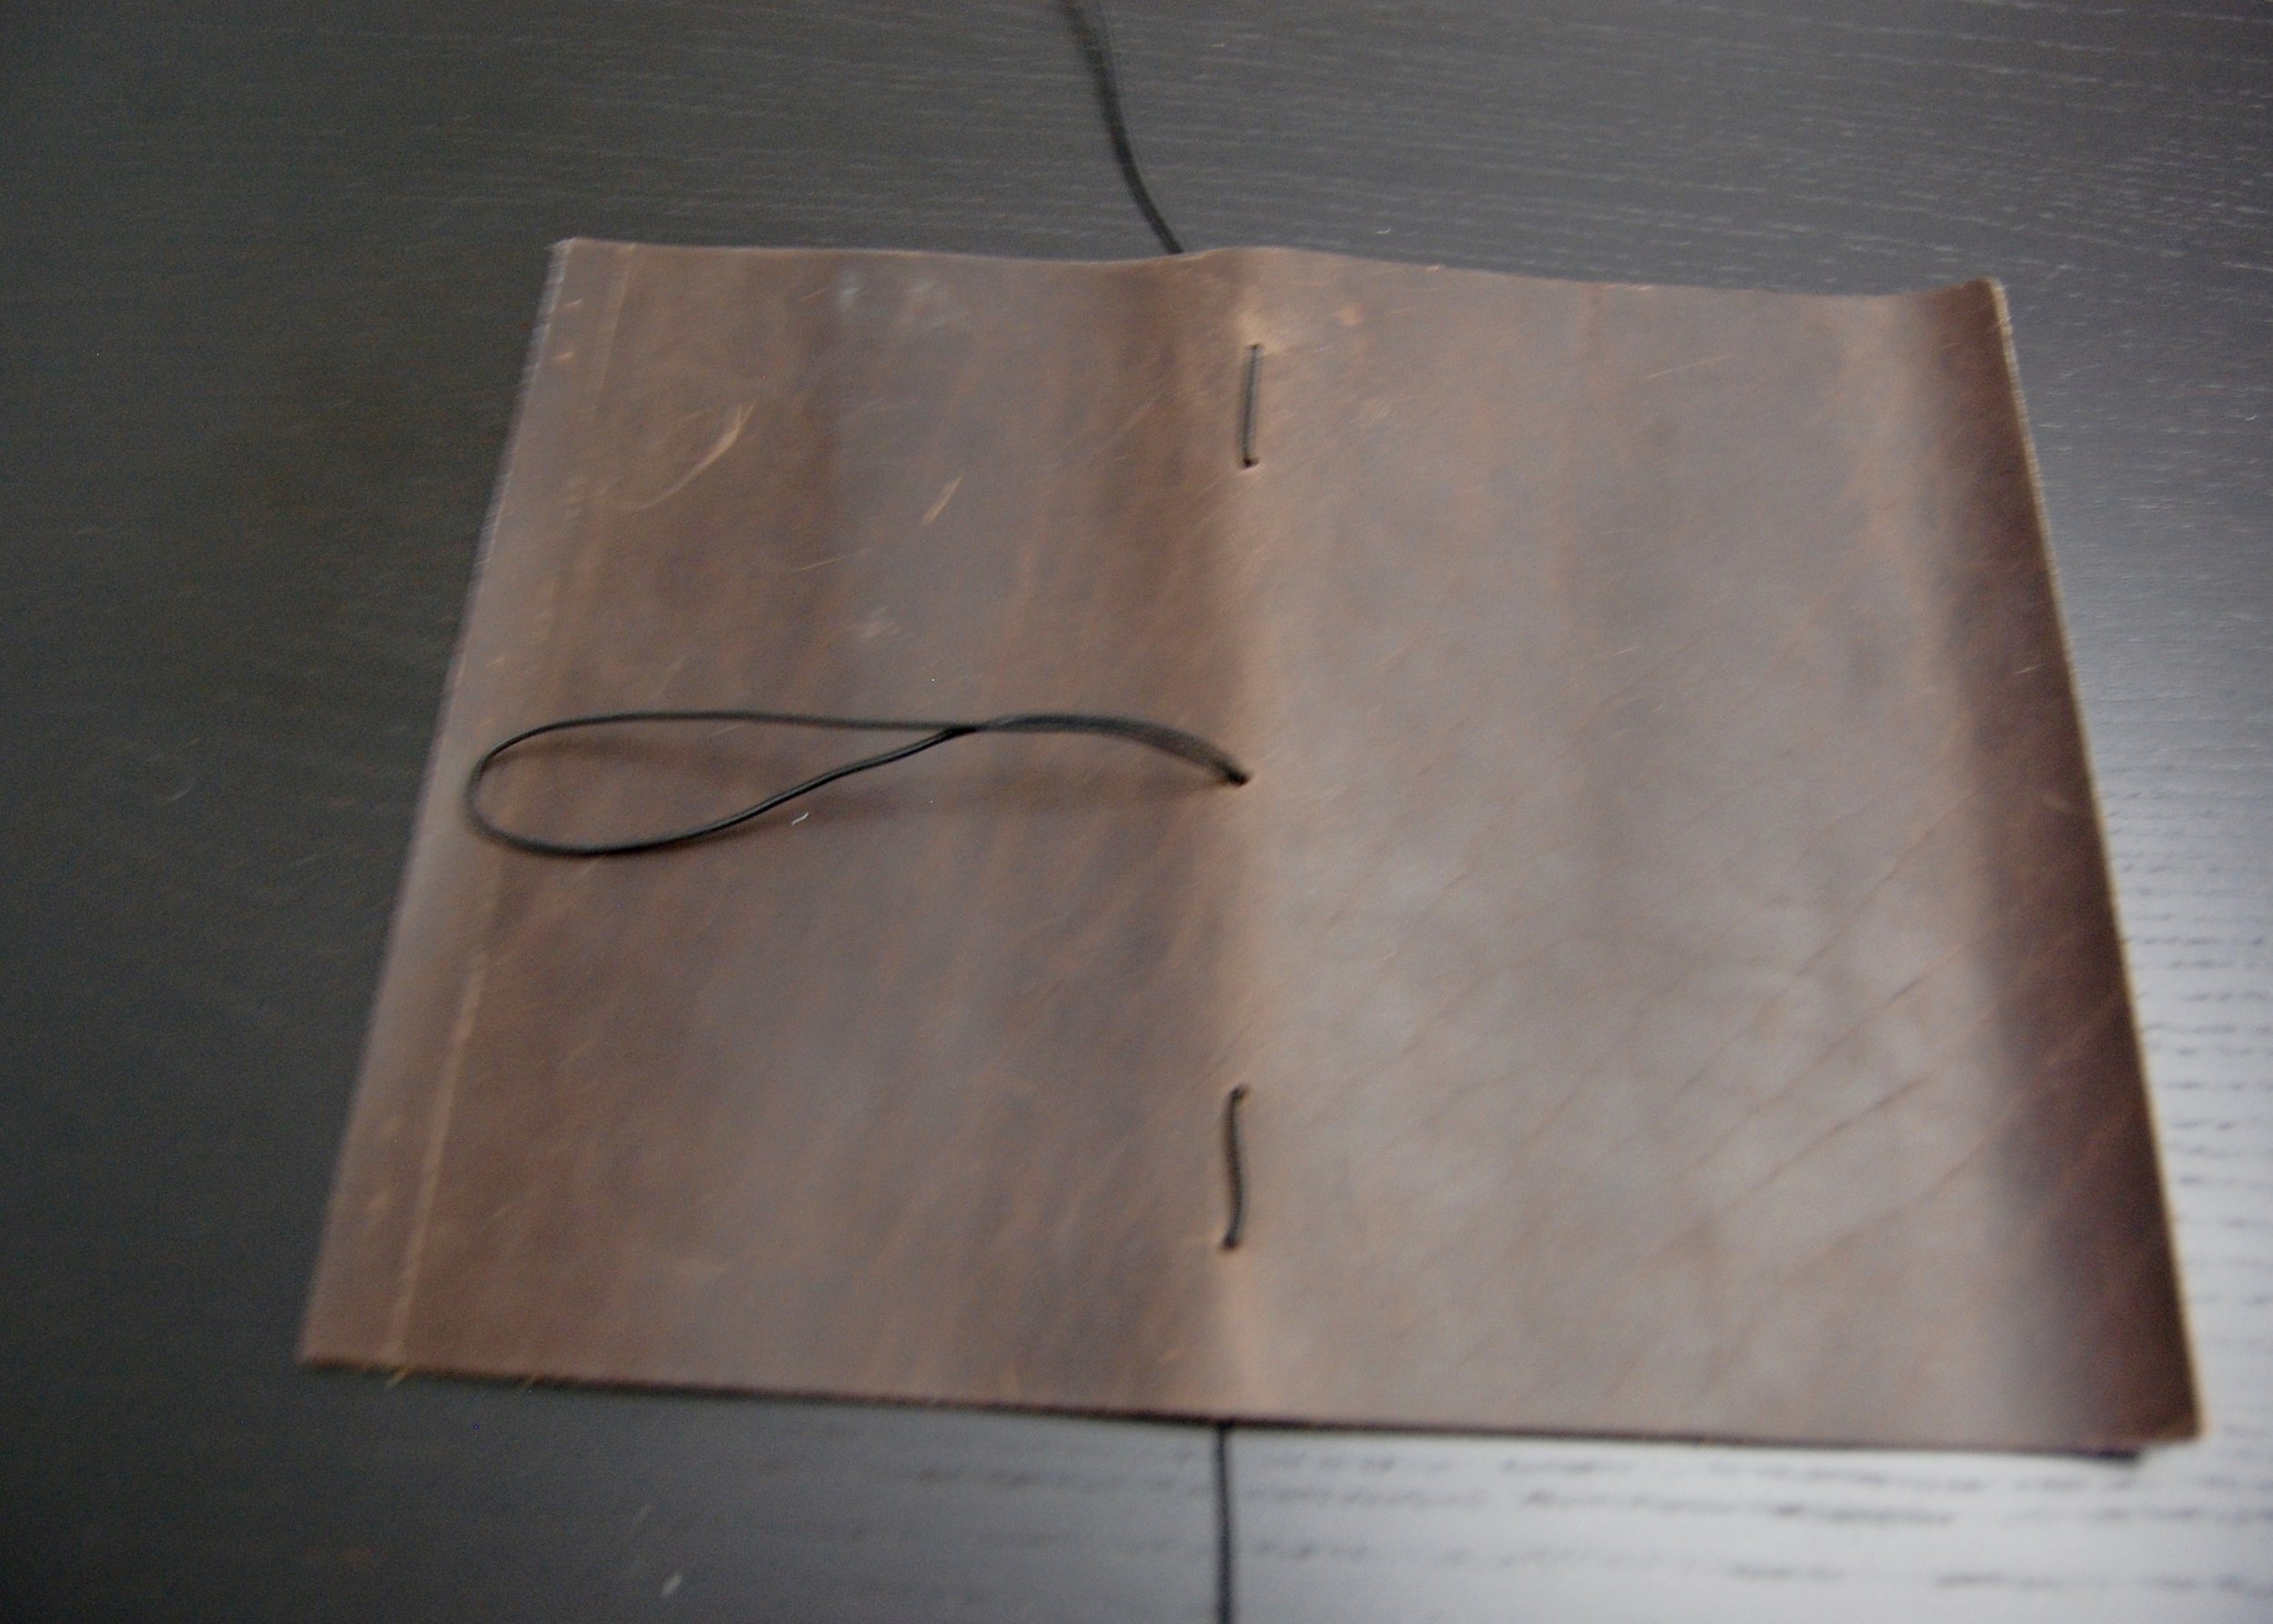
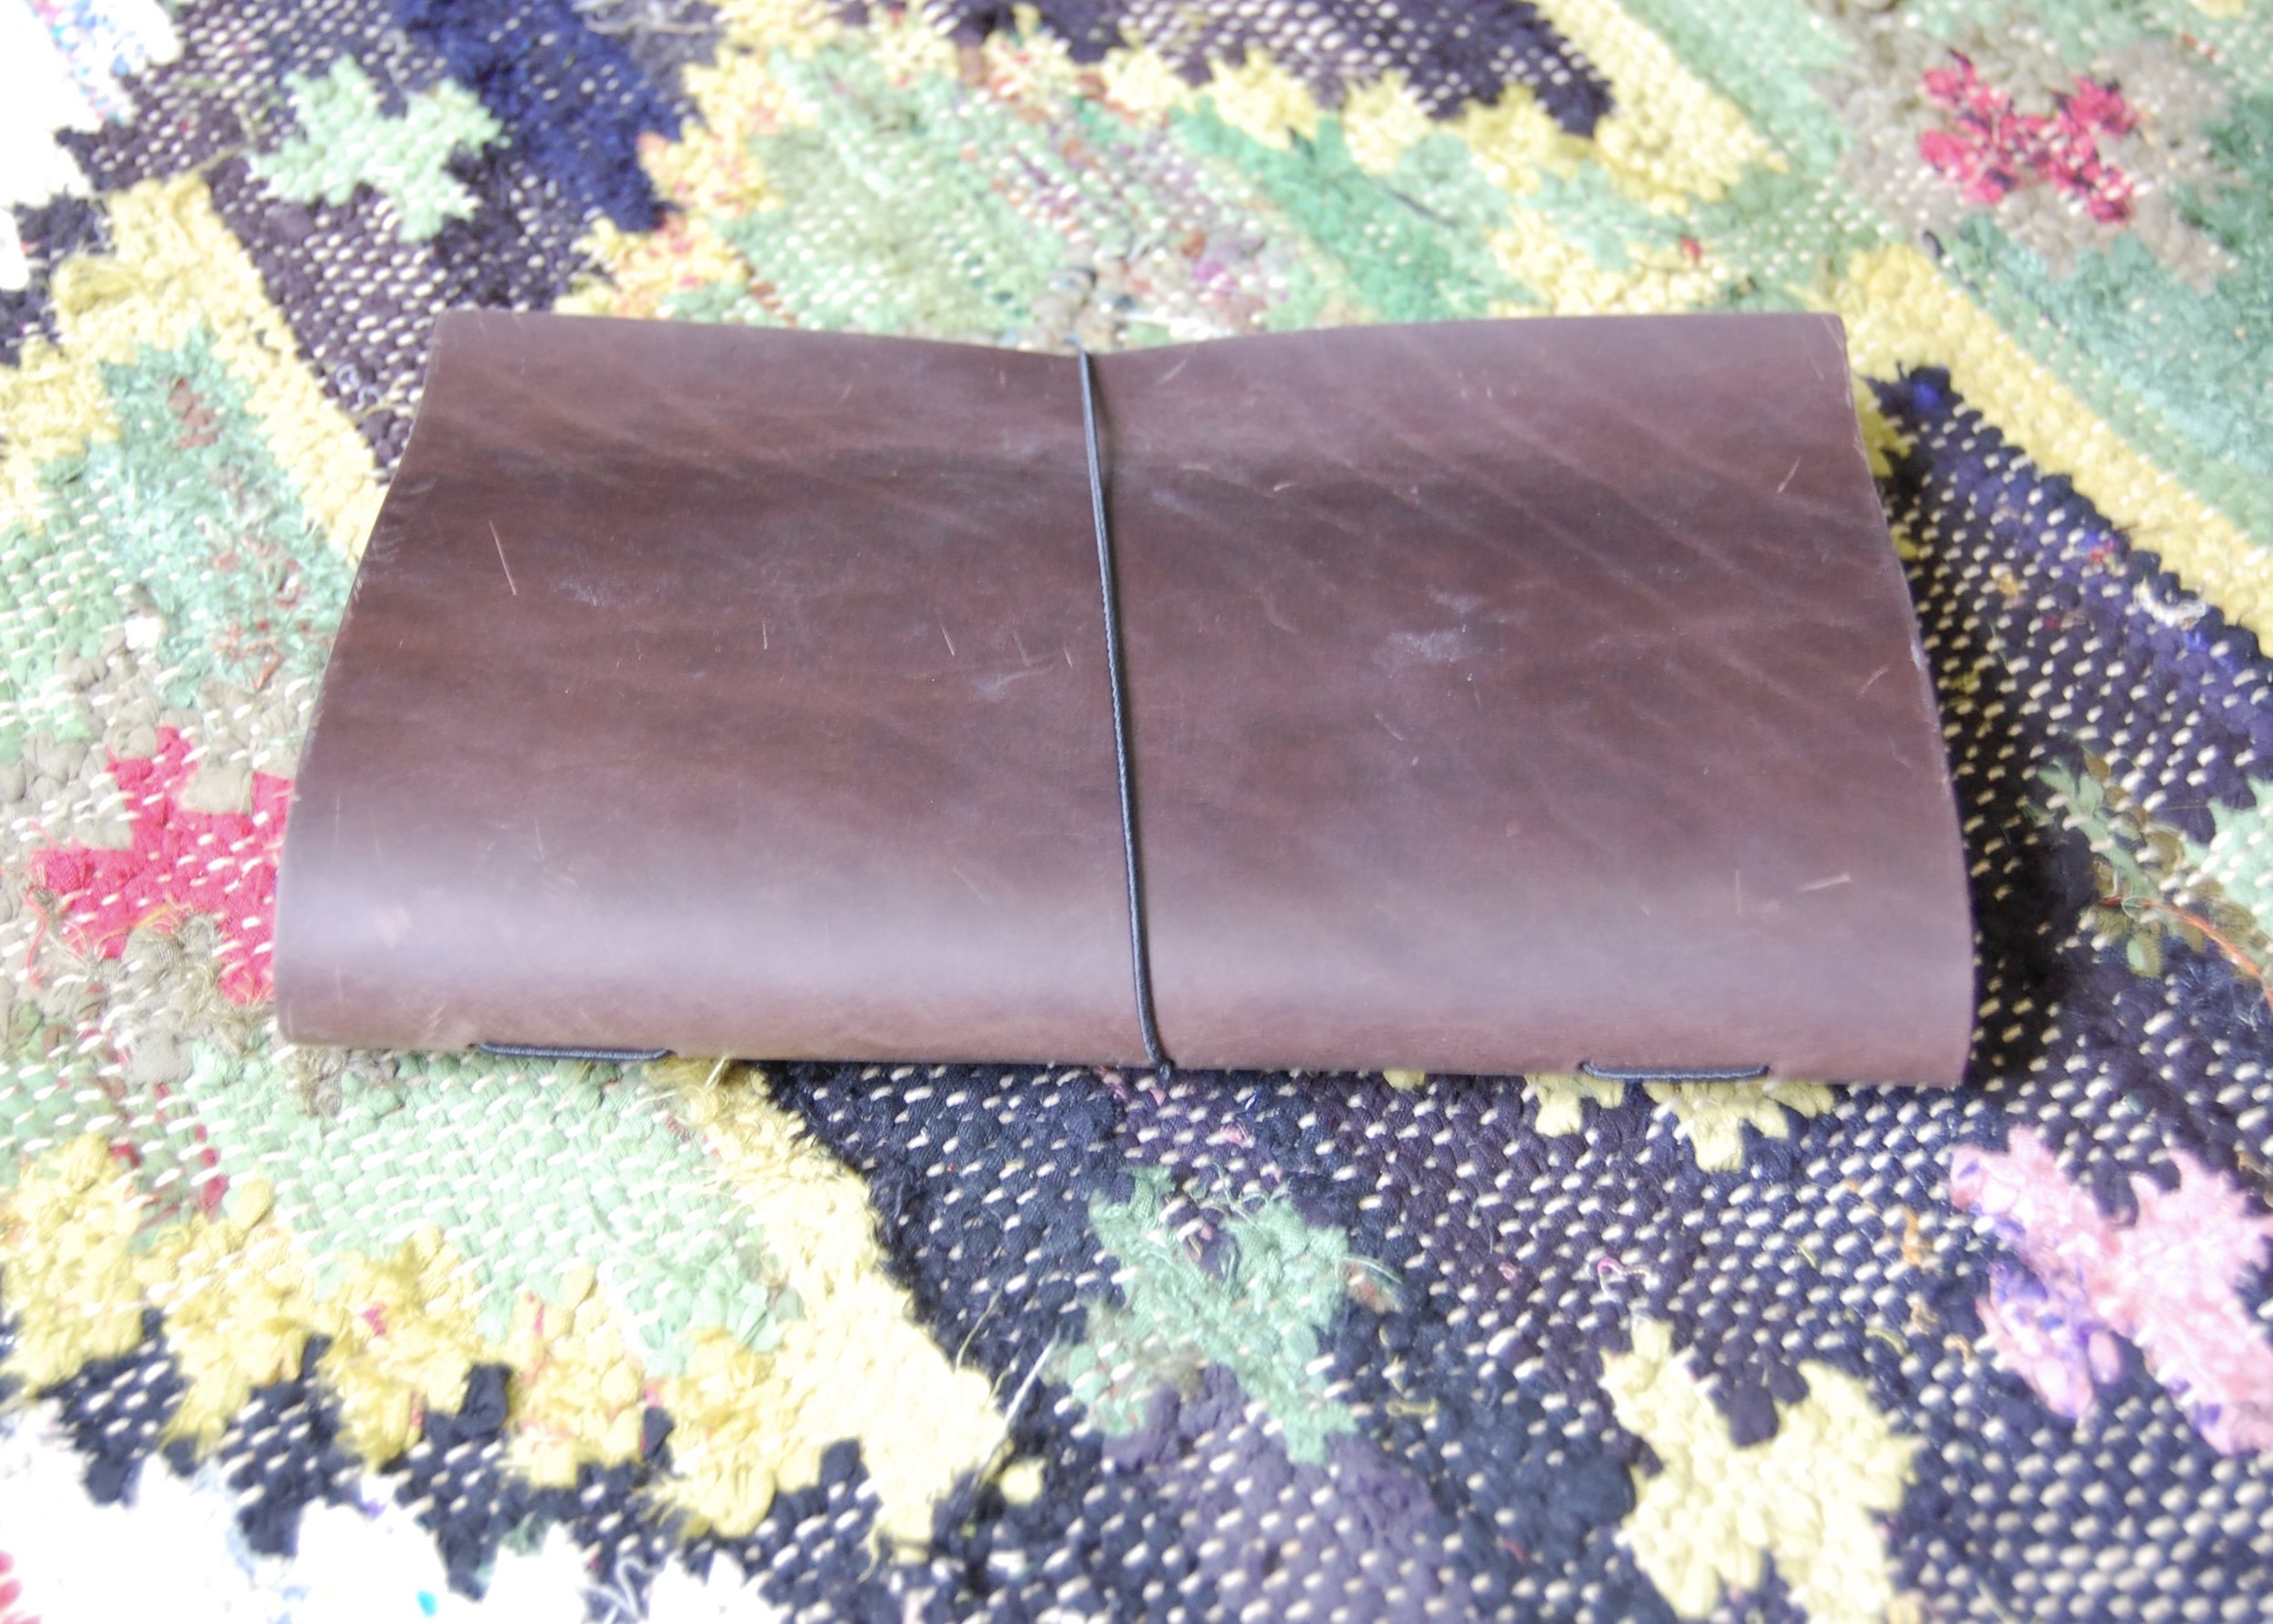
You have to create holes in the cover to connect the cover to the paper inserts that you put inside it. The holes need to be big enough to stick a piece of round elastic through them. In the original tutorial Lin from Darbin Orvar used what I think was a leather hole punch like these. I did not have a leather hole punch, so I used this sewing awl (on a side note, I use this tool ALL the time, it has been especially useful in the kitchen, and I highly recommend it). I think Lin's leather punched holes look a bit neater than mine do, but I think mine still look pretty darn good.
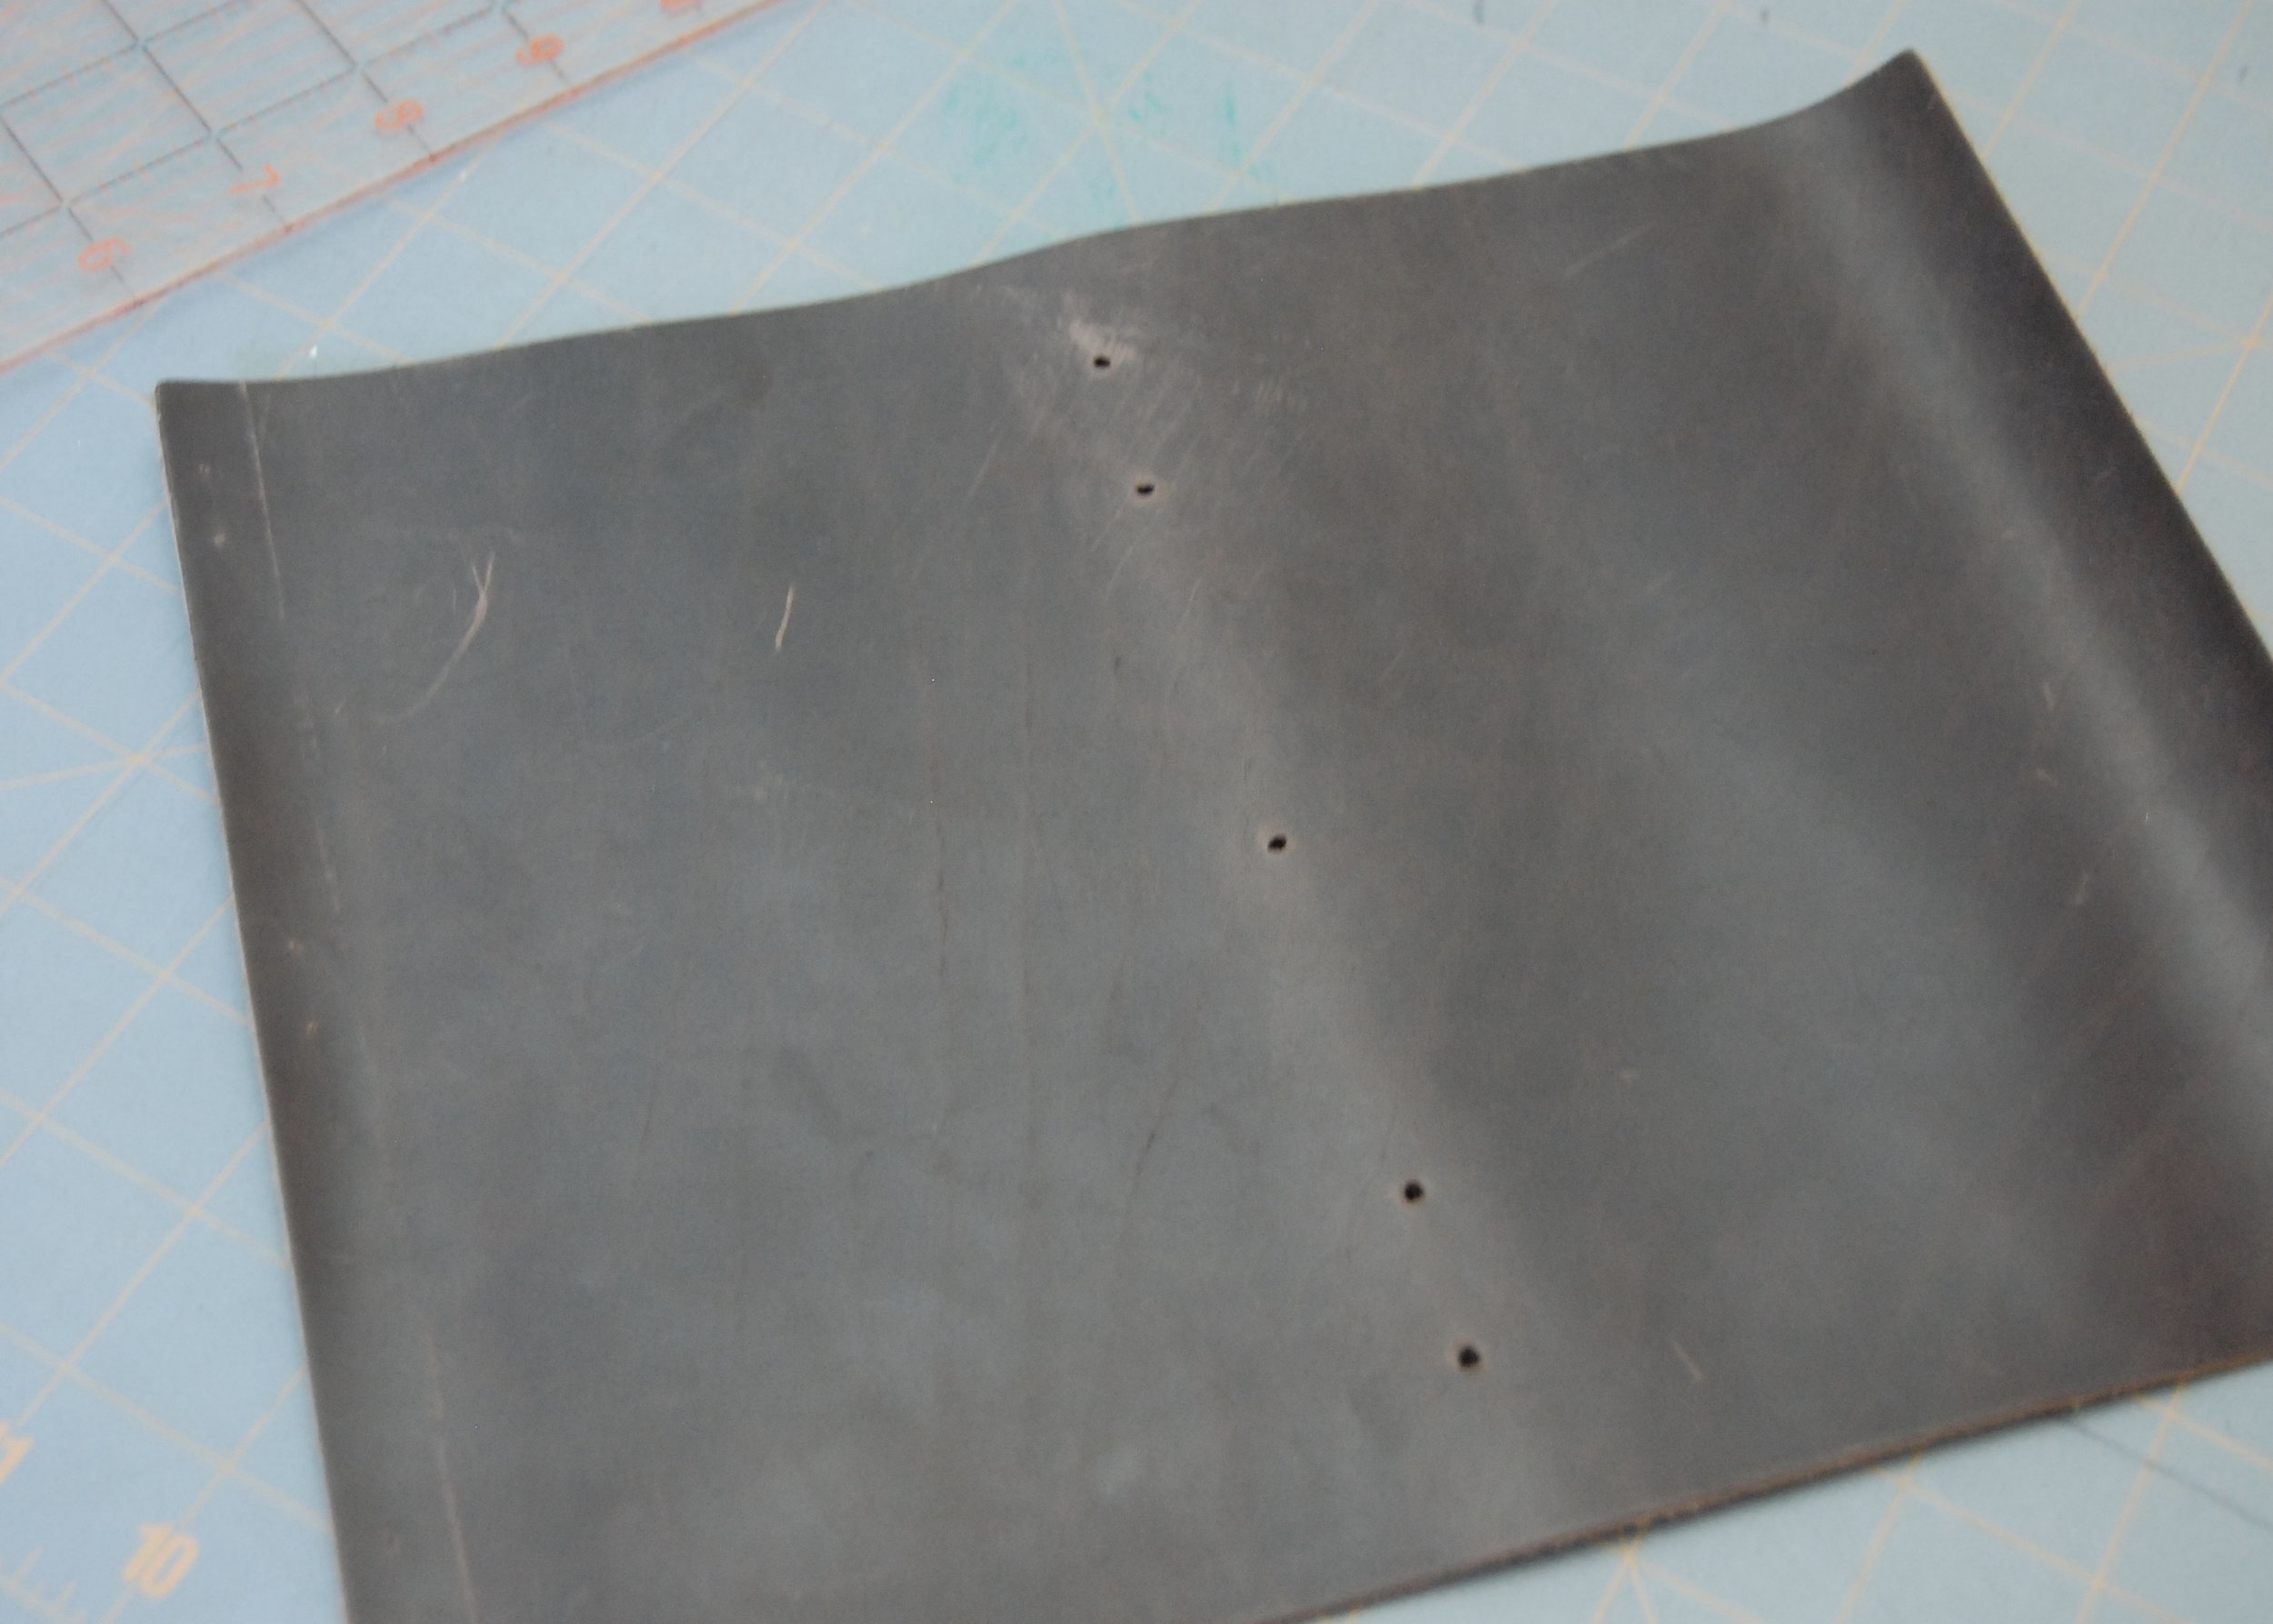
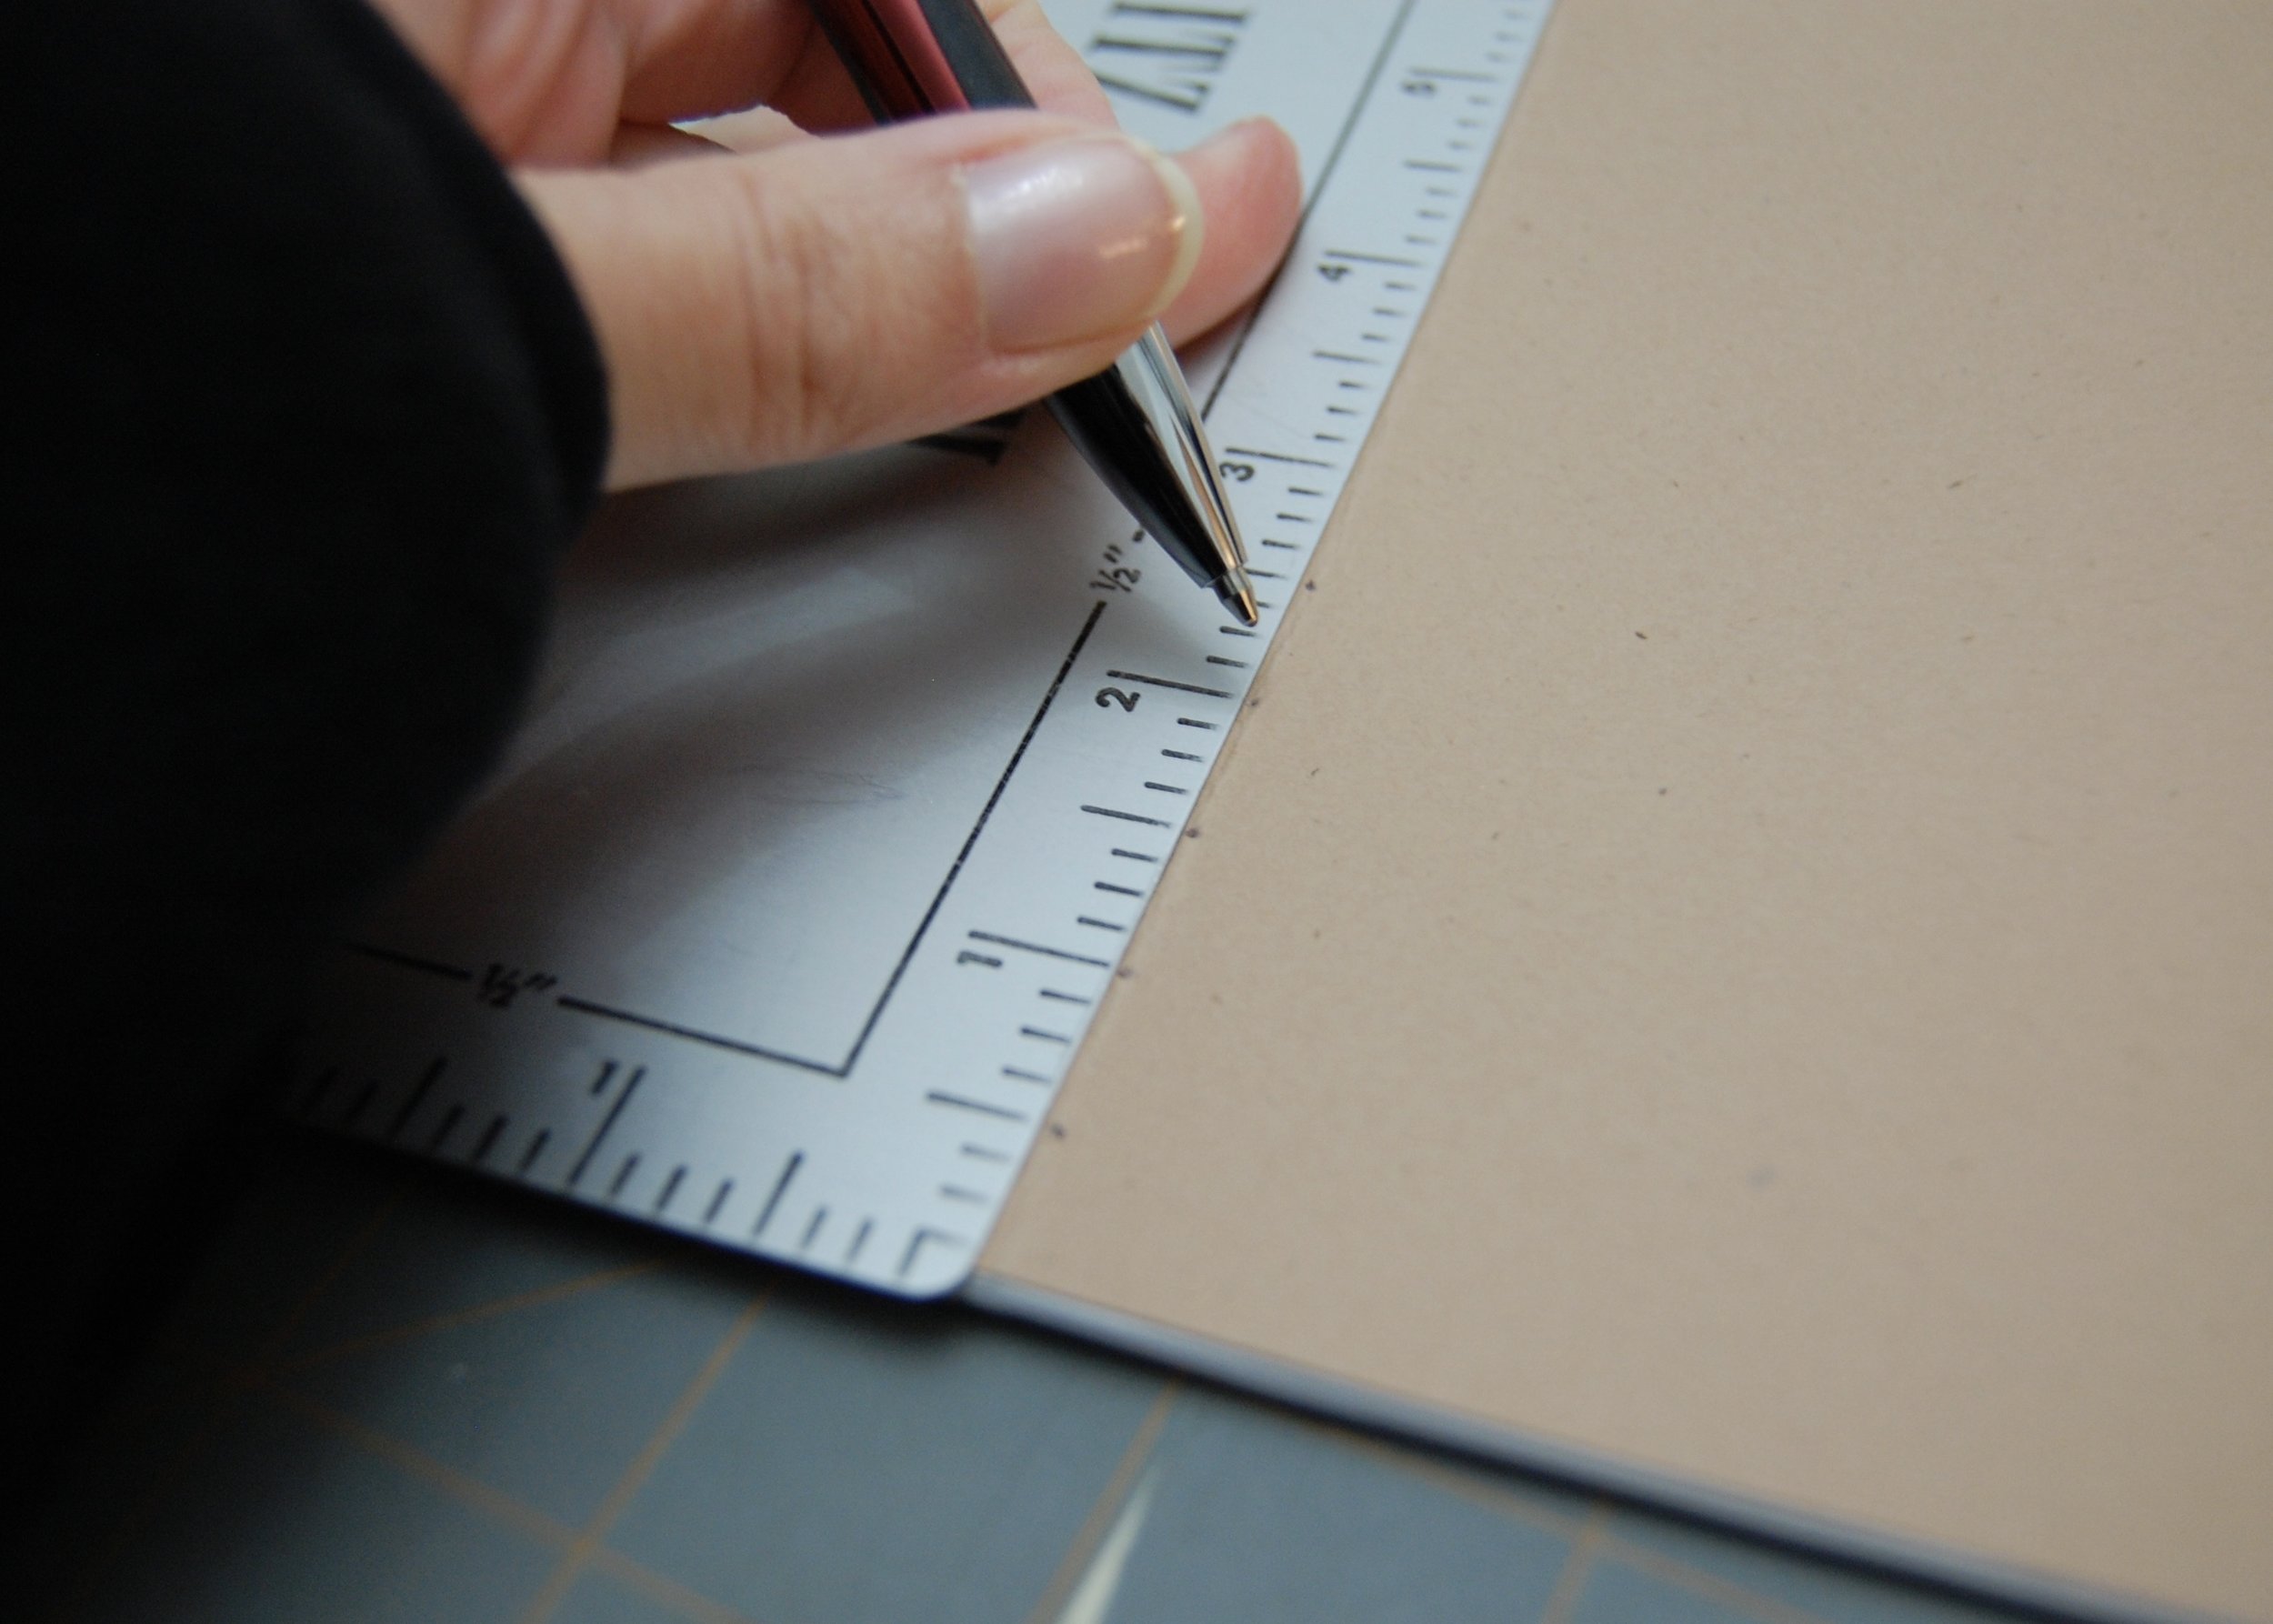
I placed my holes 5.5" (139.7mm) from each short side of the leather, and then on that axis I placed holes 1" (25.4mm) from each long side, then 2" (50.8mm) from each long side, and then one hole 4.25" (107.9mm) from each long side. I made five holes total. If this is hard to visualize, check out the picture of the leather after I had made the holes.
Create Inserts
Gather Paper and Prepare for Sewing
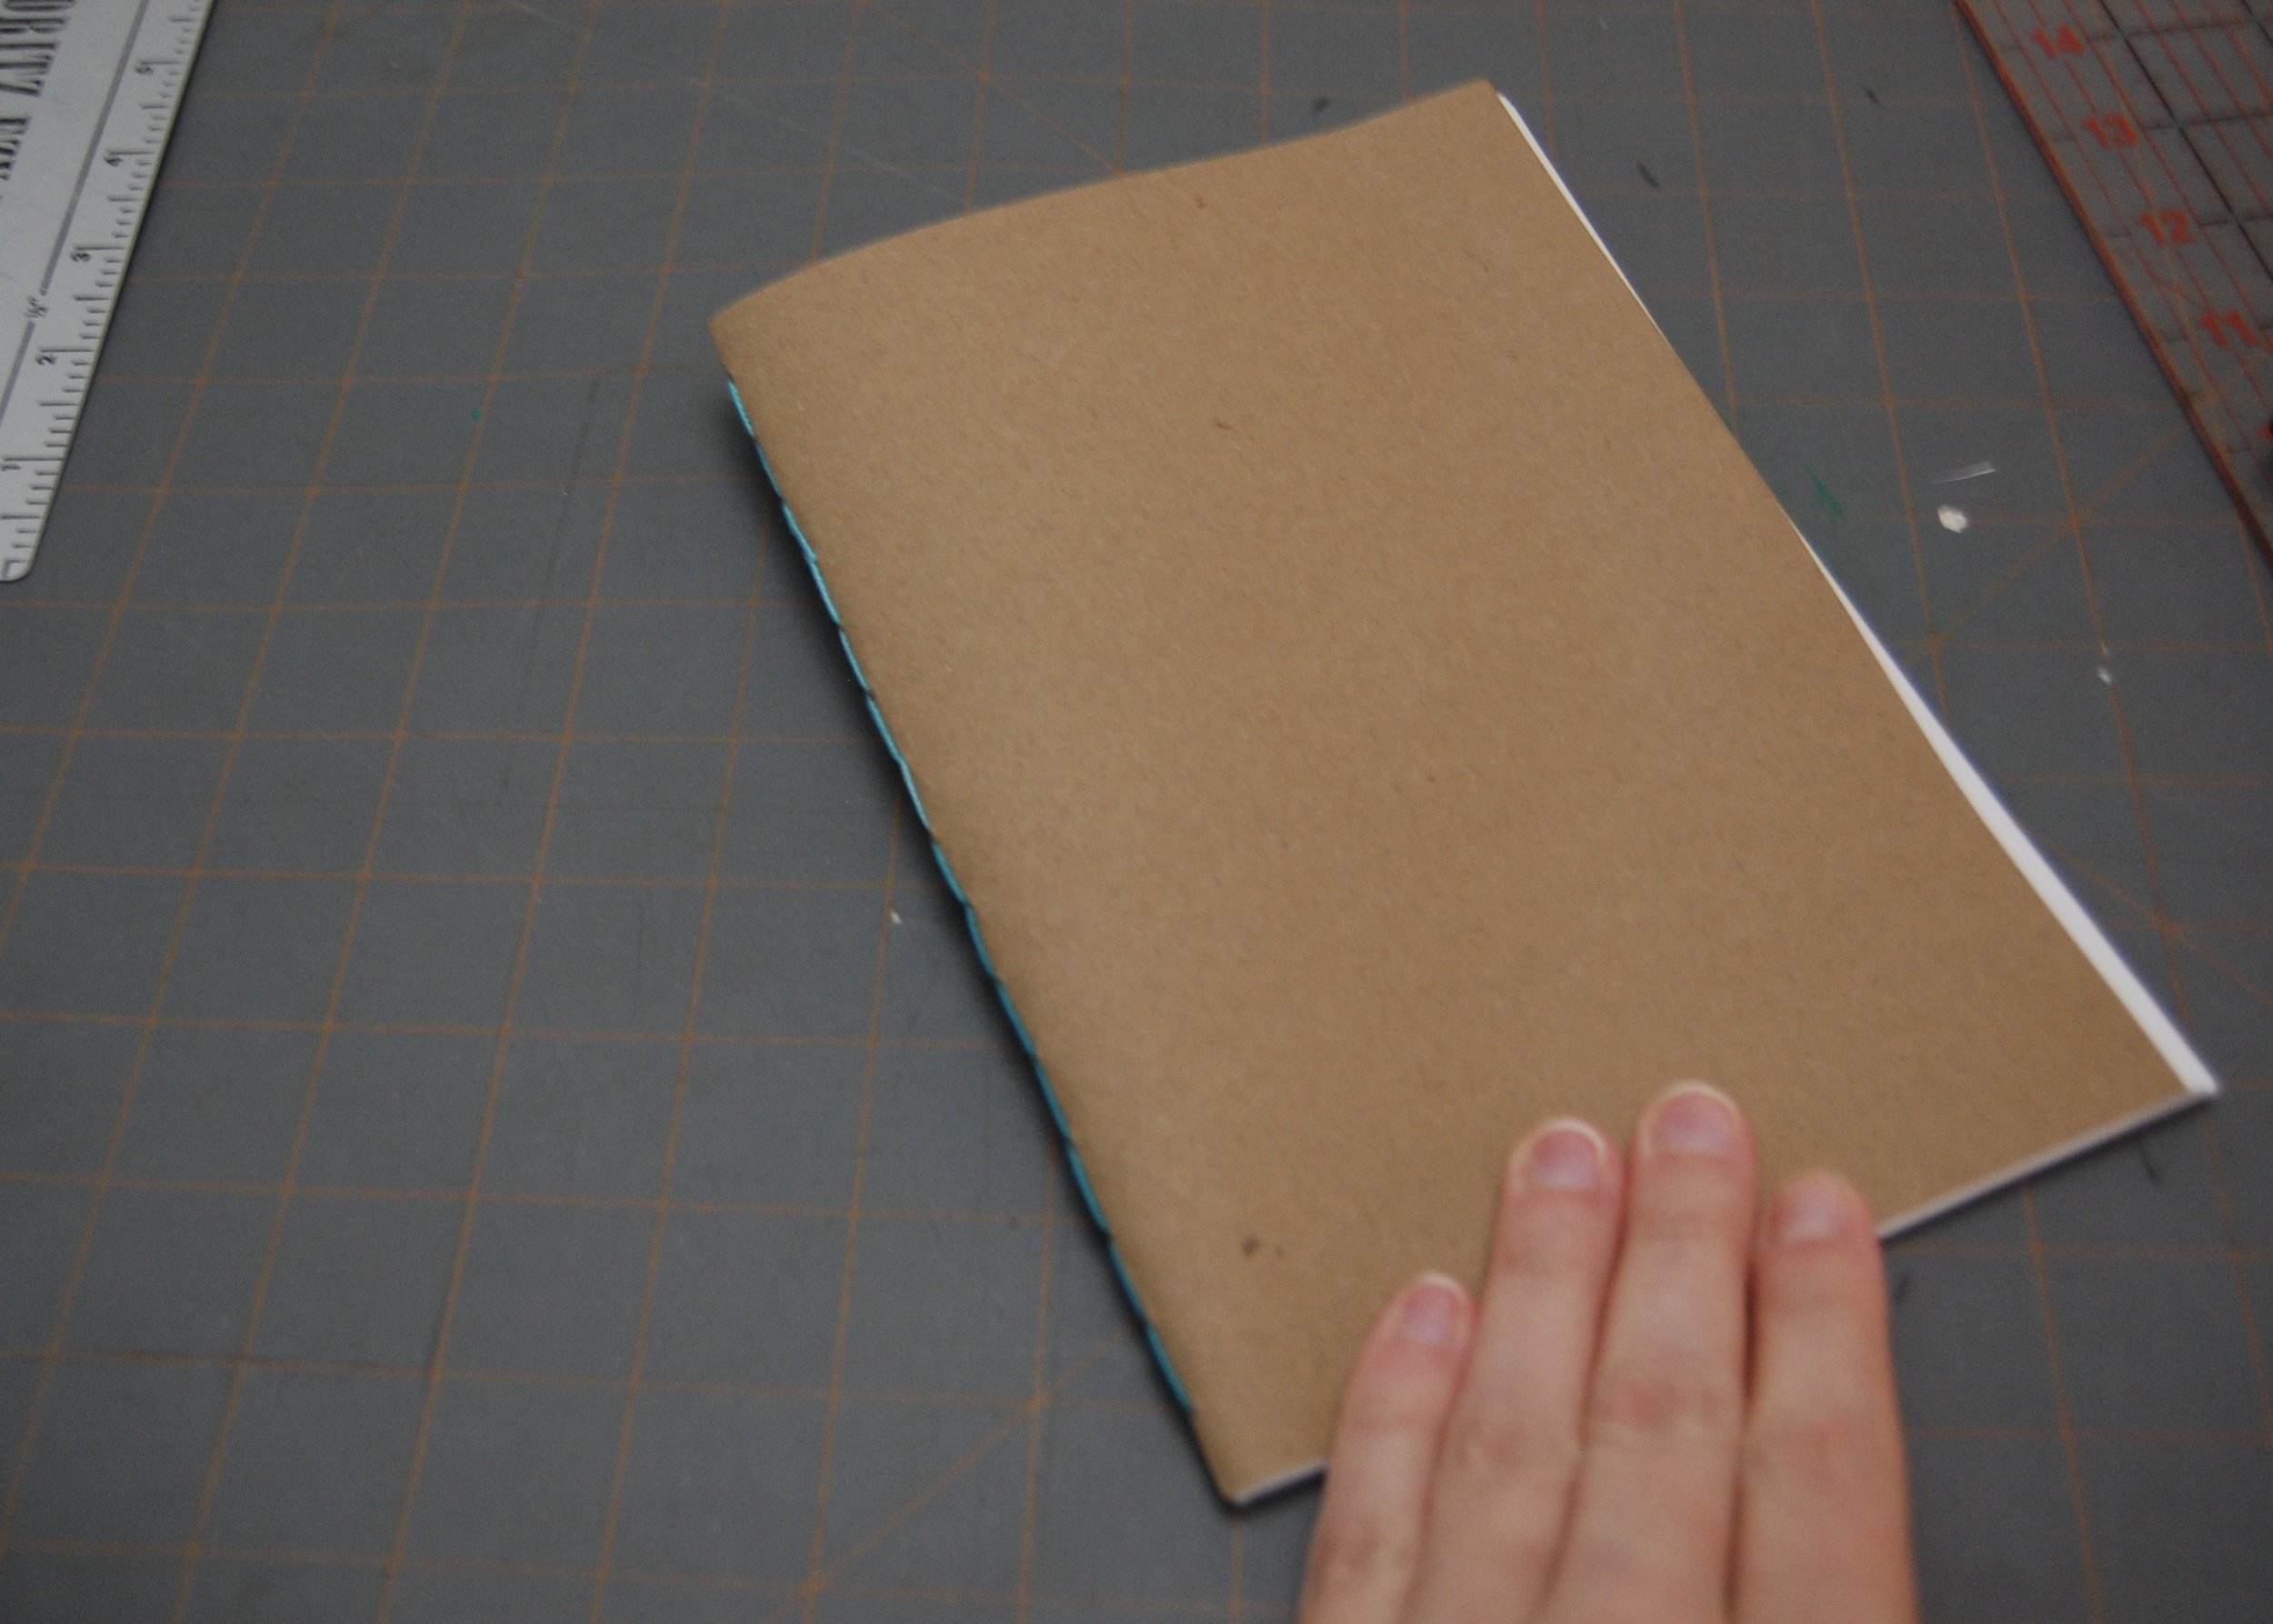
For my inserts I used 15 sheets of standard 8.5" by 11" (215.9mm x 279.4mm) paper for the interior and a piece of heavier weight craft paper for the cover. I started by folding the paper short sides together in bunches of three pieces (it helps to crease the folded edge with a straight edge, like a ruler), and put the bunches together to form a book. Since I wanted the height of my inserts to be slightly less than the height of my notebook, I then reduced the height of the insert by cutting off .5" (12.7mm) with an xacto knife (the total size of the paper being inserted was now 8" by 11" or 203.2mm by 279.4mm). In retrospect it may have been easier to cut the paper prior to folding it.
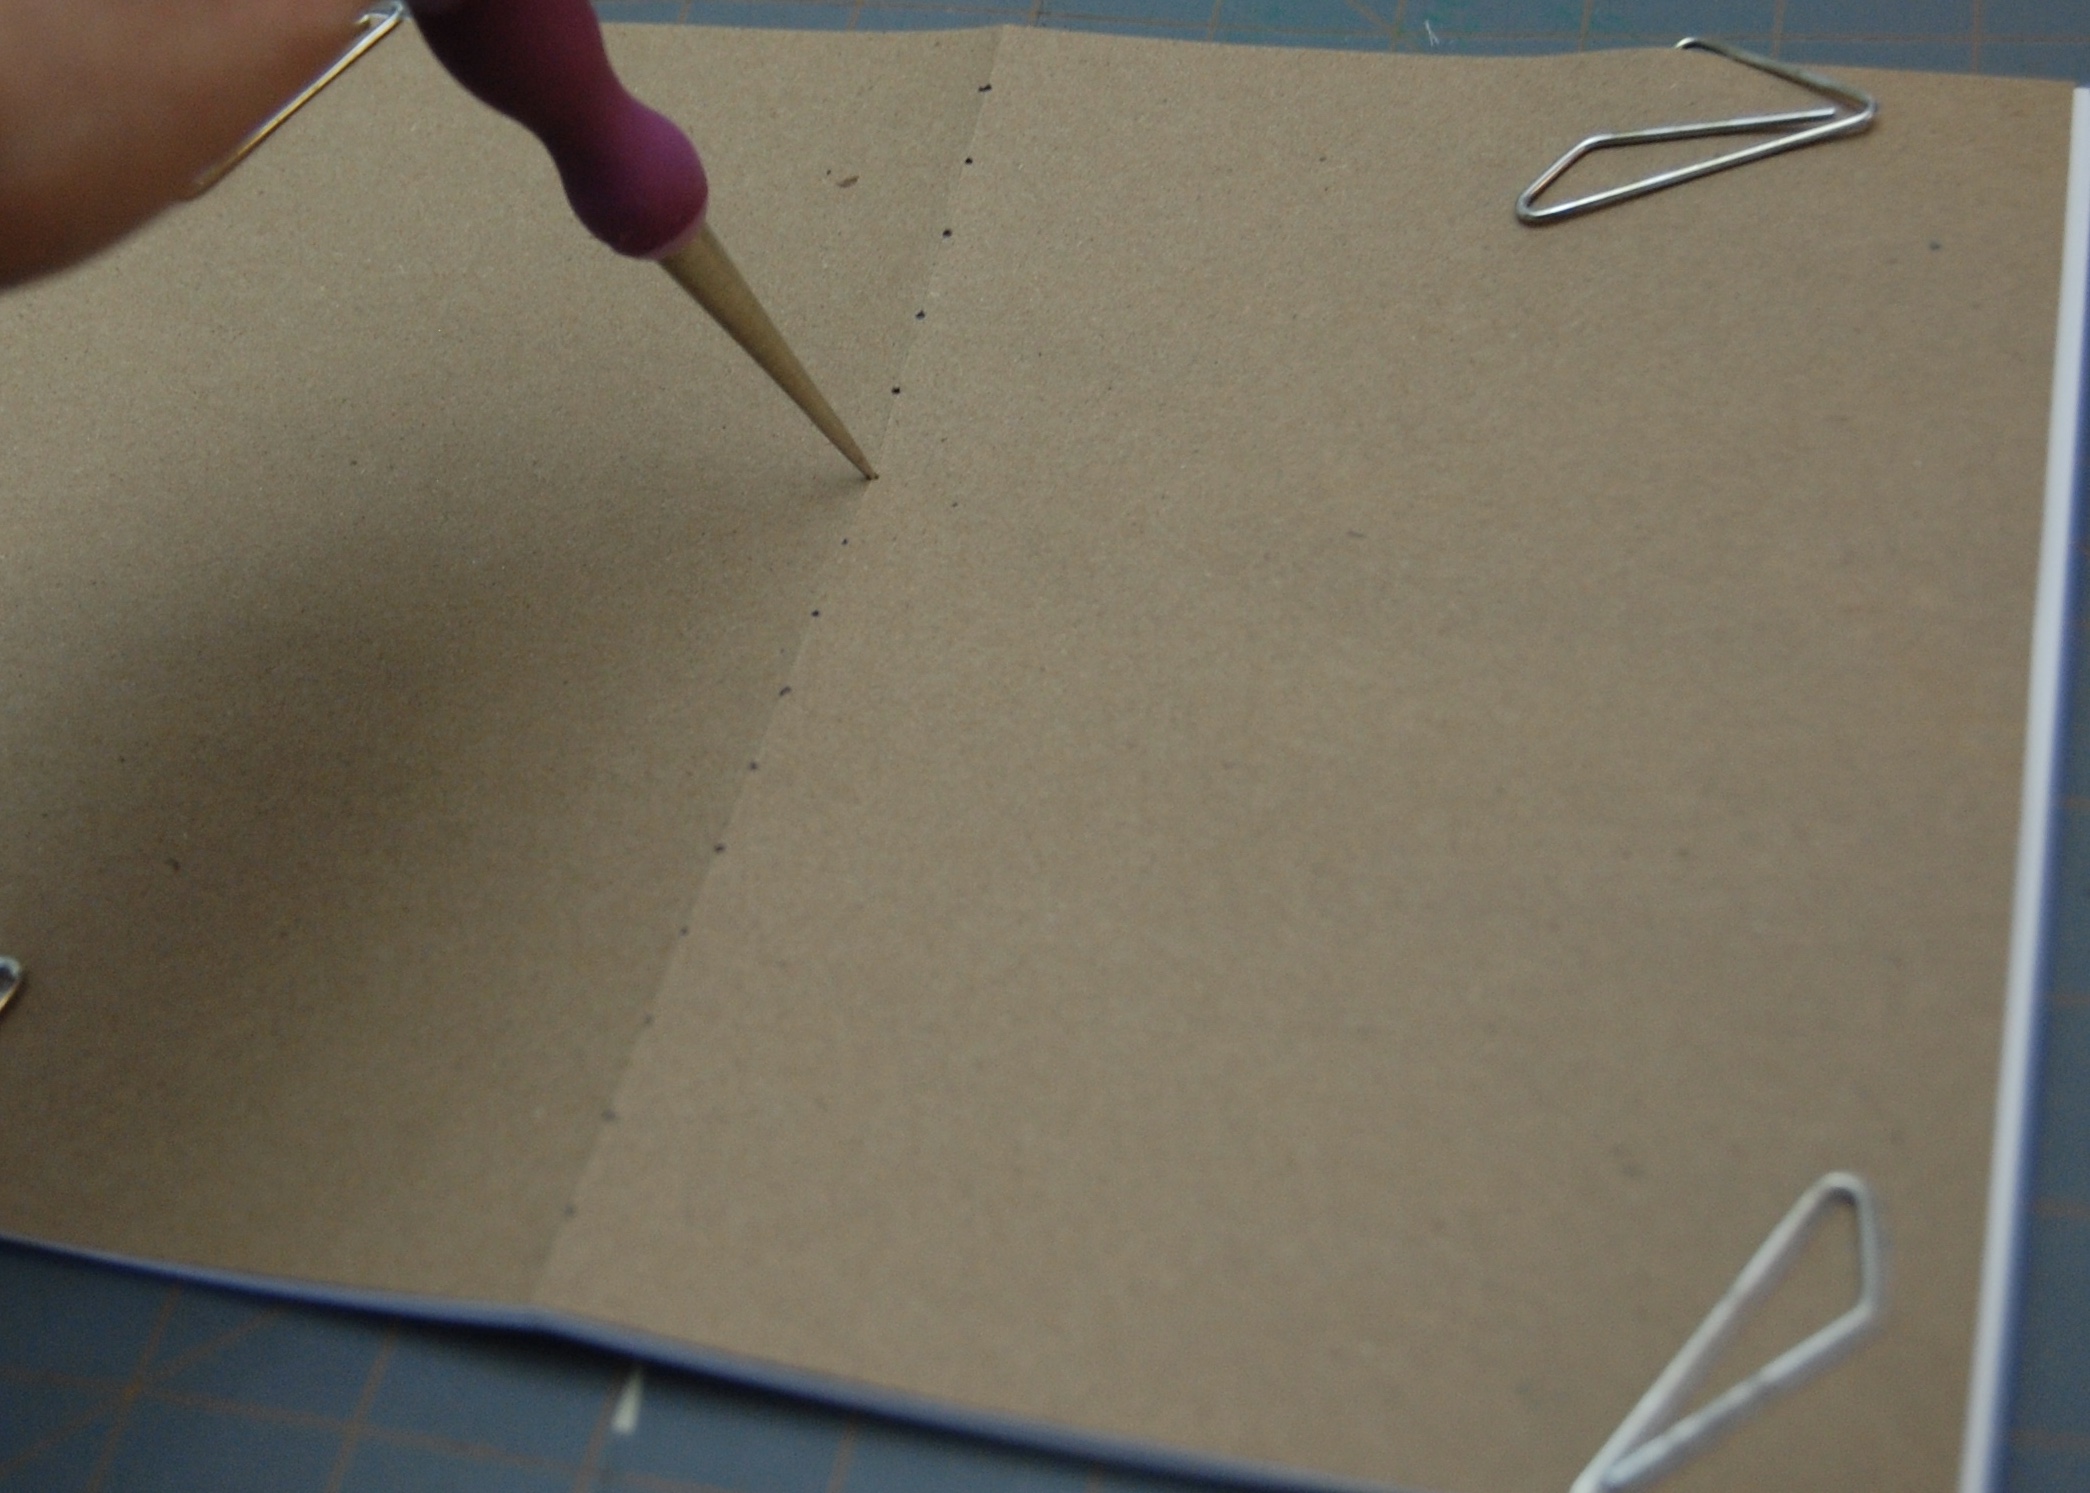
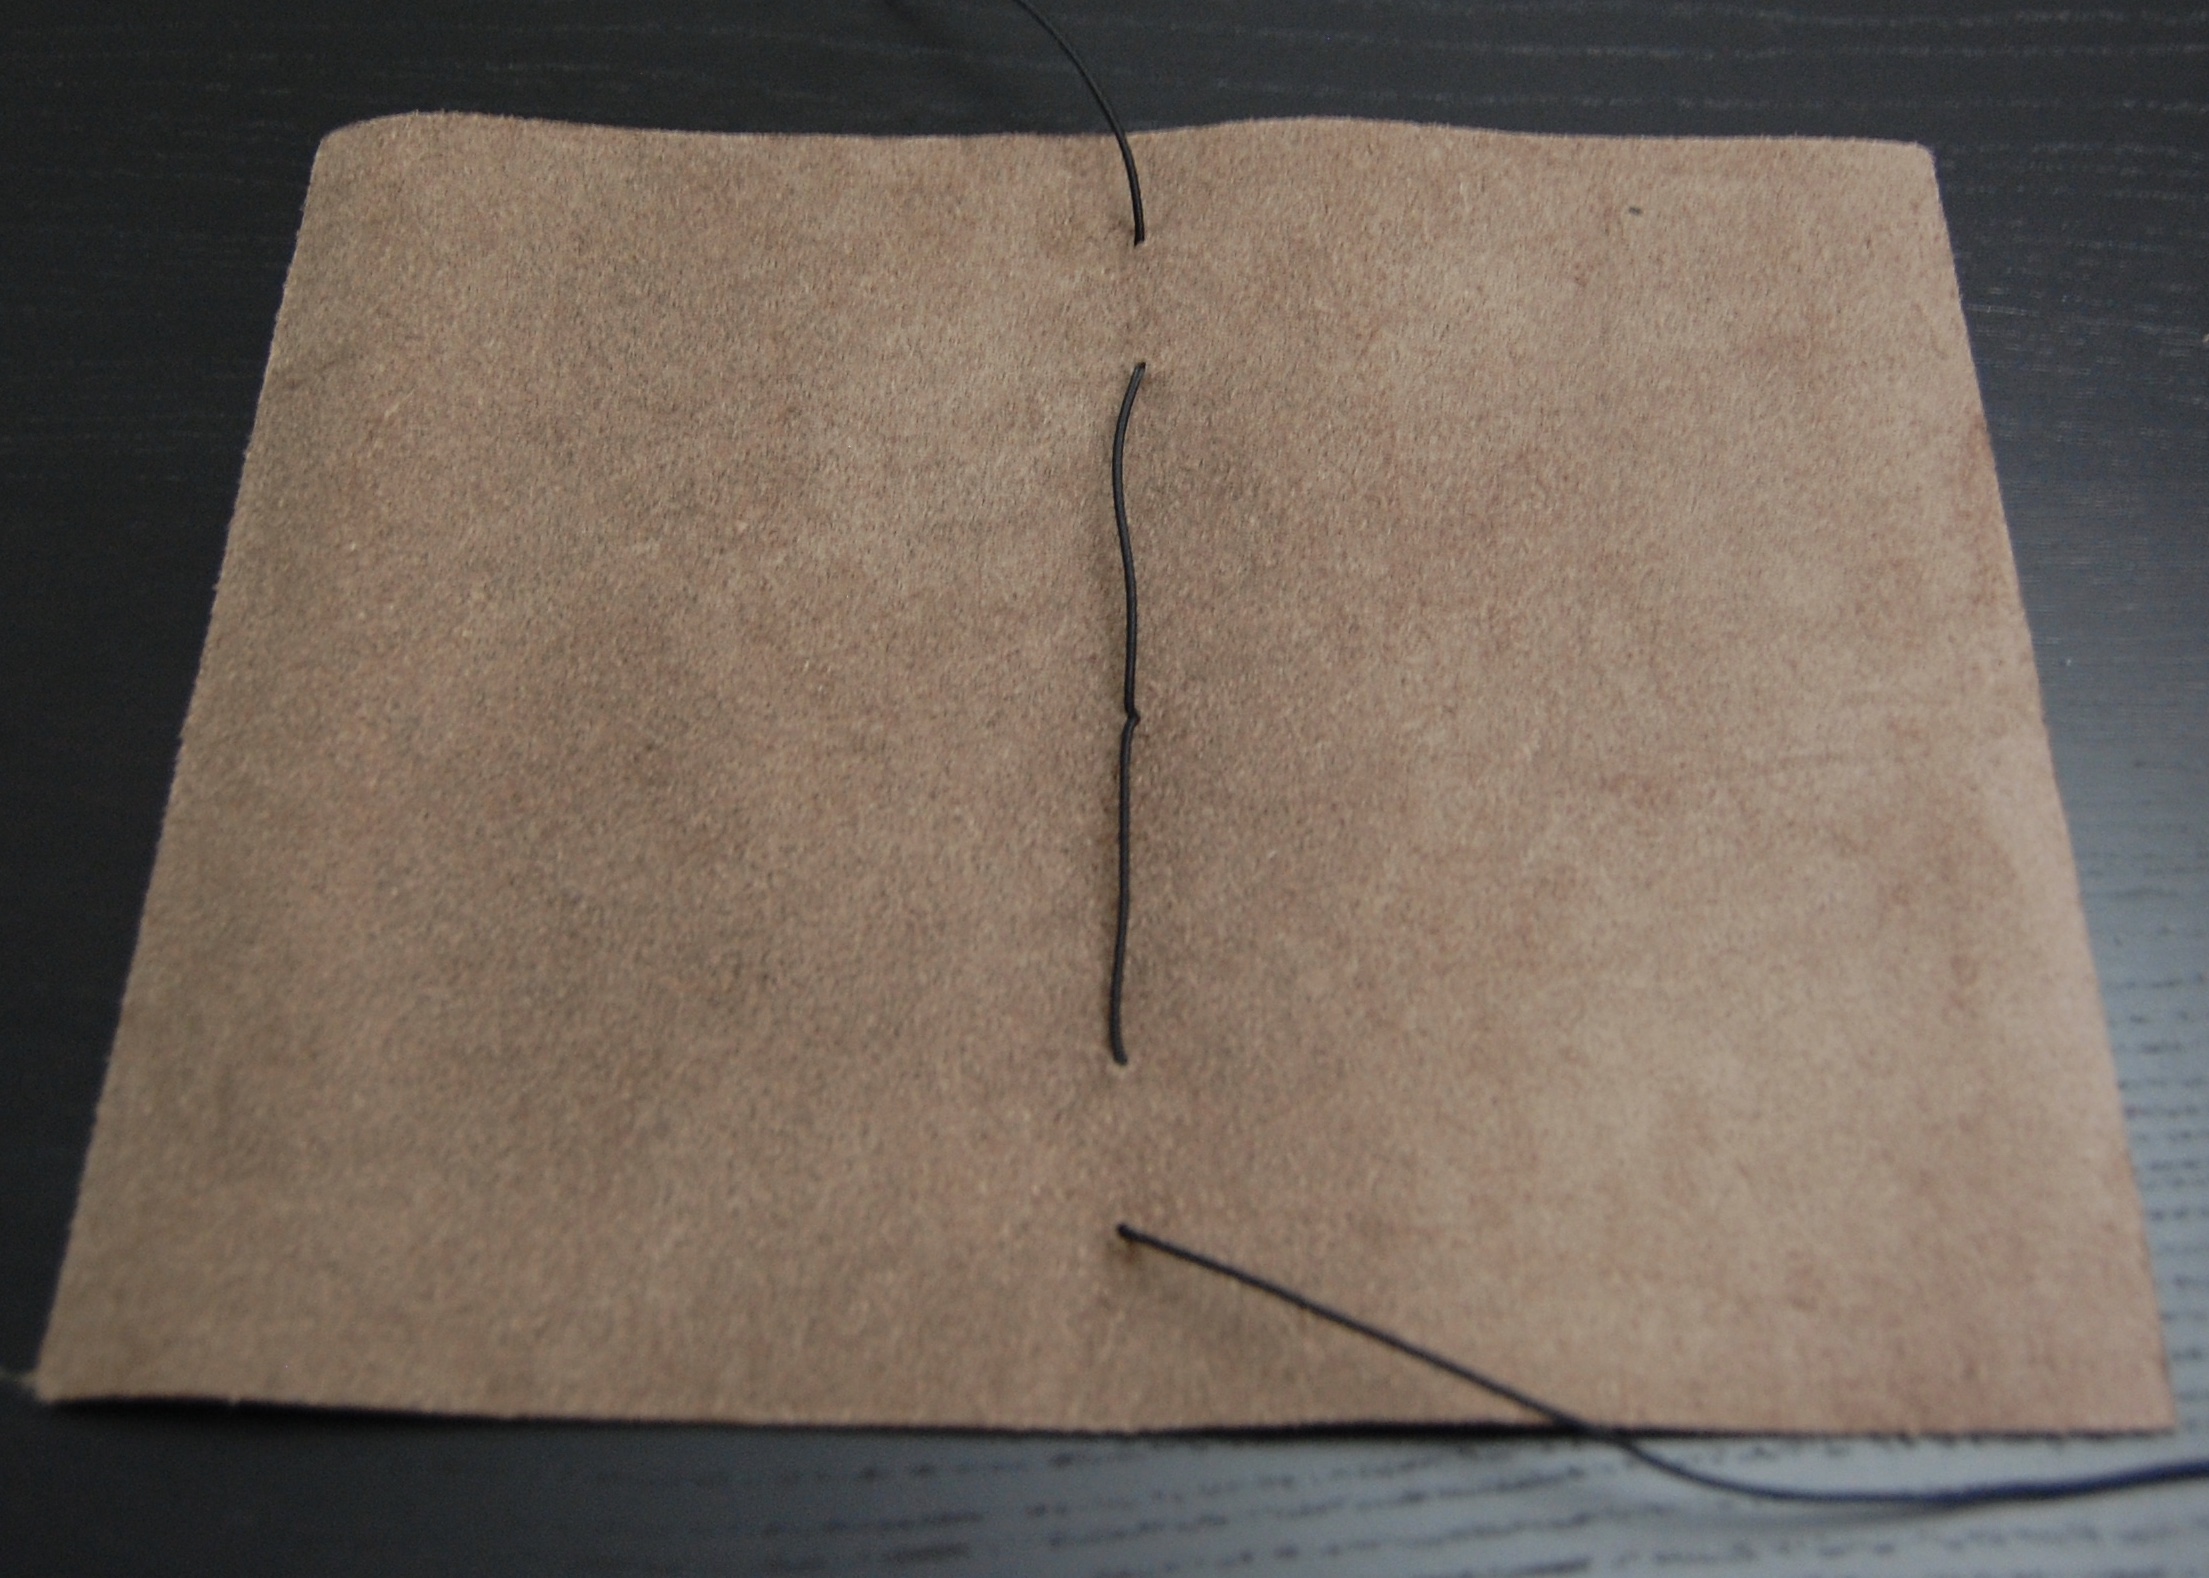
To make it easier to sew the paper together I punched holes along the fold as well. First I unfolded all of the sheets and clipped them together with large paper clips to keep all the pieces in place. Then I marked where my holes would go along the fold line every half inch. Finally I used the same awl from earlier to punch the holes where I had marked.
Sewing the Insert

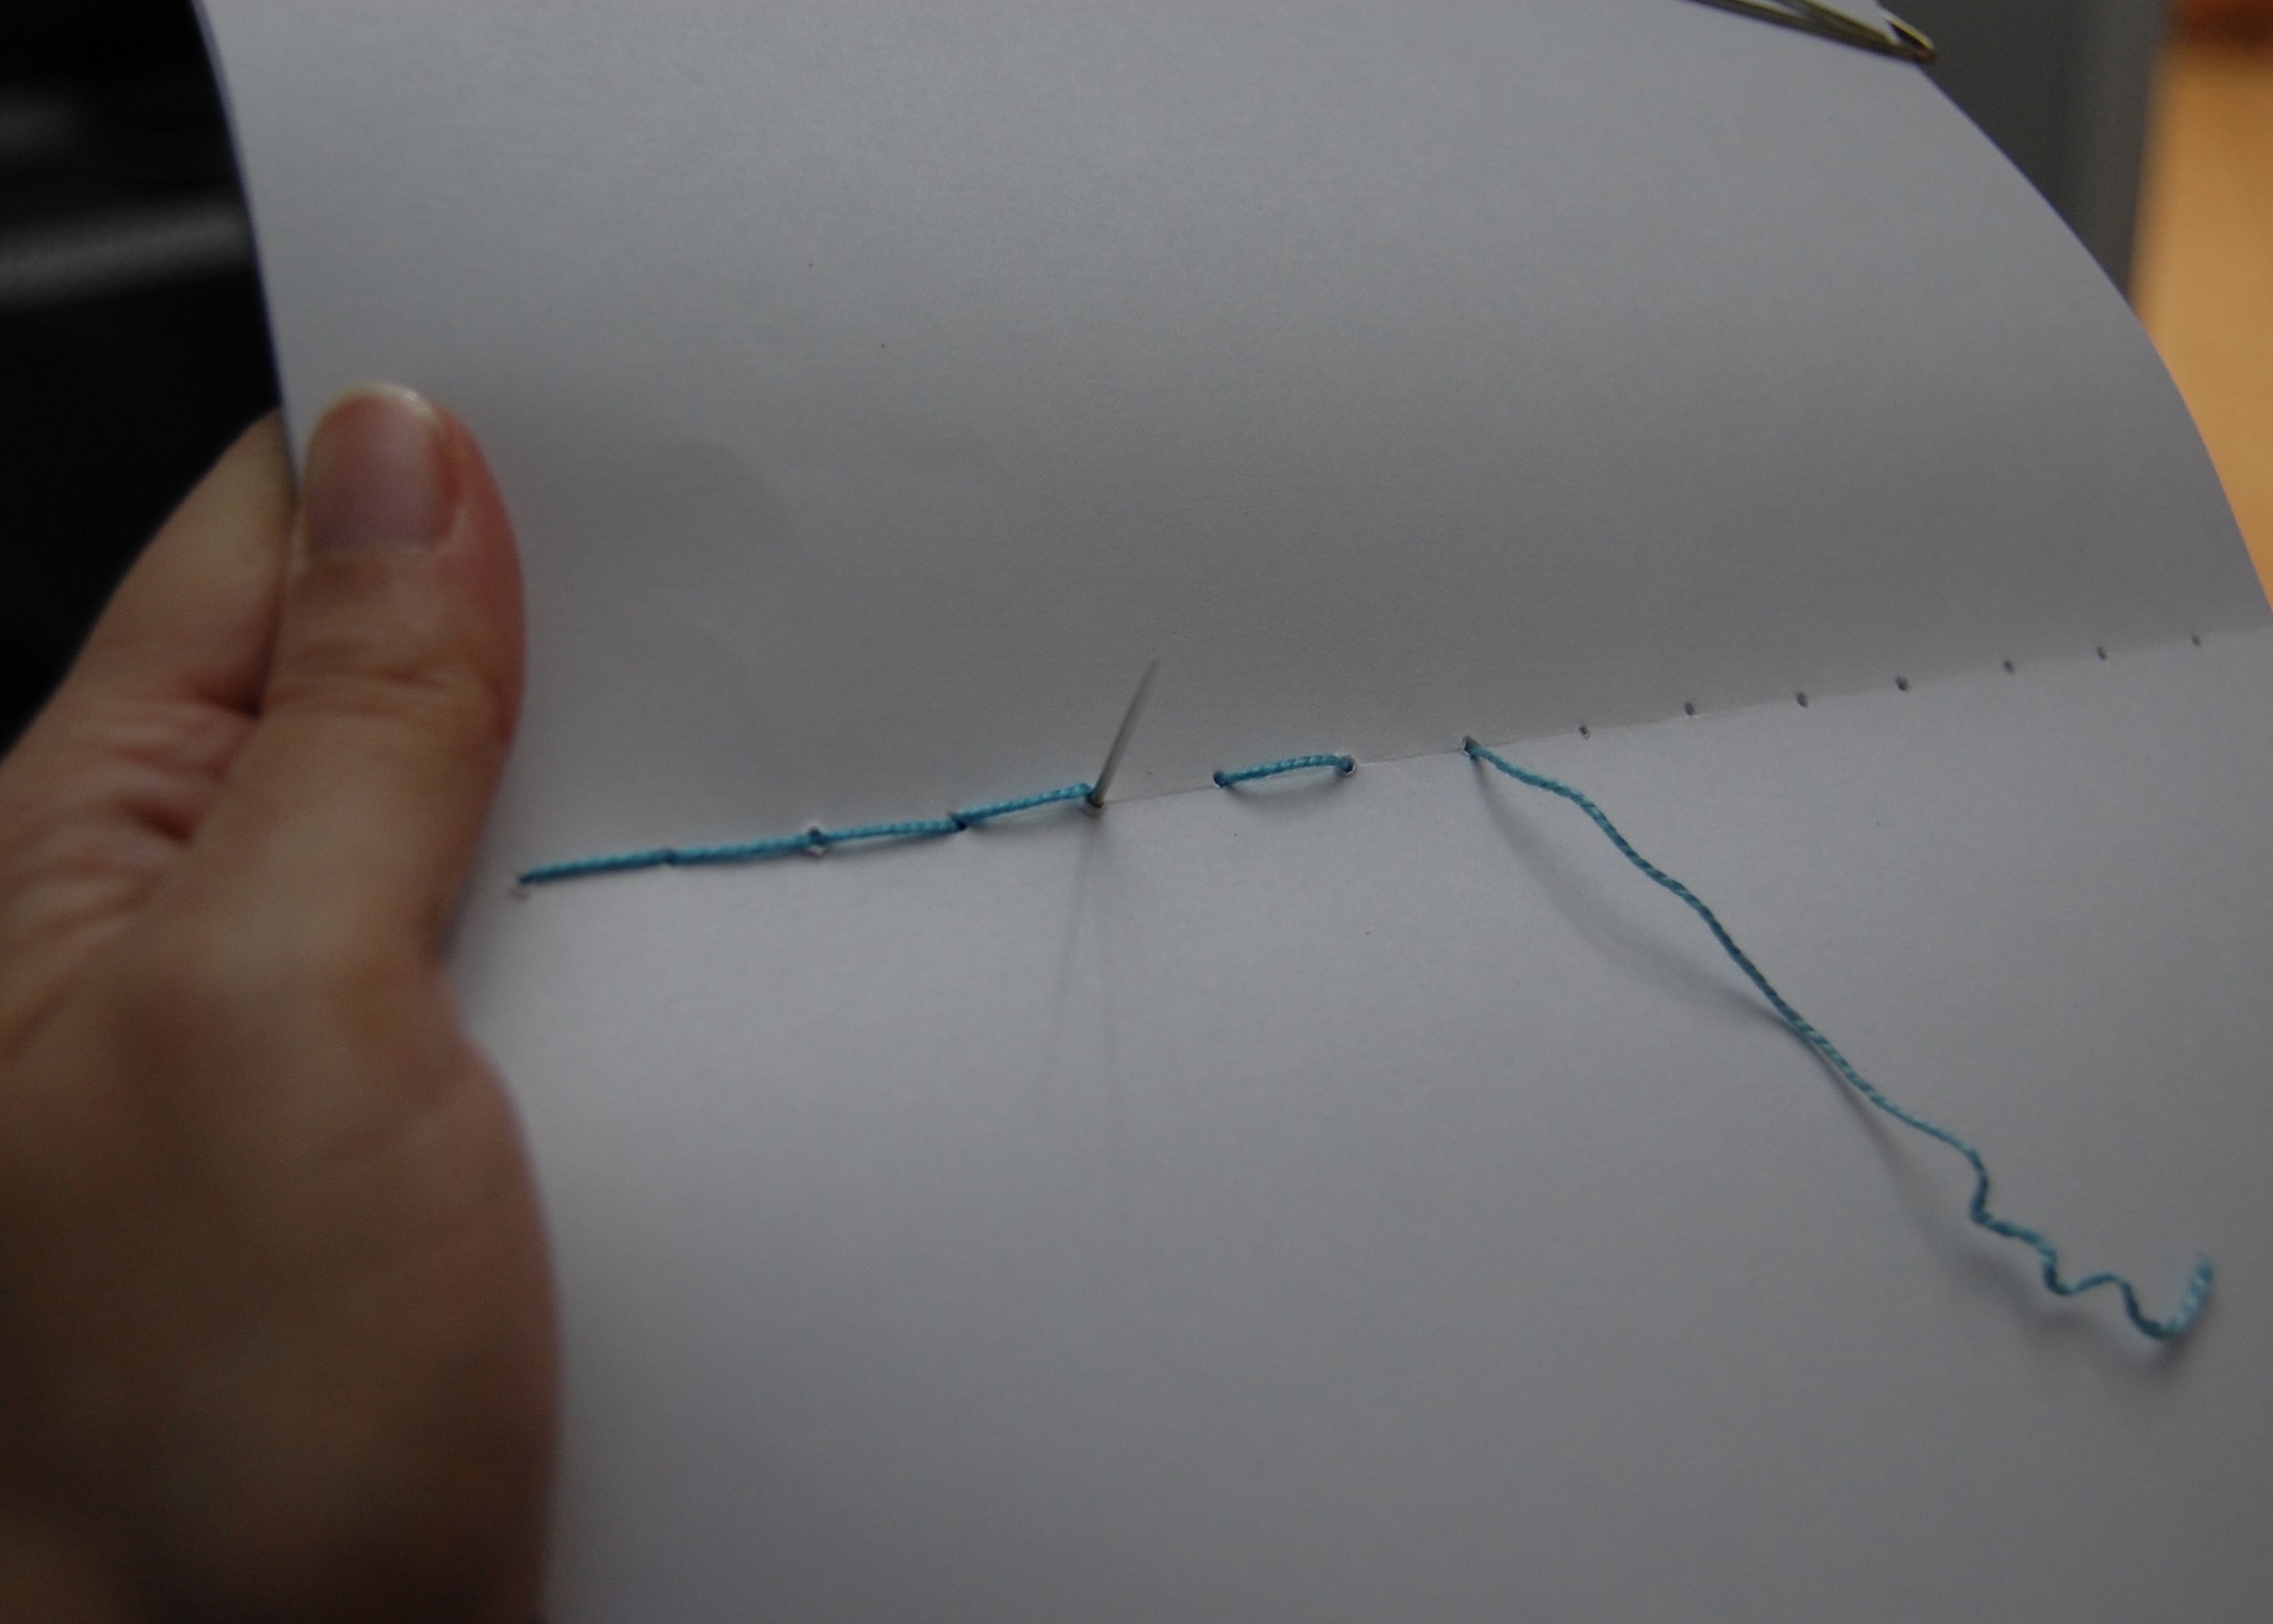
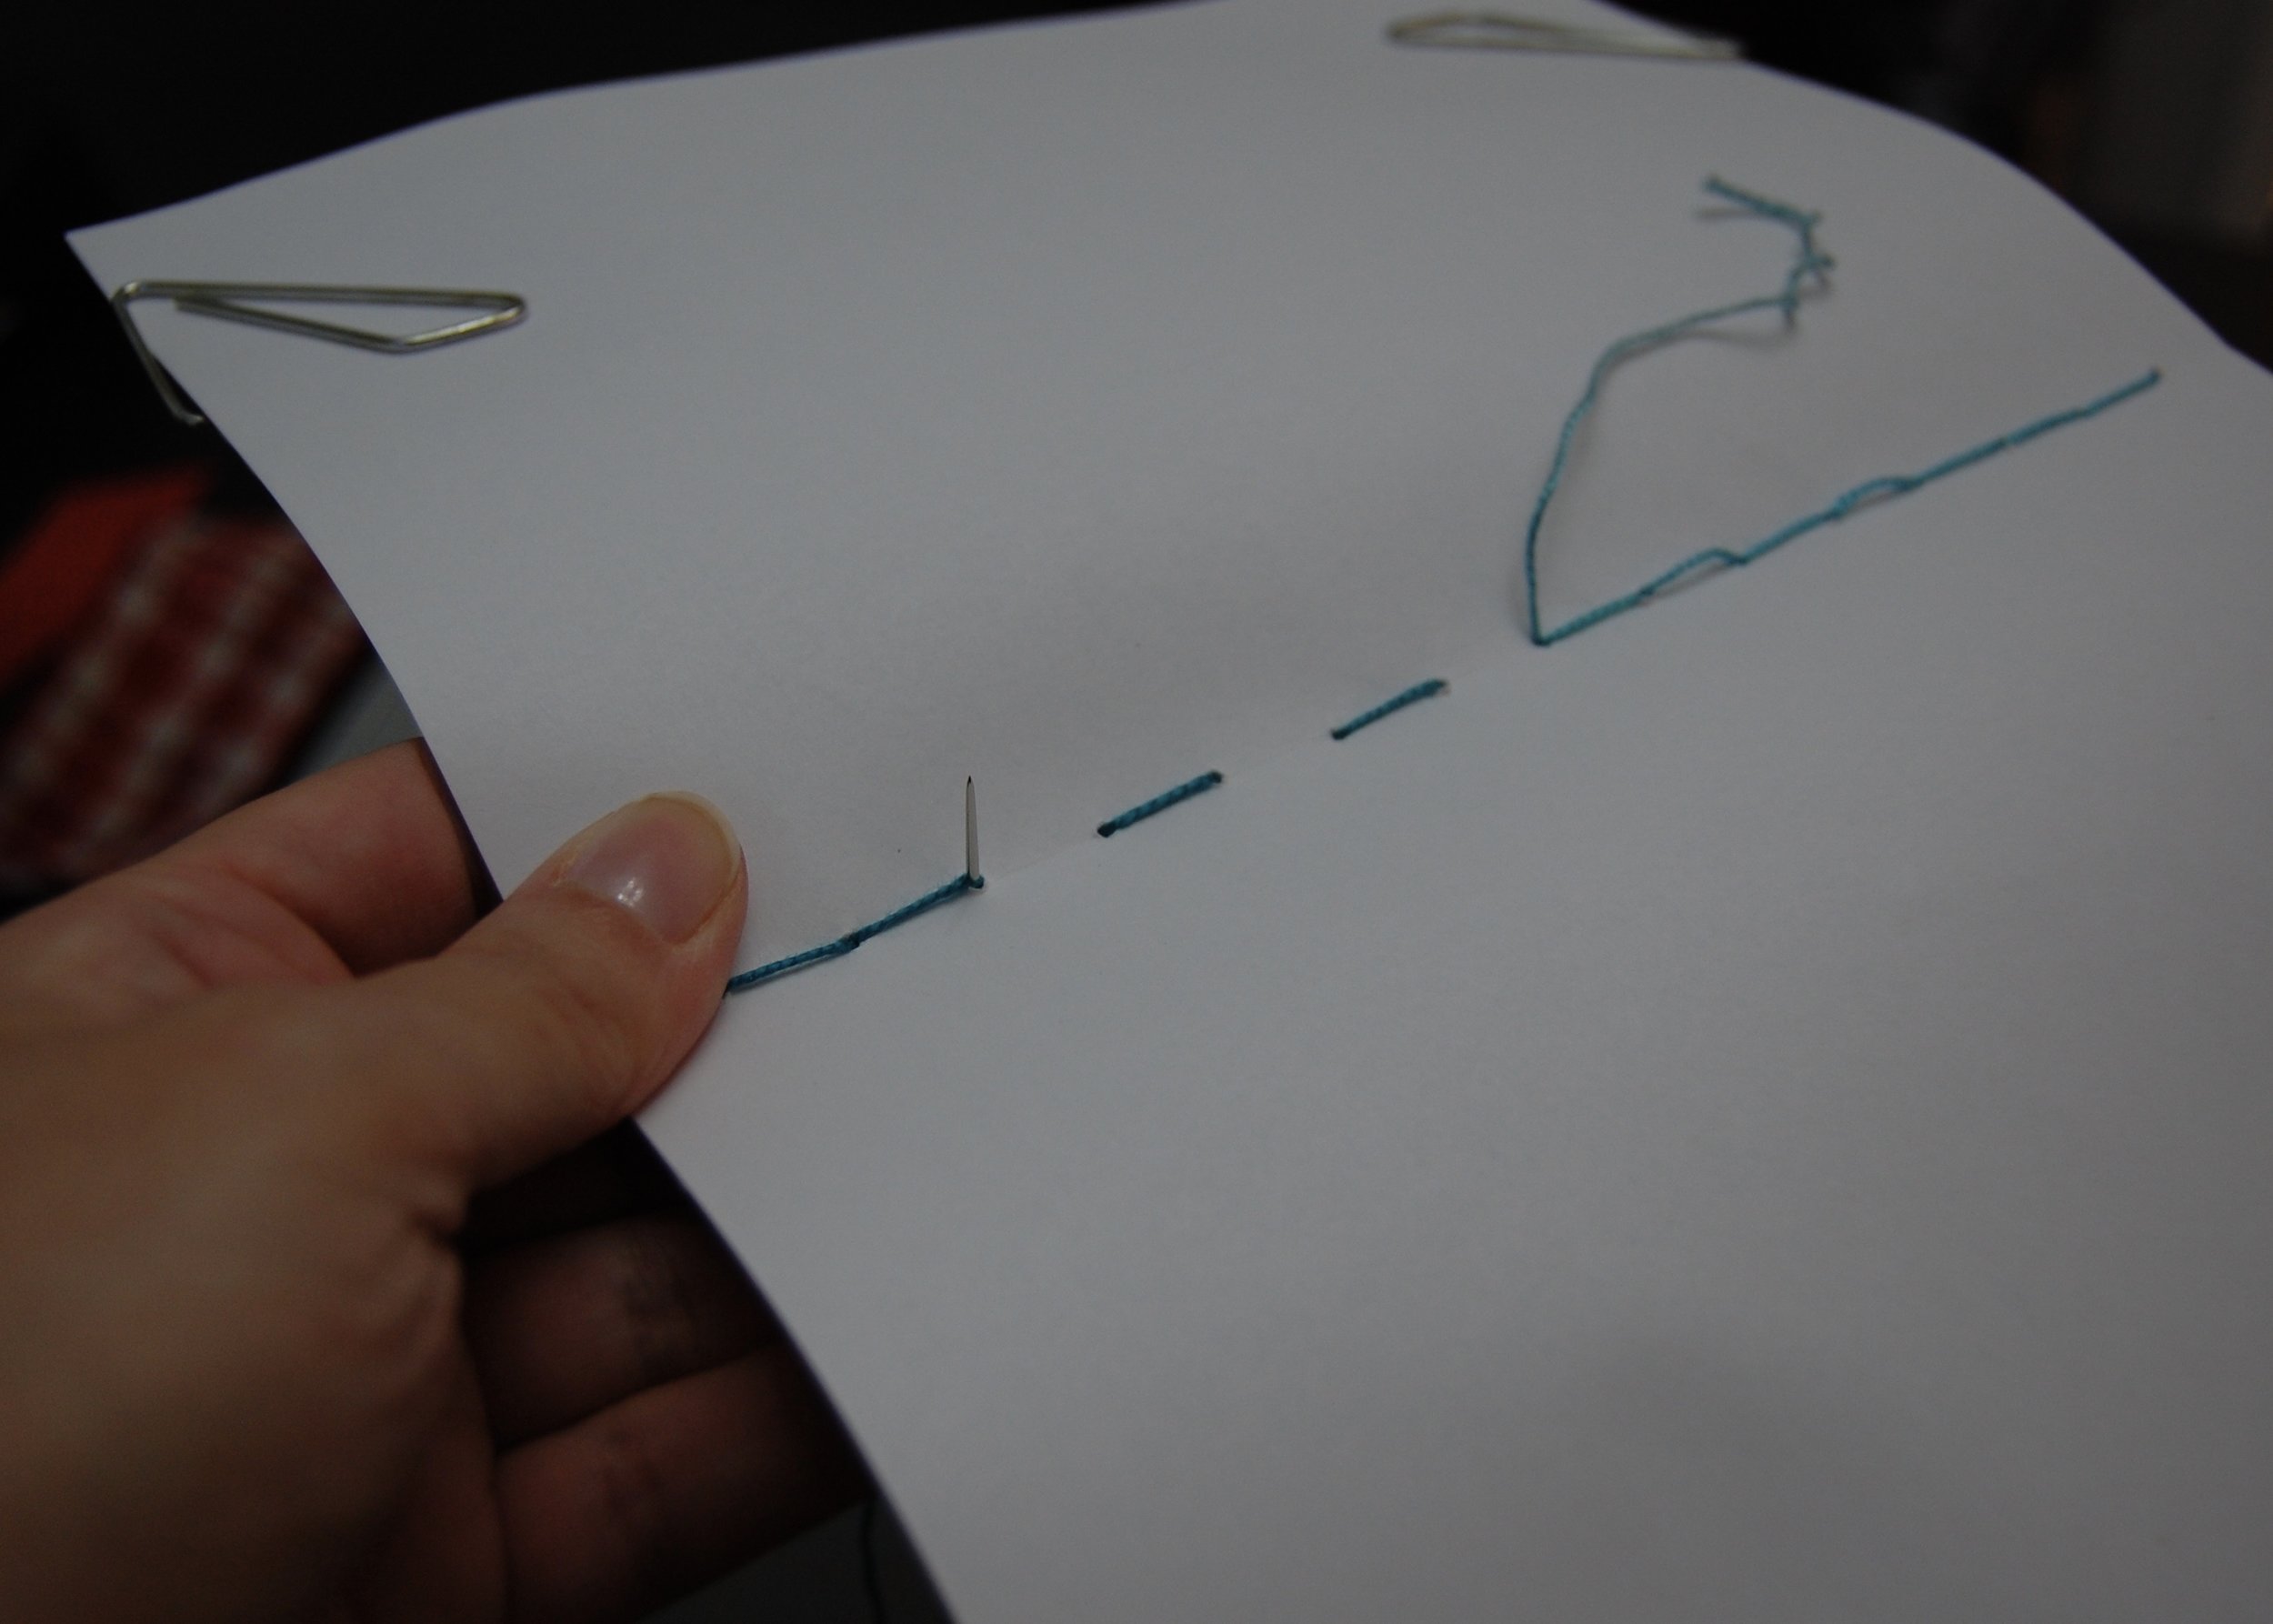
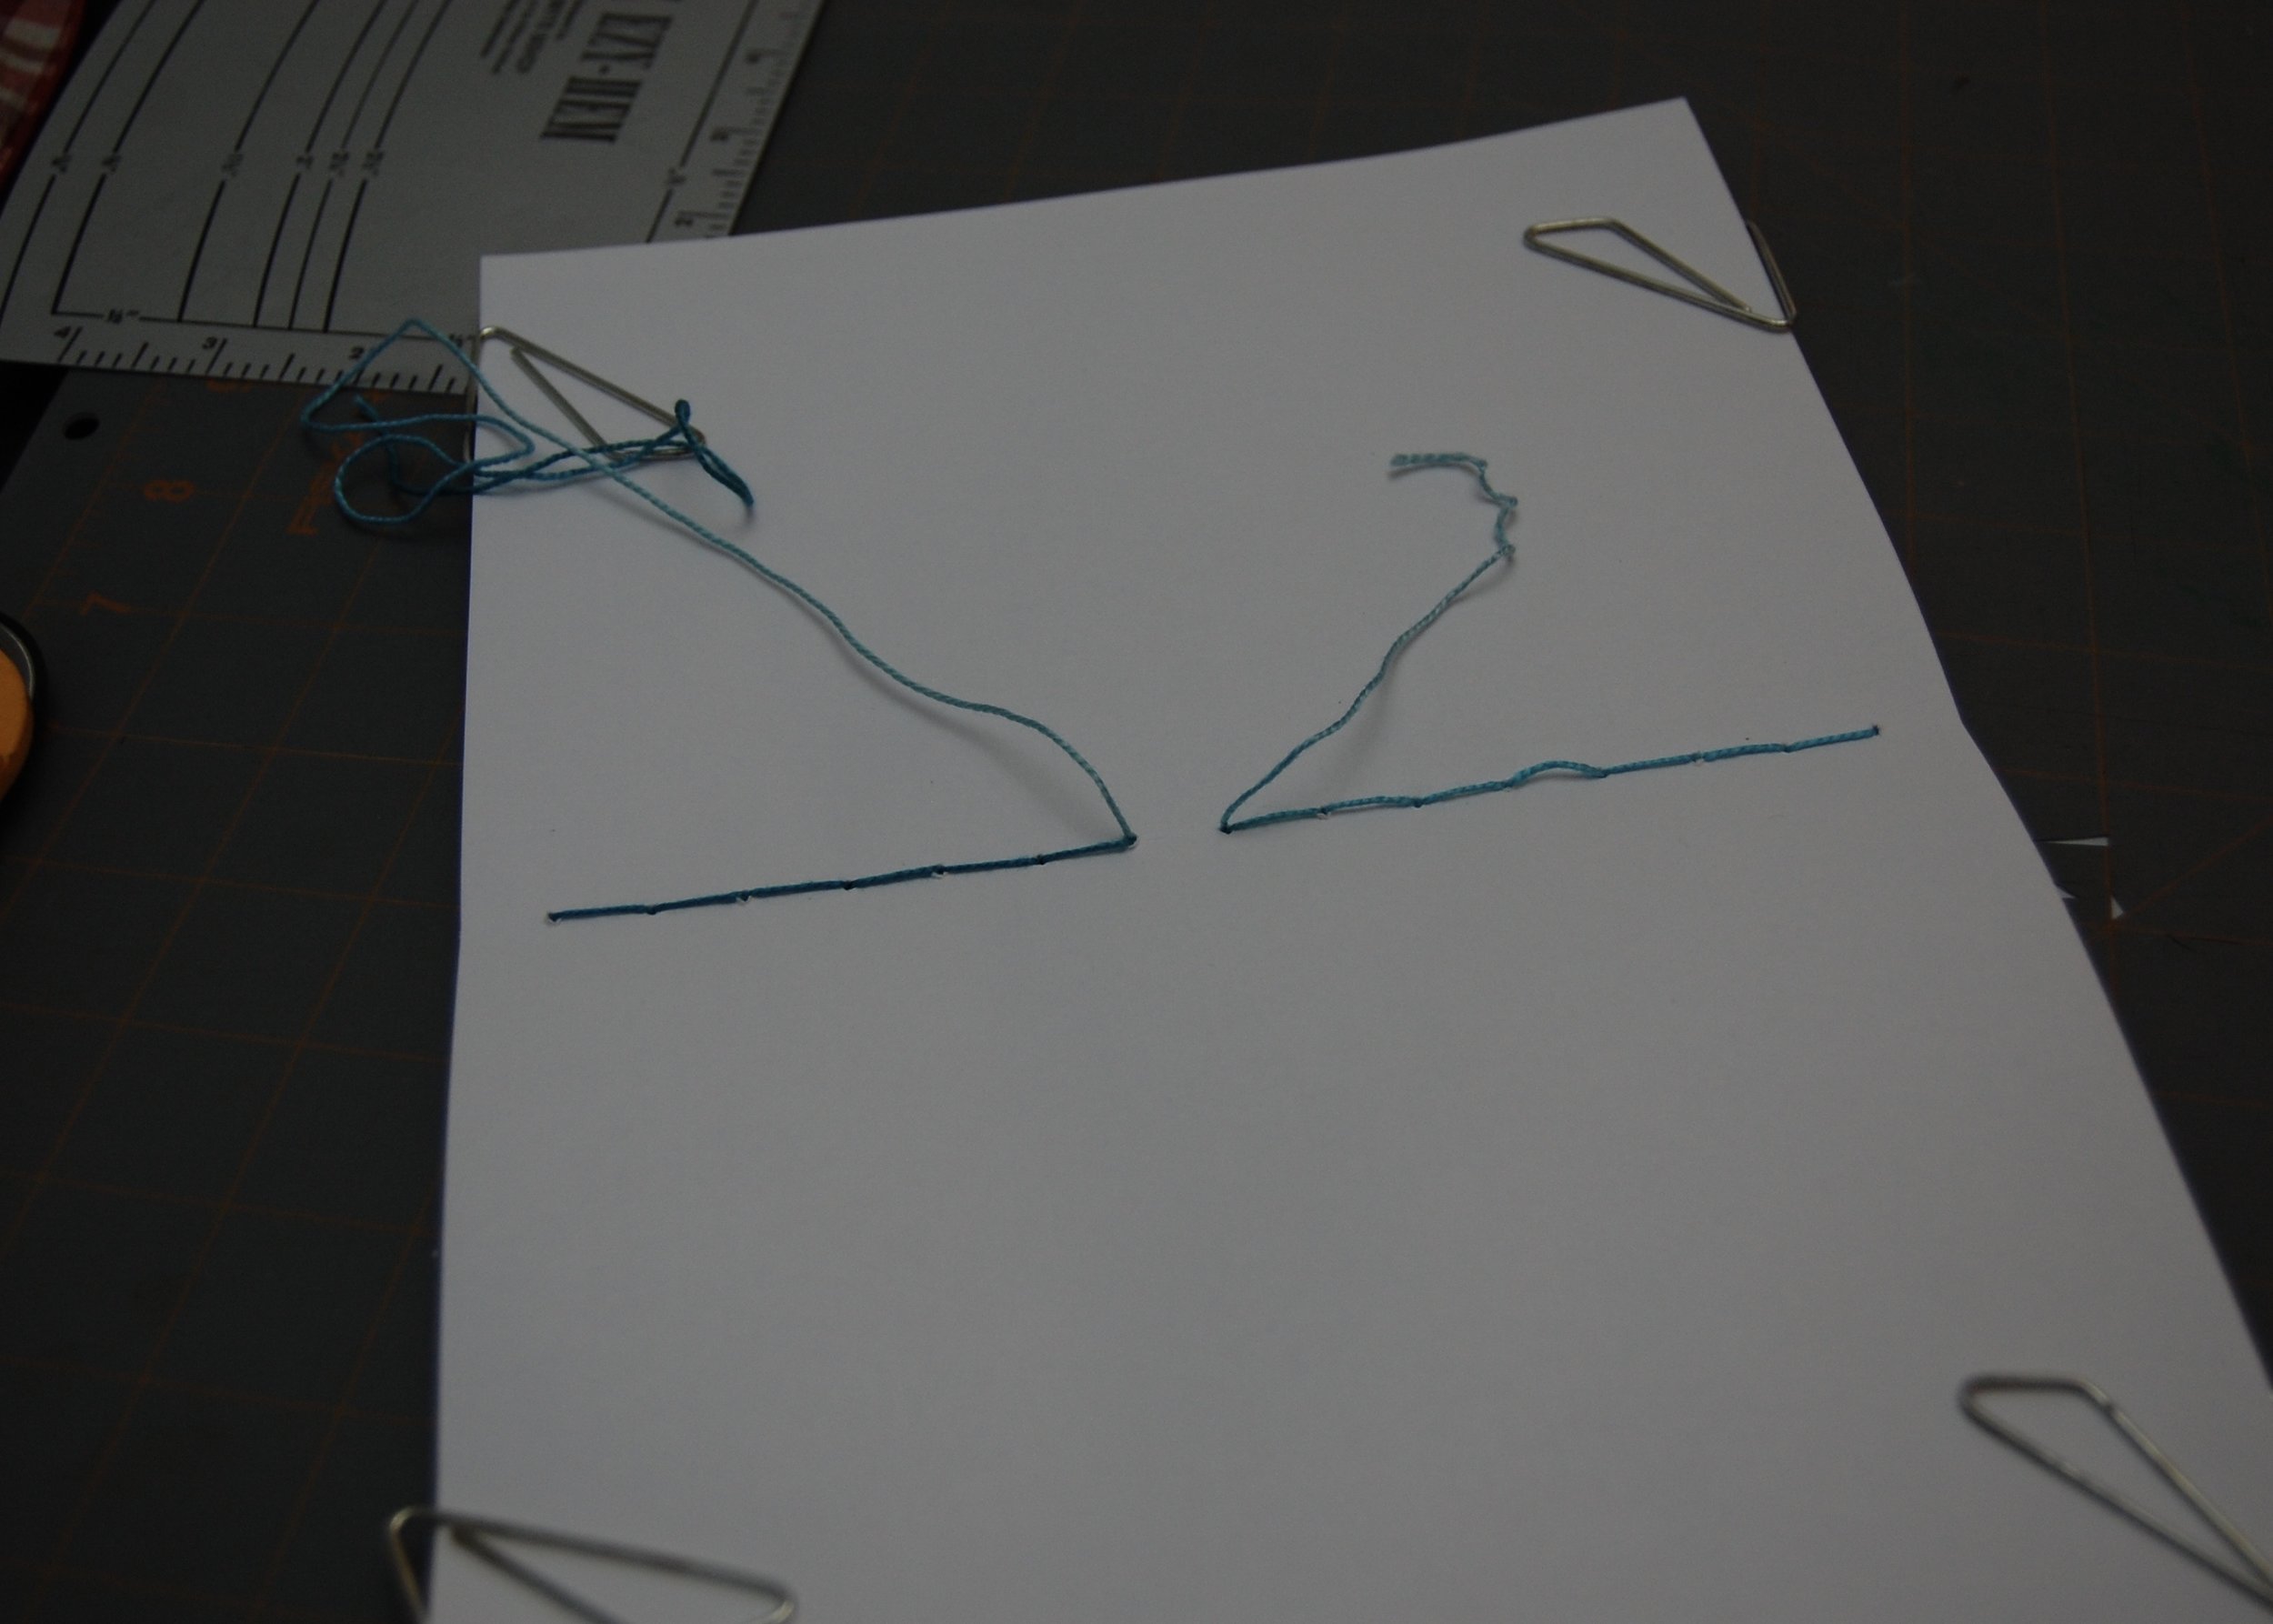
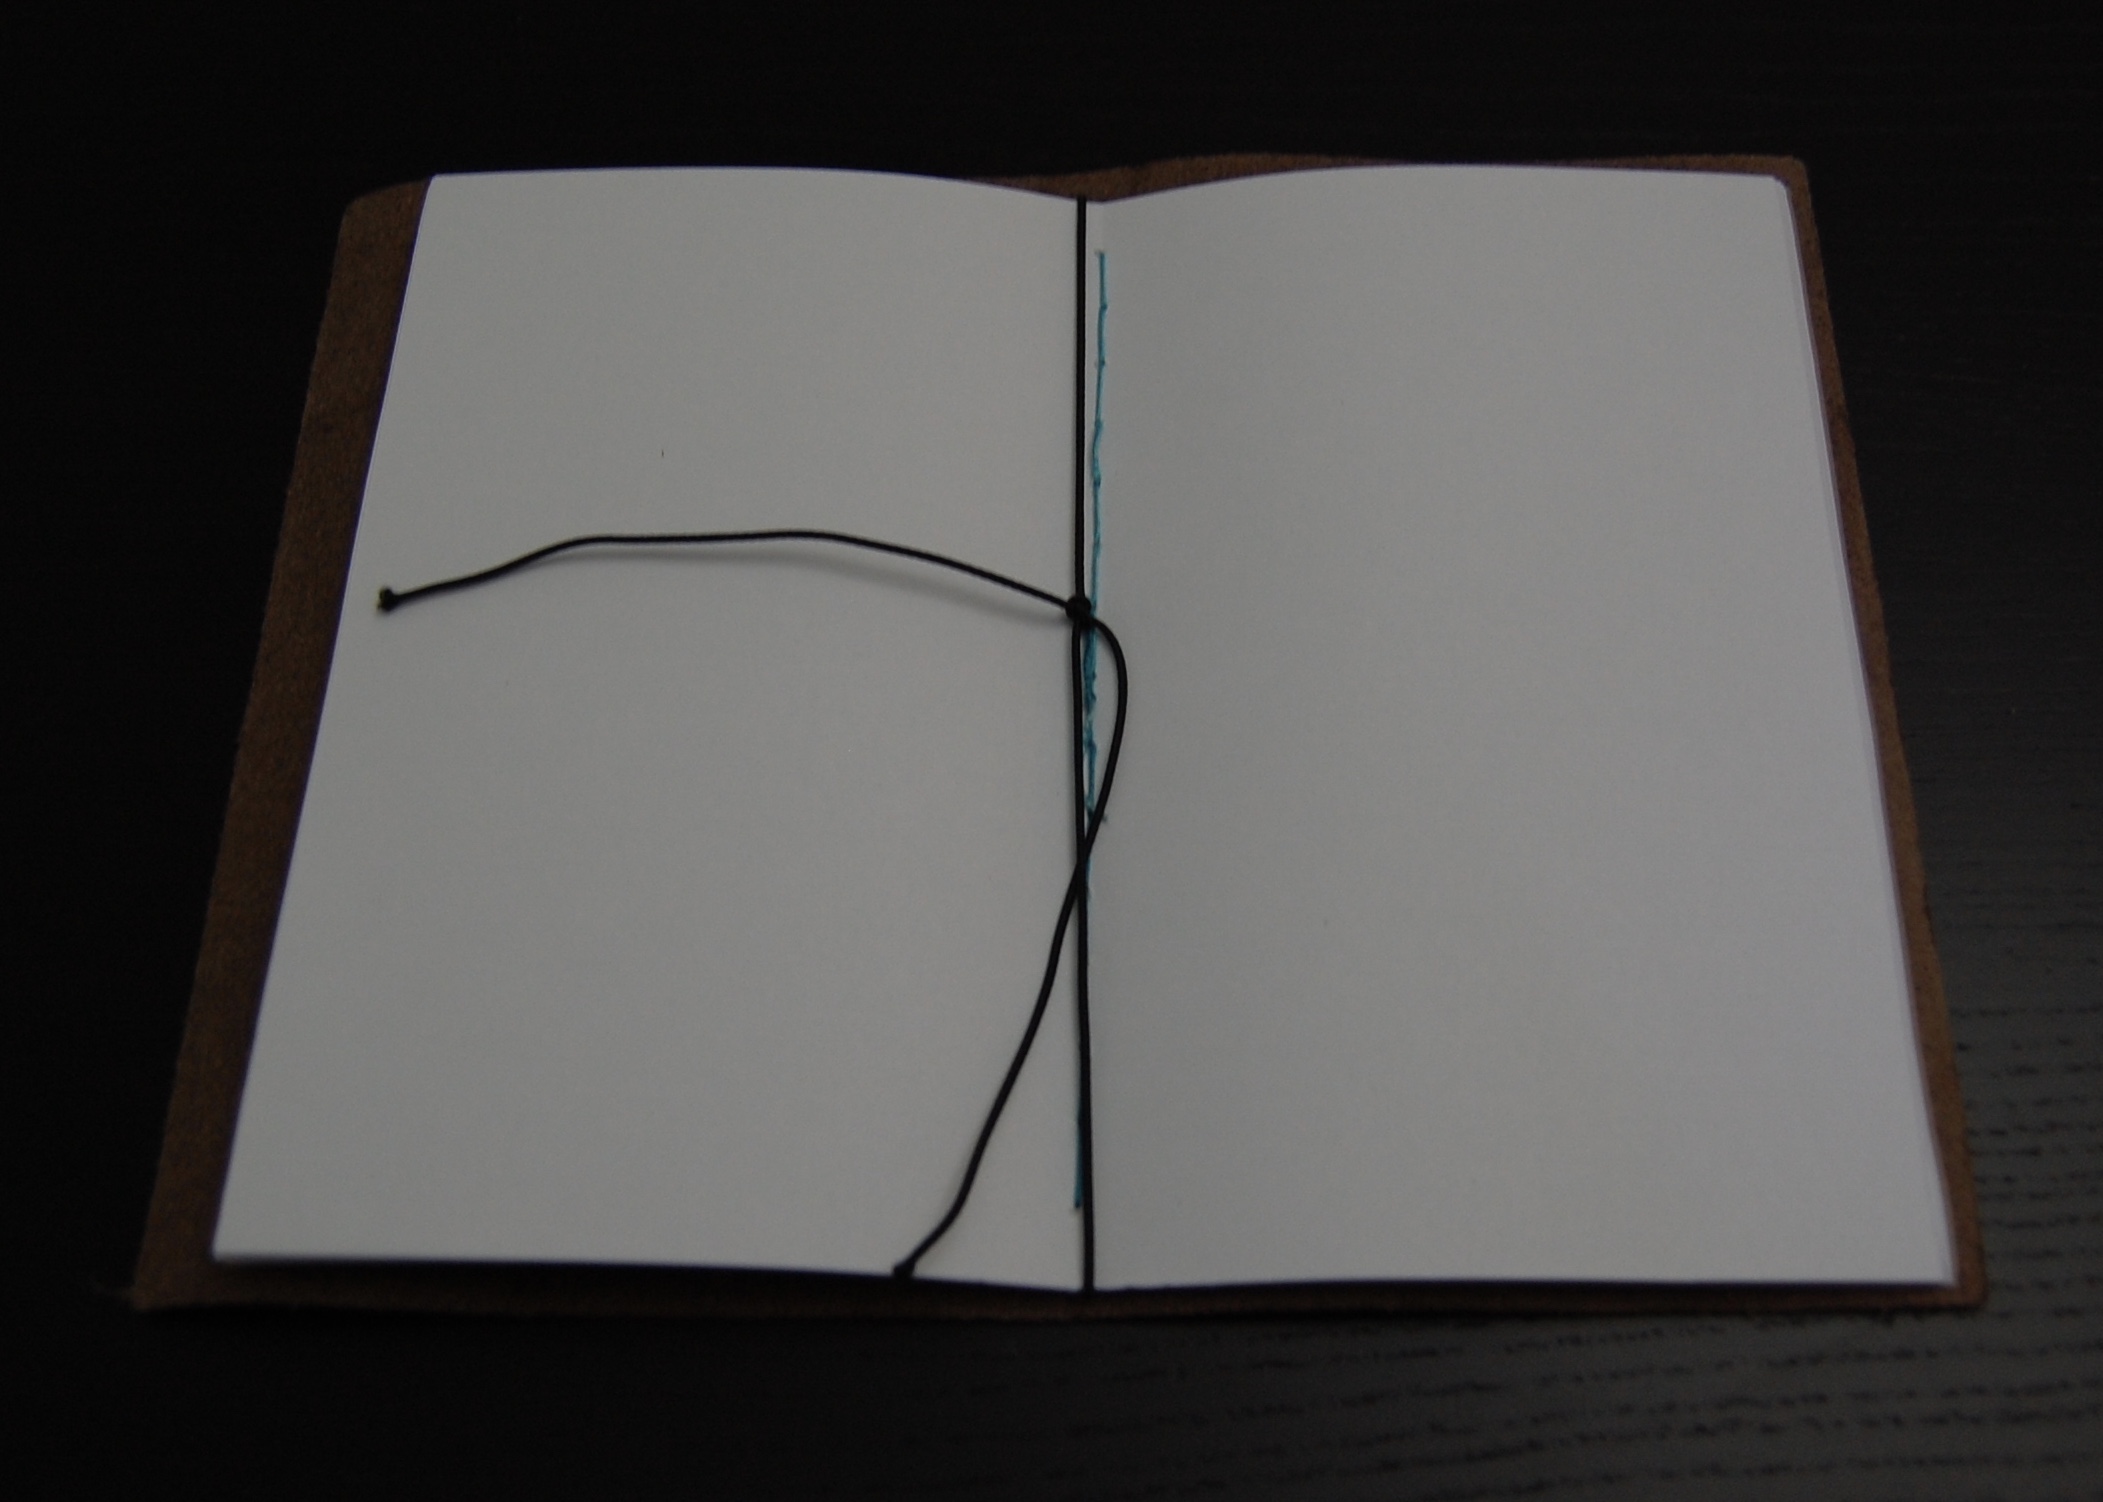
To sew the insert I chose some variegated plied embroidery thread that I already had in my stash, because it was the thickest thread I had, and I thought it would be pretty. I sewed using a large embroidery needle.
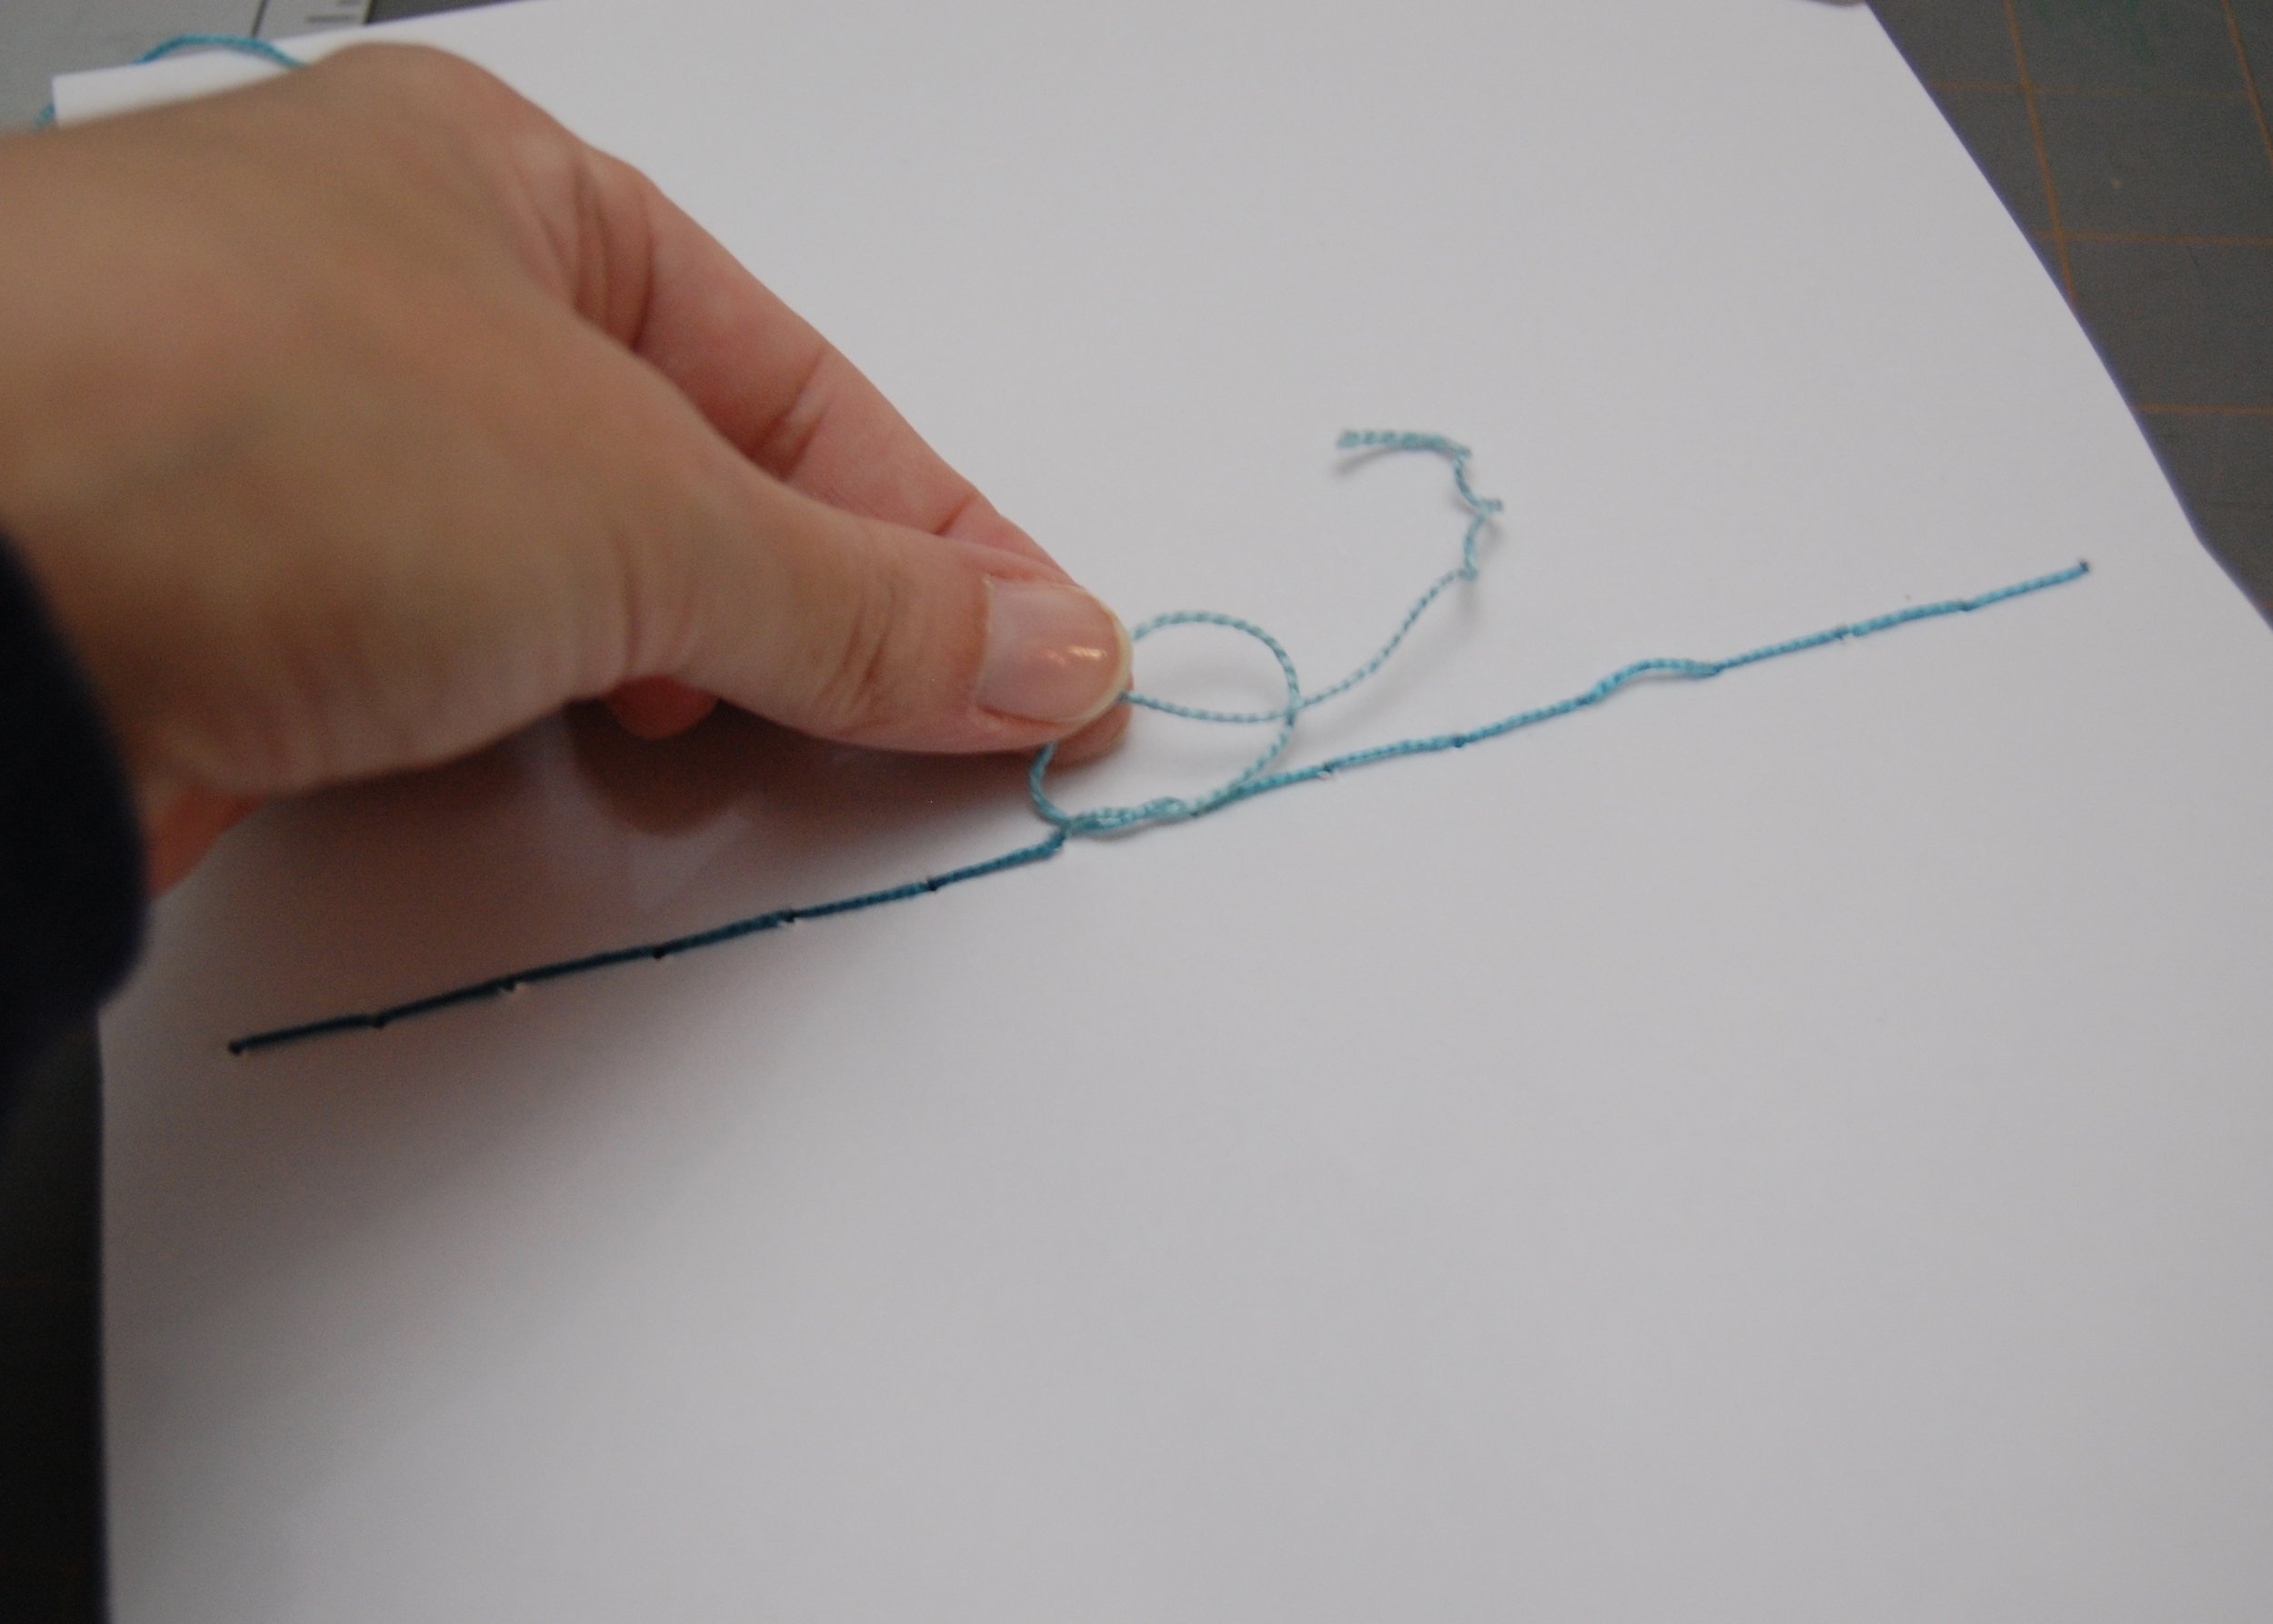
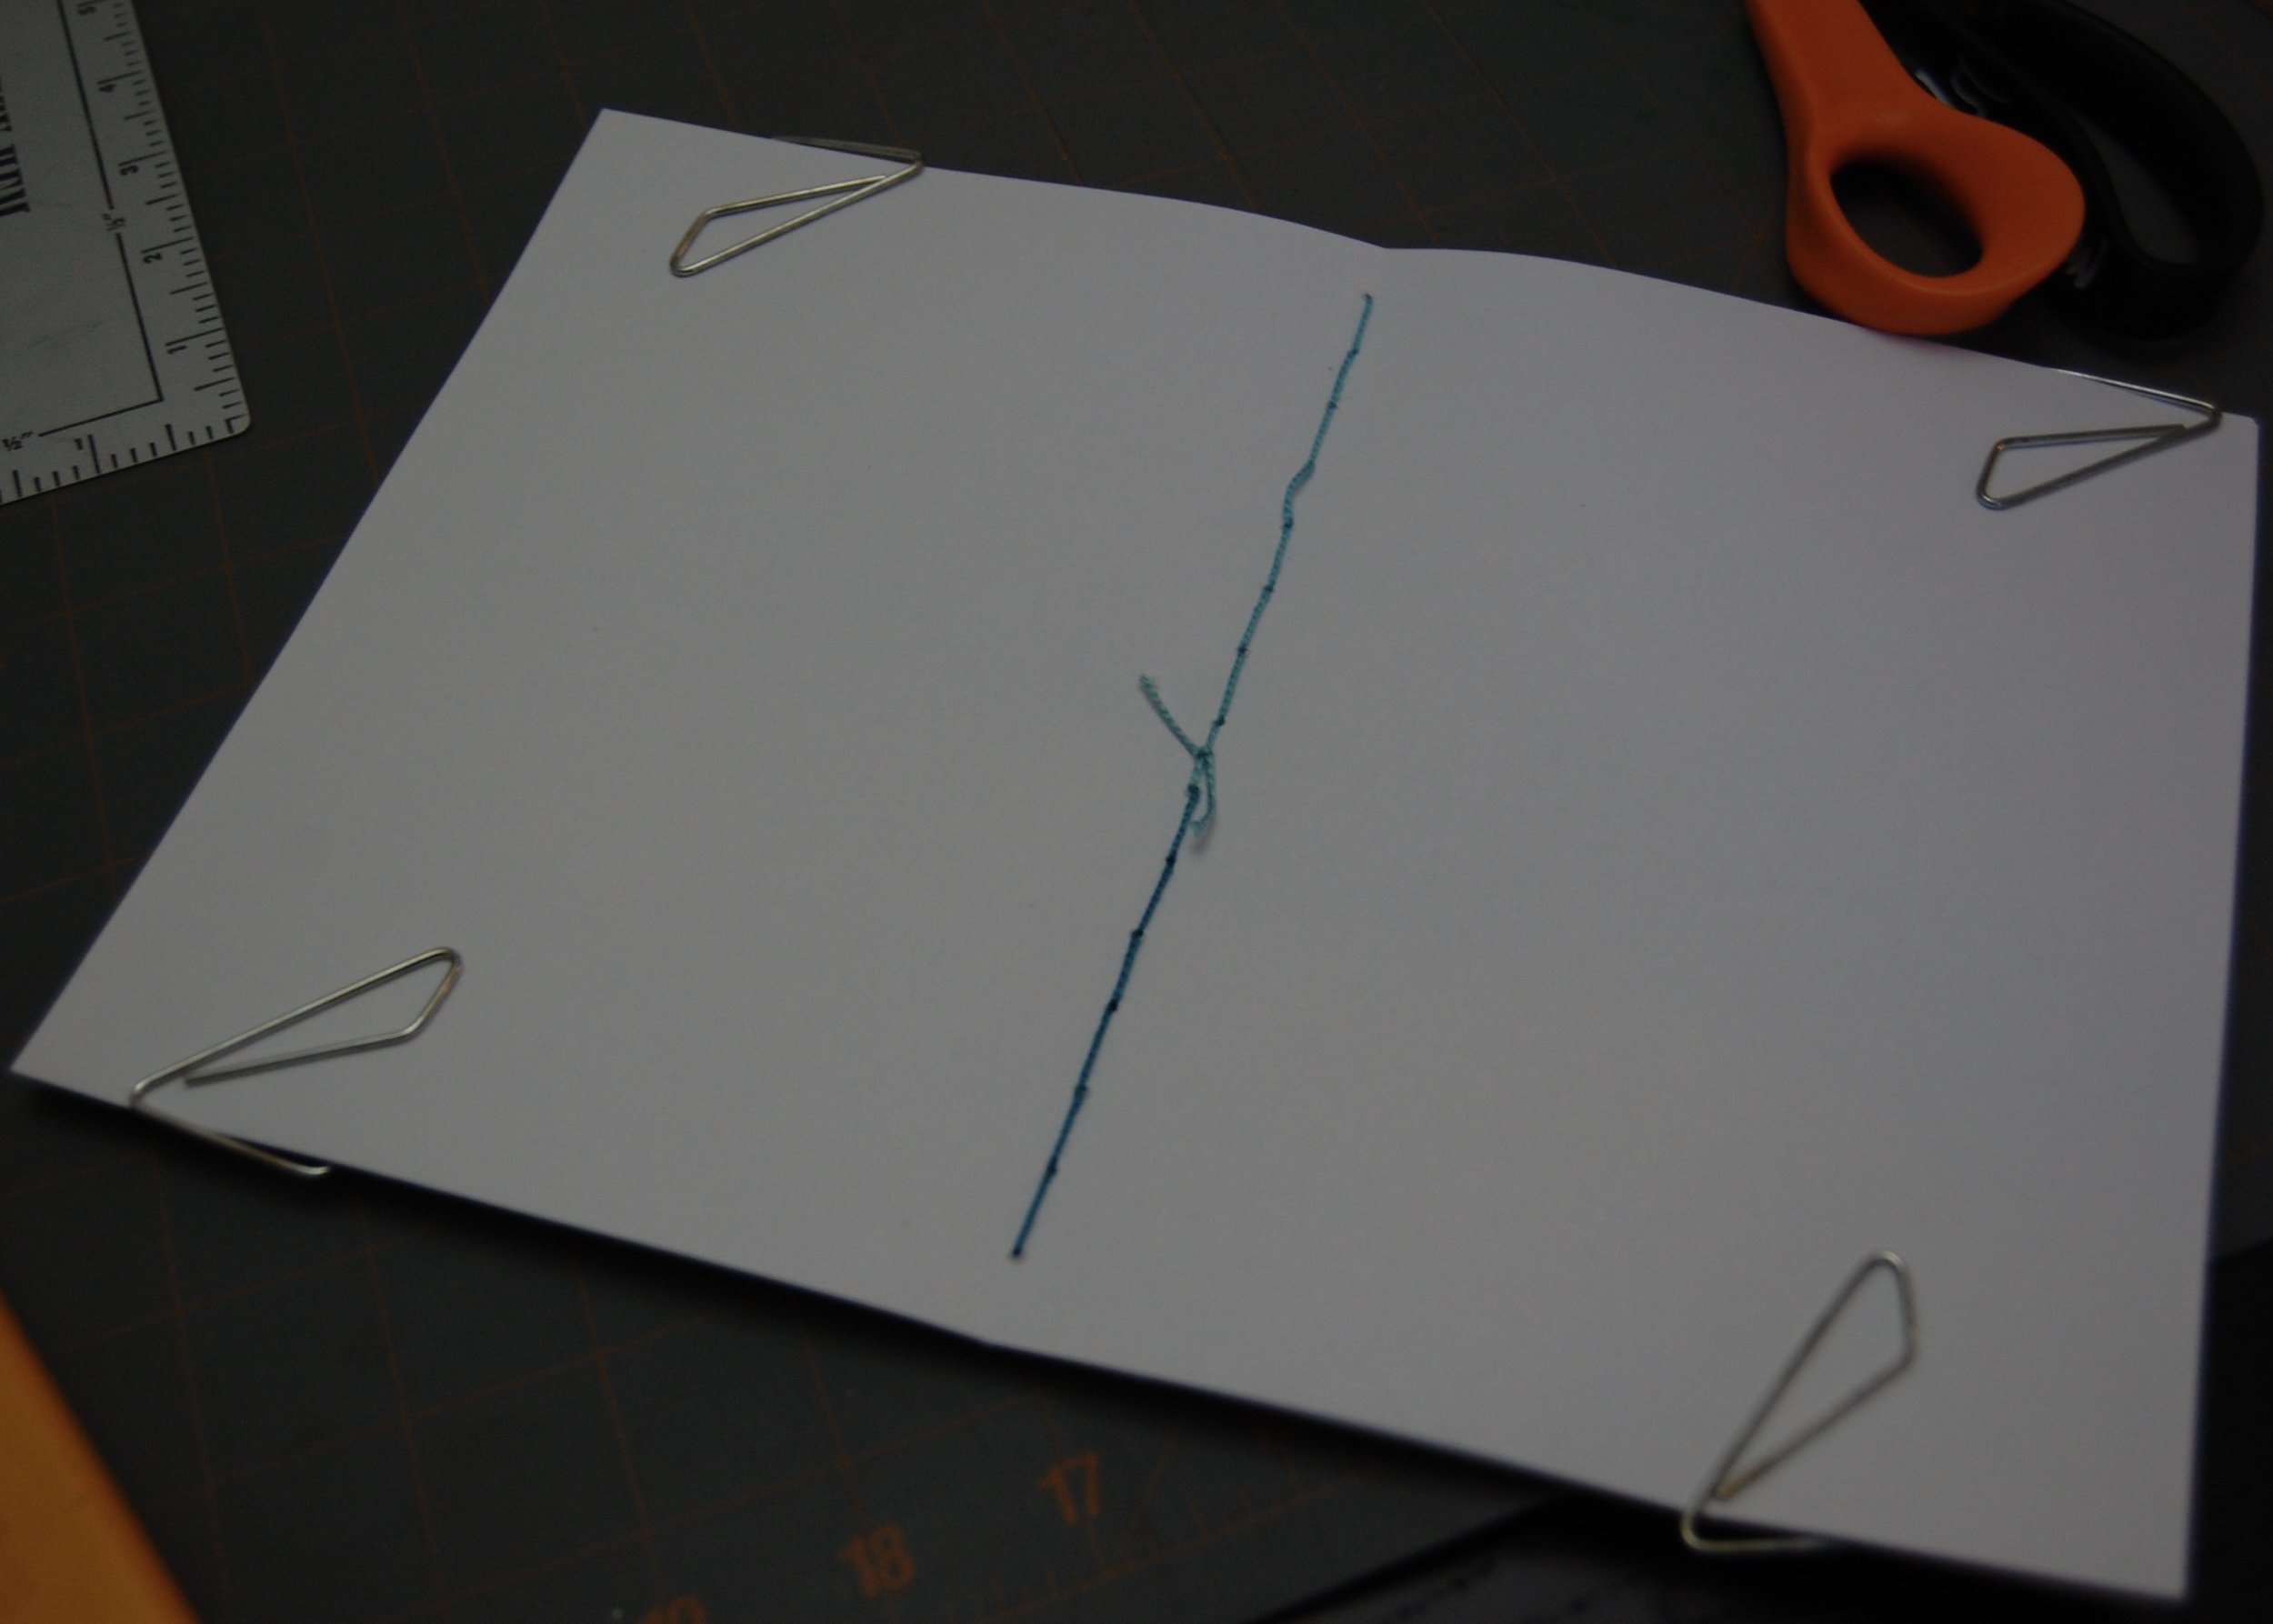
I sewed a running stitch, starting in the middle inside of the insert, and worked my way to one edge of the insert, turned around and sewed back to the other edge of the insert overlapping my previous stitches, and then turned around again and sewed back to the middle. This left me with two tails in the middle of the insert which I knotted together using a square knot.
Cutting the Insert to Fit
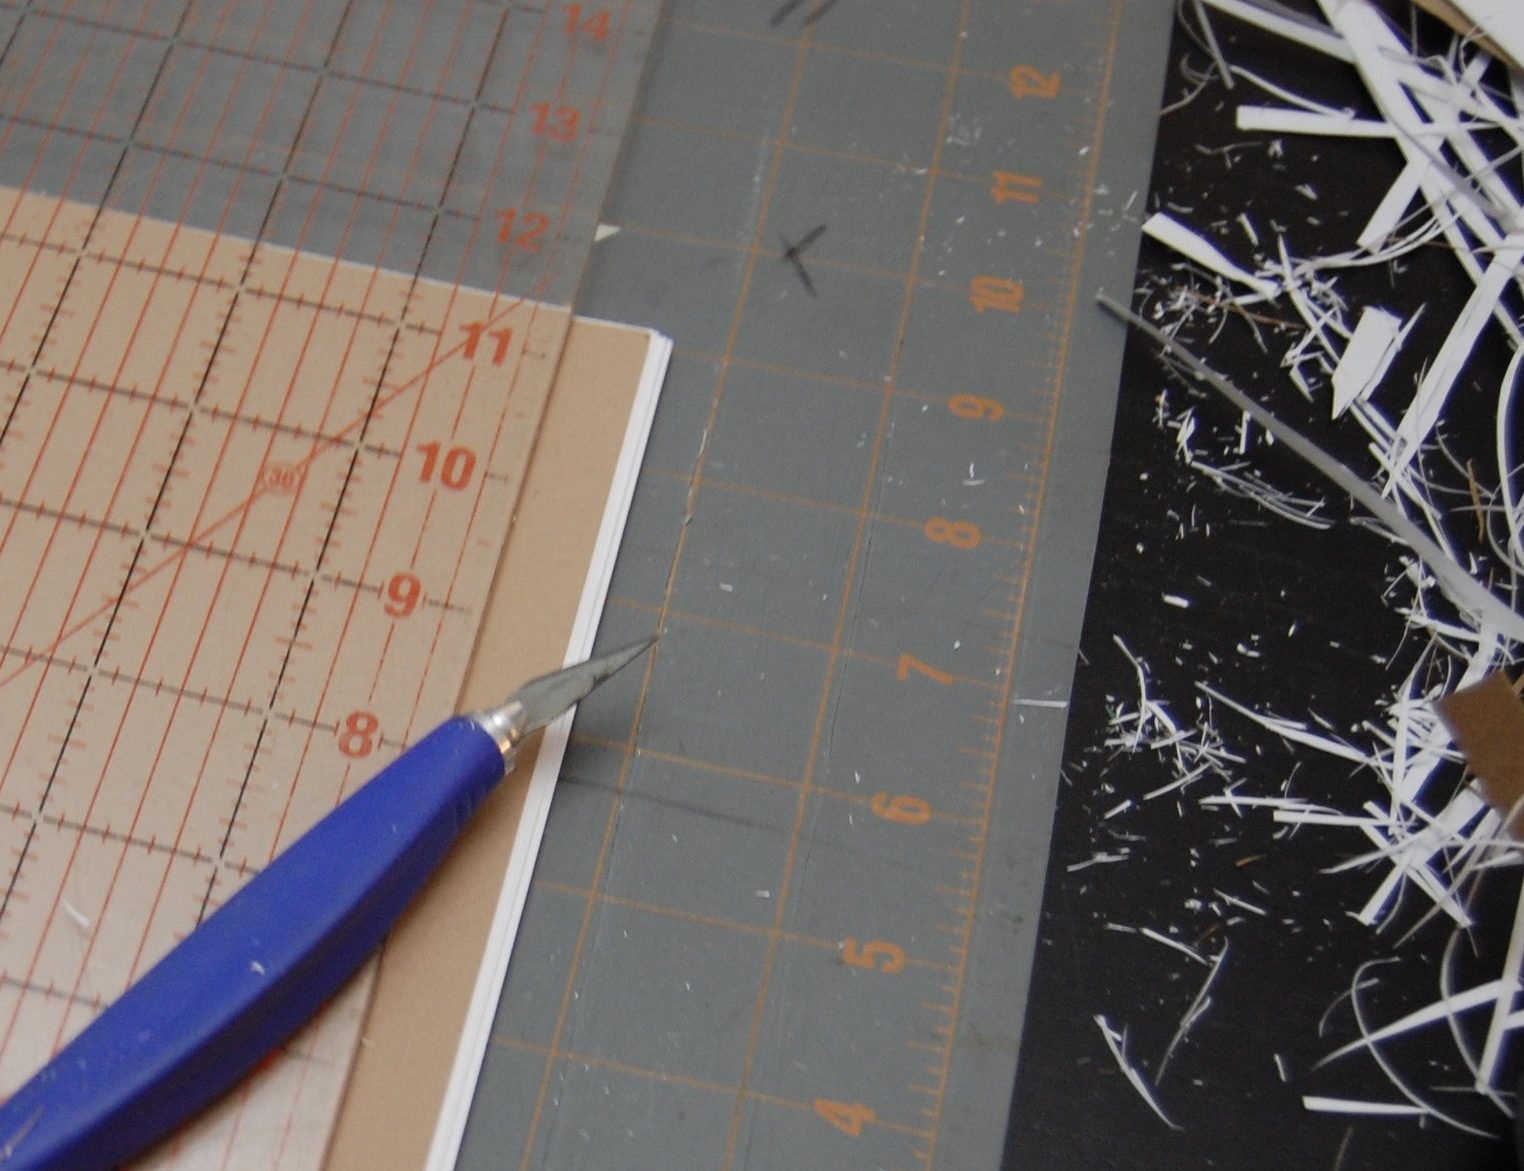
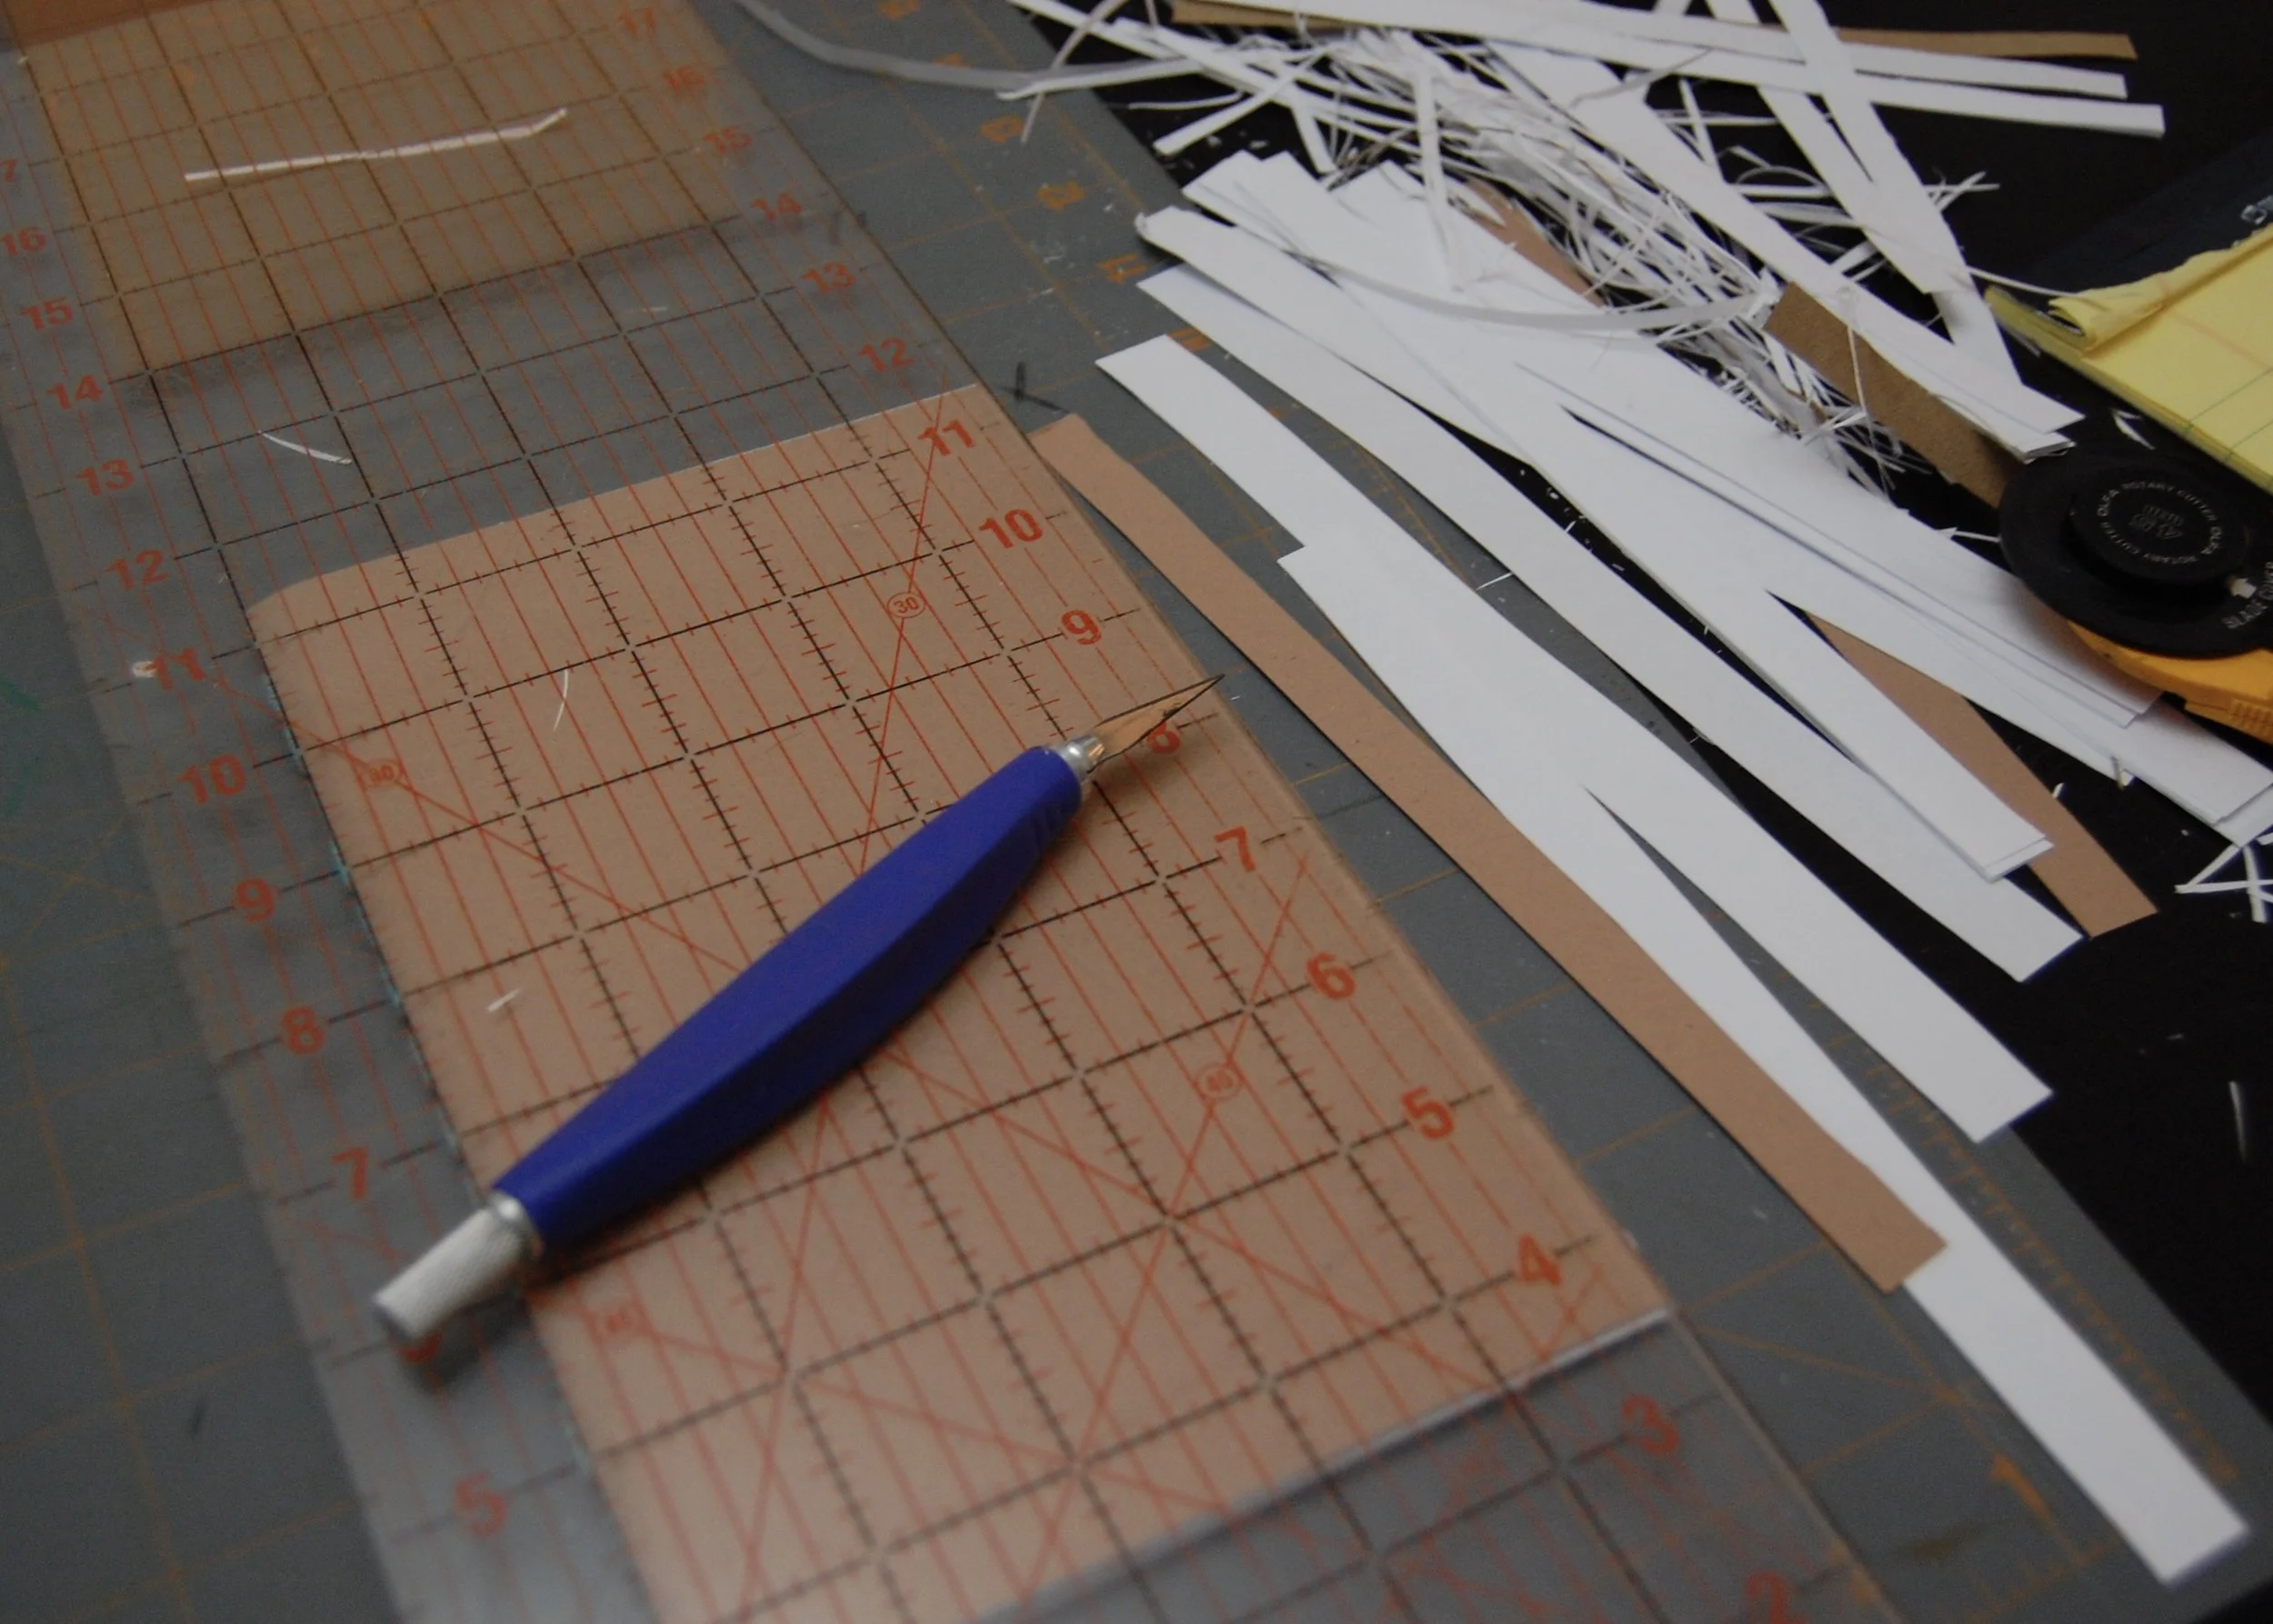
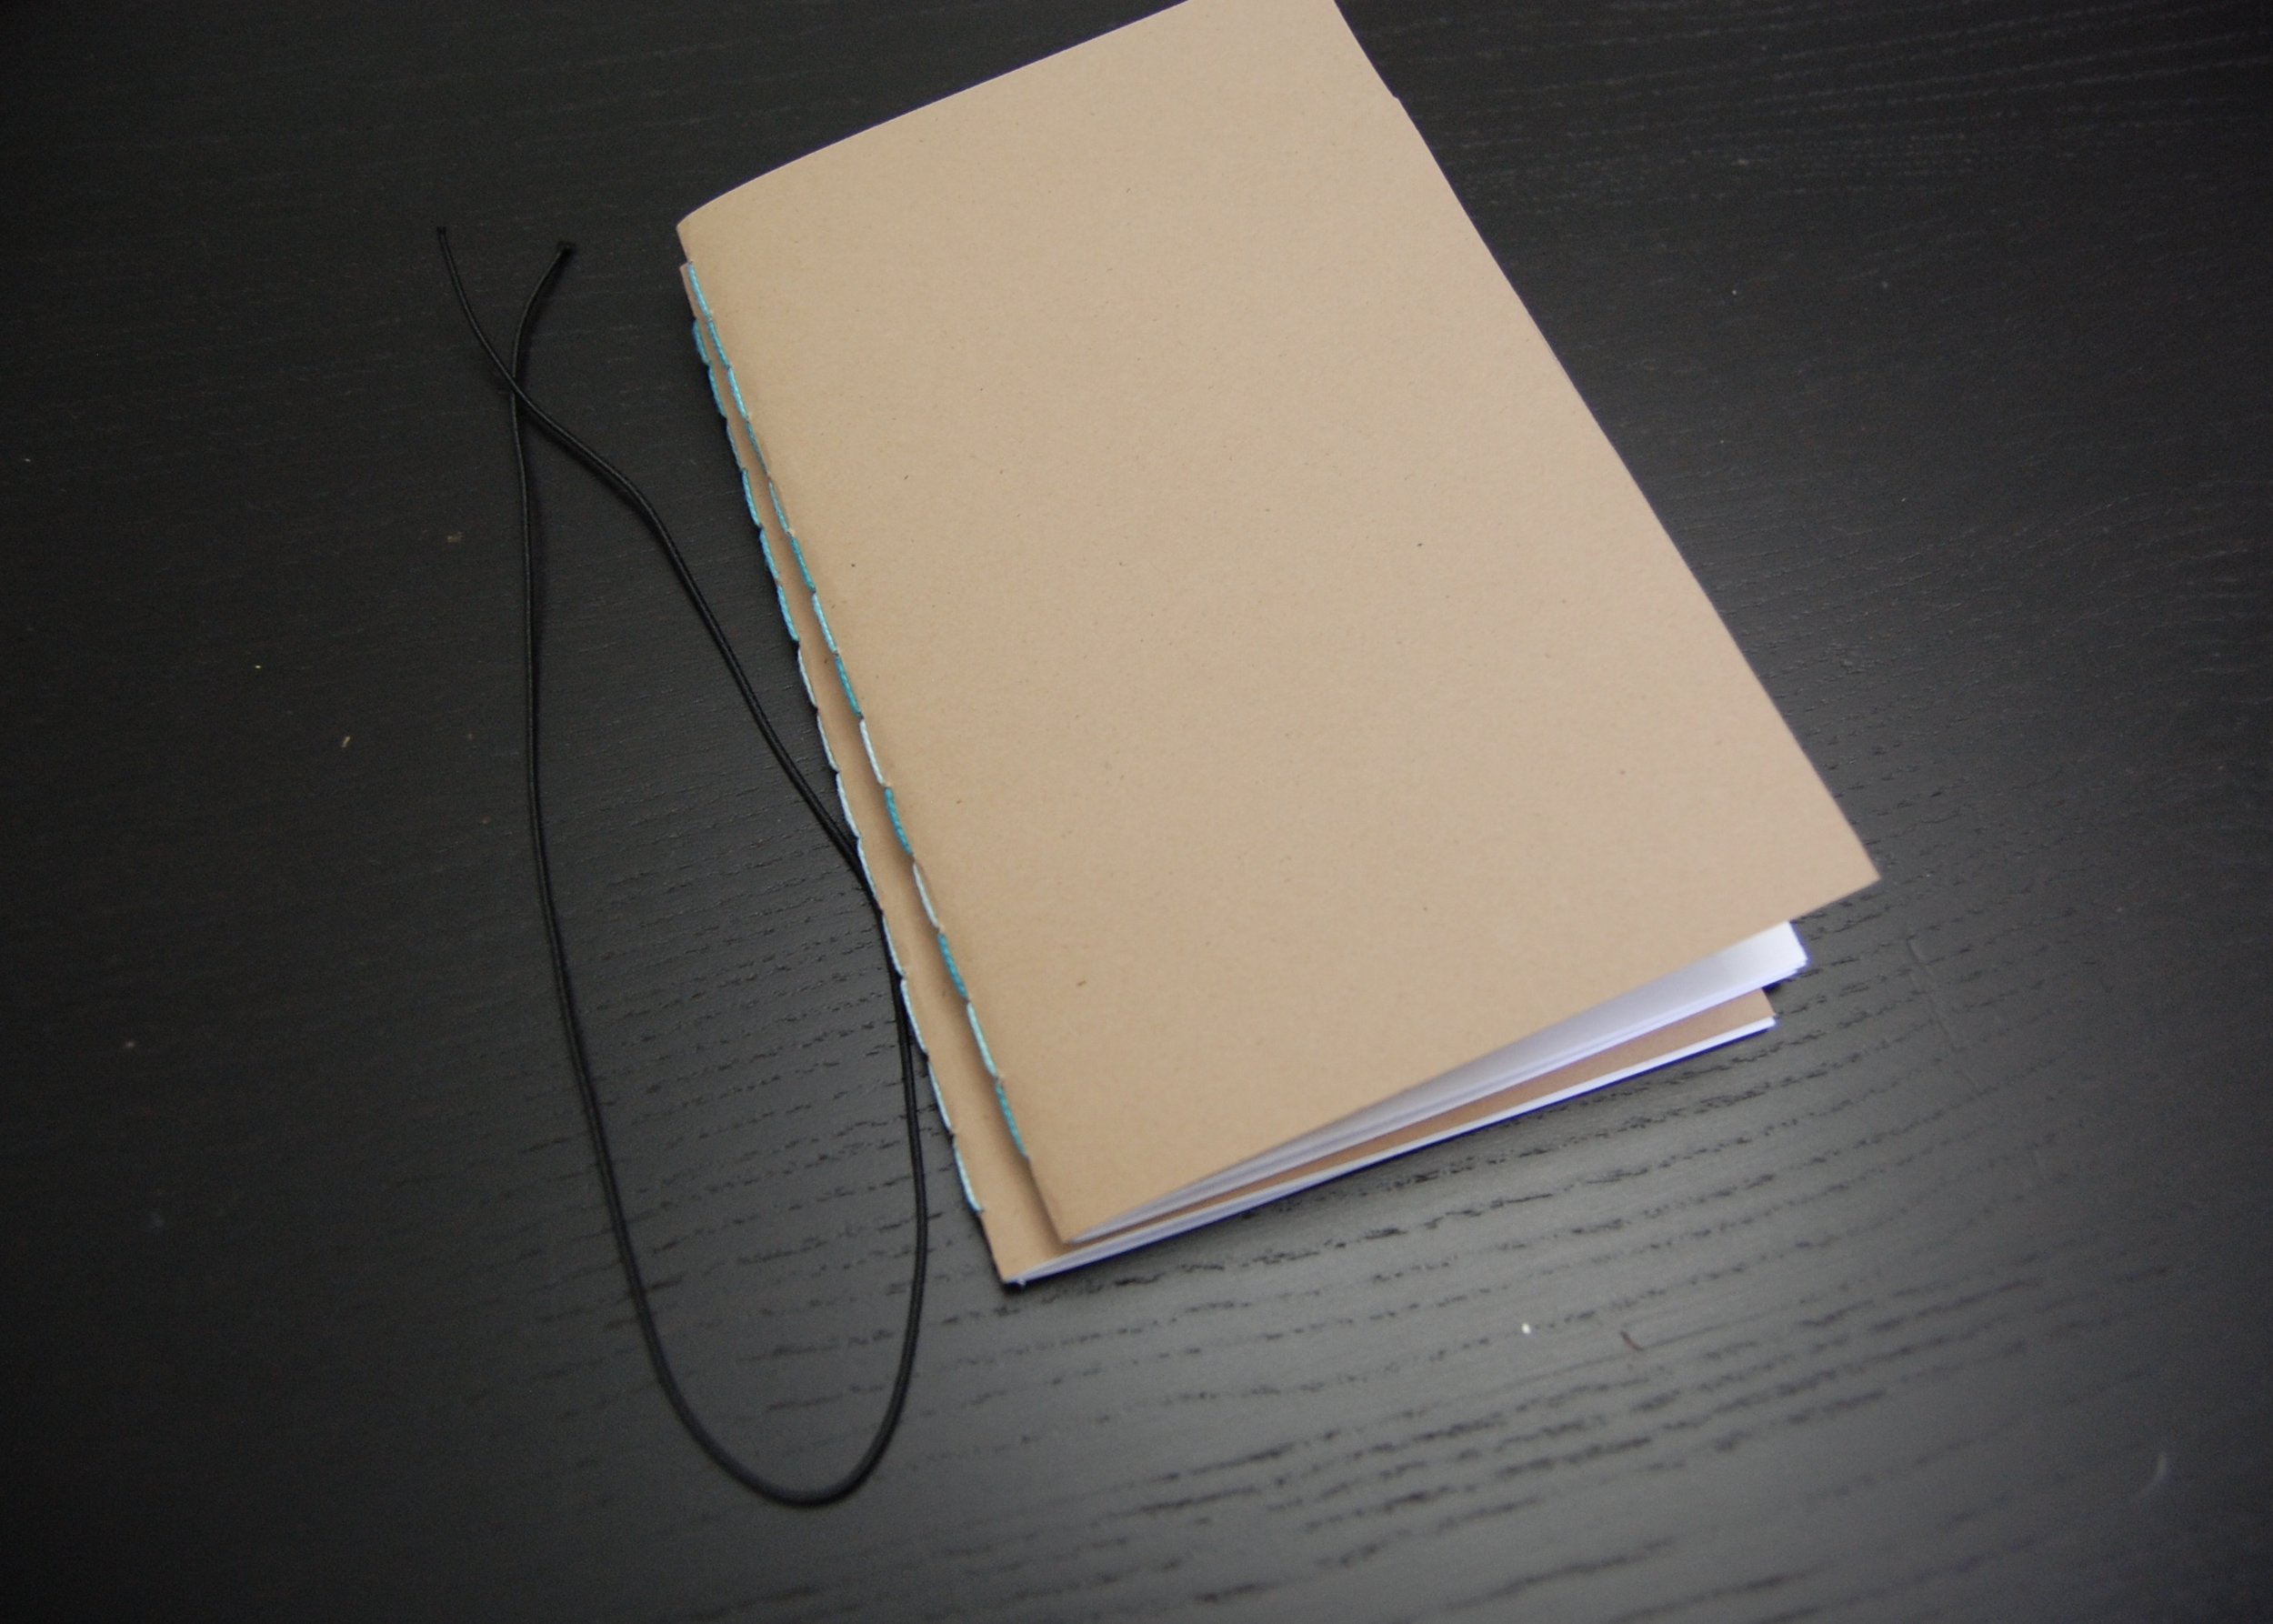
Your insert will now be too wide for your cover, so it will need to be cut down. I cut mine down by .5" or 12.7mm (making the total paper size 8" x 10" or 203.2mm x 254mm). With three inserts in my notebook, my cover is just big enough to cover my inserts. If you wanted a little extra overlap by your notebook cover you might want to cut the inserts down by .75" (19.05mm); however, if you were using fewer inserts you might need to cut the insert down by only .25" (6.36mm).
Adding the Elastic and One Insert

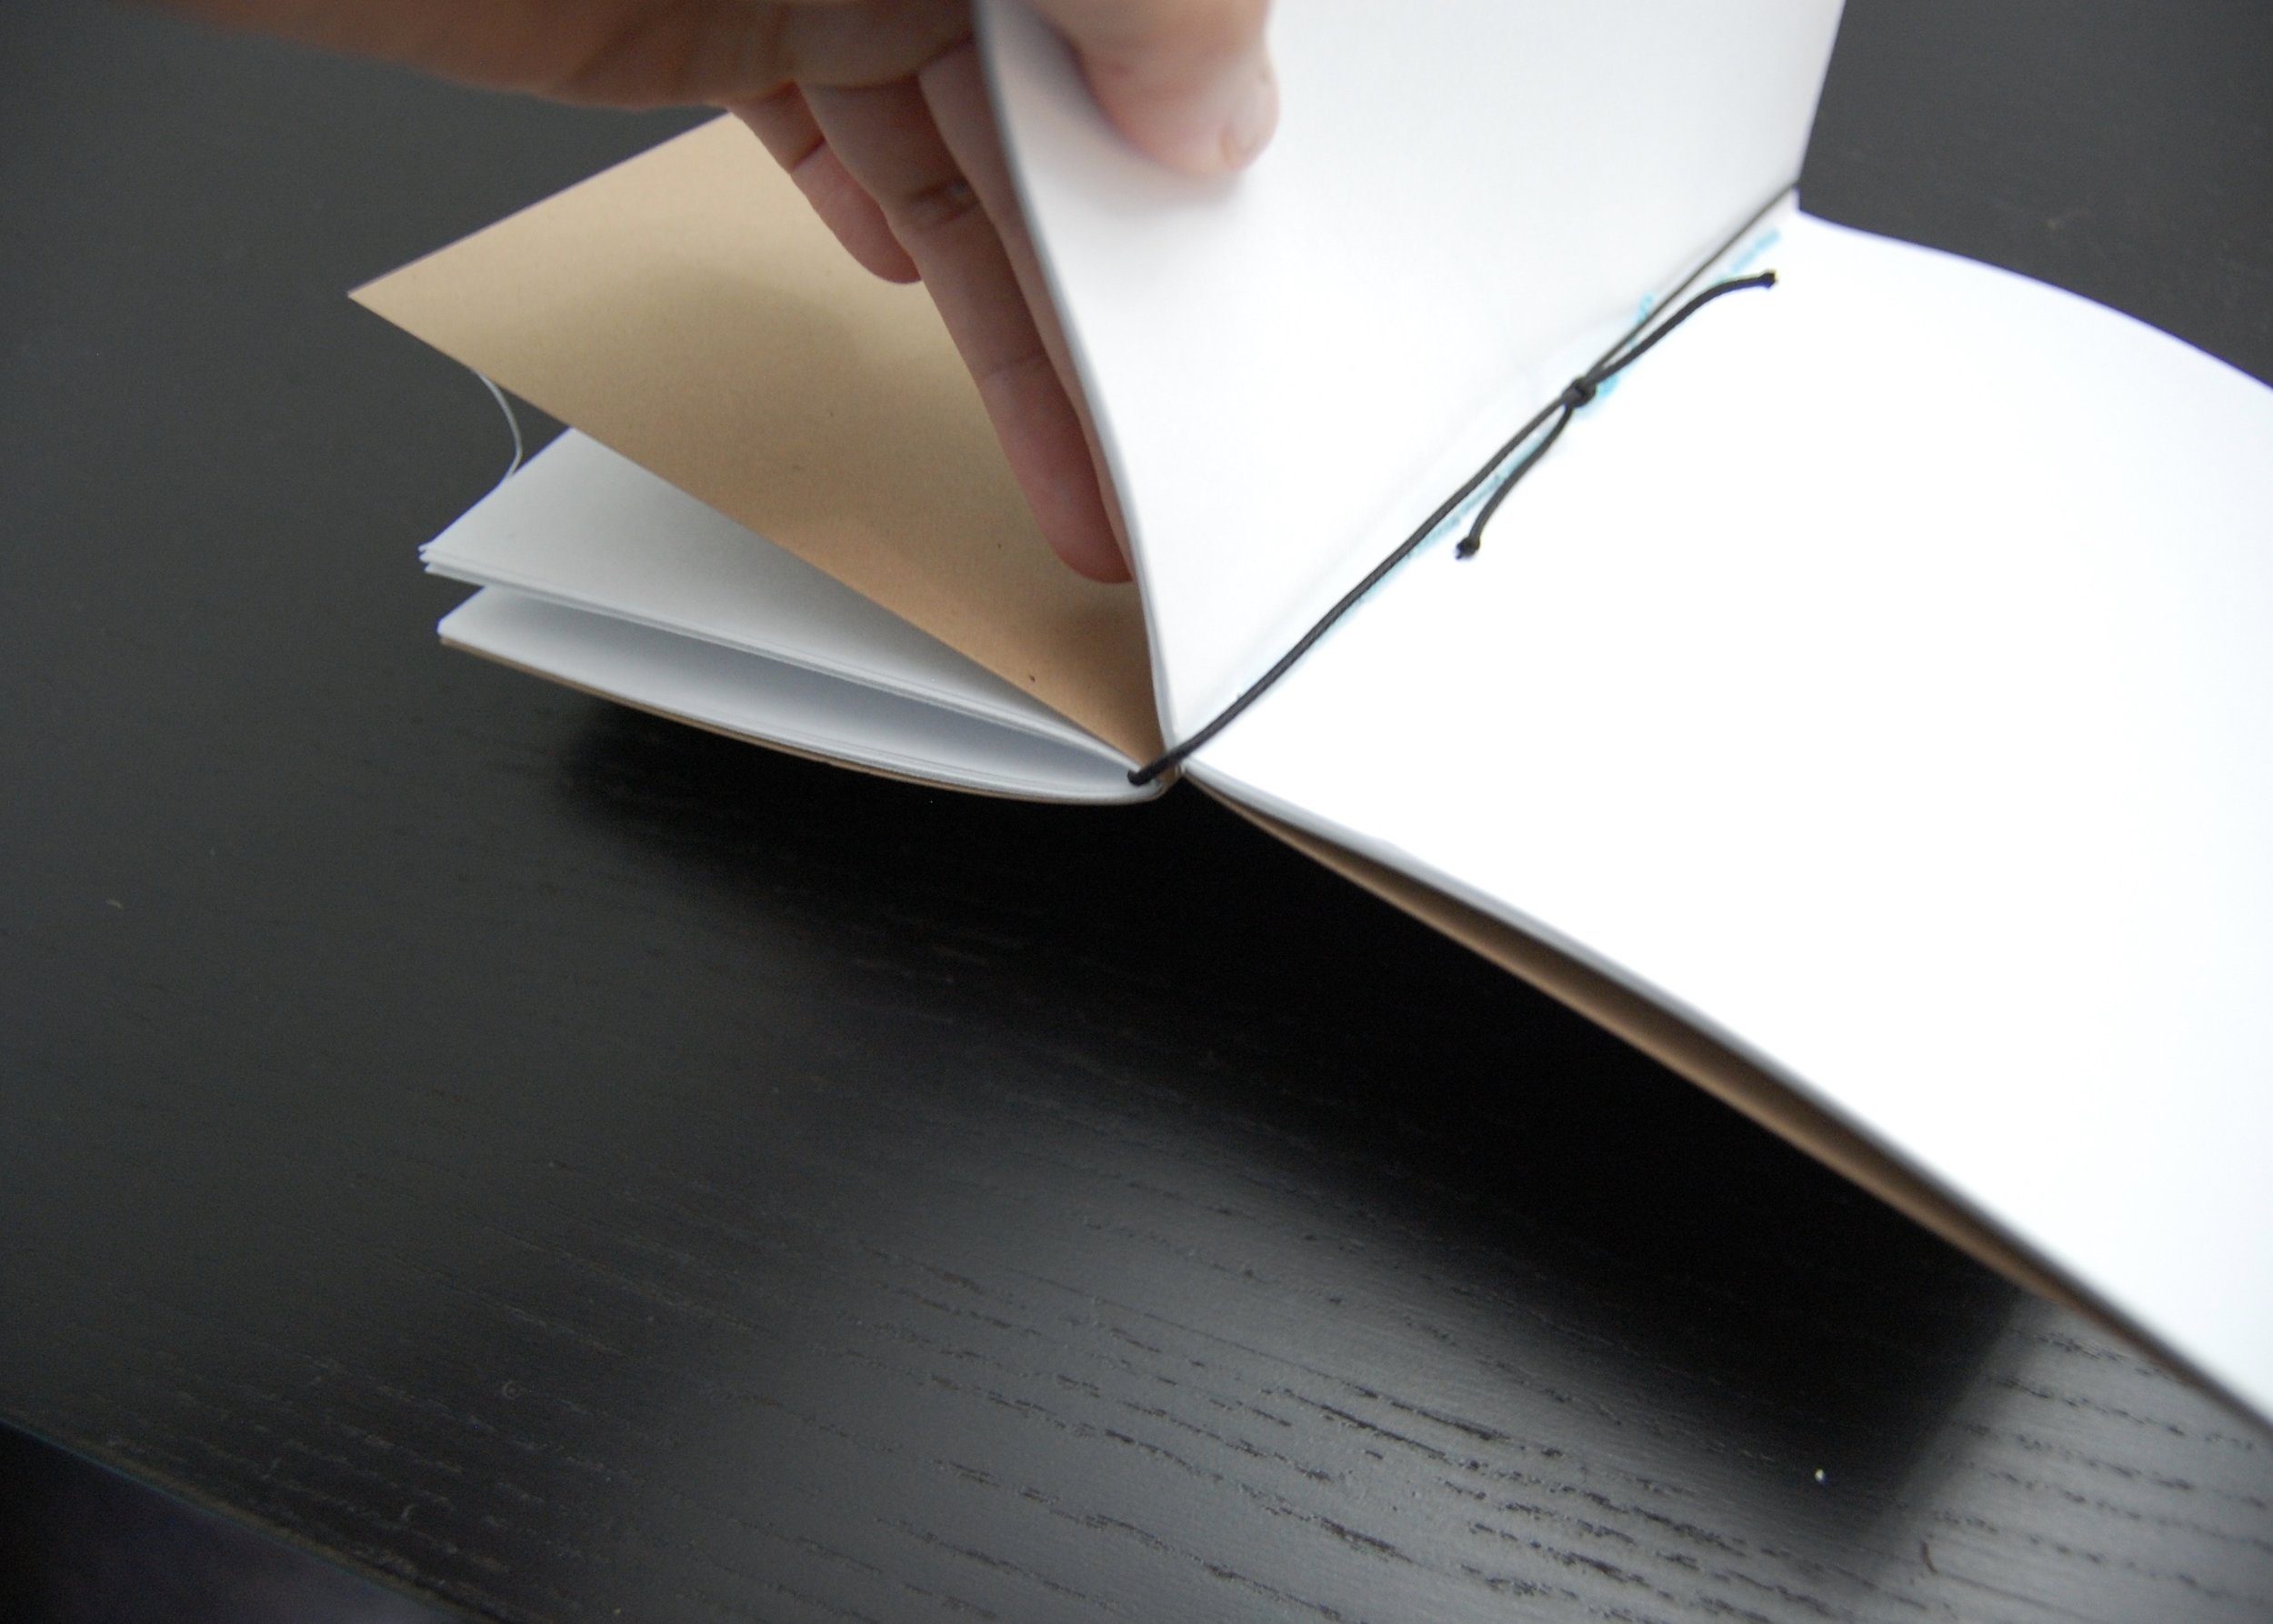
To attach the inserts to the notebook cover and to keep the notebook closed, I used this round elastic from Dritz. Start by cutting the elastic down to size - I cut a 36" (914.4mm) piece. Then fold the elastic in half. the folded part of elastic should be inserted into the middle hole in the notebook cover from back to front. The elastic should then be pulled through so that it makes a loop that is the same length that the cover is wide (5.5" or 139.7mm).
At this point, the remaining portion of the elastic will be two tails on the inside of the cover. One tail should be inserted in the next closest hole toward the top of the cover, and the other in the next closest hole toward the bottom of the cover. The insertion direction is from the inside to the outside of the cover. The loop that was made earlier should remain.
Turn the cover over so that the outside of the cover is facing up. The elastic tails should be coming out of the second holes from the bottom and top of the cover, respectively. Insert the top tail in the hole closest to the top of the cover, inserting from front to back. Do the same for the bottom tail, in the bottom hole.
Turn the cover over once again so that the inside of the cover is facing up. The elastic tails should be coming out of the upper and lower-most holes in the cover. Open one insert to the middle page and place the spine of the insert over the spine of the cover. Now gather the two elastic tails over the insert and tie them in a knot, holding the insert in place.
Adding Additional Inserts
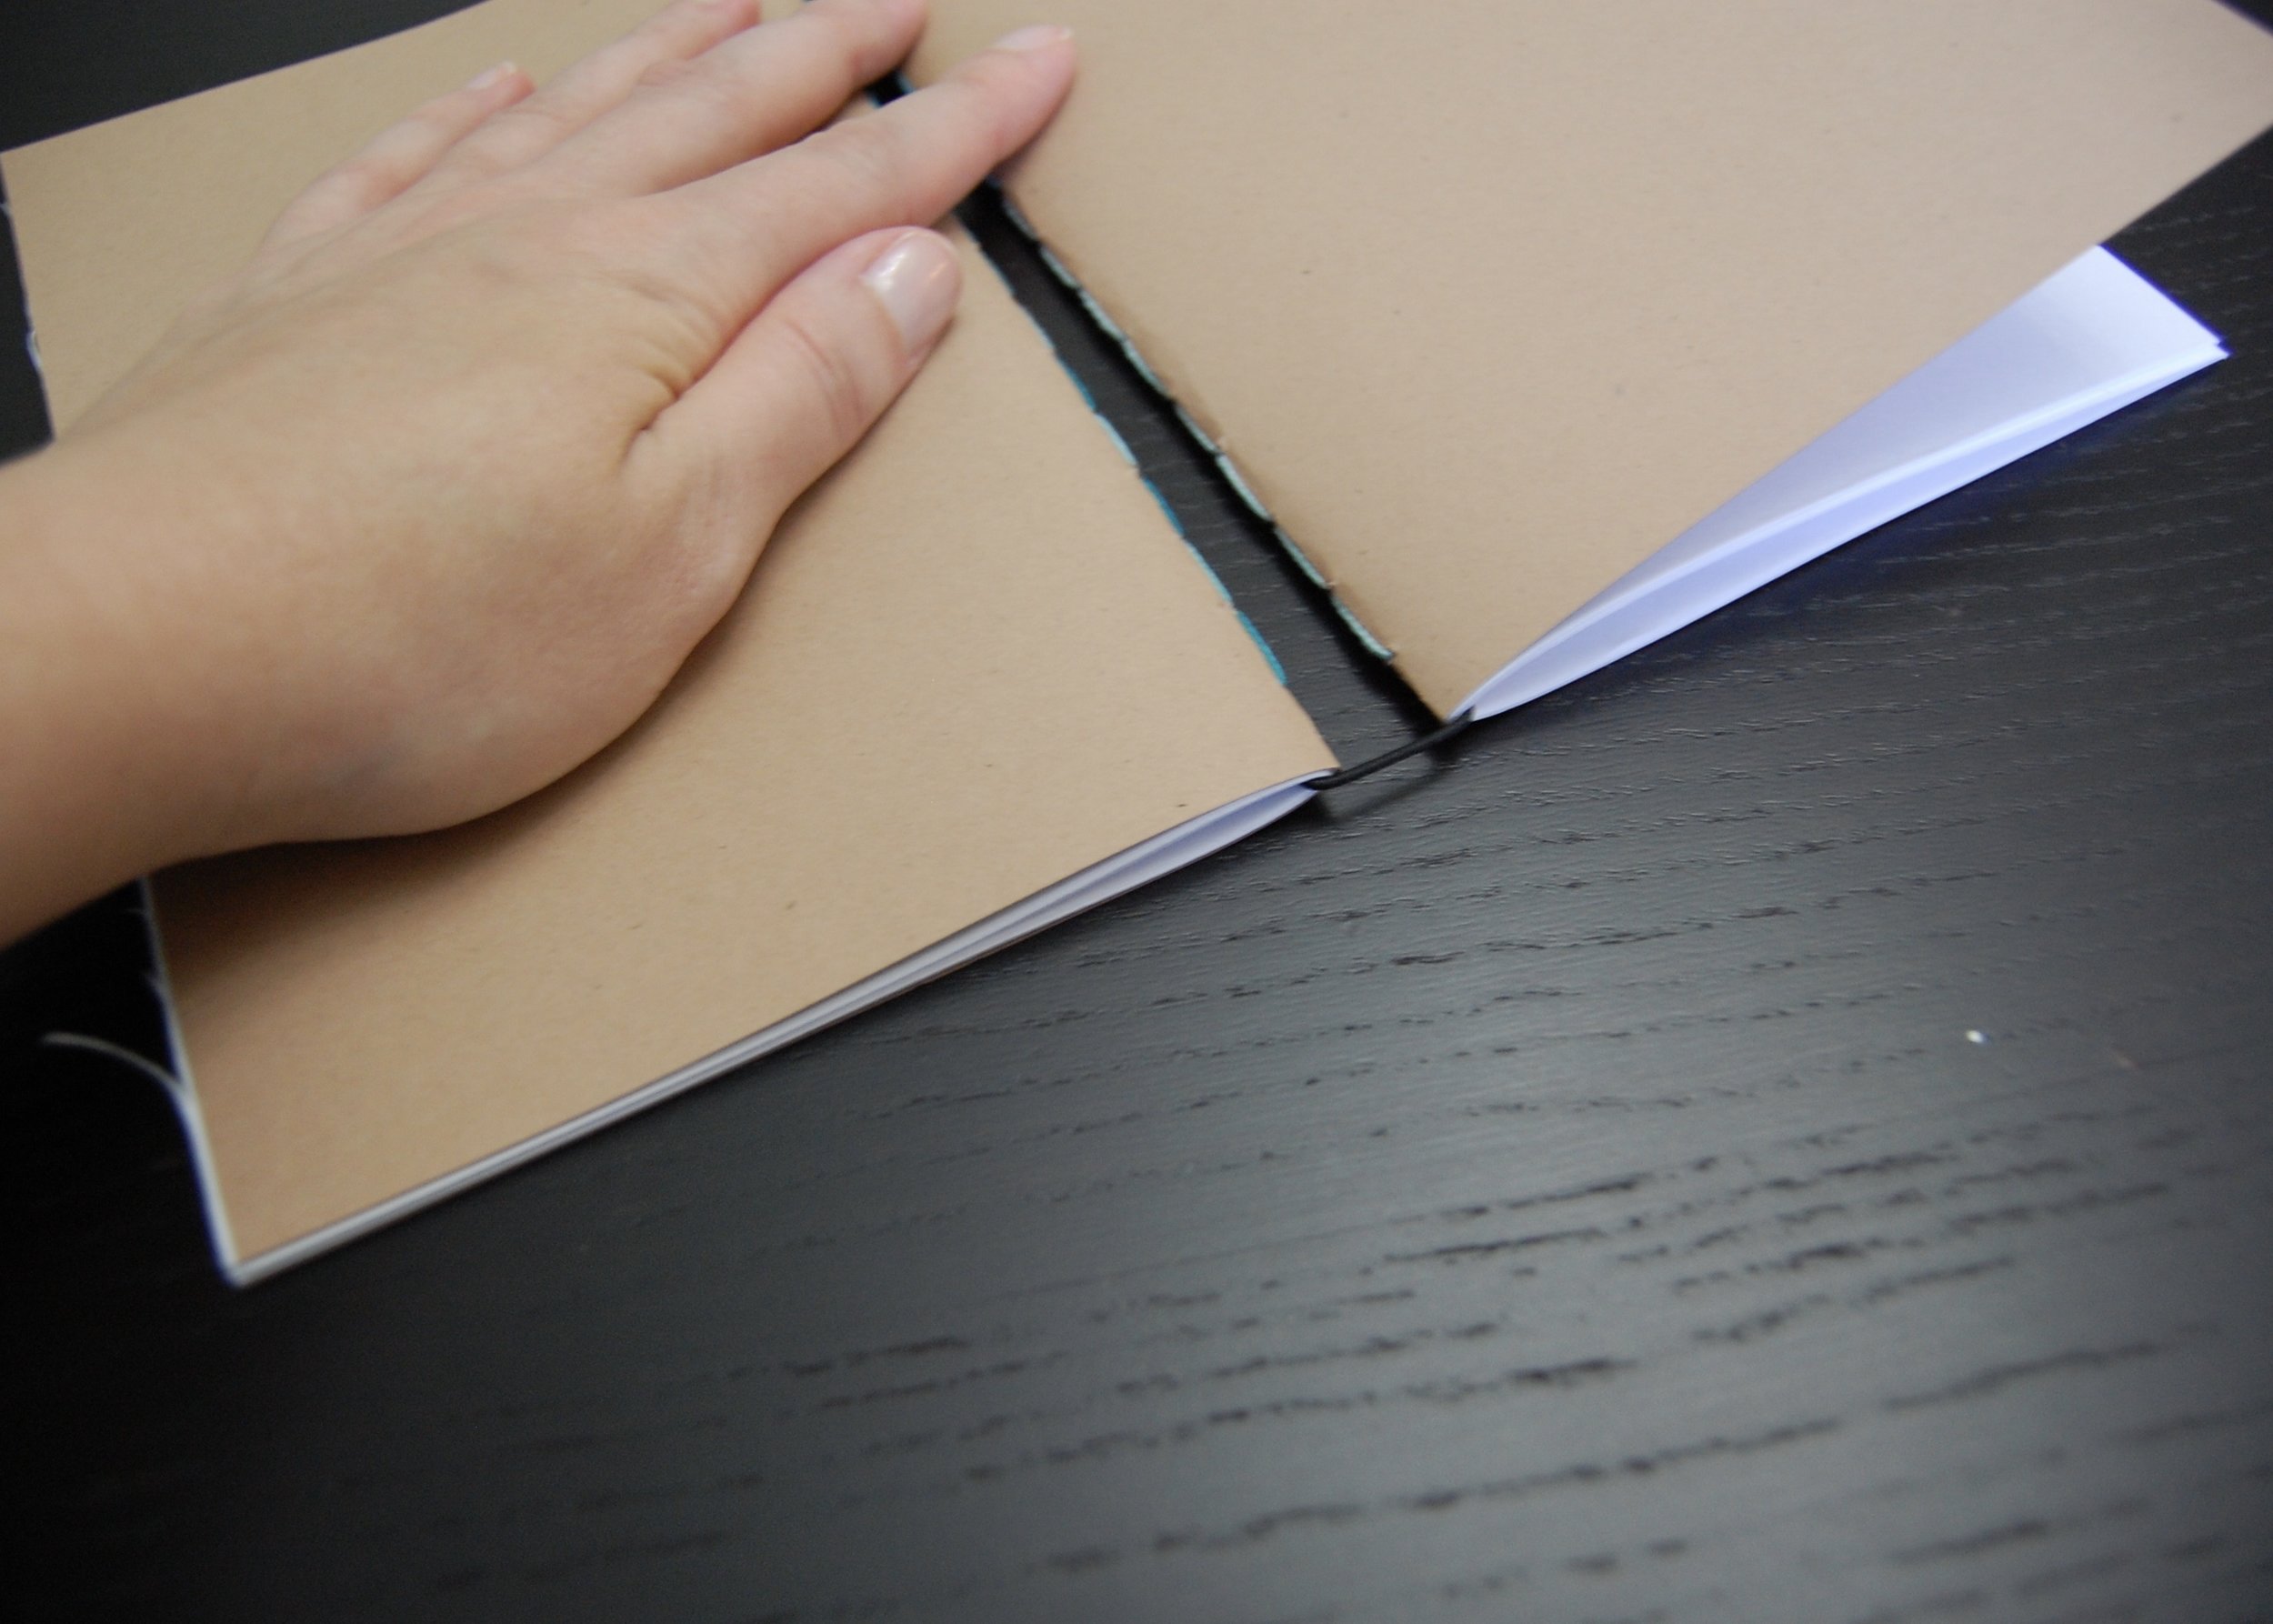
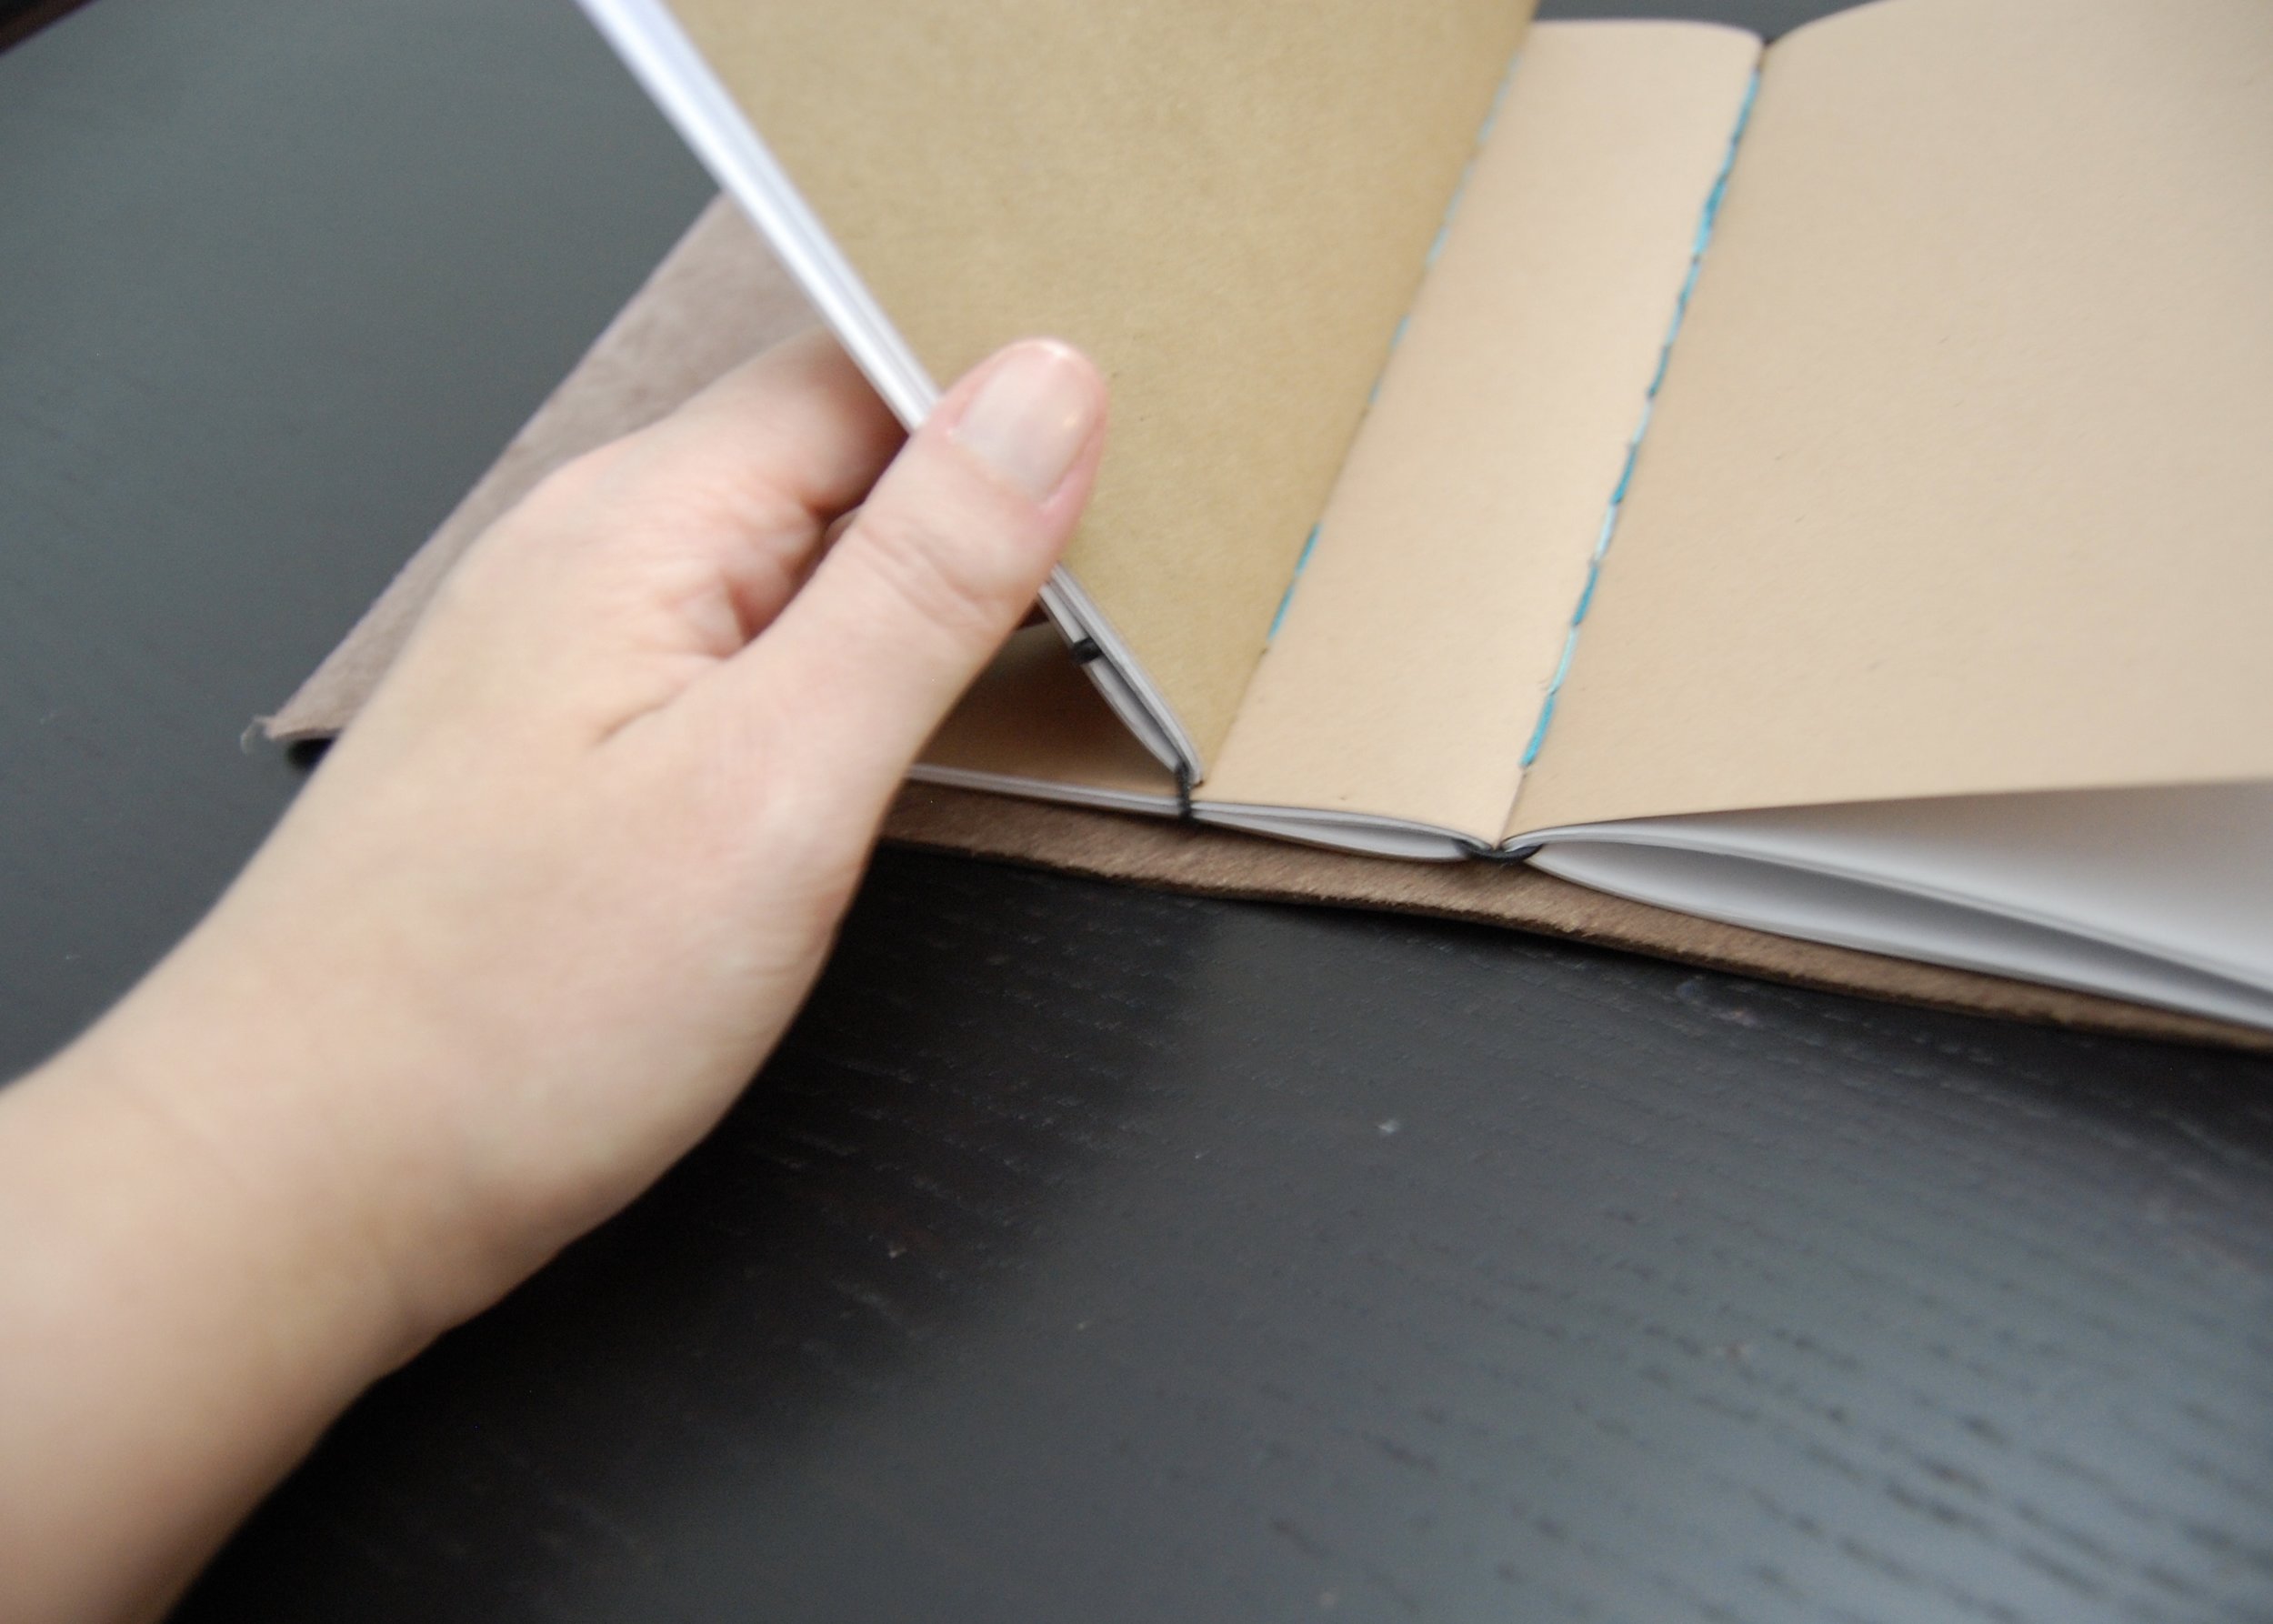

To add additional inserts, gather two inserts and a piece of round elastic about 20" (508mm) long. Open the inserts to the middle pages, wrap the elastic around the middle of each insert, and tie the elastic in a knot. This will connect the two new inserts.
Next slot one of the two new inserts underneath the insert that is already attached to the notebook cover, leaving the second of the new inserts on the opposite side of the original insert. The elastic holding together the two new inserts will be held in the notebook by the elastic holding the original insert in place.
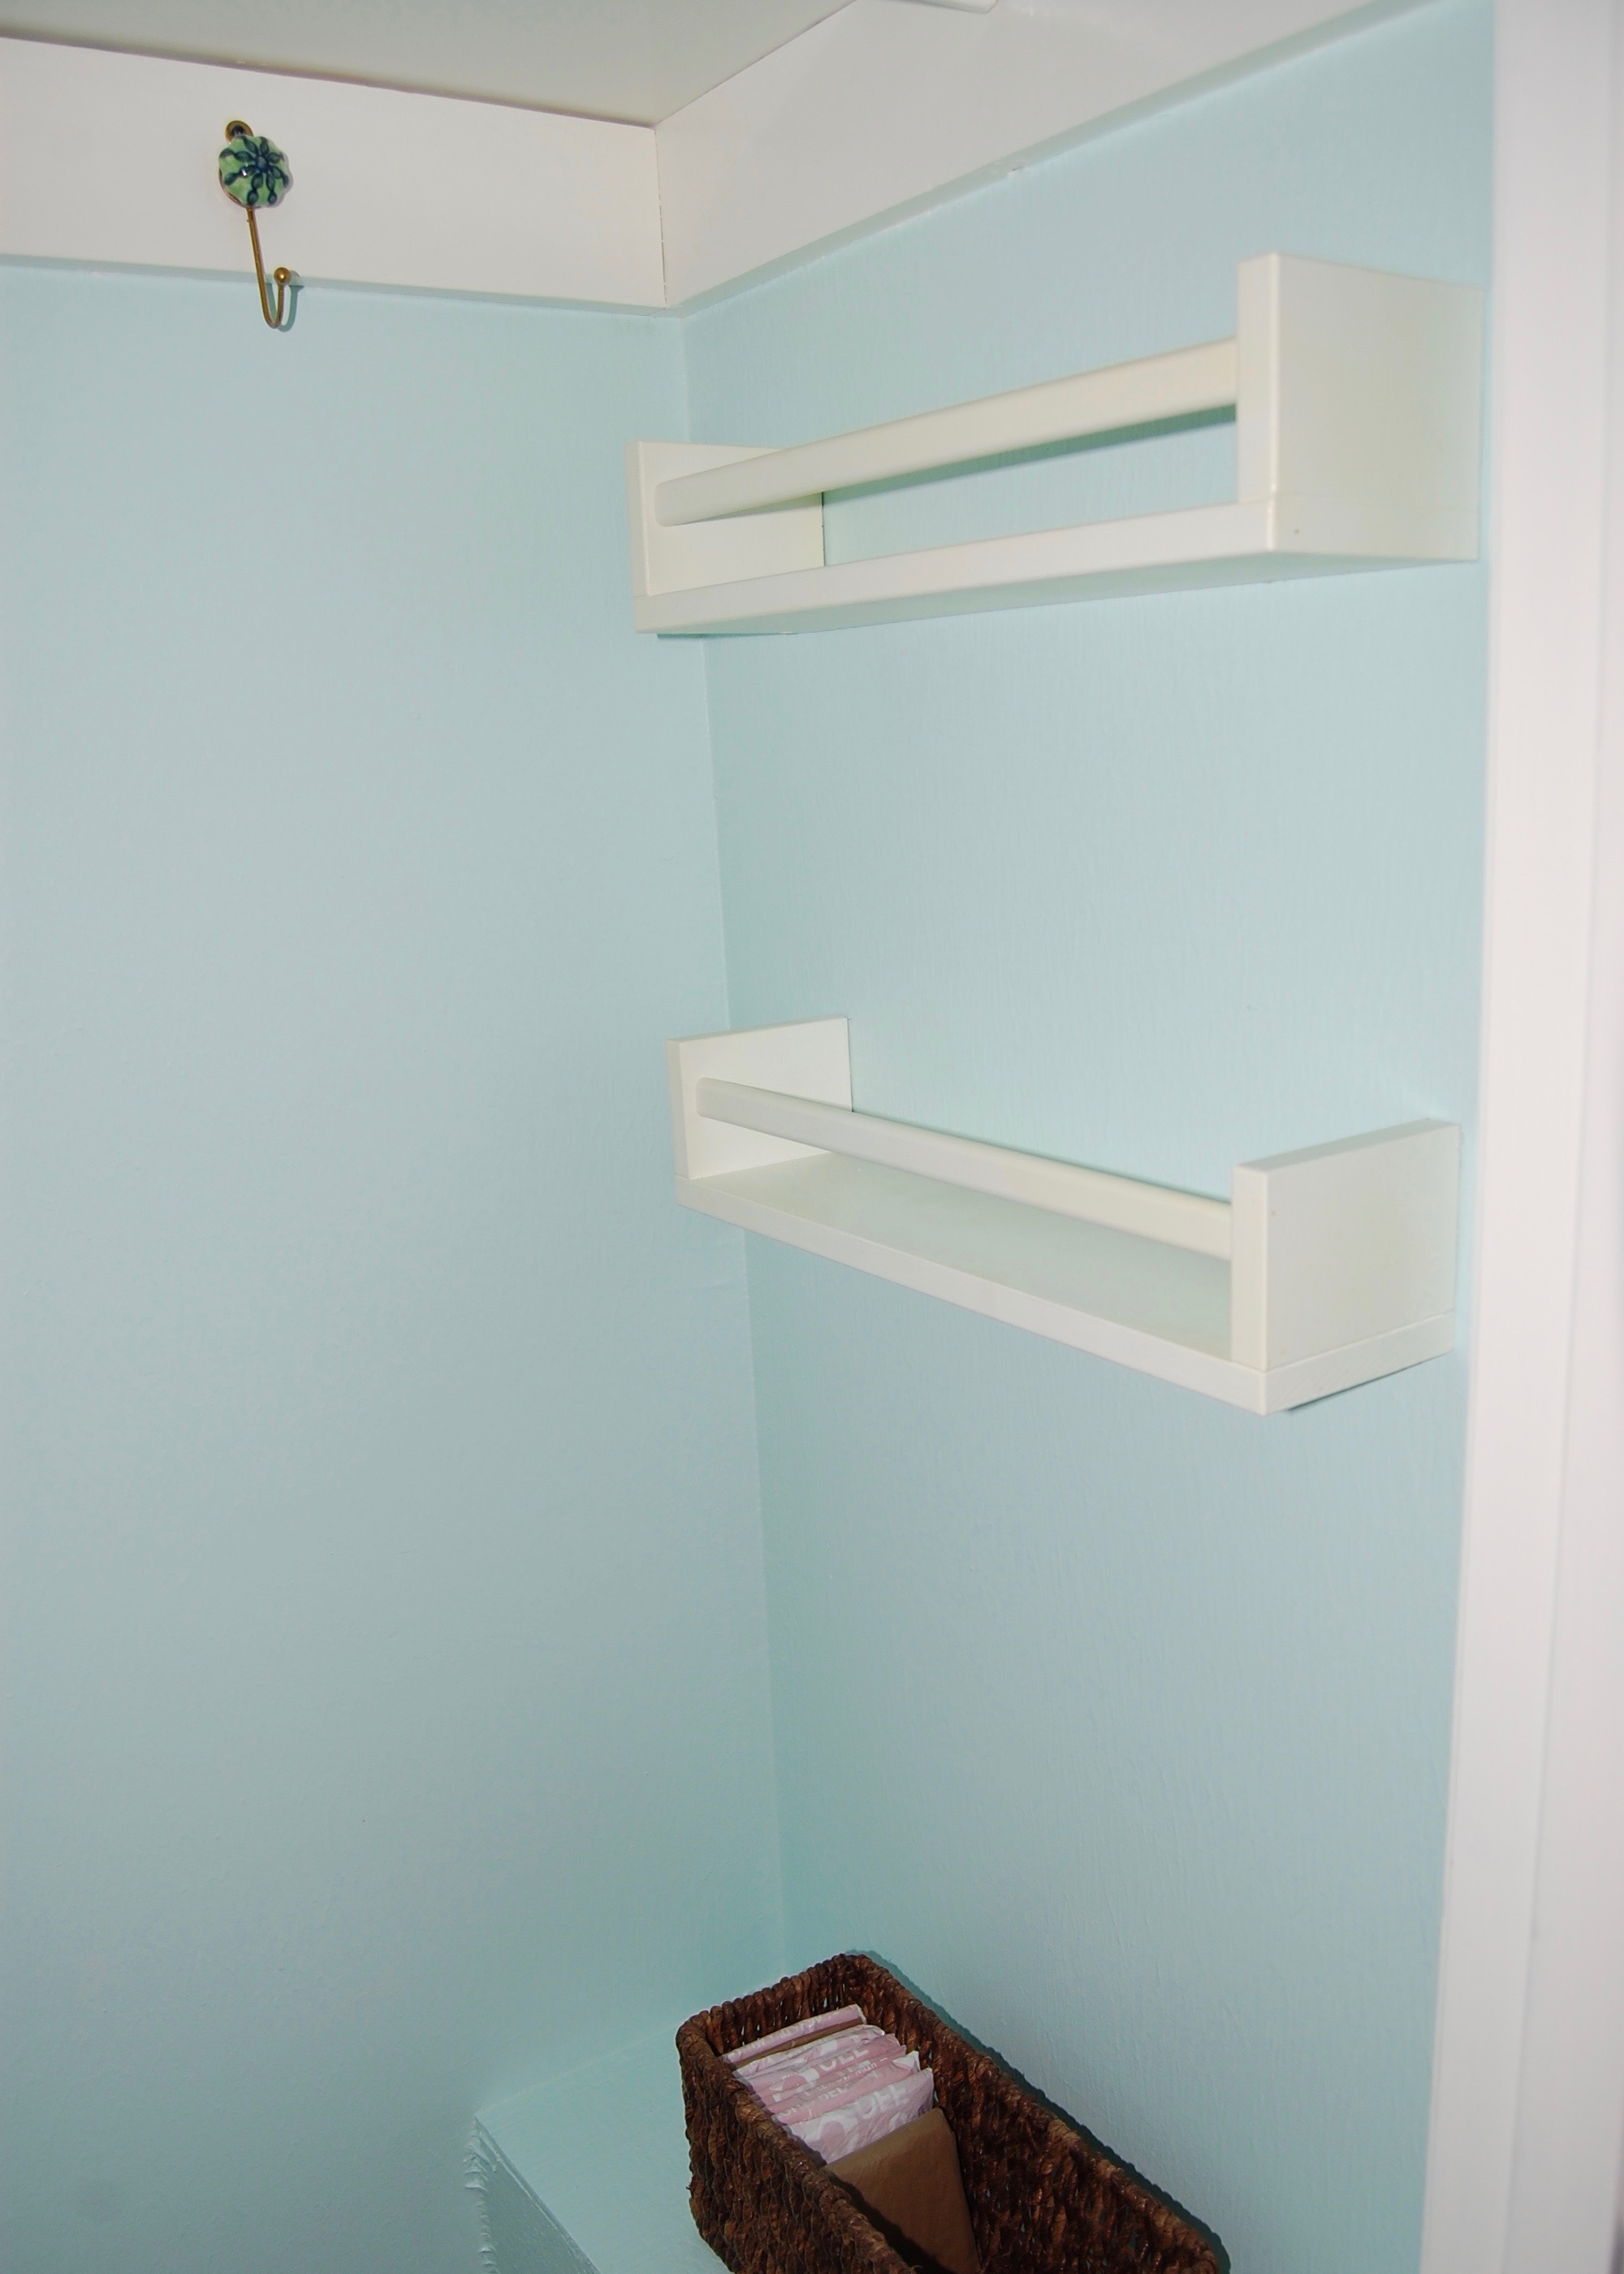
Finished
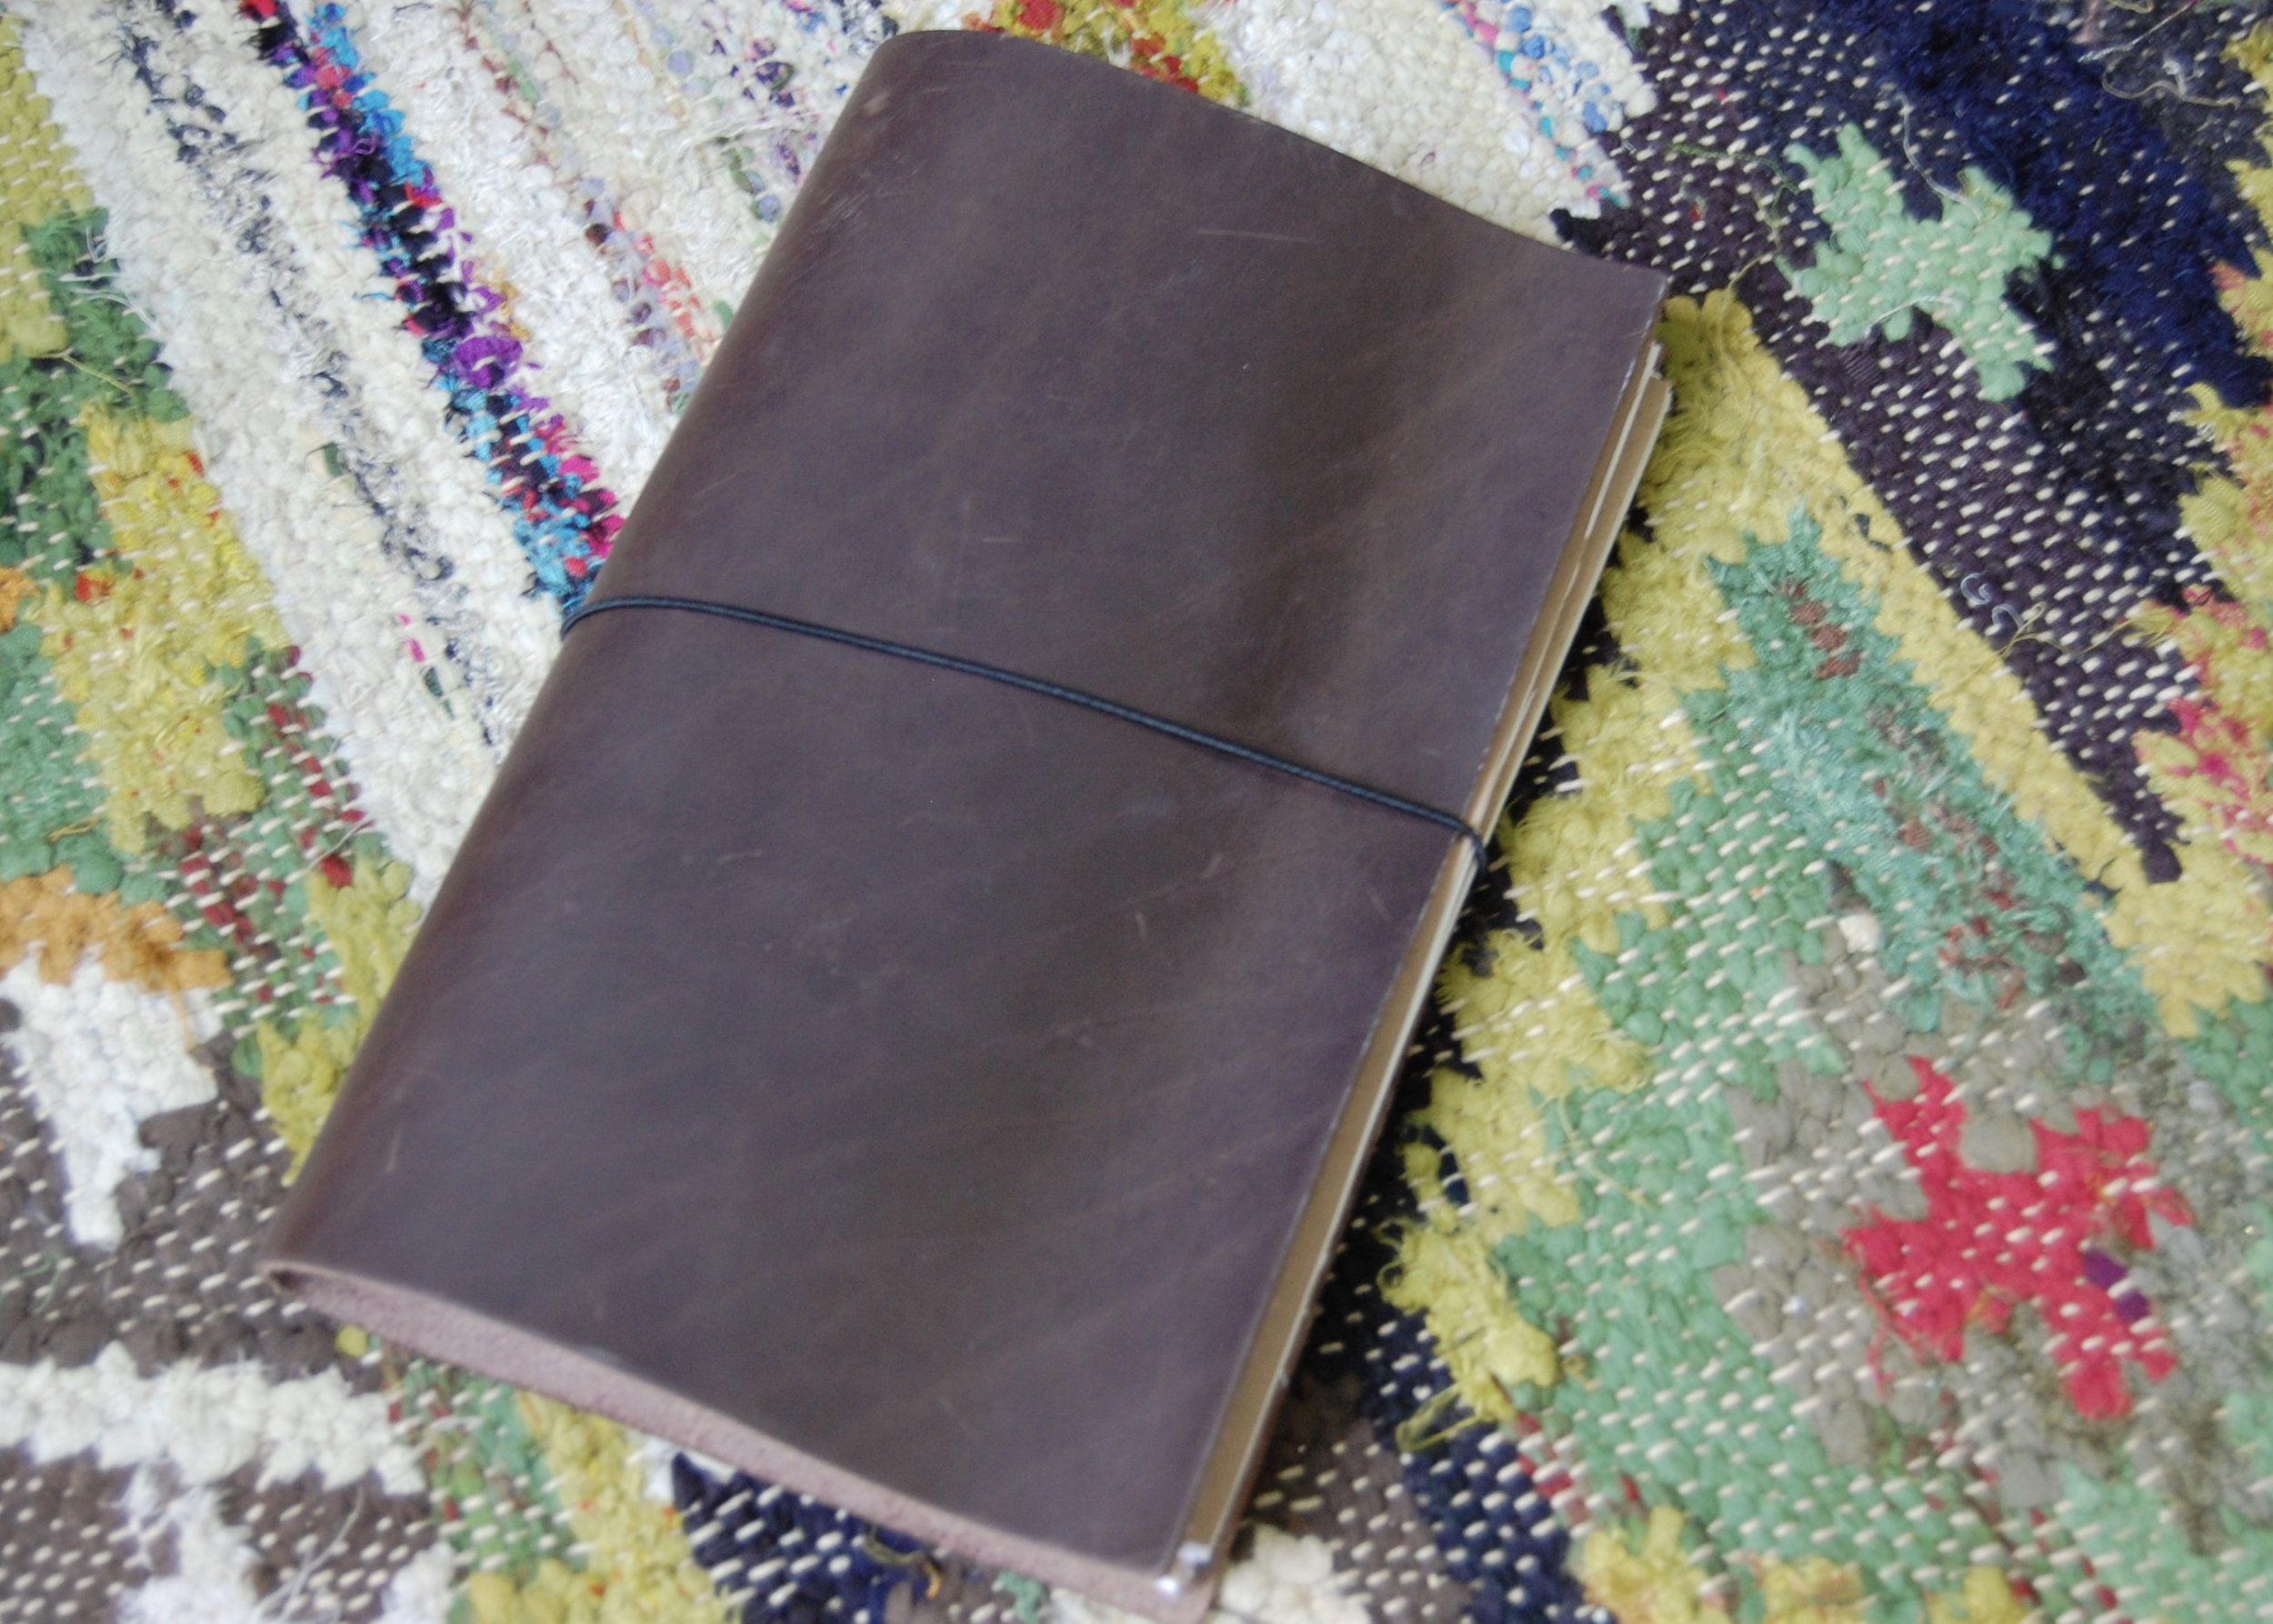

Thats it! Enjoy your new notebook, and let me know about all of the places you travel with it!
This post contained affiliate links. All opinions are my own.