Converting a False Drawer Front
/Over a month ago we started to give the cabinet a little facelift. We planned to paint it, and change out the hardware- nothing serious. It should have been a weekend’s work at the most, and had we stopped there it would have been, but instead, we decided to be clever.
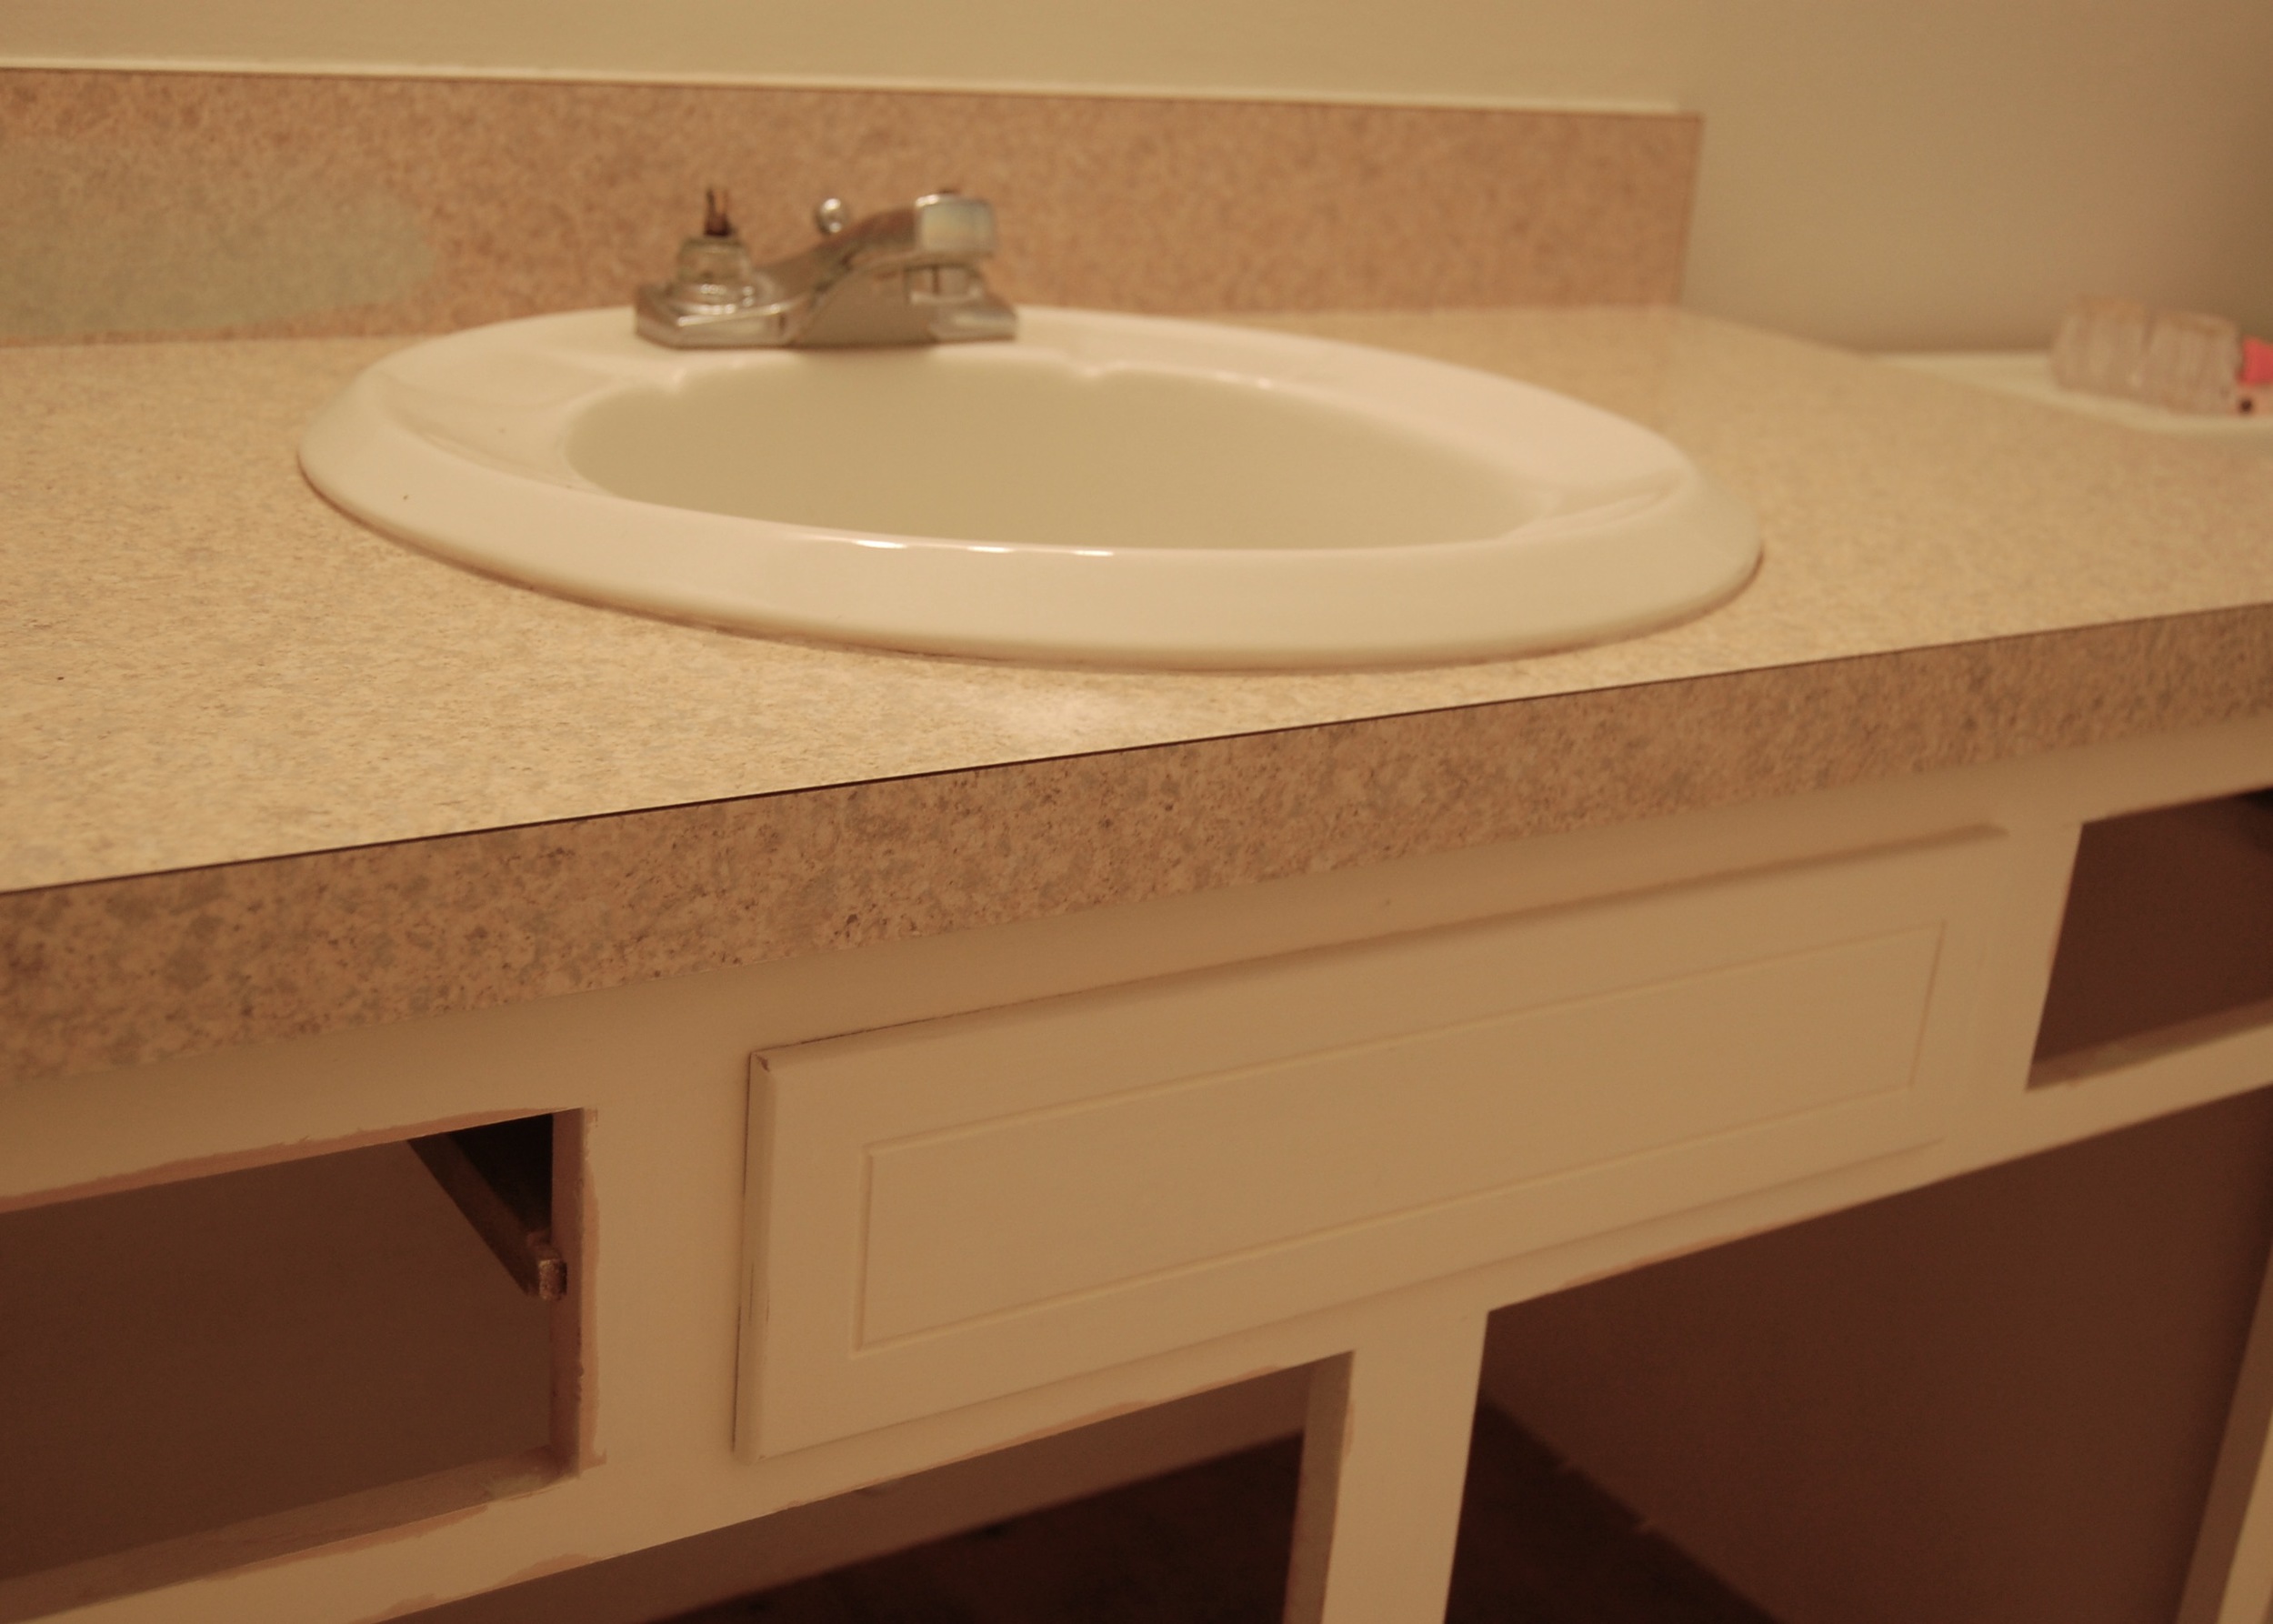
When I was little, my sister and I shared a fairly small bathroom with very little countertop space, and no drawers. At some point my Dad installed a tilt out drawer behind the false drawer front in front of the sink to add a bit of storage, and since then, every time I see a false drawer front (like the large one on the kid’s bathroom vanity) I feel like it is a waste of valuable storage space. It seemed like an ideal time to remedy the wasted false drawer front space when we began working on the bathroom vanity. We bought a kit by Rev-A-Shelf on Amazon that could convert false drawer fronts into tilt out drawers for $20 (enough for two), and that is where the trouble began.
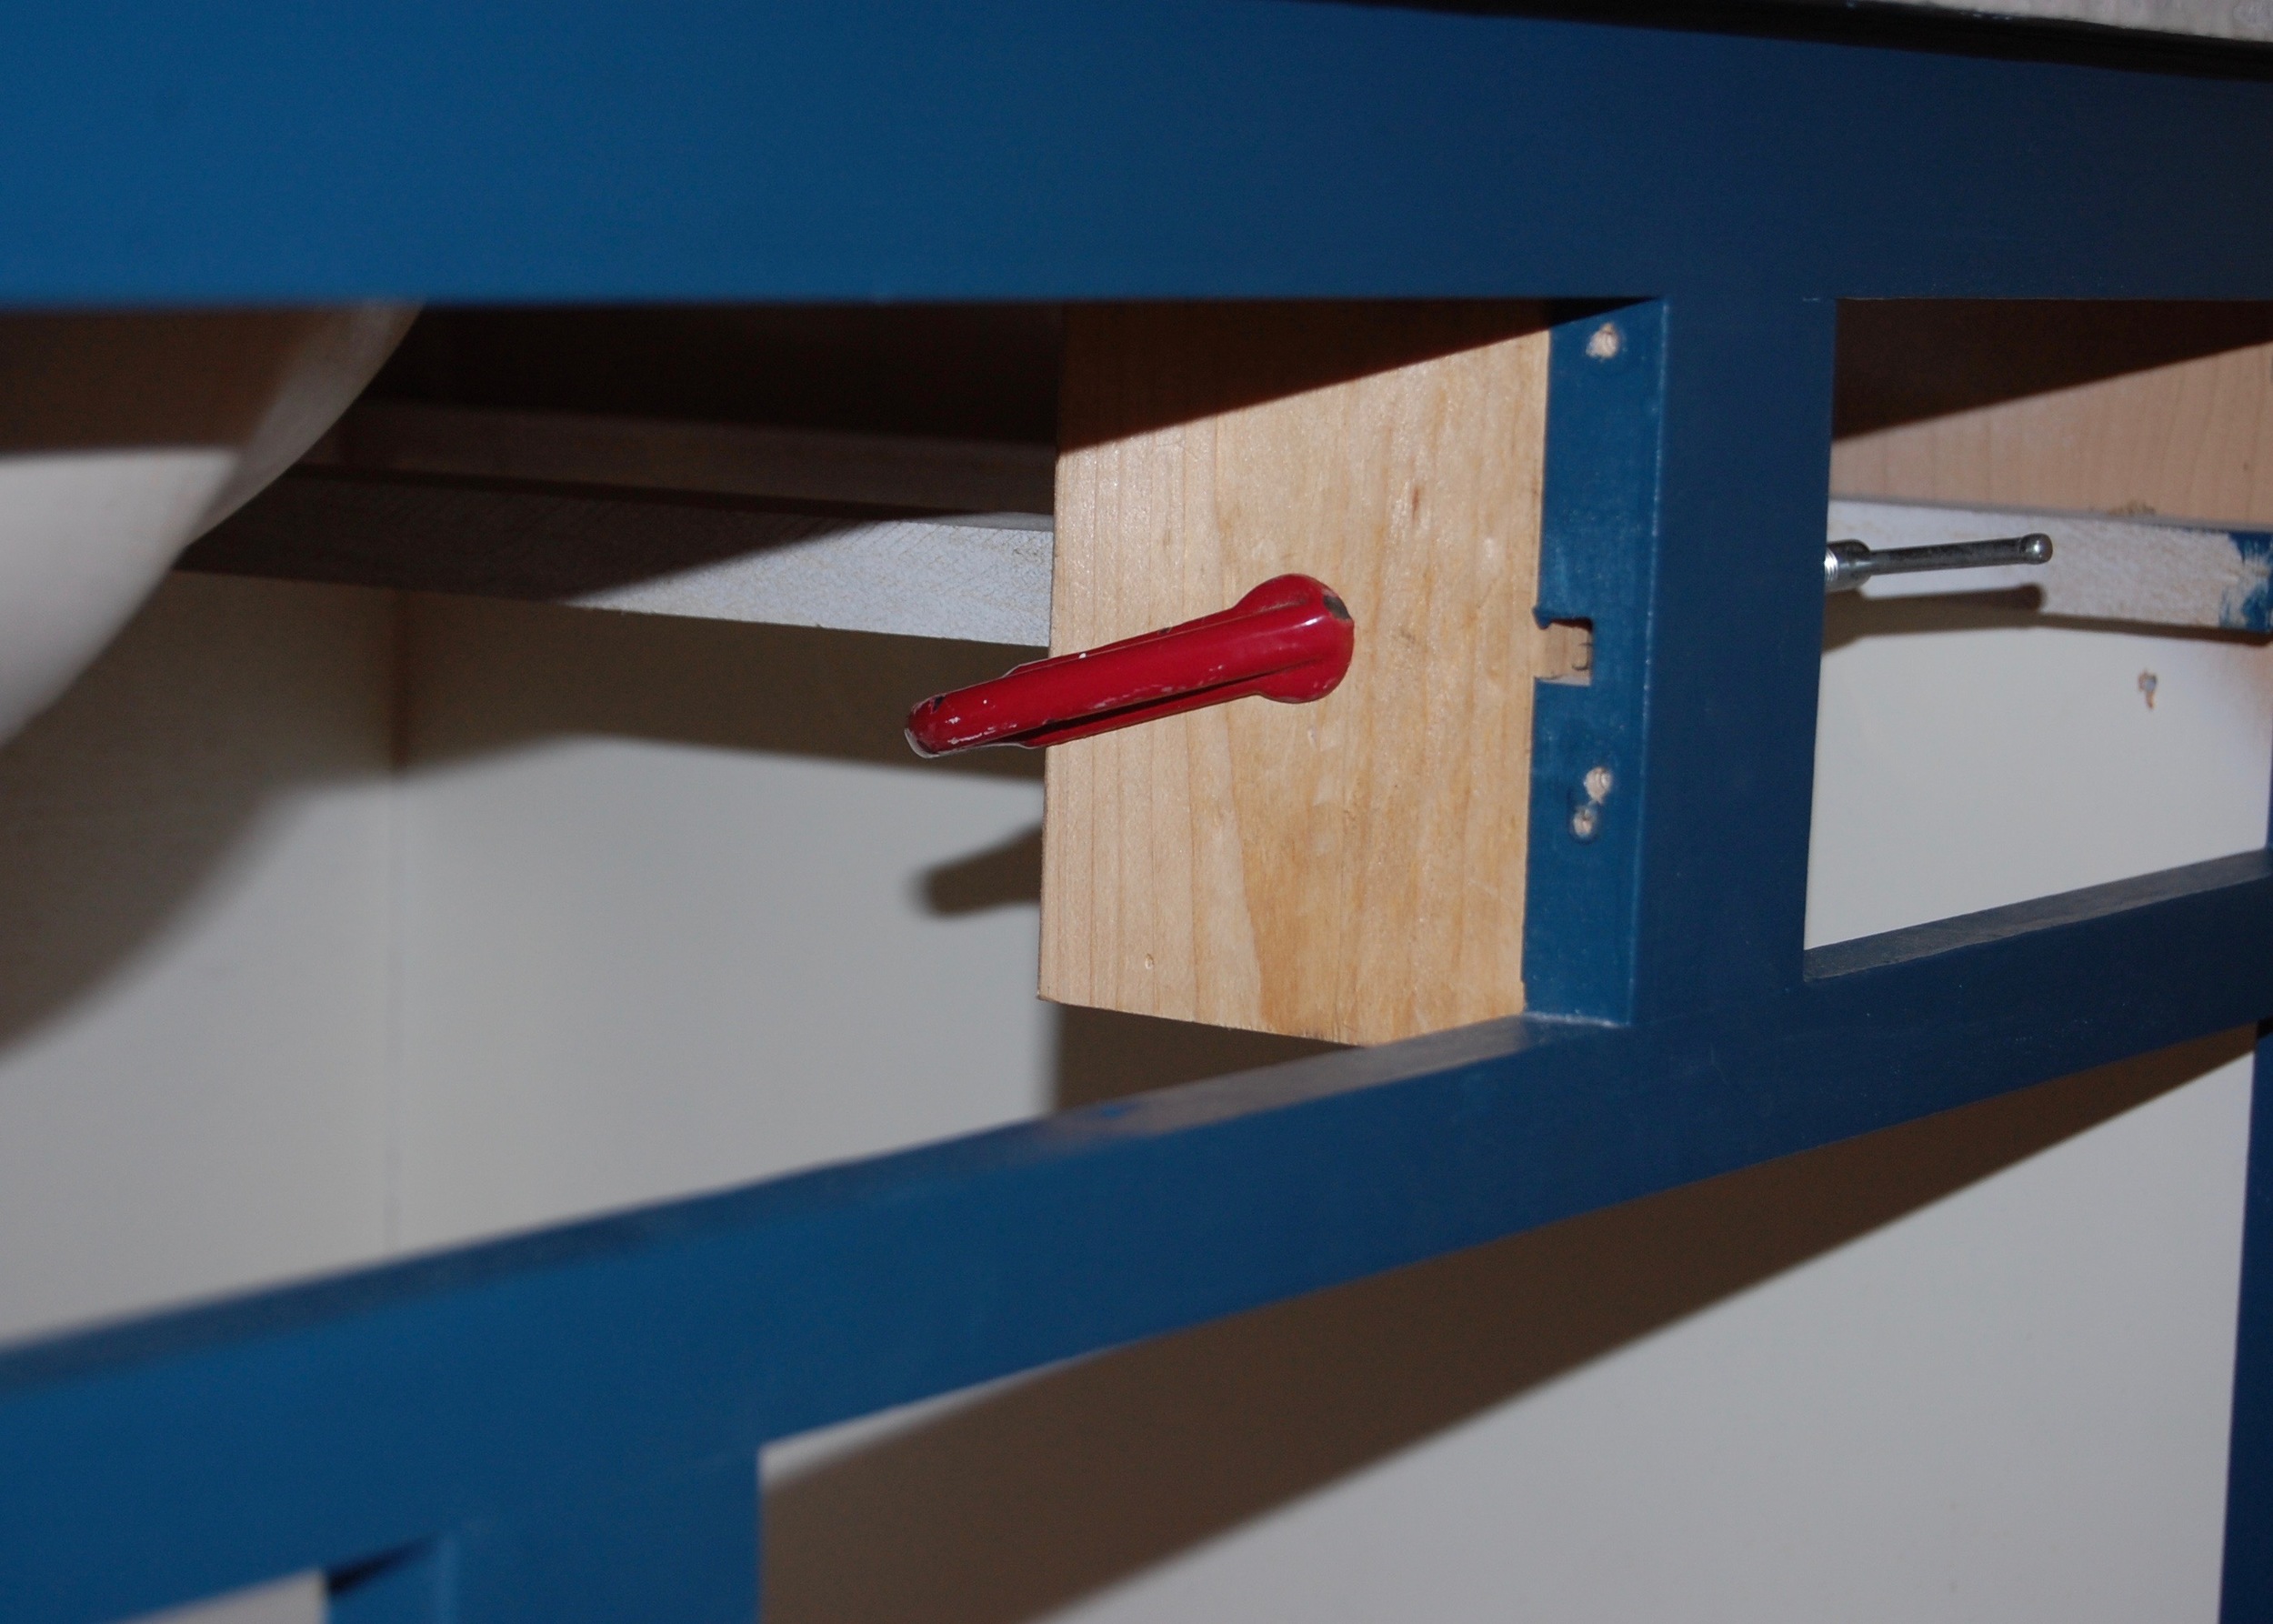
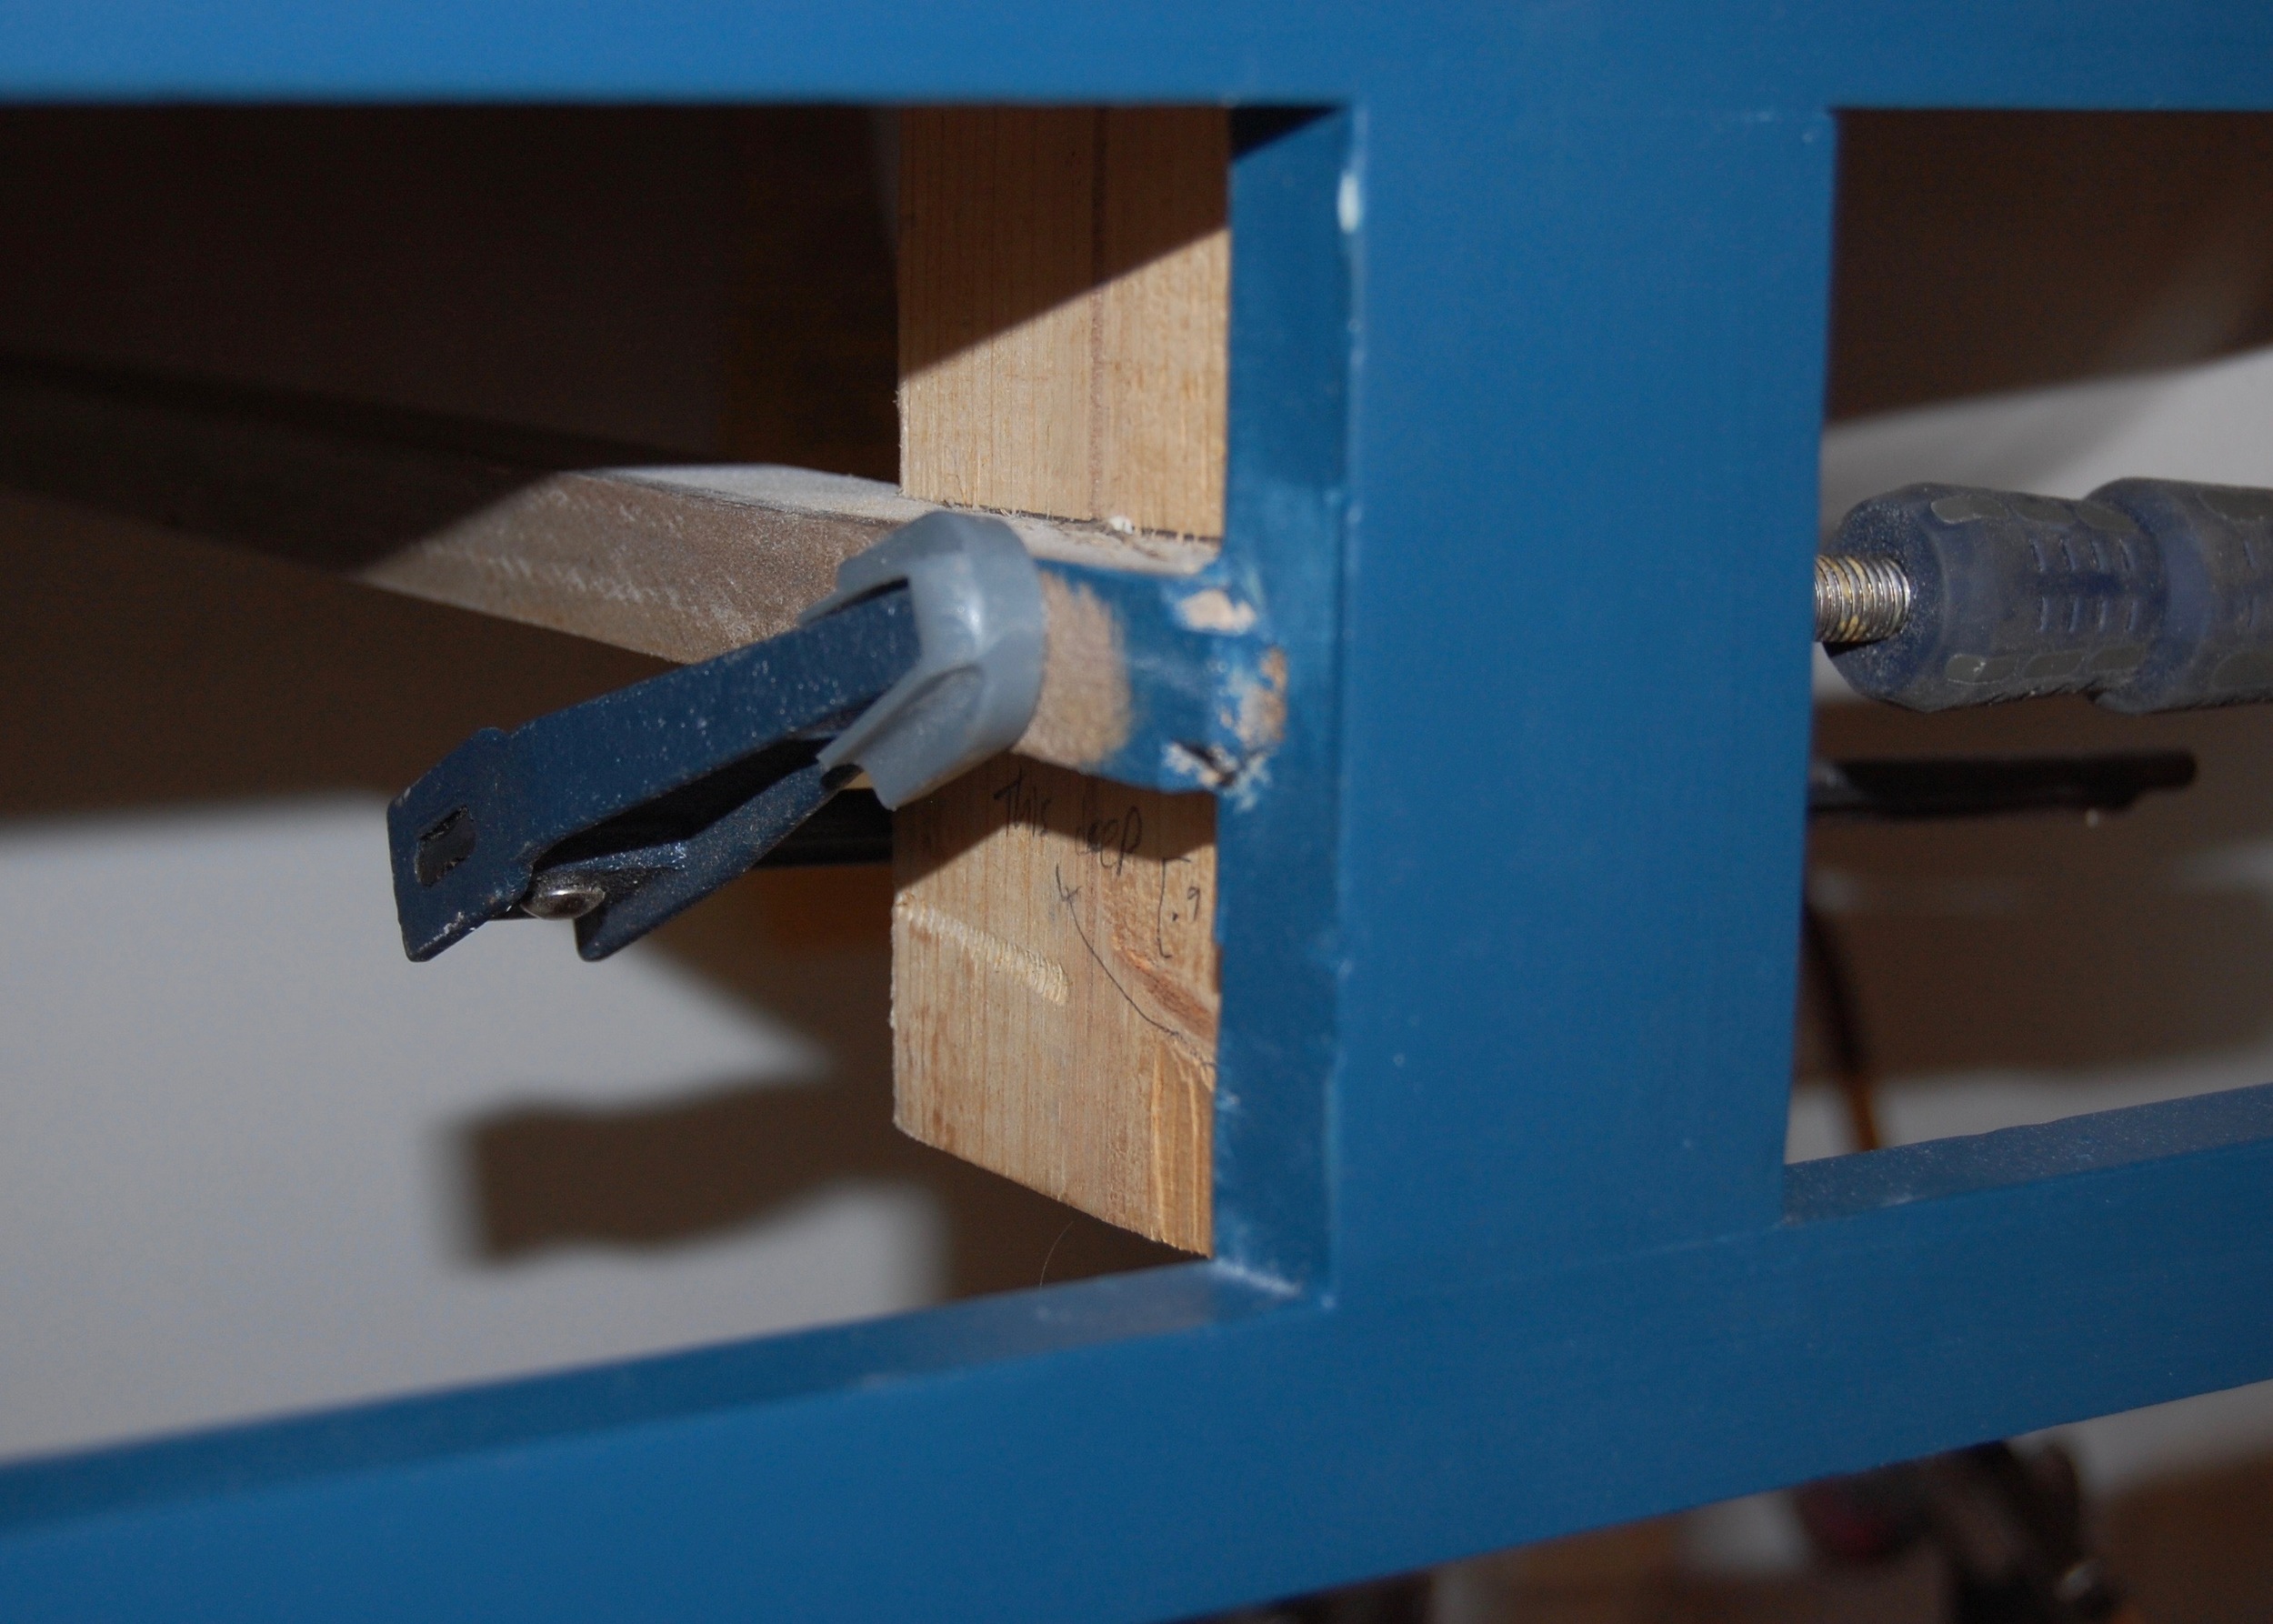
While we were waiting for the kit to arrive we got ready for it. Removing the false drawer front from the cabinet was surprisingly easy. I expected it to be securely attached to the vanity, but when I got under there wasn’t much holding it in at all, just a couple of pieces of wood screwed to false front that fit snugly against the cabinet frame. The wood swiveled out of the way releasing the front.

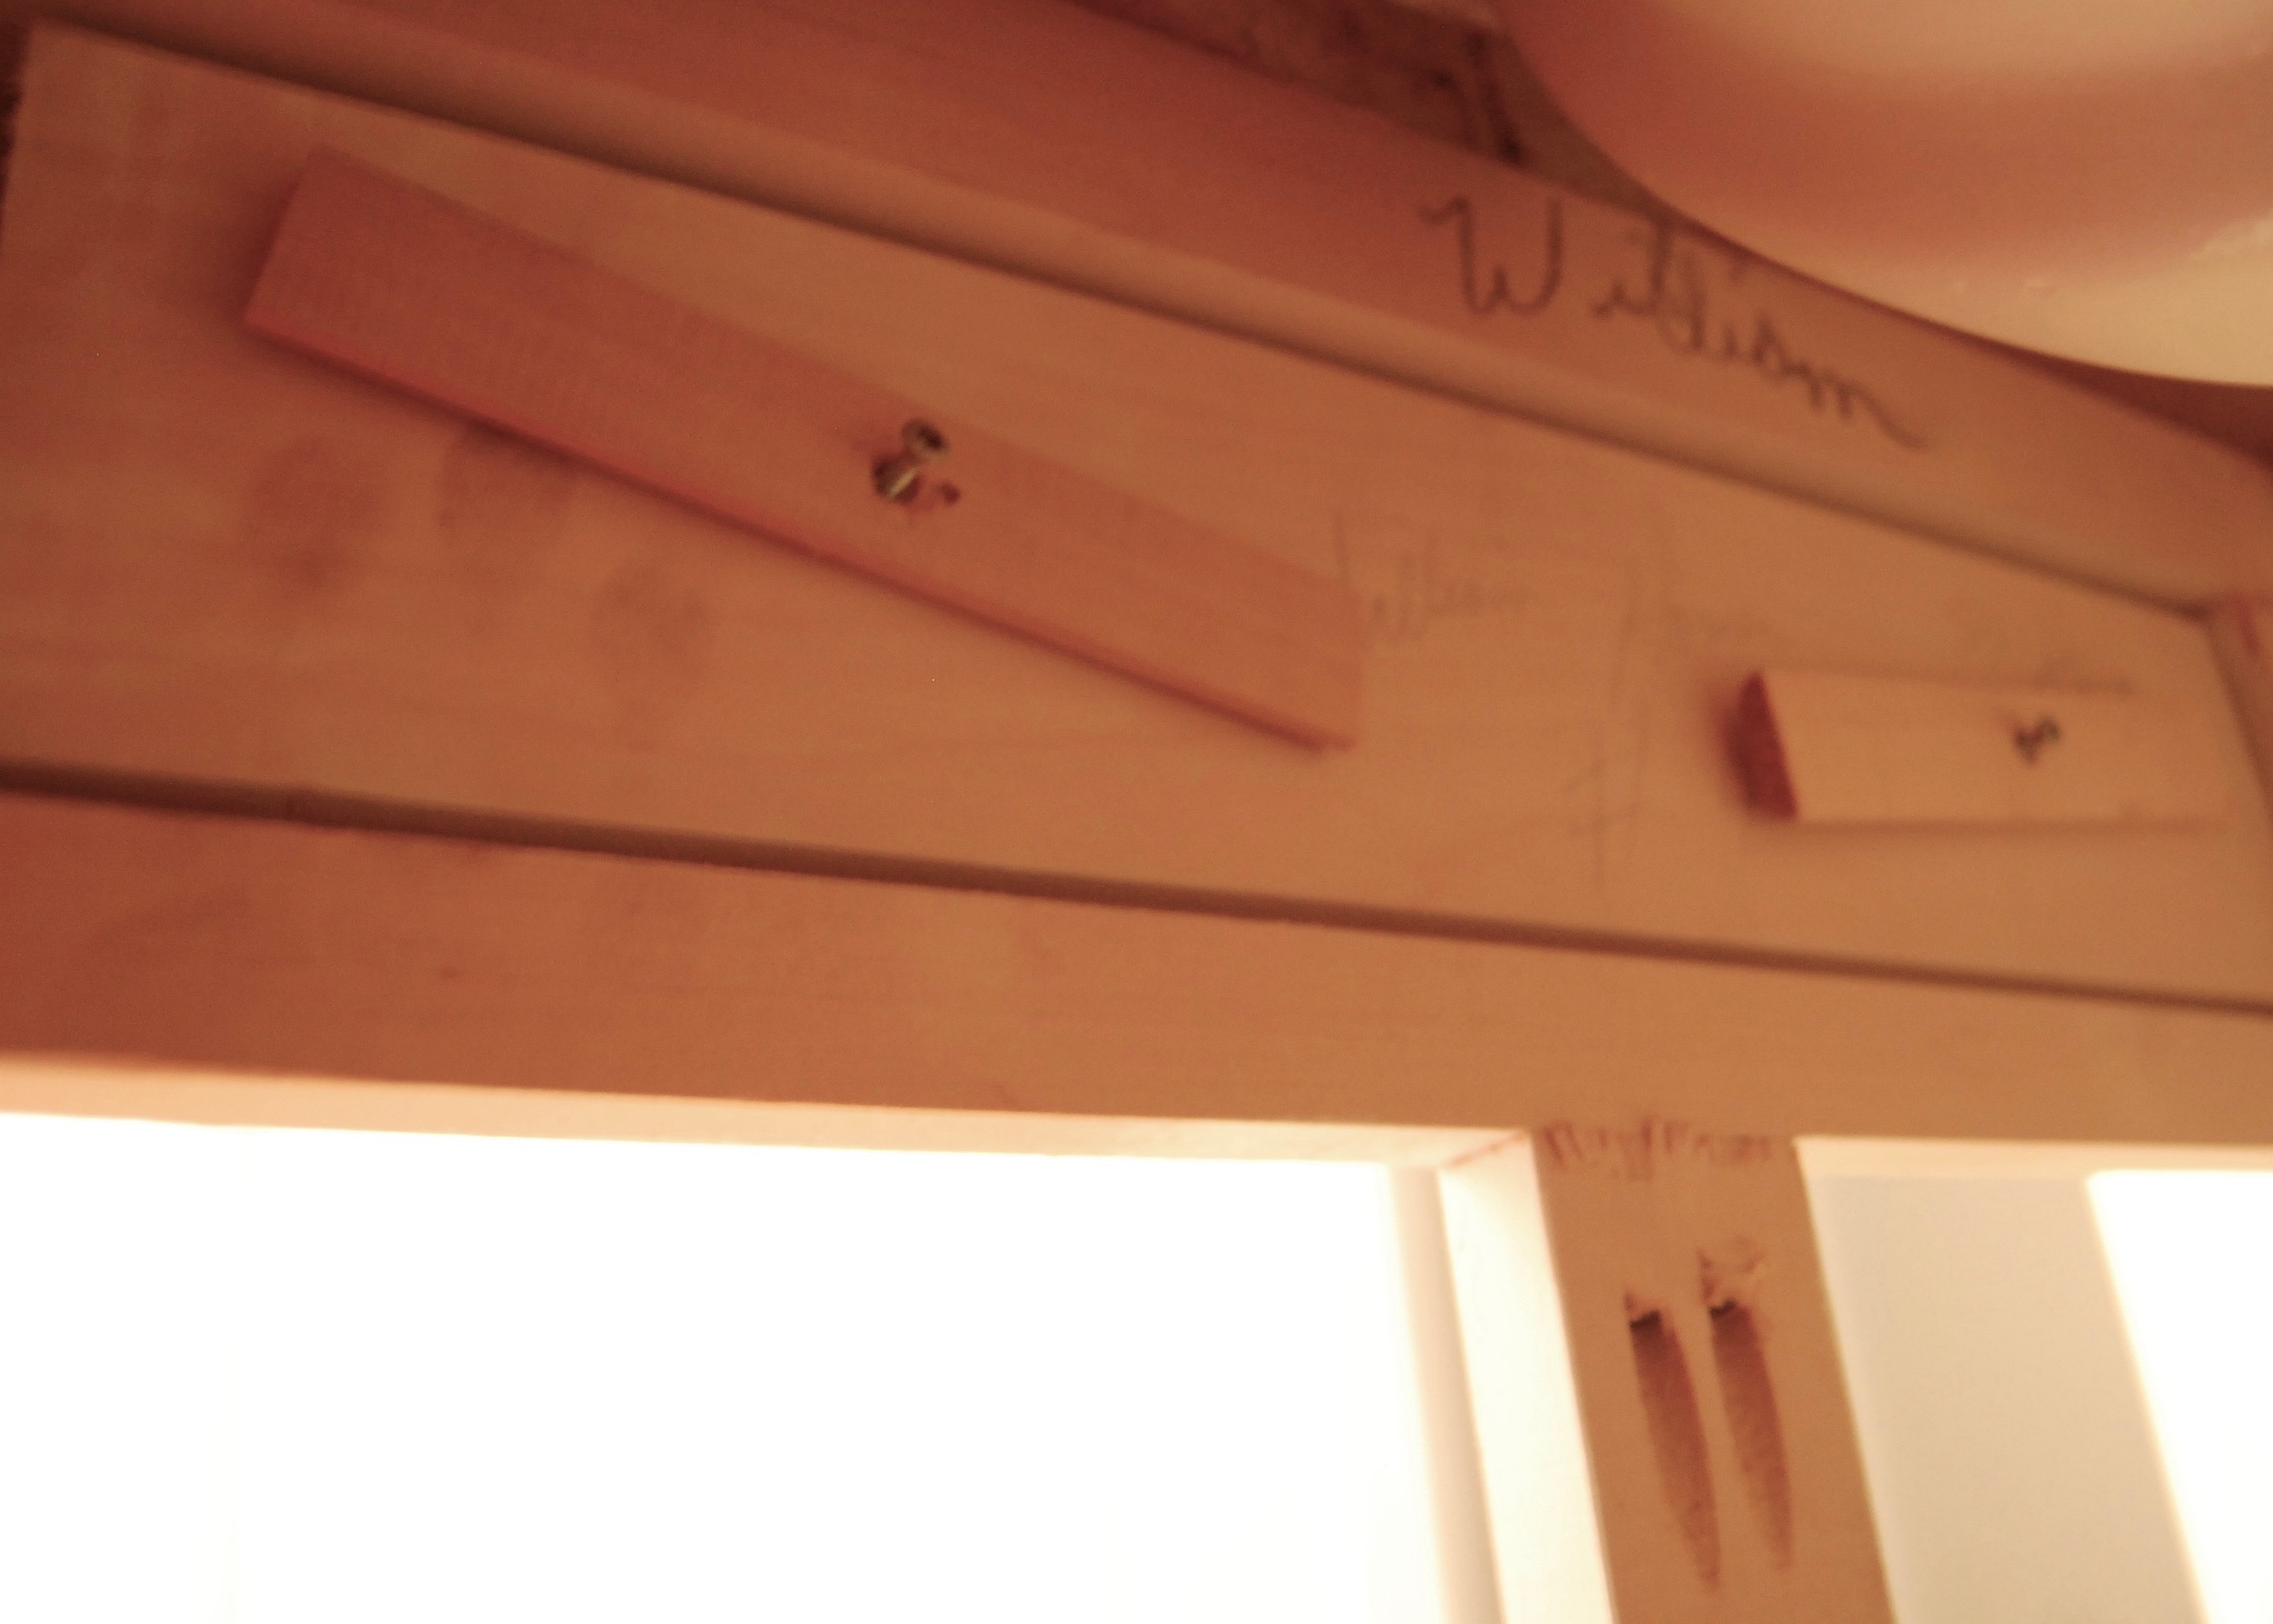

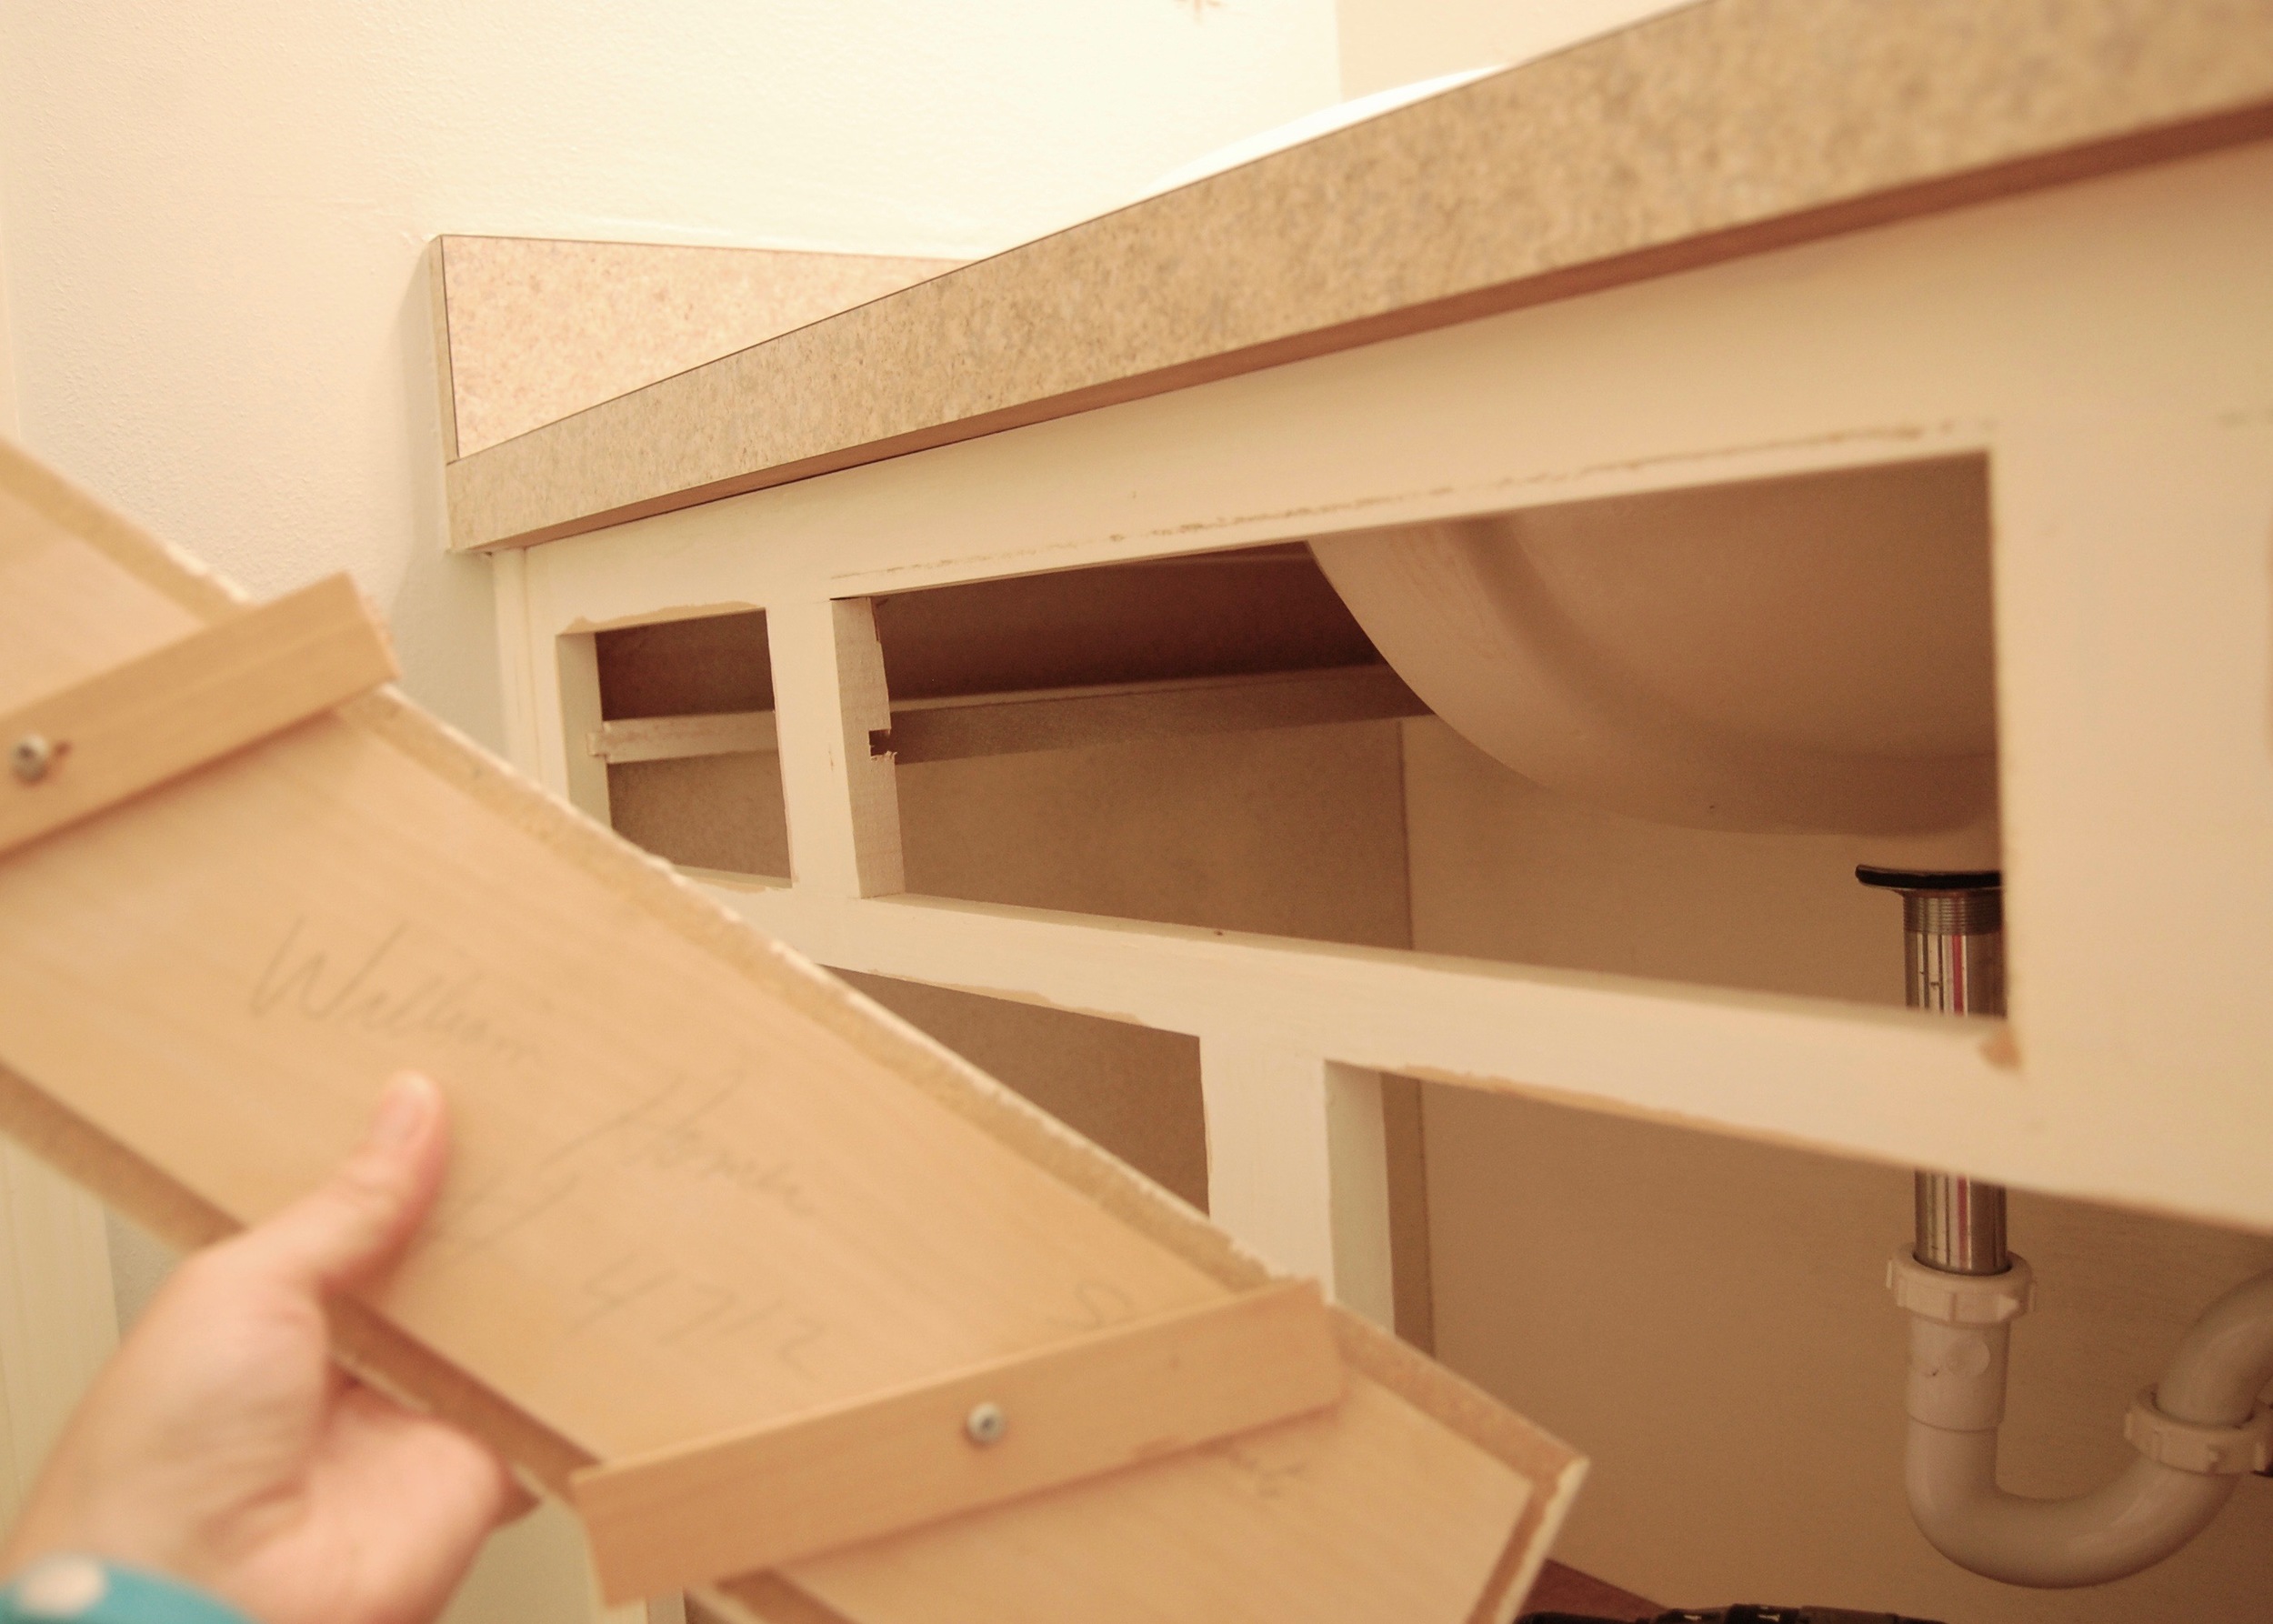
The false front had been painted to the front of the cabinet at some point, so I also had to use a razor blade to separate the false front’s paint from the rest of the cabinet. Then the front popped off – easy as pie. Note the raised bit of wood on the back of the false front, that will become important later.
When the tilt out drawer kit arrived the cabinet was otherwise ready to go. We thought it would take 30 minutes to an hour to install the kit, and then we would be done. Hubris, pure hubris.
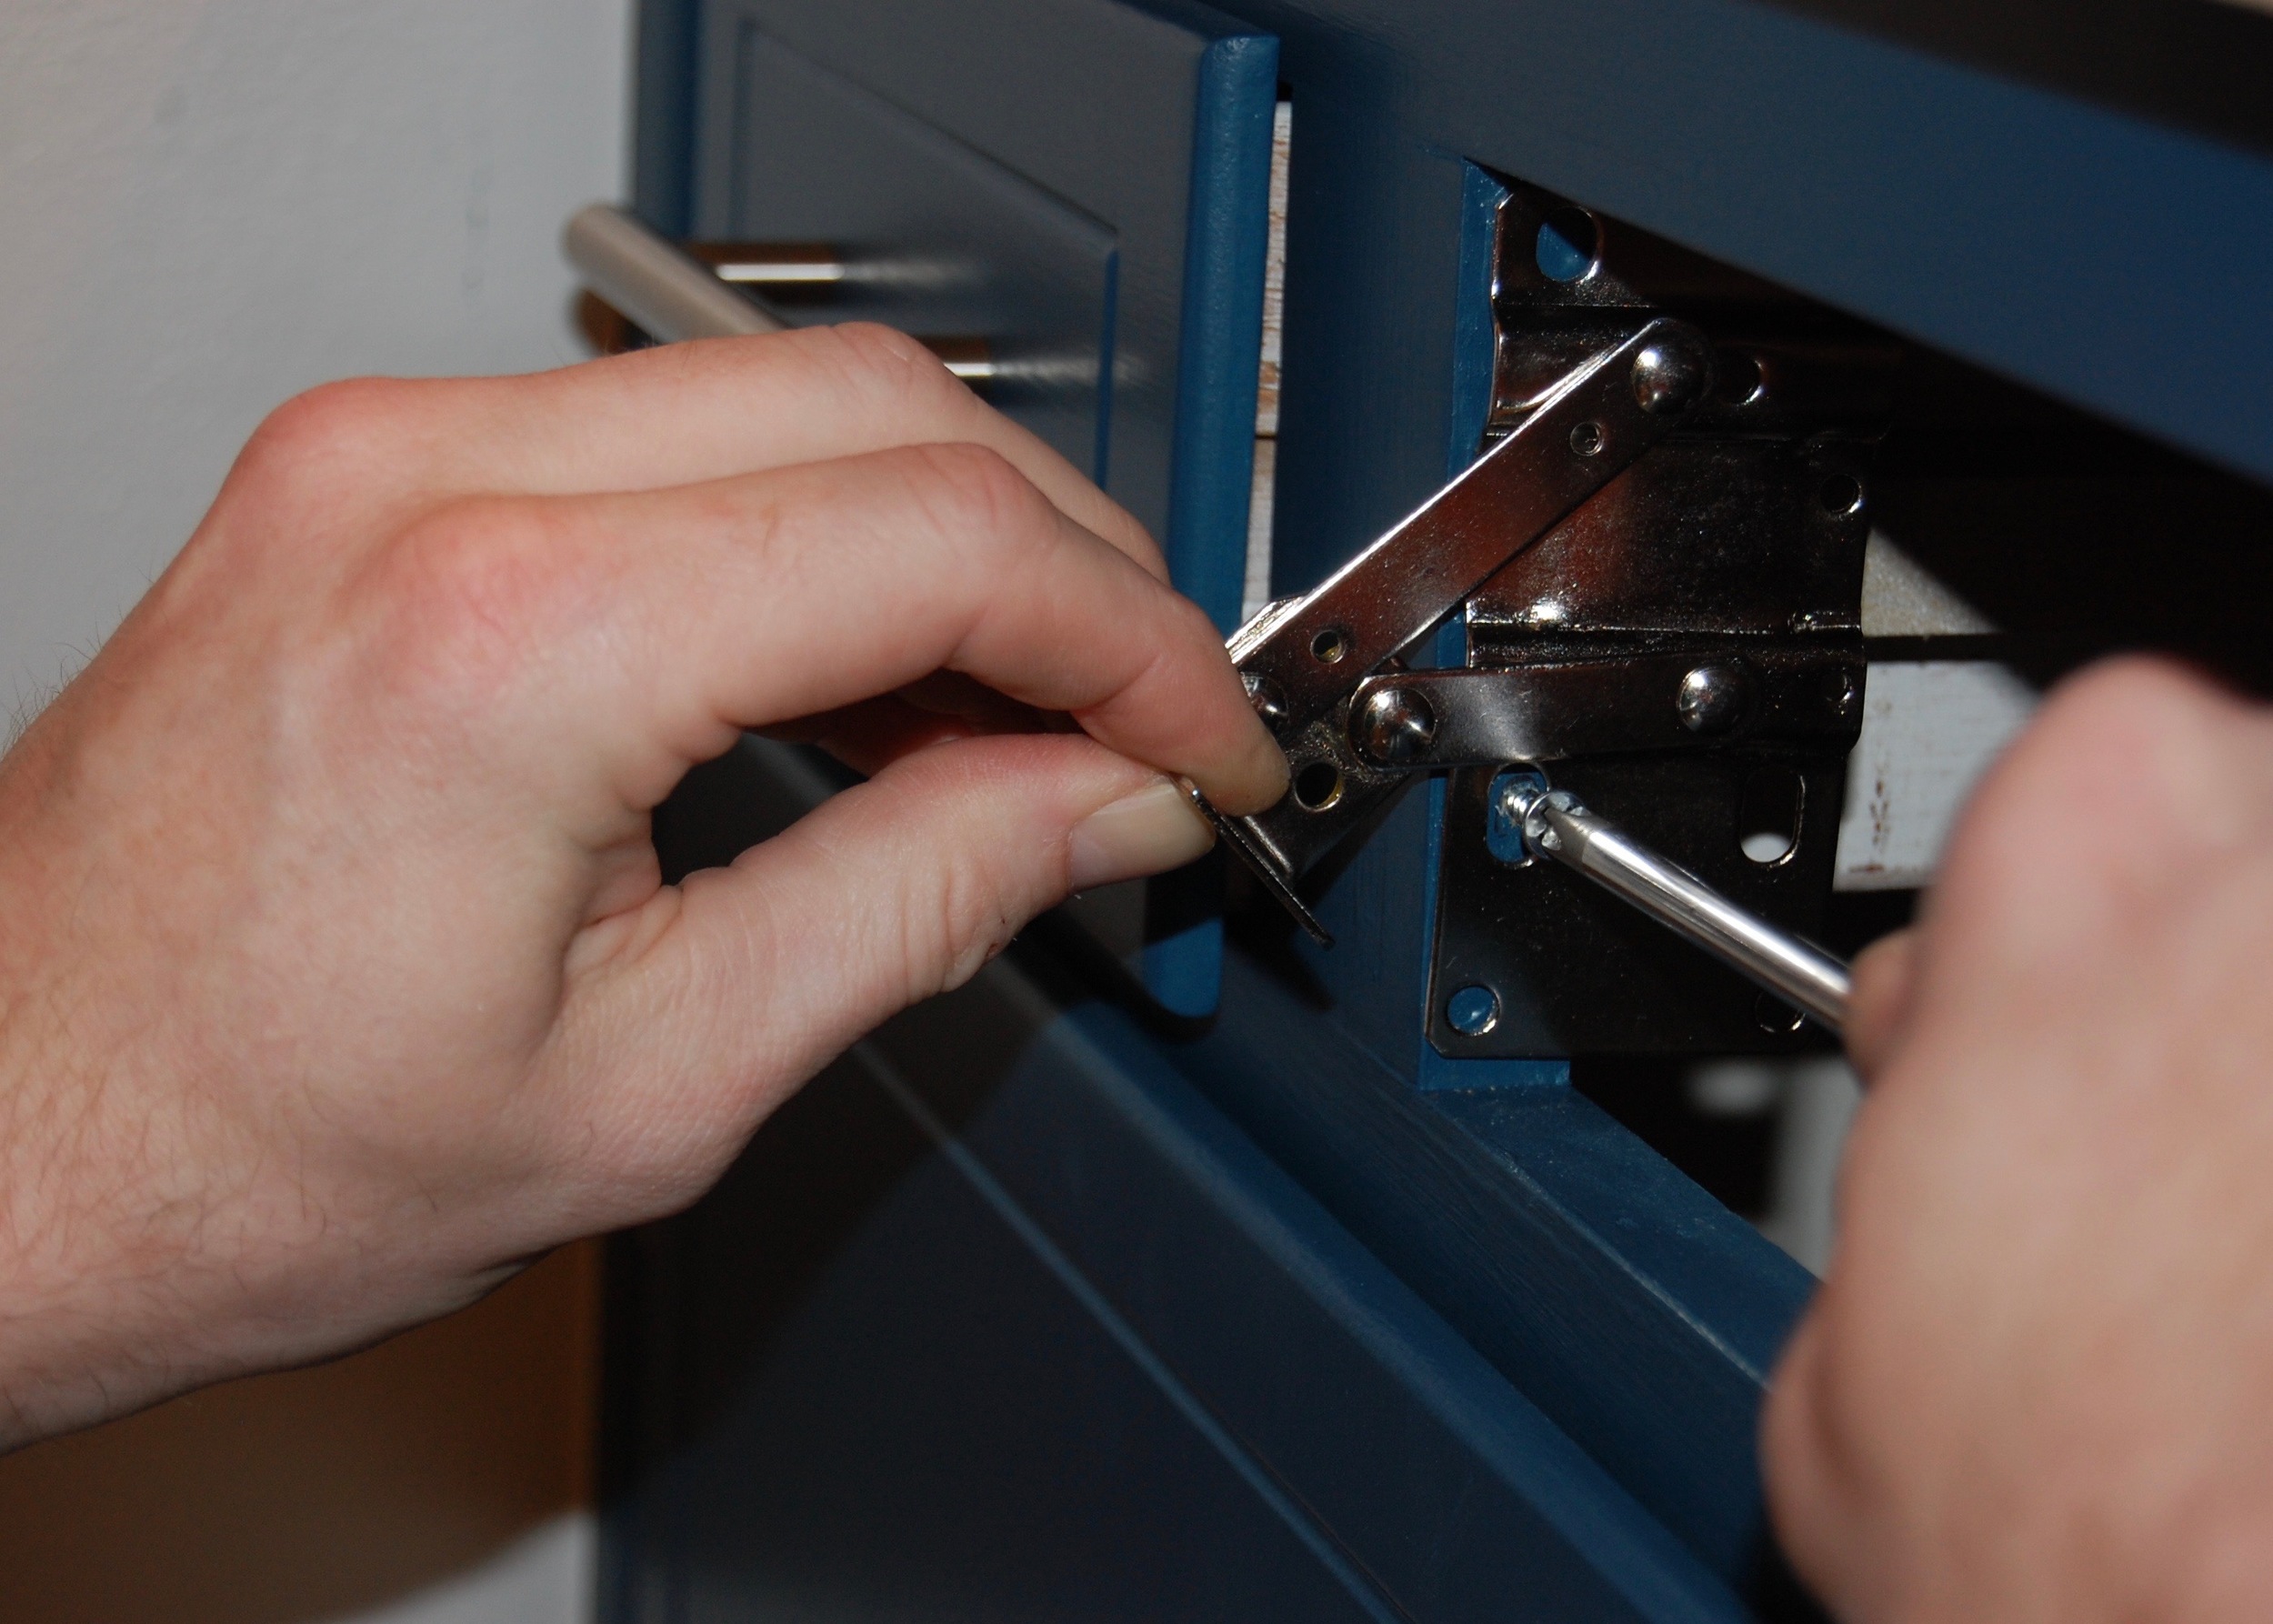
I calculated the placement of the tilt out hinges to within 1/32 of an inch based on the instructions provided with the kit, then, being very confident of my measurements, we quickly screwed everything in and closed the door ready to start on our next project. The drawer front was too high, much too high. We were a full 1/4 of an inch off (enough that it was noticeable), despite very careful measurement and direction following.
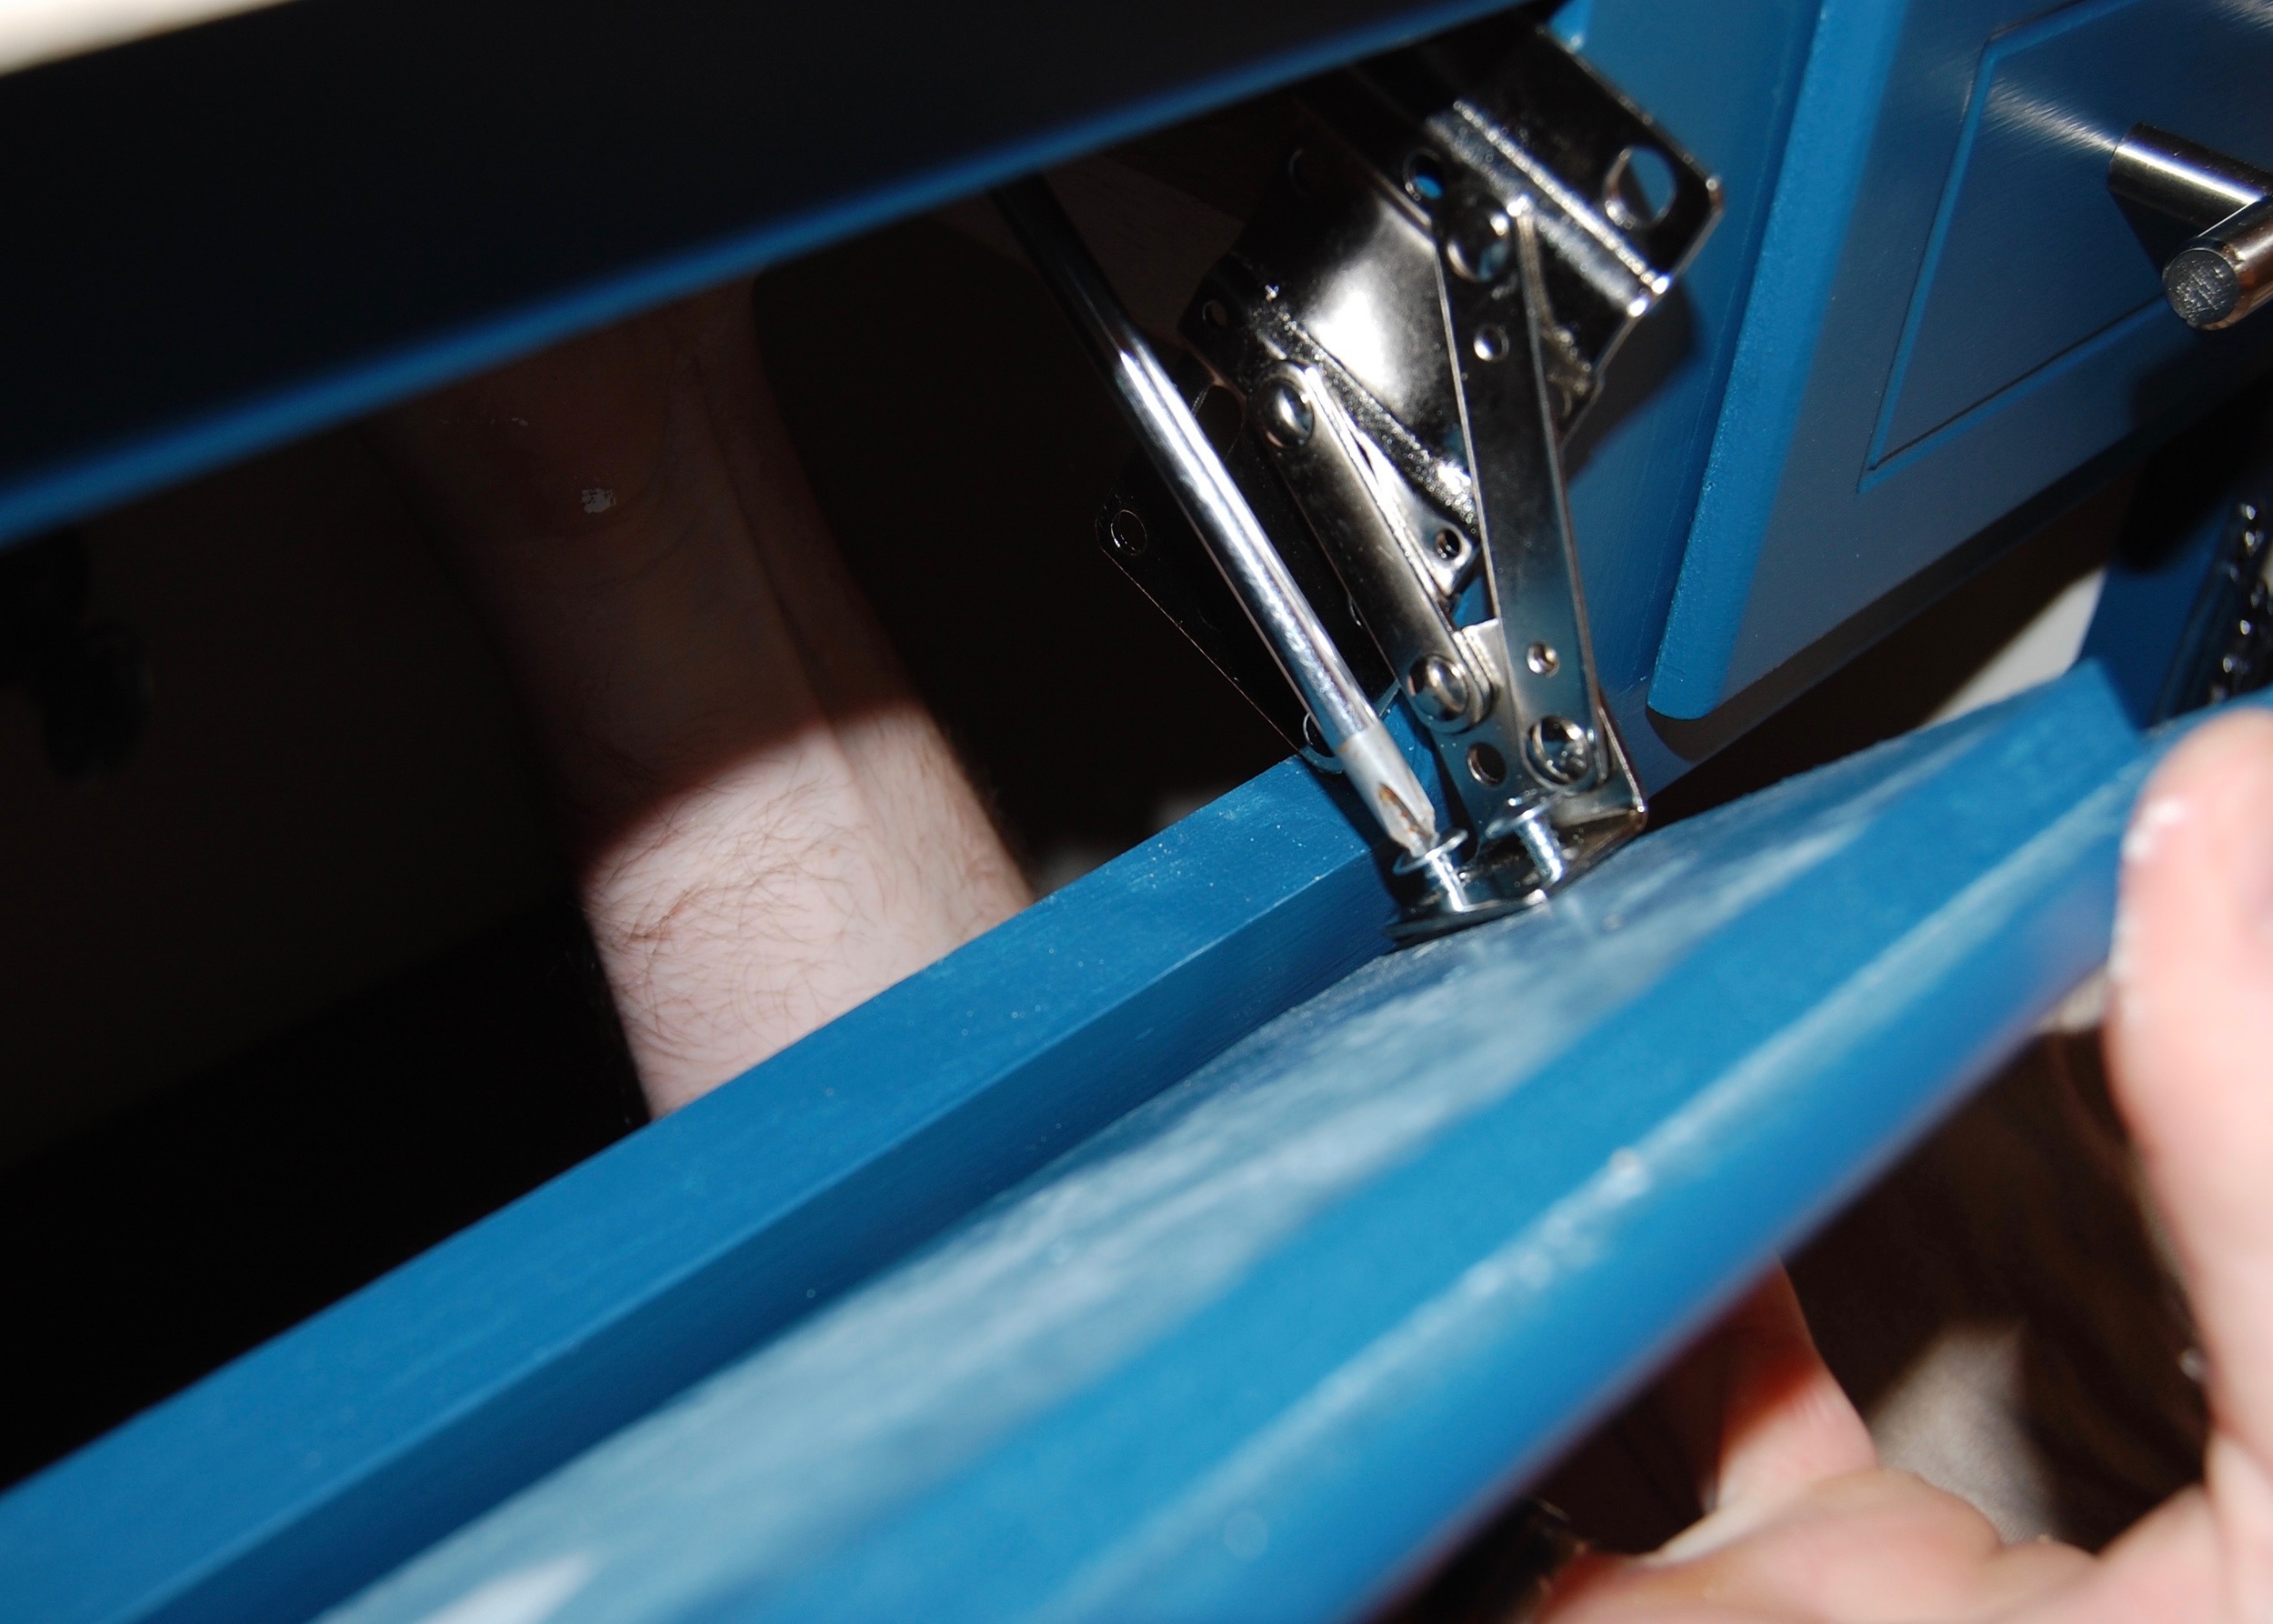

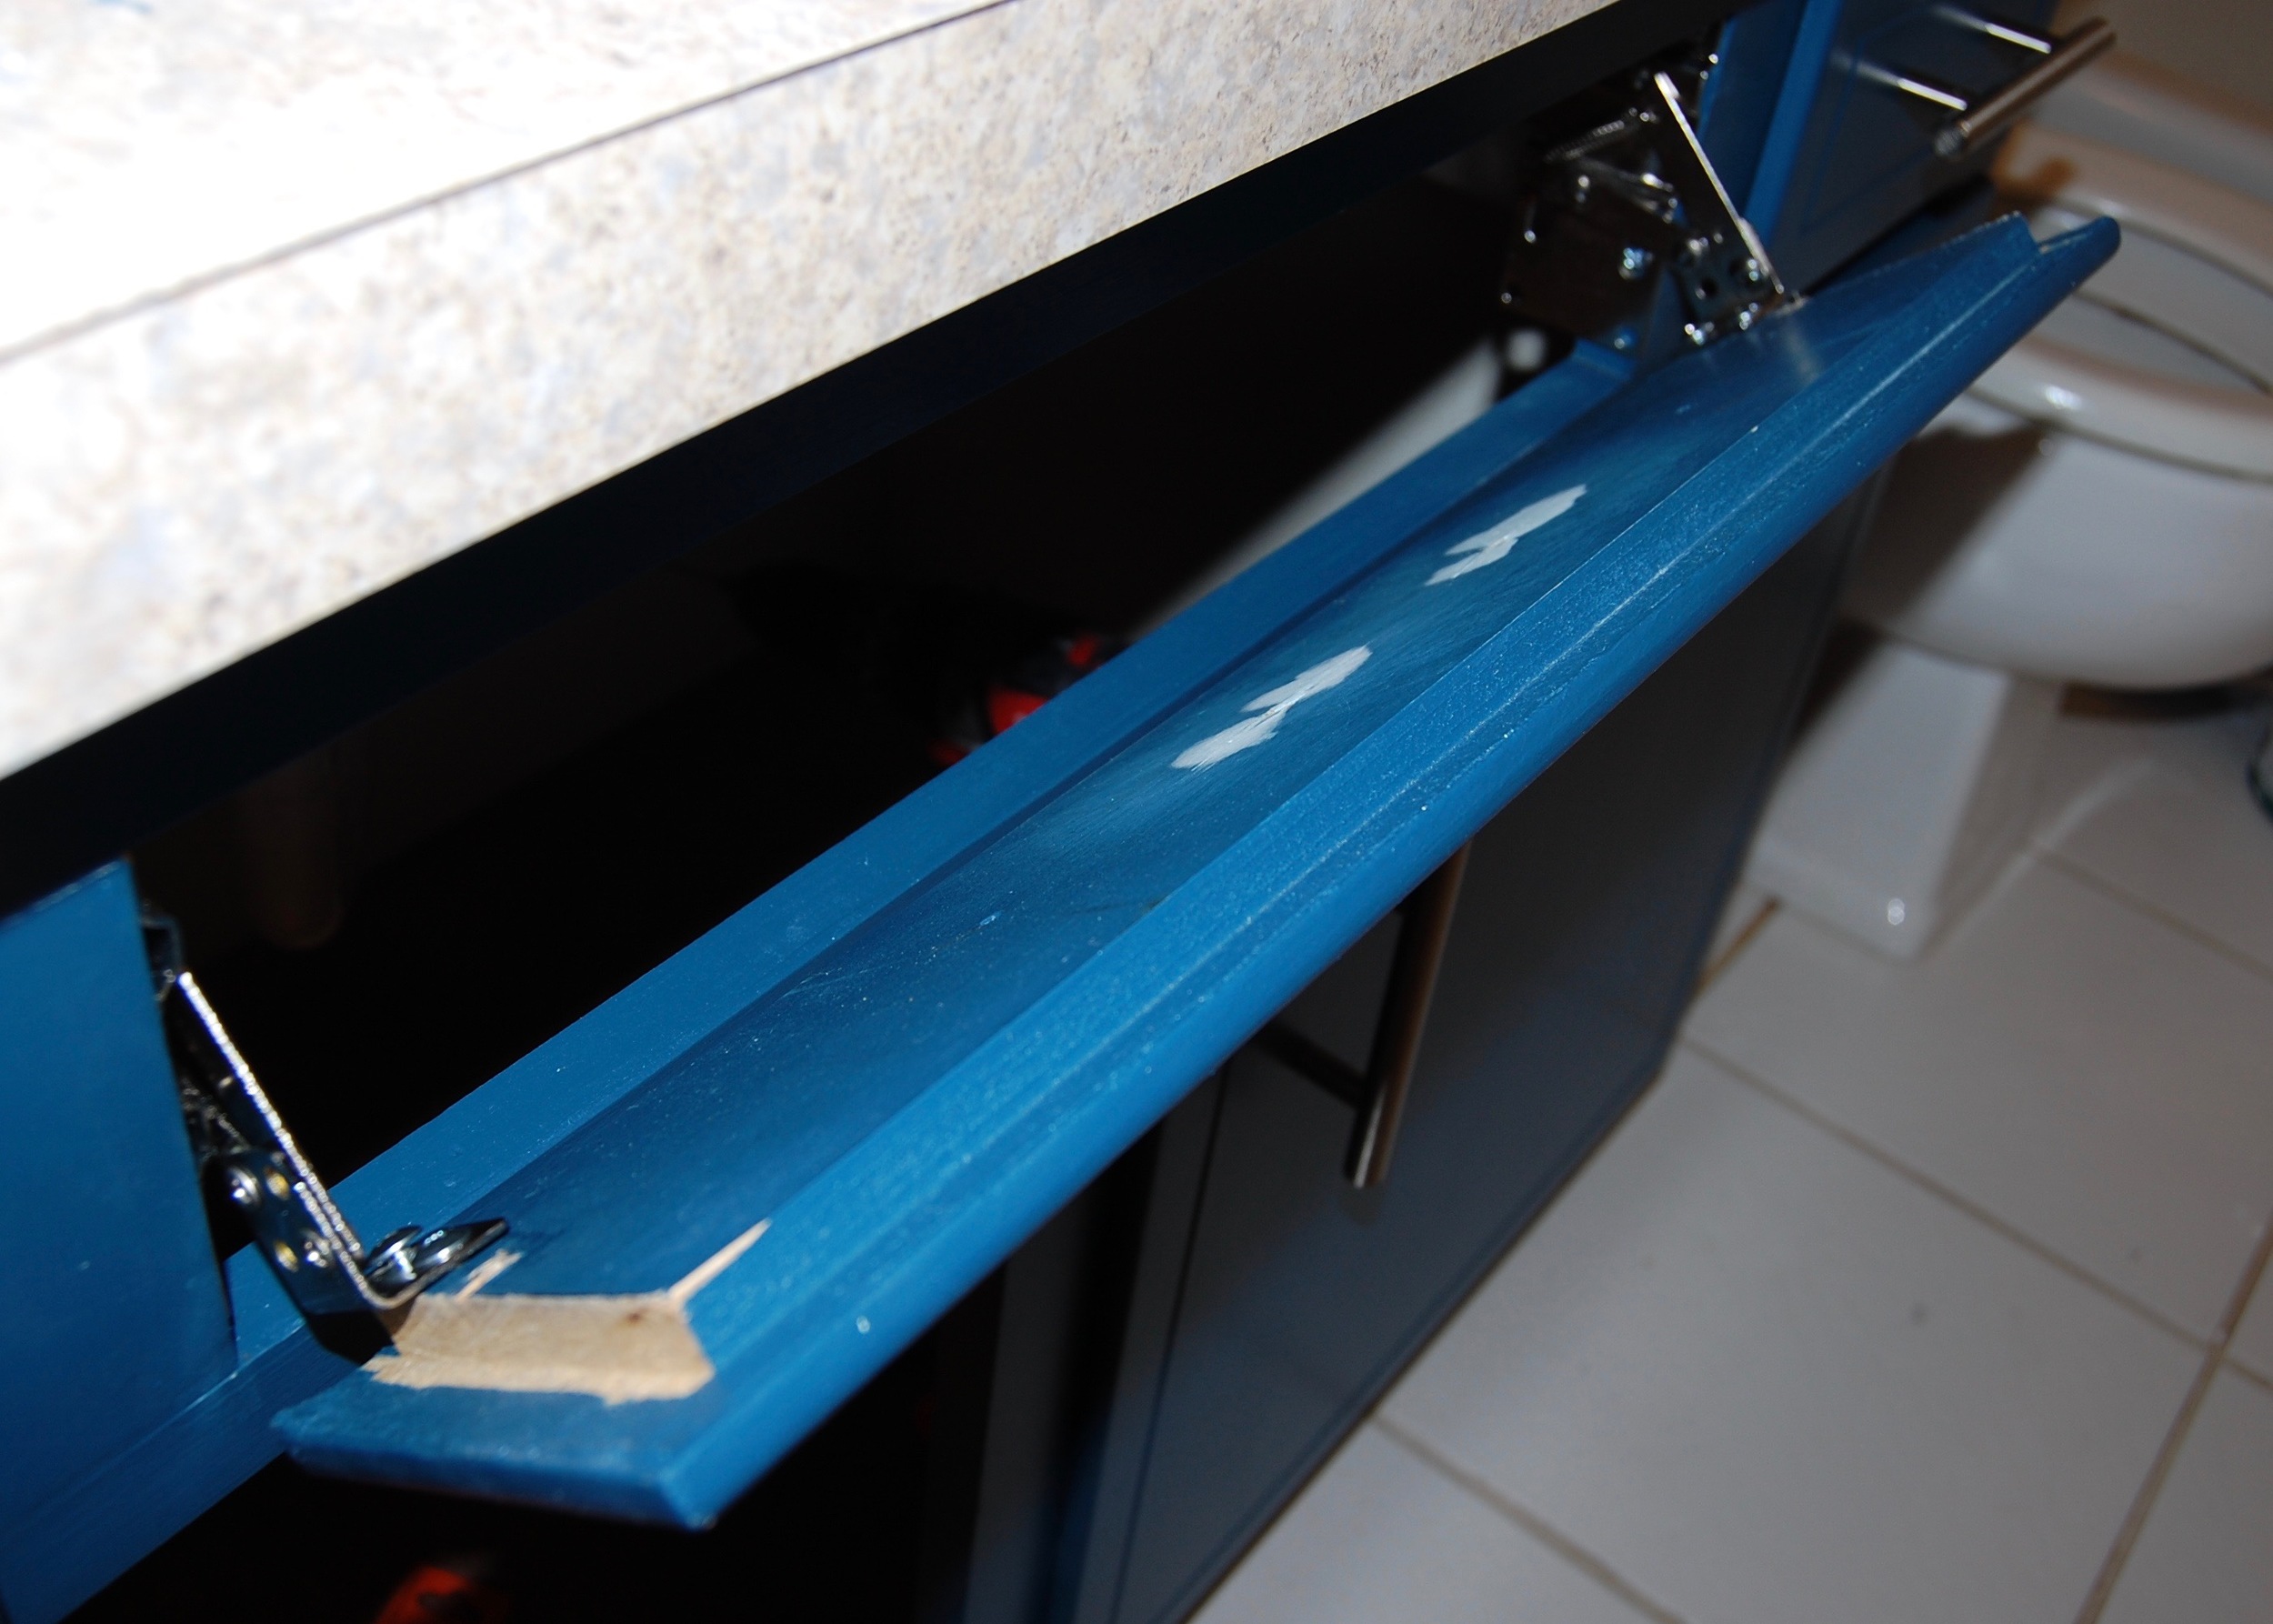
We took everything off, repositioned, reinstalled, and reclosed. This time the drawer front was the correct height, but the raised piece of wood on the drawer front hit the cabinet frame before it closed. The next time the hinges hit the raised piece of wood on the back of the drawer front. We had to cut off a chunk of the raised portion to make the hinges fit correctly. After several more attempts our cabinet was doing a very good impression of Swiss cheese, and the drawer front was no longer hitting the frame, the hinges were no longer hitting the drawer front, and everything was at the correct height, but the drawer did not close all of the way, it stood out from the cabinet about as far as the raised portion on the back of the drawer front was thick.
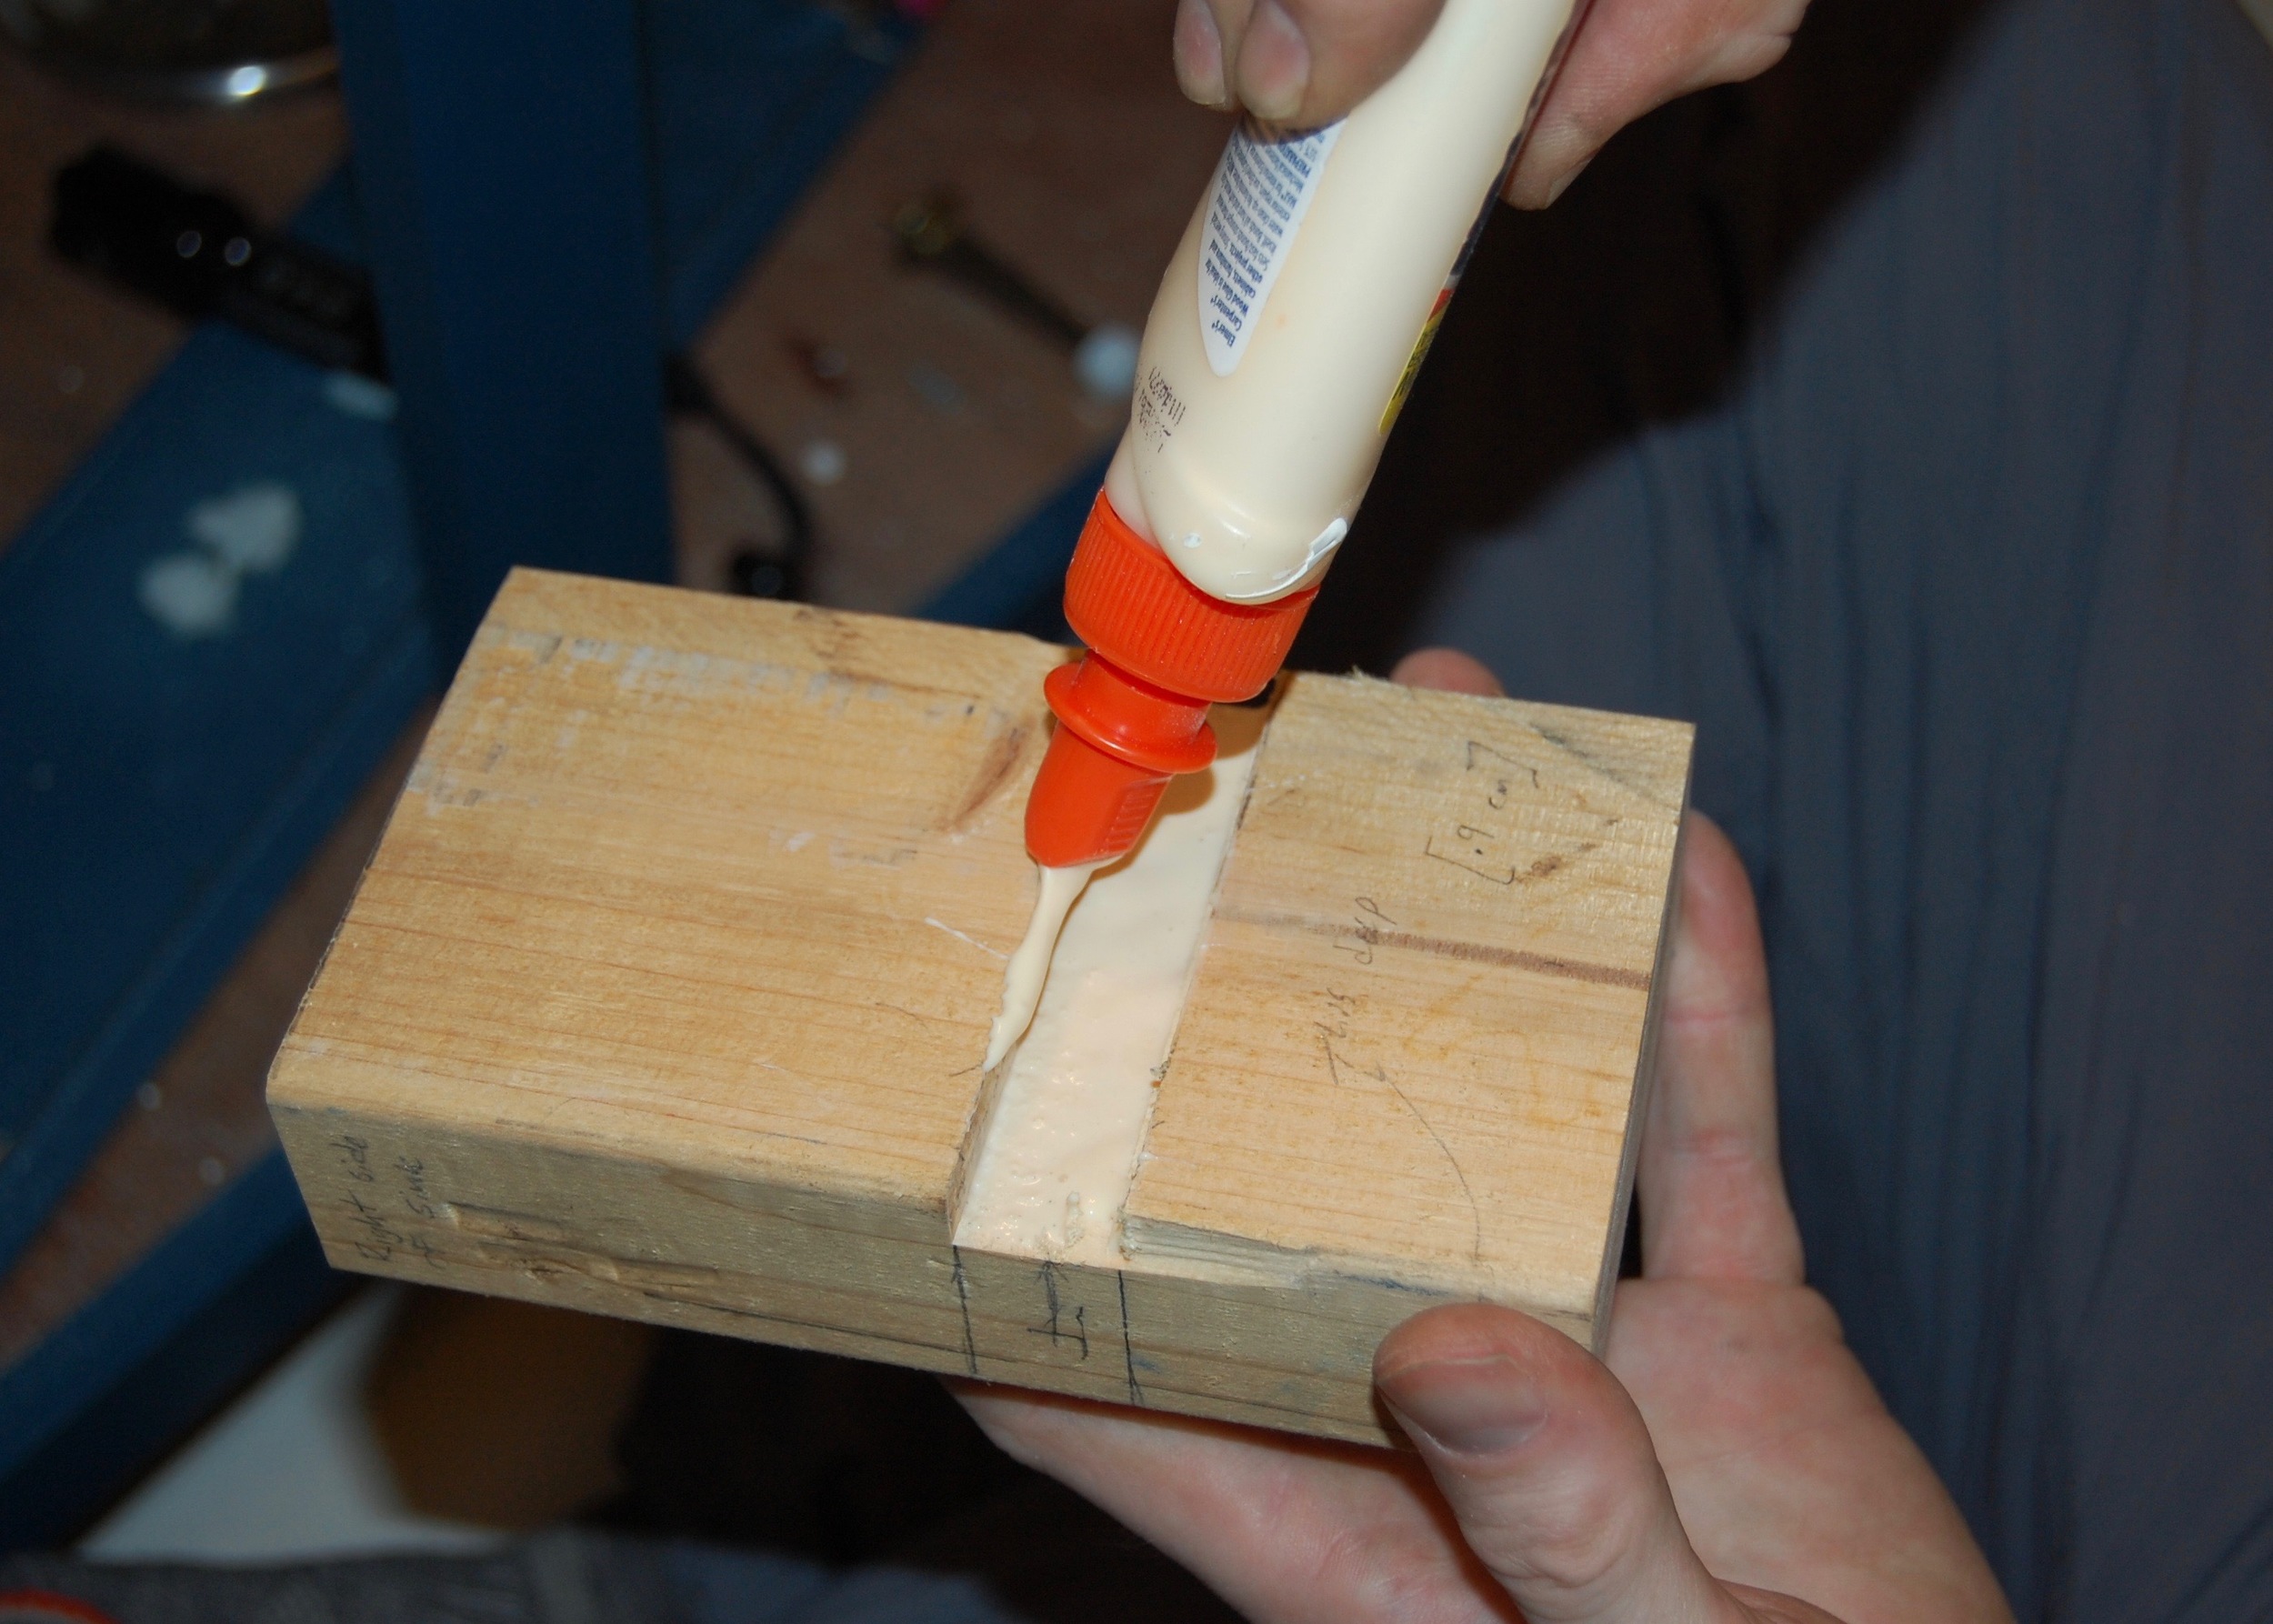
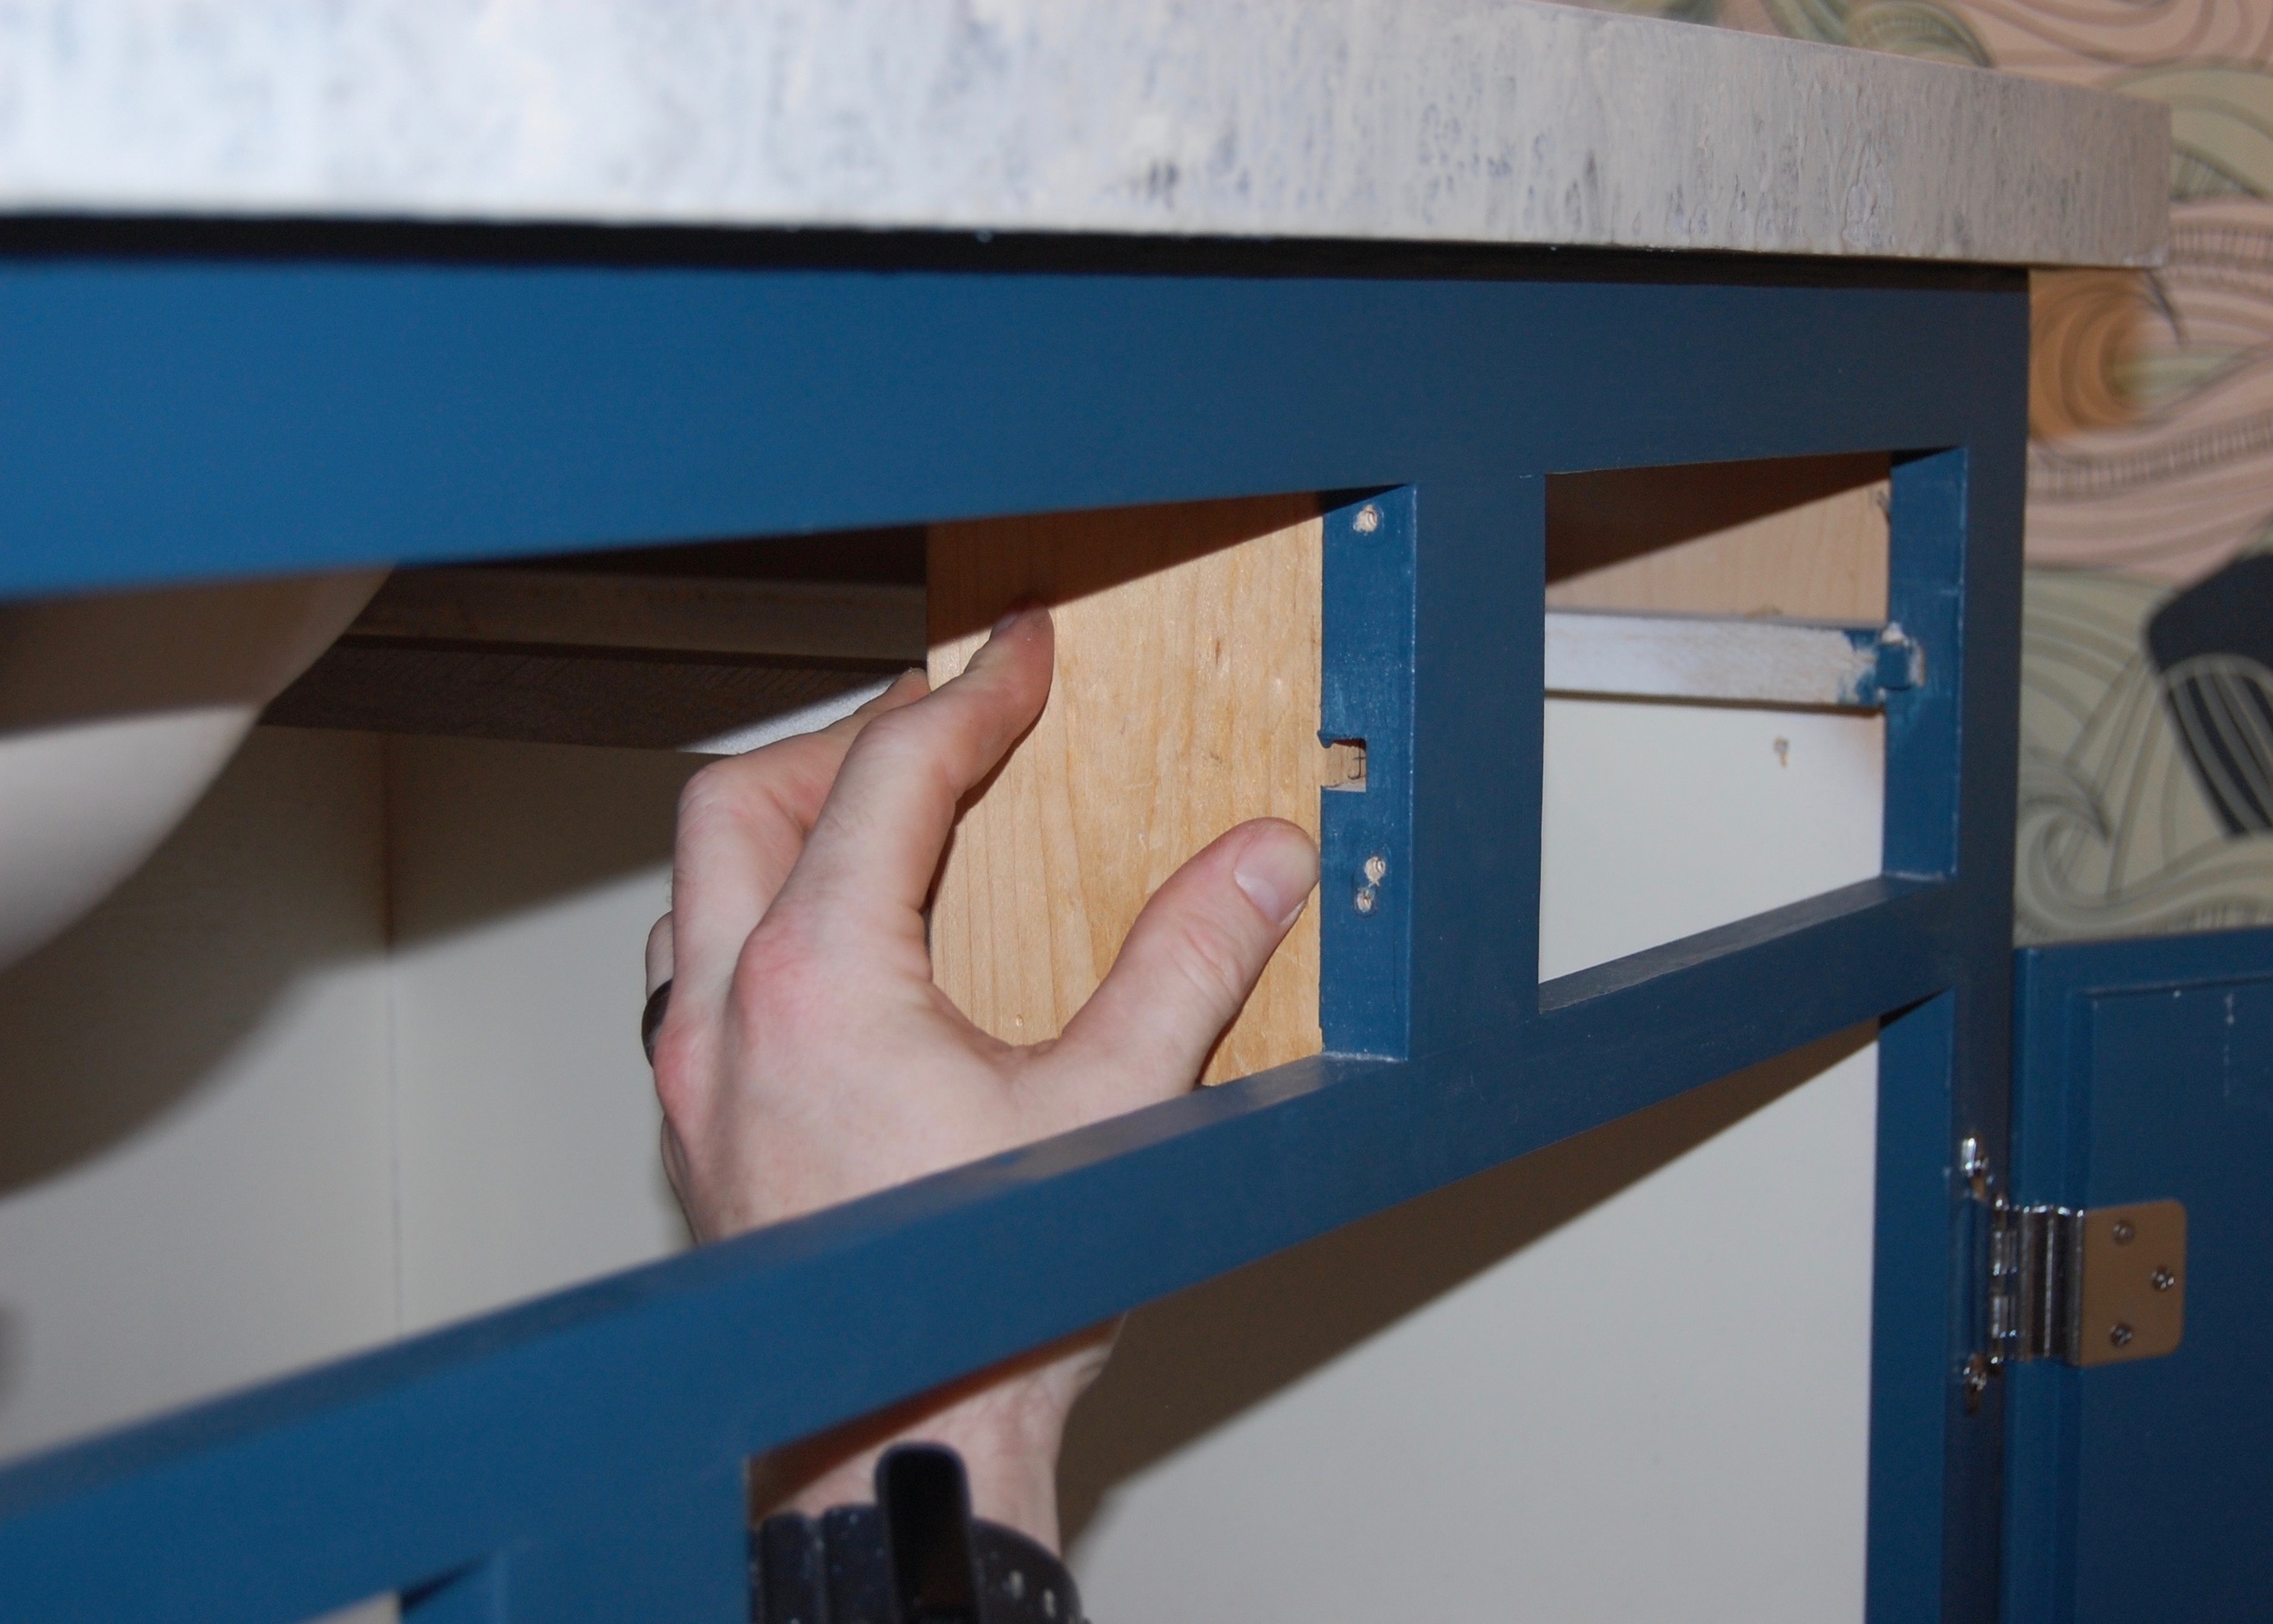
It was now obvious that the makers of this kit had assumed that the false drawer front that the hinges are attached to would be flat. To compensate for the raised portion of our cabinet front we needed to install the hinges father back in our cabinet than the instructions indicated. However, there was no space to install them further back, so we had to improvise. I came up with the plan, and Firebeard implemented it. The basic idea was to attach additional blocks of wood to the drawer glides to either side of the tilt drawer opening that could then be used to screw the hinges in place. We got two lengths of 2x4, approximately 6 inches long, routered out a channel on the backs of each block that would fit over the drawer glides (and still allow the drawers to slide in and out) and allow the wood to sit flush with the cabinet opening, and then glued (and Screwed) the wood blocks in place. We were then able to install the hinges farther back in the cabinet, allowing the drawer to close all of the way.
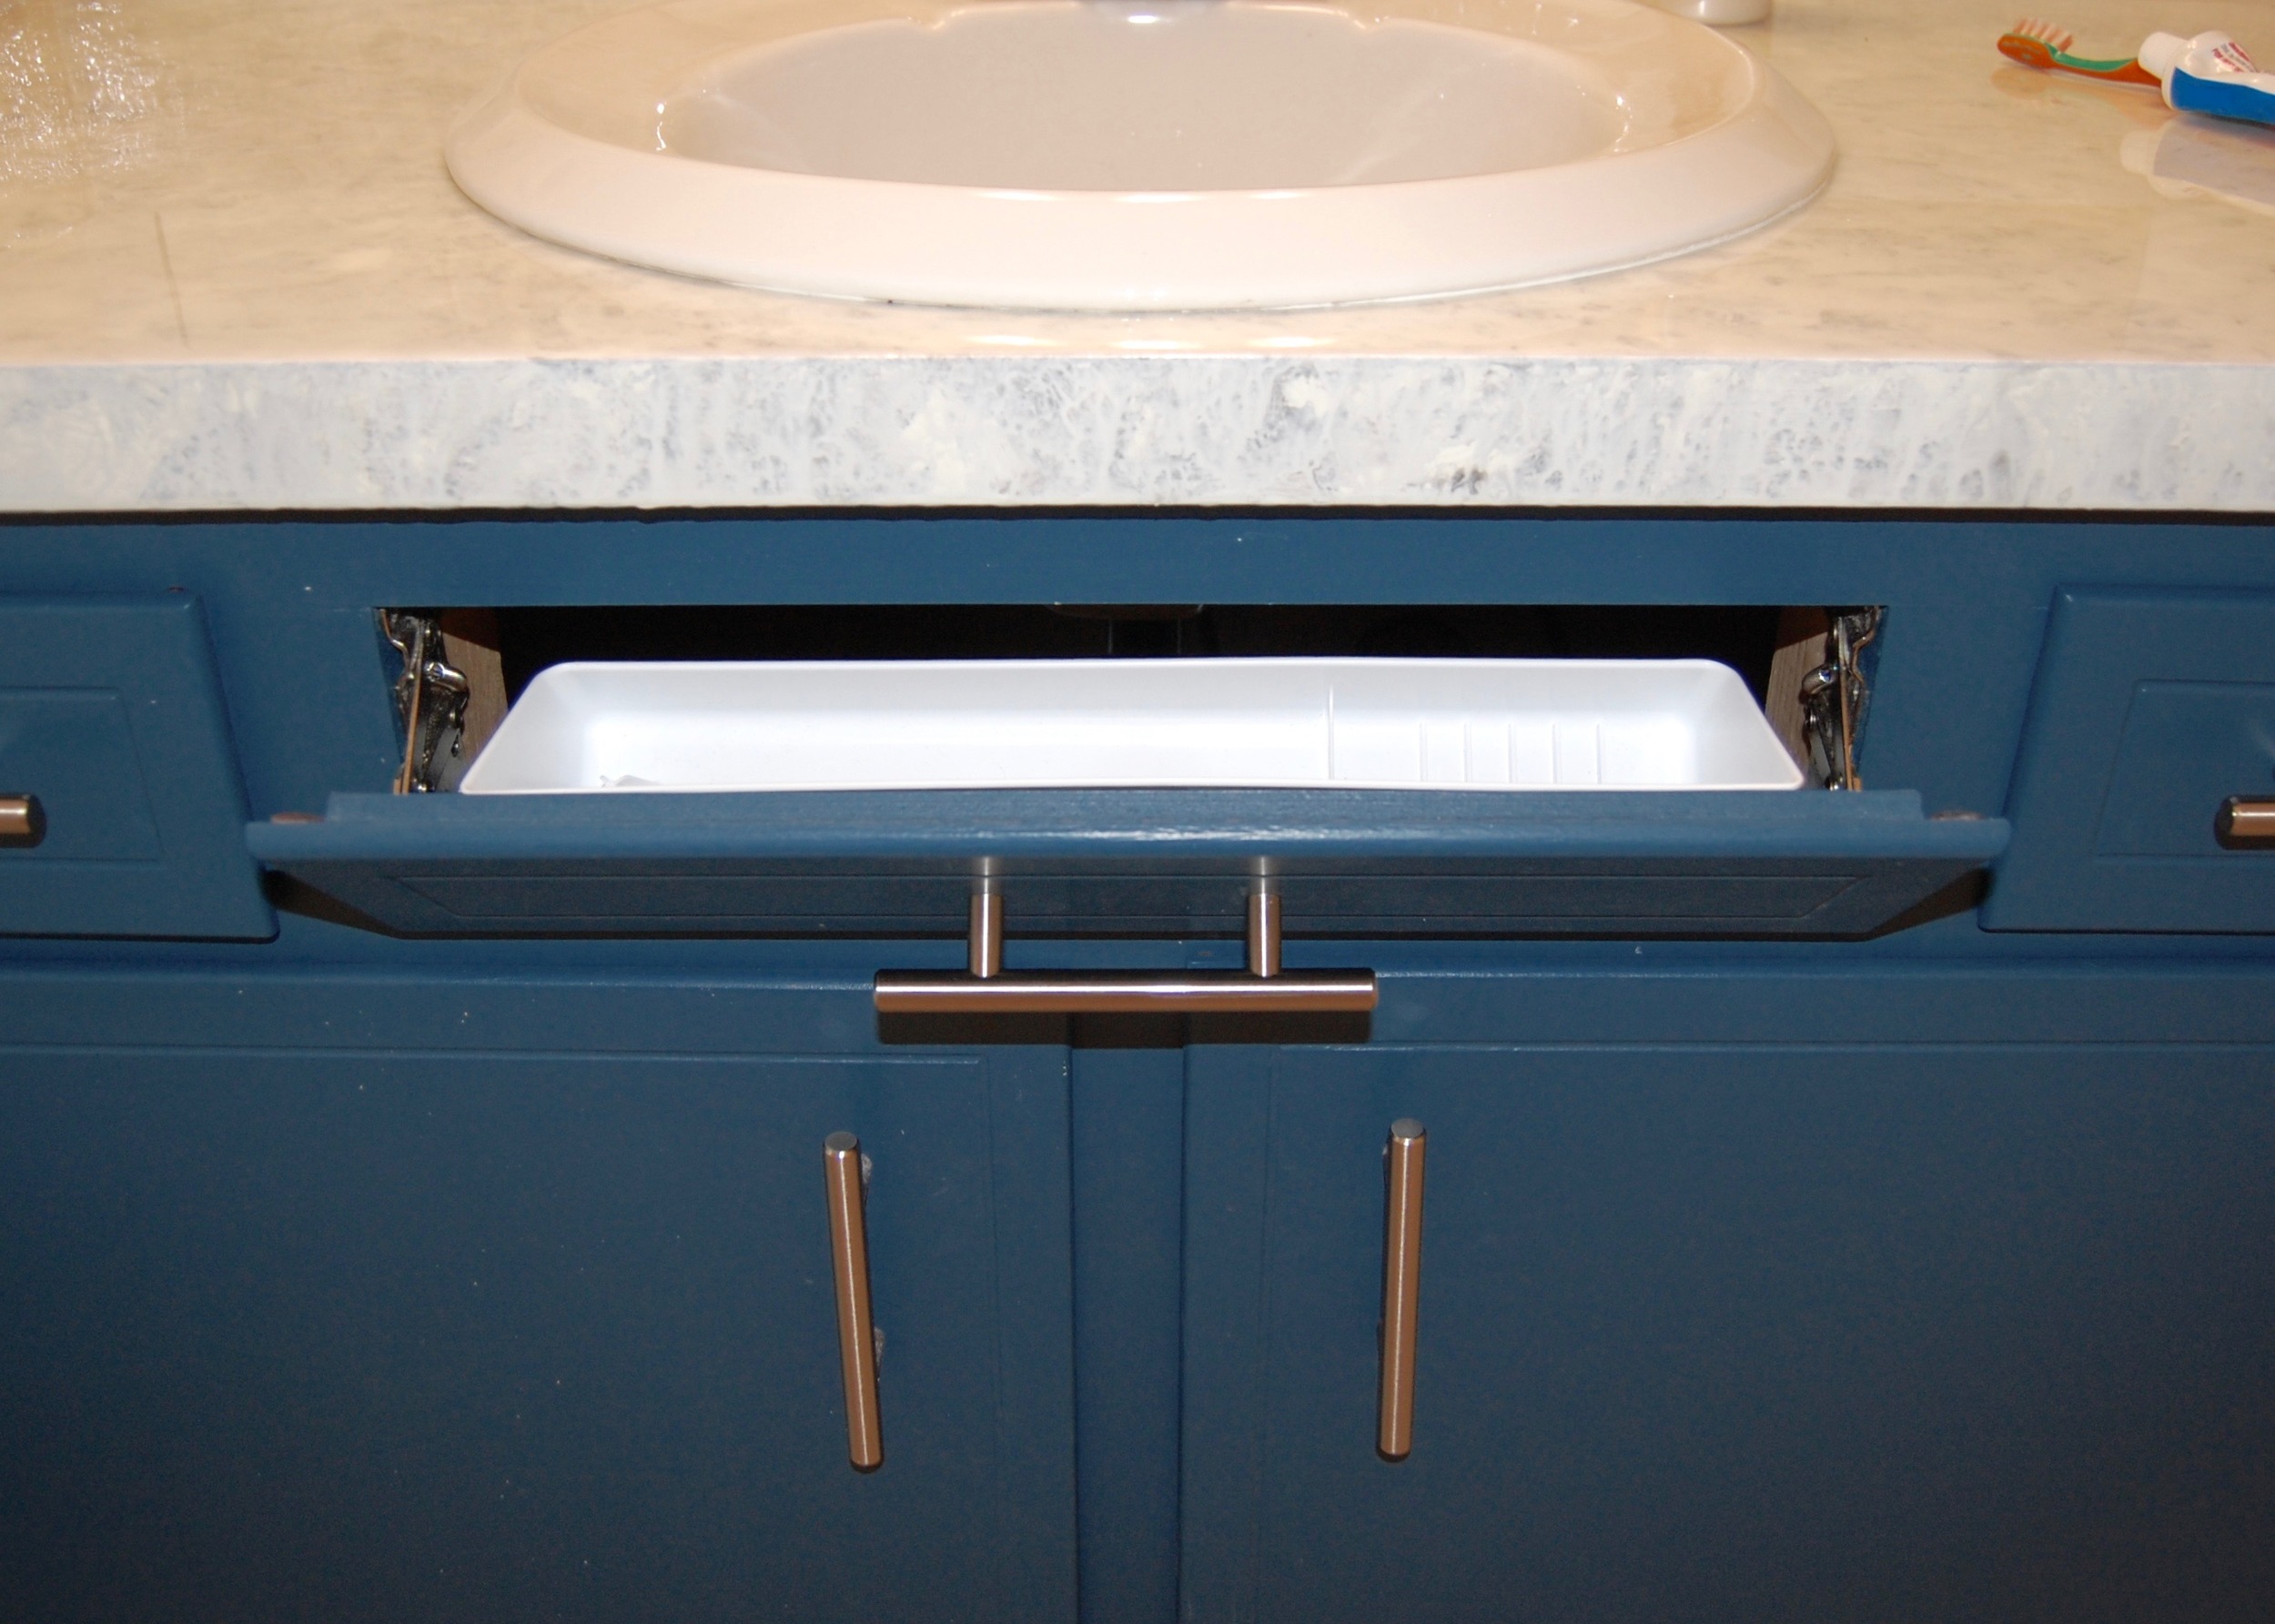
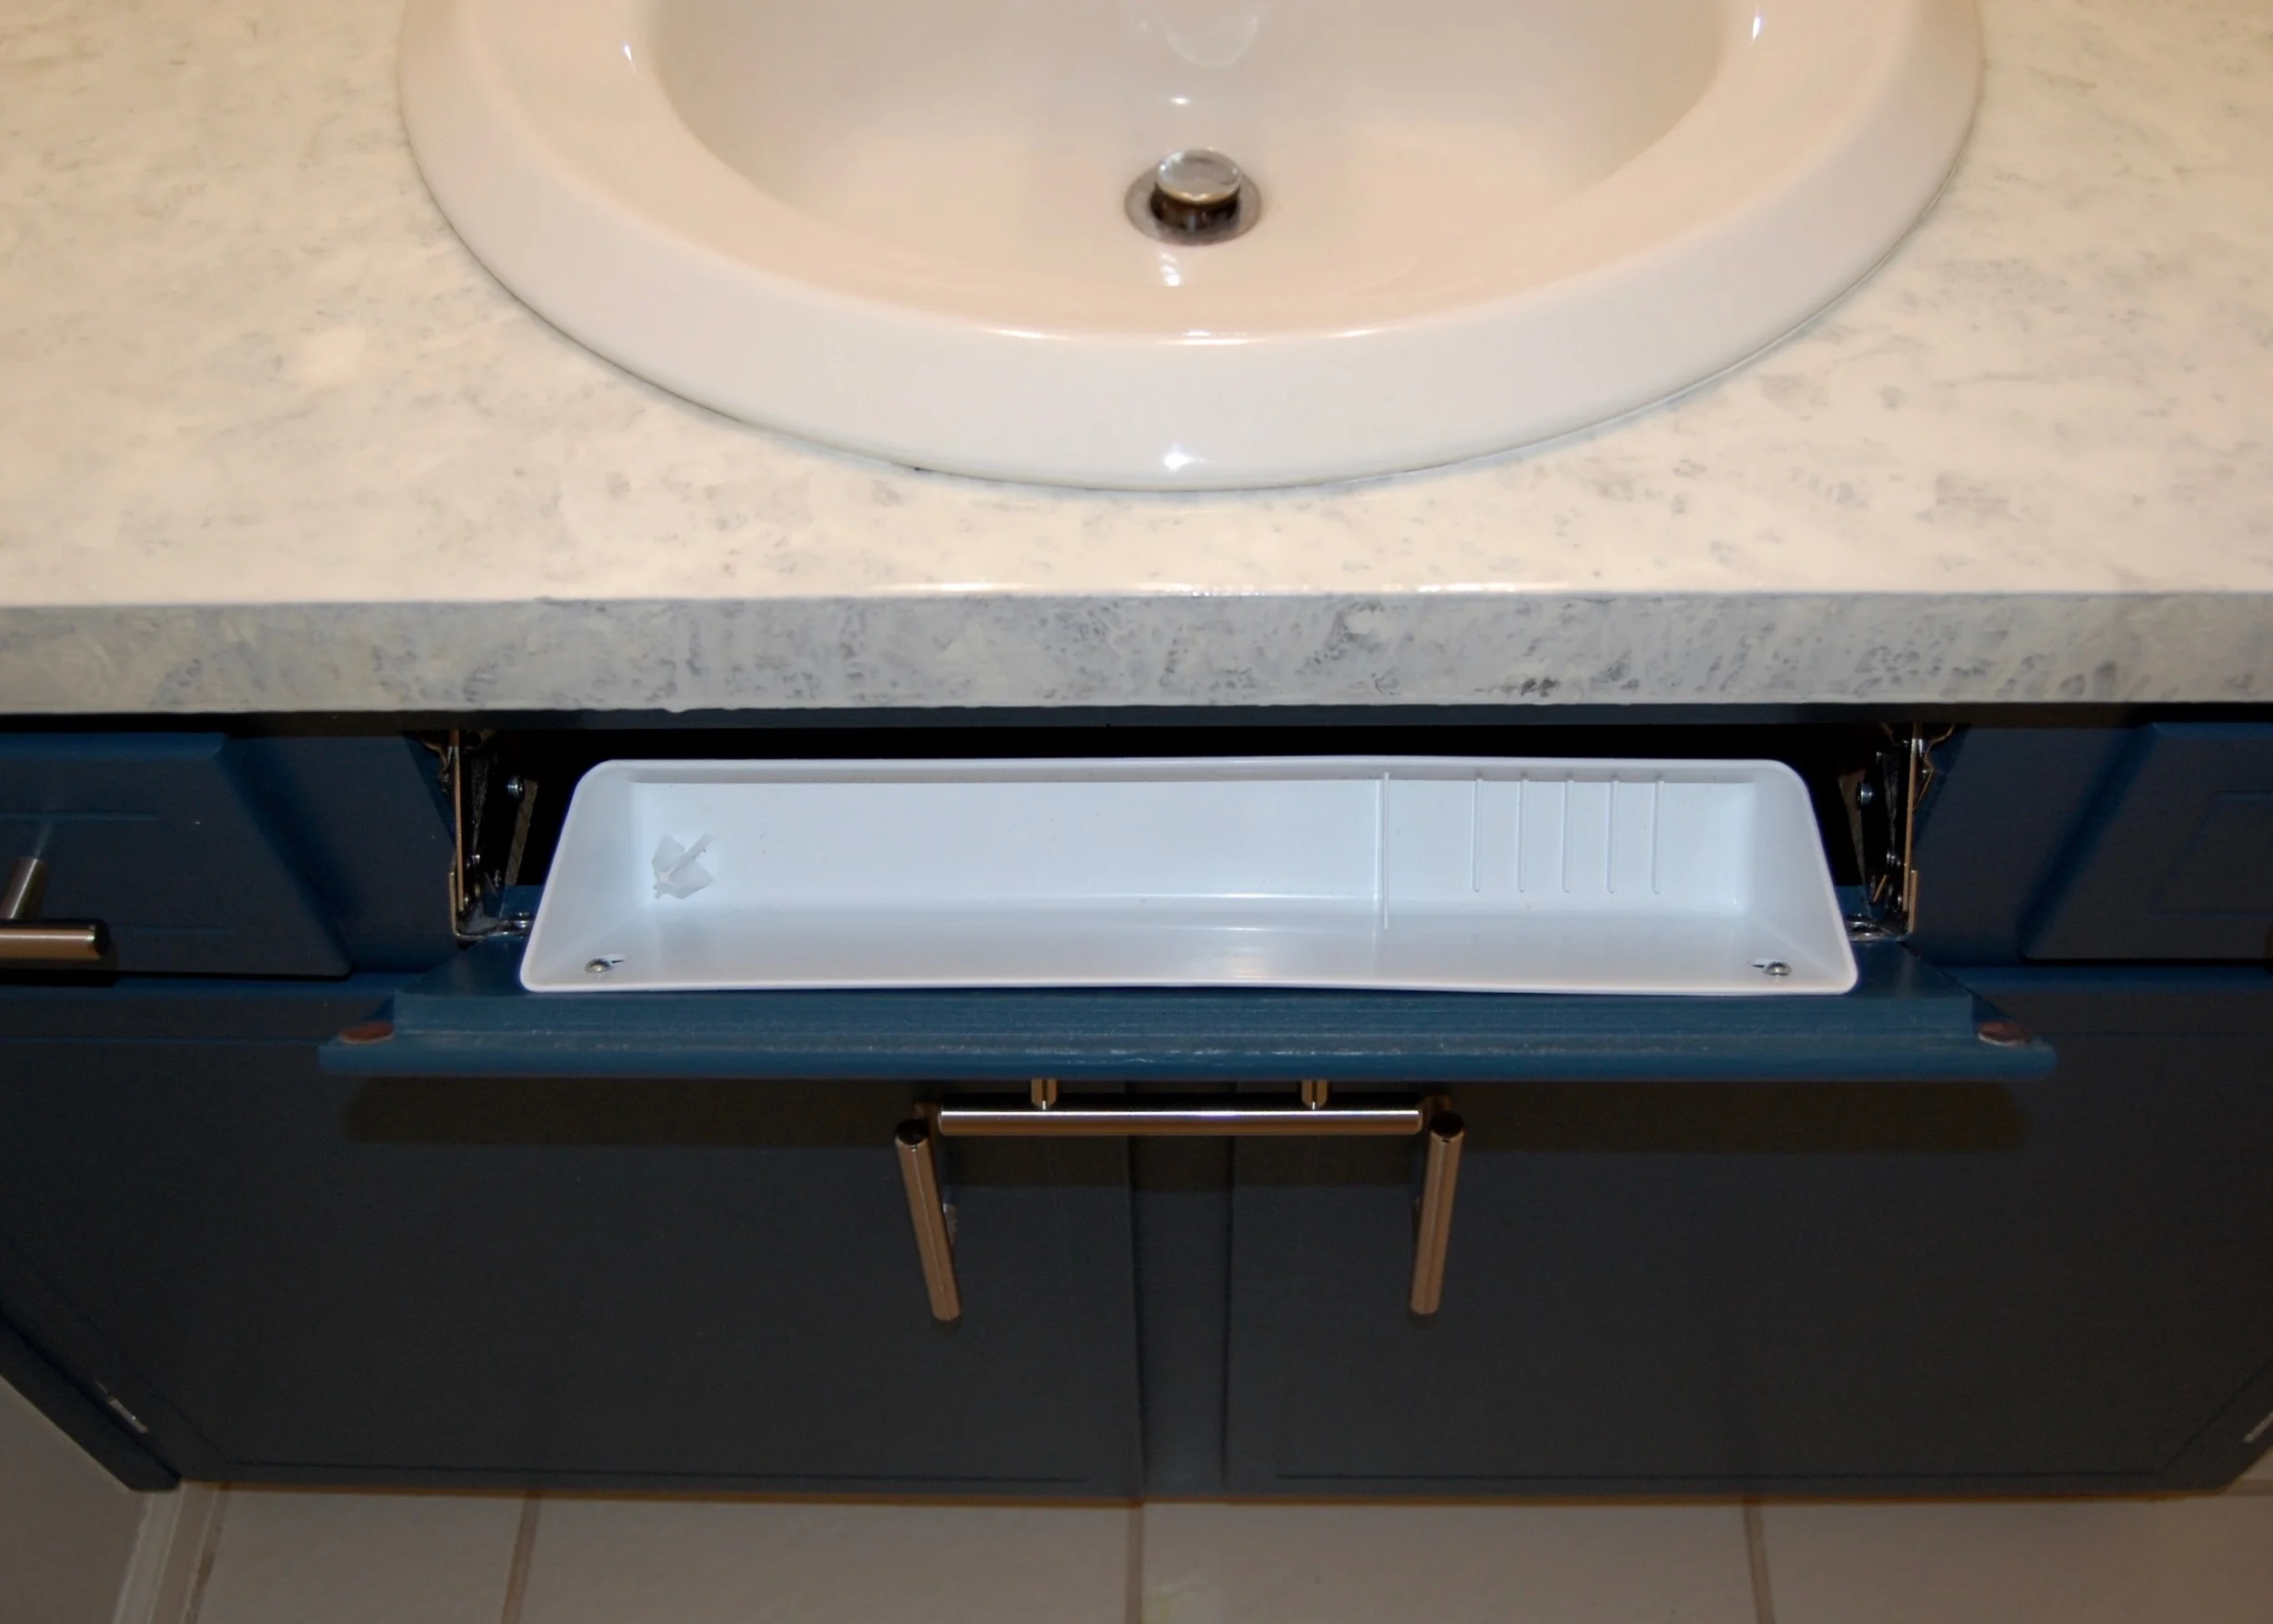
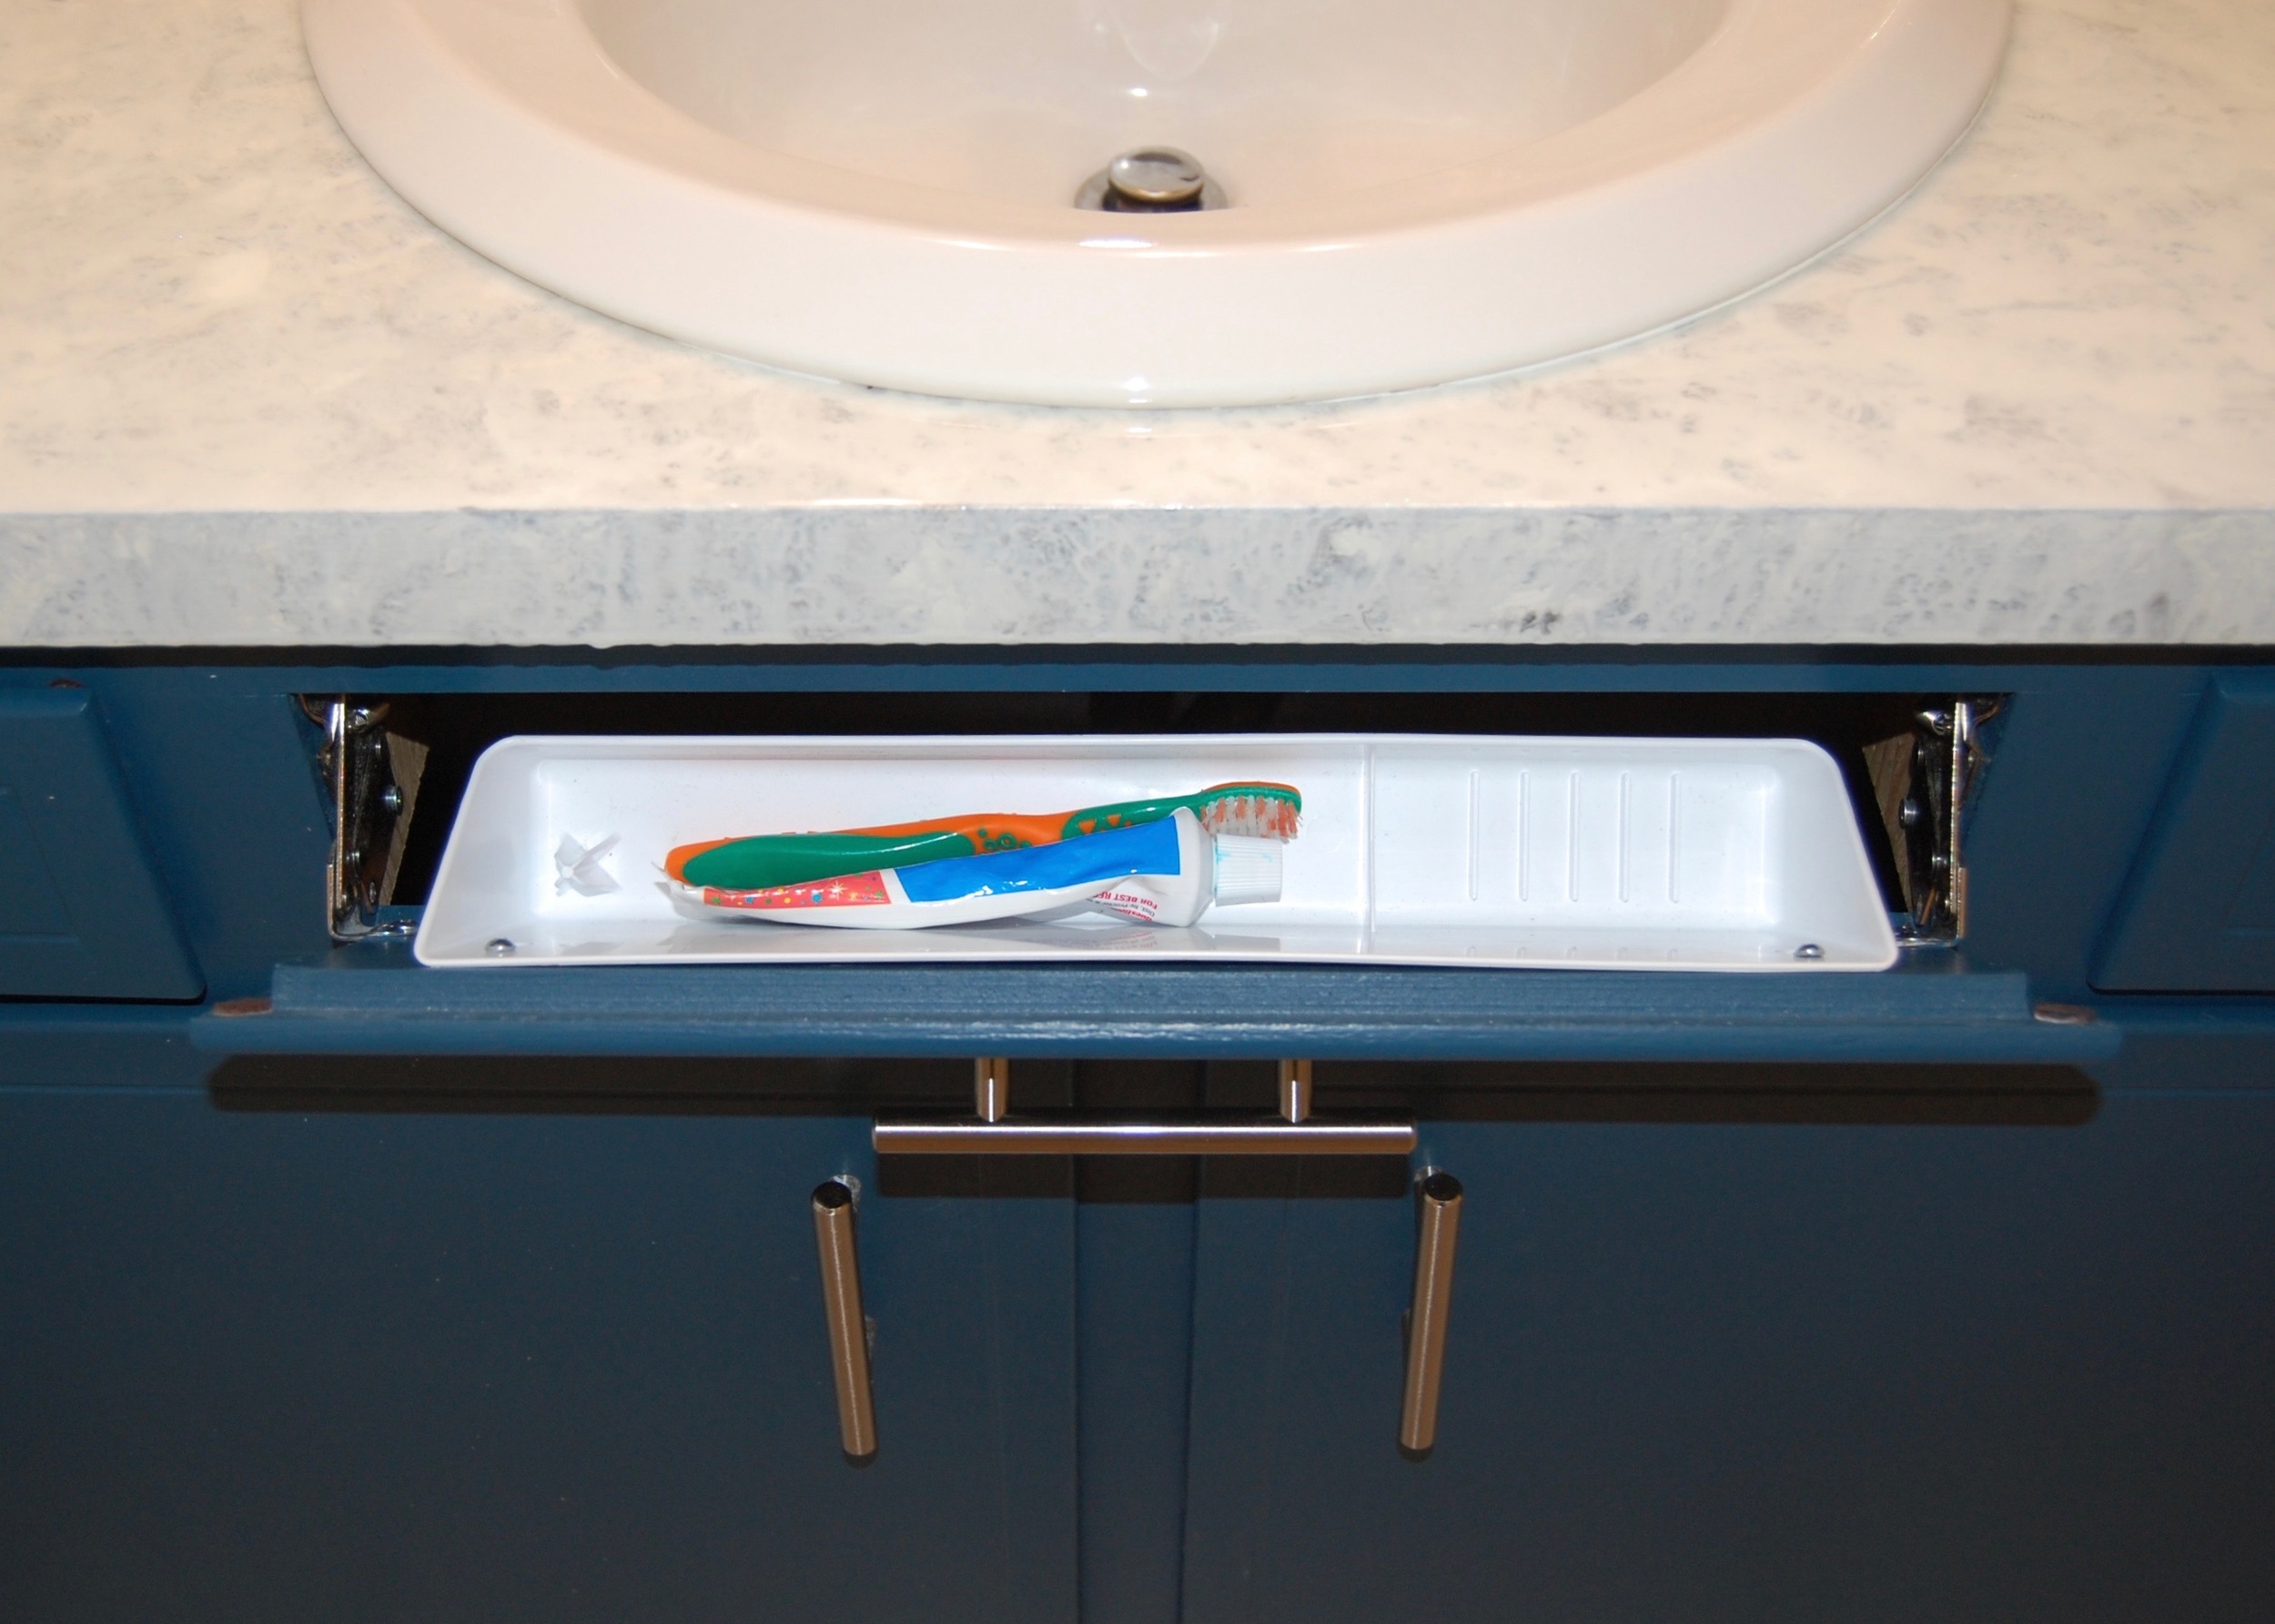

So now we finally have the new tilt drawer in place, and I will admit I really like having it. It is a great place to hide the toothpaste and toothbrushes, it can be taken out easily and washed, and the countertop is less cluttered as a result. Would I put another one in? Even though I have another kit ready to be installed I haven’t decided if I will actually install it yet. It was just such a giant waste of time and energy that I am not sure if it was worth it. If you decide to put one in yourself, here is my advice;
- Use the instructions to get a general idea of how everything is installed and where everything should go
- Don’t use the actual measurements in the instructions, there is just too much variations in cabinets for the measurements to be completely accurate
- Get a helper (or two) to hold things in place while you mark where all the holes need to go
- Expect to install the hinges more than once, and for the installation to be a far bigger pain in the butt than the helpful kit indicates
If you have any helpful tilt drawer installation tips, or just want to share an installation horror story tell me about it in the comments.
This post contains affiliate links. All opinions are my own.


