Mini Bathroom Remodel - DeCaulking
/After removing the shower doors we were left with a much more open, inviting bathroom, and a crap ton of caulk that needed to be removed. I think I need to start by emphasizing just how bad the caulk was in this bathroom. I have only once ever seen caulk applied more poorly than it was in this bathroom (the worst I have seen is our Master Bathroom). It looked as if a person that REALLY loved caulk, but had no idea how to apply it decided to try their hand at caulking in the bathroom by literally smearing it in the general vicinity of a corner. But they didn't try just once, oh no. It looked they they kept coming back to try again without removing the previously applied caulk. In other words it was really bad.

Caulk Removal - Surprisingly Interesting
Since we already had to remove the caulk left behind by the shower doors, we decided that it would be a good time to re caulk the entire bathroom the right way, and got to work removing the old caulk.

We started with layers and layers of peeling caulk.
Removing caulk really isn't hard, you basically just scrape it off, but having the right tools can make the job even easier. My tools of choice are a caulk removing tool, a scraper, a razor blade (in a holder) and caulk softening spray.

My caulk removing tools.
We started by removing most of the caulk on the flat surfaces with the scraper, then moved onto the corners using the caulk removing tool (it's strangely shaped blade is perfect for getting into the corners). There was still a lot of caulk left after our first pass (see smeared caulk above), so we went back in with a razor.

Scraping,

scraping,

and more scraping.
Since there were still a few stubborn pieces left we followed the razor blade up with the caulk softening spray. The spray really didn't spray for me, so we painted it on with a cheap foam paint brush (which was pretty well disintegrated by the end), let it go to work, and then made another pass with a razor blade.
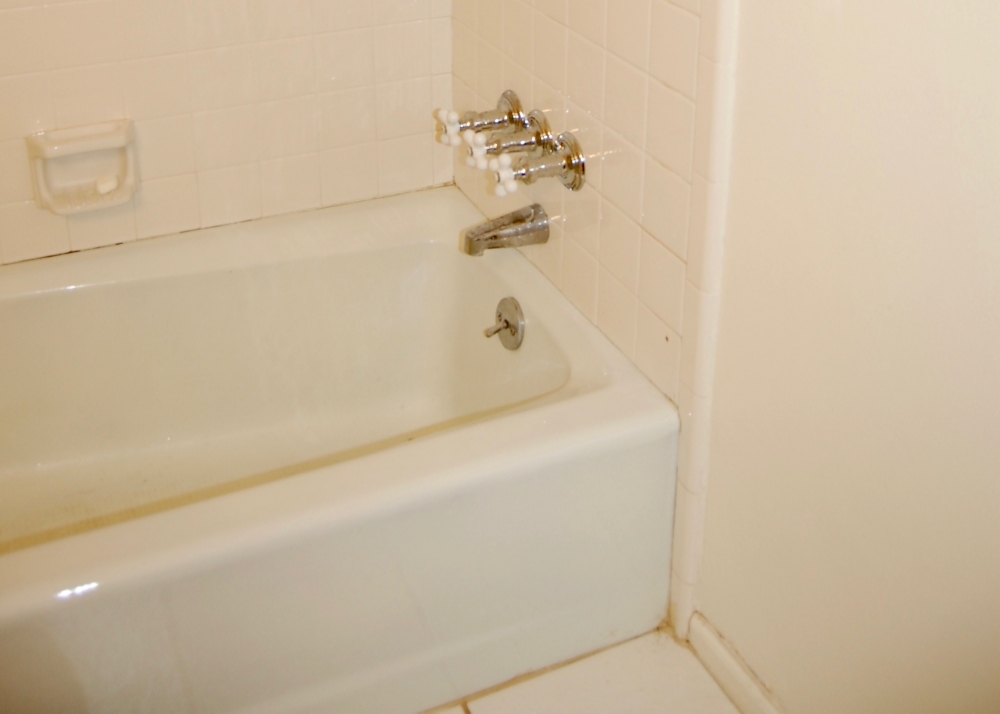
Caulk Removed. Tub Cleaned. Looking Pretty Good.
The tile is looking pretty good following the caulk removal. A good scrub down did wonders to remove any remaining residue, and once it throughly dries we will be ready to re-caulk.


