The Power of Less - Craft Studio

I have been reducing the clutter in my house, and sharing the results with you in my power of less series. I will finish off national craft month, with crafty decluttering.

For me, having no space to craft is the most discouraging barricade to crafting. When my craft "studio" is a mess, nothing gets done until the clutter is cleared.

This decluttering was simply reestablishing my pre existing organizational system, rather than an overhaul of that system. I'm pretty happy with the results.

Top 3 Crafty Podcasts

As national craft month comes quickly to a close, I thought it would be a good time to share some of my favorite crafty podcasts. DIY

3) Destination DIY Destination DIY is a independently produced radio show from Oregon, US that is also released as a podcast. It tackles a variety of crafty topics, from maker fair to crafting disasters. The professional quality of this podcast makes it a joy to listen to. Unfortunately it is not produced very often.

imake

2) iMake iMake is a multi-craft podcast from Guernsey, an island dependency of the UK. It usually consists of a craft segment, and a segment about Guernsey itself. My favorite thing about this podcast is the range of crafts it covers, some of which I had not heard previous to this podcast.

Electric Sheep

1) Electric Sheep Electric Sheep is a knitting podcast, featuring pattern reviews, knitting essays, a ninja sheep, Molotov chickens, and beards. This smart and funny podcast from London, England, is the only crafty podcast that Fire Beard has ever willingly listened to, even the kids like the yearly audio panto at Christmas Time.

In celebration of national craft month check out some of these entertaining crafty podcasts!

The Small Shoulder Adjustment

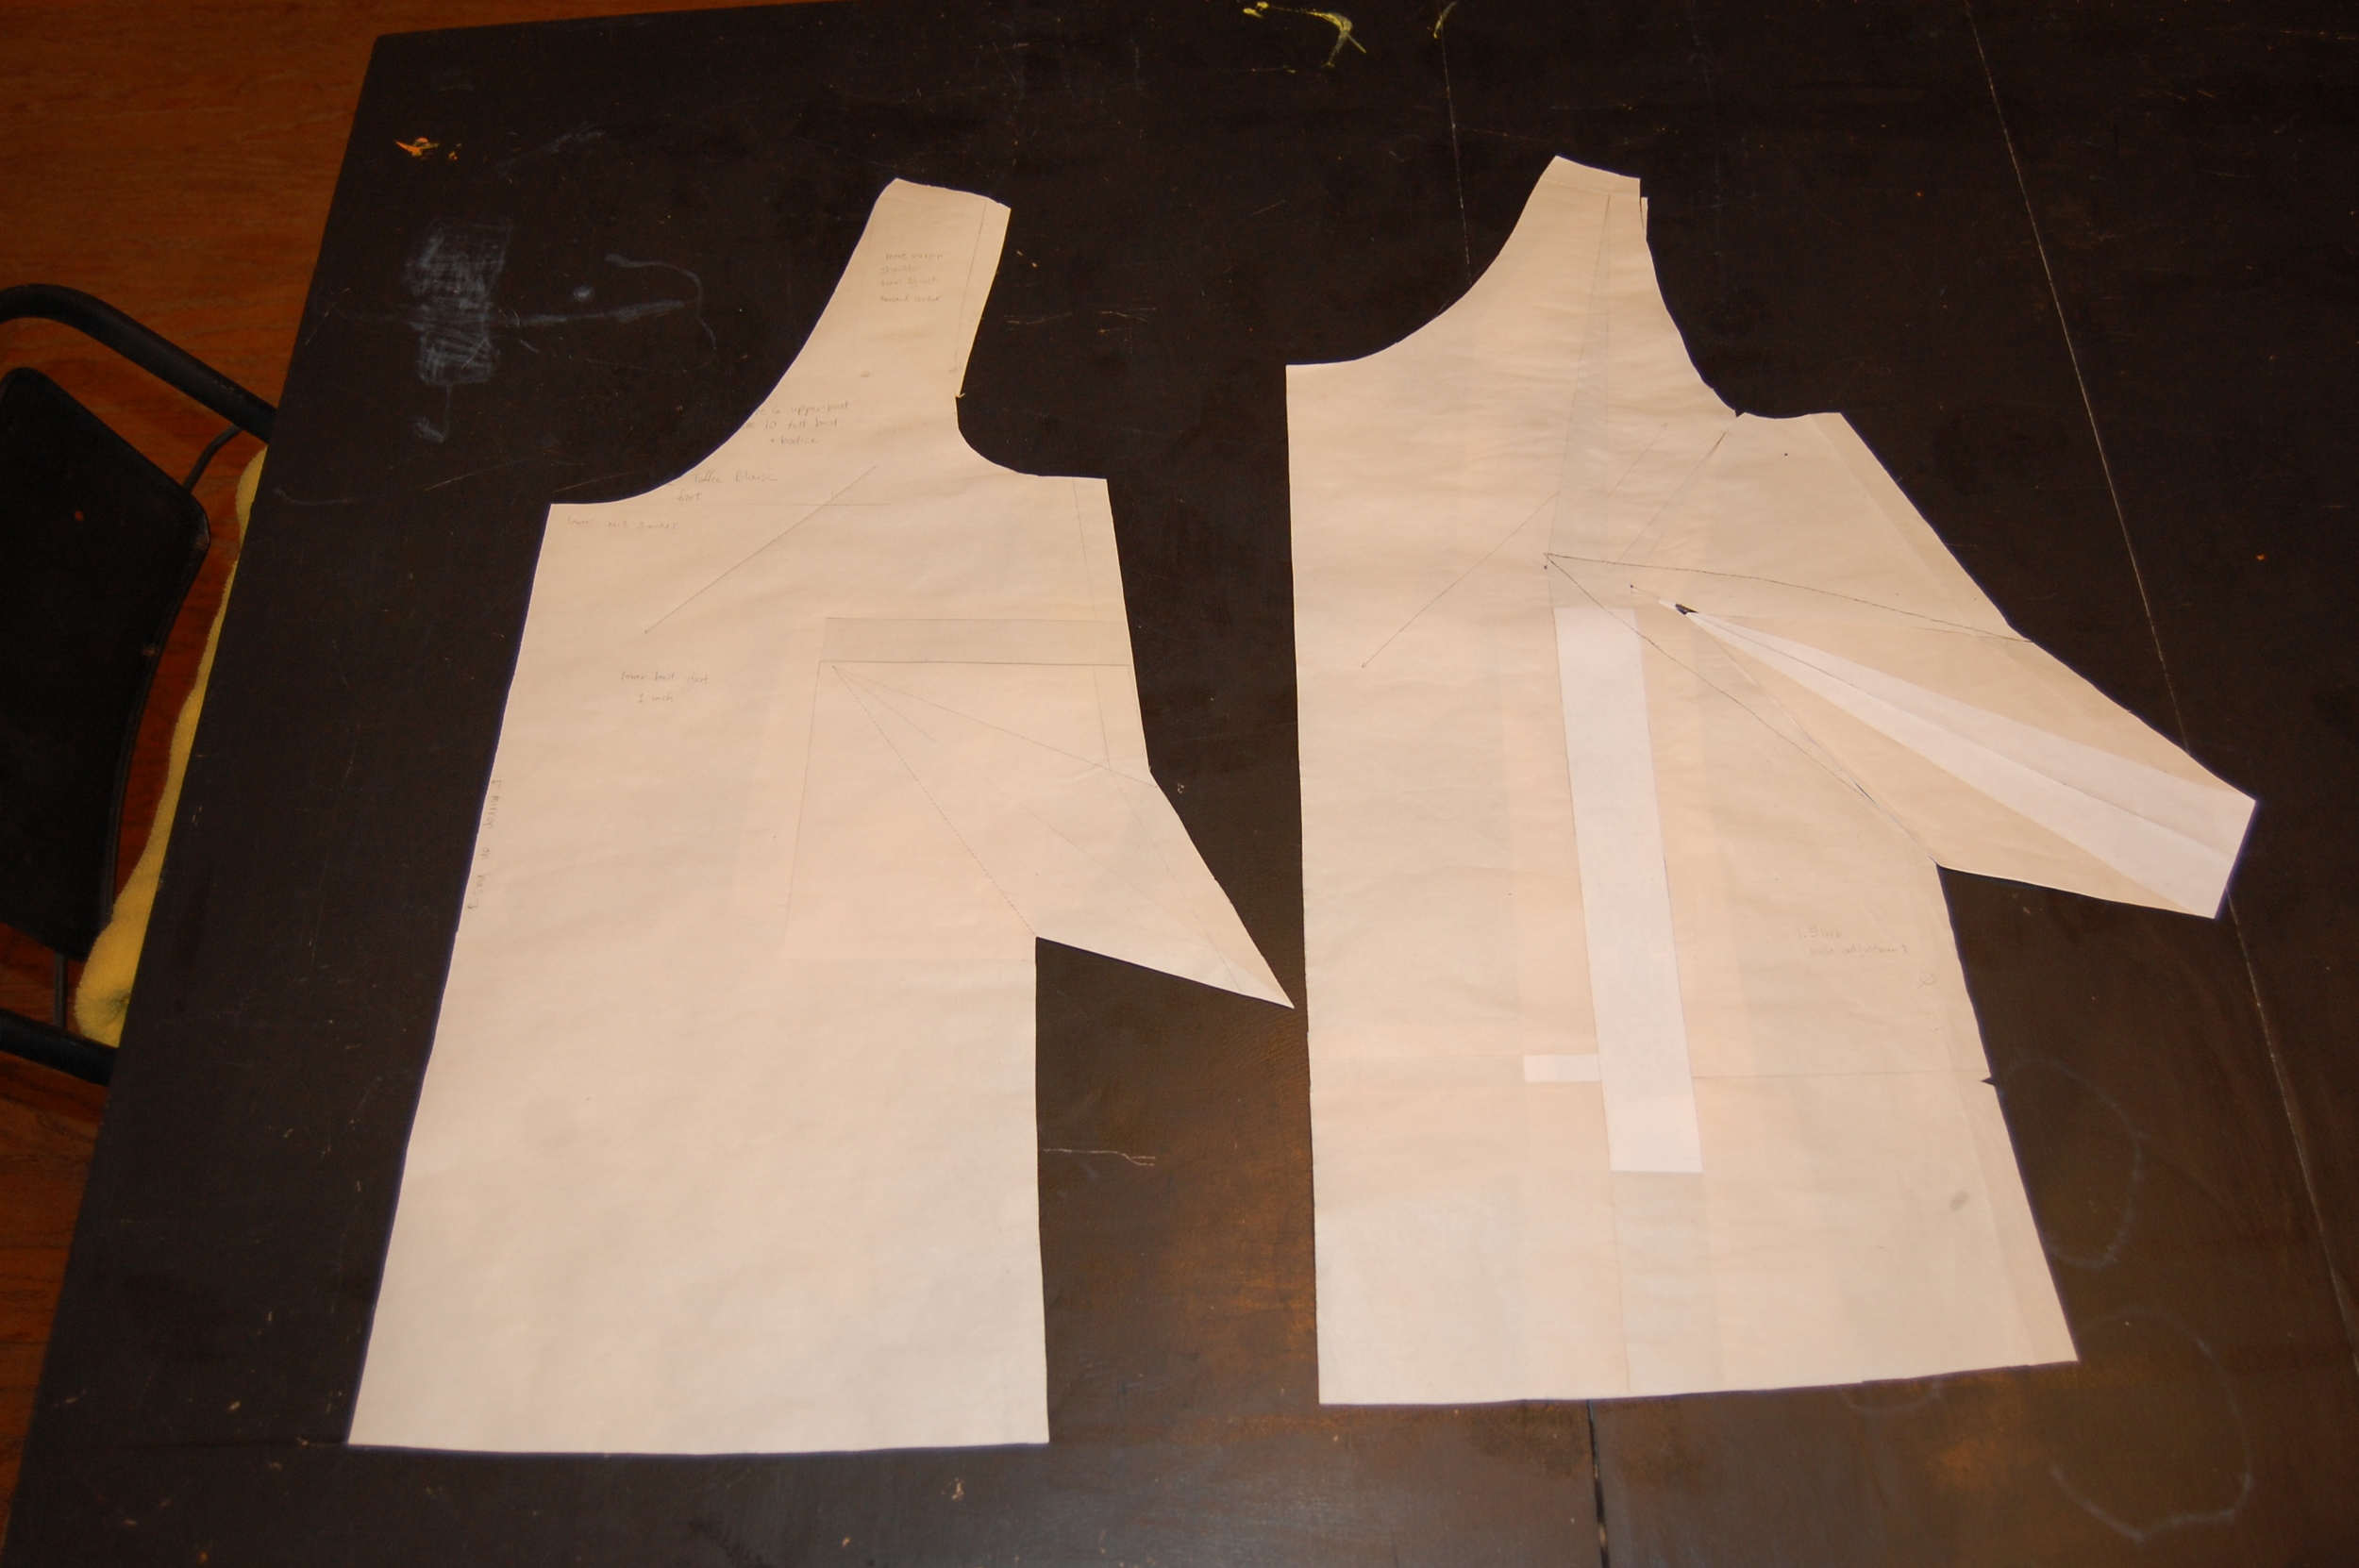
As I said in my previous post, while working on the Taffy blouse from Colette Patterns I became a bit disenchanted with the Full Bust Adjustment, and decided to try the small shoulder adjustment instead. It worked beautifully, and now I am ready to share with you the method and the results. I began by copying the front and back bodice pieces that corresponded to my full bust measurement. On the copy I also traced the upper portion of the pattern size corresponding to my high bust measurement. At the bottom of the armscye, I blended the smaller shoulder into the larger side seam. This new line was my new armscye.

If the length of the new armscye was more than 1.5 inches bigger than the sleeve, then the sleeve cap would have to be adjusted to compensate for the new size of the armsyce as well. Fortunately, that was not the case with this sleeve cap, and no adjustments had to be made. Frankly the idea of adjusting the sleeve cap of this bizarrely shaped sleeve is the stuff of nightmares, and I thanked God that it didn't have to be adjusted.

The initial tissue fitting indicated that I was pretty close to a great fit, and a muslin indicated that it was nearly perfect. Here is the result.

dsc_0198

dsc_0198

I think that a comparison of the FBA adjustment and the small shoulder adjustment makes the difference in fit pretty apparent. The armsyce is really distorted after the large FBA, but looks pretty normal after the small shoulder adjustment.

dsc_0201

dsc_0201

Like nearly all pattern adjustments the small shoulder adjustment can be done in more than one way. My way, is simply that, my way. It is not necessarily the best way, or the "correct" way, but it is what worked for me, and I will continue using it, until I find something that works better.

Full Bust Adjustment vs. Small Shoulder Adjustment

Most sewing patterns base the measurements of their sizes on an imaginary ideal person. Her bust is a B cup, her full bust measurement is equal to her hip measurement, and her waist is 10 inches smaller than her full bust or hip. It is usually recommended that those sewers whose bust is larger than a b cup adjust their pattern using a full bust adjustment to accommodate their larger busts. For those people whose busts are larger than a B cup, and their full busts are larger than their hips, I highly recommend this adjustment. But what about those, like me, whose busts are larger than a B cup, but the same size as their hips? For many of these people (including me), a full bust adjustment would have to be followed by a full hip adjustment for the garment to fit the entire body.

I have, as generally recommended, adjusted the bust and then the hip, with mediocre results. After hours of pains taking adjustments, I usually end up with a mangled pattern that is more tape than paper, and the proportions always seem a bit off even through my bust and hip are proportionate. I decided there had to be a better way, and began experimenting with small shoulder adjustments instead.

The problem for those with cup sizes larger than B (and nothing else is larger), is that, if the pattern size is determined by the full bust measurement, the garment will be too large in every place but the bust. What I realized, is that my hips and waist are proportionate to my full bust measurement. The only part of my body that is small in relation to my full bust is my shoulders. So, why should I pick a pattern size based on my upper bust (basically my shoulders) and adjust everywhere else, when I can pick the size based on my full bust, and only adjust the shoulders?

I believe the reason the full bust adjustment is generally recommended is that it is considered easier than the small shoulder adjustment. After all, the small shoulder adjustment involves the armscye, and adjusting the armscye is scary for most.

After doing an FBA and making a muslin I was not happy. The blouse hung strangely, still didn't fit that well. I decided to start over and do the small shoulder adjustment instead. After making the muslin using this new adjustment, I knew I was on to something. I did a few more tweaks, the made the final garment.

I am pretty happy with the results (although I would adjust it a bit more if I made it again), and I am using this technique again in the garment I am currently making. Details to follow.

Colette Taffy Blouse - Adapting the Sleeves

The Taffy Blouse, from The Colette Sewing Handbook.

My latest crafty endeavor is the Colette Taffy Blouse, which, given my limited crafty time and exacting standards, took me over a month to complete. While I will try to cover a few of the reasons it took me so long over several posts, today I will only be covering the sleeves.

The Sleeves of the Colette Taffy Blouse are, as you can see, quite voluminous. While they are very pretty, frankly, they are a bit much for my taste. So I decided to make the full circle sleeves half circles. I will show the the first step in that process today.

First I traced the original full circle pattern piece. I trace all of my pattern pieces before I make any adjustments so that I can go back to the original if I make any mistakes and so I can make a different size in the future.

I started to adjust the pattern by making evenly spaced cuts through the sleeve, up to but not through the seam line. I mirrored these cuts in the seam allowance, again, not cutting through the seam line. Keeping the seam line intact keeps the armscye intact, so that the armscye on the blouse portion of the pattern doesn't have to be adjusted as well.

Then I overlapped my cuts evenly and taped them in place.

It is worth noting at this point that I could have also simply cut a large wedge shape from the center of the sleeve and taped the exposed ends back together. The reason I didn't do this is that the sleeve ins't a perfect circle, and while taking a piece out of the middle would have reduced it's bulk, it would also change it's shape. Reducing the sleeve evenly around it's circumference better retains it's shape.

When finished, the pattern looked something like this.

In the final version I further decreased the bulk of the sleeve and extended it's length by several inches.

Food Craft - Cake

March is National Craft Month, so I would like to start the month with a craft, food craft. This last weekend was my son's birthday, and he and my MIL created a cake of his design, a Angry Birds/Lego Star Wars Ice Planet Hoth Cake. It was adorable and he loved it.

The base was made from marshmallows, piled together like an igloo. Thick white frosting created a blanket of snow, and large pieces of sugar made it shine. Toothpicks were stuck into the lego pieces which were stuck into the cake, allowing them to hover just above the sticky "snow".

My son created the snow speeder crash landing into the enemy, and my daughter created the rebel flag.

The Power of Less - Spice Cabinet

20130222-122412.jpg

20130222-122412.jpg

In keeping with the theme of un-cluttering my clean on the outside, awful on the inside kitchen, this past weekend I tackled my spice cabinet.

Thing 1 and I started by taking everything out, including the shelves. We washed everything, even the spice bottles themselves. Then we started sorting. We threw out old spices, and merged duplicates. They were grouped by their type and use. The result was far less clutter, and easy access to the most used bottles.

Time: About 2 hours. Cost: $0

The Mag Lab

This weekend the National High Magnetic Field Lab had their annual Open House, and it was awesome. It was our first time at the Open House, and we really didn't expect to see much, other than the 45 Tesla Electro Magnet. What we found was that the entire complex had been set up with different experiments and demonstrations, each designed to get kids interested in science.

Firebeard and Thing 2 visited the Cryogenics Lab and saw the Liquid Nitrogen rocket car, and flash frozen flowers, while Thing 1 and I visited the big magnets in the DC Field Building.

Thing 1 wasn't very impressed in the world's largest magnet, because "it looked like a bunch of tubes" (her words), but the other demonstrations in the magnet cells were pretty awesome. She especially like the electric pickle, the cloud made in a bottle, and the thunder tube.

In the end, Thing 1's favorite part was the exhibit set up by the Sci Girls, a groups of girls just a few years older than her. They were showing the conservation of angular momentum with bike wheels, and making cloud bubbles with dry ice. Thing one didn't want to leave. It makes me wonder if she will be demonstrating in a few years.

Next year we are planning to go earlier and see some of the demonstrations were didn't get to see this year, like the MagLev Train in the Applied Superconductivity Center and the hydrogen powered toy car in the center for alternative power systems (Hint, hint, Mag Lag open house organizers). I also hope that next year they will have the robots that Thing 2 was wishing for.

Embroidered Anatomy - Thyroid and Larynx

This weekend I had planned to travel with the kids to New Orleans and celebrate Mardi Gras with my sister. I was going to regale you with all of the interesting sights that Mardi Gras had to offer. Then I got sick, really sick. I couldn't eat, and I could barely walk for days. Since Mardi Gras was no longer an option, I stayed home with the kids this weekend, and the sights I'll be sharing this week will instead what I was able to accomplish this weekend in my reduced capacity, and stuff I've done previously, but haven't shared.

Every year I make my friend, the good doctor, at least one piece of medically inspired embroidery. This year, after my thyroid starting giving me problems, I decided that the thyroid, and it's immediately adjacent structure, the Larynx, would be my subject matter of choice.

This piece took me over a month, and probably over 1000 French Knots to create, but I think it was worth it. It is one of my favorite embroidered anatomy pieces to date.

The Power of Less - Refrigerator

I have heard before that the clutter in your fridge is predictive of the clutter in your home. If that is the case, then my home was headed for a mess. While I regularly throw out old leftovers or spoiled veggies, I deep clean my fridge only rarely. This time it was past due for a good scrubbing. It was gross!

In this de-cluttering, I removed everything that could be removed. Everything was scrubbed with soap and water. Then only what was still in date and regularly used was returned to the fridge. Hopefully I'll get to the freezer soon too.

20130205-131500.jpg

Chicken Coop

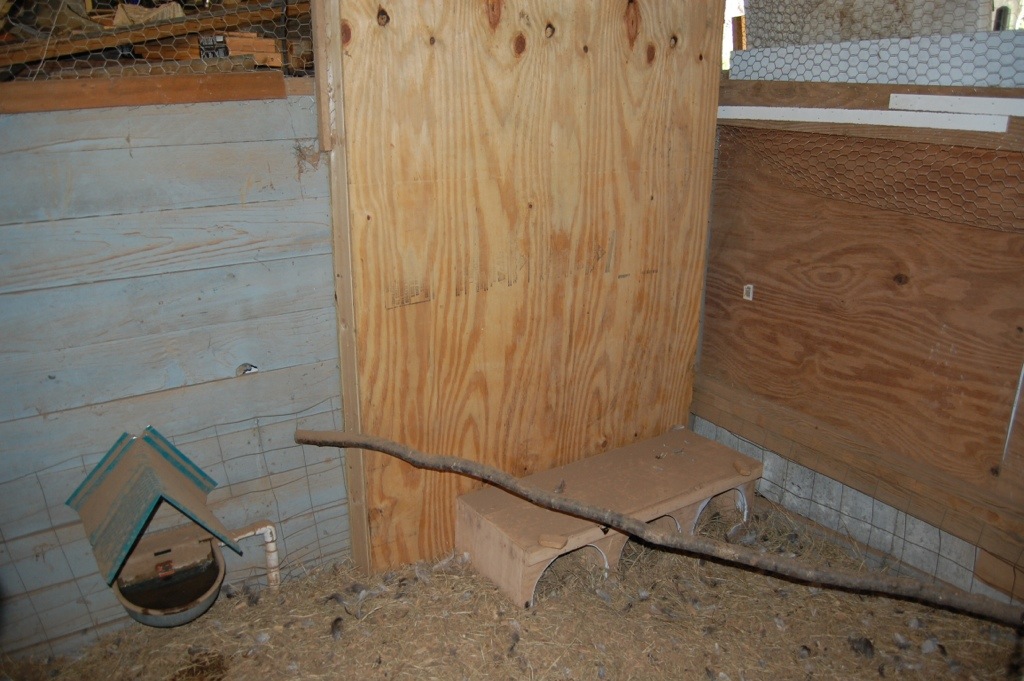
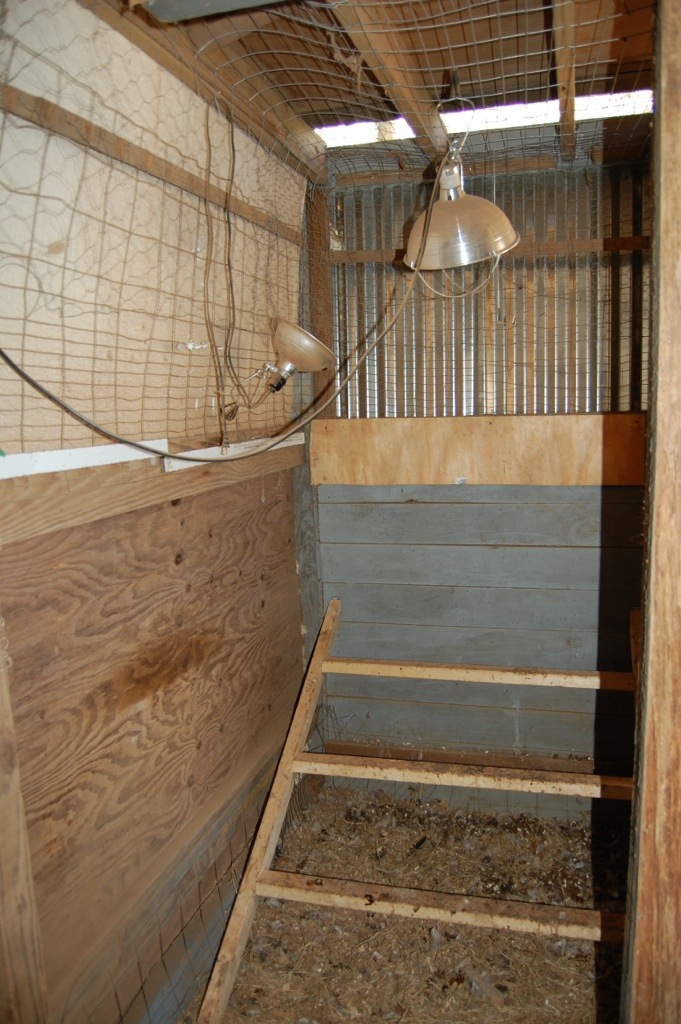
We used to let our chickens free range, but then last year nearly all of them were killed by predators. After that we didn't feel comfortable letting the remaining chickens roam the yard, and we cooped them. They hated it. Our coop had been designed with free range chickens in mind. It was really only set up to house the chickens at night or during very bad weather. Chickens that are free to roam most of the time really don't have need of a lot of space inside the coop. When it became necessary to coop our chickens nearly all of the time, it quickly became apparent that our coop was not up to the task.

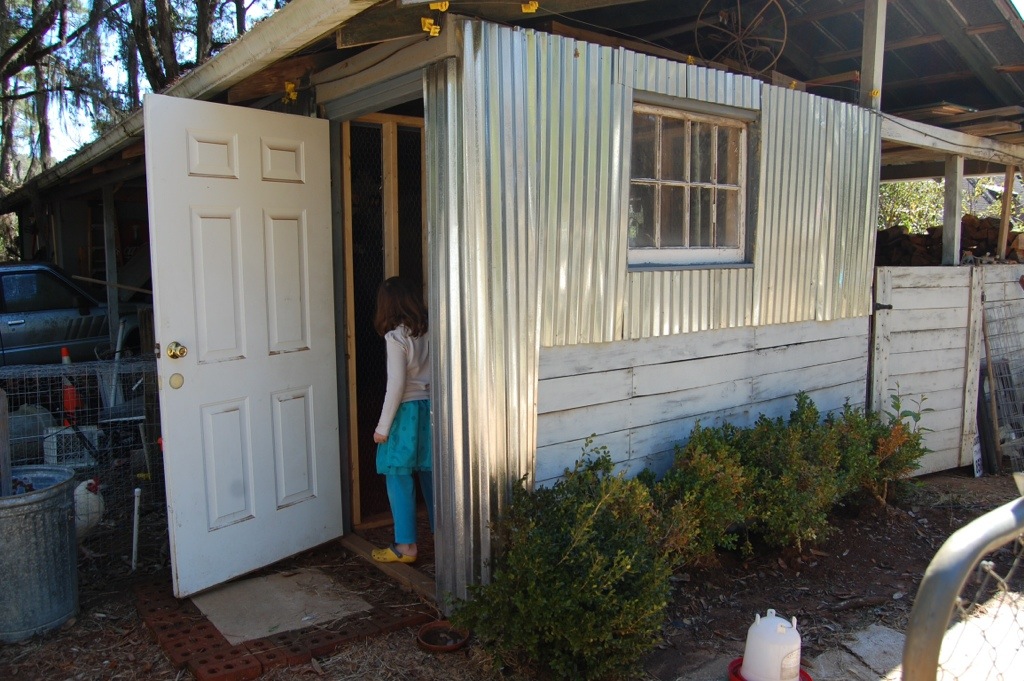
My Father in Law, who is very good at thinking outside the box (or coop), come up with the solution, and here is the results.

20130205-125055.jpg

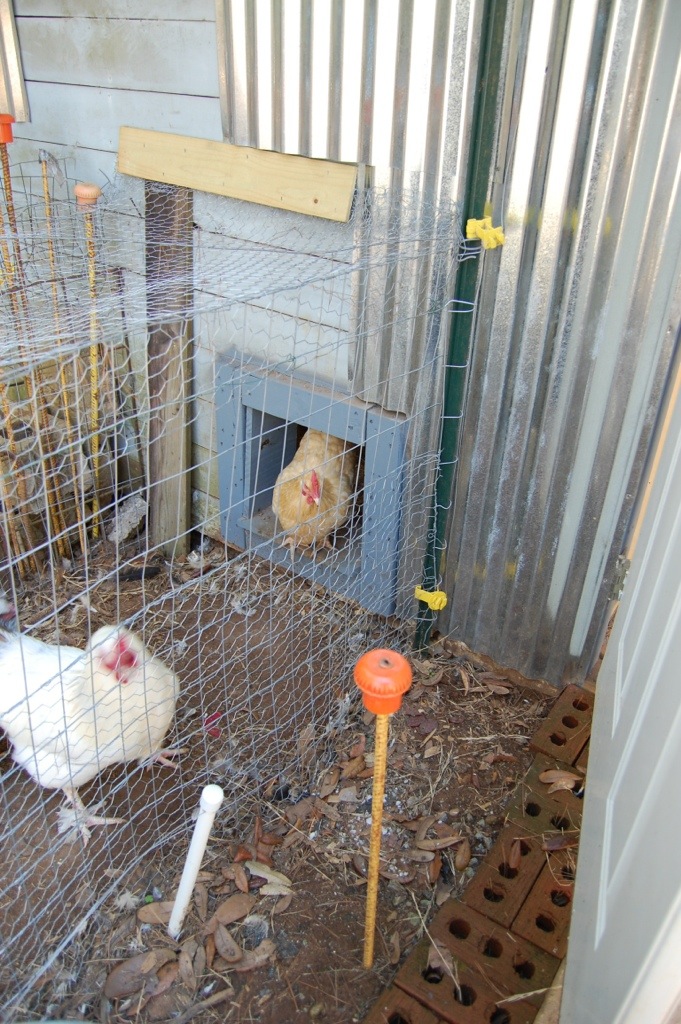
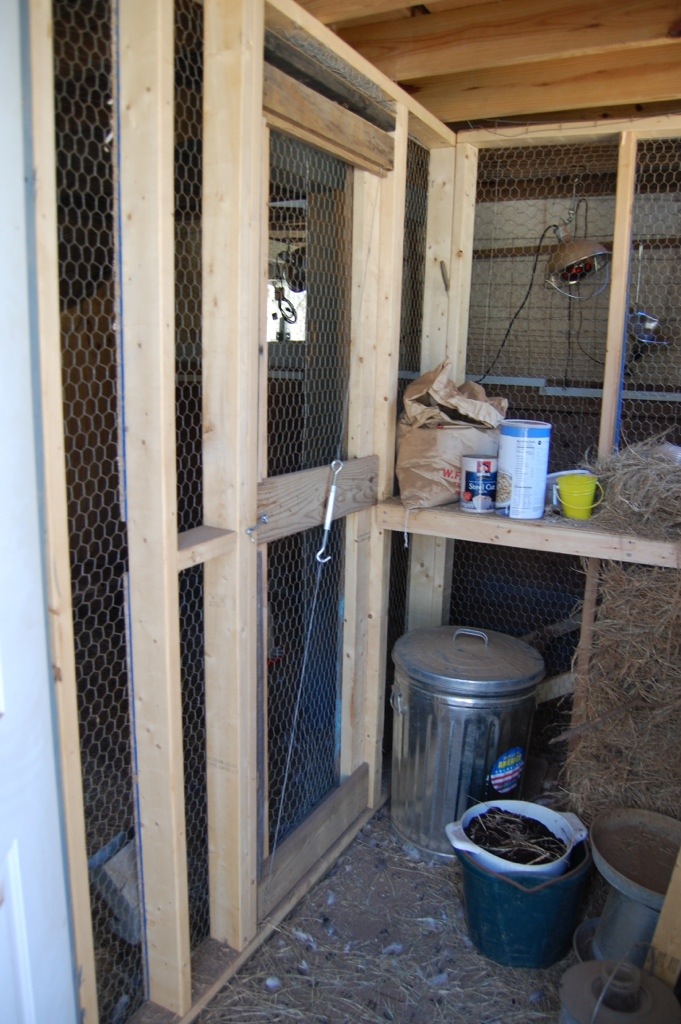
He enclosed a portion of the exiting poll barn using a combination of chicken wire, metal siding, and salvaged doors and windows. He also connected a 40 foot by 3 foot run to the side accessible by chicken sized sliding door. Since the barn was already wired and plumbed, he also added a fan and heat lamp that can be turned on as needed, and an automatic waterer.

20130205-125649.jpg

My favorite part is the people sized double entry doors, which allow easy access to the coop, but not easy escape.

20130205-130053.jpg

Here are a few more pics of the cool new coop.

20130205-125937.jpg

20130205-125946.jpg

The Power of Less - Entry Way Storage

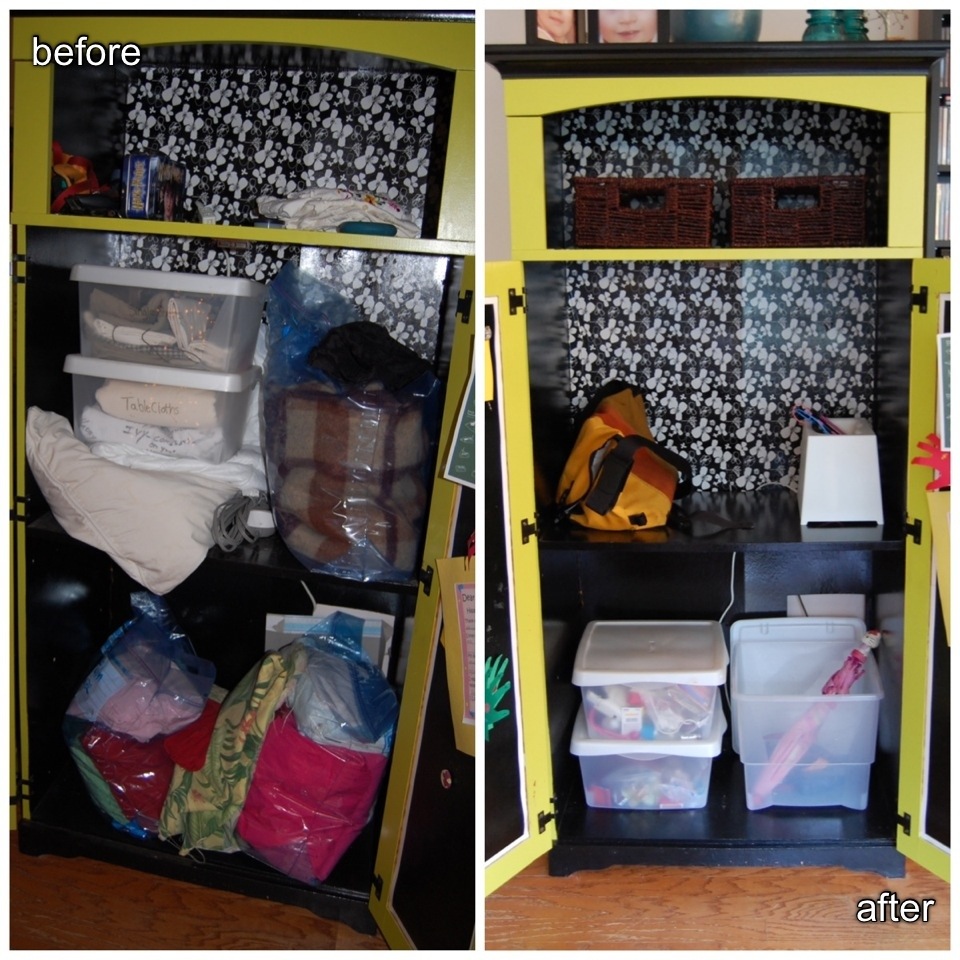
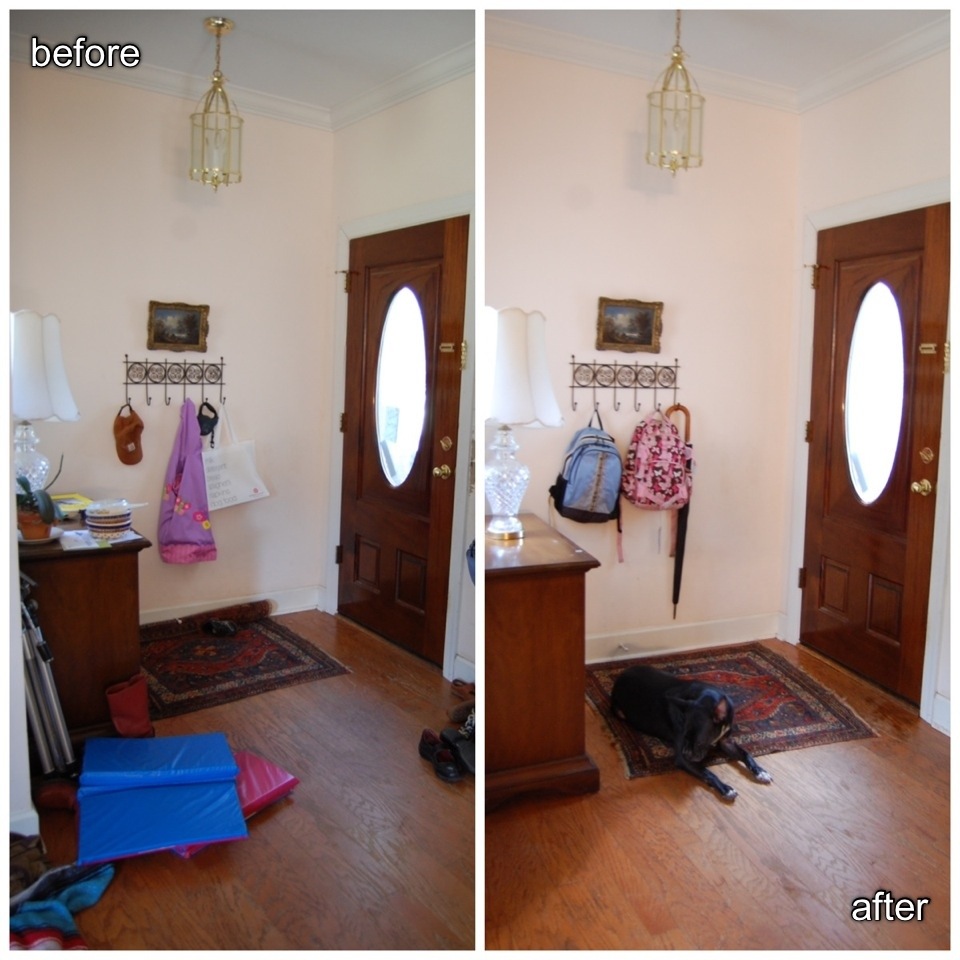
20130128-133658.jpg Today's post is a bit different than those earlier in the week, in which I simply removed things from a space. Today, I have repurposed a pre existing object to better fit the needs of my family.

This armoire started as a cheap, prefab computer hutch, about 10 years ago. I honestly never though it would last this long but it has. Two or three years ago I decided to make it beautiful again, and transformed it into the green and black beauty you see today. Then I promptly stuffed it full of linens and let is sit next to my front door.

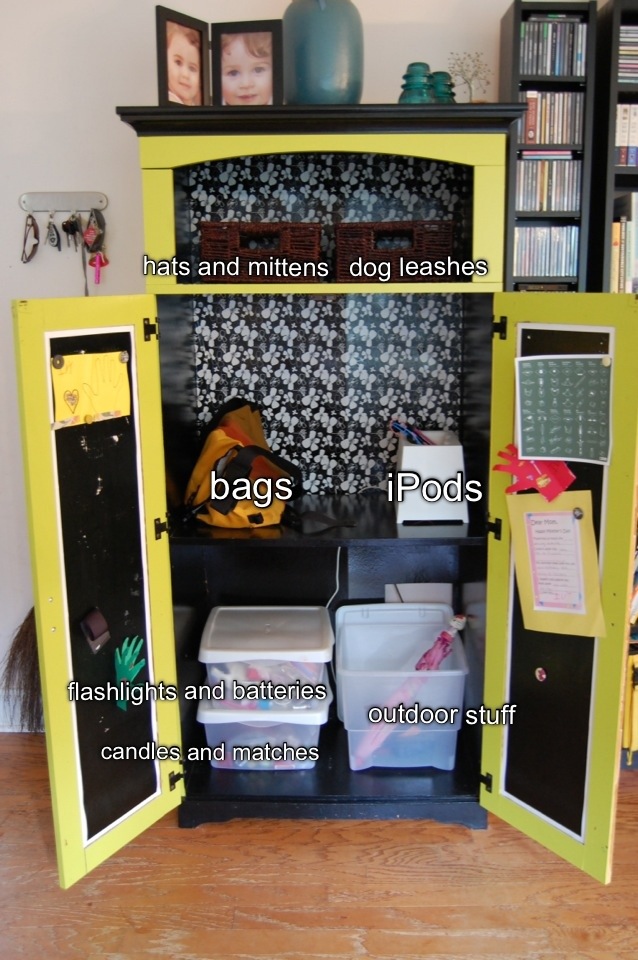
Now the linens are gone, regulated to another closet, the trash, or a charity, and in their place, are the odds and ins that are necessary, and typically in the way.

20130128-133622.jpg

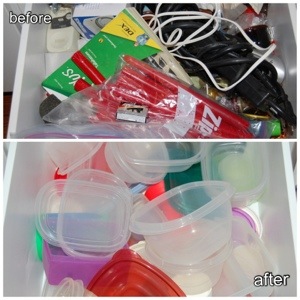
As a result of this little project, I was also able to clean out the junk drawer in my kitchen. It had previously held the flashlights, candles, batteries, and light bulbs and was stuffed to the gills. Now I can get to these items much more easily, and my Tupperware has a place to stay.

20130201-110136.jpg

The Power of Less - Entry Way

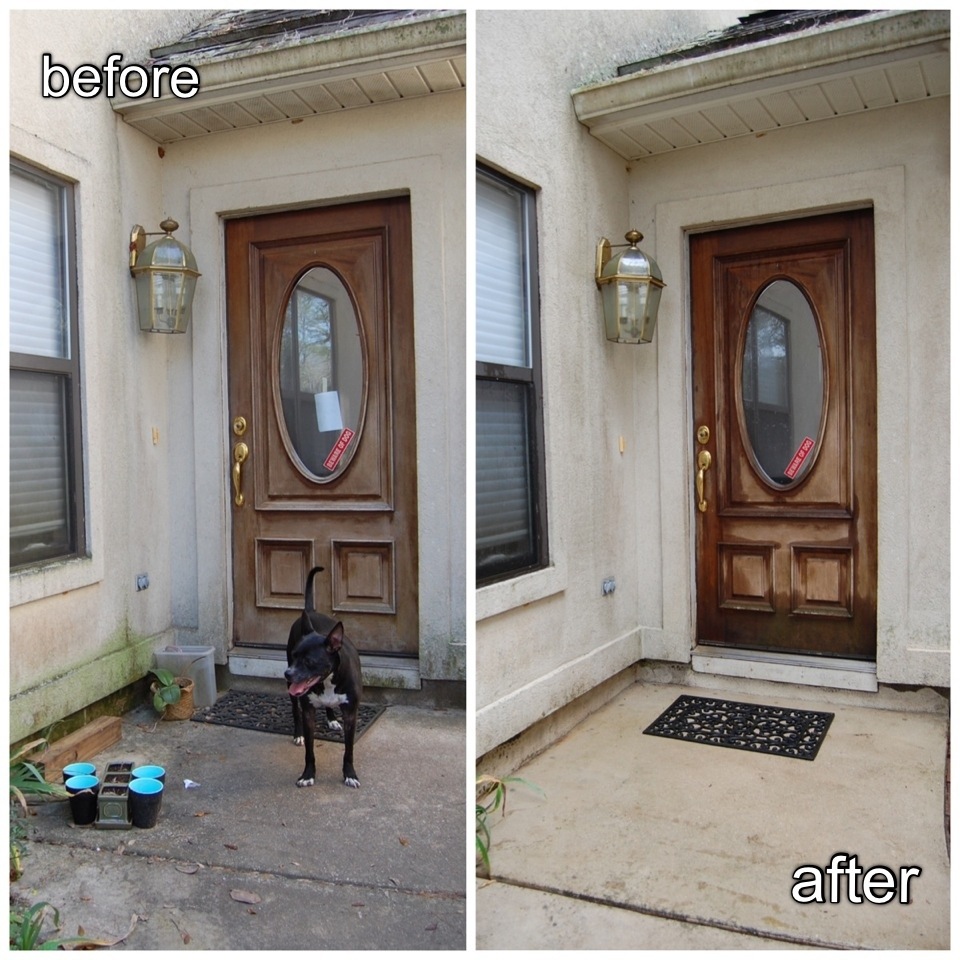
This weekend I cleaned and organized the entry to my house, not by buying lots of little boxes and bins to put all of my stuff, or a new expensive piece of furniture that housed everything perfectly, but by getting rid of things. This week I will show you how cleaning and removing "stuff" alone can transform a space. We will start today with the front door.

20130128-082659.jpg

The debris was thrown in the trash, the pots were emptied of their contents and stored with the rest of the pots. My father in law and daughter used a at home version of a pressure washer to clean the side of the house and side walk. Total cost, $0, 1 hour.

20130128-083013.jpg

Deculttering Kitchen Drawers

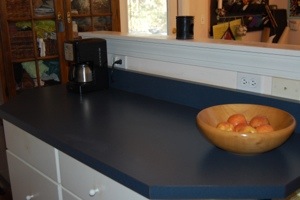
20130123-220612.jpgI like empty surfaces. Empty to the point of barren minimalism. They are free from visual clutter and easy to clean. So, if you were to come to my house on a good day, my kitchen counters would look something like this;

20130123-093004.jpg But lurking below those clutter free countertops is a dirty little secret;

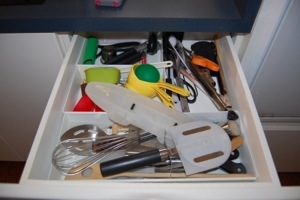
20130123-093109.jpg

20130123-093118.jpg Terribly cluttered kitchen drawers!

I couldn't take it anymore. Let the culling begin!

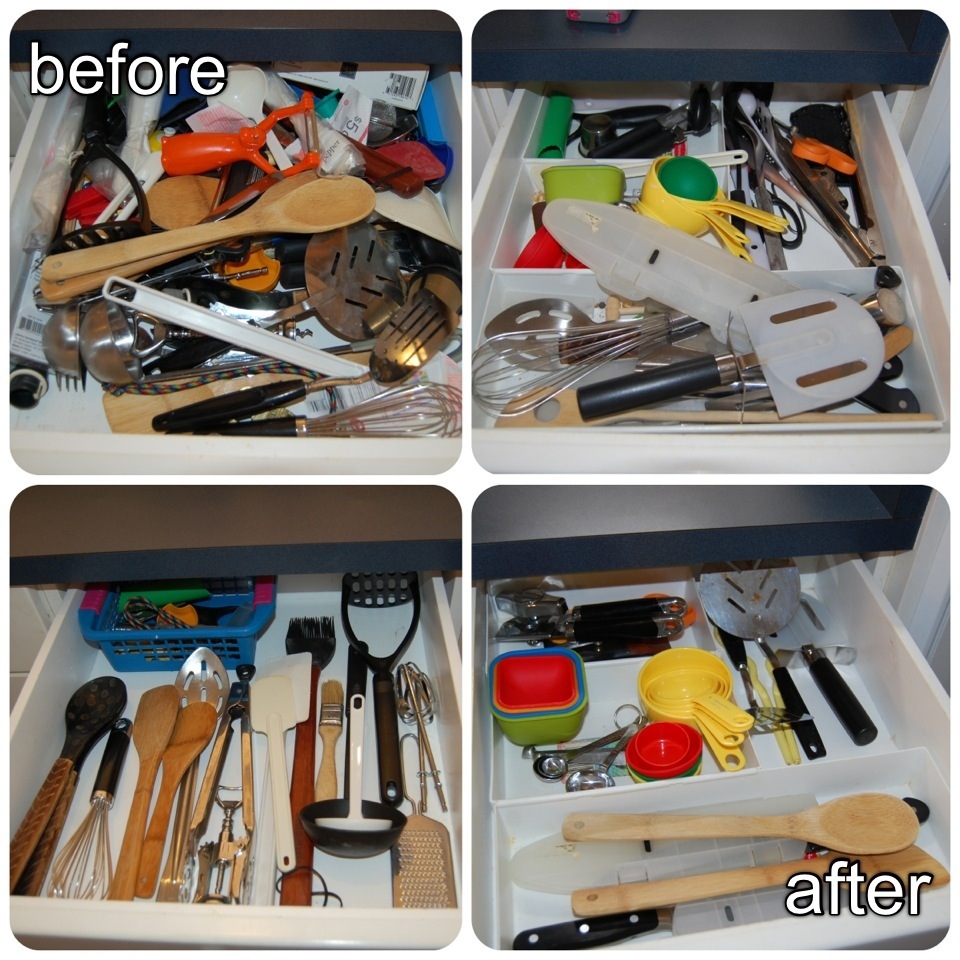
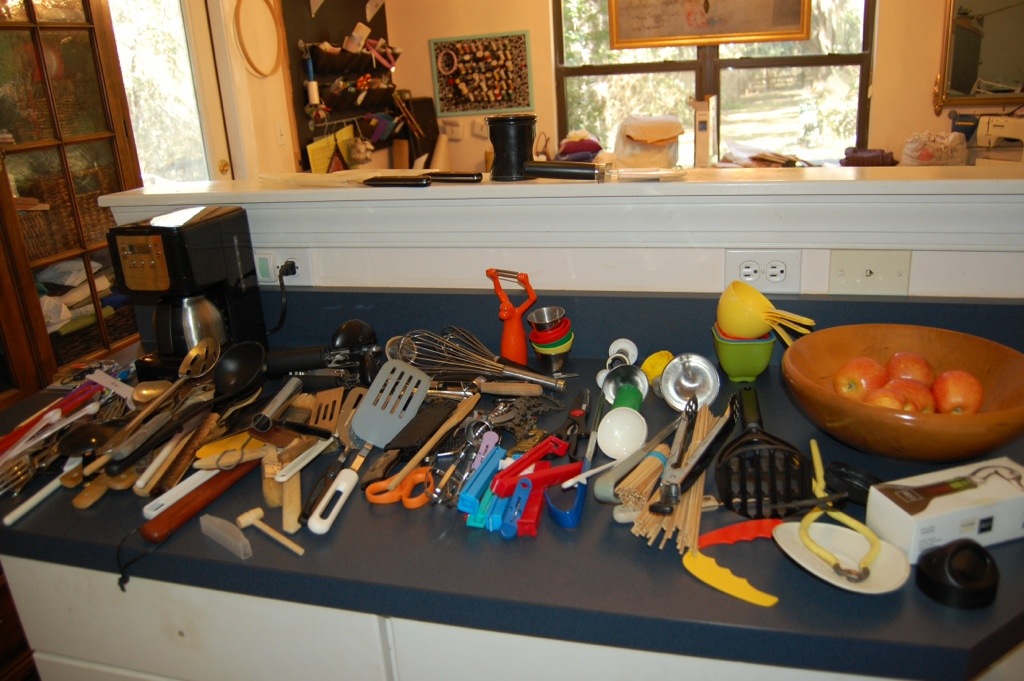
I started by taking everything out of the drawers and placing it on the countertop, grouping like with like the best I could. This is the contents of only two drawers;

20130123-093436.jpg

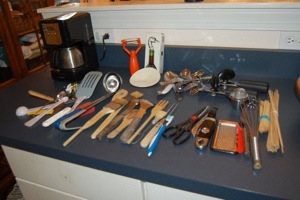
There were 3 can openers, 5 basting brushes, 4 ladles, 2 whisks, at least 8 mixing spoons, and a large assortment of mismatched silverware, and a toothbrush, to name but a few. I culled the trash, the duplicates, and the unused. When I was done, this is what did not renter the drawers;

20130123-220549.jpg

I'm pretty happy with the results.

Jewelry Organization

Since I started working full time, the clothing I wear on a regular basis has changed quite a bit. While at home I could spend the day in yoga pants and free of makeup, but at work it is different. At work I need to look somewhat professional. I need to wear clothes that fit, and makeup, and accessories. Dressing professionally, especially accessorizing, does not come naturally to me. Jewelry is especially difficult for me. As I have struggled to find an accessory that matched my outfit every morning, I realized that trying to dig through a jumble of jewelry wasn't really helping me, and I began searching for a better way - that also didn't cost an arm and a leg.

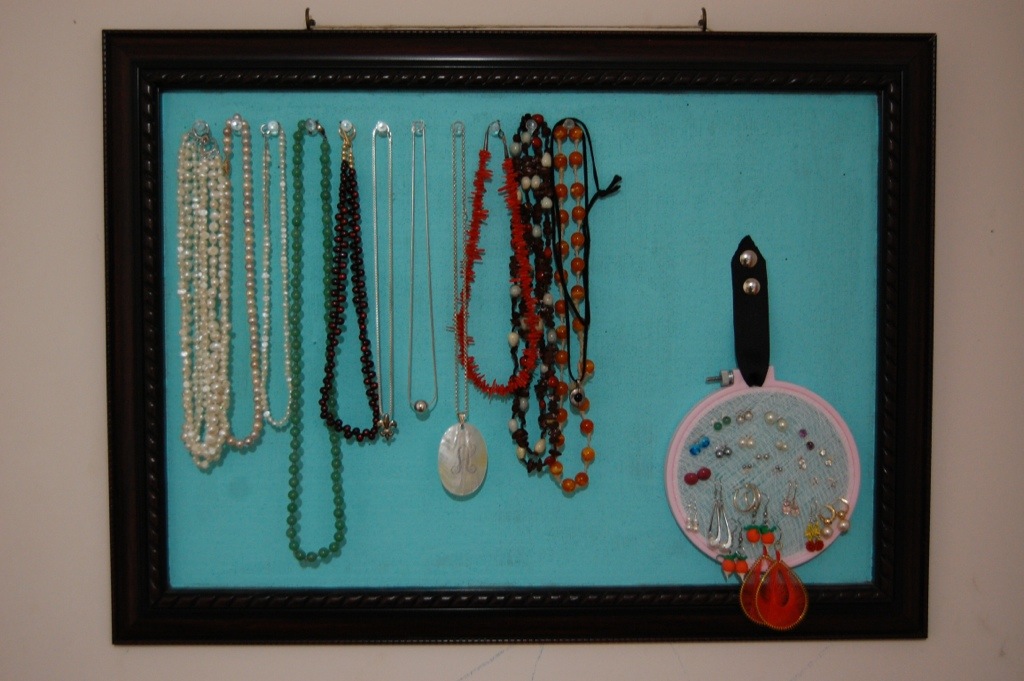
Jewelry boxes were out since I don't have enough counter space to house one. I needed something that utilized wall space. I found several wall mounted jewelry armoires that were lovely, but they were also pricy. So instead, I took my inspiration from some of the DIY versions I spotted on Pinterest. The problem with most of these was the lack of storage for stud type earrings. So I improvised. Here is the result;

20130123-091800.jpg

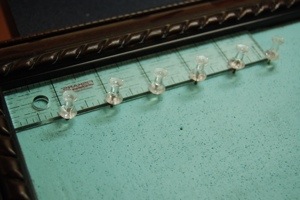
To make it, I used a cork board that I already had, and had already painted blue, some push pins, a small embroidery hoop, cheese cloth, and some ribbon. Since I already had everything on hand, the cost was $0. Using a ruler I spaced the push pins 1 inch from the sides of the frame, and 1 inch apart.

20130123-091215.jpg I placed several layers of cheese cloth in the embroidery hoop, and cut off the excess. Then I mounted the hoop to the board with a length of ribbon and some pins, which allowed the back to be easily accessed.

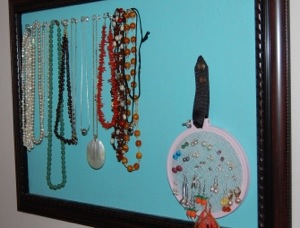
I am pretty happy with the result. It easily holds my meager jewelry collection, and keeps it easily accessible when I need it.

20130123-092005.jpg

Routine

20130115-125840.jpg (A lady bug out during lunch today.)

Yesterday was Fire Beard's first day back at school. I was home sick. I know I probably had one of the many stomach bugs that seem to be going around, but the thought of him away from home for yet another semester, also makes me feel ill.

Today I am back to my normal, husband-less routine, and I thought I would share it with you. Unlike most craft bloggers I currently work full time away from the house, like many of you probably do. While my routine probably isn't very different from anyone else's , I think my routine might give those of you who are trying to squeeze in crafting time some insight into how I do it.

A typical work day;

5:30 am - My alarm goes off, trying to get me to work out. I used to work out every other morning, and will probably start back soon. 6:00 am - I finally drag myself out of bed. My clothes are already laid out, ironed and ready to go from the night before. By the time I finish getting dressed, hair and make up, my coffee (also set up the night before) is finished brewing. This is also about the time my kids get up and start their chores, feeding the pets. Breakfast generally consists of a baked egg,oatmeal, or bagel. A load of laundry and/or dishes is changed out, then the kids are snuggled a bit before their grandma comes to get them from next door. 7:15 I grab my lunch (also made the night before), coffee, and bag, then I'm out the door. 8:00 Work 12:00 My lunch time varies, but it's generally around noon. I usually head off to my favorite shady picnic table and eat, read, knit, or blog. I find this time of day very therapeutic. 1:00 Back to work 5:00 My nearly 1 hour commute begins. I know it could be worse, but I live in a fairly small town. 6:00 Home, dinner, homework, time with the kids. 7:00 The bedtime routine begins. The kids clean up after themselves, take showers, get dressed, and brush teeth. While the oldest is in the shower I get ready for the next day, making my lunch, ironing clothes, and making my coffee. Then bedtime stories, and prayers. 8:30 The kids are asleep. I finish cleaning what needs to be cleaned (generally not too much since I try to clean as I go), then it's my time. I generally pick my craft, or lack of craft by the mood I'm in. Whatever sewing project is in progress if I'm feeling industrious, knitting or spinning if I need to relax, or nothing if I'm really exhausted. I try to have a project ready to pick up and go. 10:30 Bedtime.

Culling Christmas

Yesterday was the 12th and final day of Christmas, and the day I took down my christmas decorations. To me, nothing symbolizes the end of the holiday season, and the start of the new year quite like taking down the Christmas decorations. It feels like wiping the slate clean, beginning anew, and a great time to initiate new and better habits. While I, like many people, want to eat healthy and exercise more in 2013, what I want to do more than anything else is reduce the physical and mental clutter in my life. I started this year, by eliminating some of the clutter in my christmas decor.
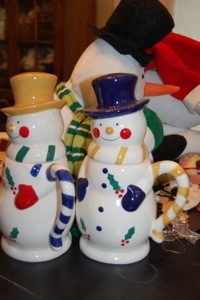
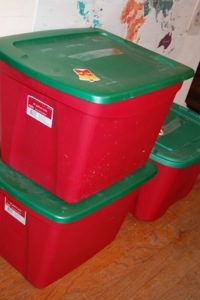
20130107-131435.jpg When my husband and I first got married we had virtually no christmas decorations. I made some bows for the doors, and bought a box of miniature ball shaped christmas ornaments for our 1 foot tall tree. Our collection of Christmas decorations has grown since then, and on this, our 8th married christmas, I lugged out of the garage 4 large storage containers of decorations, 1 small storage container of christmas decorations, a wreath box, and 2 small artificial christmas trees (a larger artificial tree stayed in the garage).

A few years ago I began to realize that not all of the decorations came out of all of the boxes every year, so I started removing those that were never used from our collection. The problem is that we continued to receive more decorations every year, and the net result was still addition to the collection, rather than subtraction. This year I was far more radical in my culling and I am proud to say that 1 large store box, 1 small storage box, and a large artificial christmas tree will not be making their way back into my garage this year!
20130107-131532.jpg

This is how I did it; First I eliminated all of those decorations that were never used, and I didn't really care for. These were often those decorations given to me at the beginning of my marriage by friends or relatives that knew I had few christmas decorations. These were generally cast offs from their own collections, given to help me start my own.

Next, I eliminated those decorations that I liked, but were not used either because they didn't match the rest of my decor, or I never had occasion to use them. For instance, my family rarely drinks tea, so a tea pot shaped like a gingerbread house, while adorable, was not a useful part of my collection.

Next, I eliminated those decorations that were unused, but had been hanging around since childhood. These were some of the ornaments I had made in elementary school that were not special, and I had no attachment to, they were simply there, because they had always been there.

Last, I took a hard look at the remaining decorations. Everything that didn't make me smile or feel warm and fuzzy inside, Everything that didn't have meaning and purpose, was then eliminated.

I was left boxes full of objects that I have for a reason, they are special, meaningful, useful, and beautiful, and I know I will be happy to see the contents of these boxes next year!

Gift Giving Lessons

This holiday season, like most holiday seasons, I ended up with many gifts I loved, and I few I'm not so keen on. I also gave a few gifts that the recipients were not so keen on (kids don't keep these things to themselves). In an effort to avoid poor gift giving decisions next year, I am cataloguing the lessons learned this gift giving season for future reference.

20130104-131009.jpg

Lesson 1: Unless you are a professional fashion designer or stylist, and know the size and style of the person you are buying for, don't buy clothing. It is inevitably the wrong size, style, color, or fit. If you need to give clothing, accessories in neutrals are safest. You can't really go wrong with a pair of black gloves and a matching cozy hat.

Lesson2: Sometimes the things they like the most, are not the things they ask for. Firebeard's grandparents gave my daughter a magic kit. She had never previously expressed an interest in magic, but she has played with almost nothing else ever since.

Lesson3: Getting what they ask for doesn't guarantee they will like their present. My daughter asked for a diary for Christmas, so I got her a really cool one, with great reviews on amazon. She hated it. She didn't want a cool diary, she wanted a pad of paper.

Lesson 4: Even kids appreciate digital gifts. My son has played with the "barefoot atlas" app the good doctor gave him for hours at a time.

Lesson 5: If you are at a loss for what to give, a luxurious, yet practical gift, like fancy soaps or shaving cream, will almost always be appreciated. I became very ill Christmas evening. Laying on the couch under a stack of blankets and cuddling a heating pad, the only gift I was thinking about was the thick cuddly pair of socks I had received earlier in the day.

Lesson 6: Giving nothing is better than giving something unwanted.