The Small Shoulder Adjustment

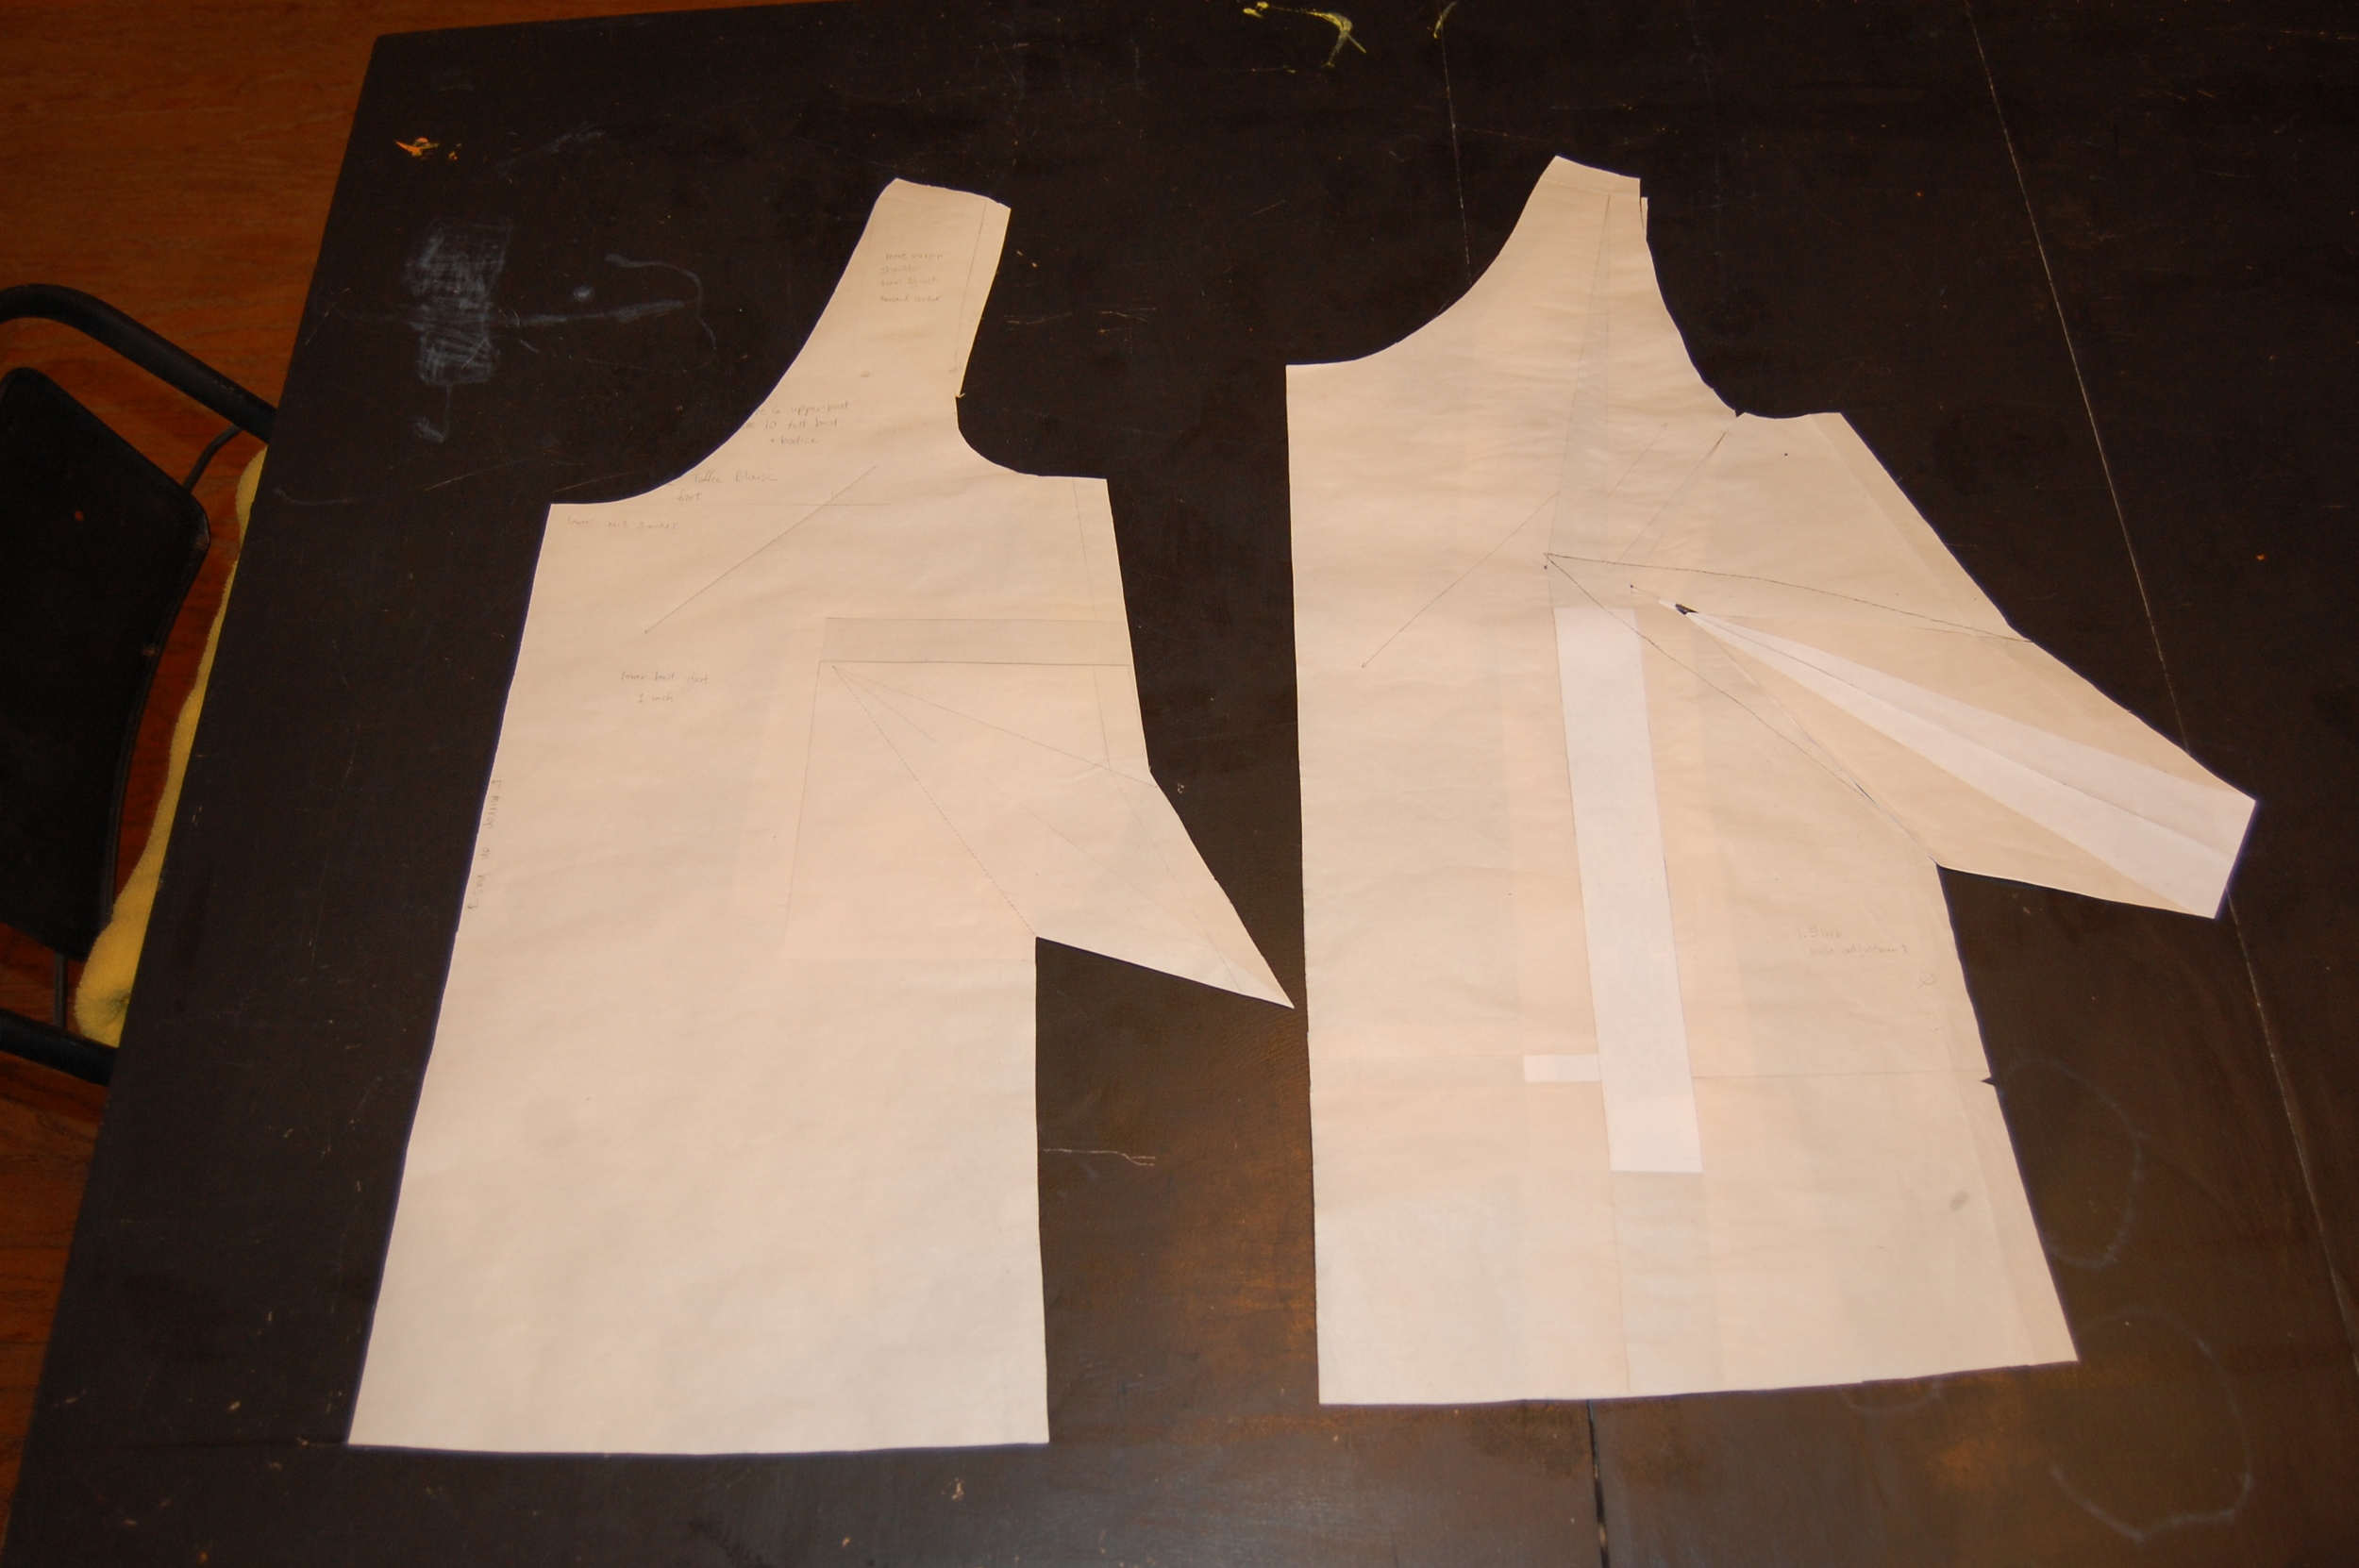
As I said in my previous post, while working on the Taffy blouse from Colette Patterns I became a bit disenchanted with the Full Bust Adjustment, and decided to try the small shoulder adjustment instead. It worked beautifully, and now I am ready to share with you the method and the results. I began by copying the front and back bodice pieces that corresponded to my full bust measurement. On the copy I also traced the upper portion of the pattern size corresponding to my high bust measurement. At the bottom of the armscye, I blended the smaller shoulder into the larger side seam. This new line was my new armscye.

If the length of the new armscye was more than 1.5 inches bigger than the sleeve, then the sleeve cap would have to be adjusted to compensate for the new size of the armsyce as well. Fortunately, that was not the case with this sleeve cap, and no adjustments had to be made. Frankly the idea of adjusting the sleeve cap of this bizarrely shaped sleeve is the stuff of nightmares, and I thanked God that it didn't have to be adjusted.

The initial tissue fitting indicated that I was pretty close to a great fit, and a muslin indicated that it was nearly perfect. Here is the result.

dsc_0198

dsc_0198

I think that a comparison of the FBA adjustment and the small shoulder adjustment makes the difference in fit pretty apparent. The armsyce is really distorted after the large FBA, but looks pretty normal after the small shoulder adjustment.

dsc_0201

dsc_0201

Like nearly all pattern adjustments the small shoulder adjustment can be done in more than one way. My way, is simply that, my way. It is not necessarily the best way, or the "correct" way, but it is what worked for me, and I will continue using it, until I find something that works better.

Colette Taffy Blouse - Adapting the Sleeves

The Taffy Blouse, from The Colette Sewing Handbook.

My latest crafty endeavor is the Colette Taffy Blouse, which, given my limited crafty time and exacting standards, took me over a month to complete. While I will try to cover a few of the reasons it took me so long over several posts, today I will only be covering the sleeves.

The Sleeves of the Colette Taffy Blouse are, as you can see, quite voluminous. While they are very pretty, frankly, they are a bit much for my taste. So I decided to make the full circle sleeves half circles. I will show the the first step in that process today.

First I traced the original full circle pattern piece. I trace all of my pattern pieces before I make any adjustments so that I can go back to the original if I make any mistakes and so I can make a different size in the future.

I started to adjust the pattern by making evenly spaced cuts through the sleeve, up to but not through the seam line. I mirrored these cuts in the seam allowance, again, not cutting through the seam line. Keeping the seam line intact keeps the armscye intact, so that the armscye on the blouse portion of the pattern doesn't have to be adjusted as well.

Then I overlapped my cuts evenly and taped them in place.

It is worth noting at this point that I could have also simply cut a large wedge shape from the center of the sleeve and taped the exposed ends back together. The reason I didn't do this is that the sleeve ins't a perfect circle, and while taking a piece out of the middle would have reduced it's bulk, it would also change it's shape. Reducing the sleeve evenly around it's circumference better retains it's shape.

When finished, the pattern looked something like this.

In the final version I further decreased the bulk of the sleeve and extended it's length by several inches.