Colette Taffy Blouse - Adapting the Sleeves
/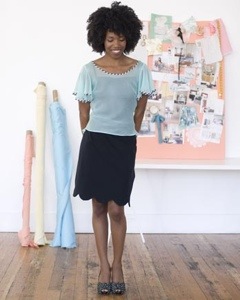
The Taffy Blouse, from The Colette Sewing Handbook.
My latest crafty endeavor is the Colette Taffy Blouse, which, given my limited crafty time and exacting standards, took me over a month to complete. While I will try to cover a few of the reasons it took me so long over several posts, today I will only be covering the sleeves.
The Sleeves of the Colette Taffy Blouse are, as you can see, quite voluminous. While they are very pretty, frankly, they are a bit much for my taste. So I decided to make the full circle sleeves half circles. I will show the the first step in that process today.

First I traced the original full circle pattern piece. I trace all of my pattern pieces before I make any adjustments so that I can go back to the original if I make any mistakes and so I can make a different size in the future.
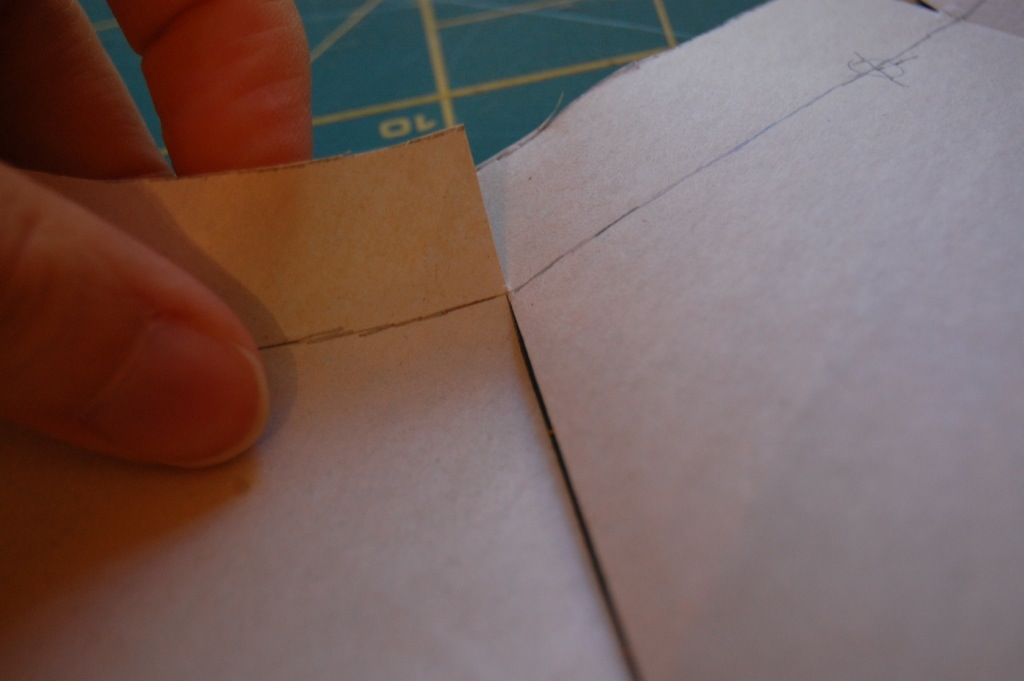
I started to adjust the pattern by making evenly spaced cuts through the sleeve, up to but not through the seam line. I mirrored these cuts in the seam allowance, again, not cutting through the seam line. Keeping the seam line intact keeps the armscye intact, so that the armscye on the blouse portion of the pattern doesn't have to be adjusted as well.

Then I overlapped my cuts evenly and taped them in place.
It is worth noting at this point that I could have also simply cut a large wedge shape from the center of the sleeve and taped the exposed ends back together. The reason I didn't do this is that the sleeve ins't a perfect circle, and while taking a piece out of the middle would have reduced it's bulk, it would also change it's shape. Reducing the sleeve evenly around it's circumference better retains it's shape.
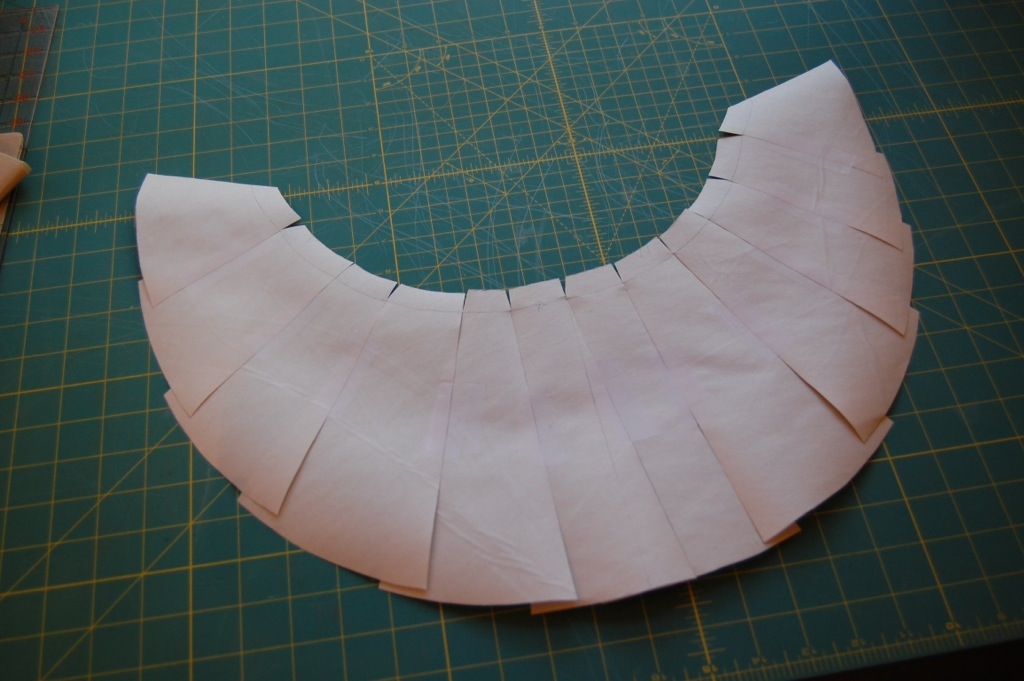
When finished, the pattern looked something like this.
In the final version I further decreased the bulk of the sleeve and extended it's length by several inches.


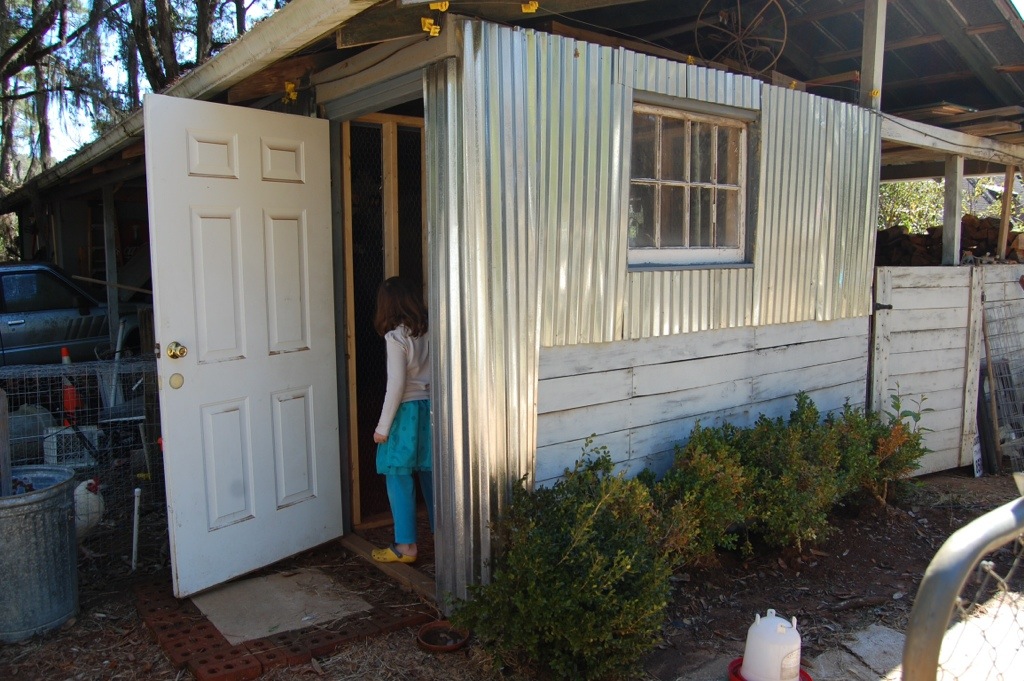
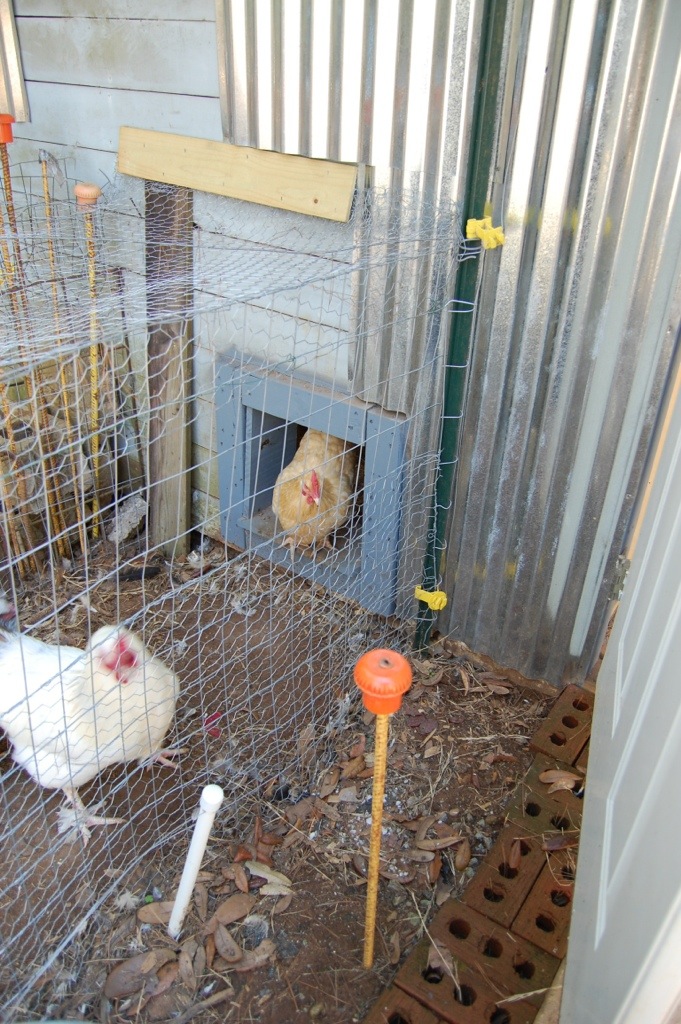
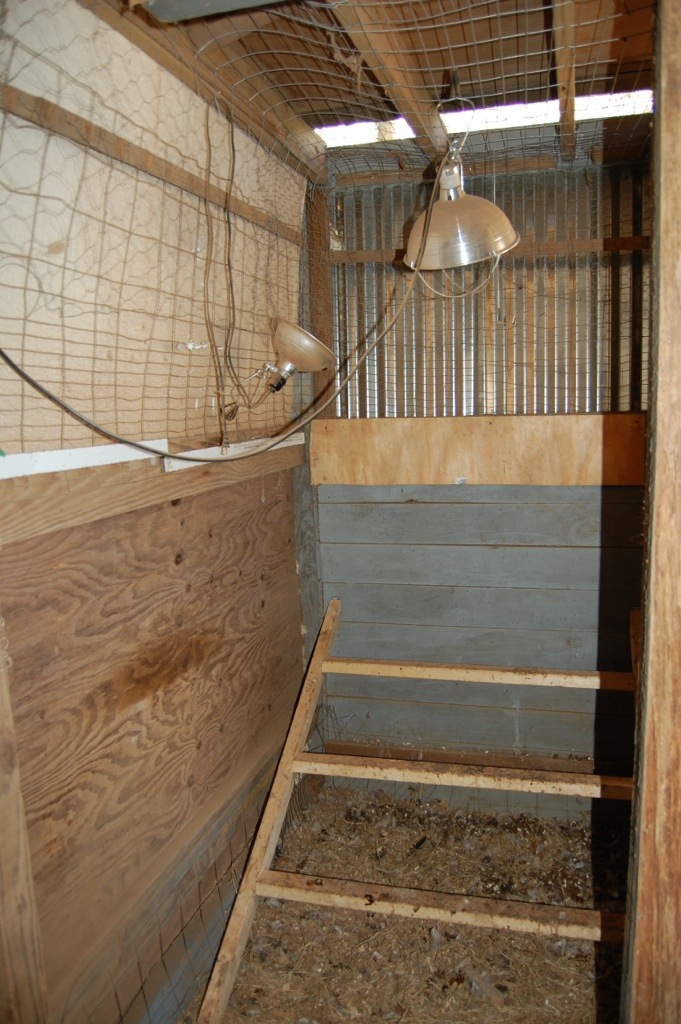


 After yesterday's pic of the babies in their brooder box, I thought I would share a pic of the big girls (and boy) in their coop. As you can probably tell, the girl's coop, does not look like a standard coop. For one thing, it is 4 feet off of the ground, and for another, it is almost completely open. There is a rhyme in our reason however. We live in Florida, where it is very hot and very humid most of the year. Chickens tend to dislike very hot and moist environments, and suffer in those conditions. As a result, we decided to make a coop that would allow for maximum air flow reducing both heat and humidity. The reason the coop is 4 feet off the ground is that we have several large predators in the area, such a coyotes. We needed to keep the chickens far off the ground in their open coop. You may have also noticed that there does not appear to be a way for the chickens to get in to or out of the coop. Rest assured there is a way for them to come and go. The rope going from floor to ceiling in the coop is attached to a retractable ramp that extends down during the day, and is pulled up at night, and becomes part of the floor of the coop.

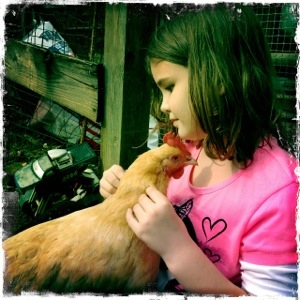
 On Easter Sunday, the Easter bunny left more than just eggs in our yard, he also left two adorable baby chicks. The kids found them in a basket with a note from the Easter bunny, asking the kids to give his chicks a good home.

 As I stated in a previous post, I have actually had more time to craft since I started working full time than I had prior to working full time, due to a period during my working hours my coworkers foolishly refer to as lunch time. I have more accurately dubbed this hour during my day craft time, and have used it to great advantage. One of the projects I have been able to complete during this time is the


