Mini Bathroom Remodel - Leaky Faucets No More
/
The first stop on our journey to a beautiful “new” bathroom, is changing out the tub faucets that have been dripping for months and driving me nuts (but not nuts enough to do anything about). The drip finally got bad enough that my conscience couldn’t let it go any longer, and we dropped some money on a tub faucet trim kit. The kit we got was the Danco 39696 Trim kit with Cross-Arm Handles for $45 on Amazon. I picked this one because the handles look a bit vintage, which is my favorite bathroom look, and it was significantly cheaper than buying all of the replacement parts piece by piece.

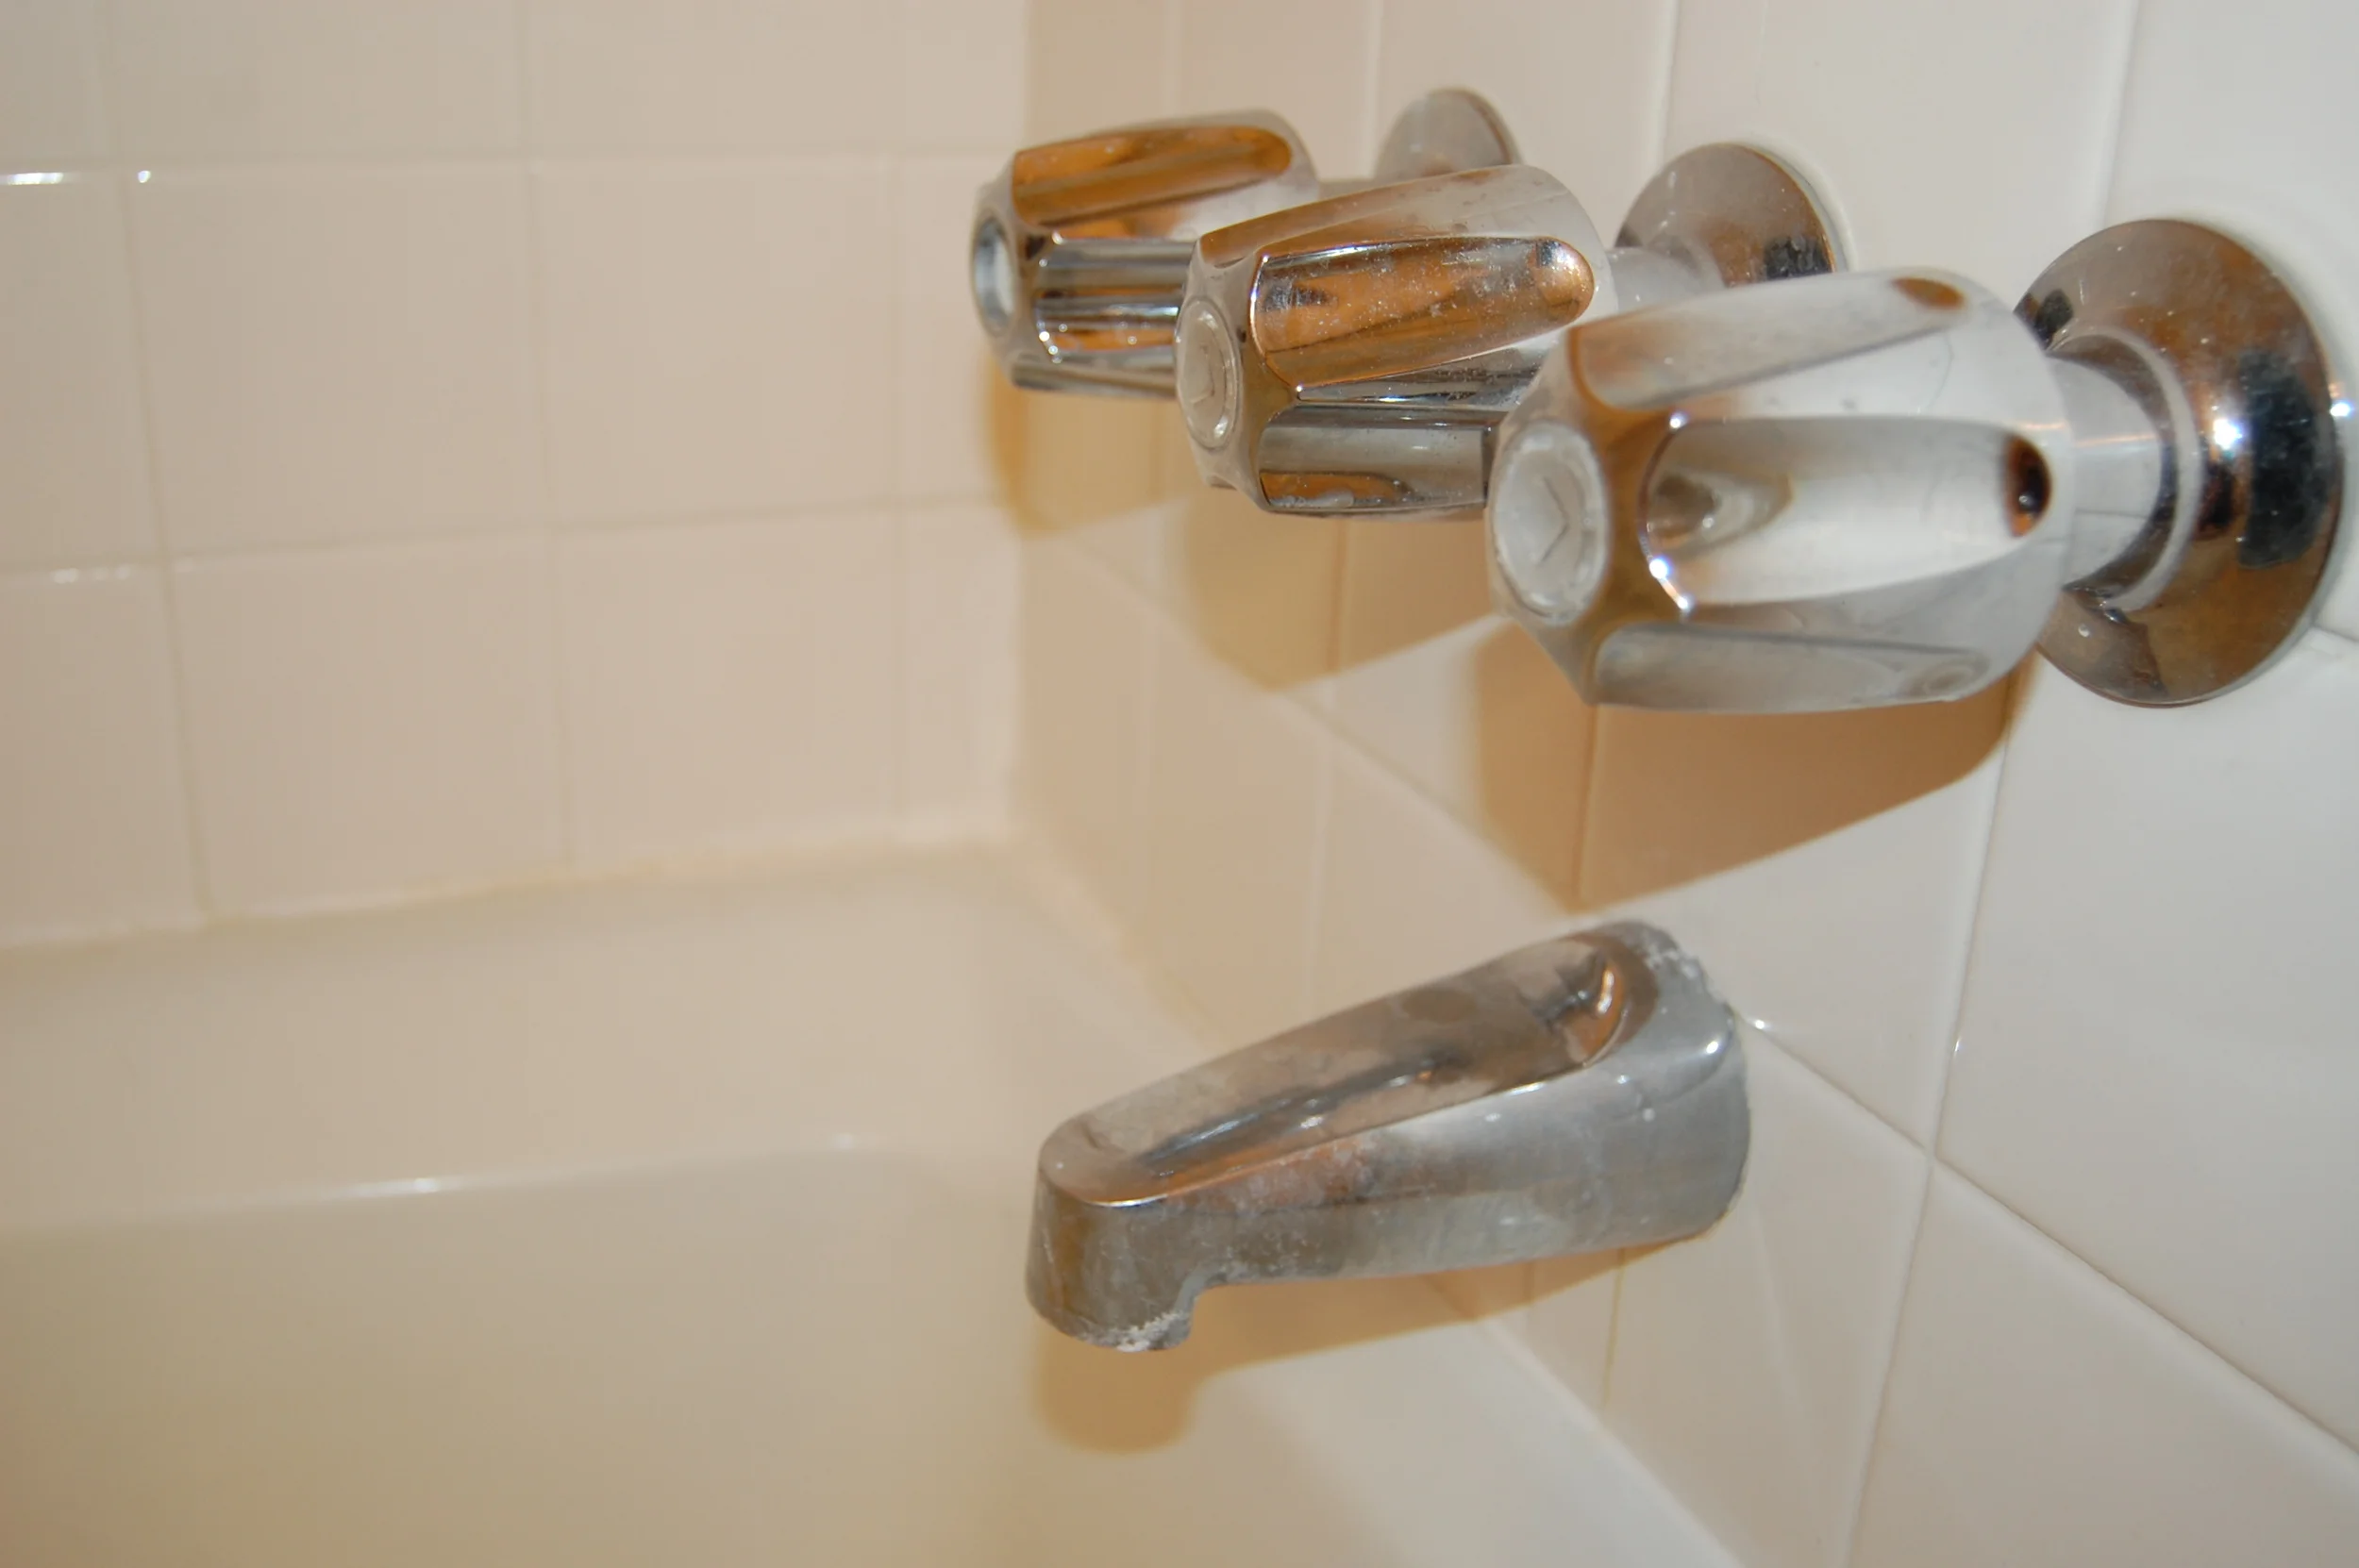
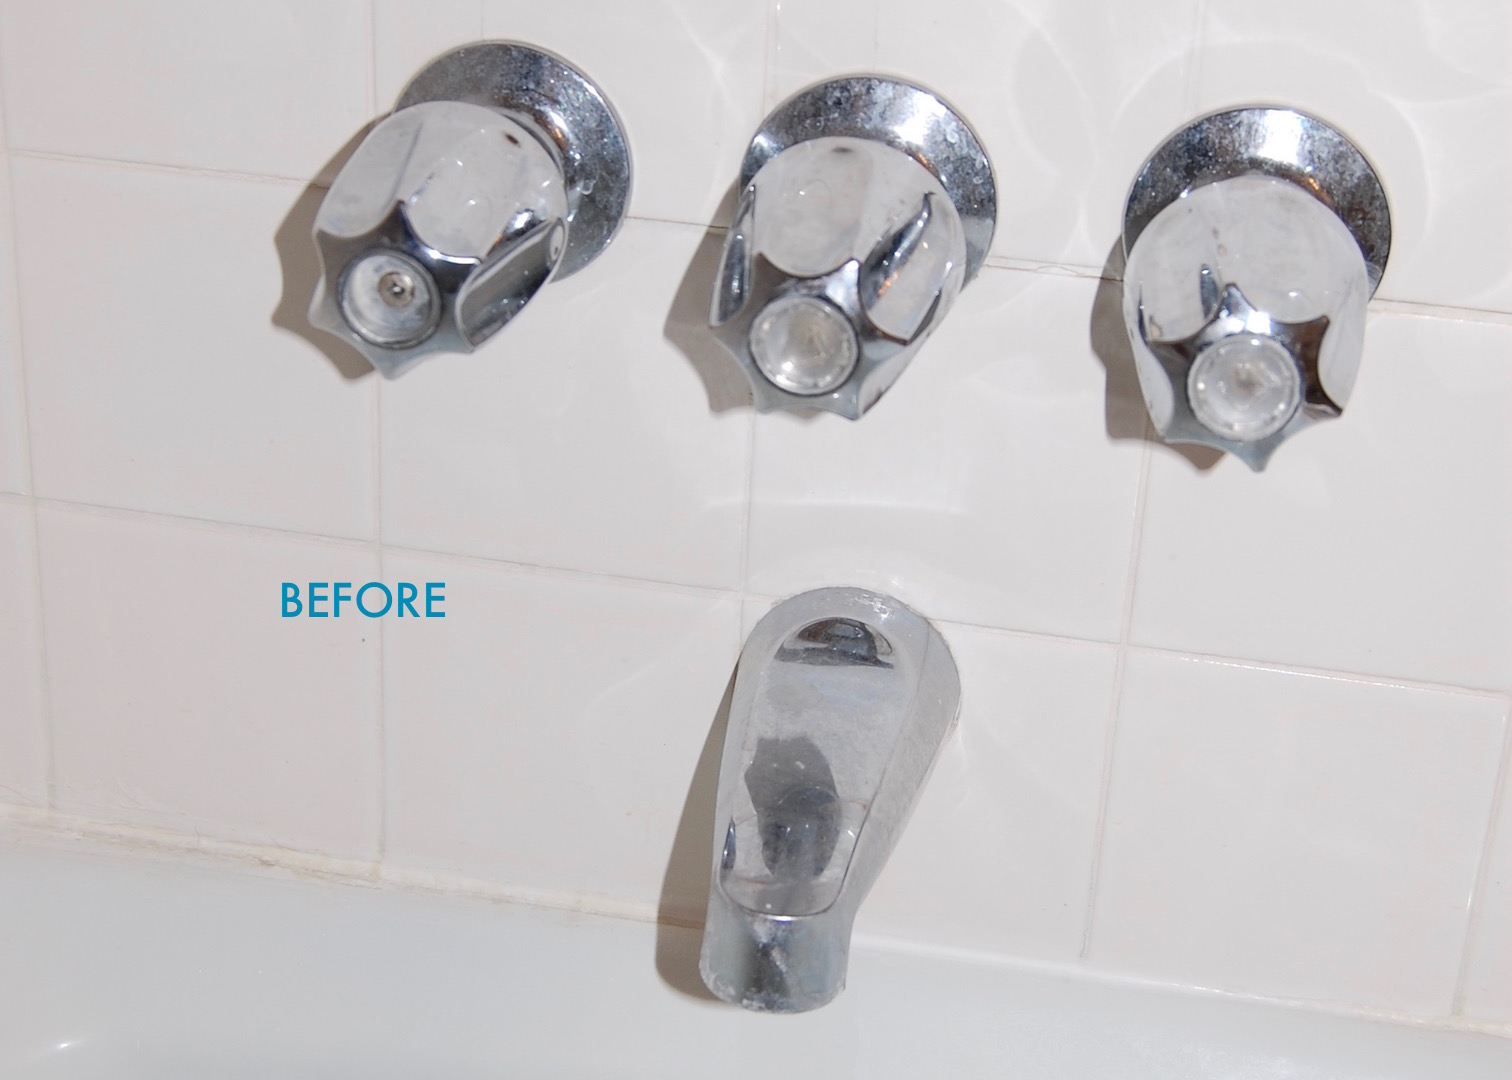
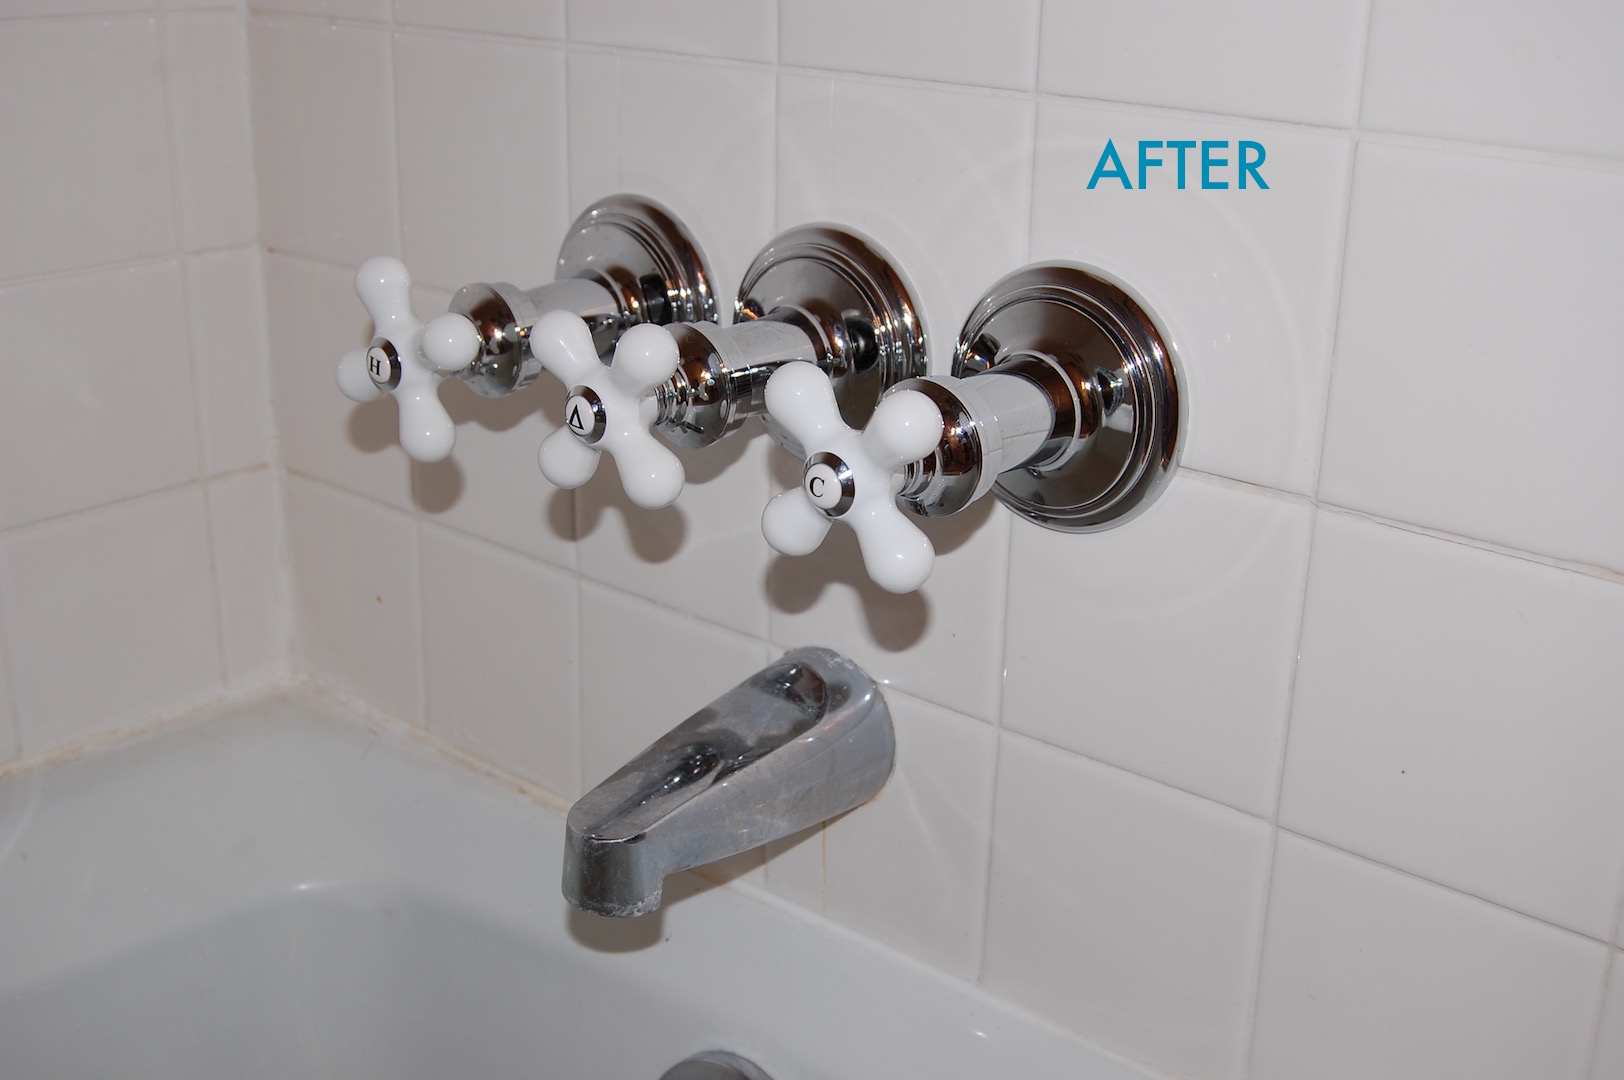
The Dance Tub/Shower Remodeling Kit. Check out the before and after. Tile magically transforms when the new faucets are installed!
I want to first say that if your tub faucets are dripping you probably don’t need entirely new tub faucets, you probably only need the washer that sits at the back of the stem where the stem connects to the water line (which is MUCH cheaper than changing out the whole faucet). Since our handles were ugly, our stems had seen better days, and our stem seats had been damaged from months of cranking down the handles to stop the leak, we decided to change out the whole assembly.
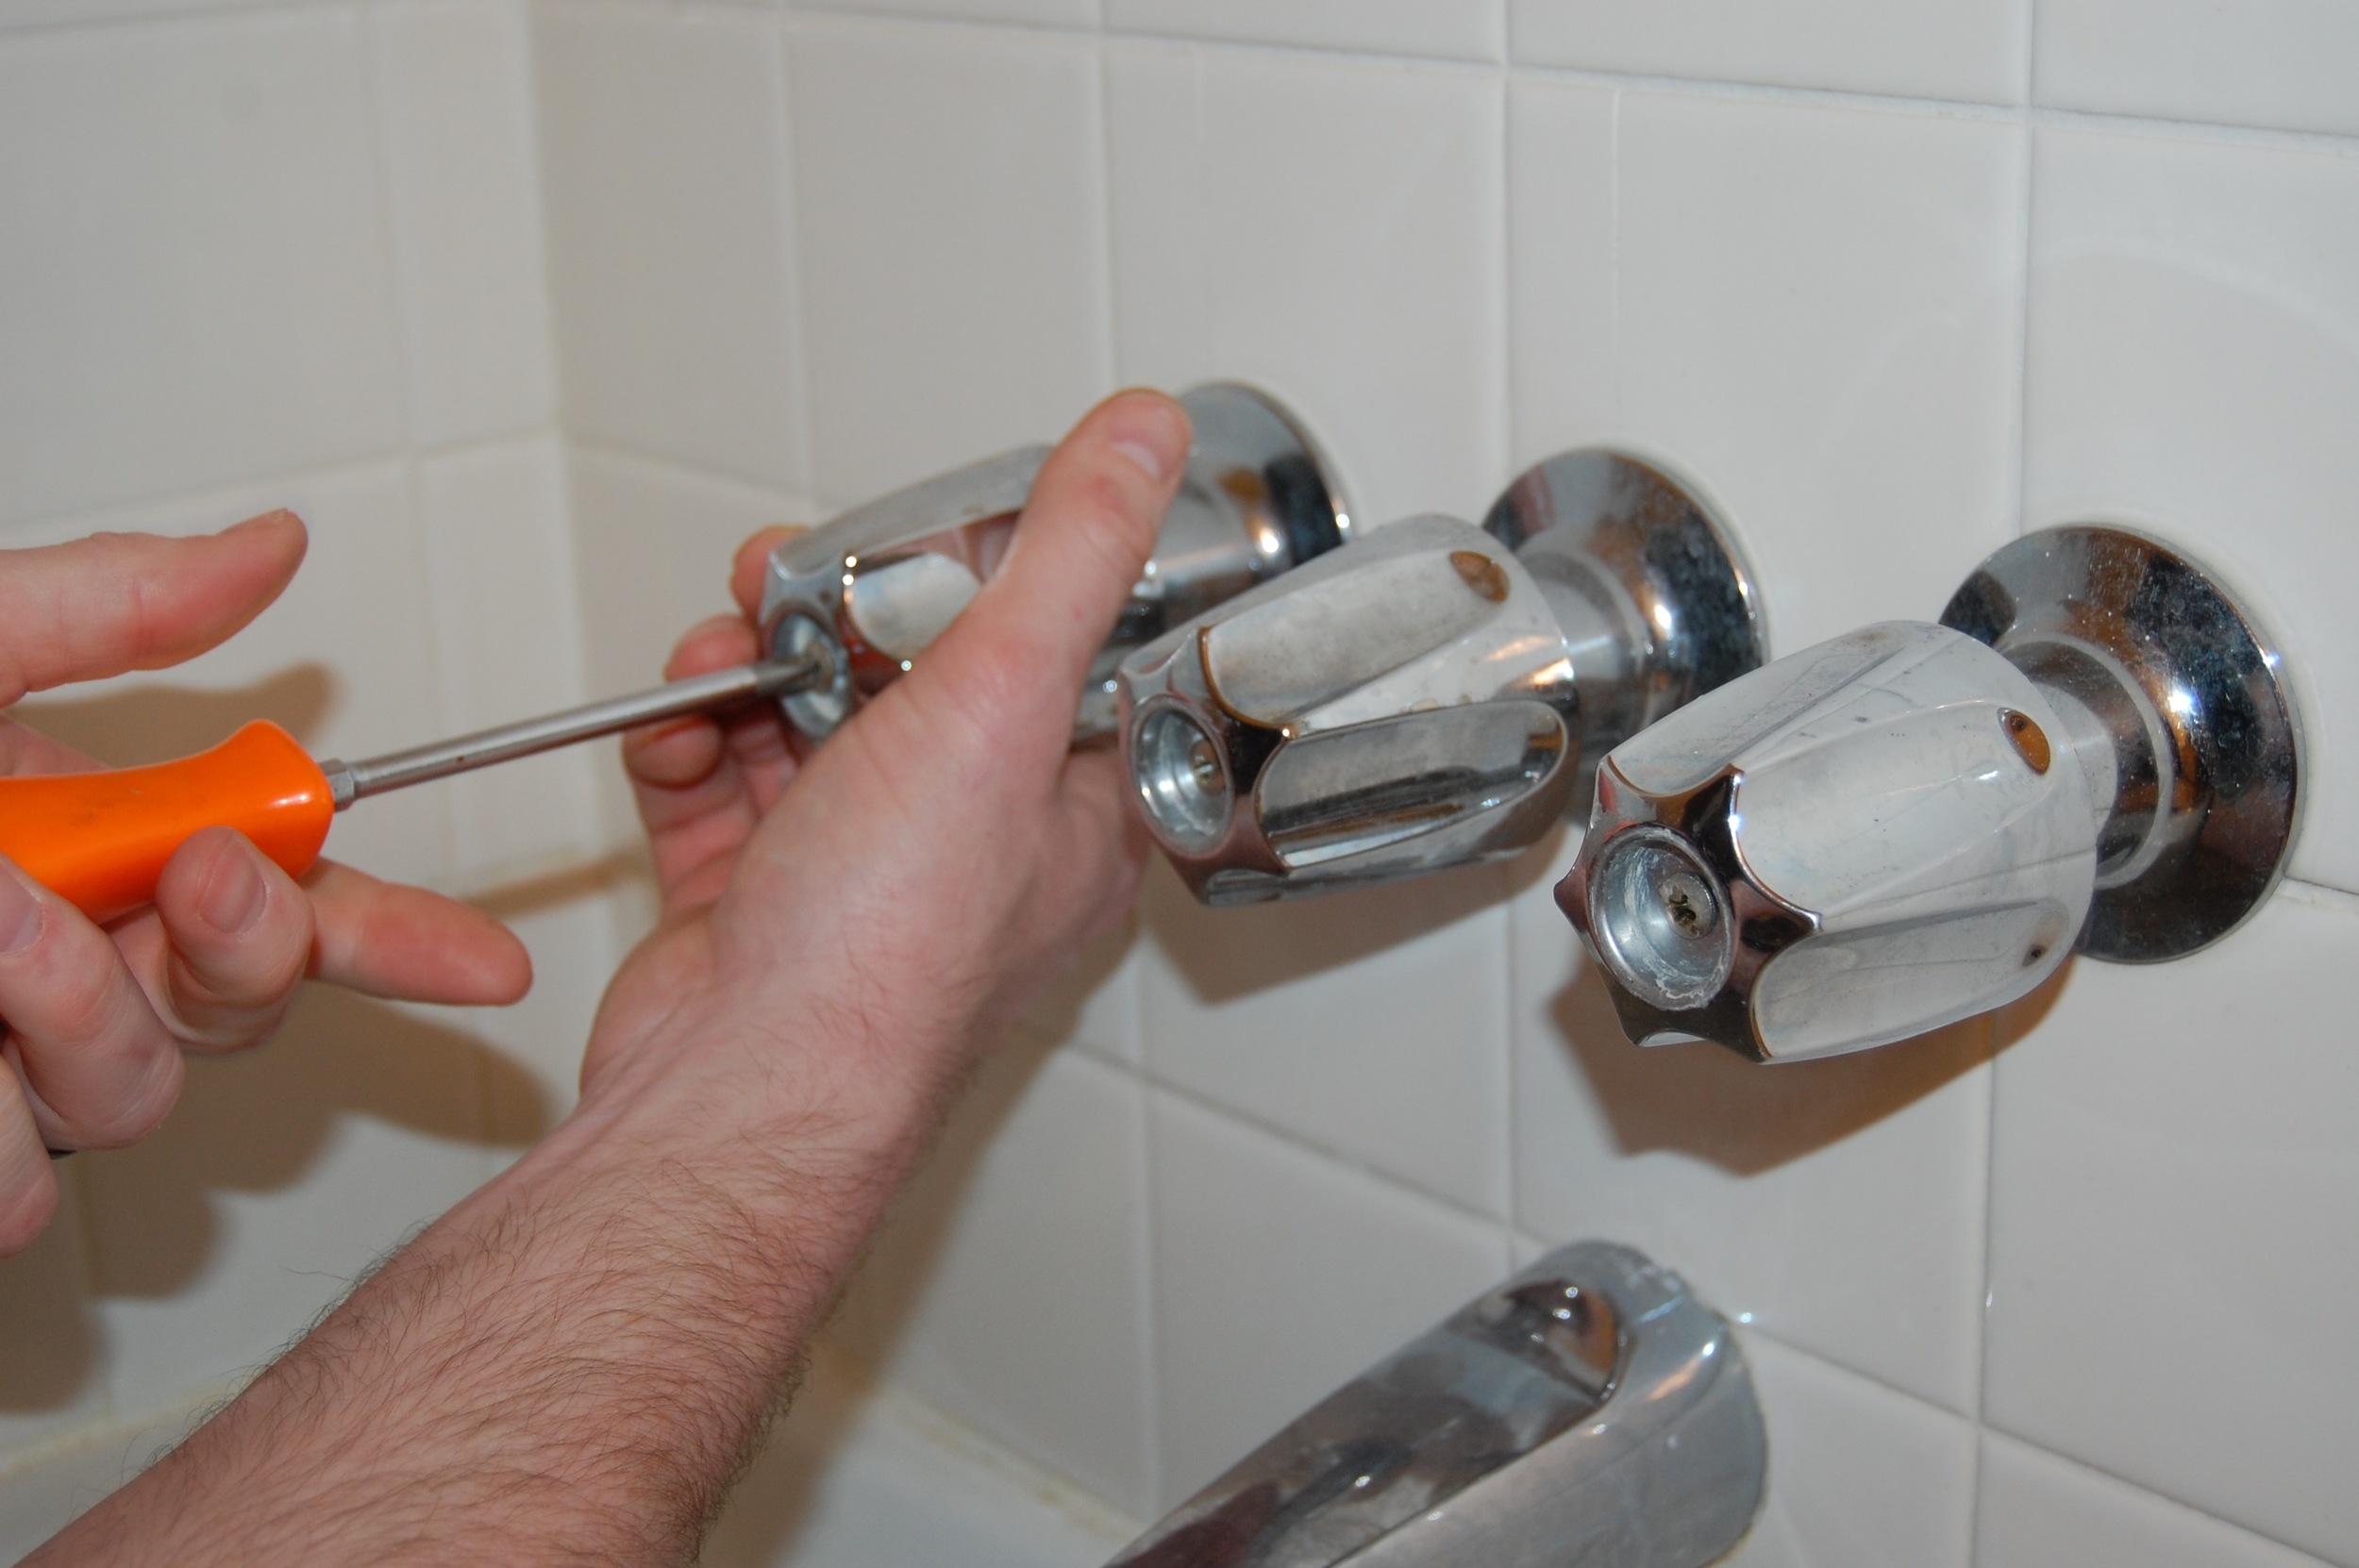
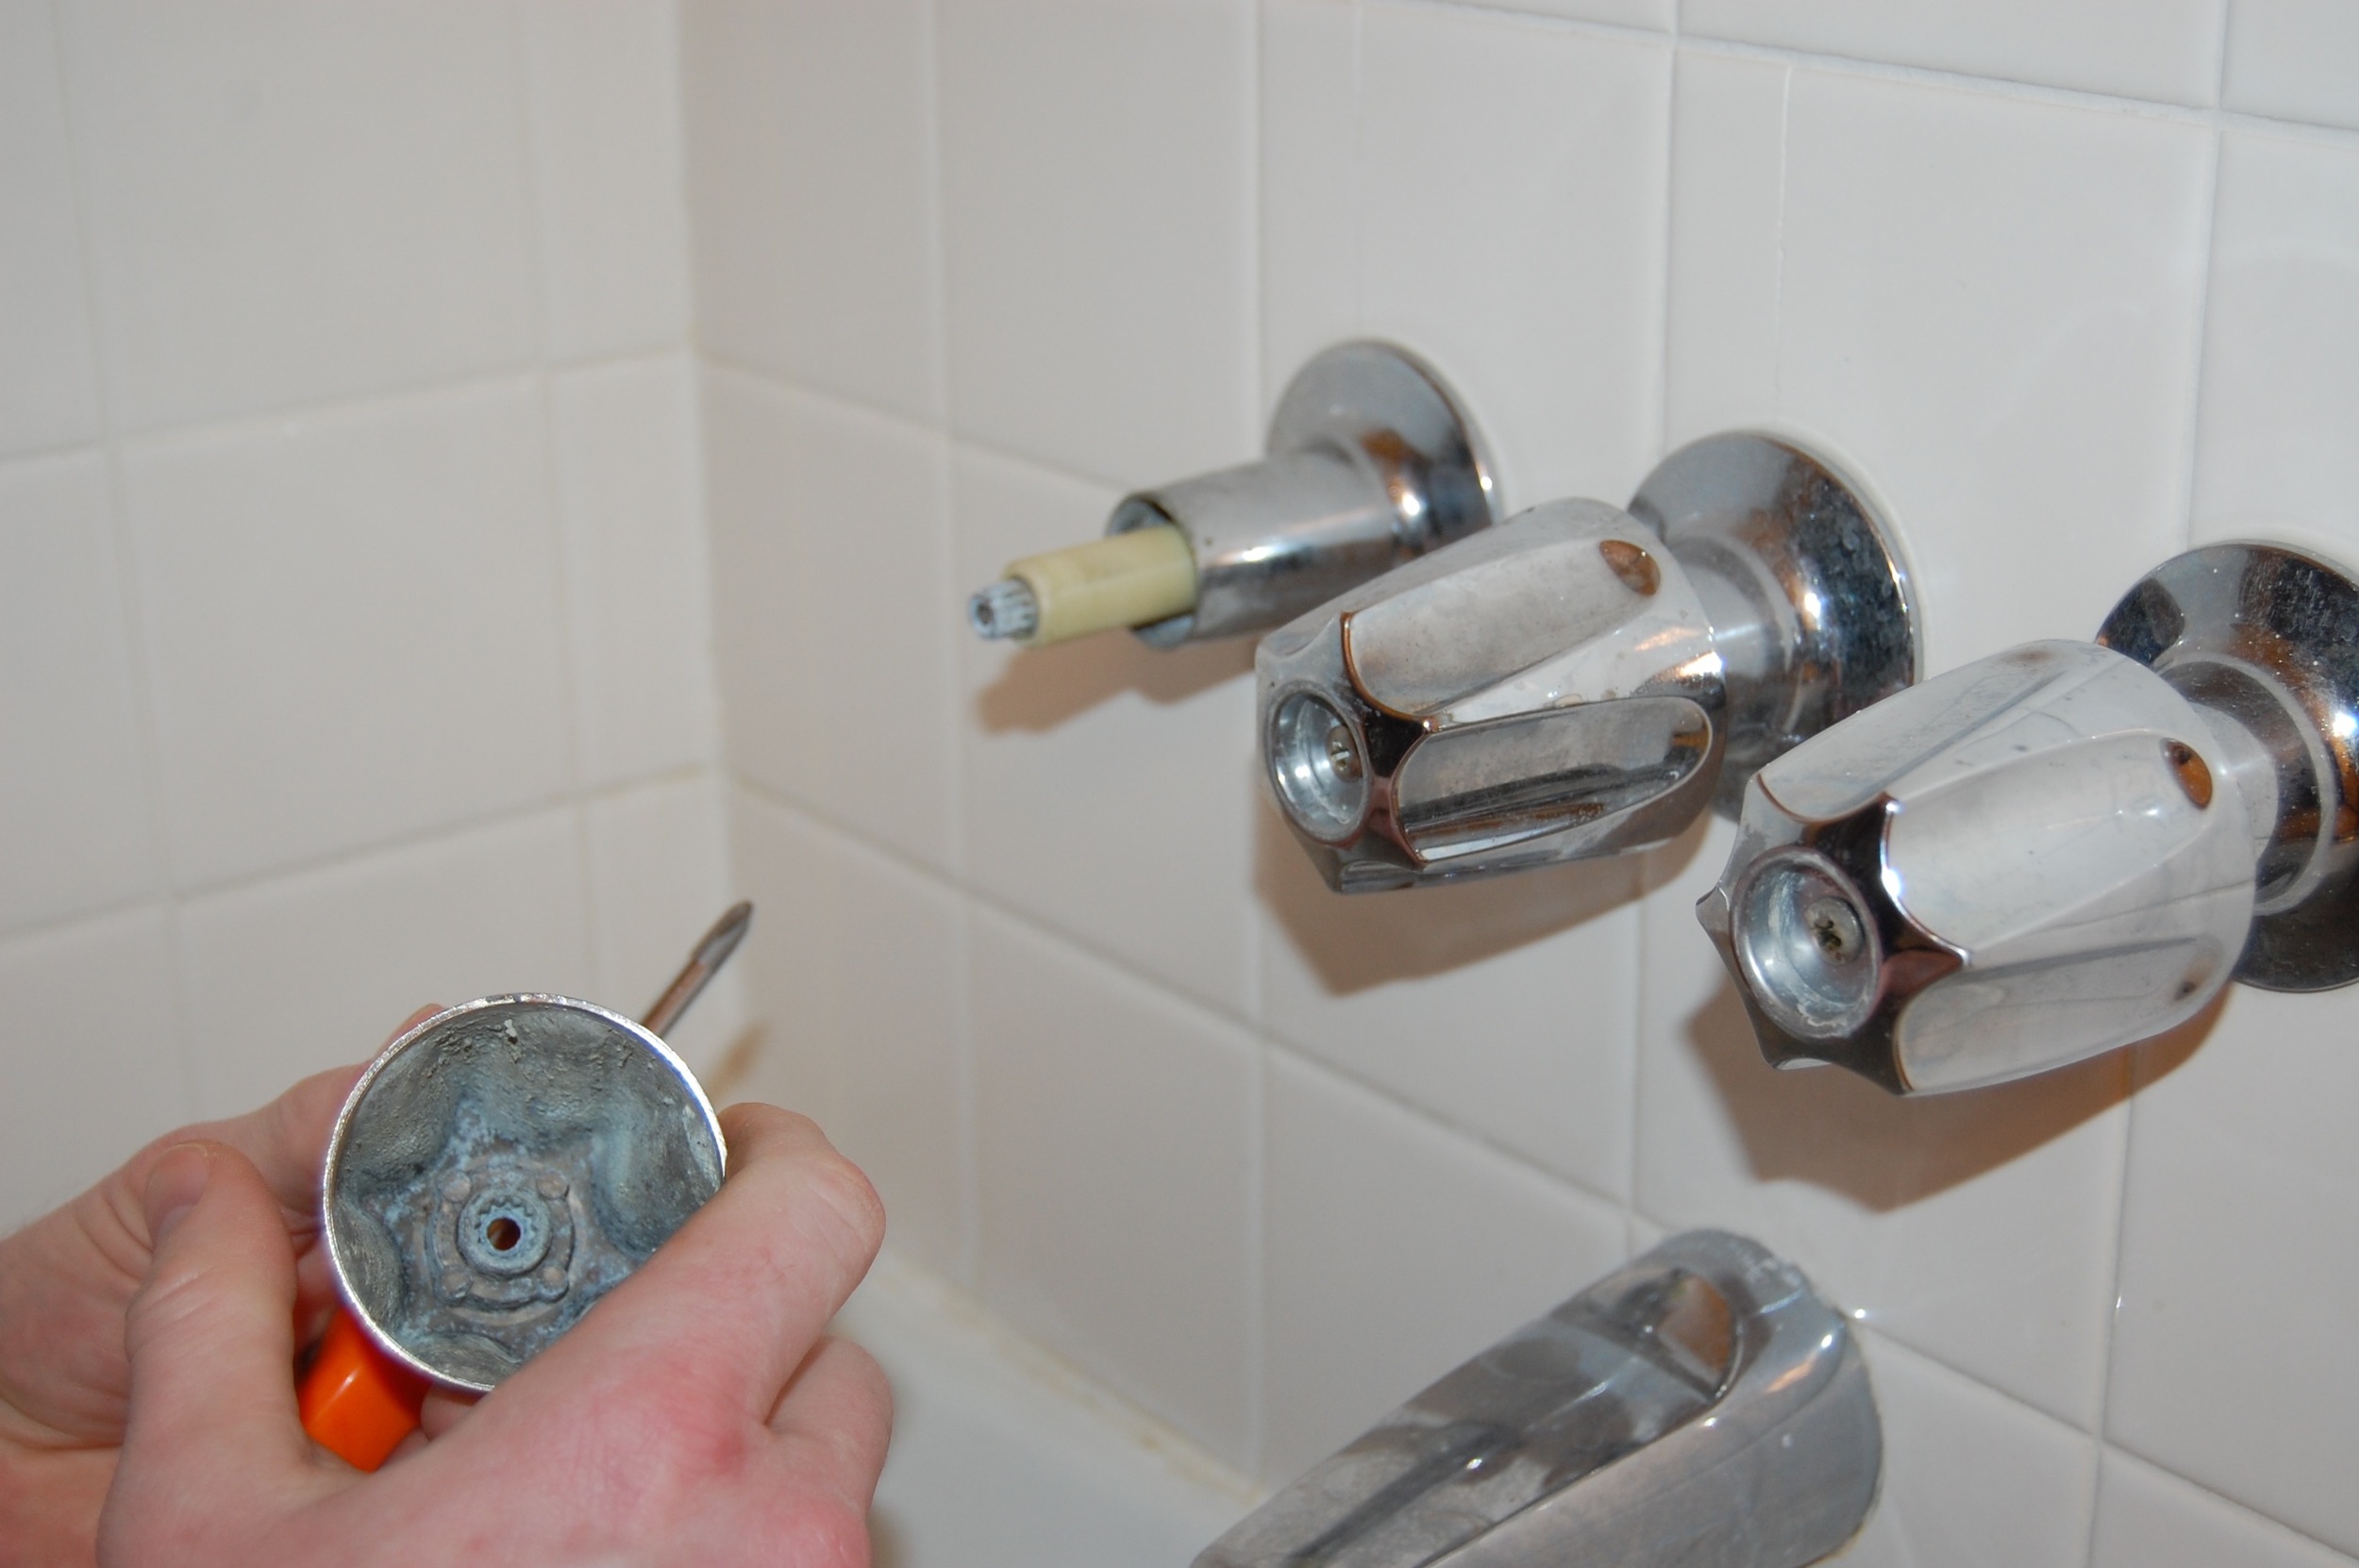

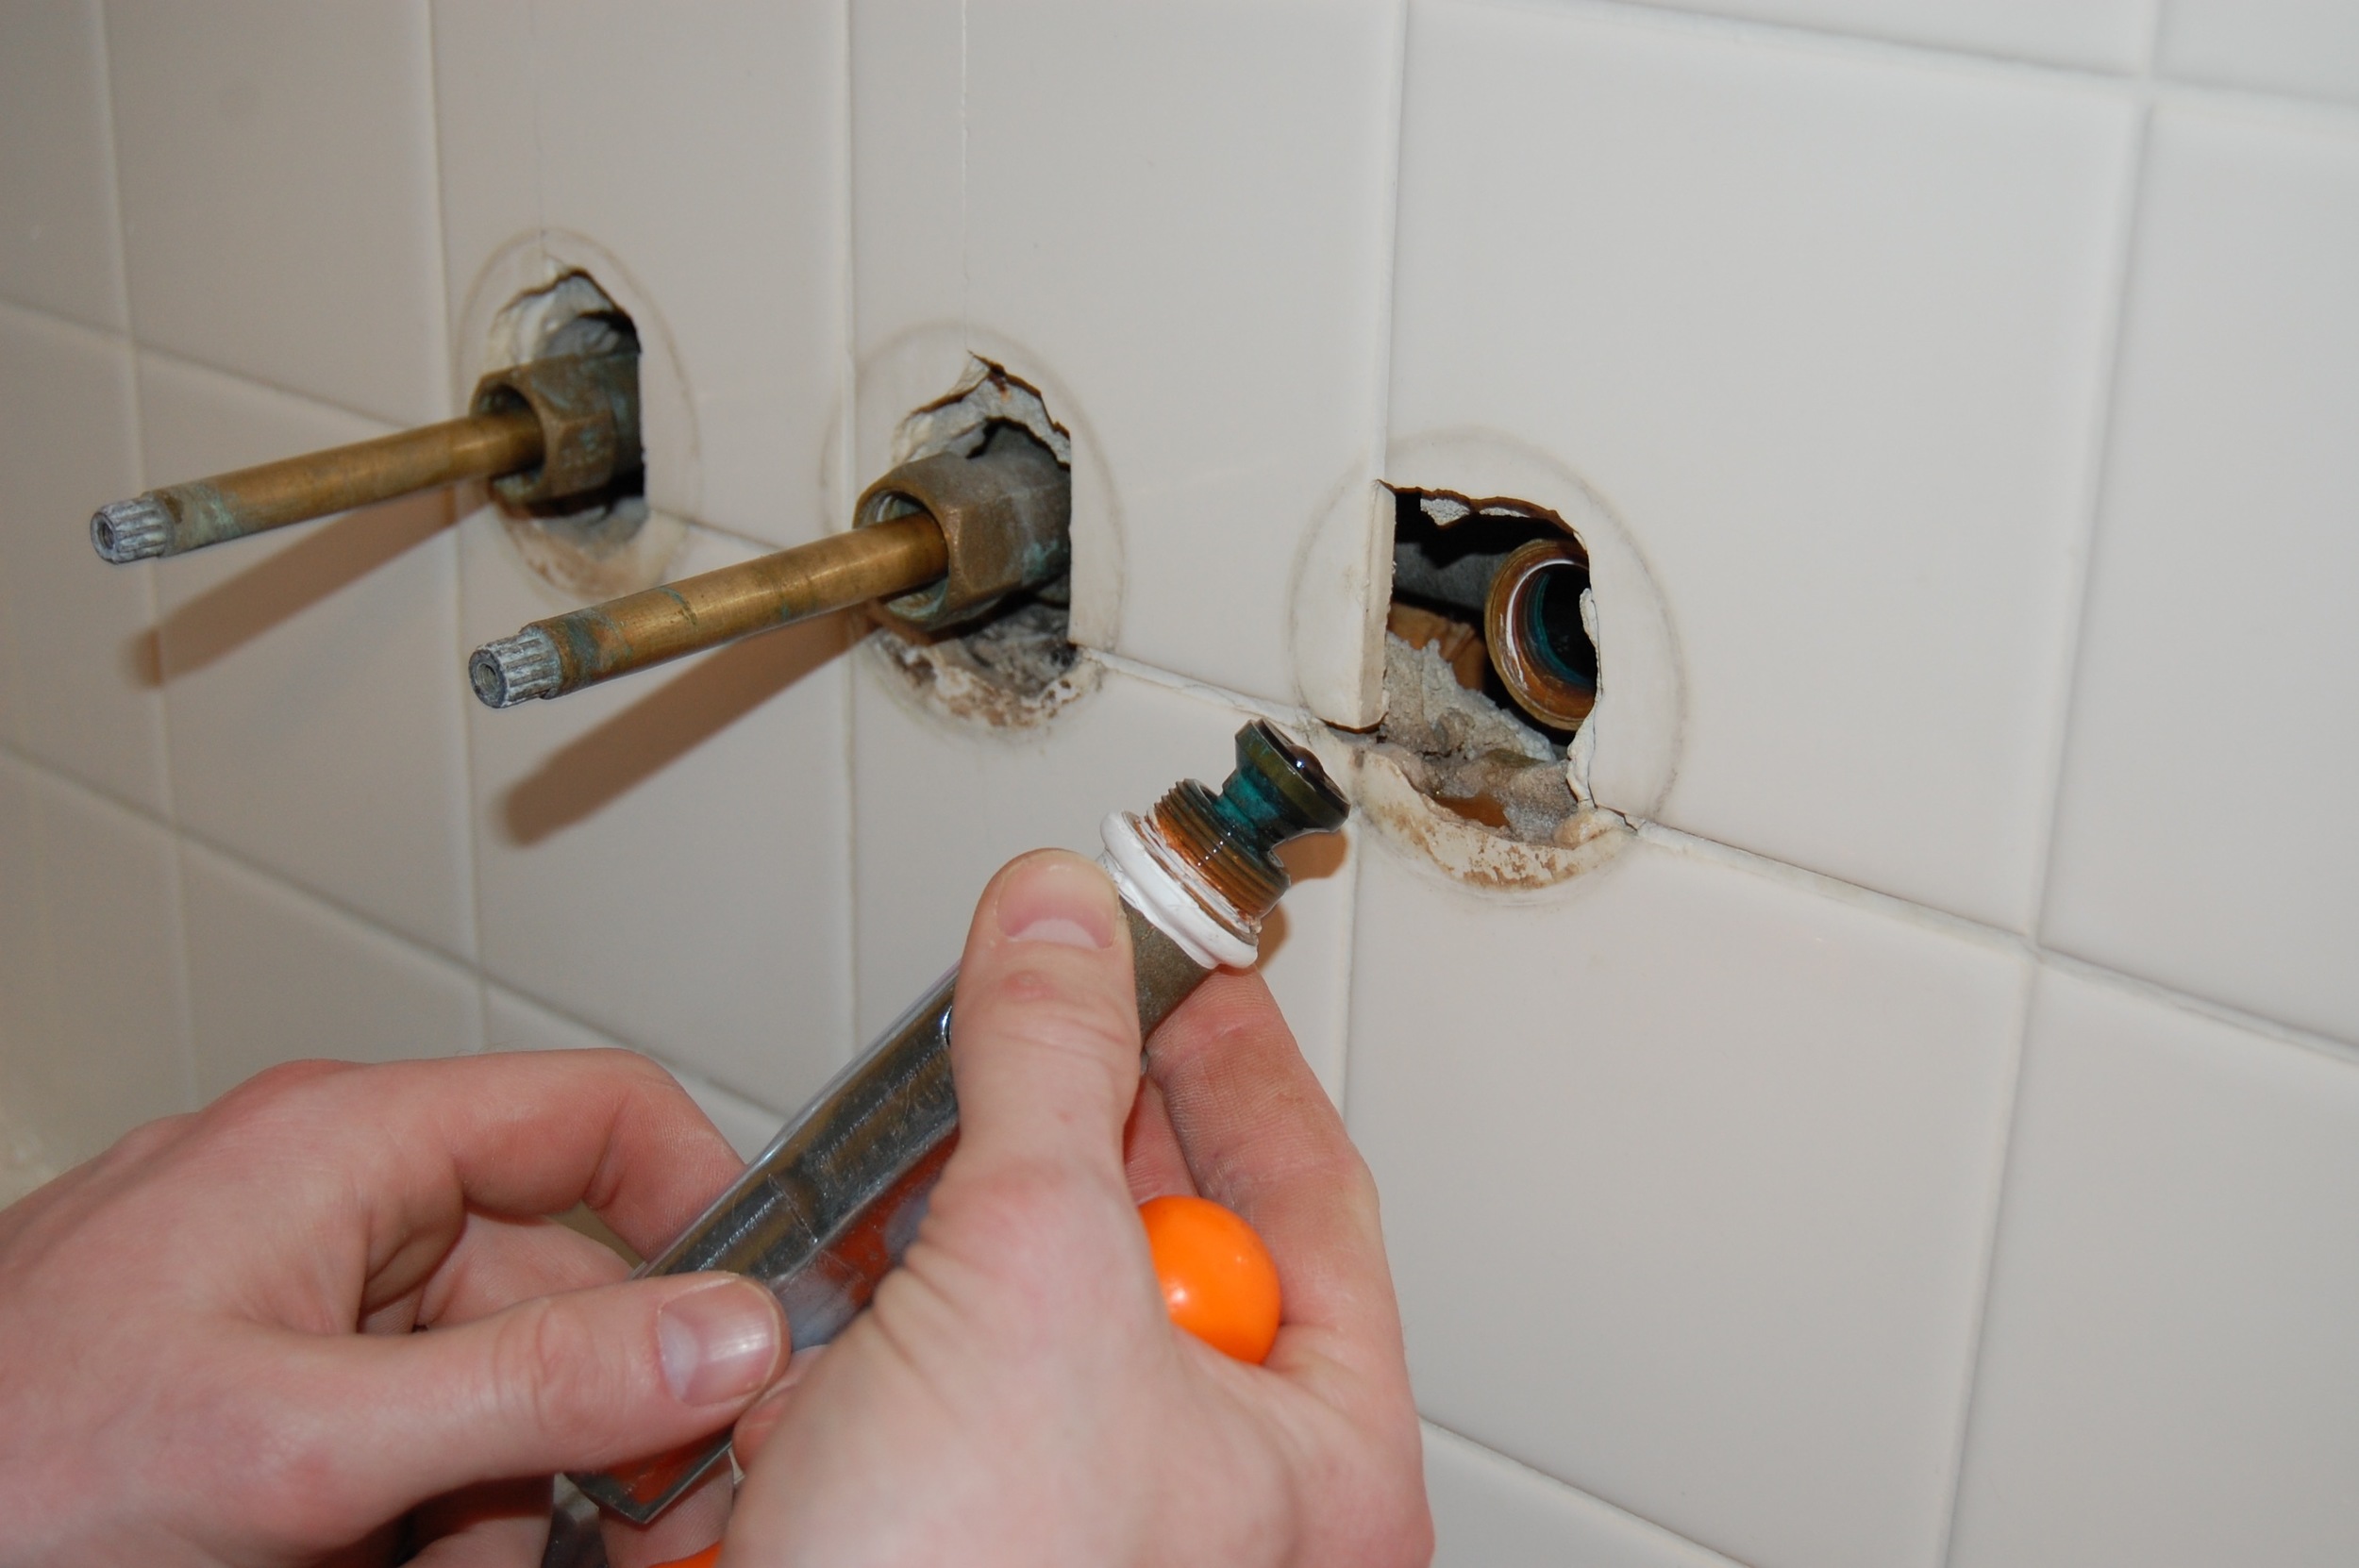
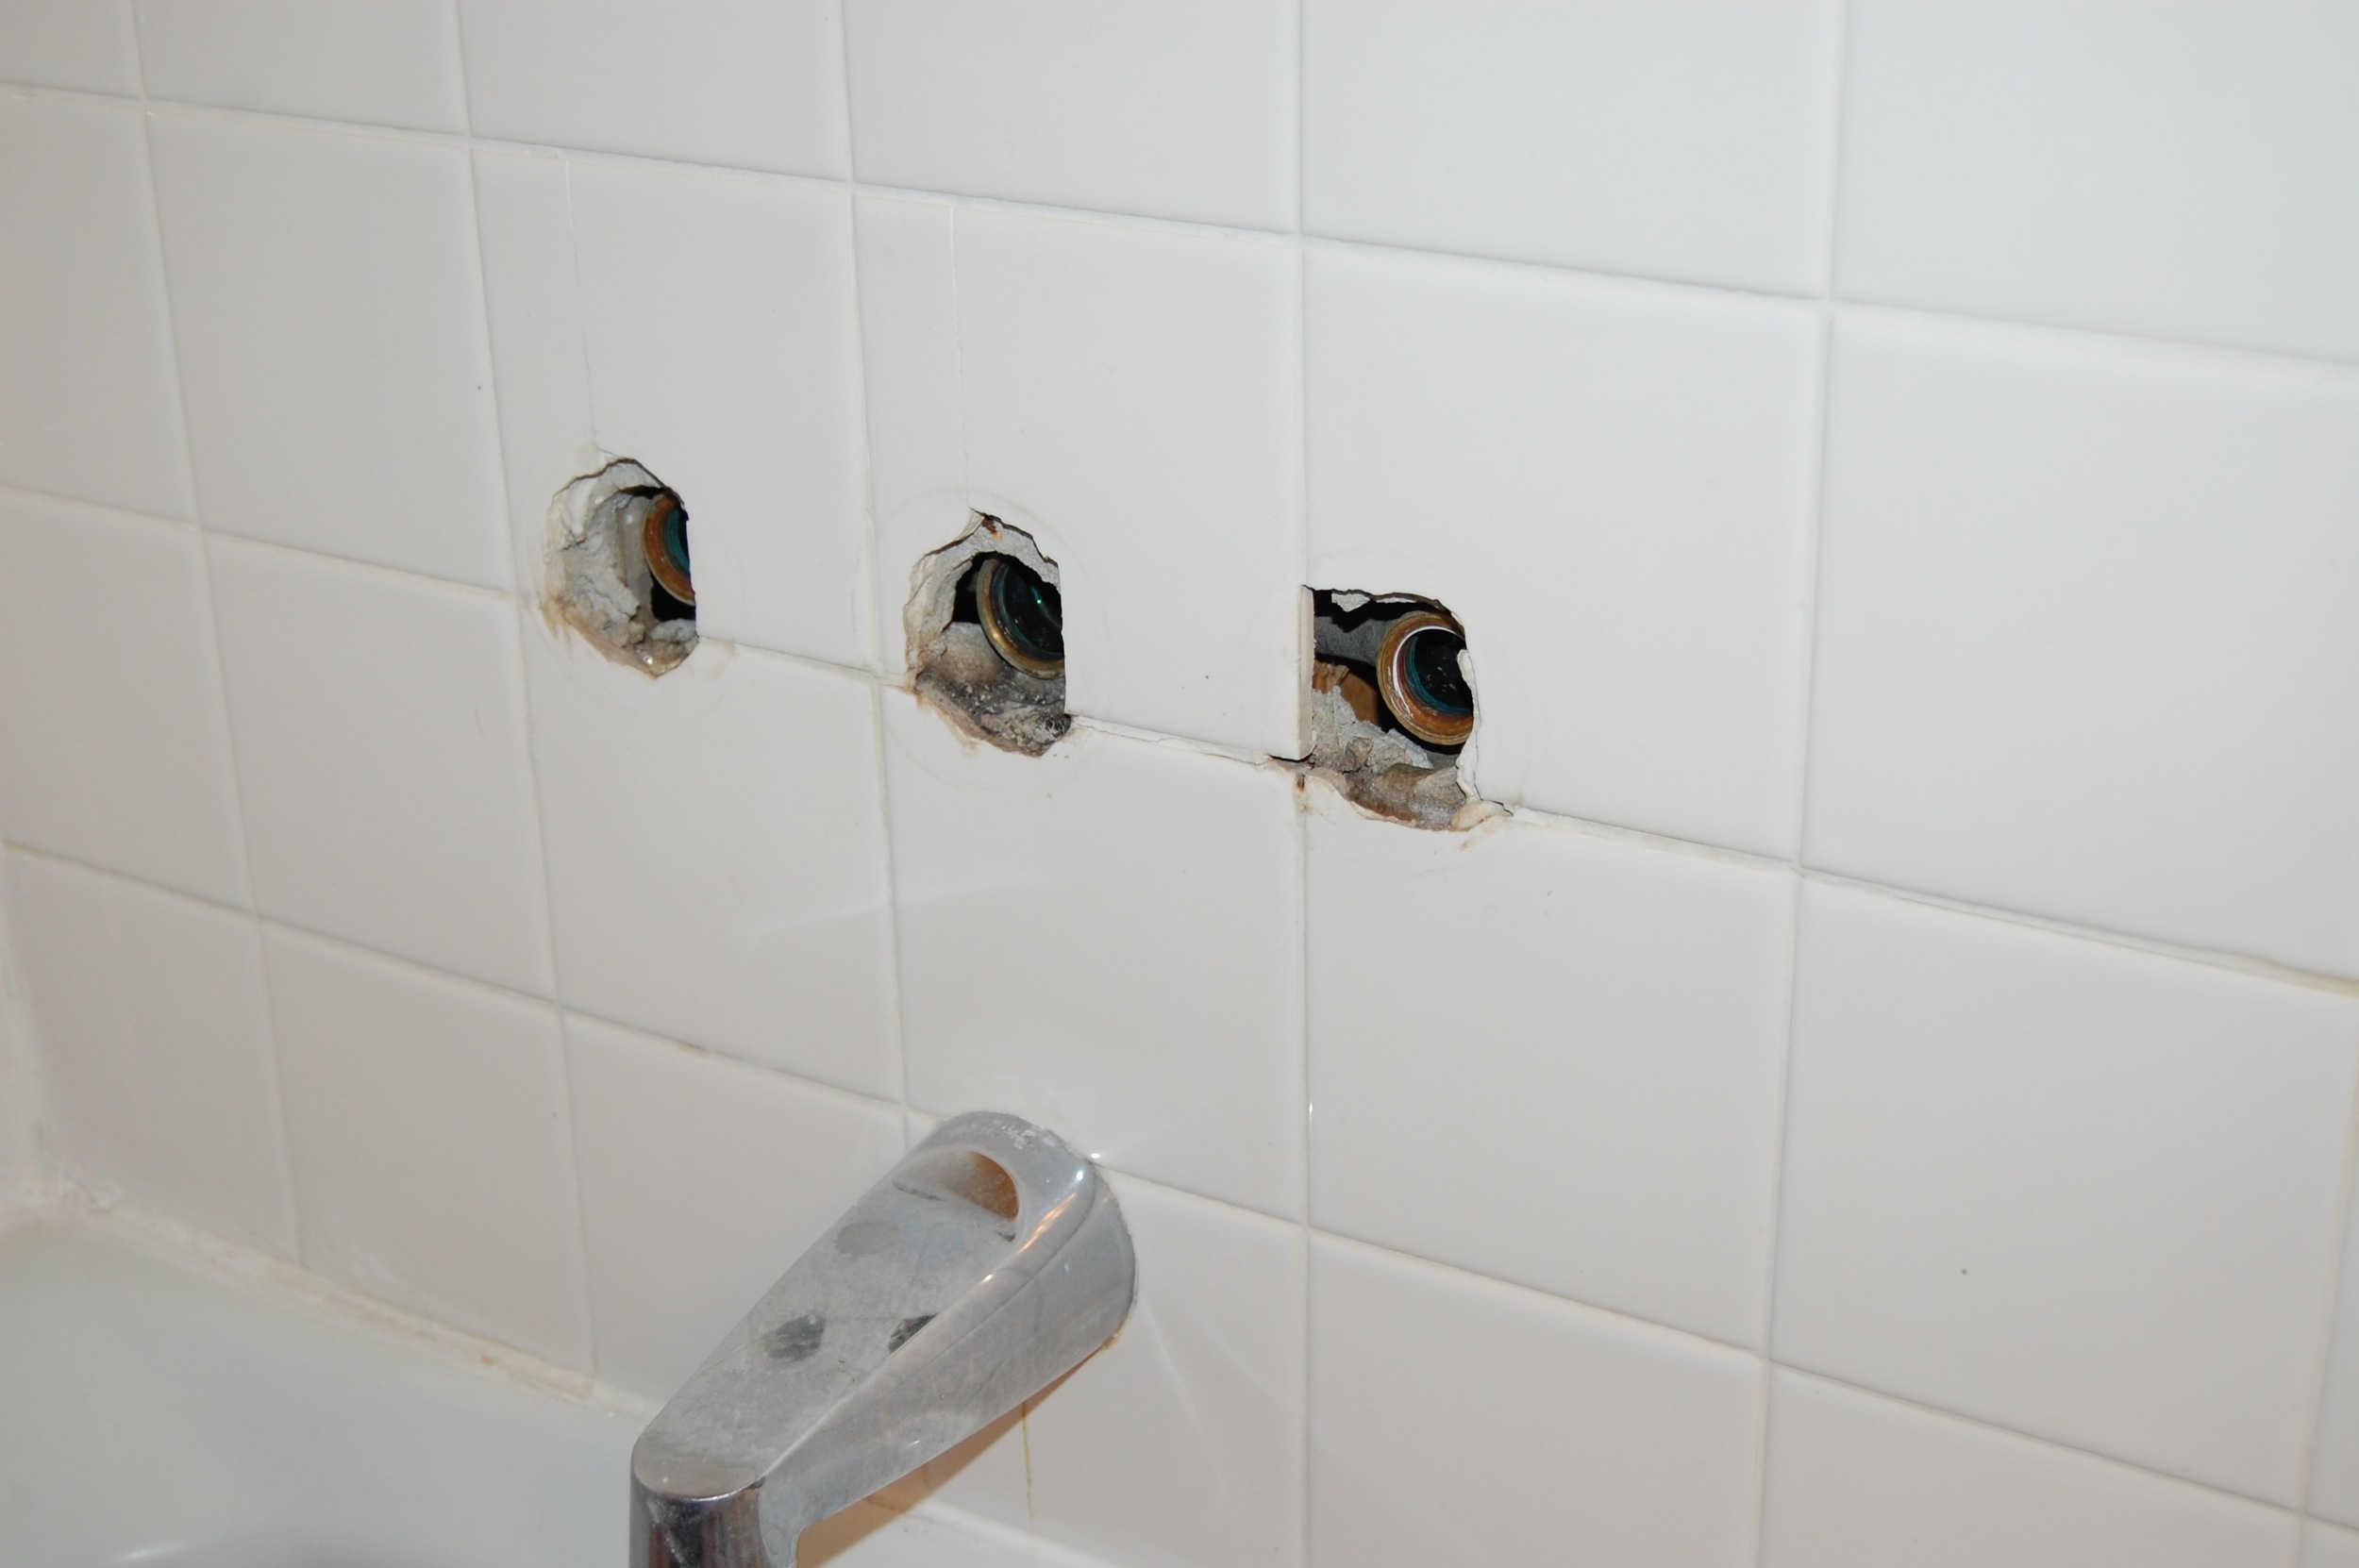
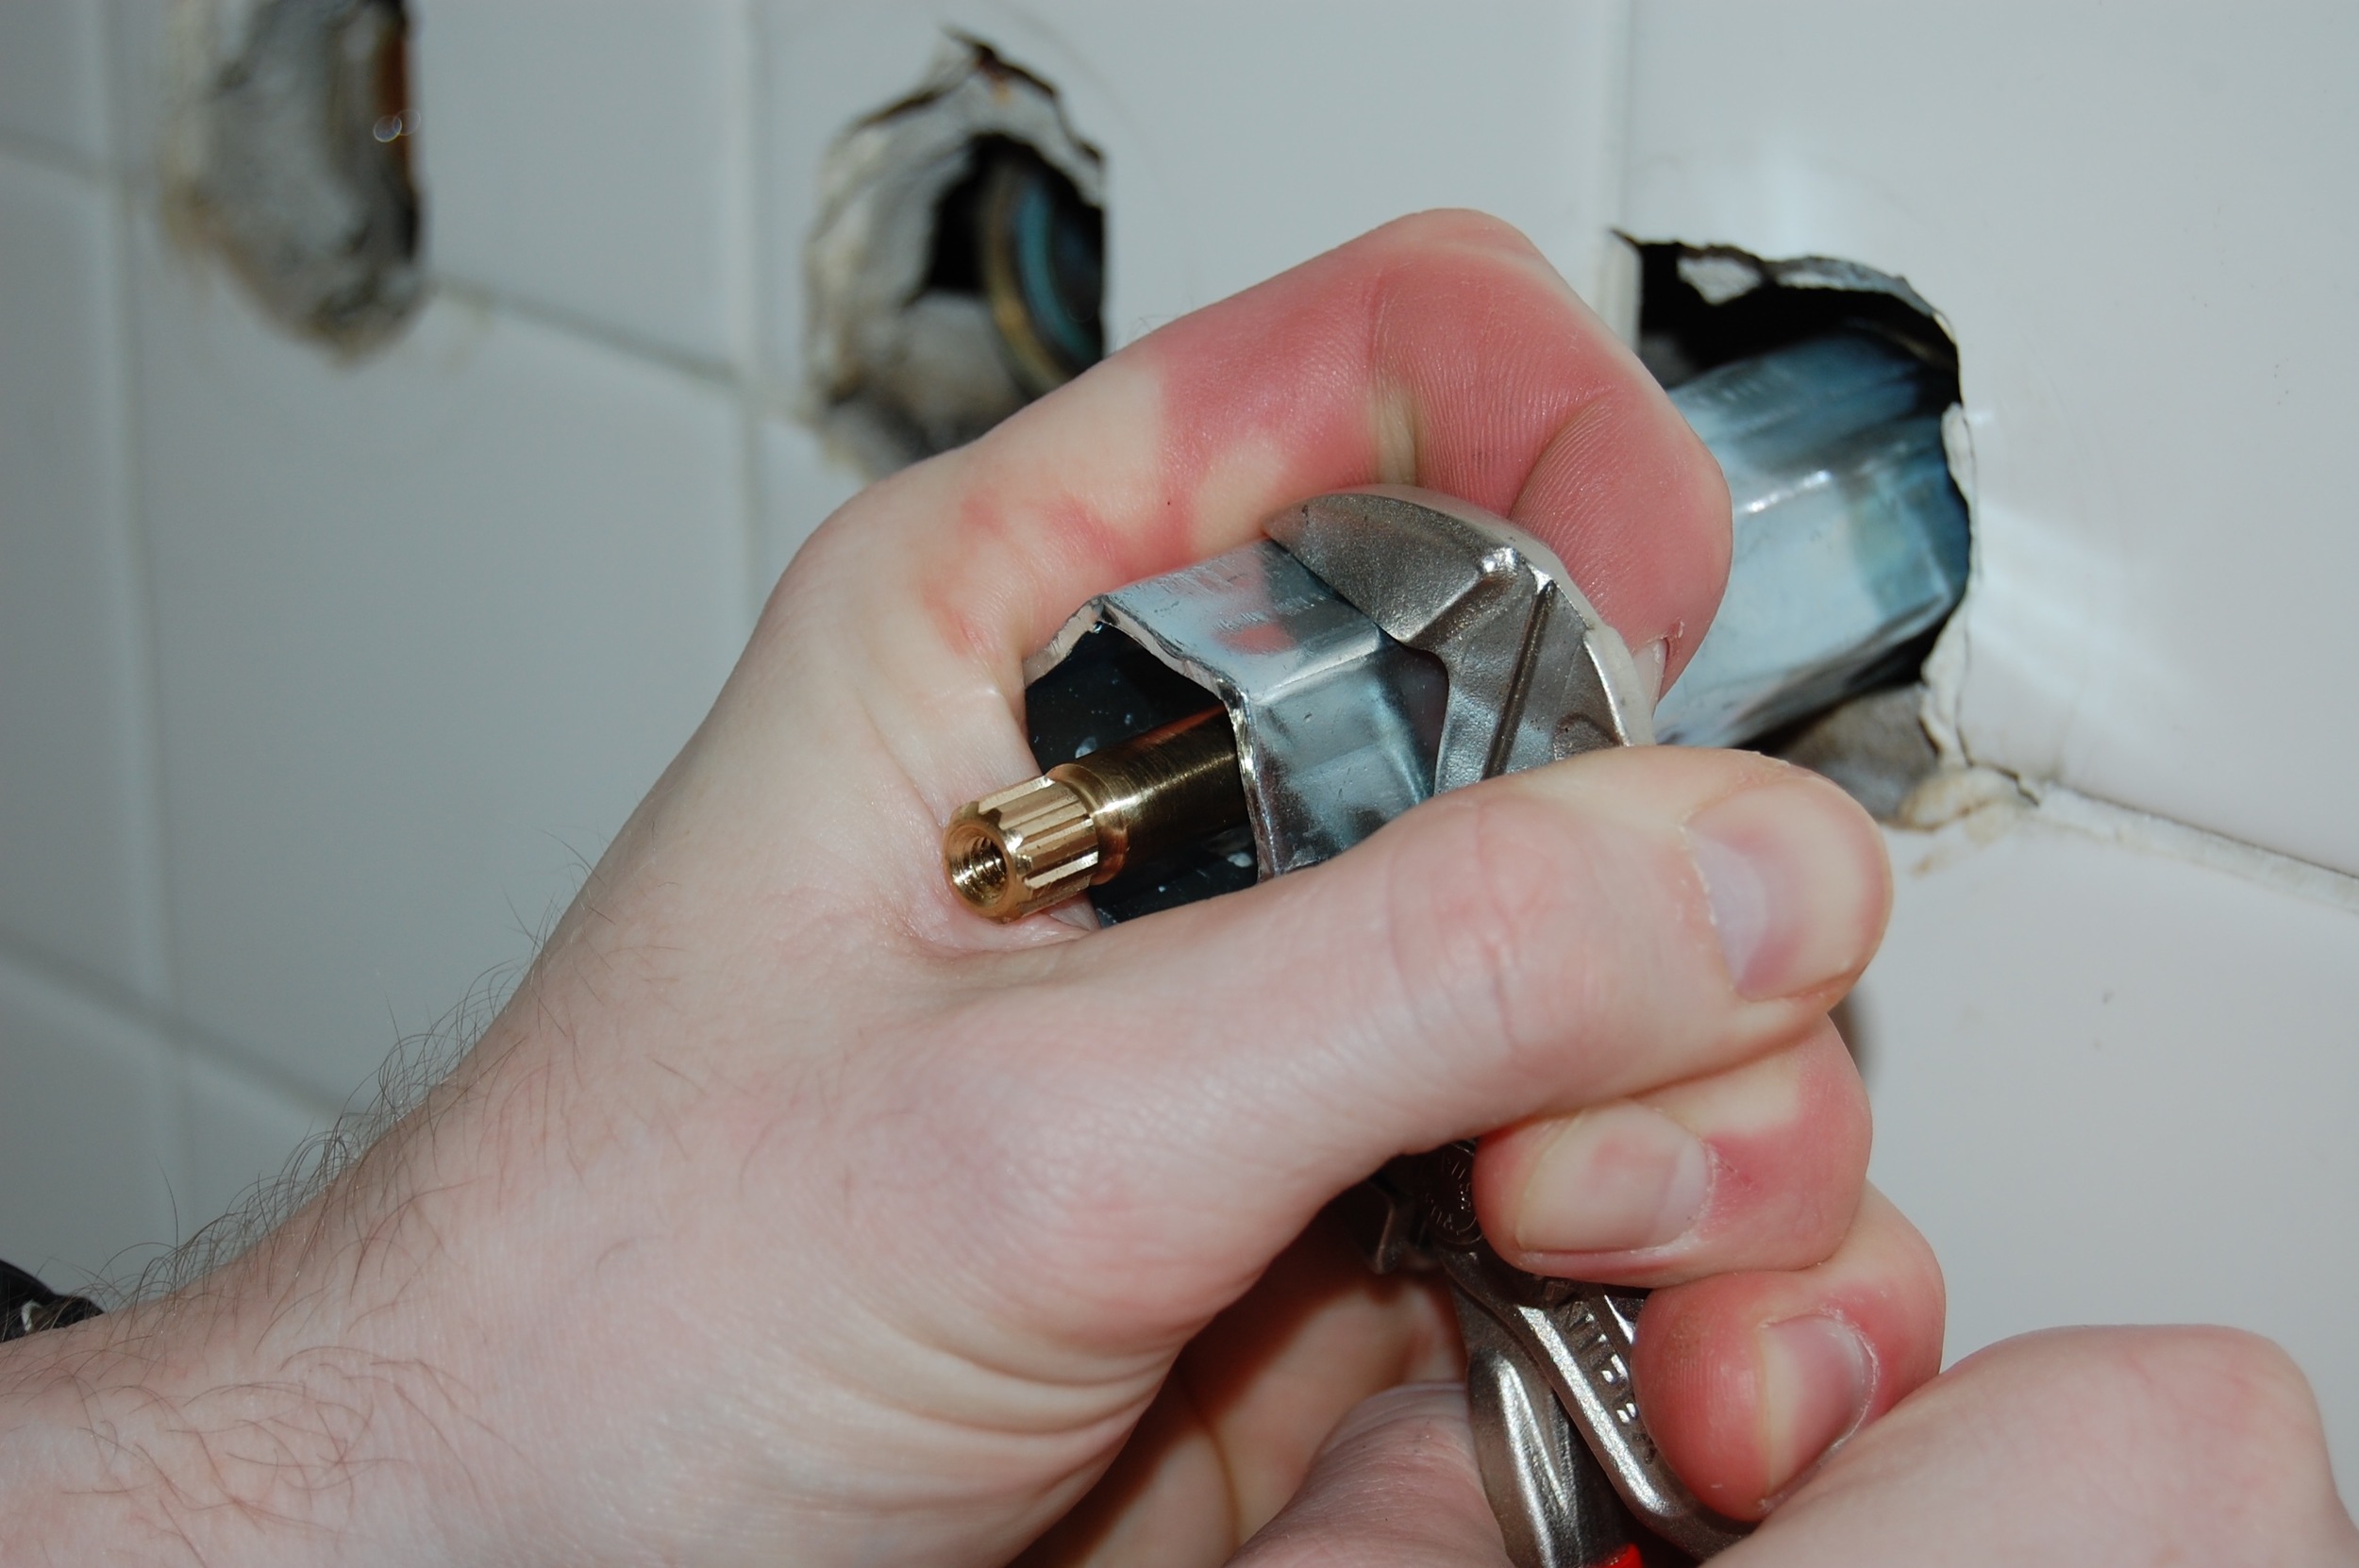
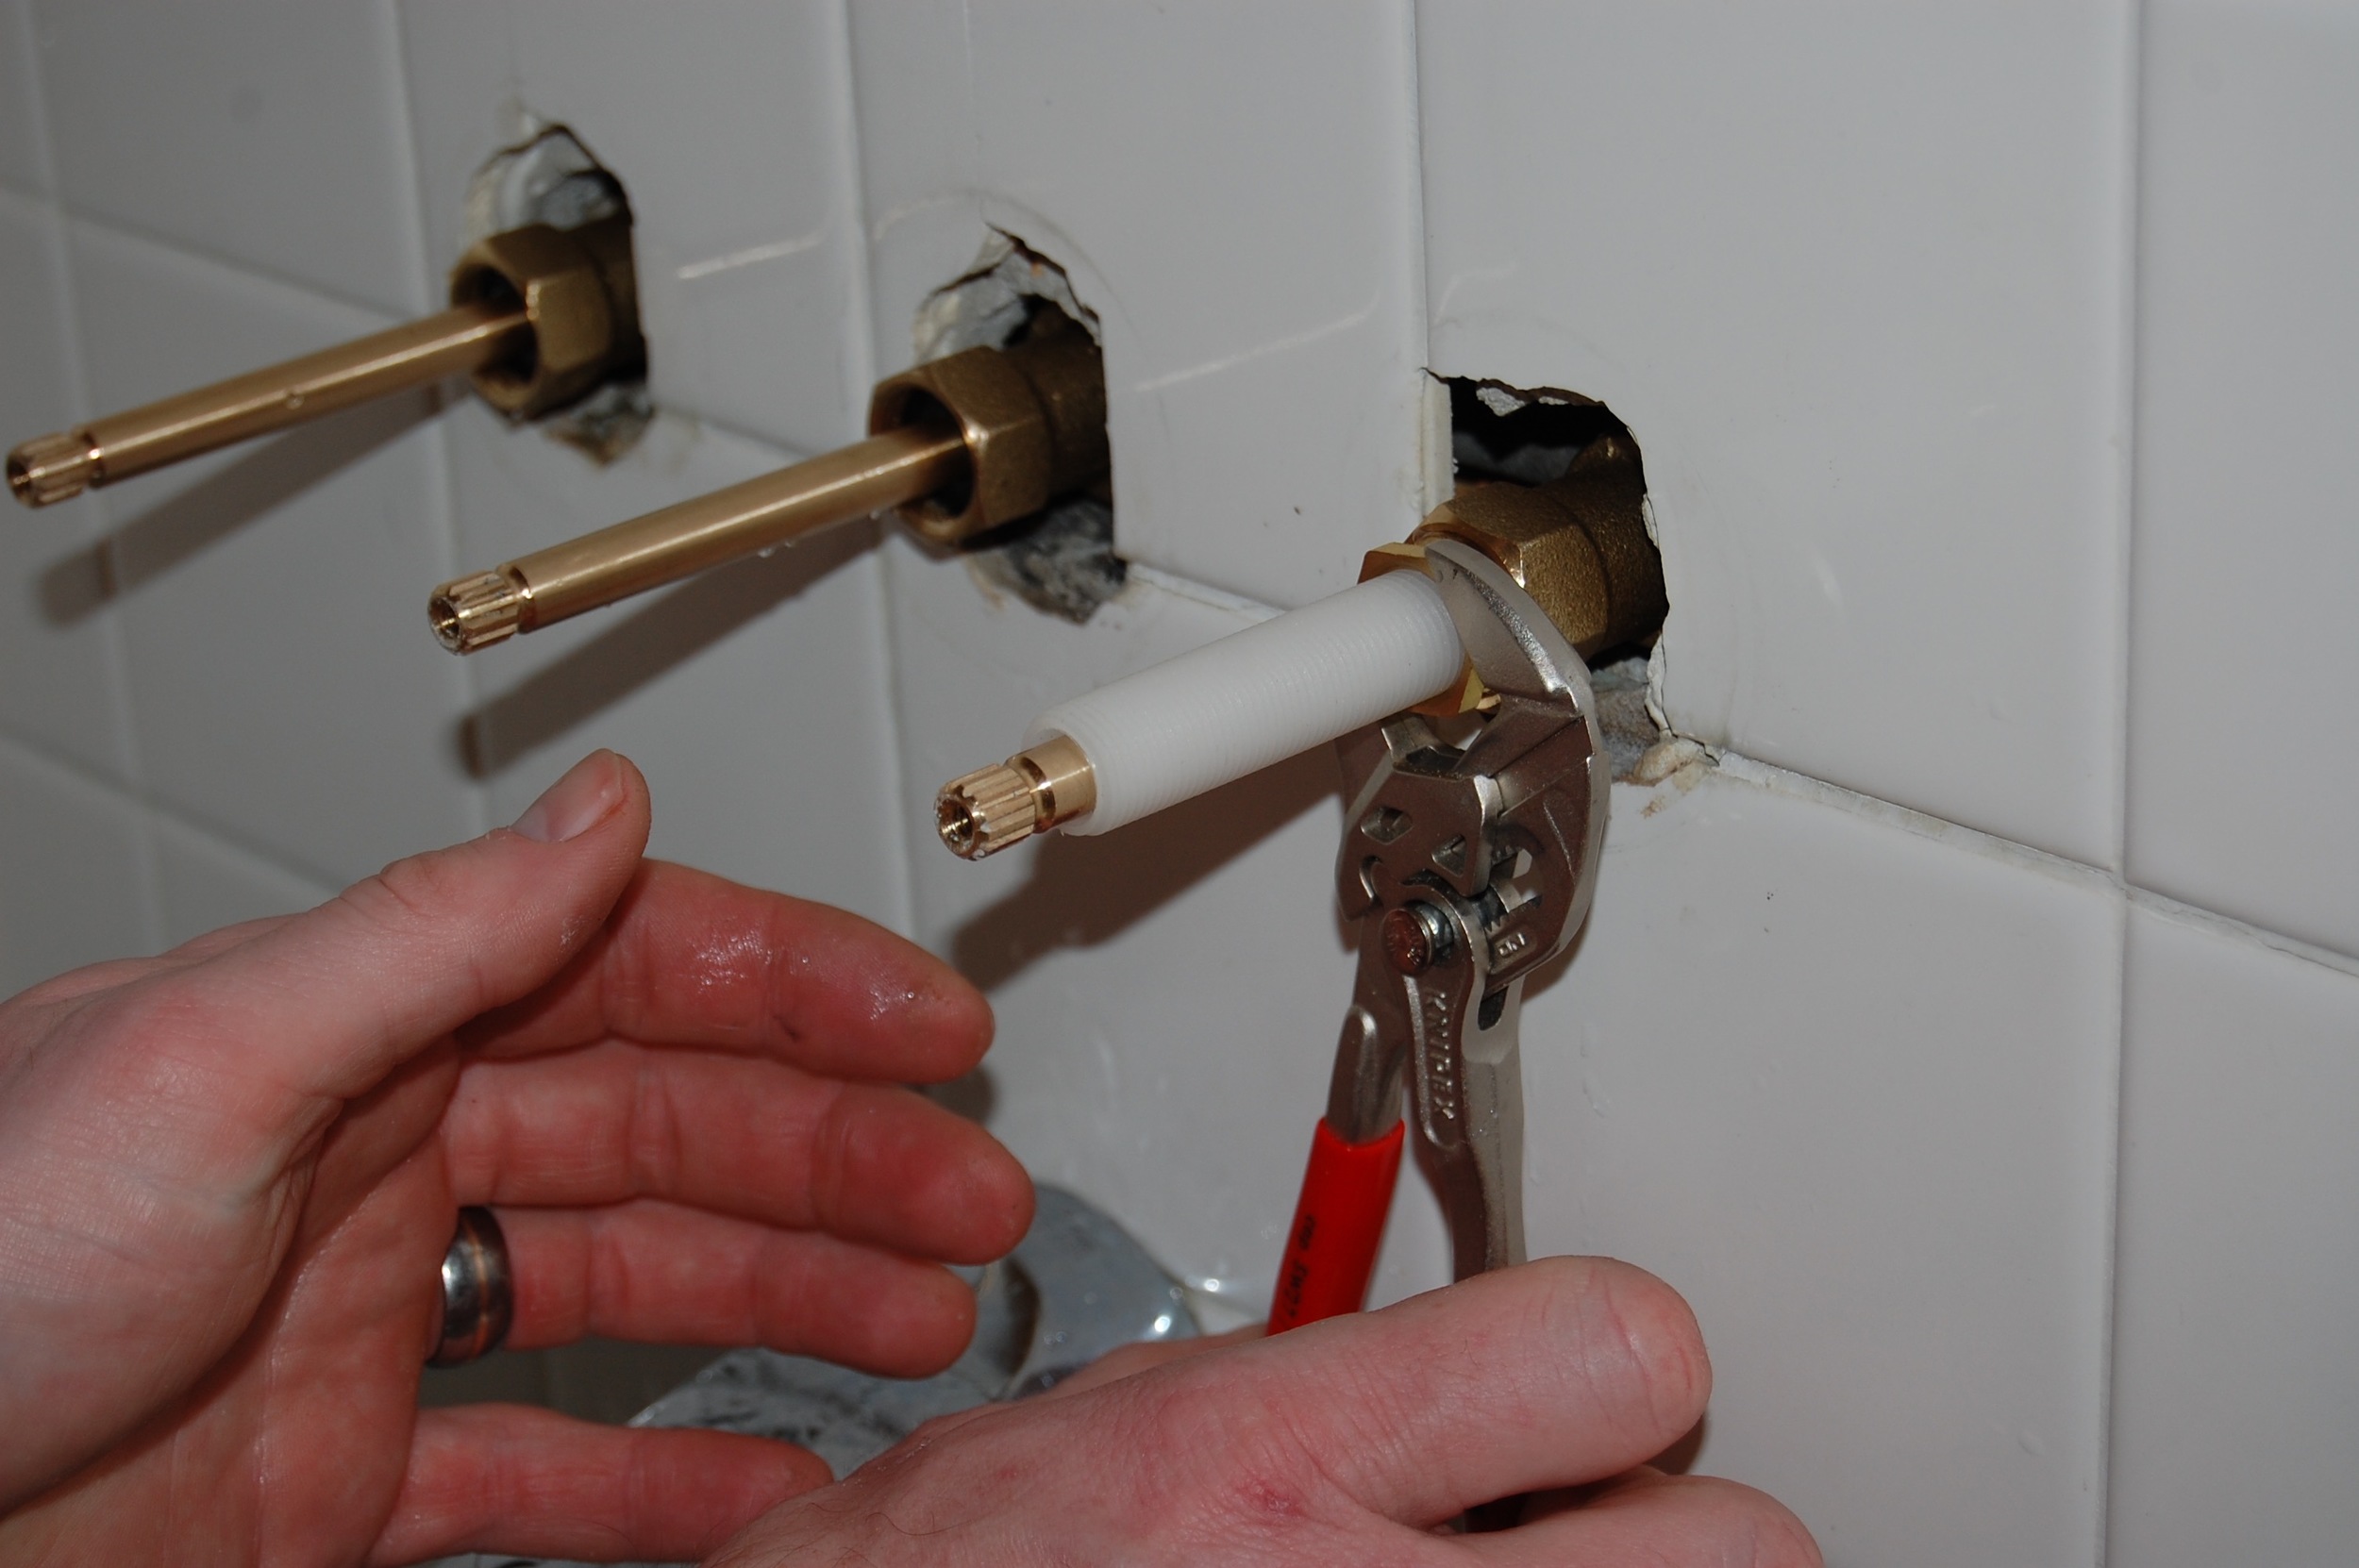
We started by turning off the water and removing the old handles, and stems. The preexisting handles were hideous, 1970’s builder grade blocks of metal that I couldn’t wait to be rid of, so I was extremely happy about this part. When we removed the stems we found that they were in better shape than we had expected, but we went ahead and replaced them anyway since we had the new parts. I am glad we replaced them because the new ones are much smoother turning.
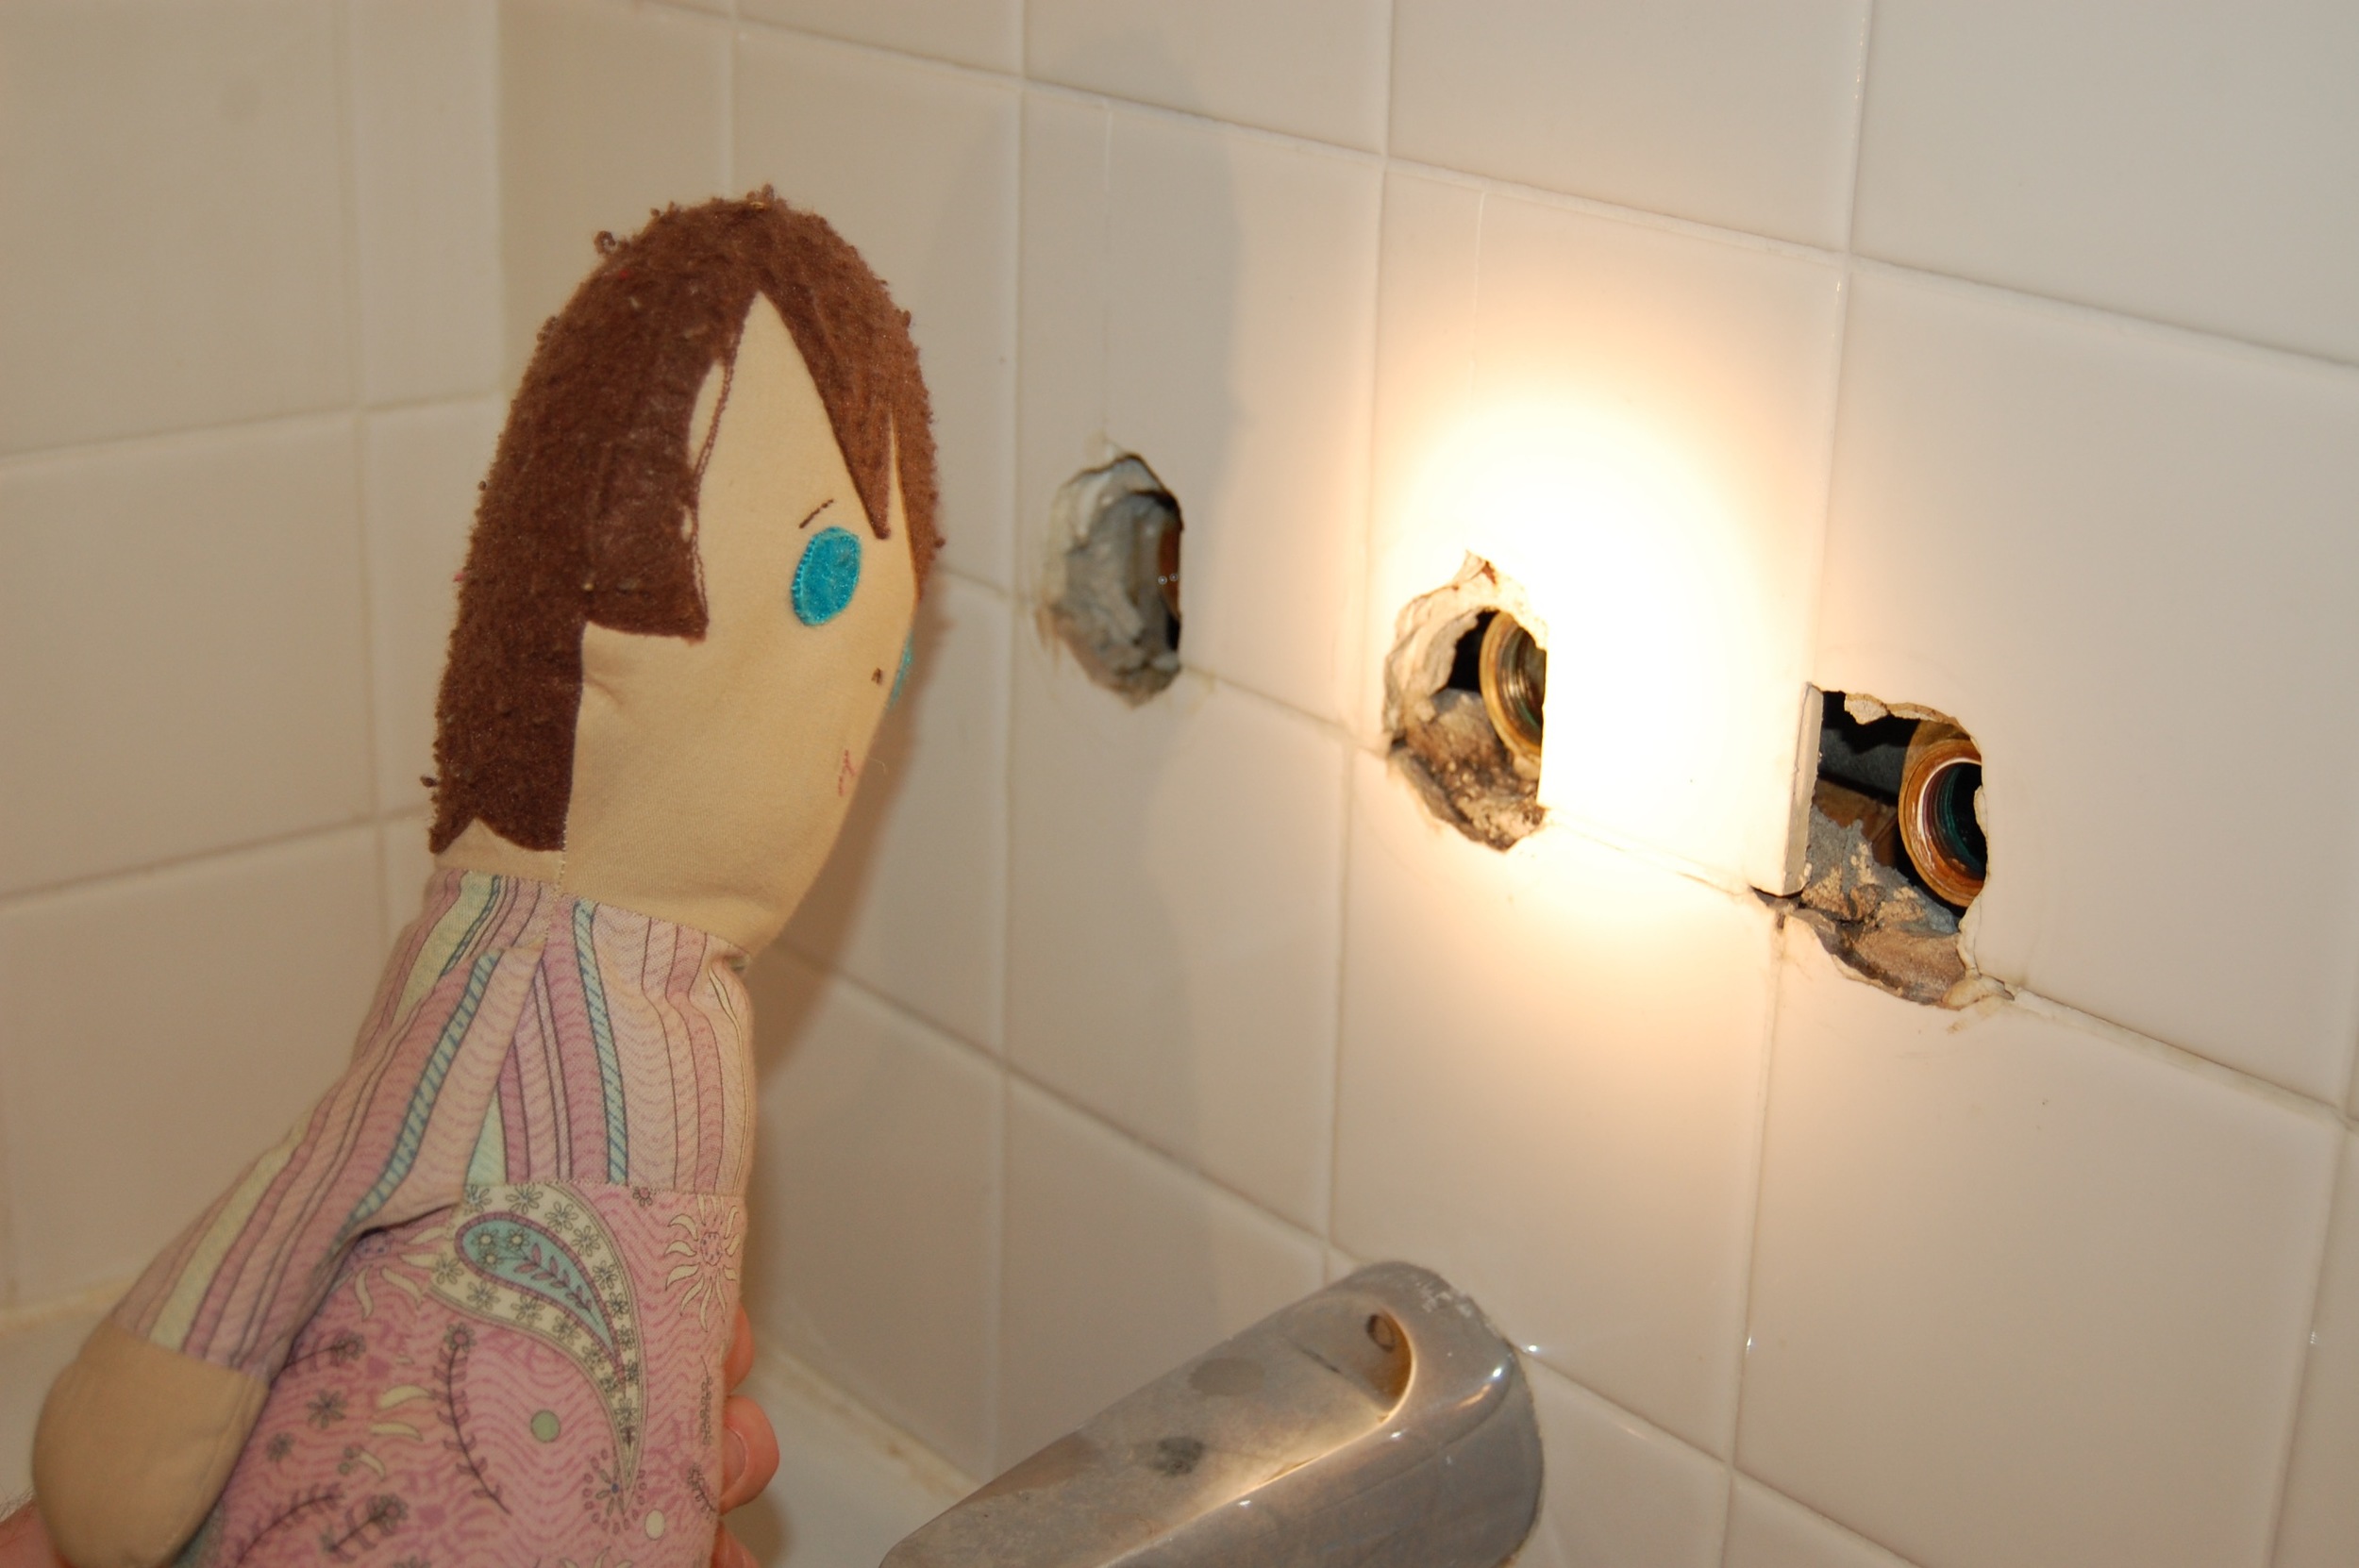
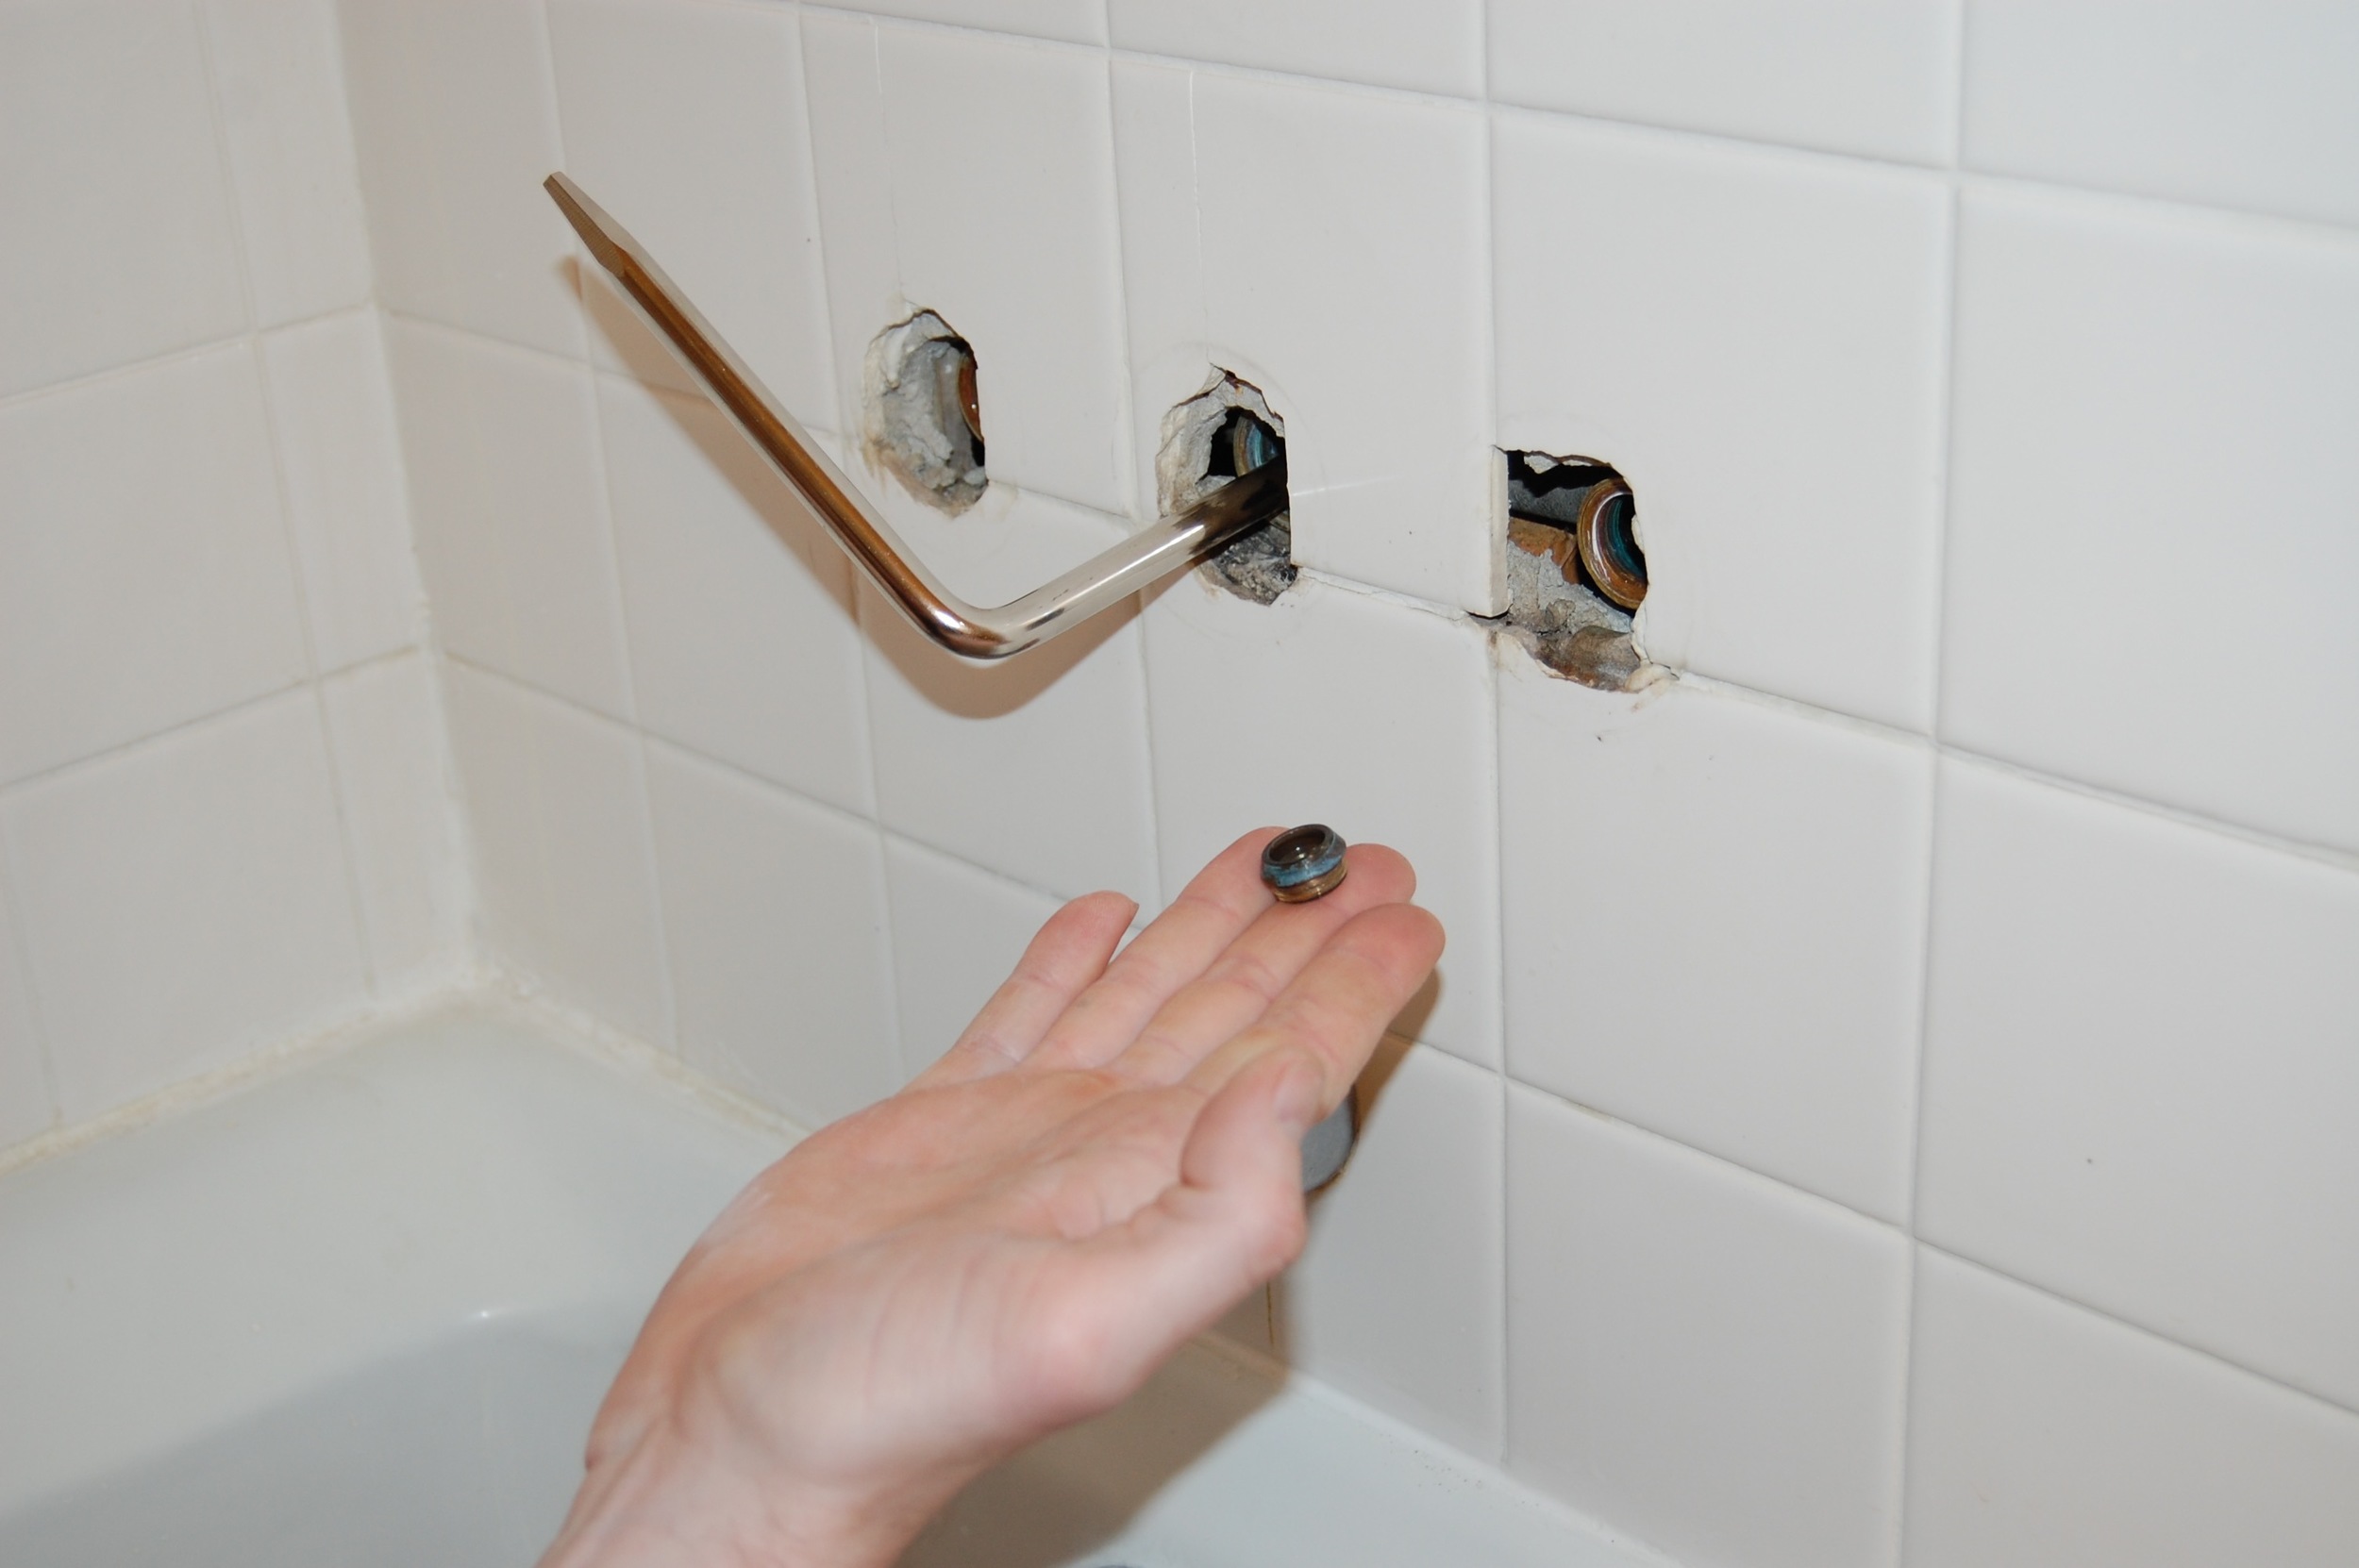
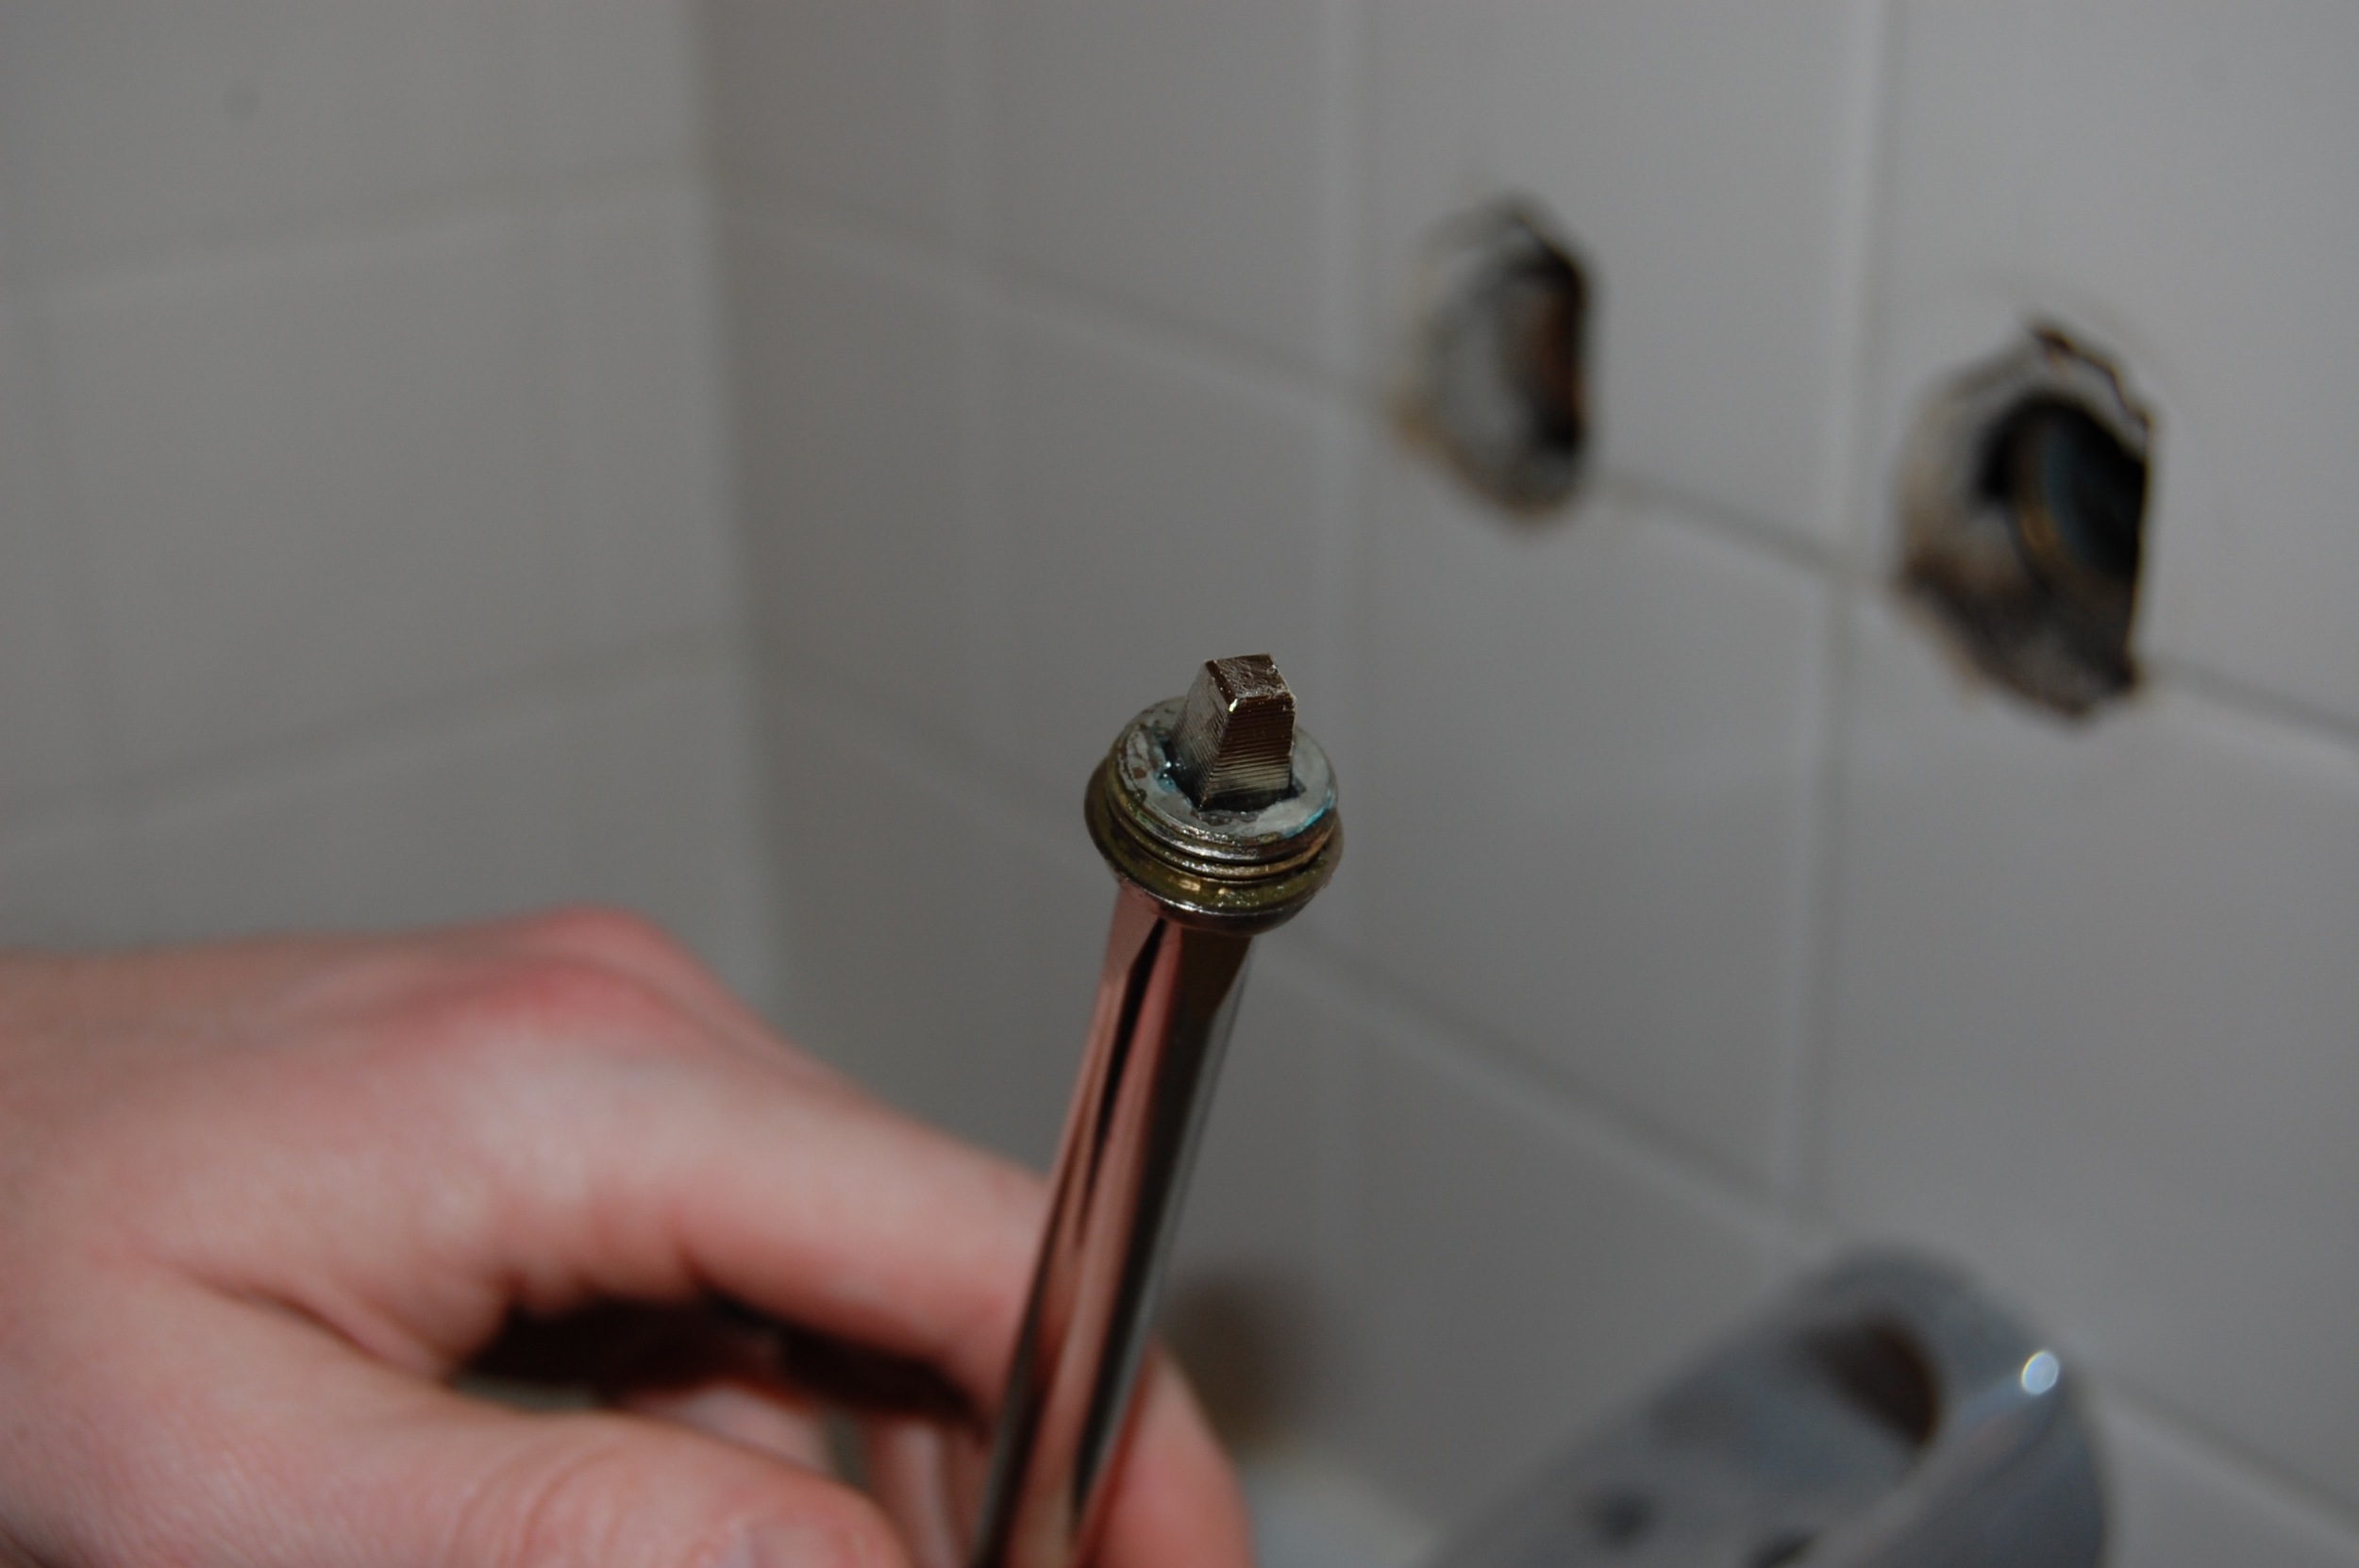
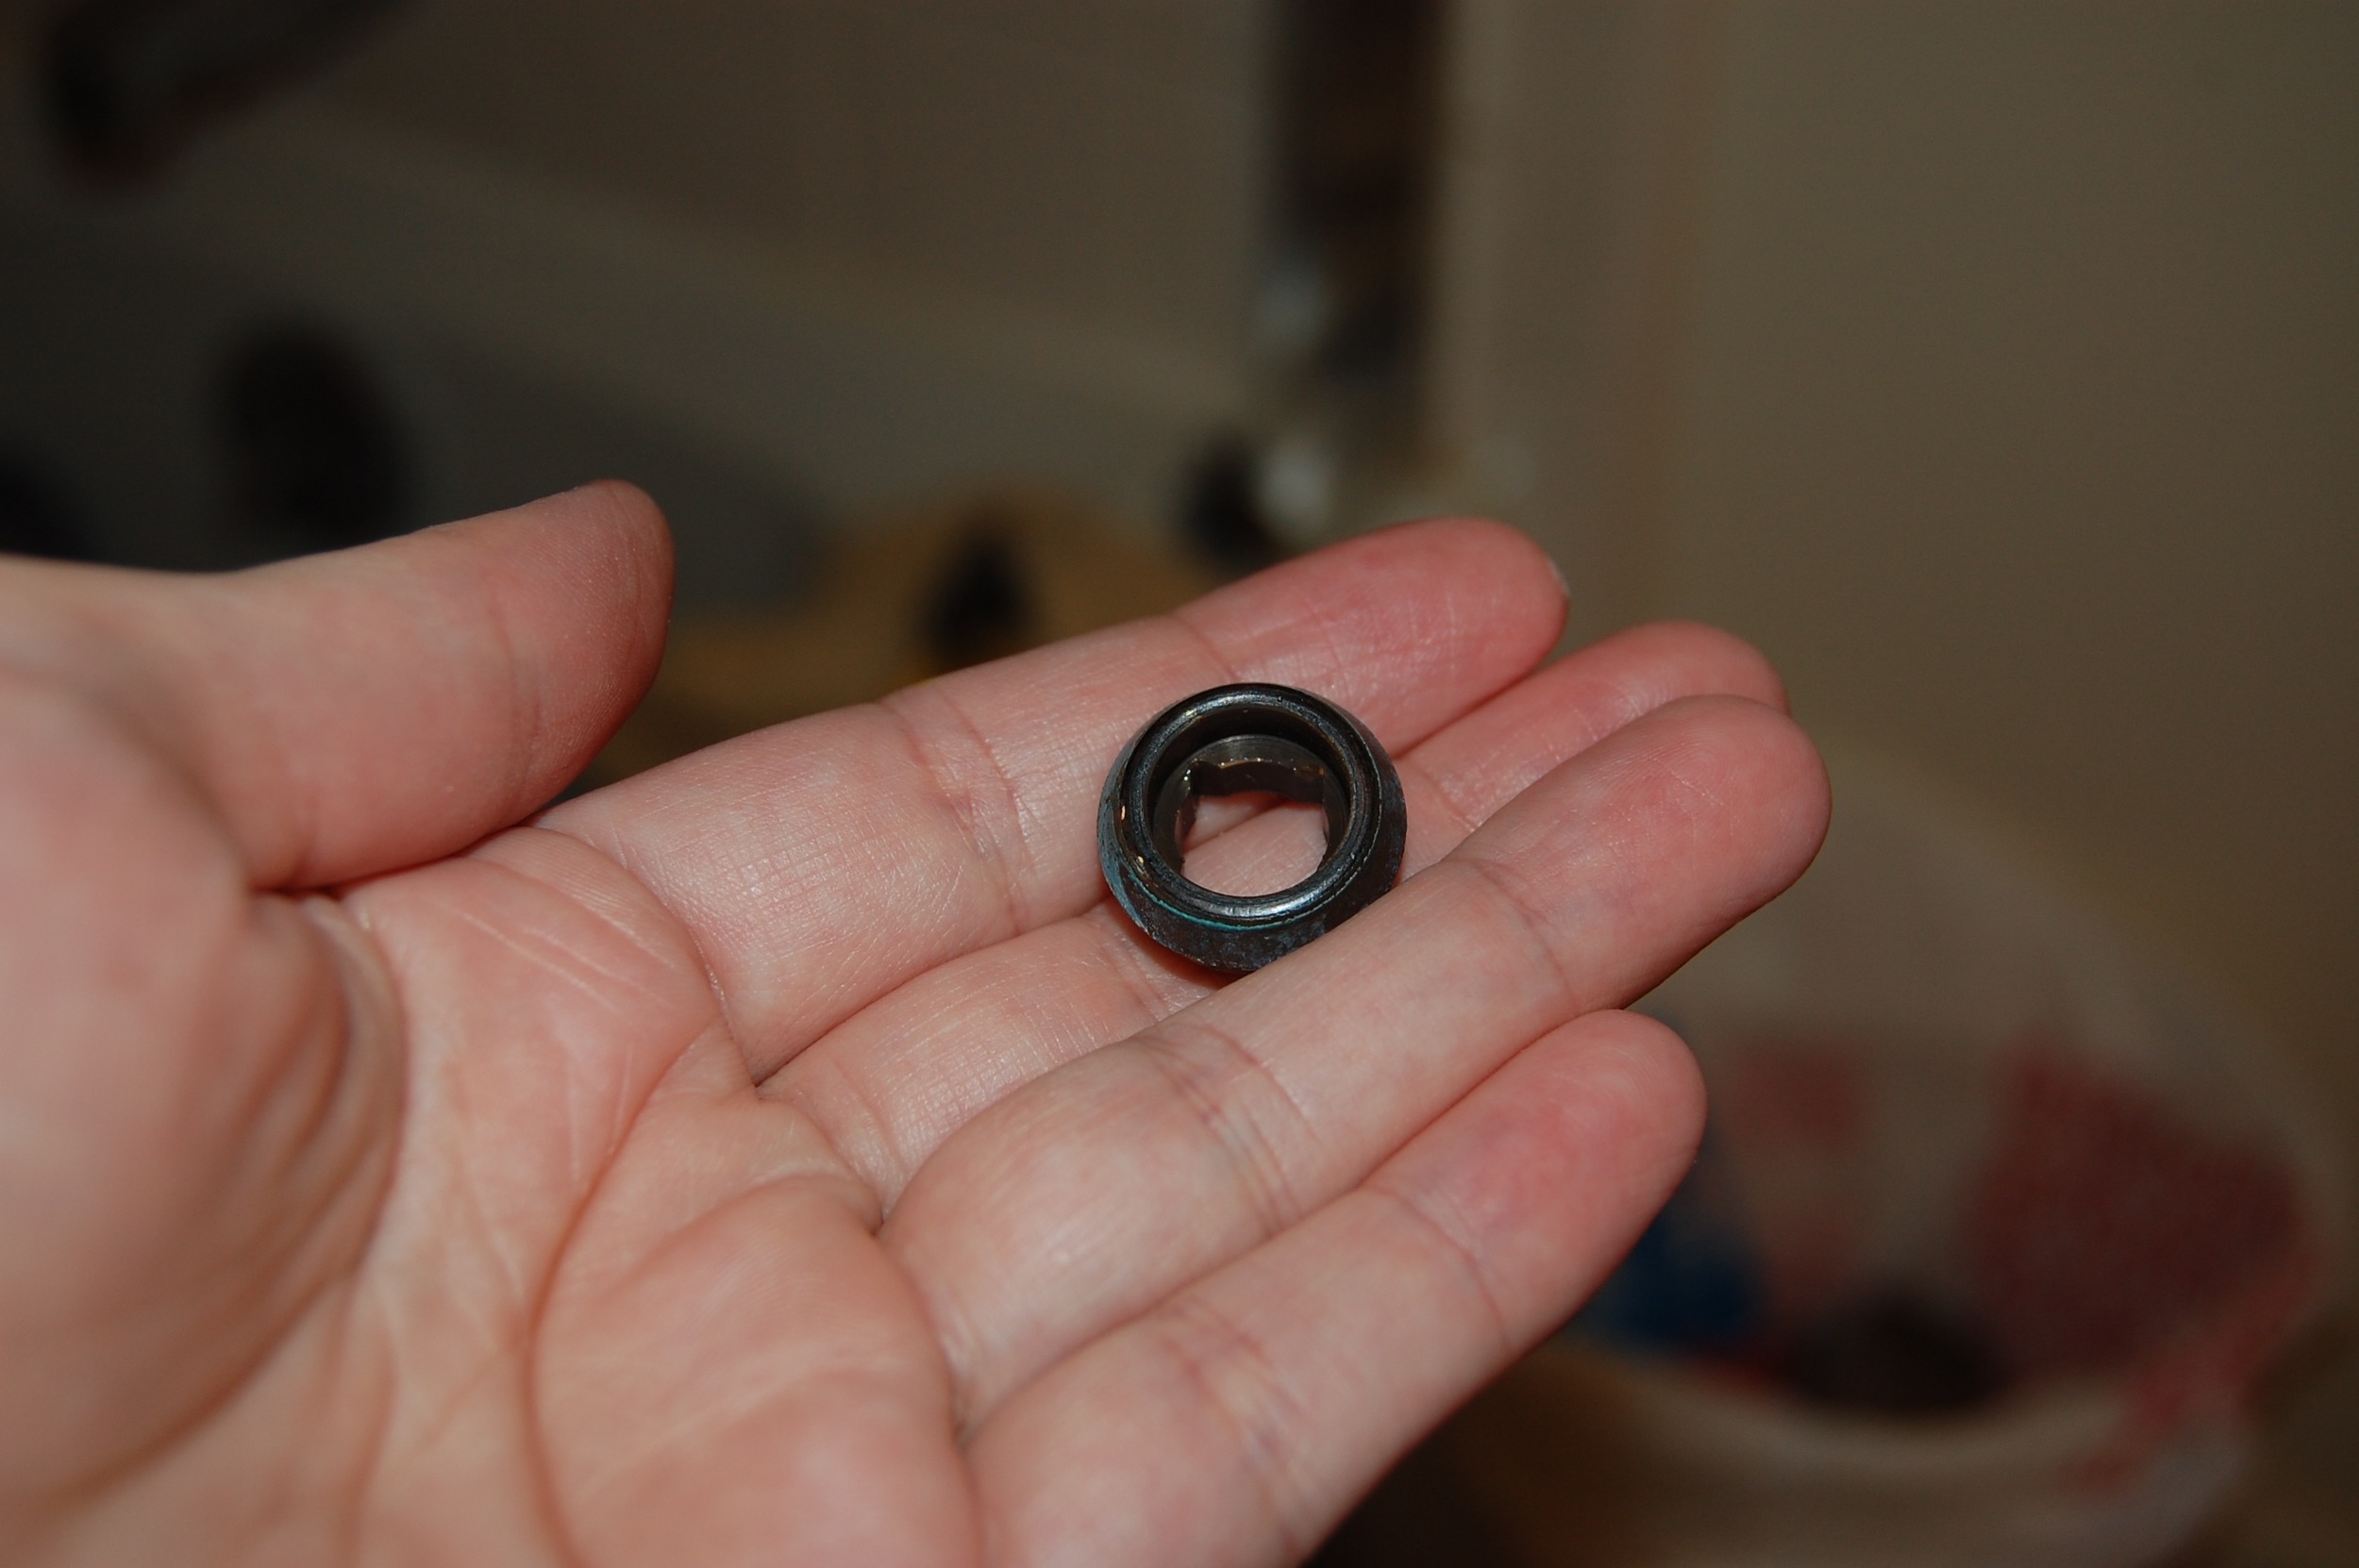
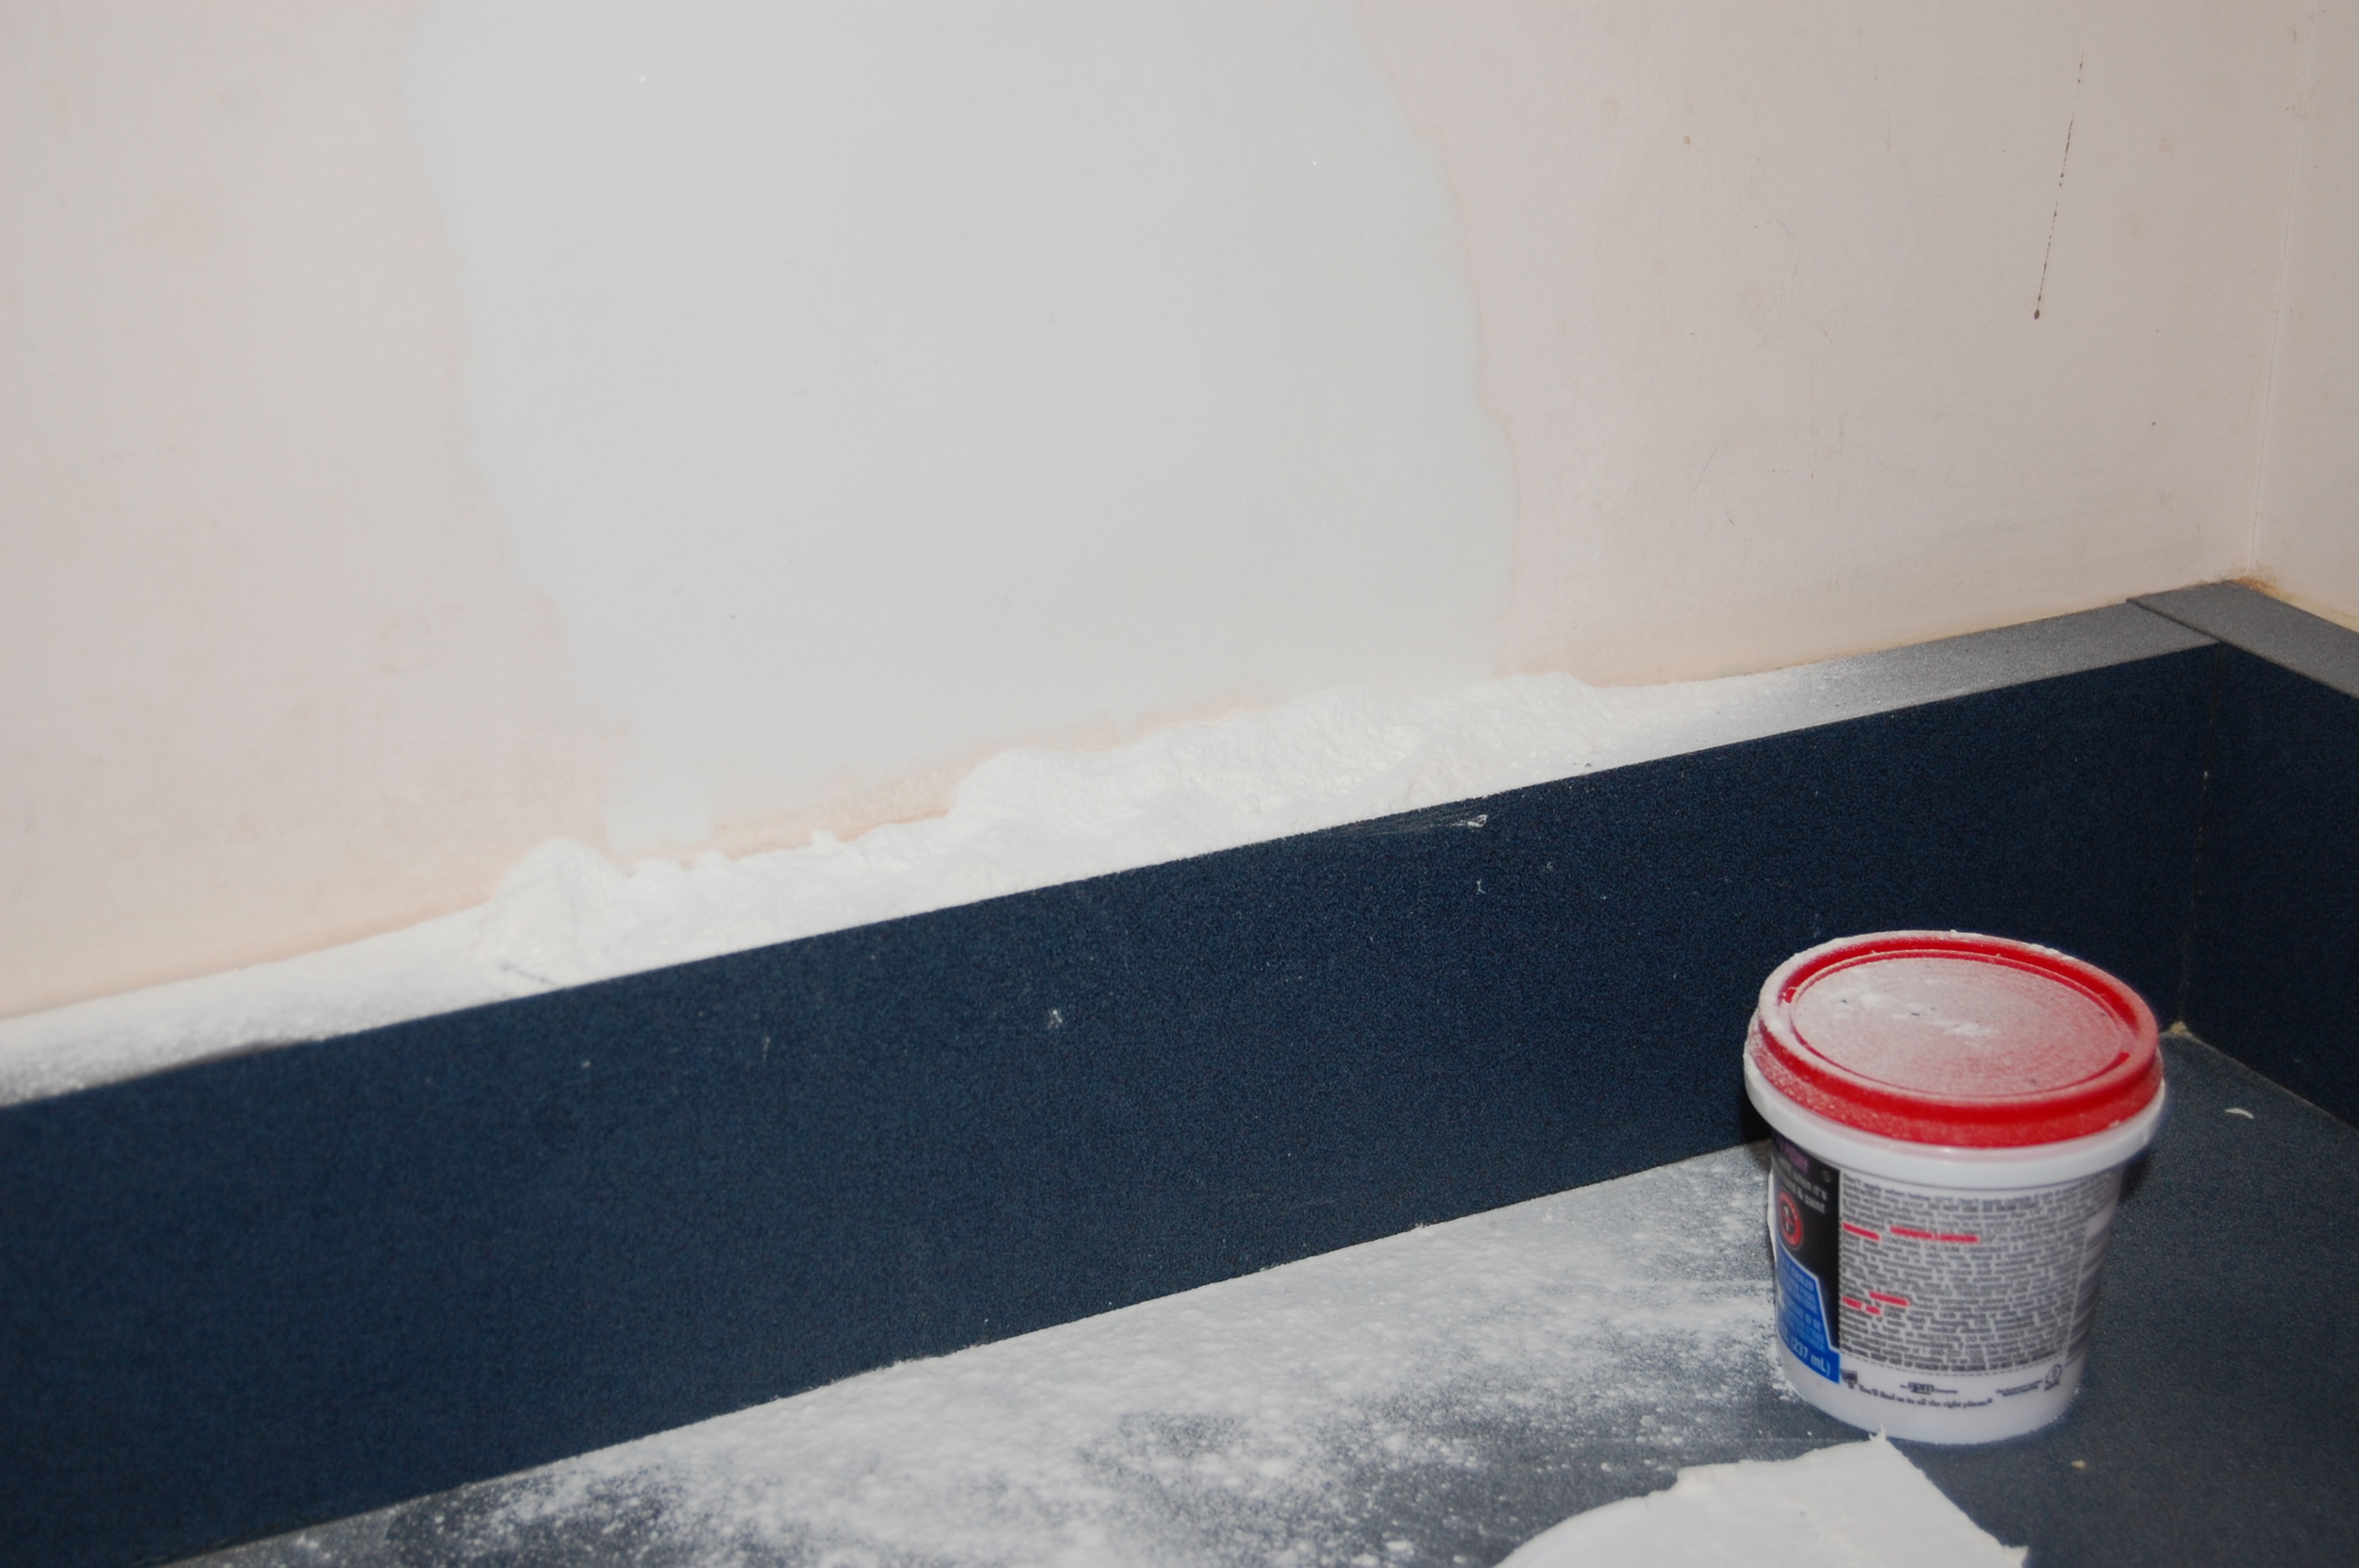
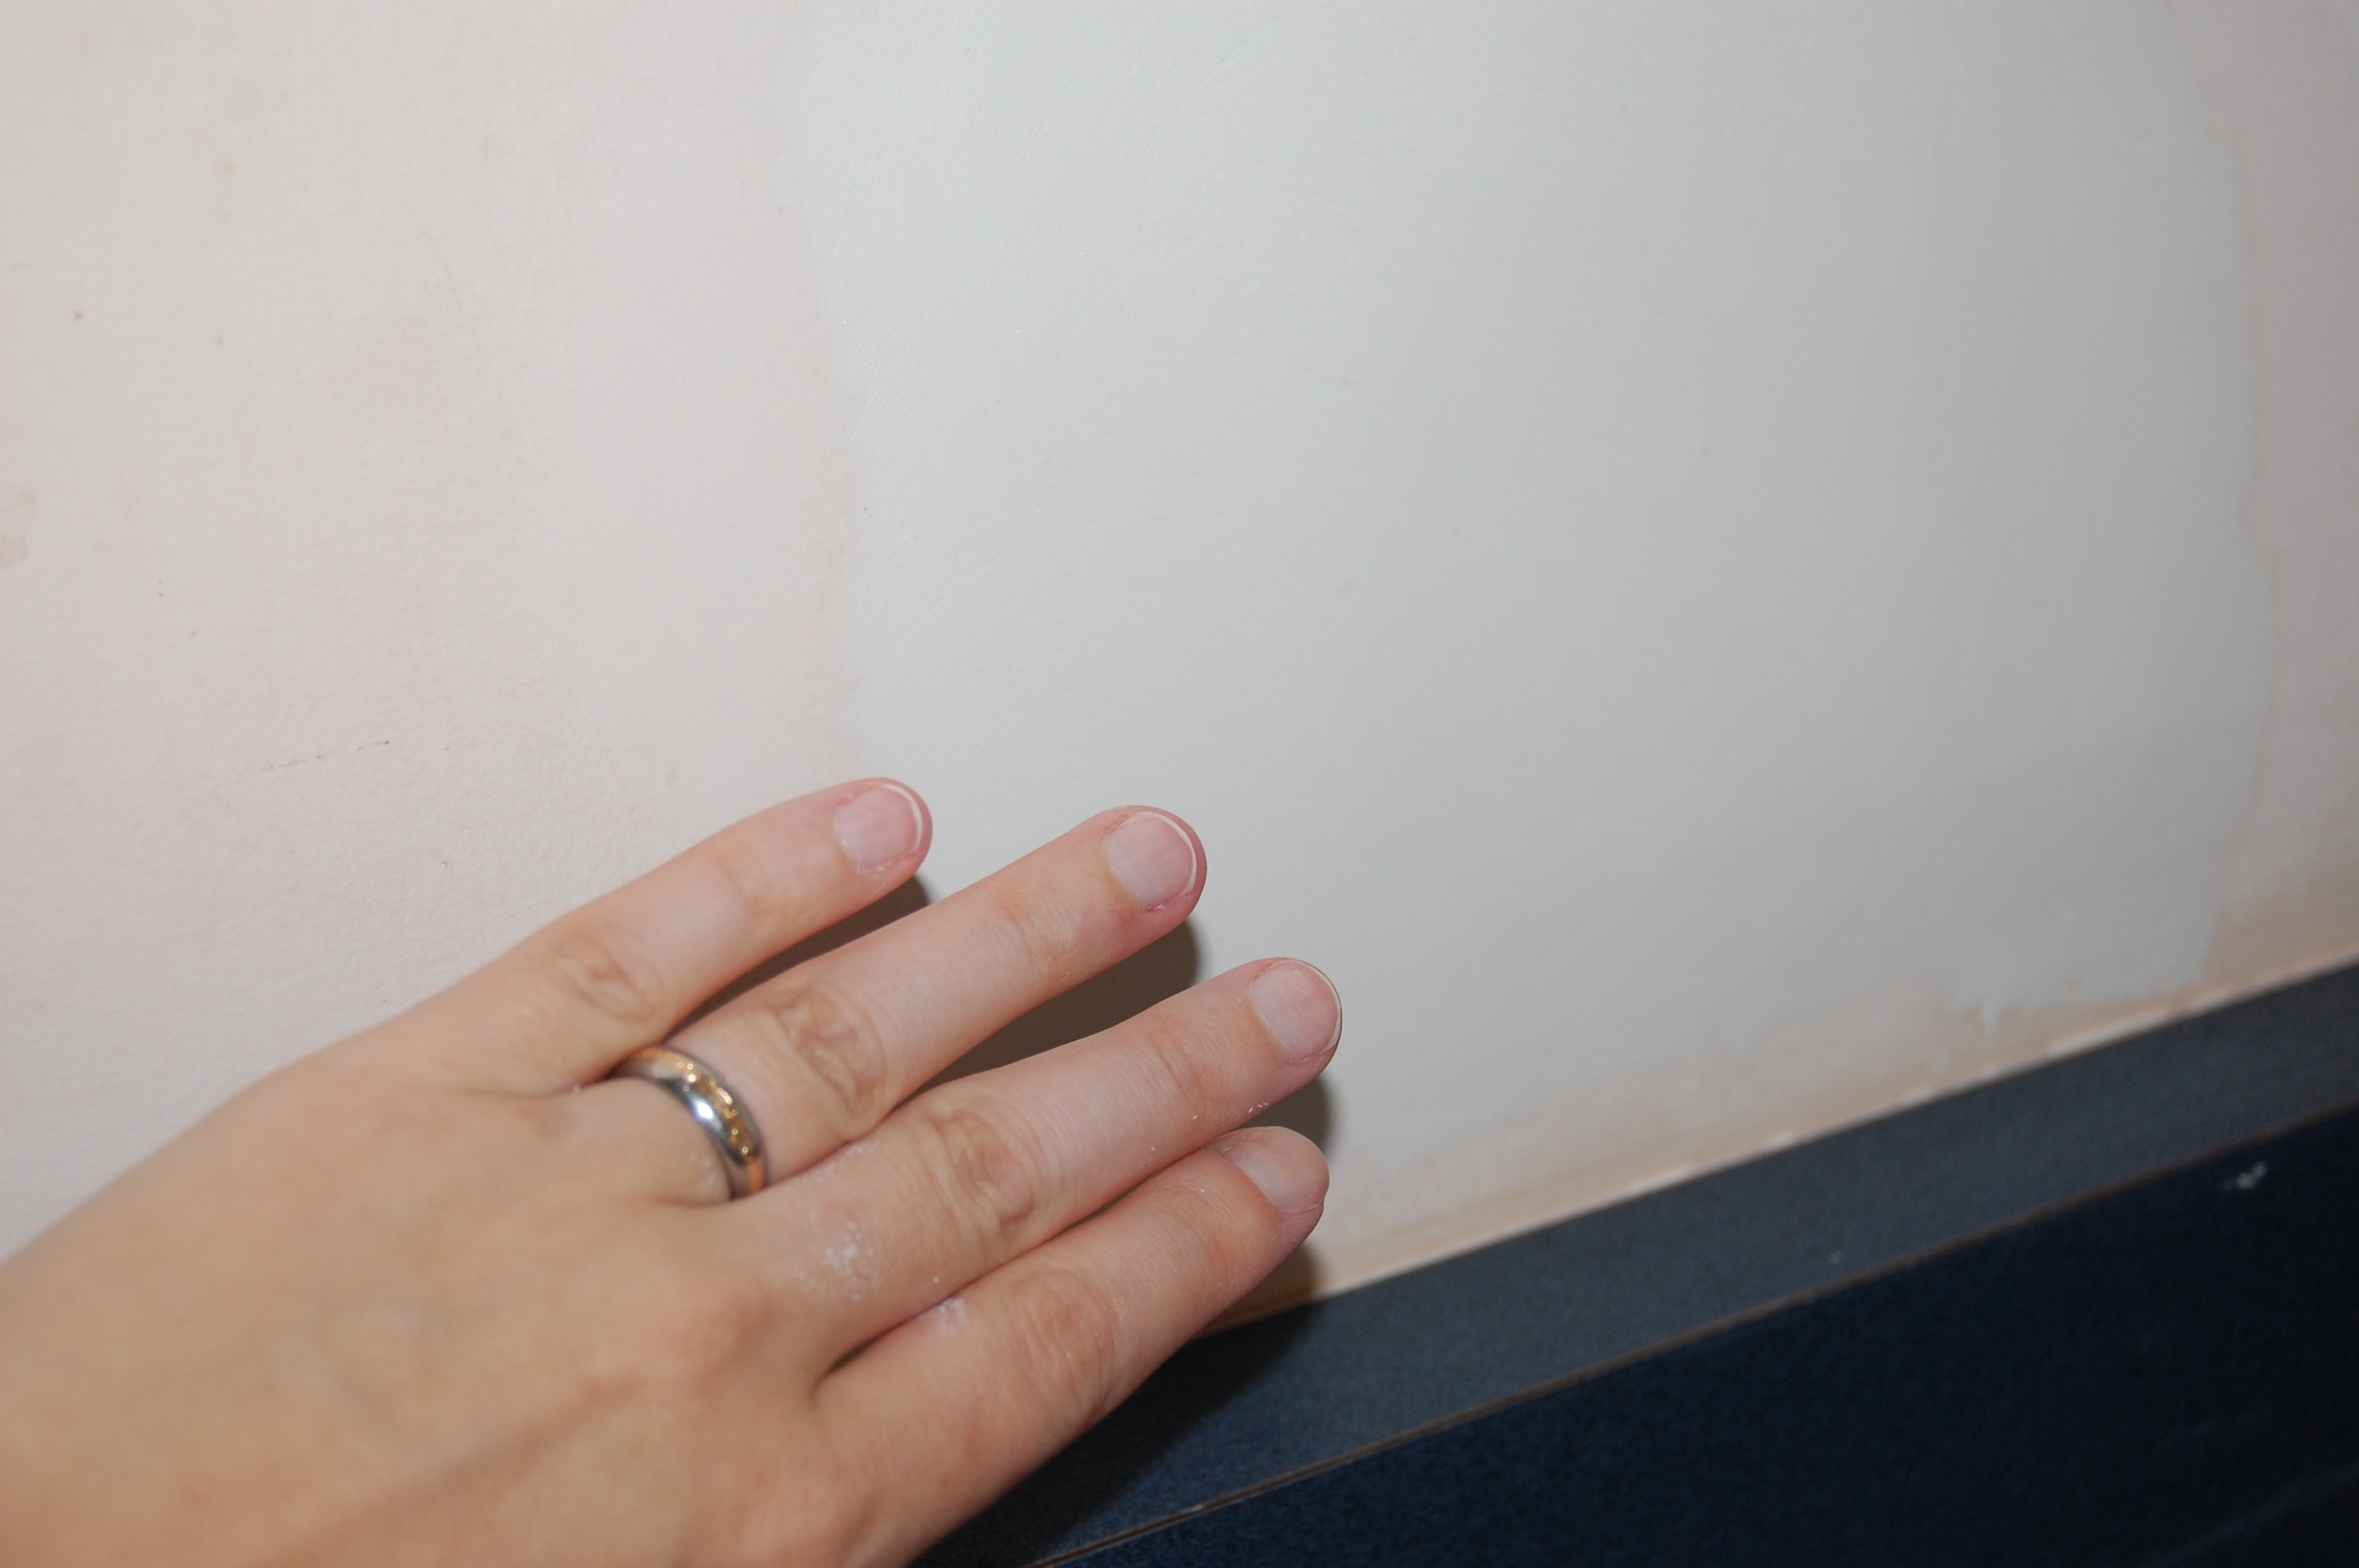
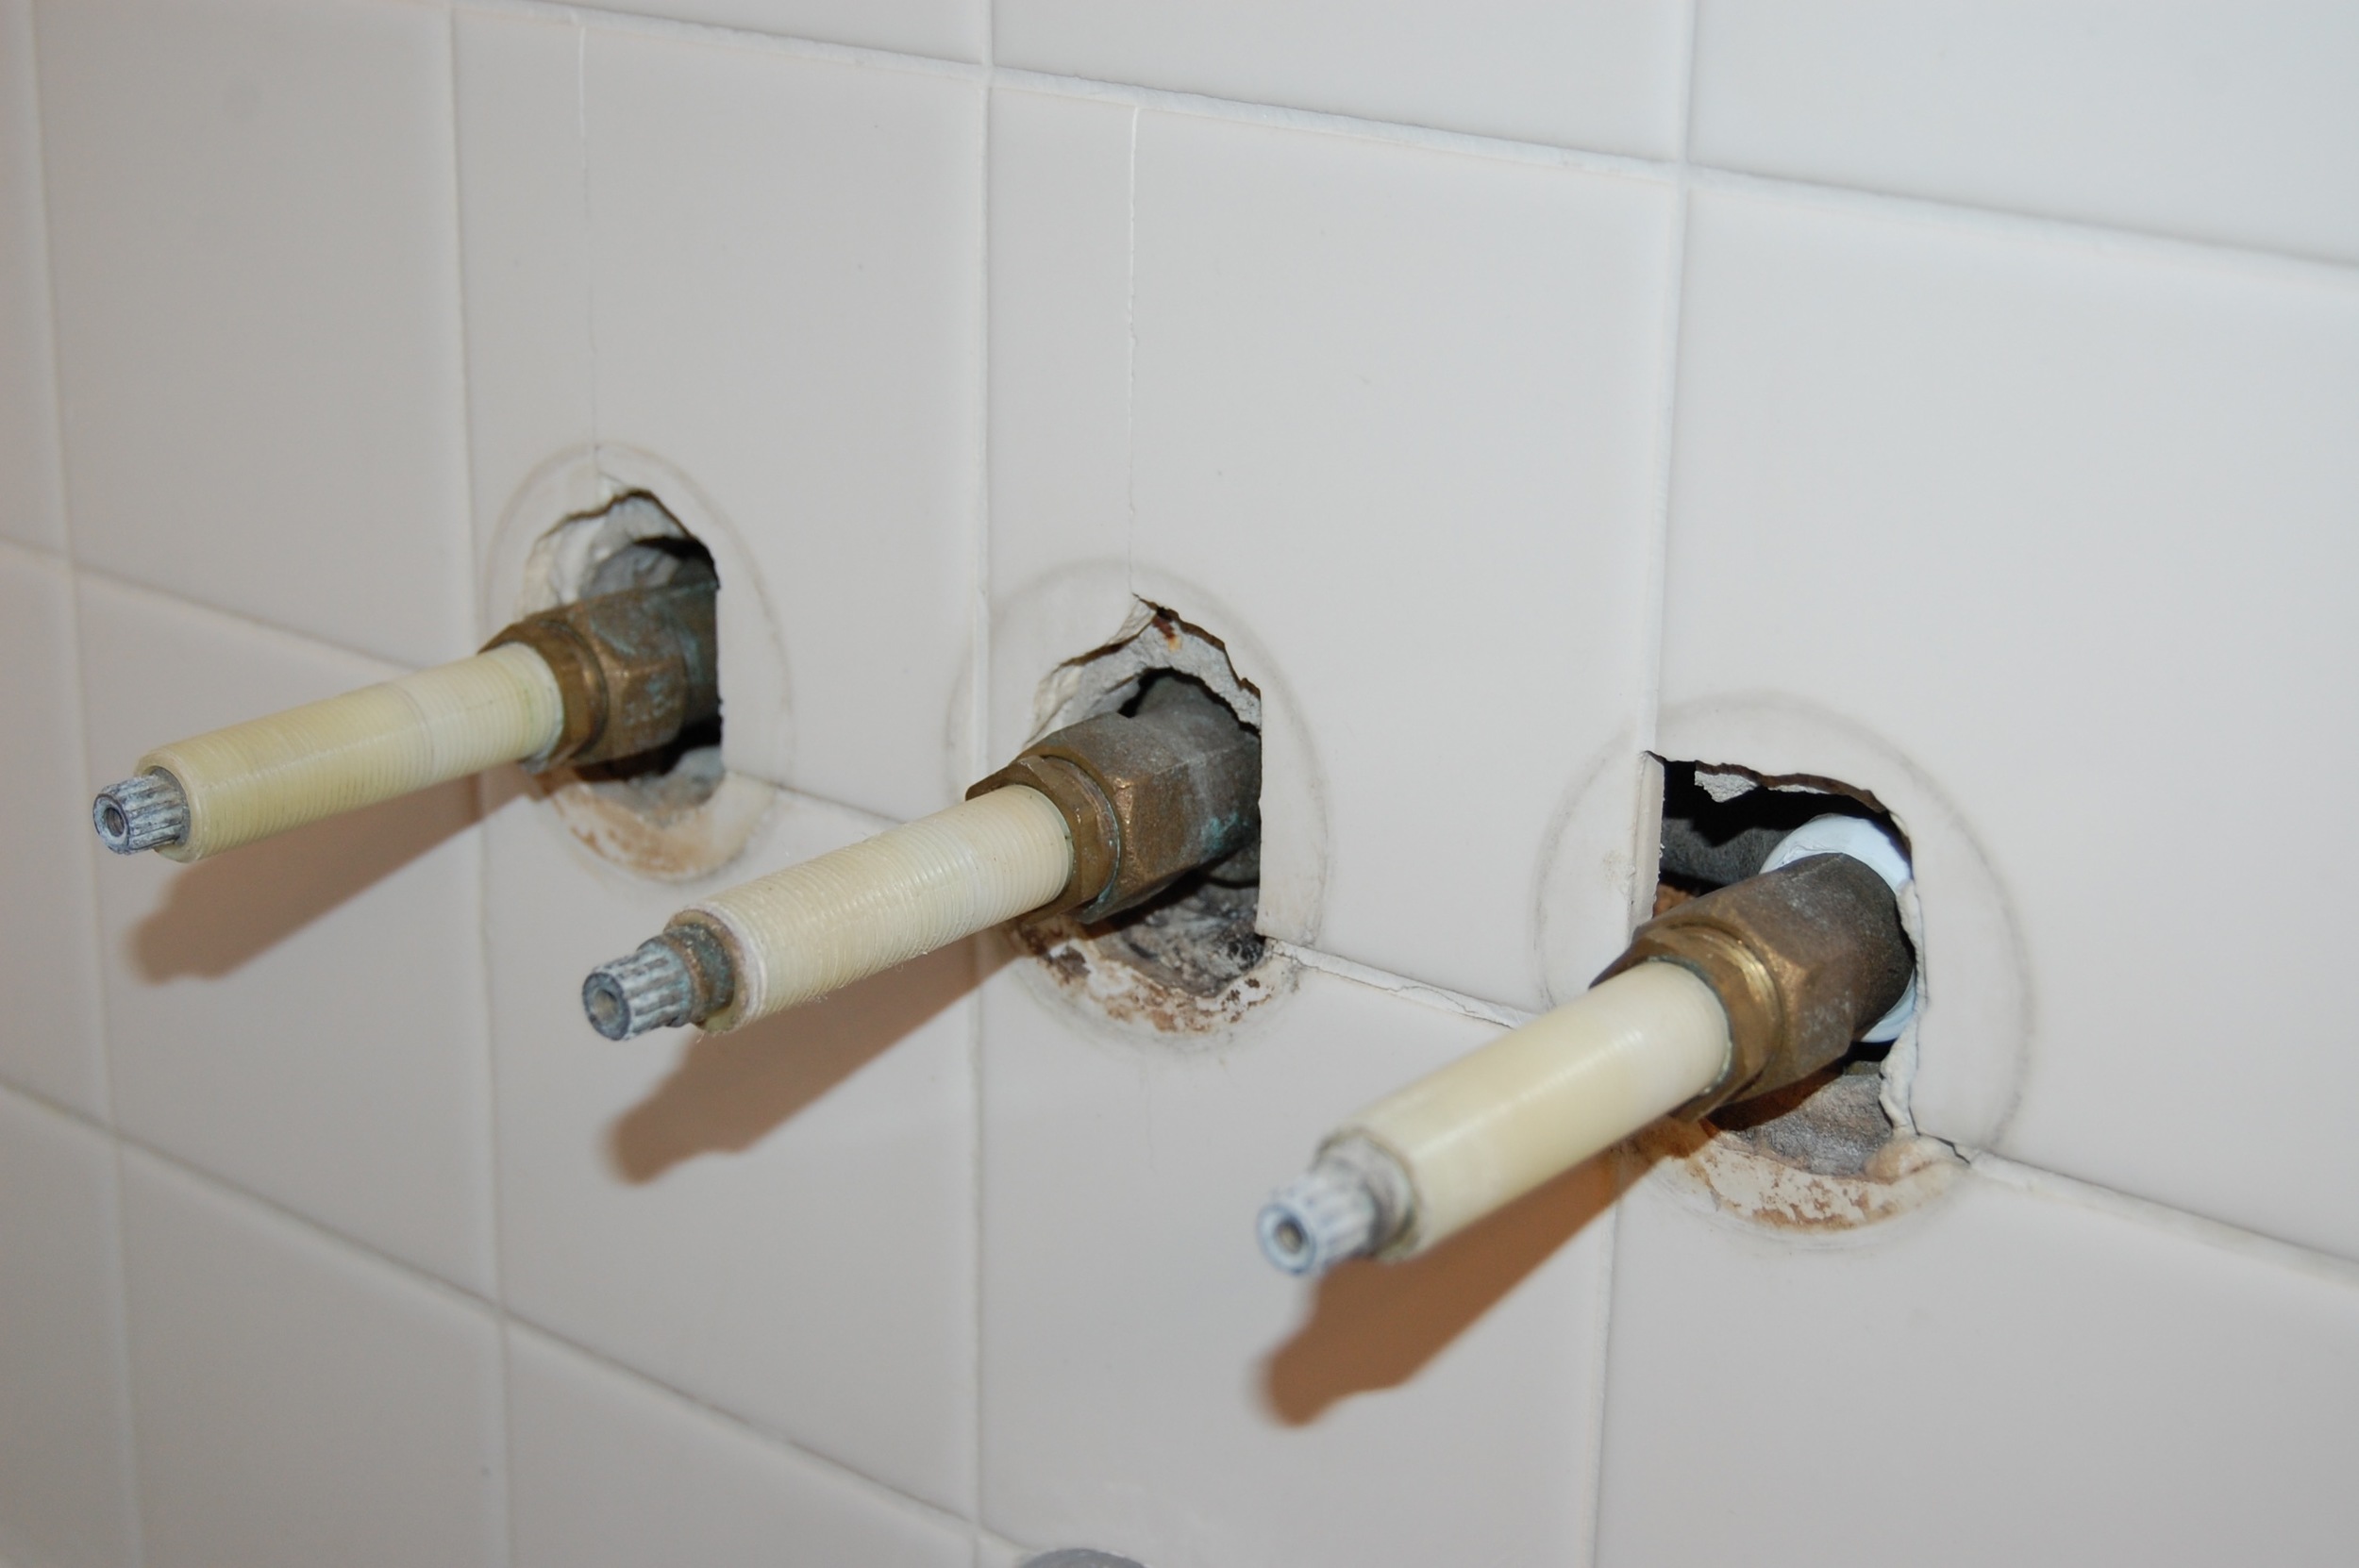
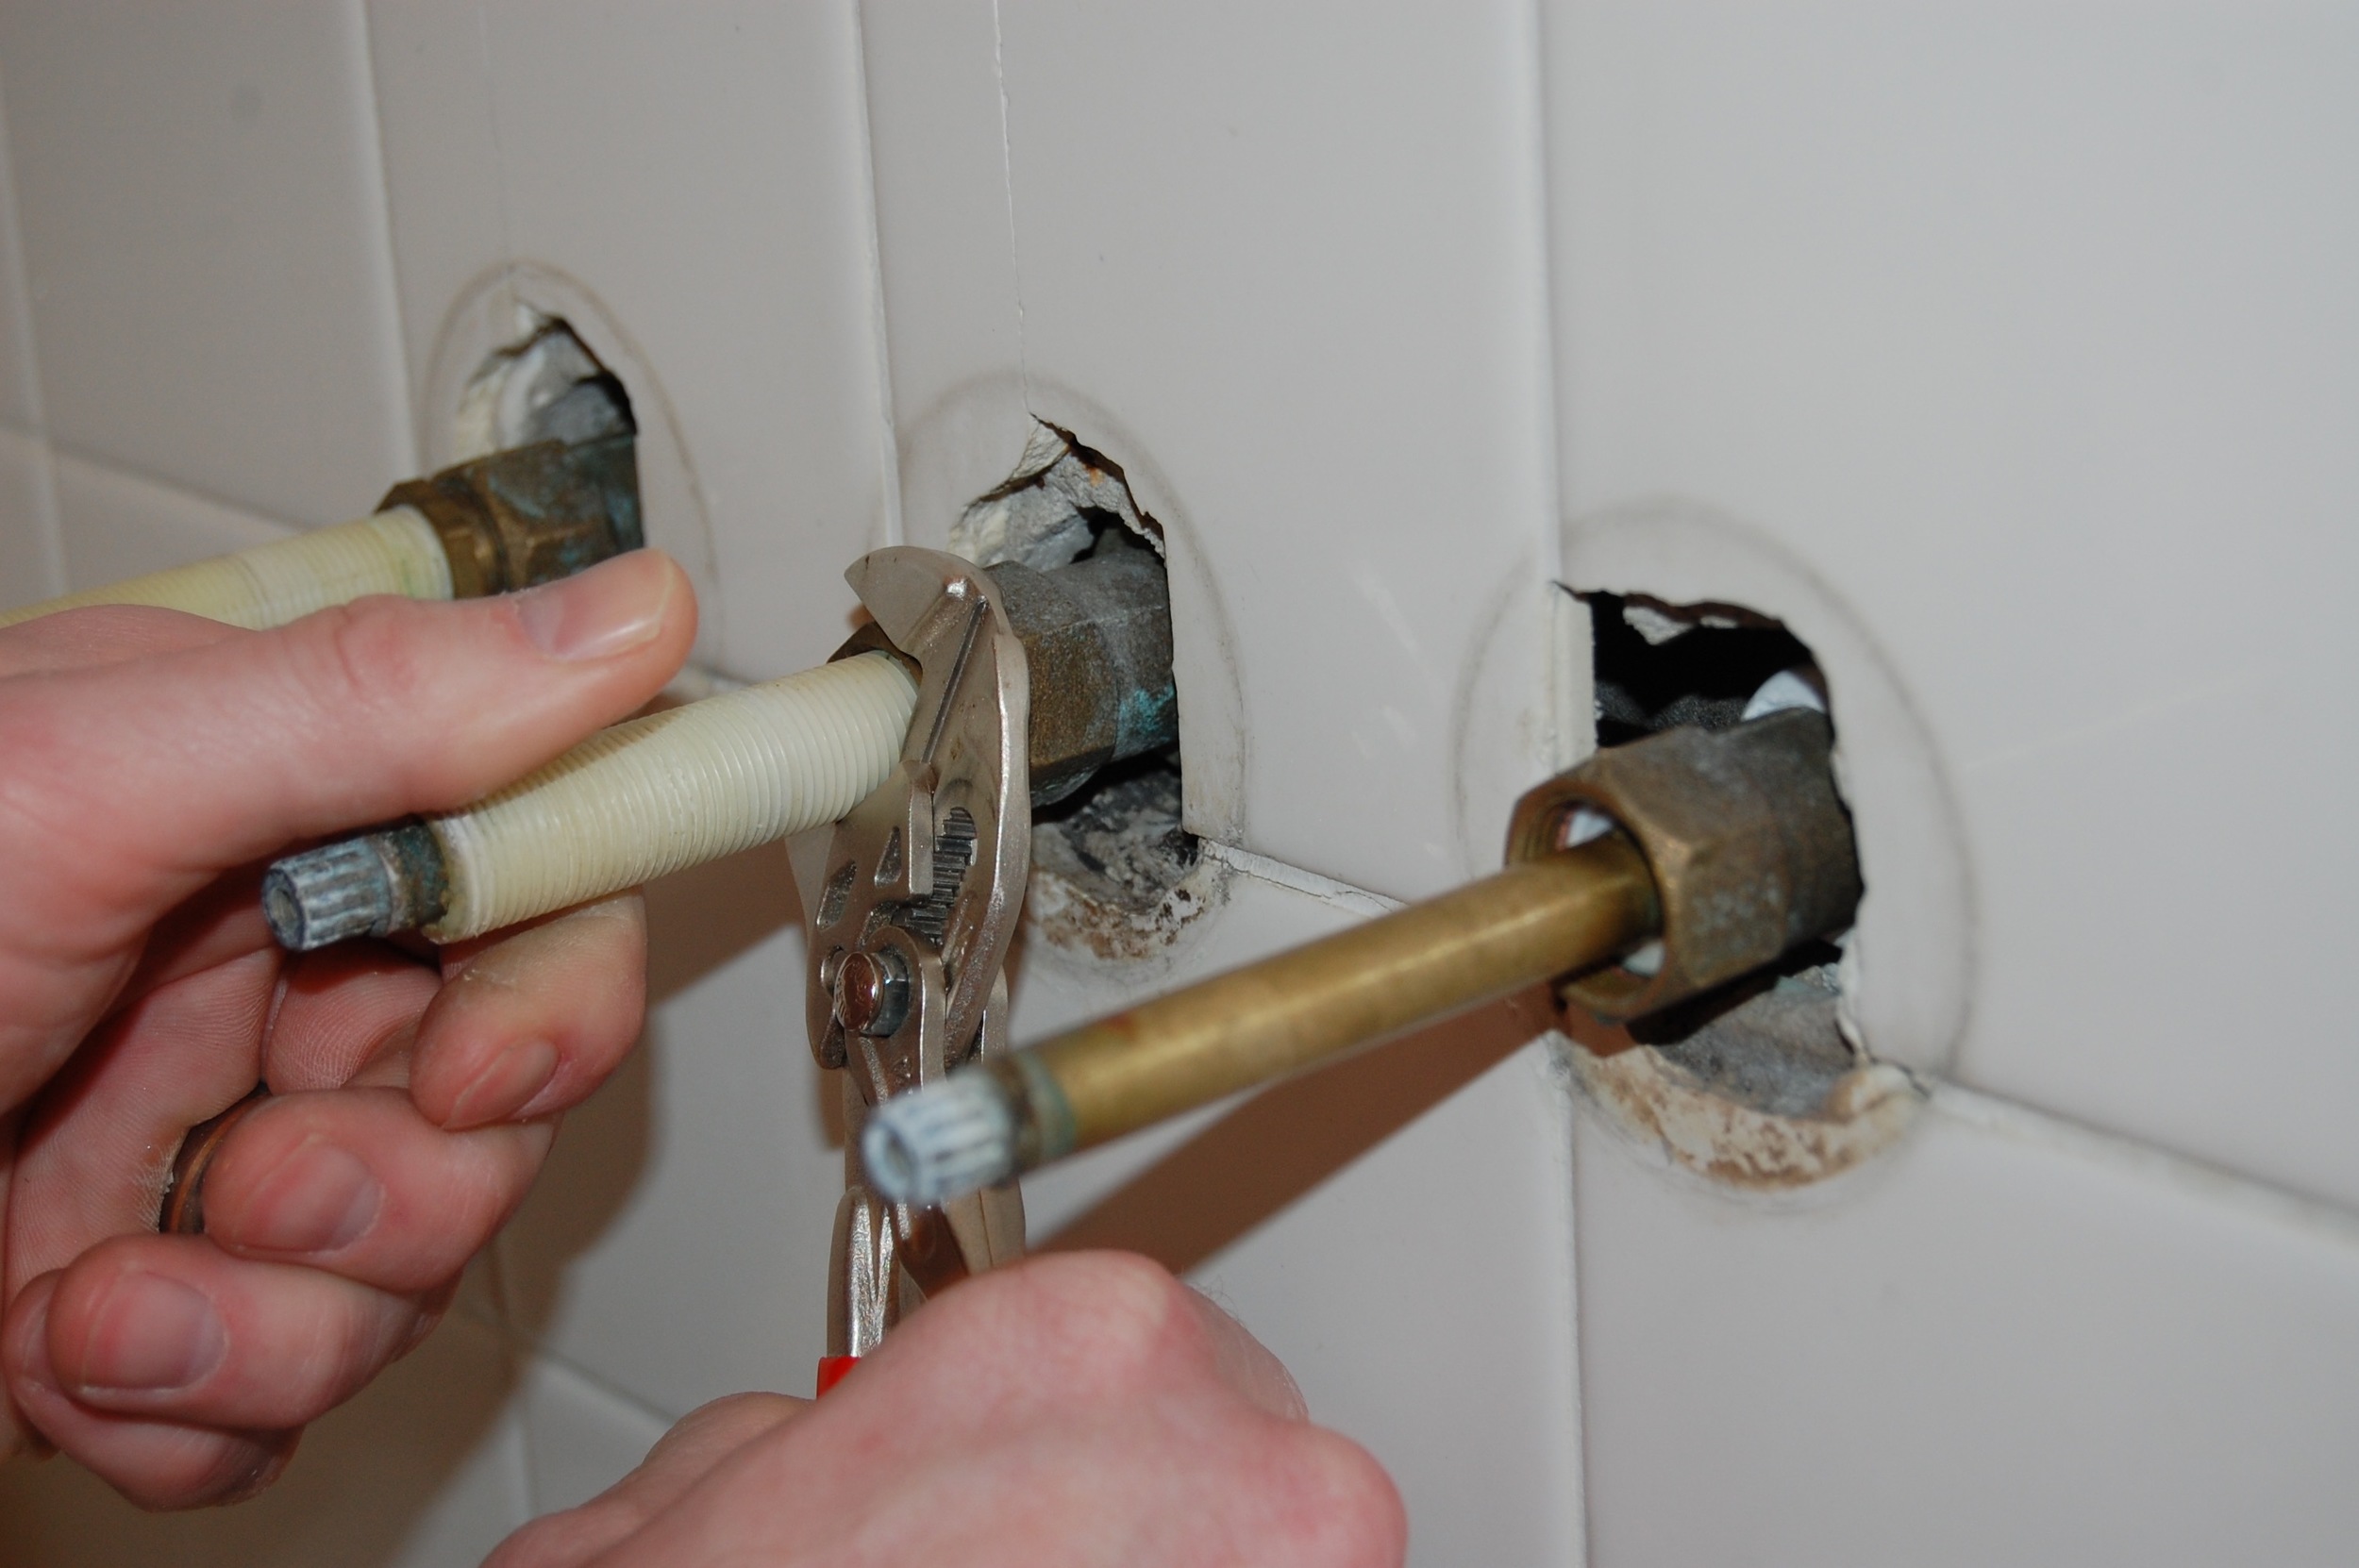
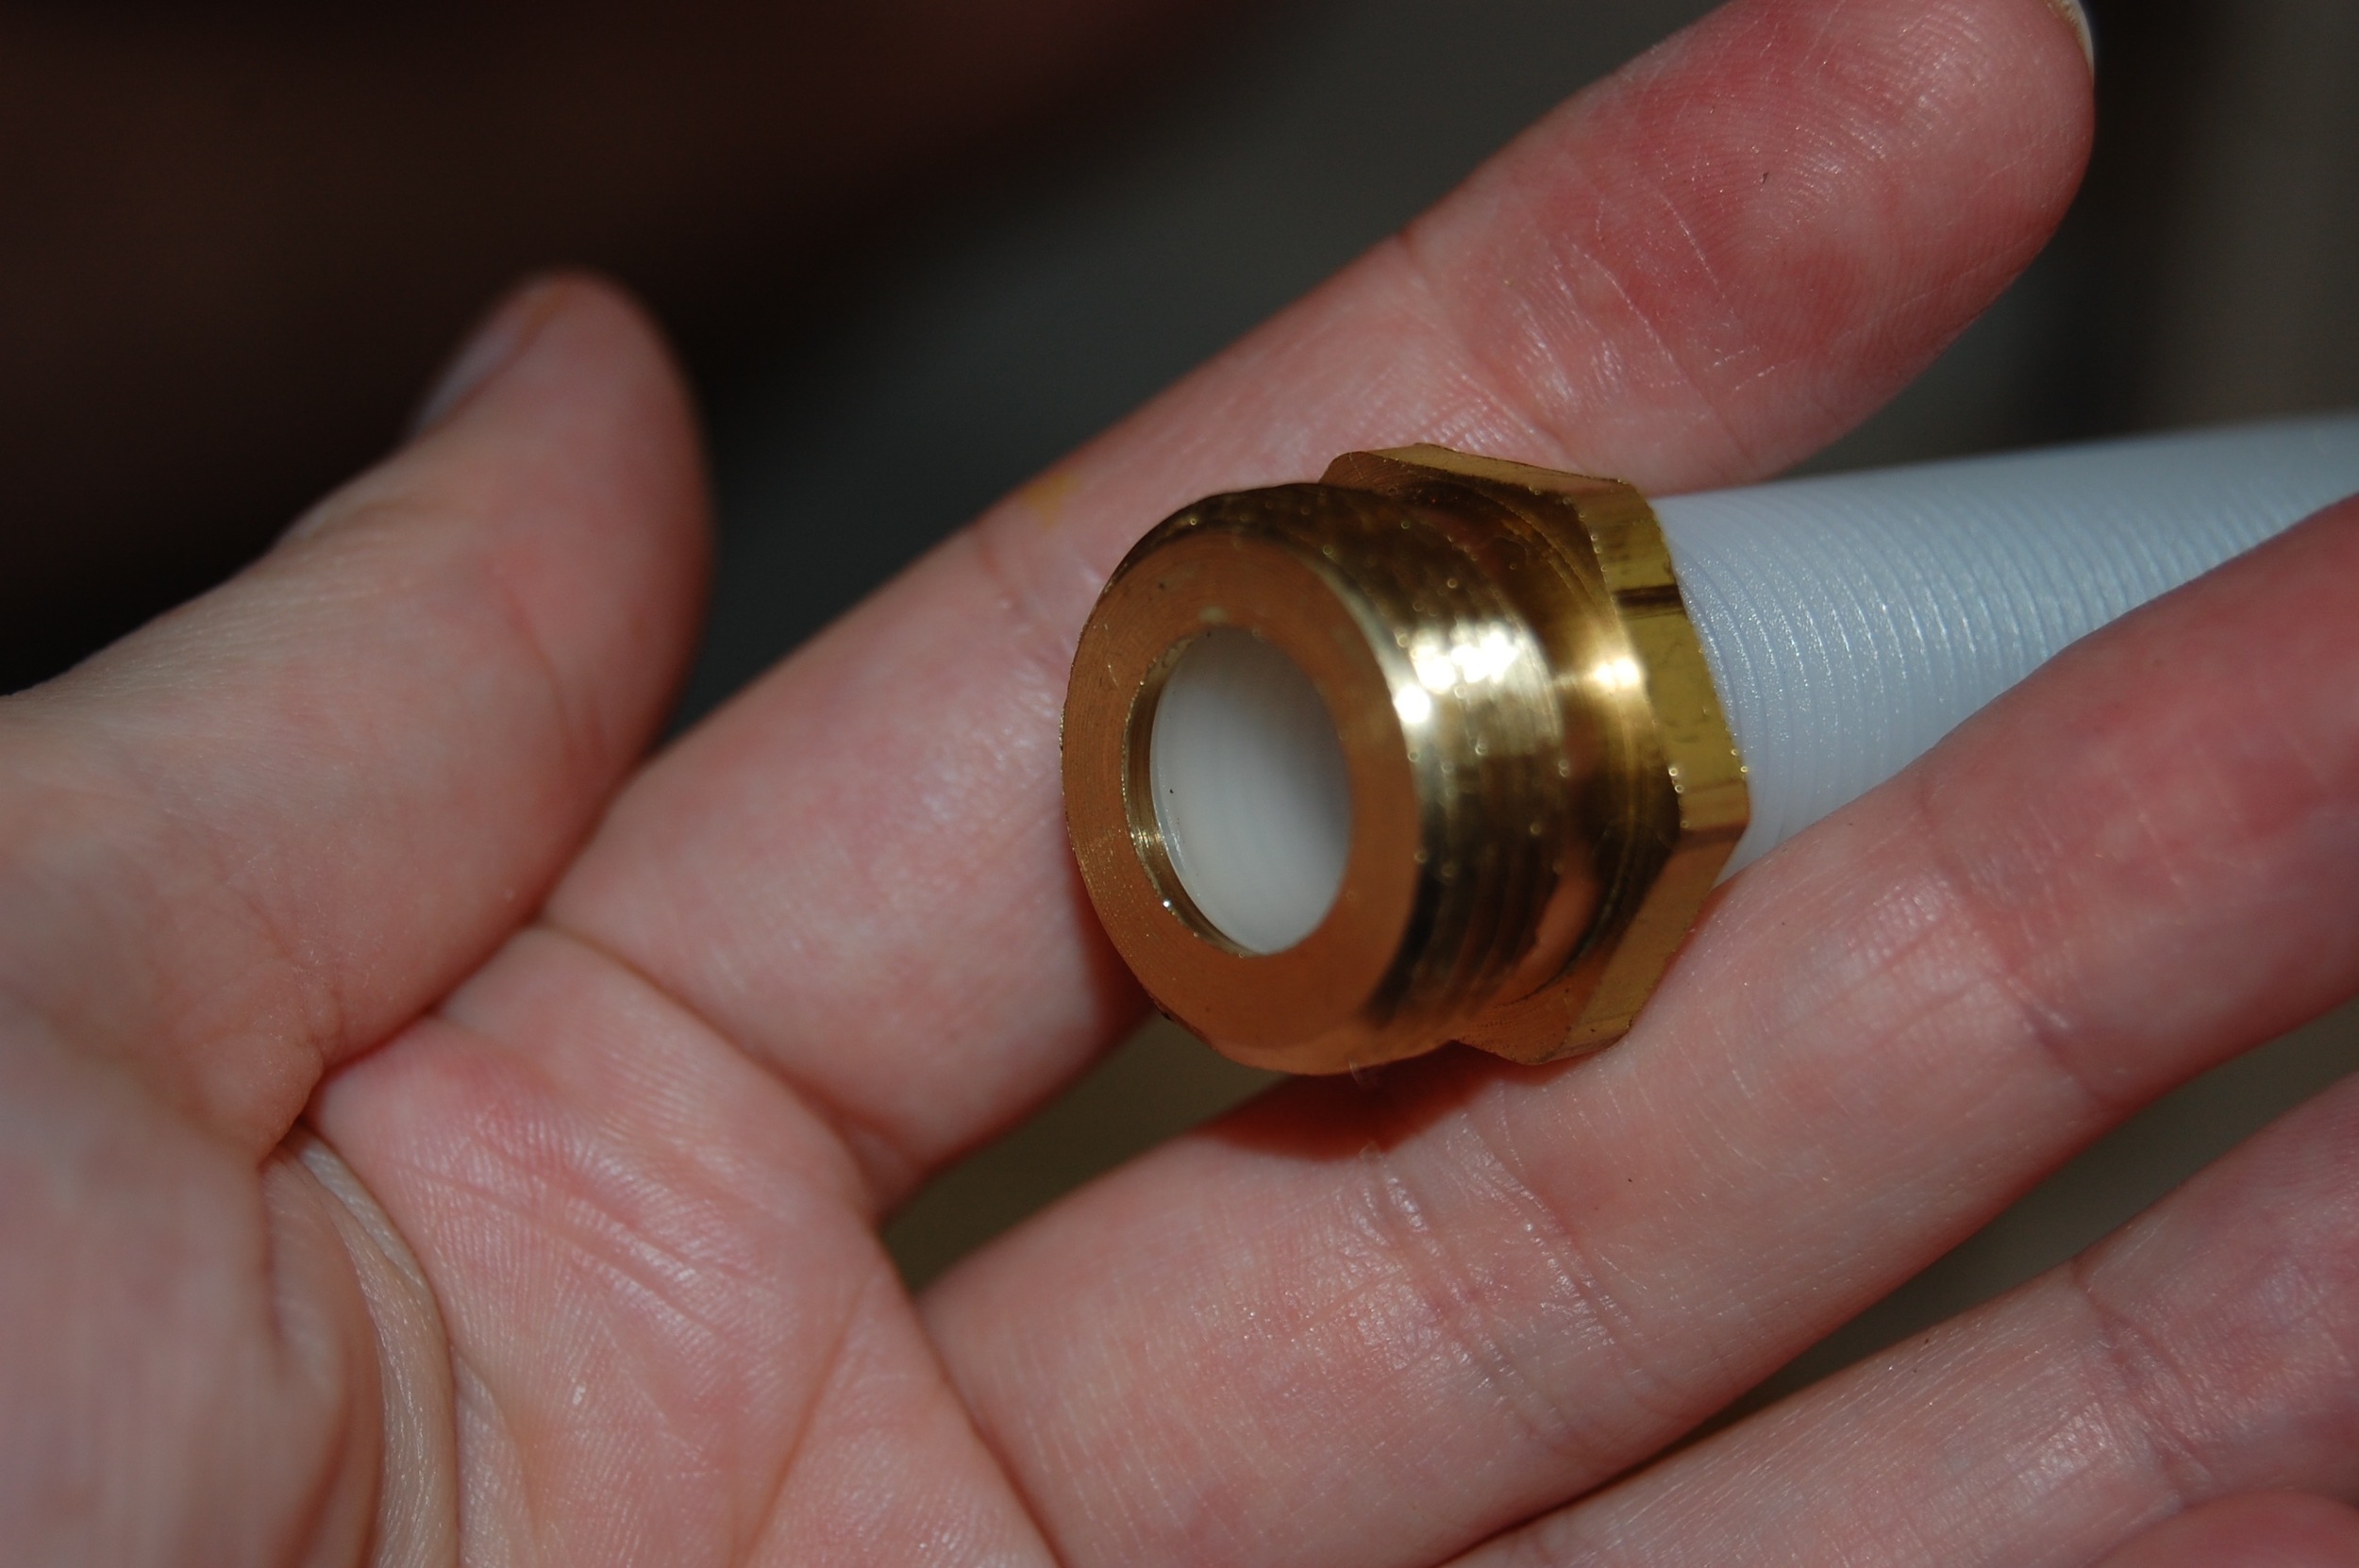
Then we found out that we were missing a tool (don’t believe the box when it tells you everything you need is included). The seat, which looks a bit like a thick washer with a funny shaped hole in it, and sits in the pipe within the wall, needs a special tool to be removed called a seat tool (Olive, one of the kid’s dolls helped illustrate it’s placement). There was no seat tool included in the kit, and we had no seat tool, so Firebeard when on his first trip to Home Depot and bought one. That is another $5 if you are keeping tabs. Once we got the seat out and compared it to the new one we knew where our leak had come from. It was in rough shape.
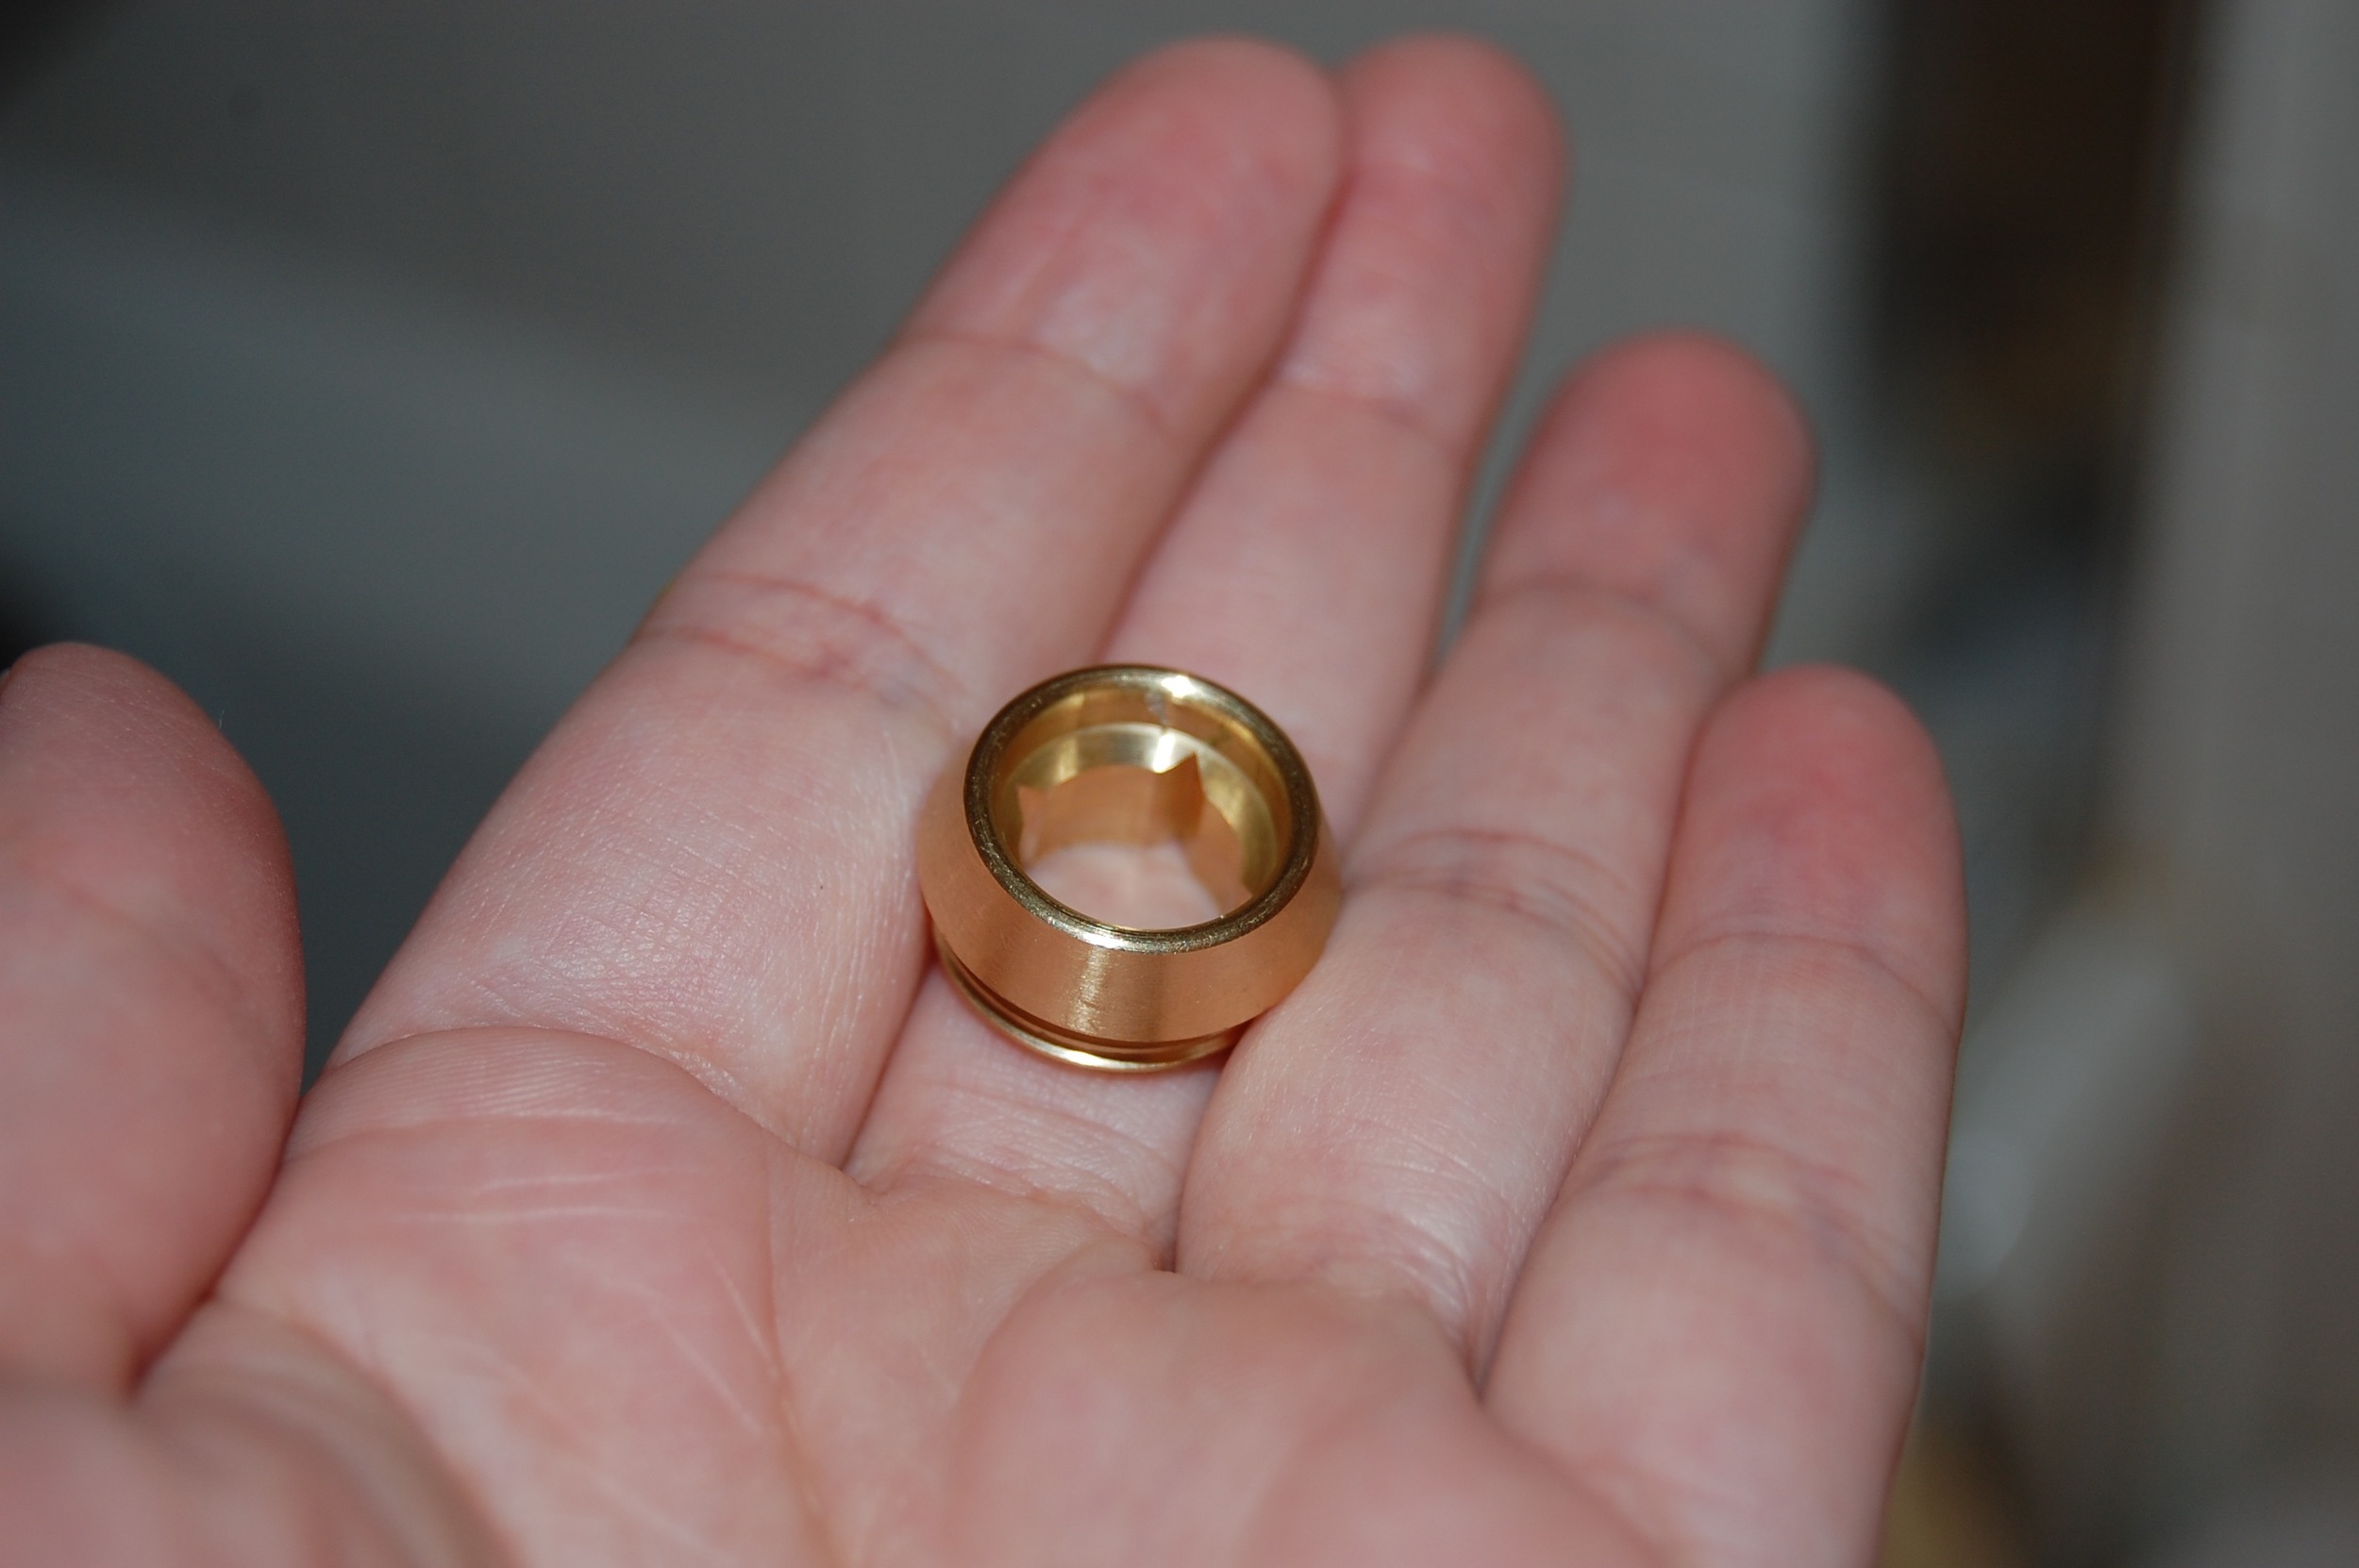
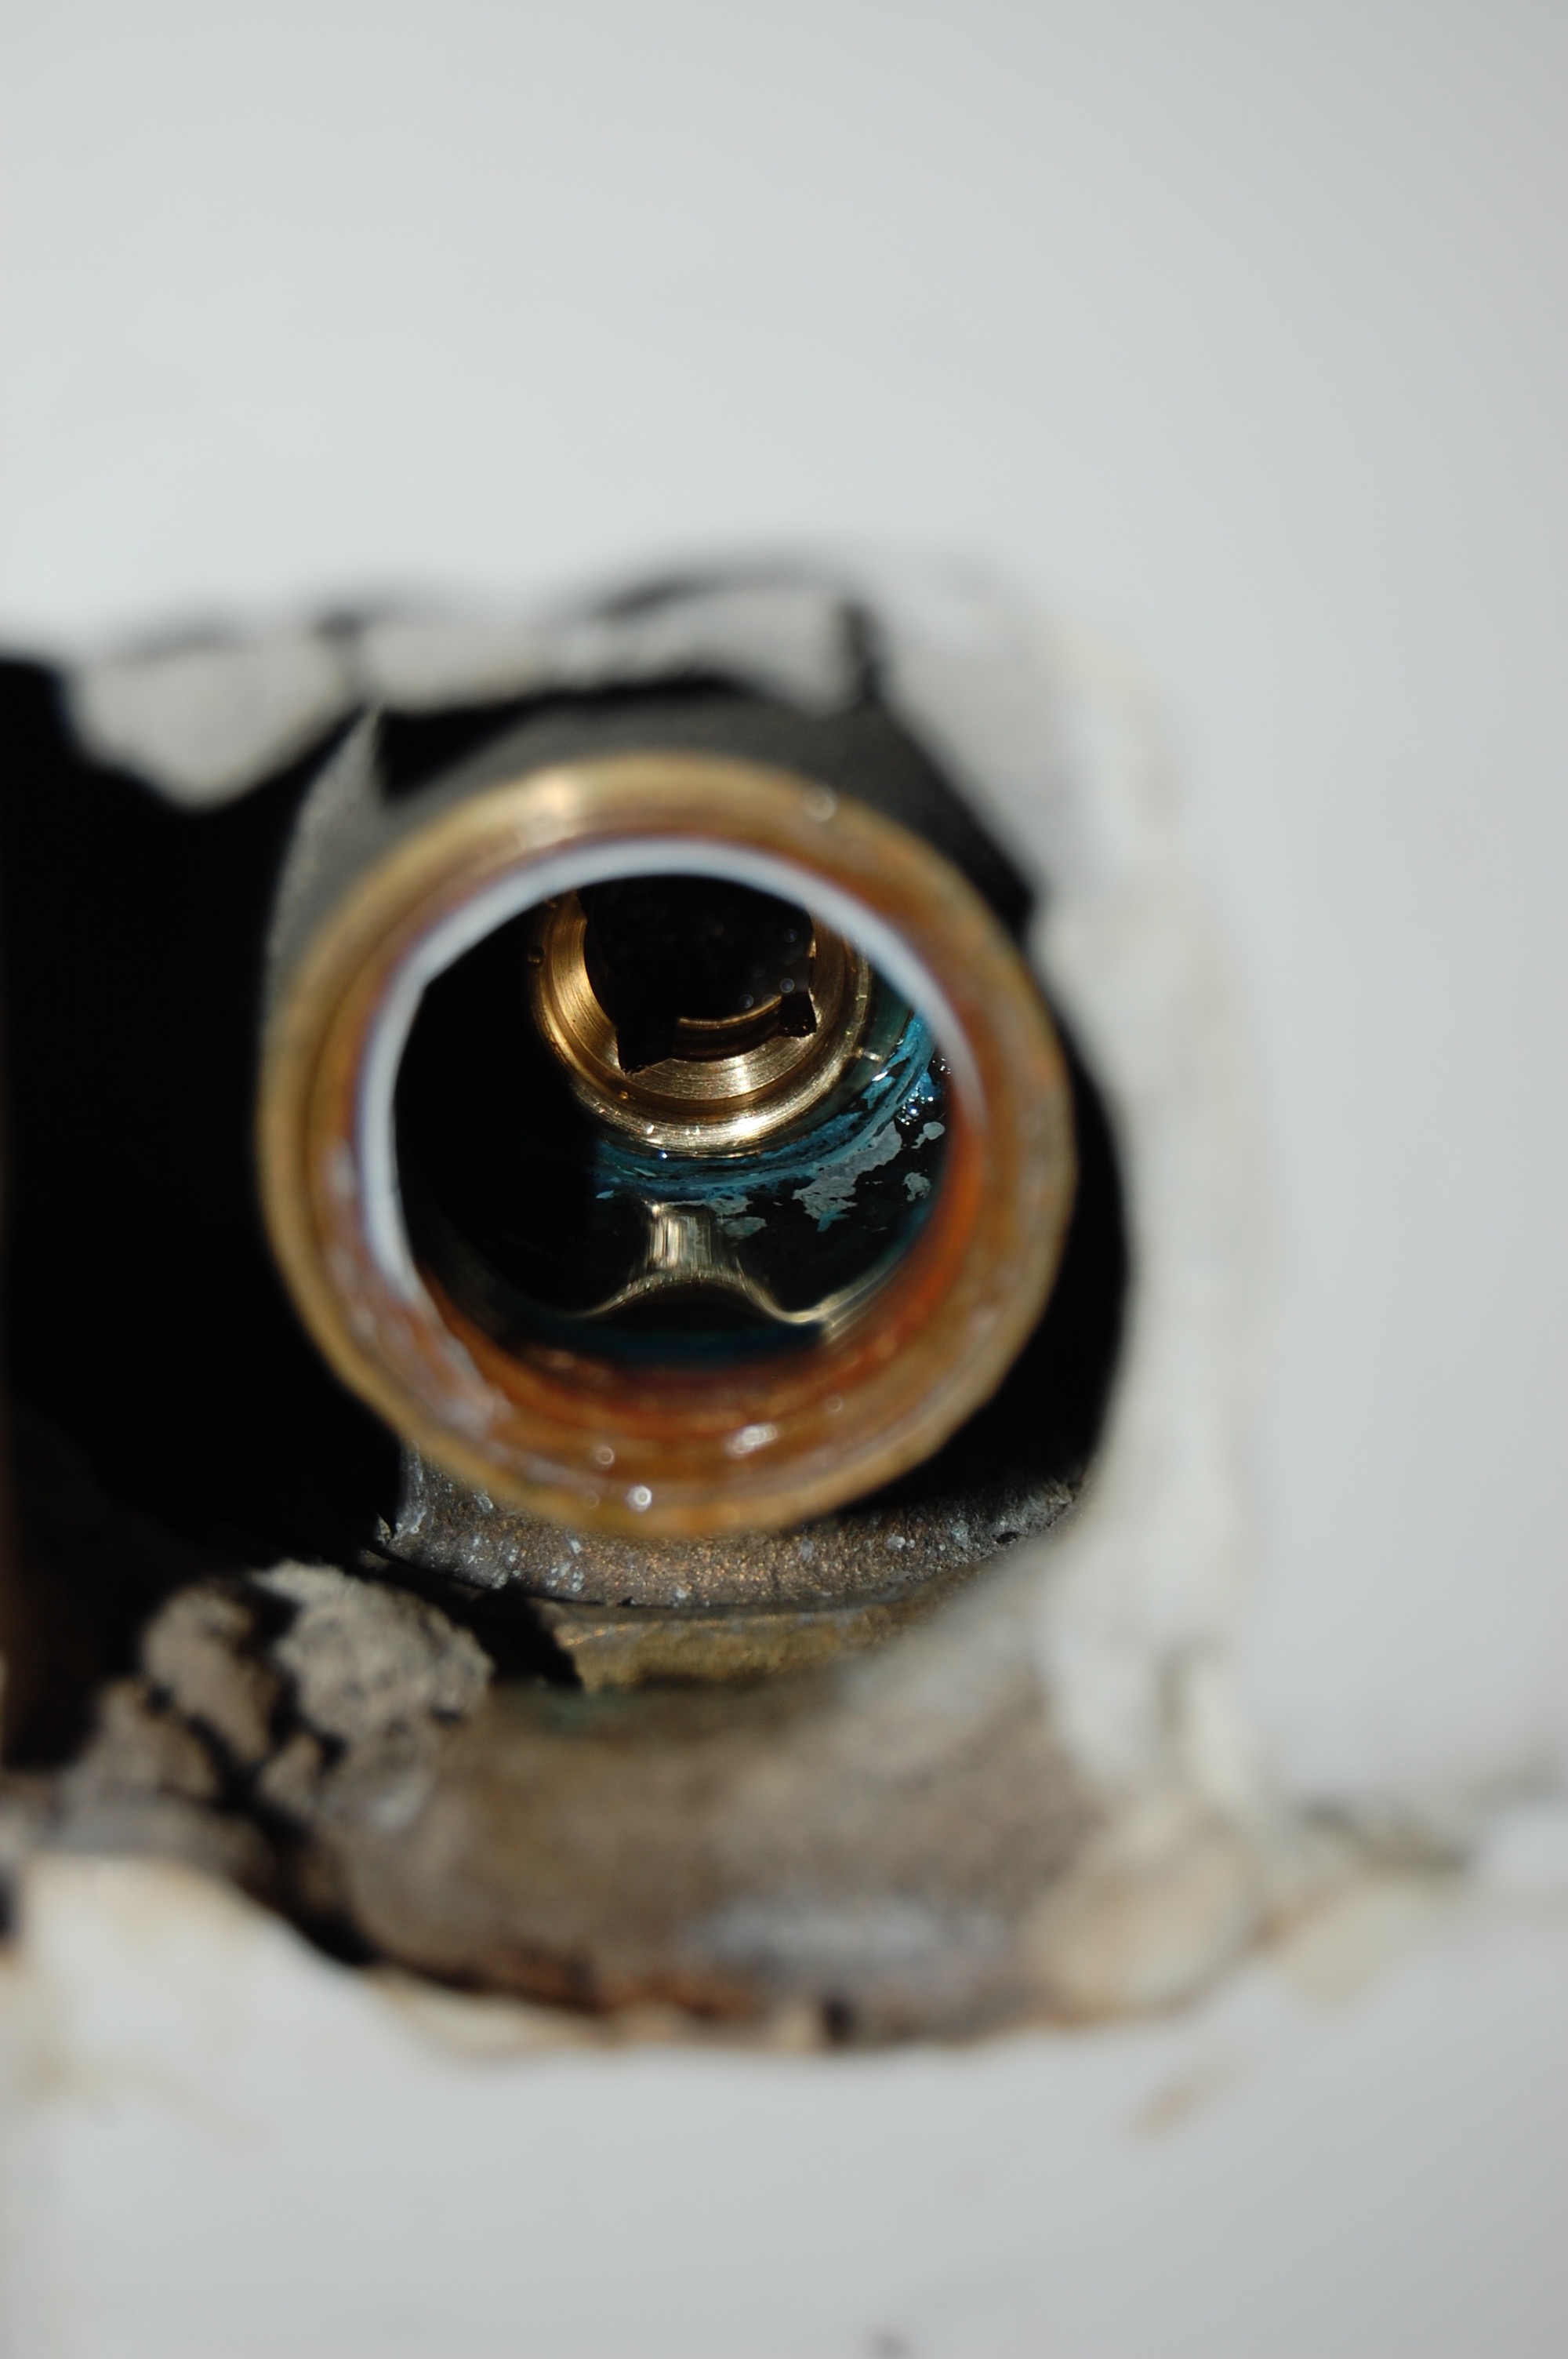
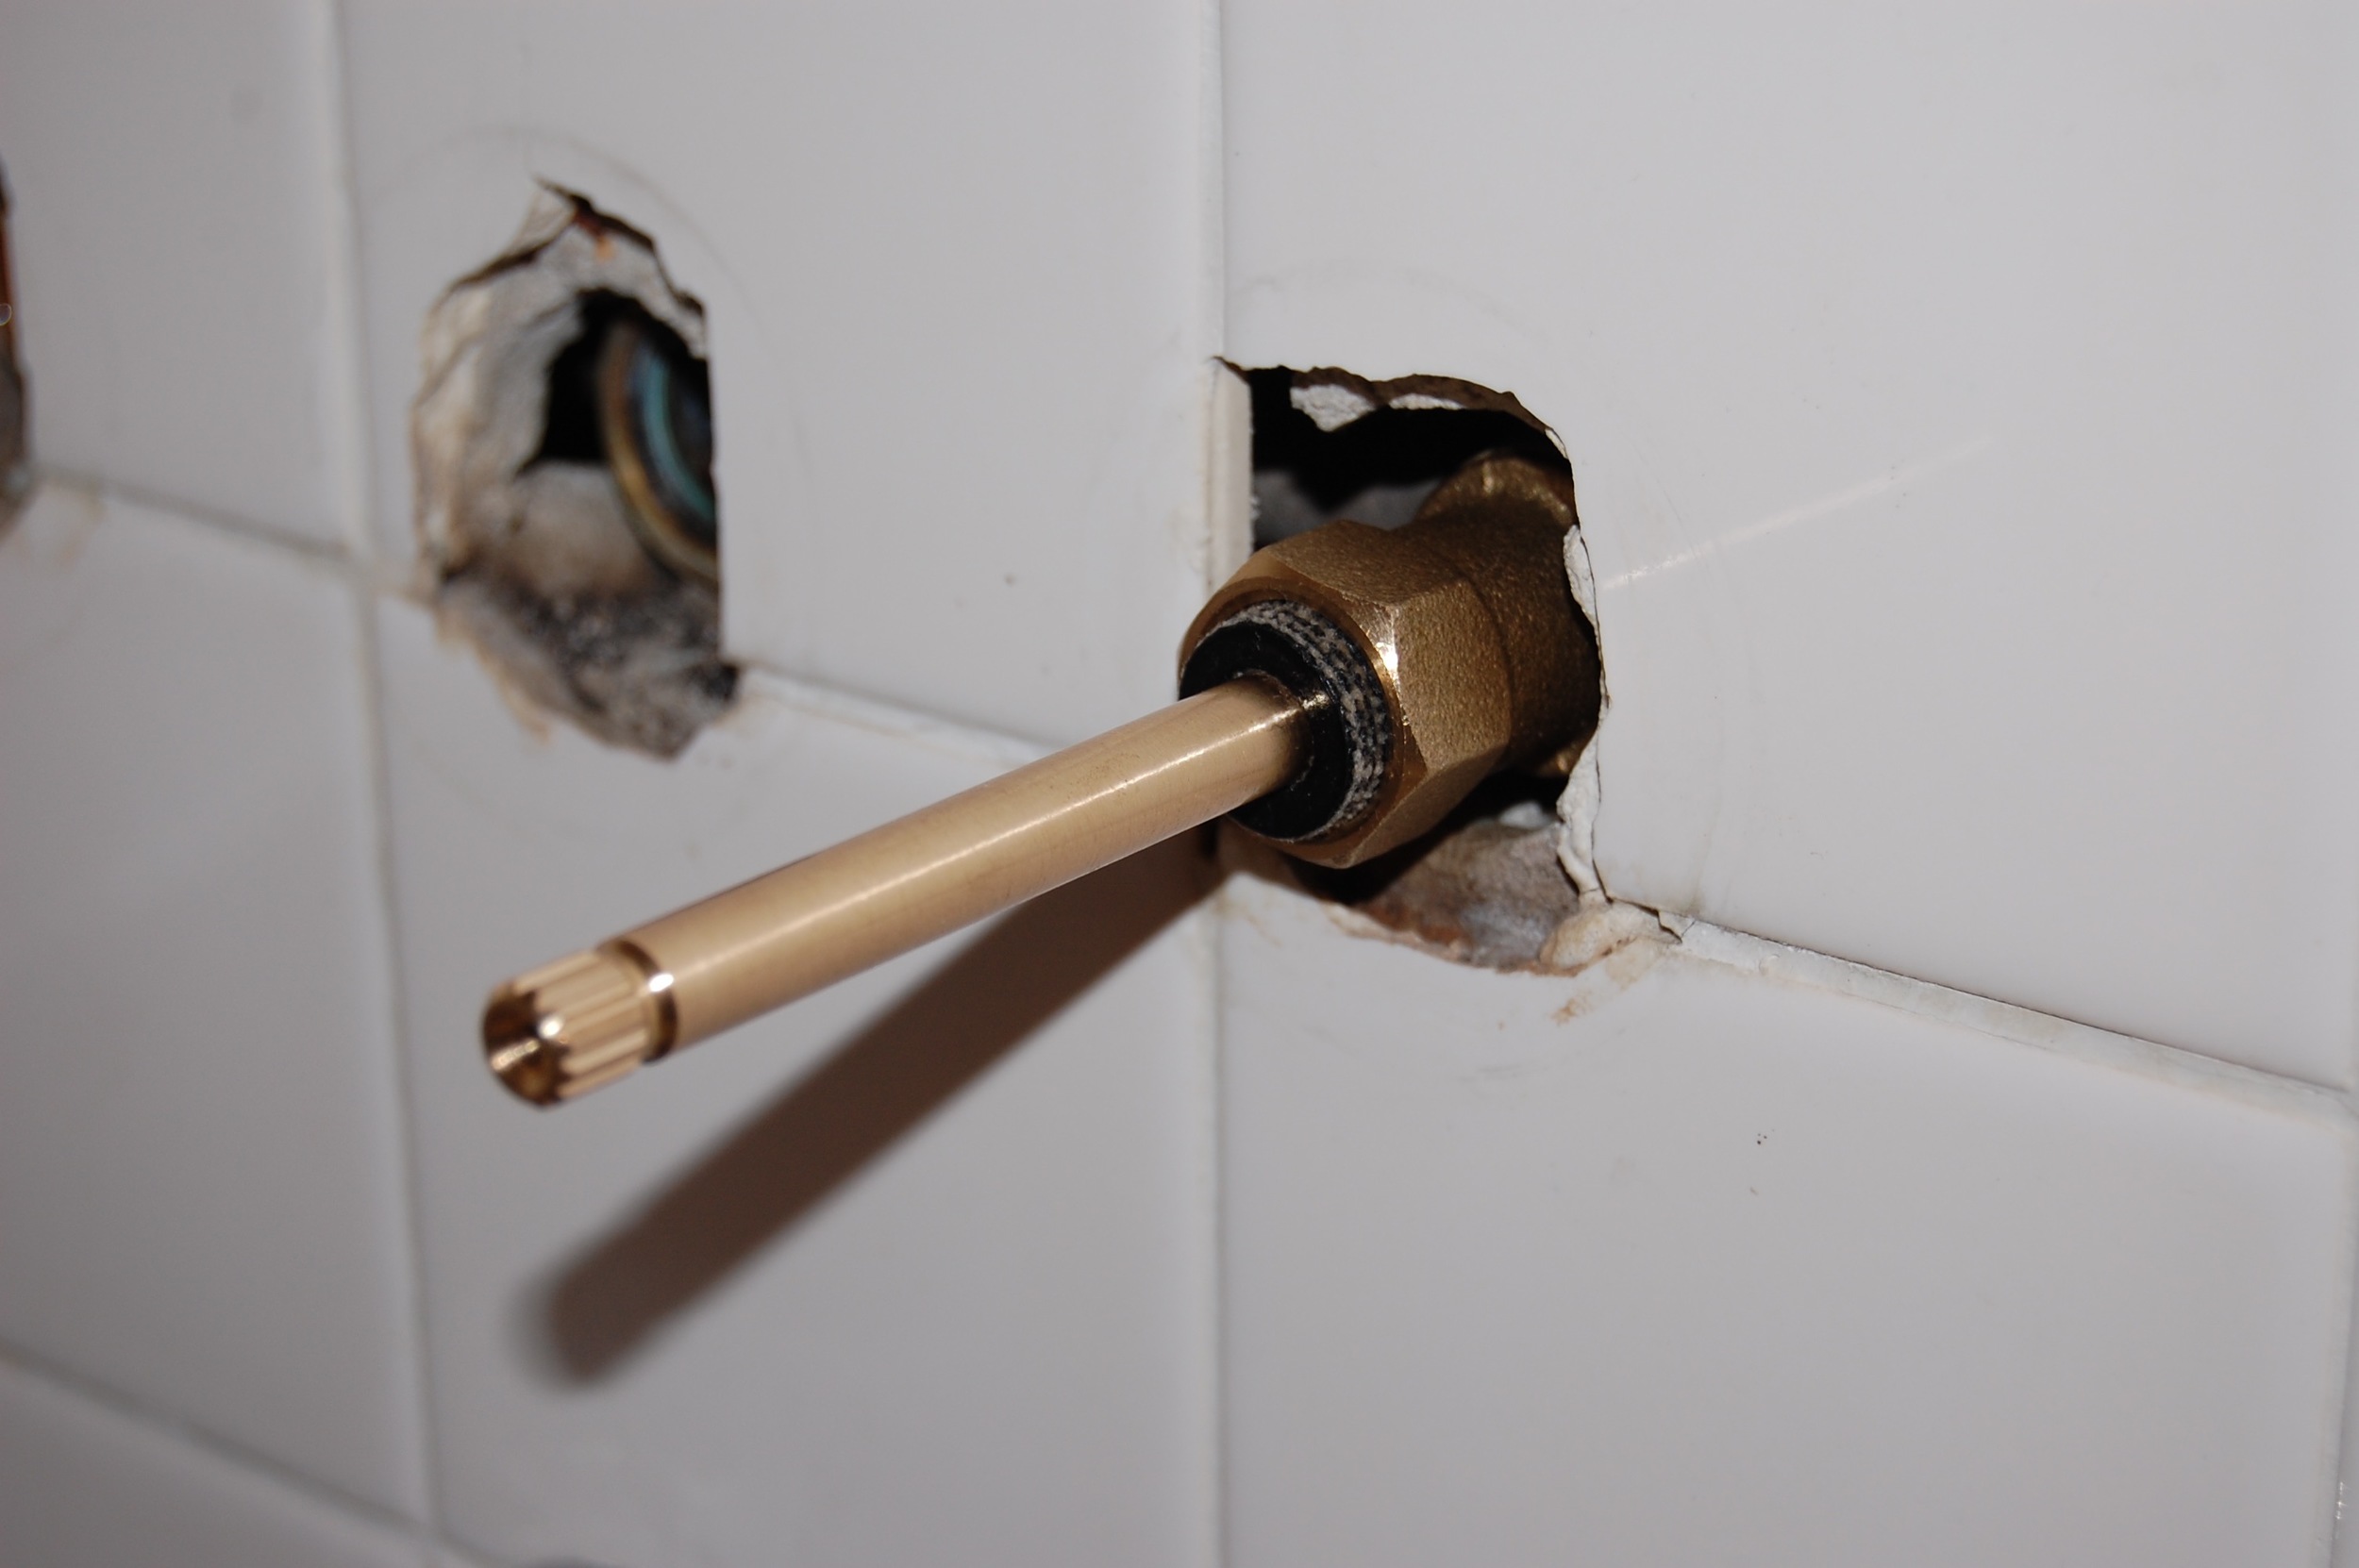

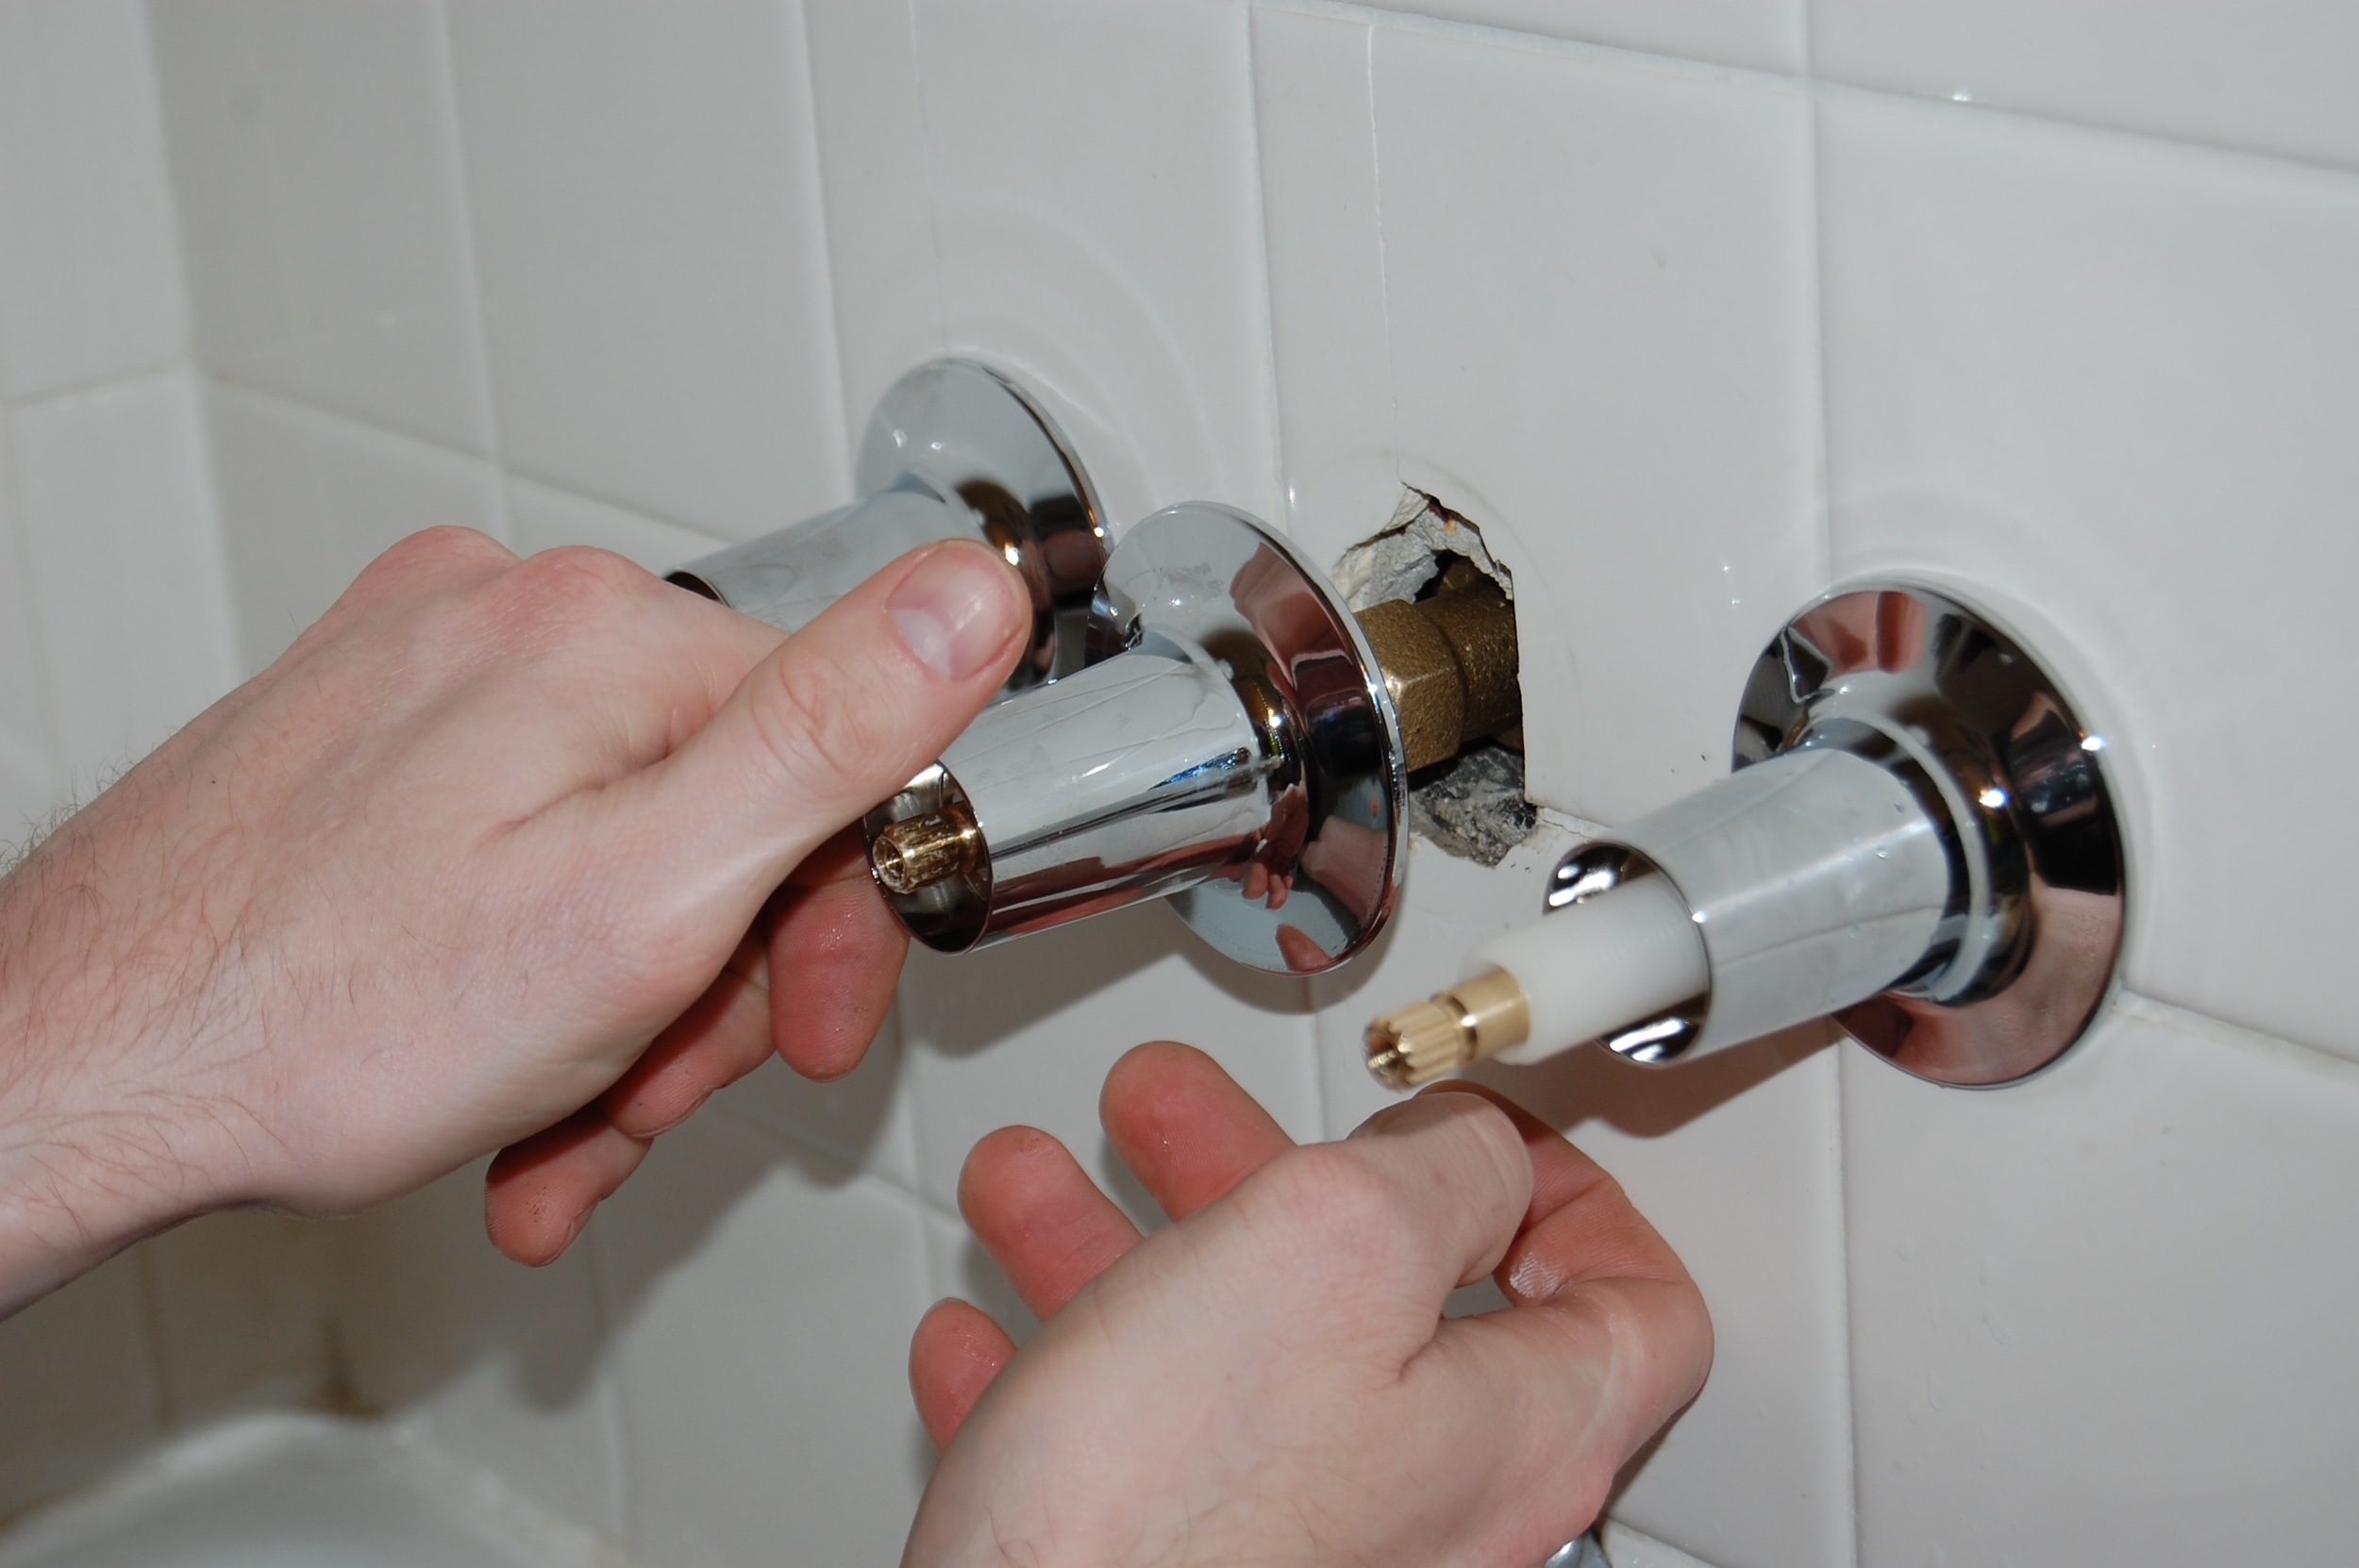
So we had gotten everything out, and it was time to start putting things back together again, starting with the shiny seat. Then in went the stems, their weird plastic covers, the flanges that cover up everything that comes out of the wall, and finally the handles.
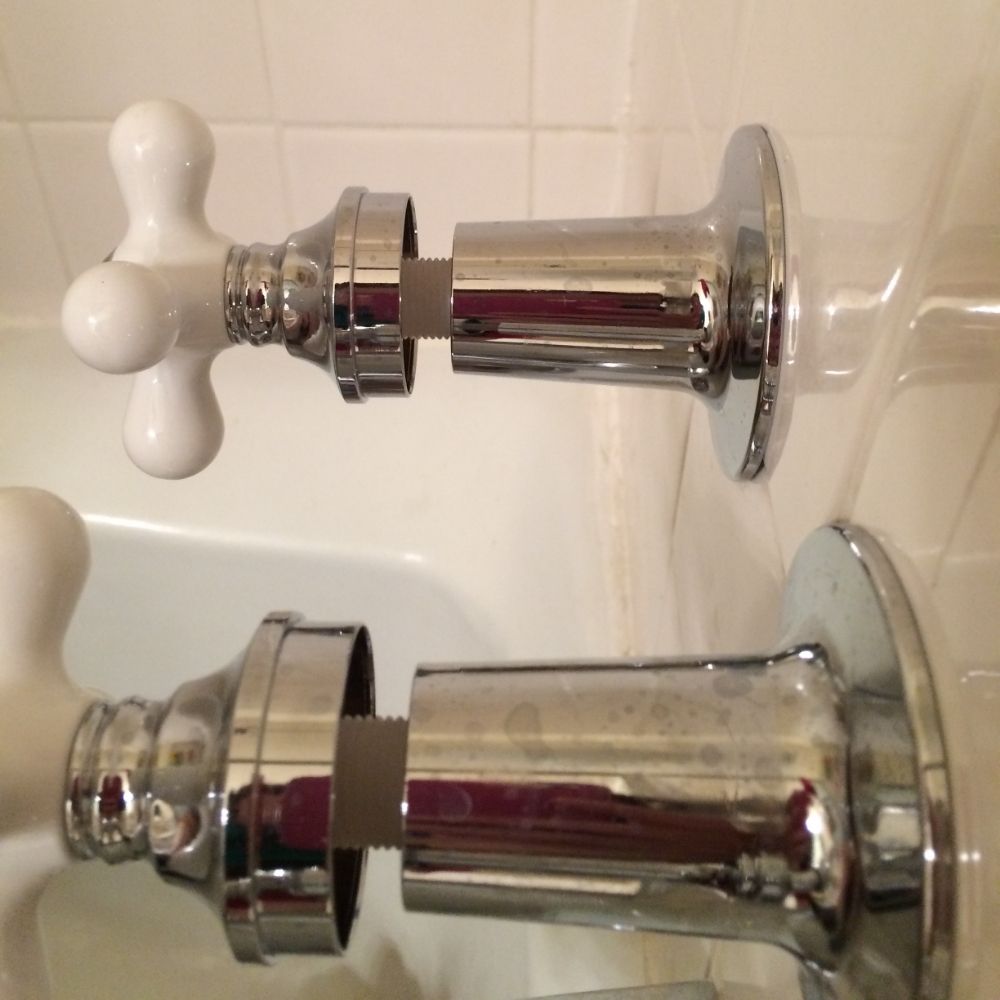
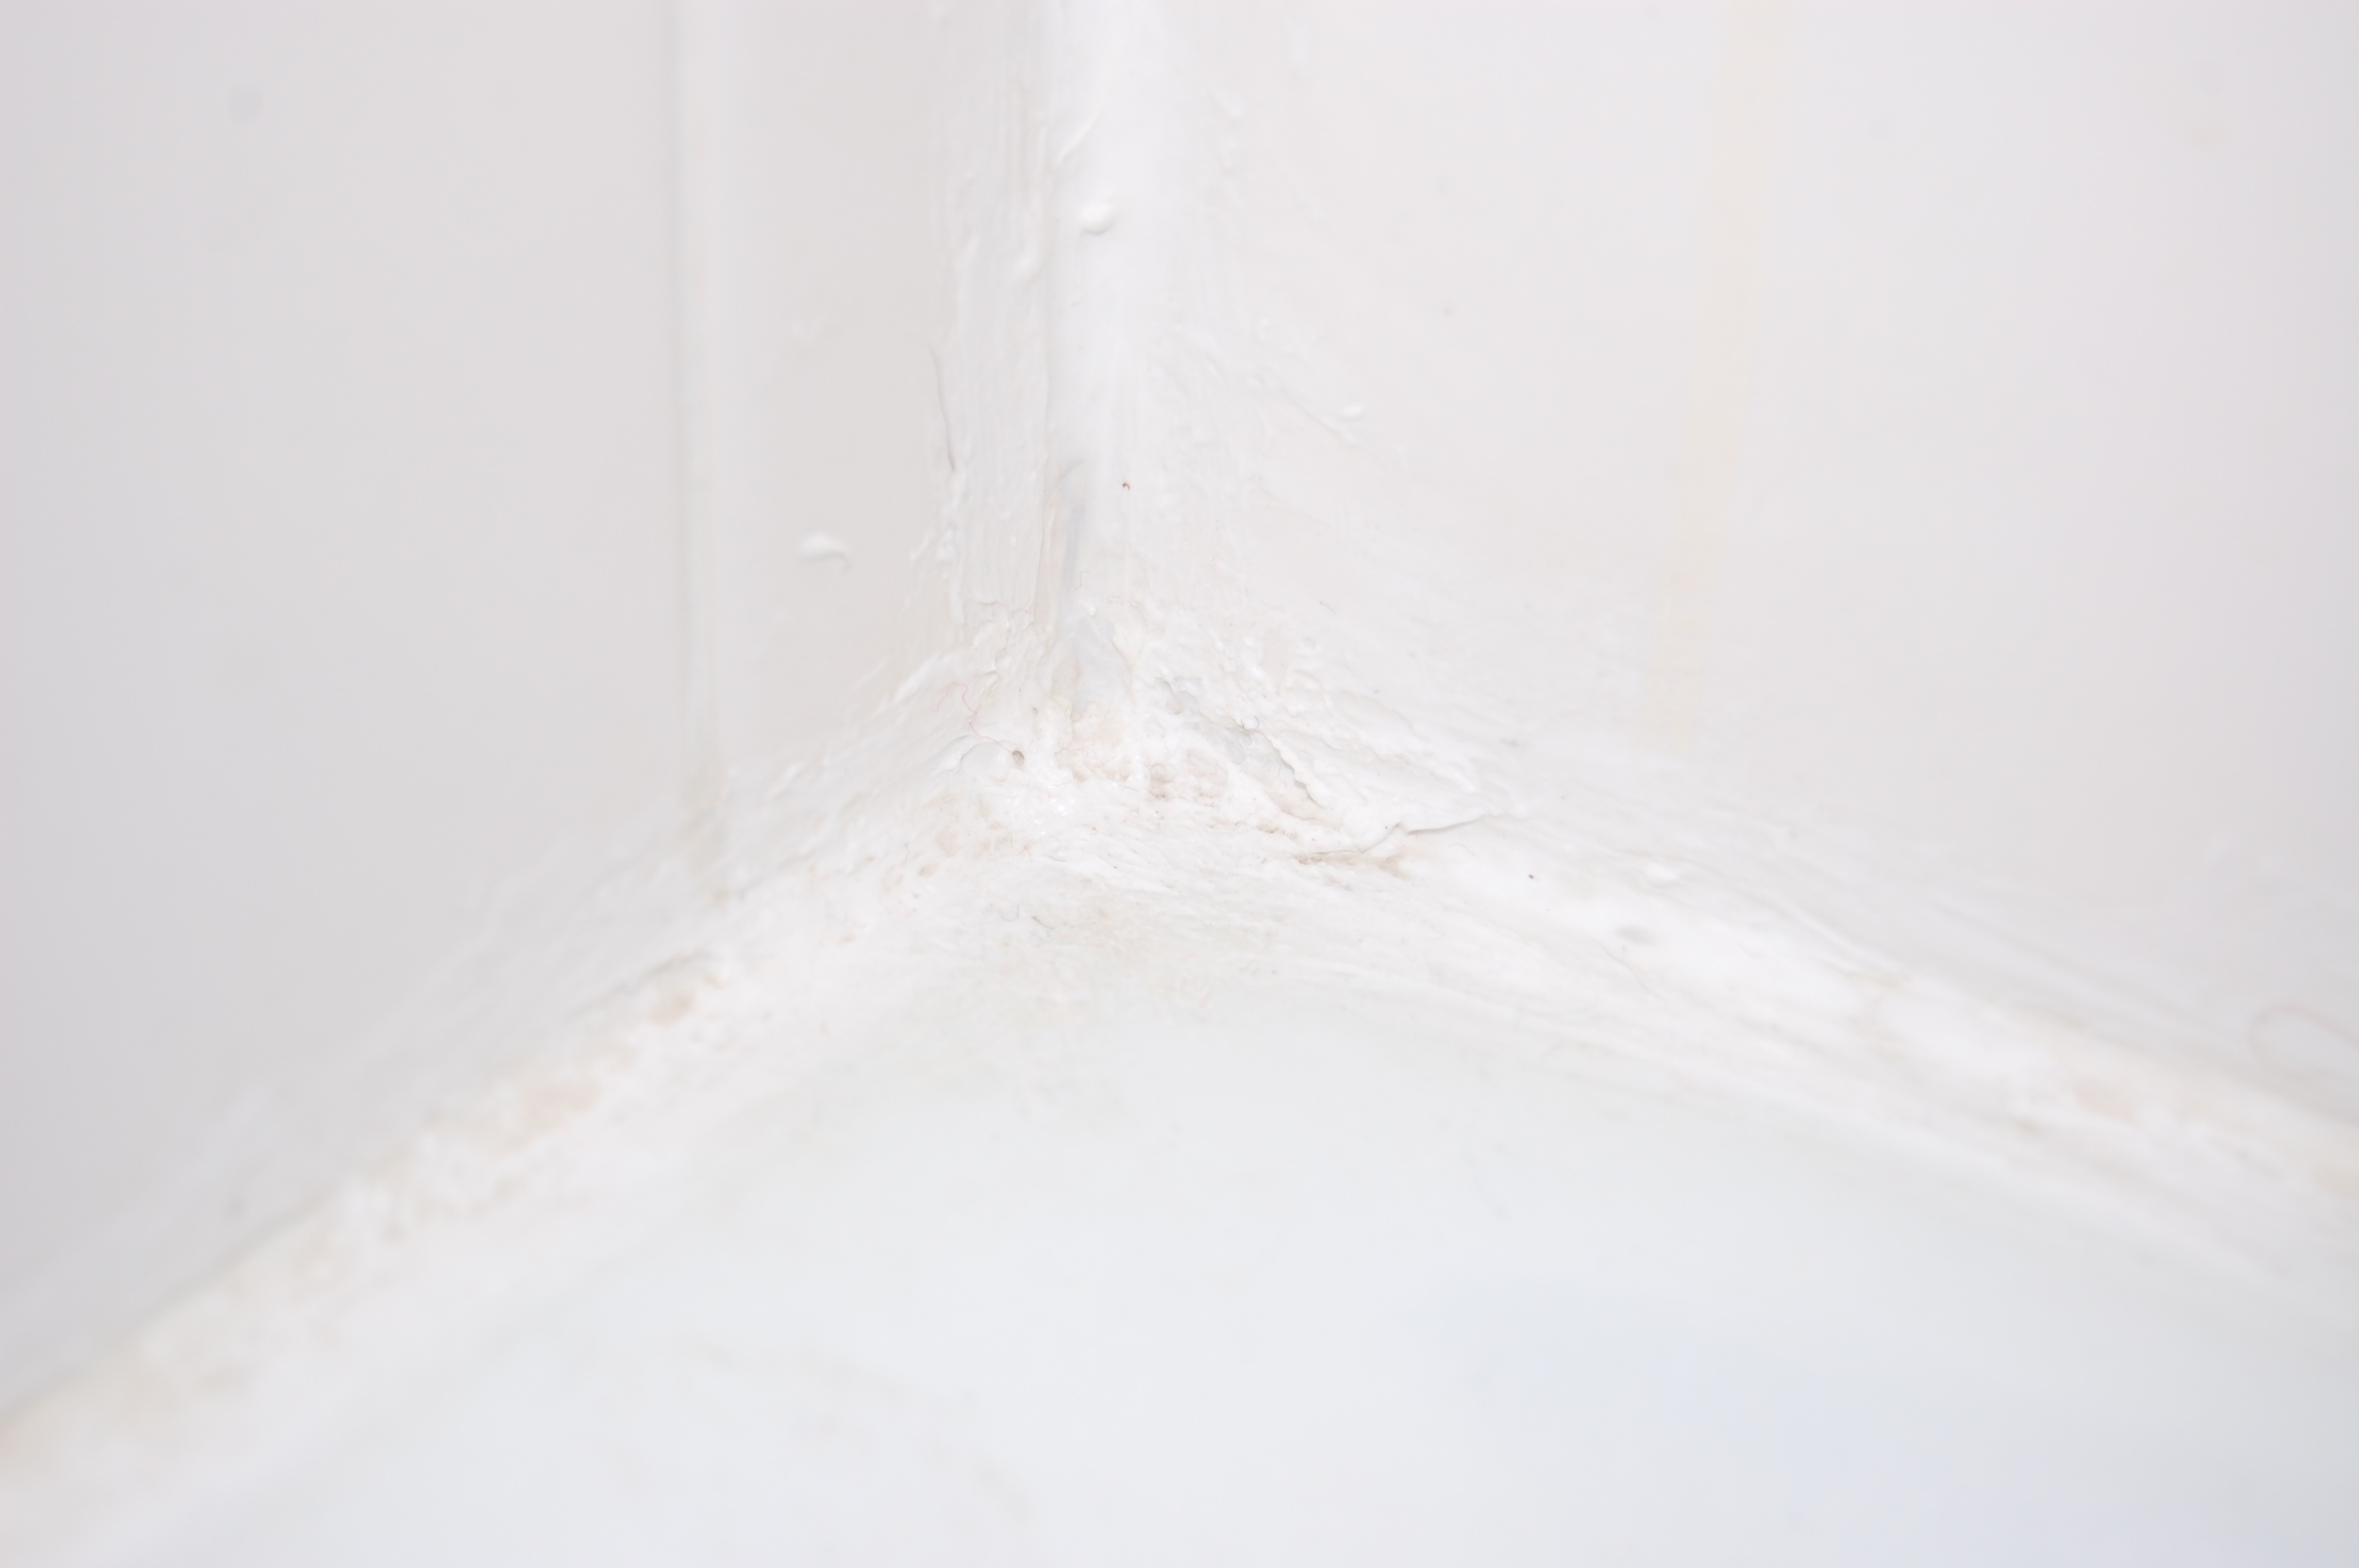
Giant Gap Between Flange and Handle.
But wait, there is a problem. There is a space between the flanges and the handle where the stem is visible. Not a good look! At first we thought we had done something wrong, so we took everything apart, and meticulously followed the directions when we put things back together. Still a gap. We took everything apart one more time and put everything back together while willing the length of the stem shorter. That didn't work either.
You would think that all of the parts in the kit would fit together, but they don't. So we made our second trip to Home Depot trying to find parts that would work. We bought the longest flanges available ($7 a piece) in the hope that they would cover the ridiculously long (and more expensive to replace) stems. There was still a gap.
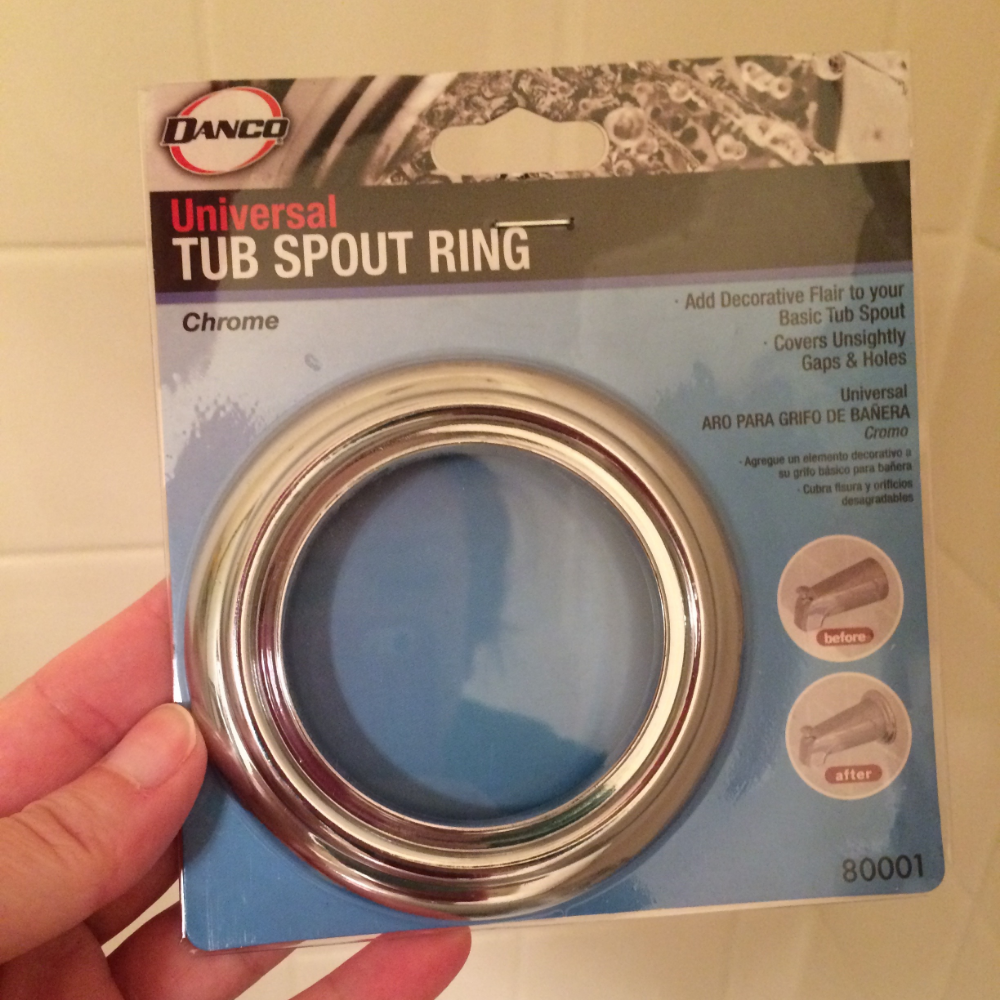
Miracle Solution - Tub Spout Ring.
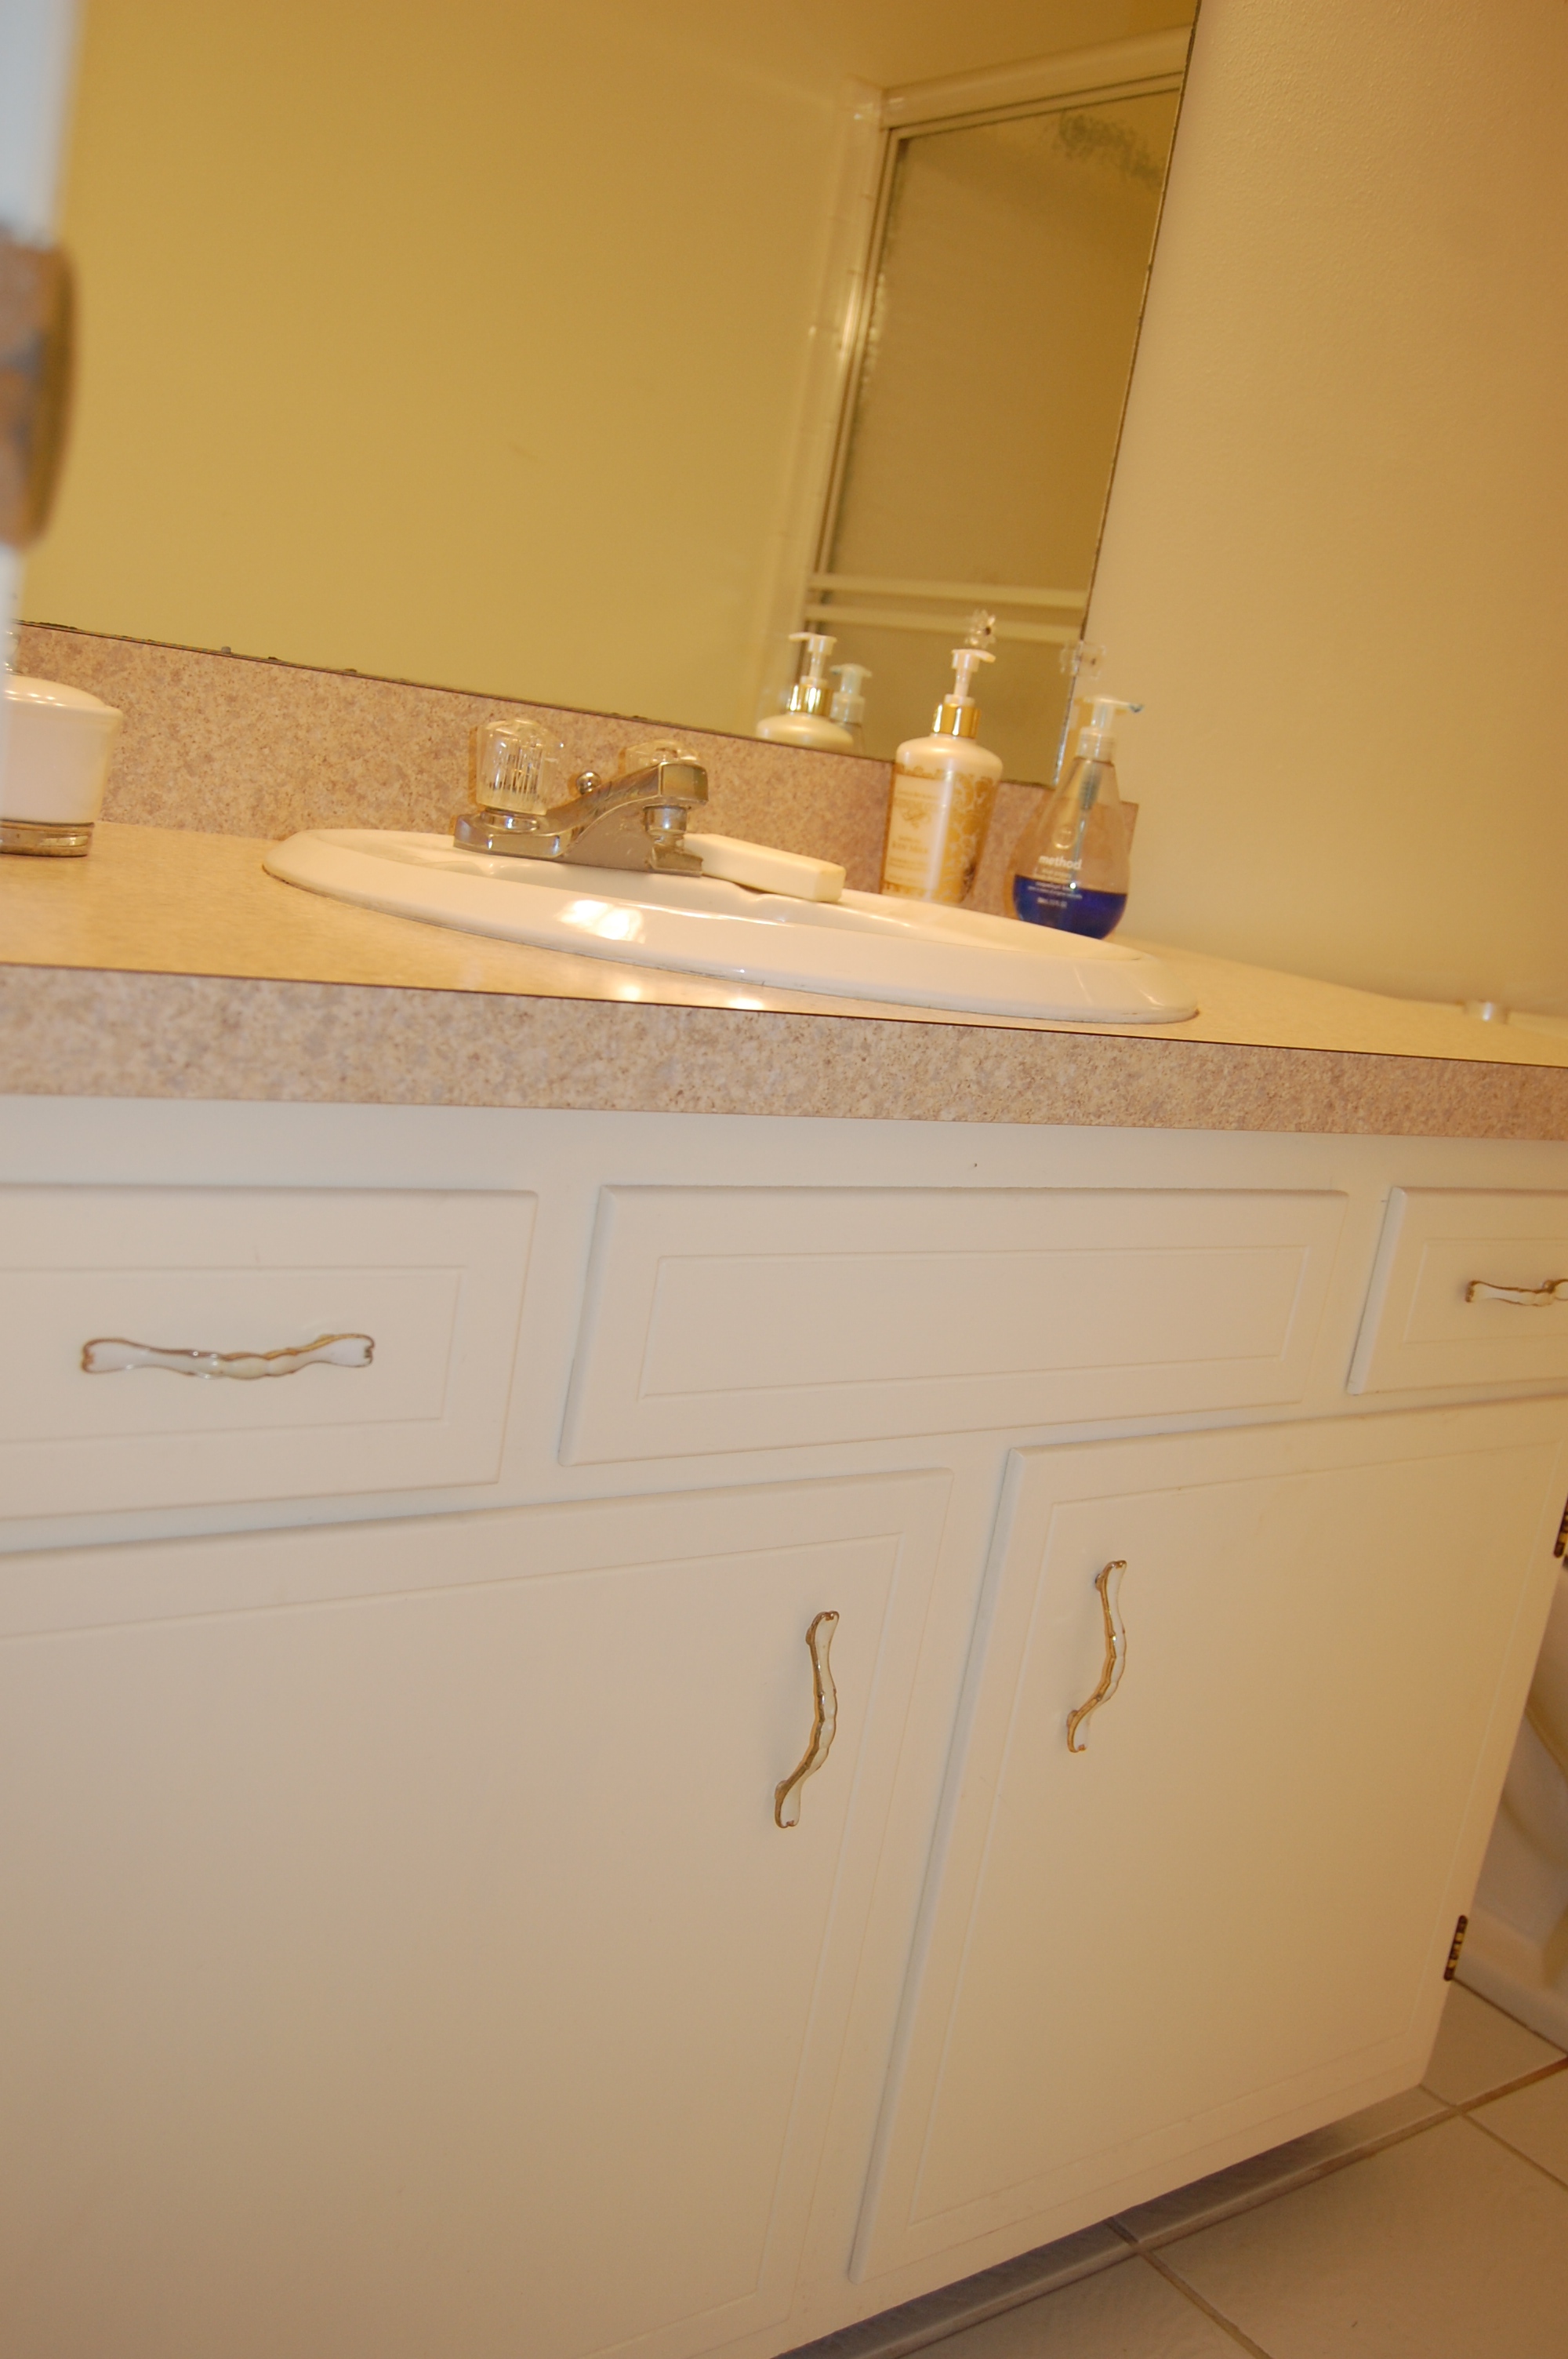
So Firebeard made one last trek to Home Depot in a desperate attempt to find something that would fix the problem before we capitulated and exchanged the kit for a much more expensive faucet set. He came back with tub spout rings, which are tub spout decorations that just happen to fit our flanges perfectly.

Tub Spout Rings Installed.
They raised the flanges the perfect amount the fill the gap between the flange and the handle and cover the stems. At just $2.99 a piece they were the perfect budget saving solution.

After!
The only problem we have with them now, is that they make the rest of the tub look pretty poor in comparison.
Total Cost of the Mini Bathroom Remodel Thus Far: $58.96
- Faucet Kit: $44.99 (Get the Kit)
- Seat Tool: $5 (Get a similar Seat Tool)
- Tub Spout Rings: 3 at $2.99 (Get the Rings)