Miracle Grout Renewal
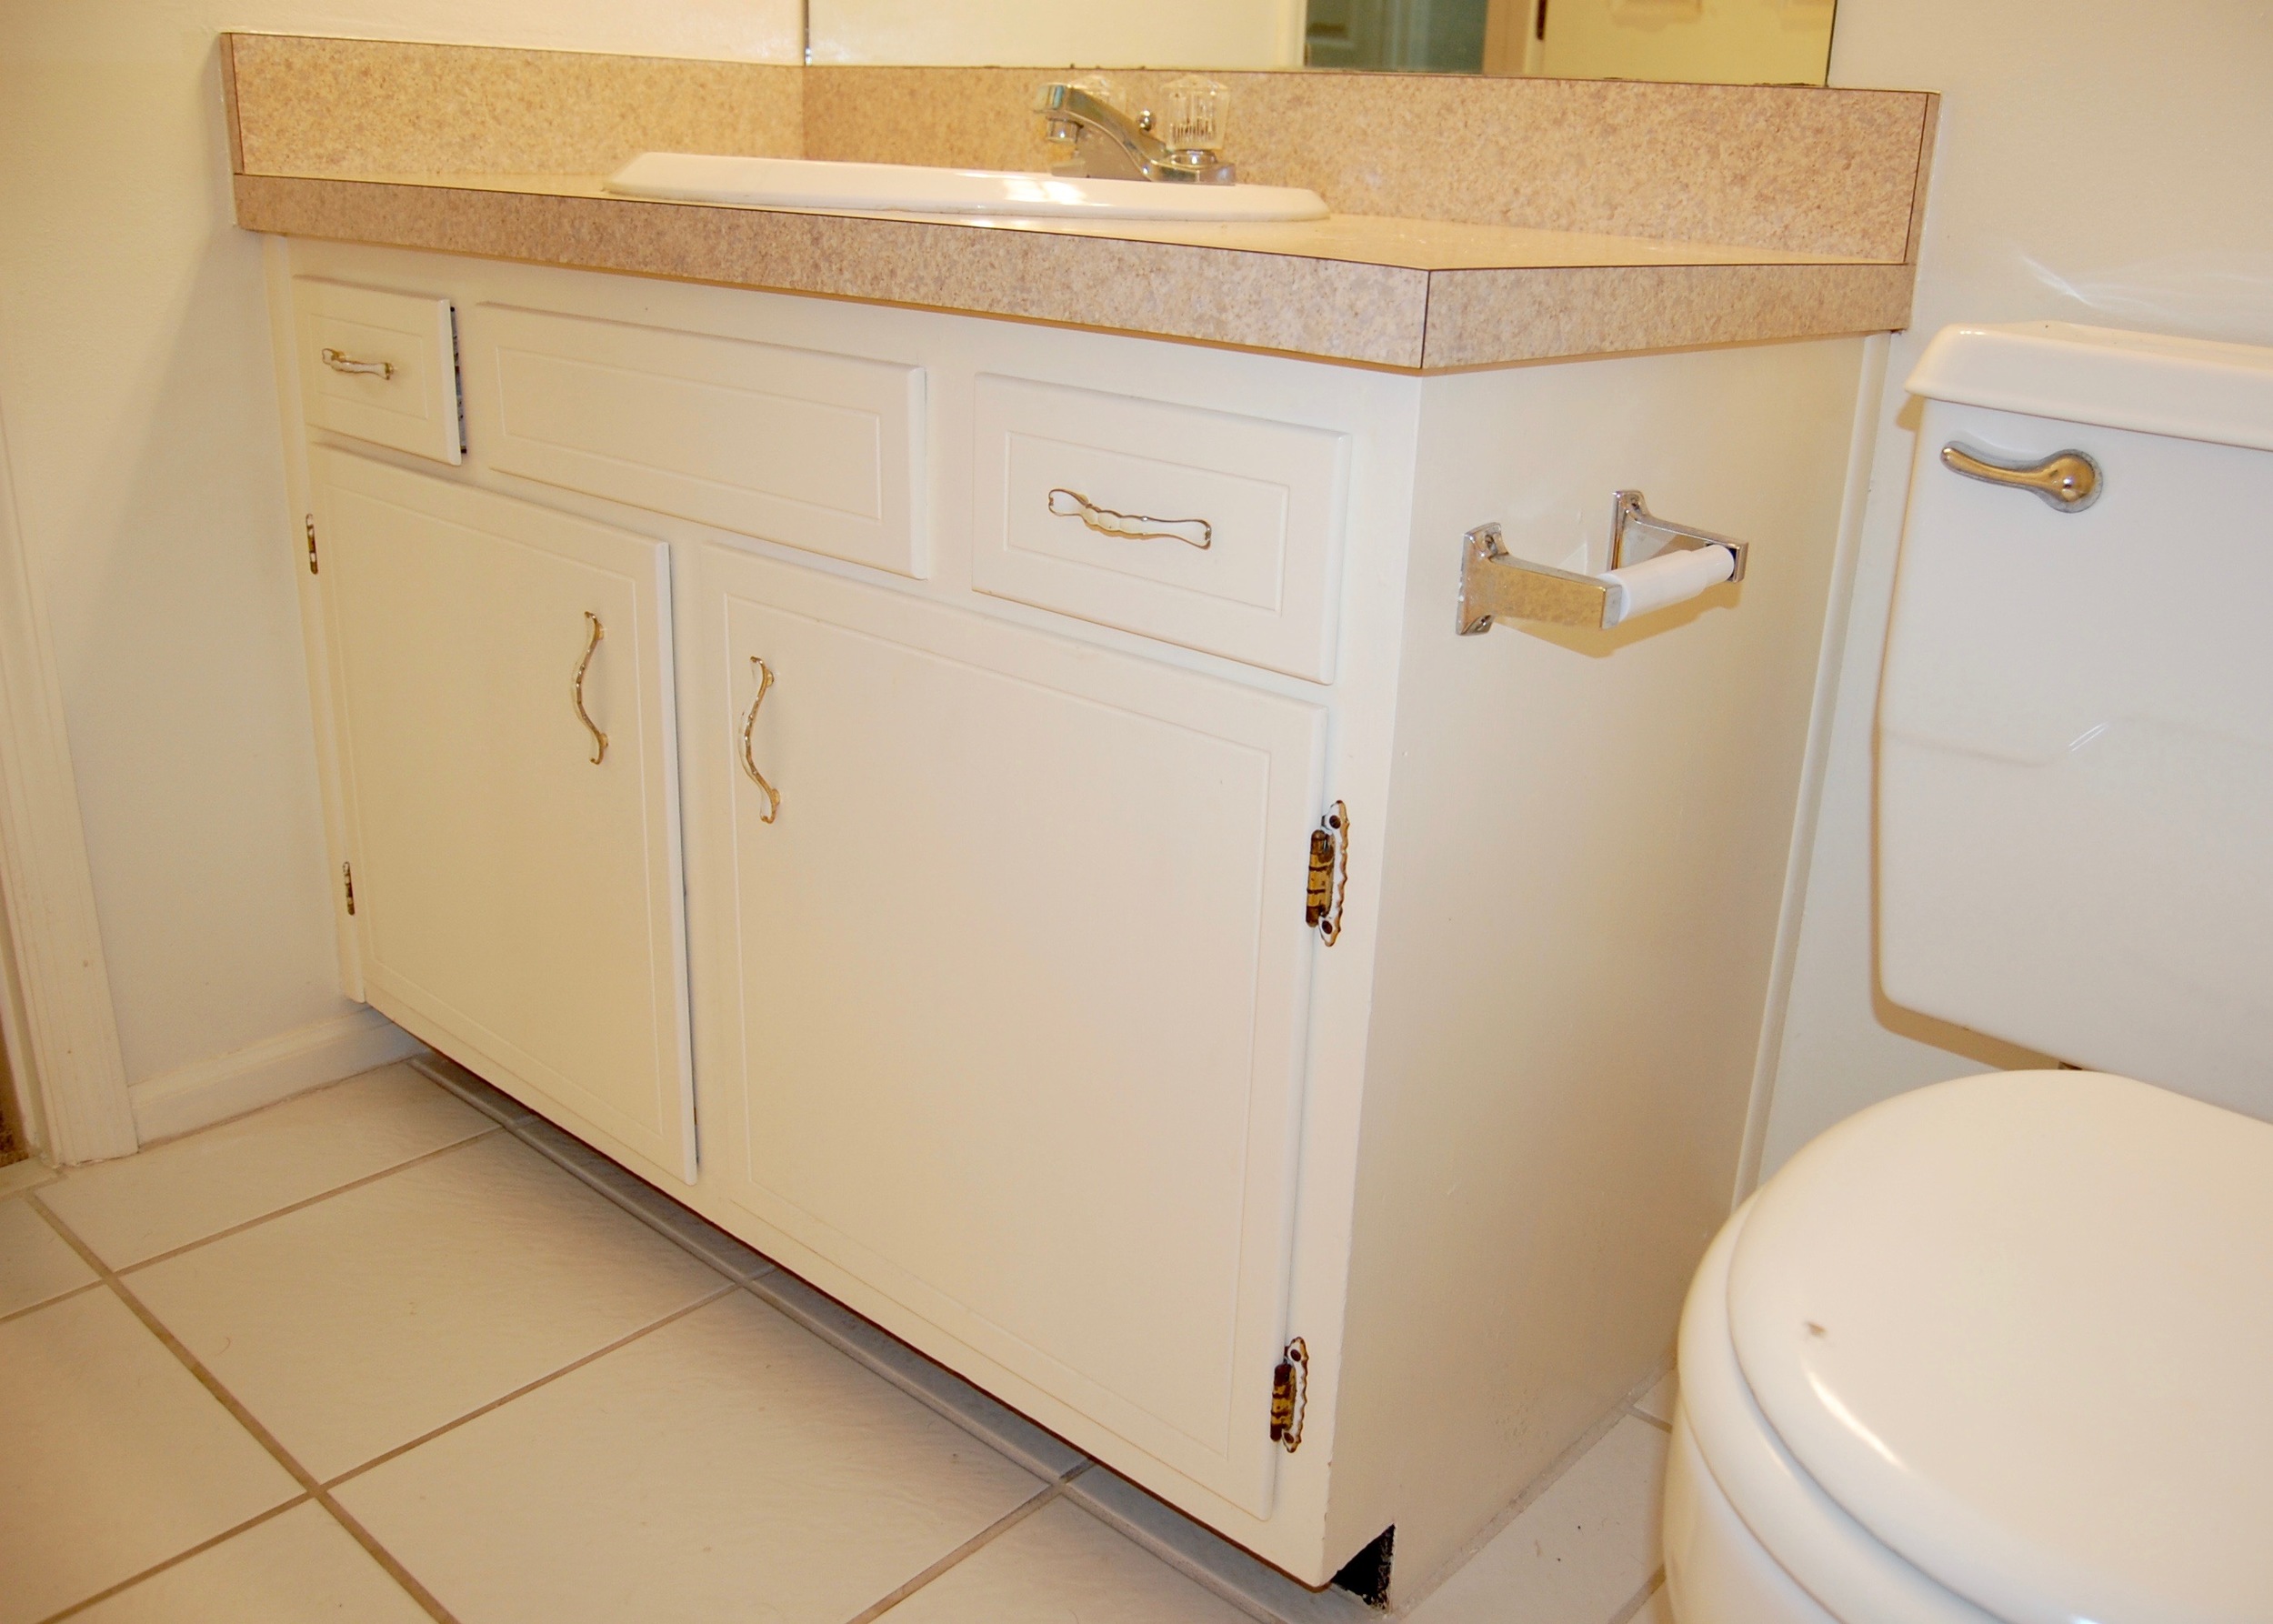
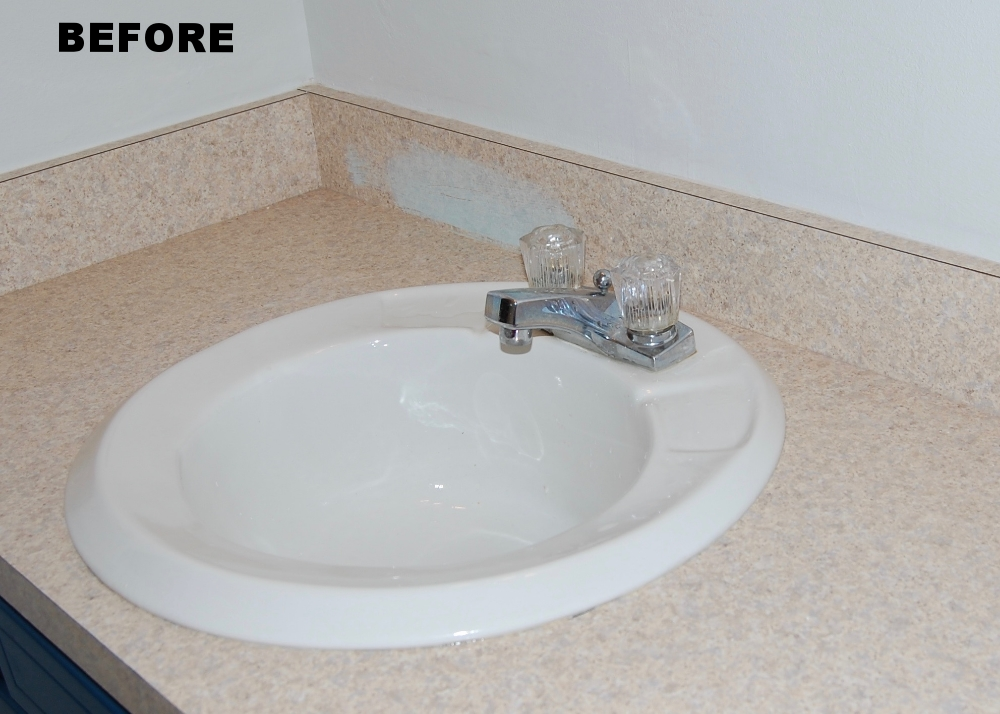
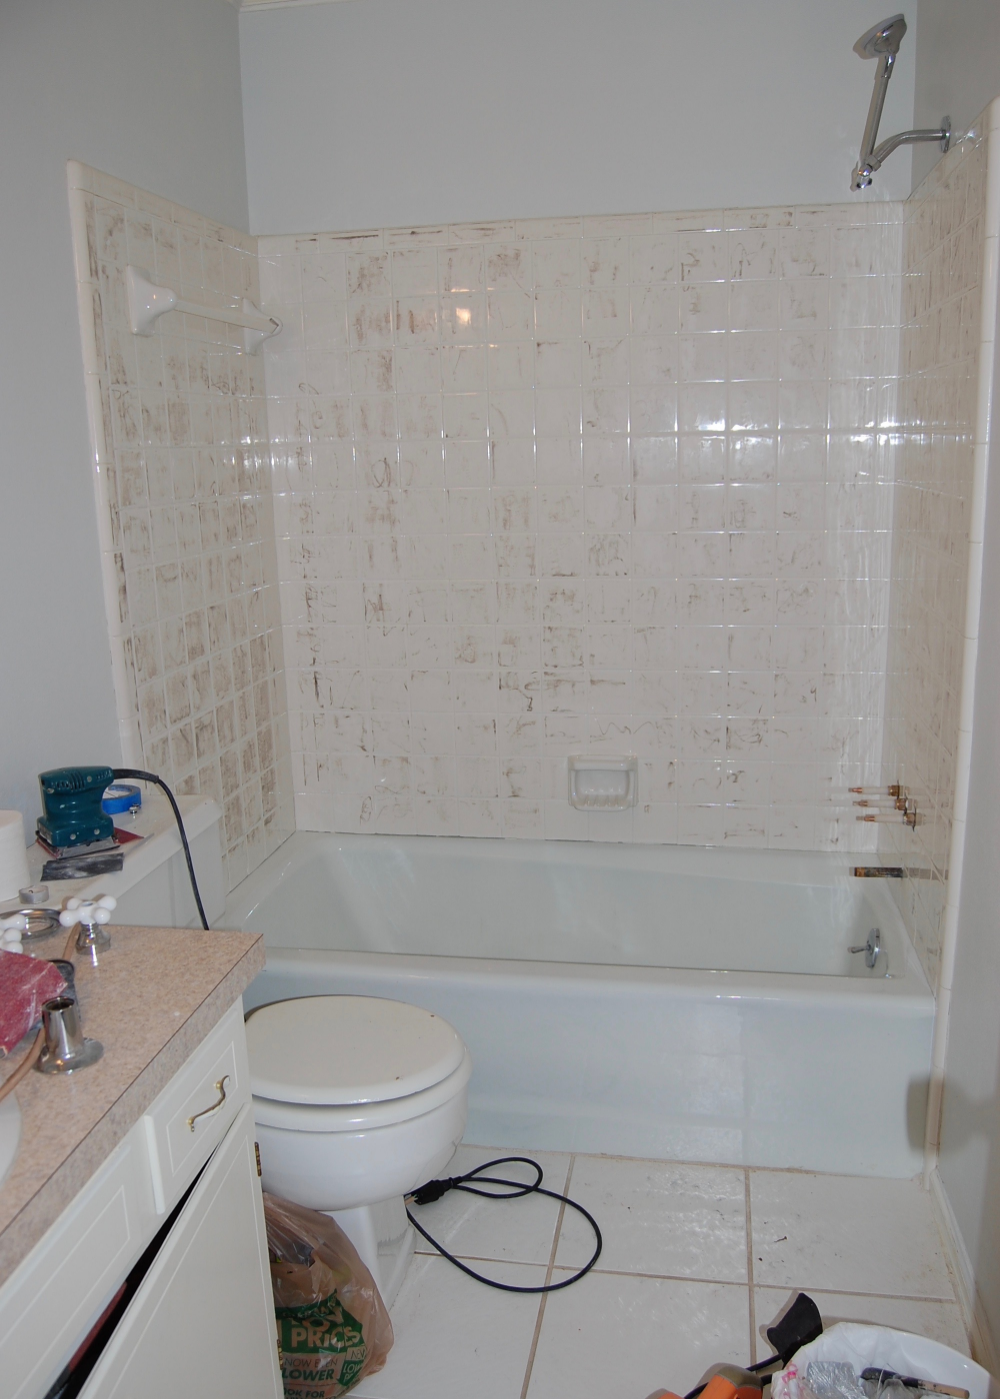
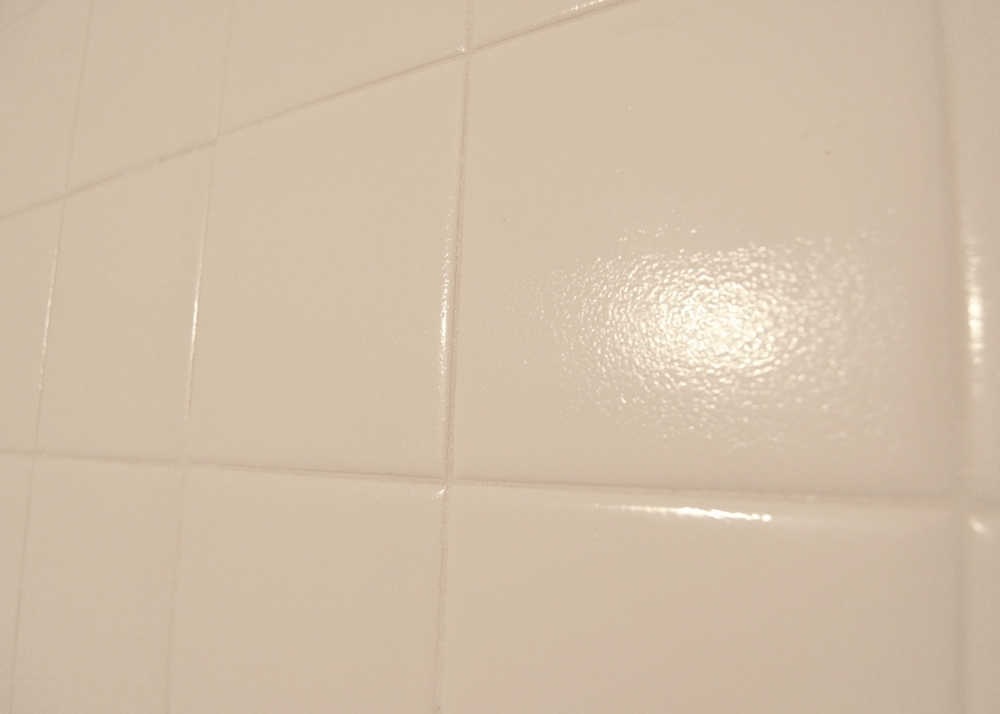
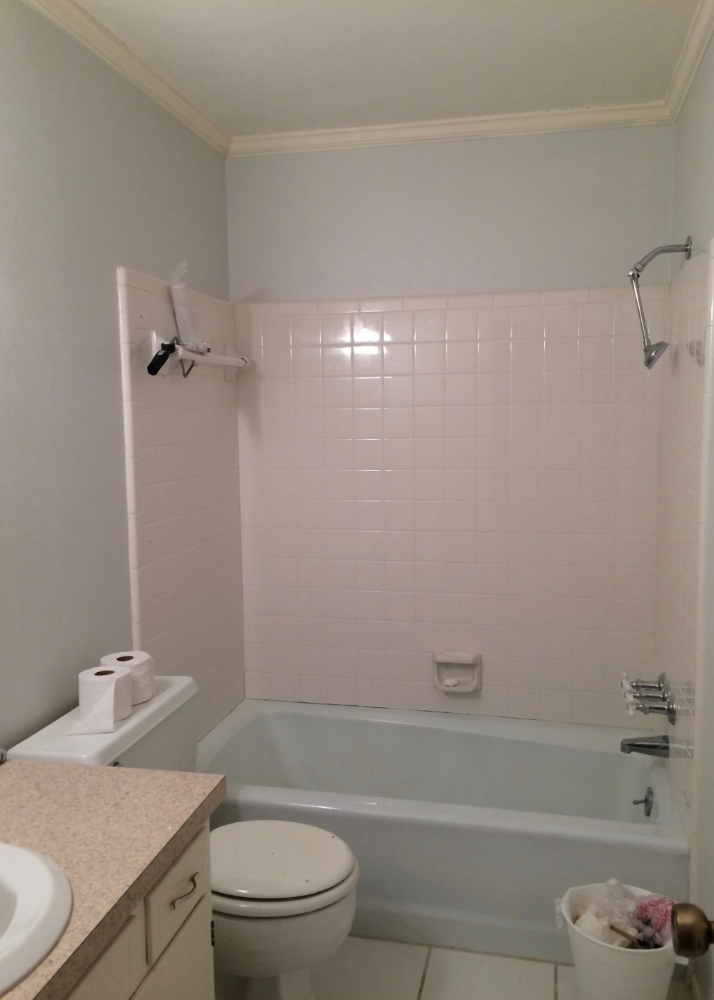
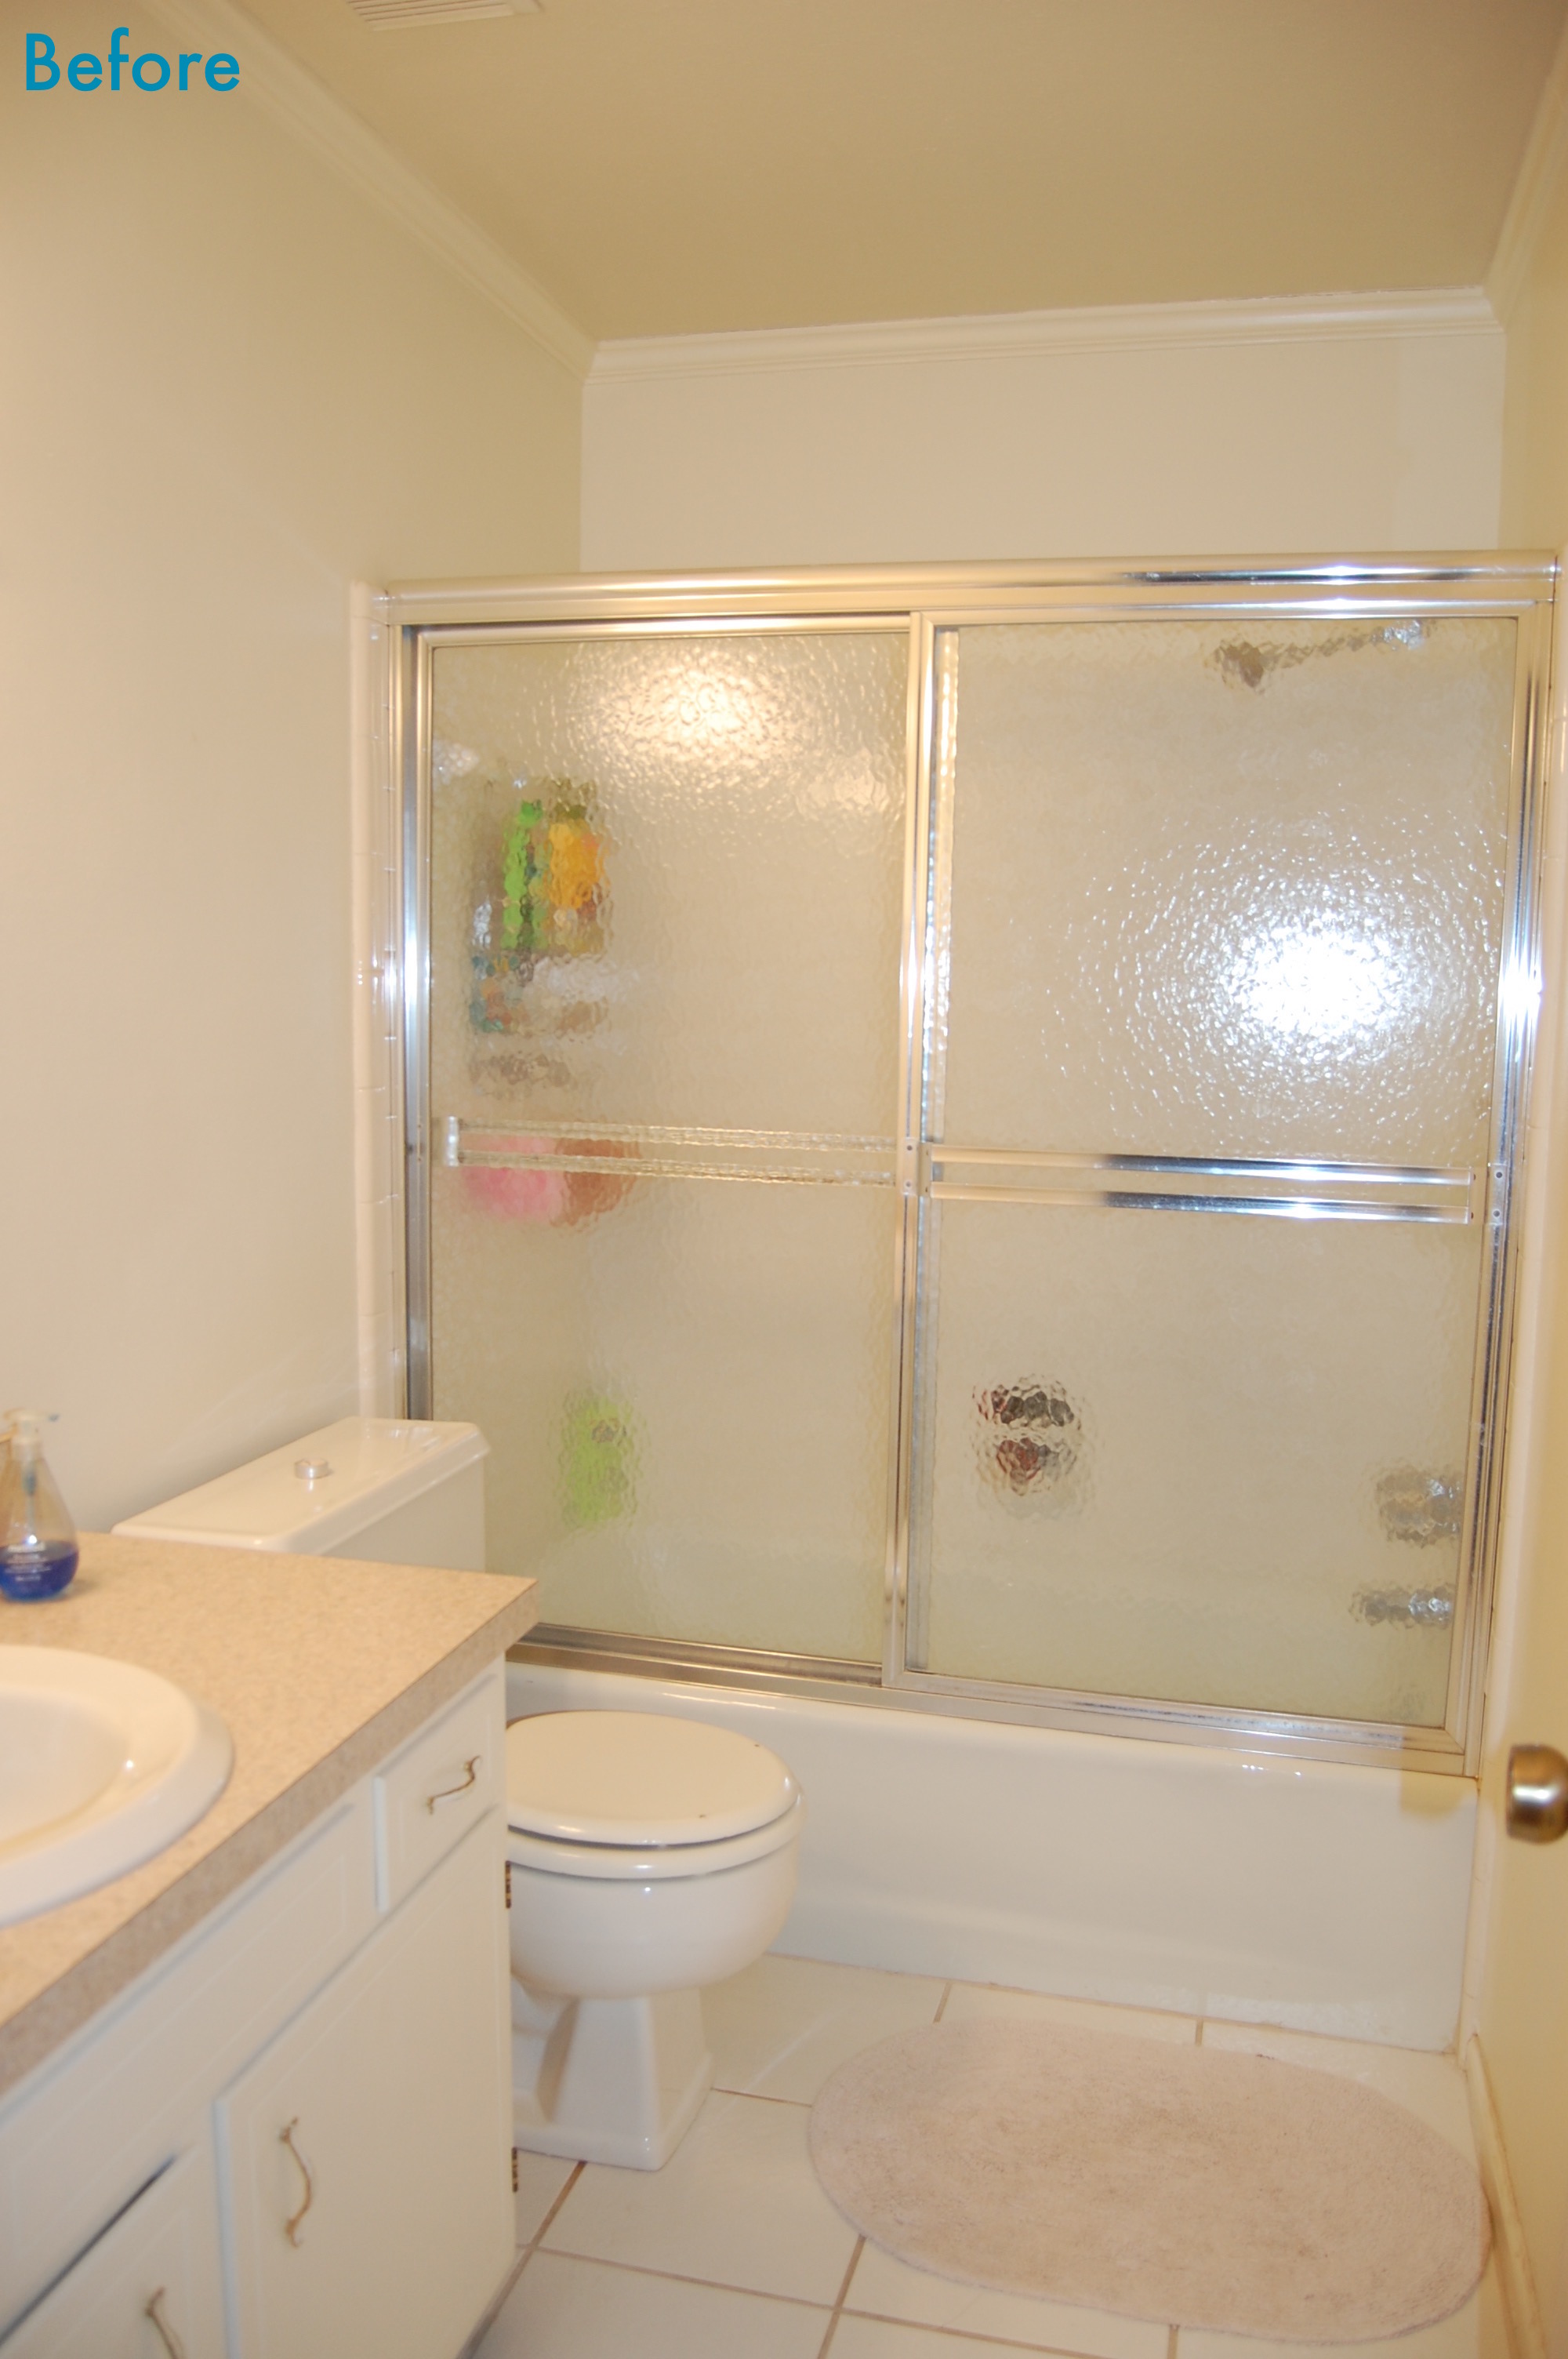
/When we first started our mini bathroom remodel we decided not to replace the flooring. Retiling an entire bathroom, even a small one, isn’t really in keeping with a “mini” remodel. For the most part I have been pretty happy with that decision. Our tile is white, so it actually goes with our new décor pretty well (even if the scale of the tile is way too big for the small bathroom). The one thing about the floor that has been nagging at me is the state of the grout. Next to all of our clean white surfaces, the grout was looking pretty dingy.

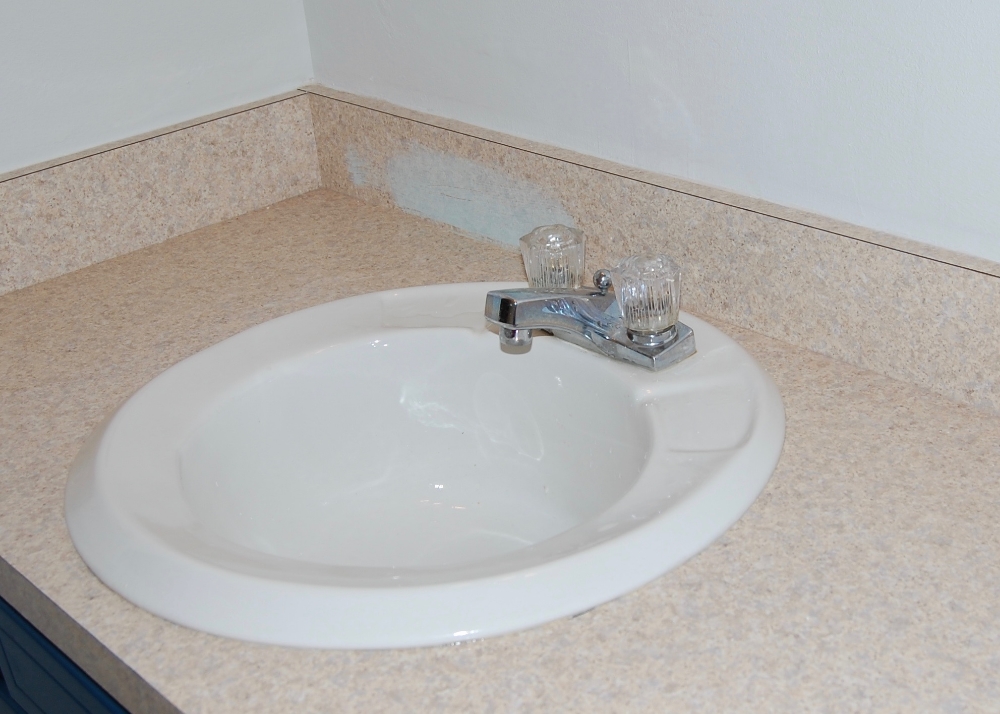
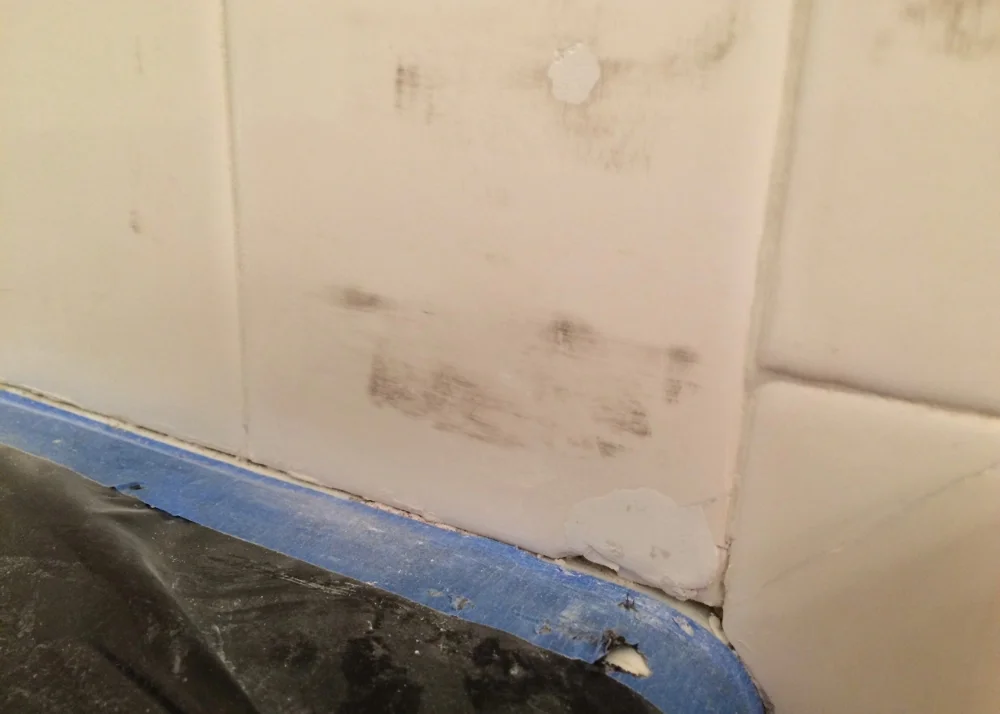
Before: Clean but stained and dingy looking
At first I tried to clean the grout with standard floor cleaner. When that didn’t work I switched to bleach. When that didn’t work I switched to serious scrubbing with abrasive cleanser and a toothbrush. I tried everything, but the very clean grout remained stubbornly stained. Finally I gave up on removing the stains, and moved on to covering them up. There are several methods and products available to cover grout stains, some with better reviews than others. I decided to go with a product that had both rave reviews and a reasonable price tag, Polyblend Grout Renew.

Polyblend Grout Renew is an epoxy stain and sealer made specifically for grout. I got it at my local Home Depot for about $13. It looks a lot like paint, smells a lot like paint, and can be applied like paint. The directions recommend using a toothbrush to apply product to the grout, but most of the reviews I read recommended a small paint brush, so that is what I used. The difference in the color of the grout before and after the Grout Renew was applied was like night and day. After just one coat there was a significant improvement, and after the 2nd coat it looked brand new. It took me about an hour per coat, and when I was done I had enough product left over to do at least one more bathroom of the same size.

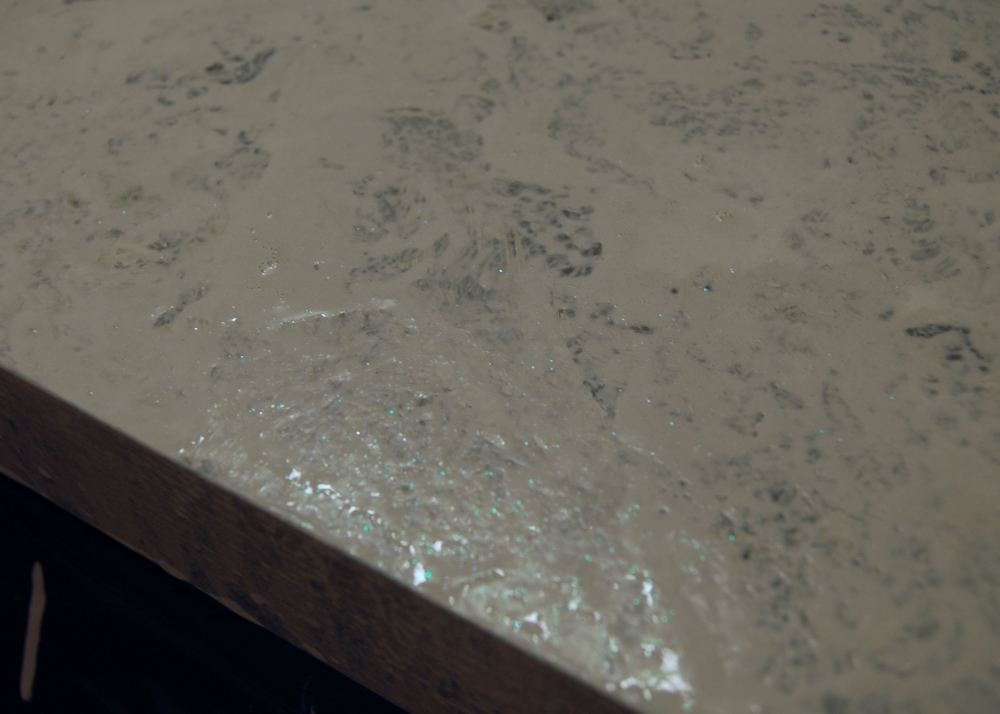
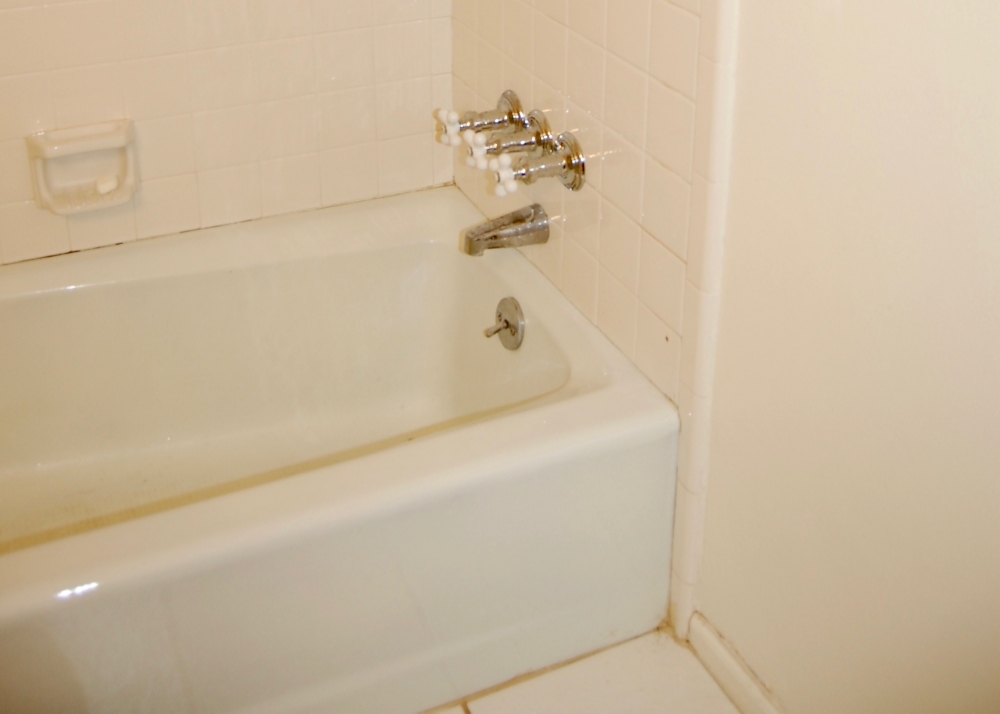
Before: 20+ years of discoloration

Half way through the application of the first coat. The difference is startling.
Polyblend Grout Renew comes in about 35 colors. The color I used was Snow White, which dries a very light grey, but when wet was almost exactly the same color as my tile. Despite my best efforts to get the product on only the grout, and trying very hard to remove all that I got on the tile immediately with a wet rag, the fact that I couldn’t see the product on the tile while it was wet means that I missed a bunch of it. When it dried it became visible on the tile, and looked pretty messy. I was able to get it off my hard slick tile with two Mr. Clean Magic Erasers and a lot of scrubbing , but I don’t think it would come off of porous tile as easily (this is your warning).

Grout Renew dried on the edges of the tile.

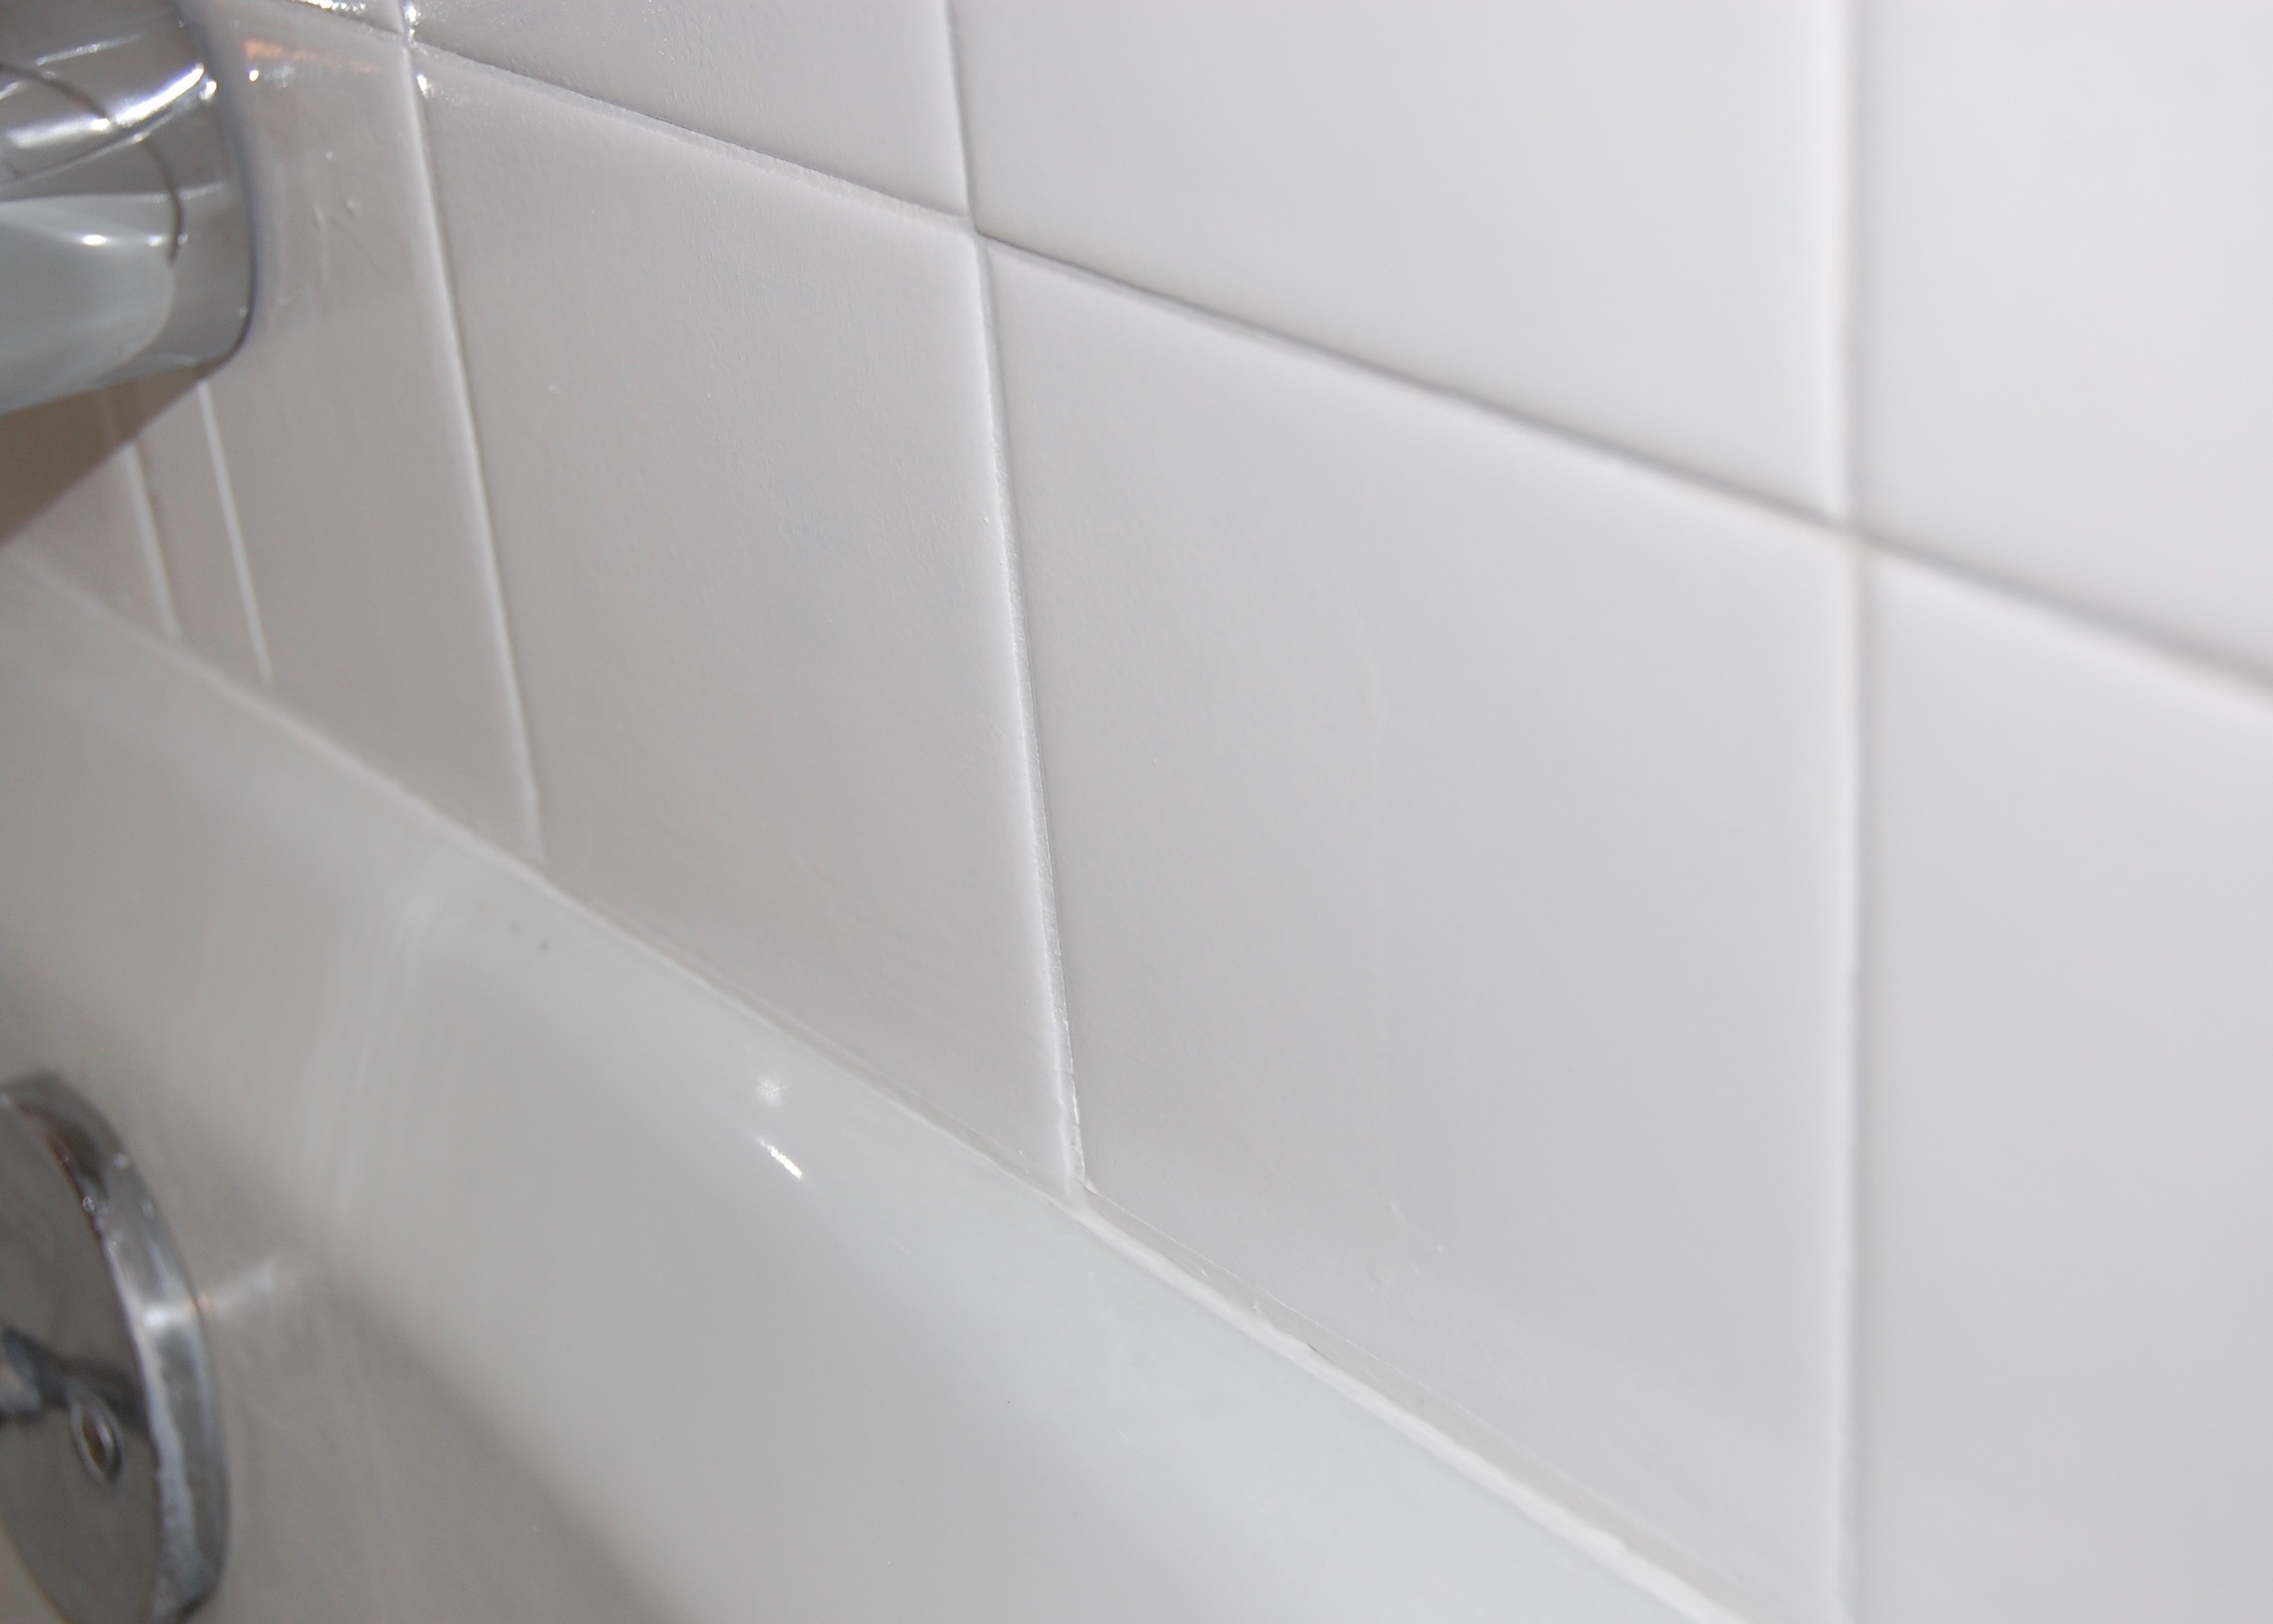
After the tile clean up, looking brand new!
Bottom-line, would I do it again? In a heartbeat! I got grout that looks brand new for $13 and a couple of hours of work. I would recommend it to anyone that has stained or discolored grout that is otherwise in good shape.

After: The grout looks brand new!
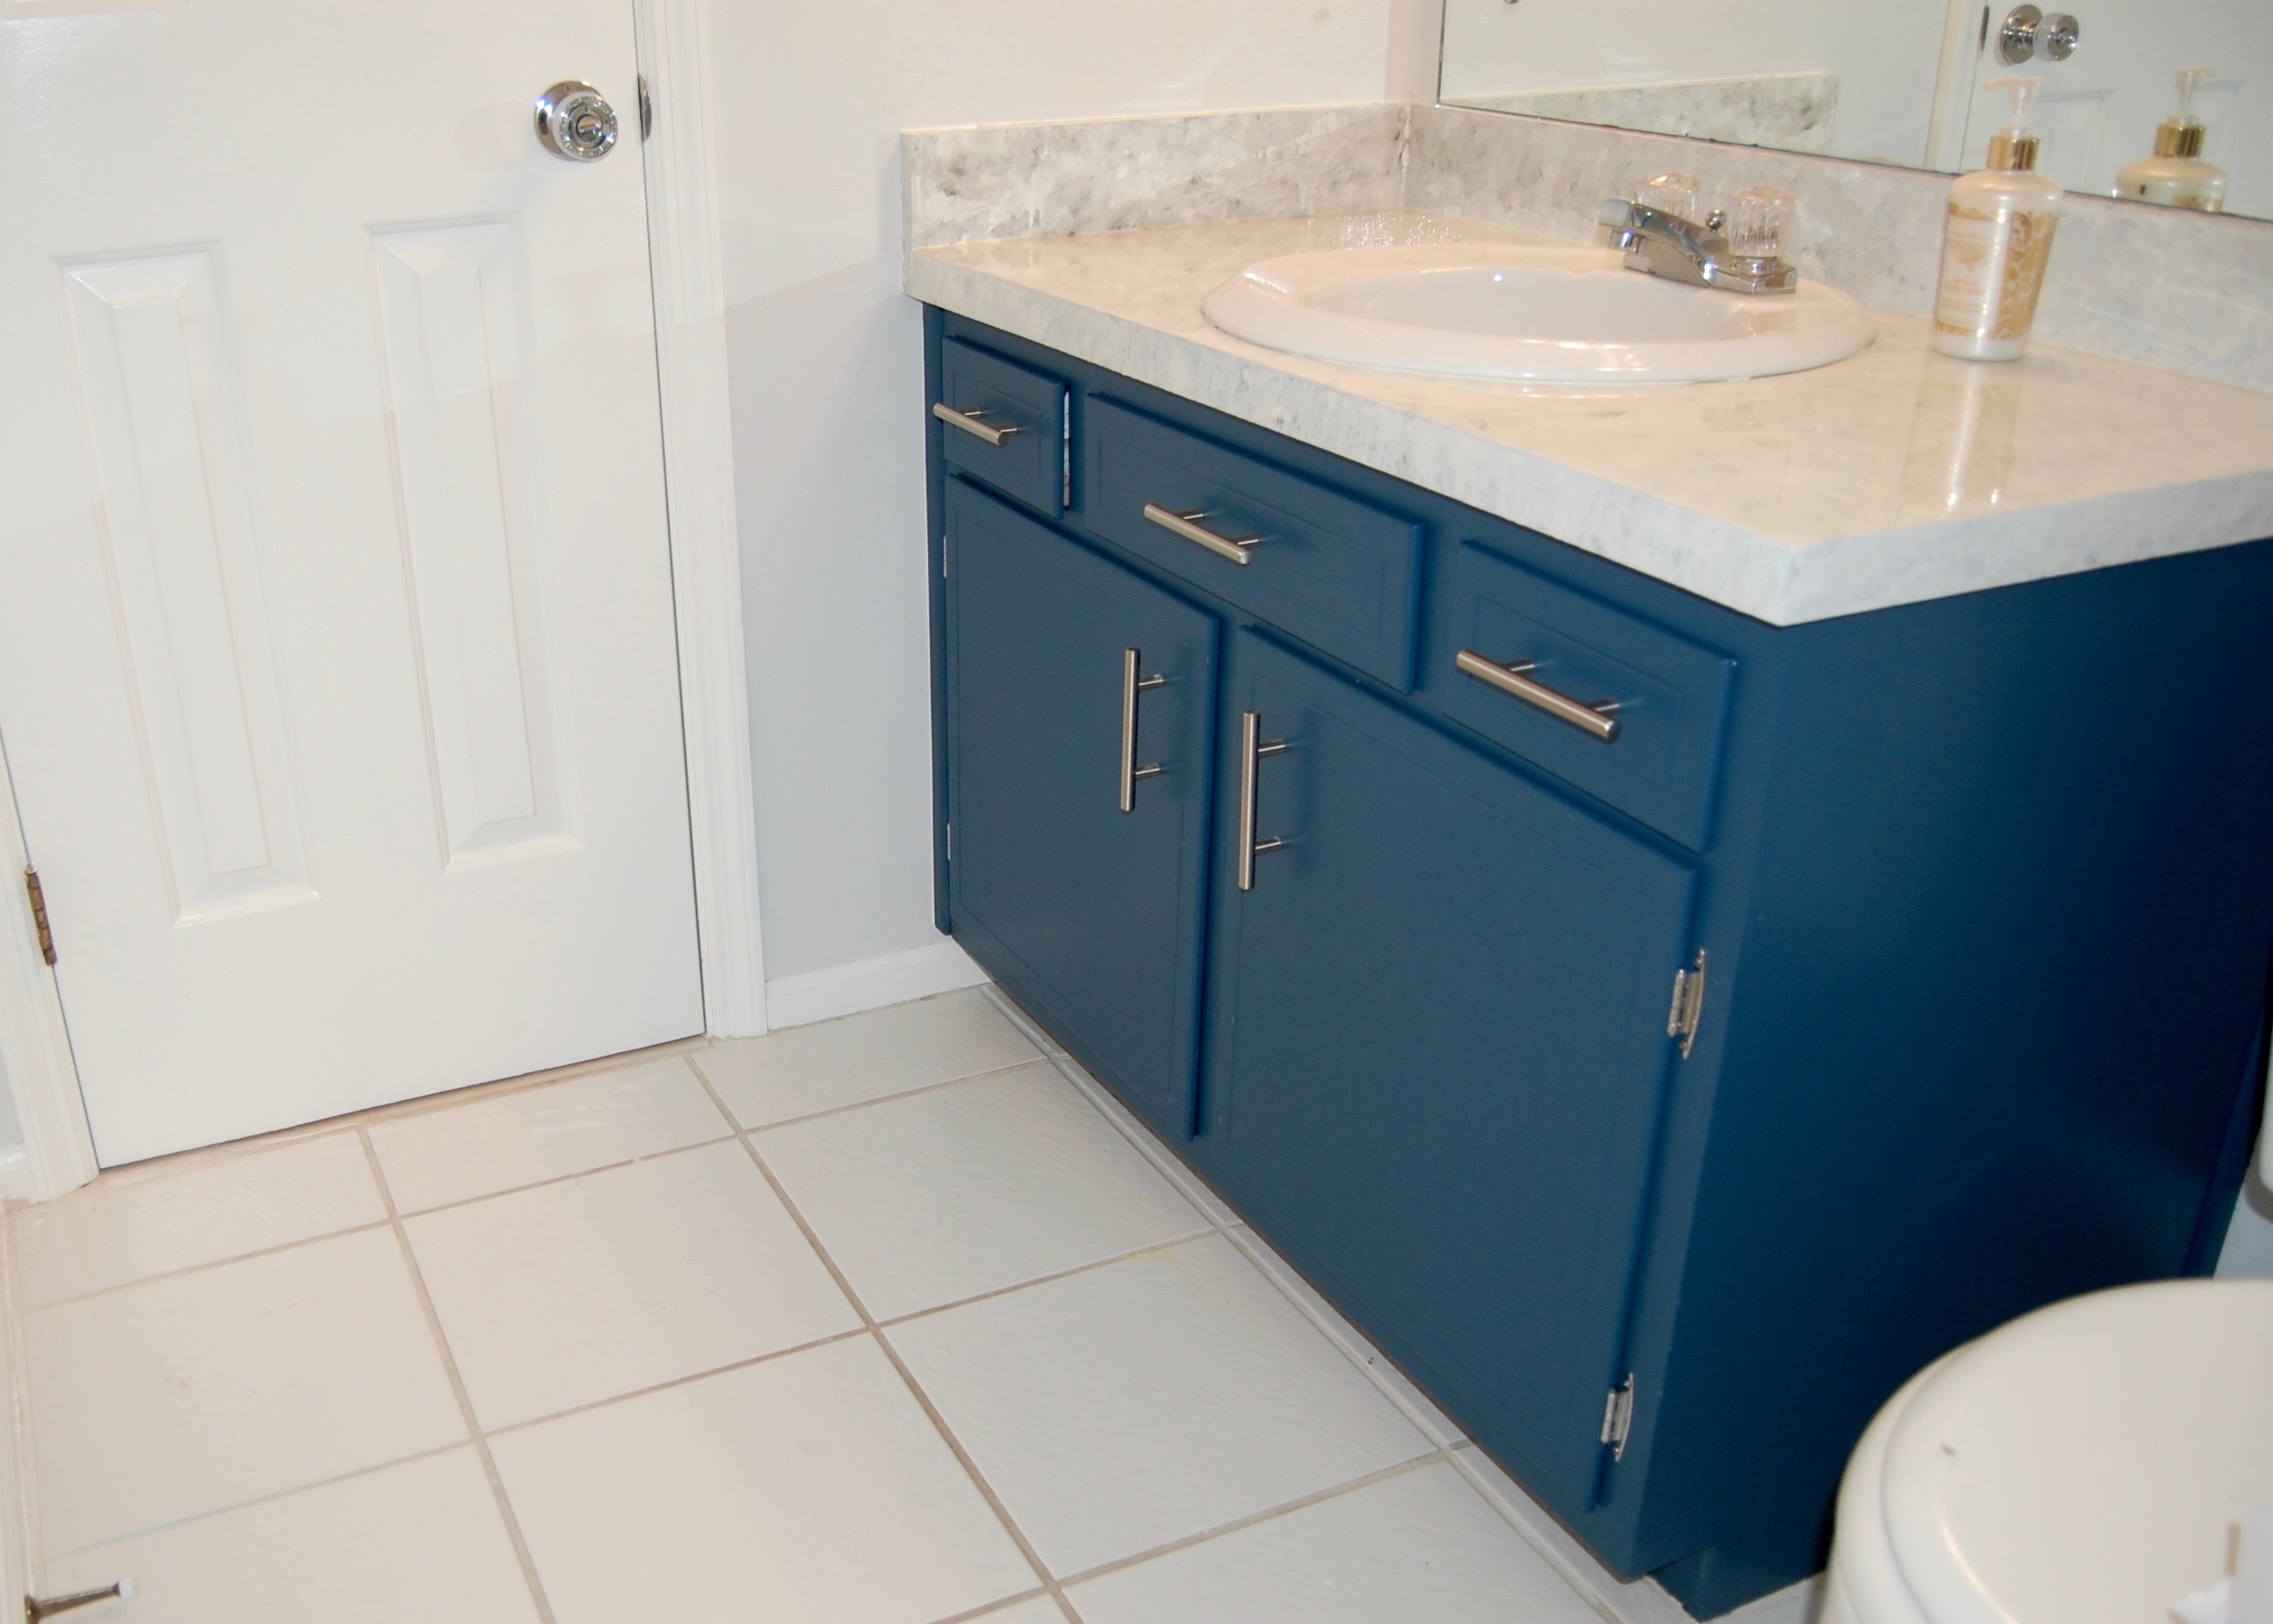
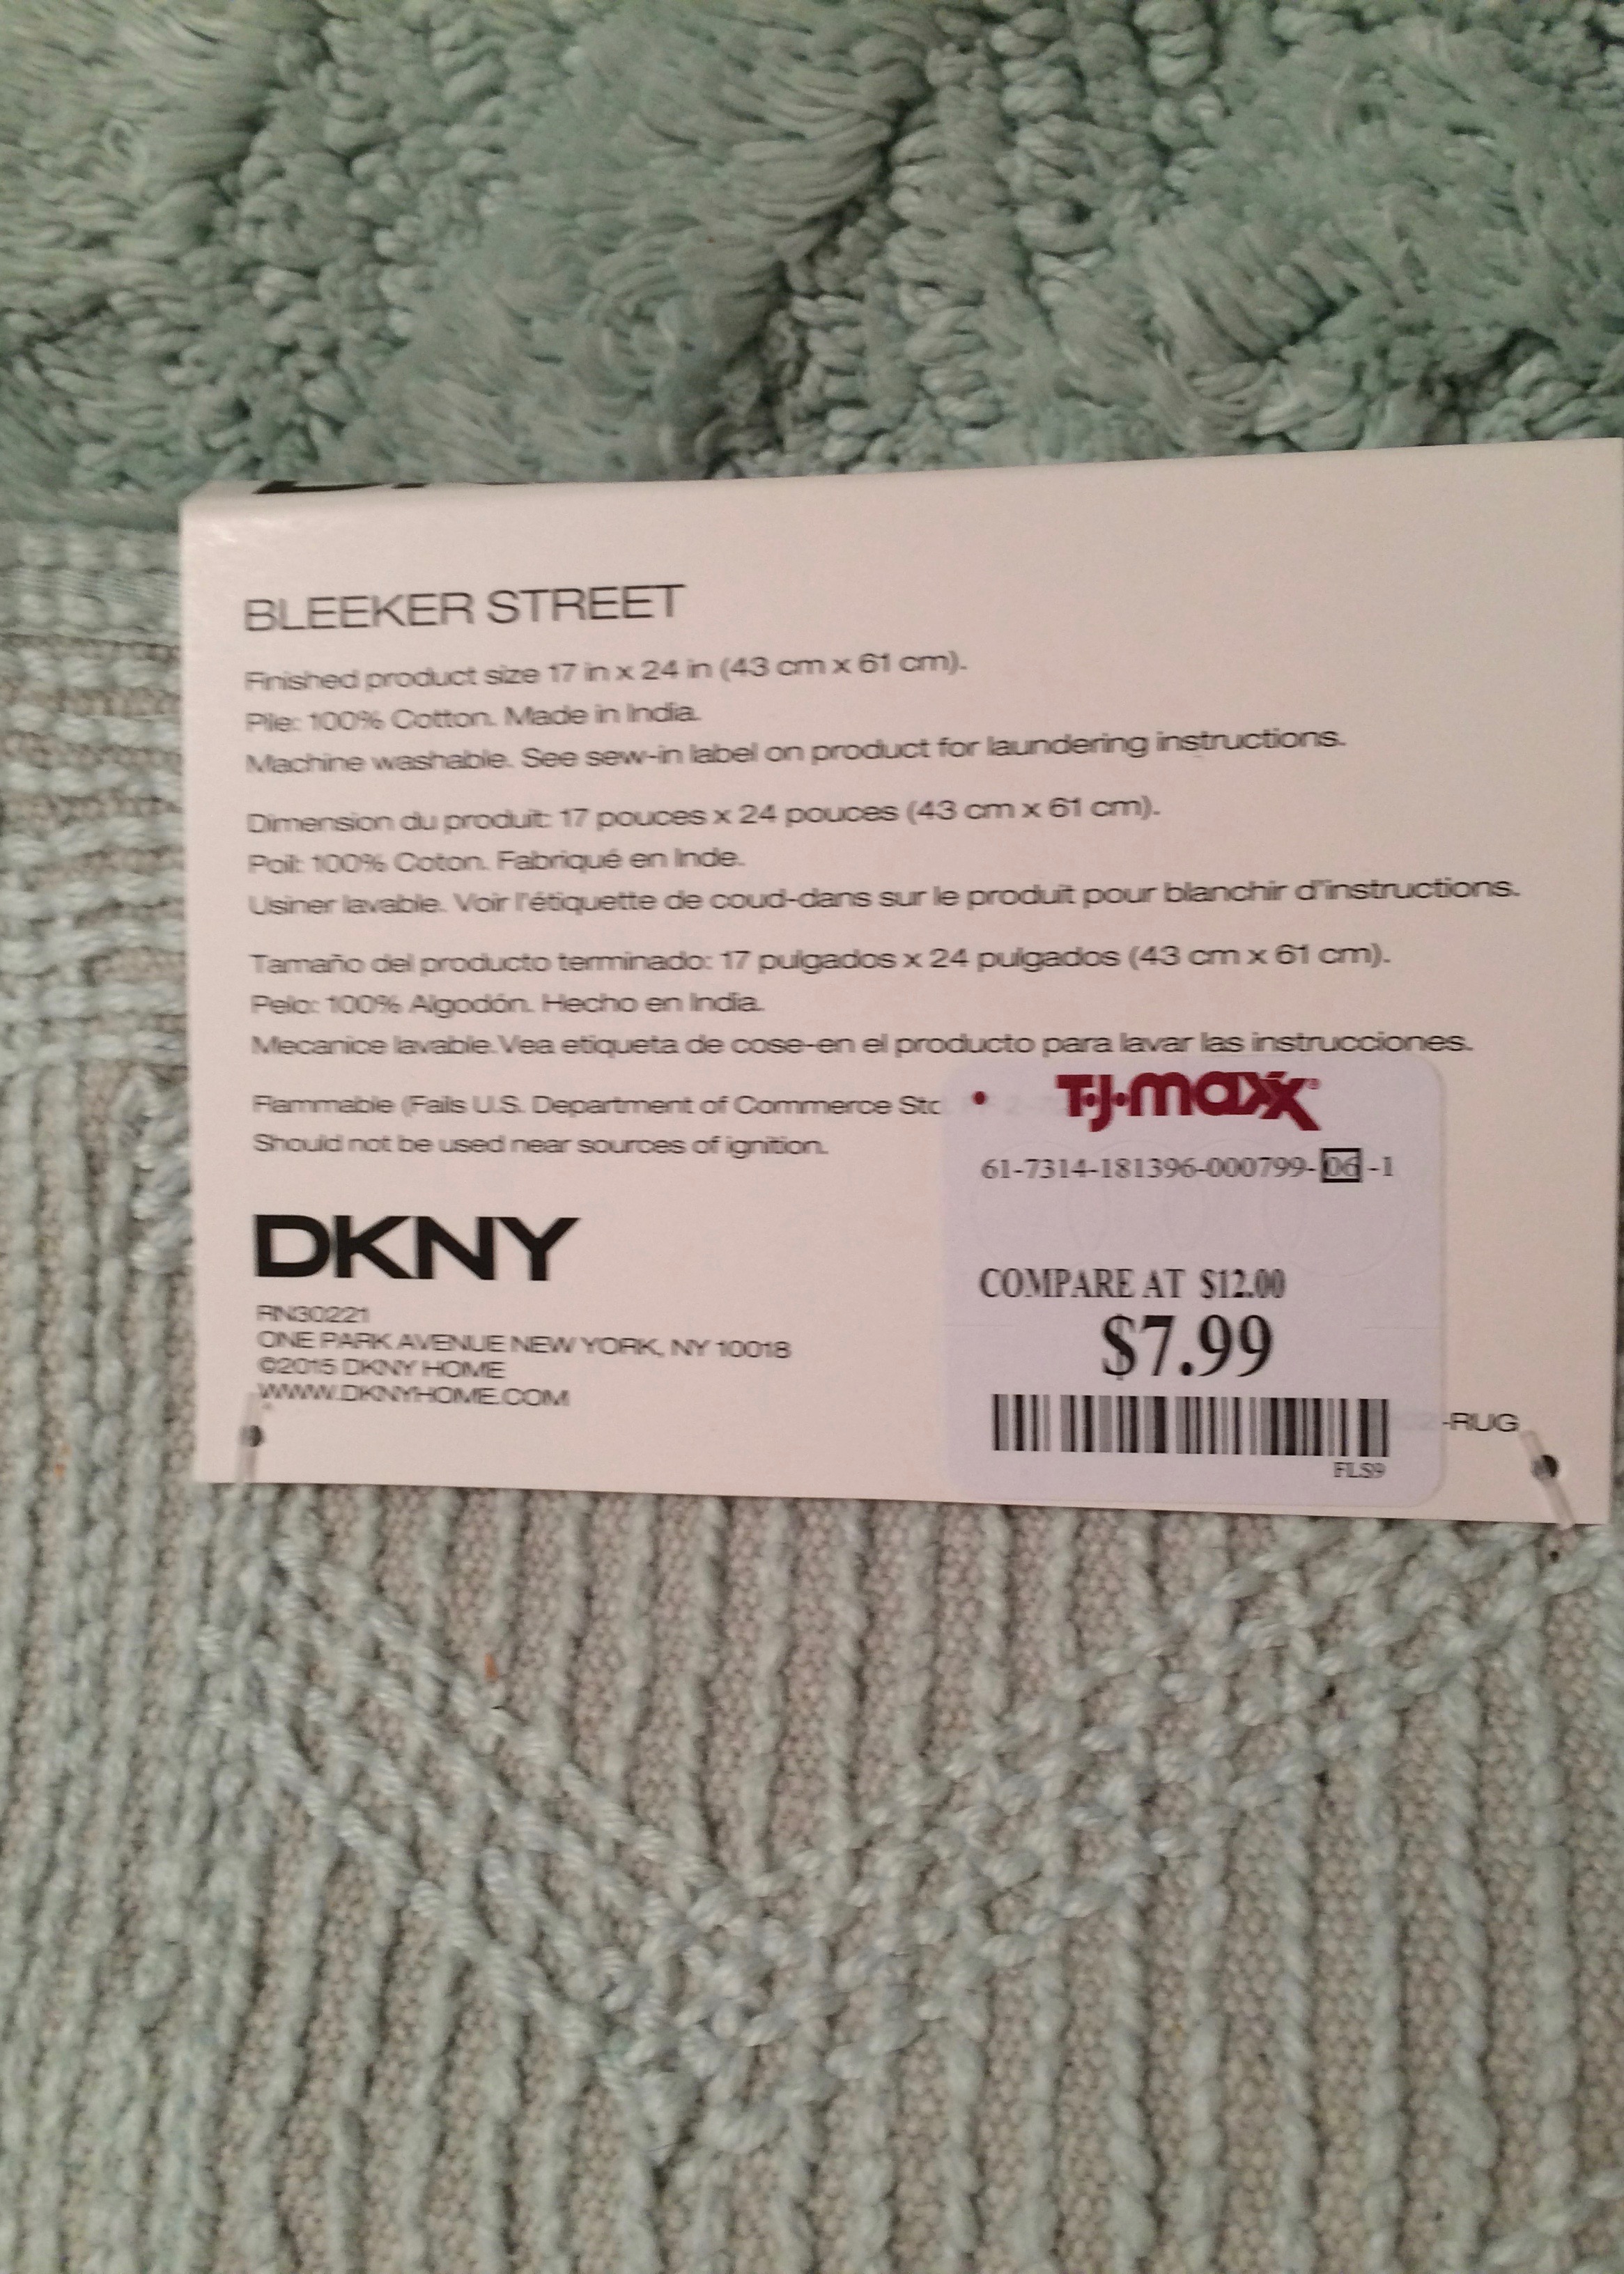
As a finishing touch, we added a new bath rug. We found this one for only $8 at TJ Maxx.
This post contains affiliate links. All opinions are my own.